15 Fun Letter X Crafts for Preschoolers
Finding playful ways to introduce letters helps little learners connect with sounds and shapes in a joyful way. The letter X may not show up often, but these hands-on activities make it memorable through color, texture, and movement.
Each craft is designed to build fine motor skills while keeping giggles front and center. You’ll find paints, pasta, stickers, and more, all focused on one wiggly letter.
1. X Is for X-Ray Fish
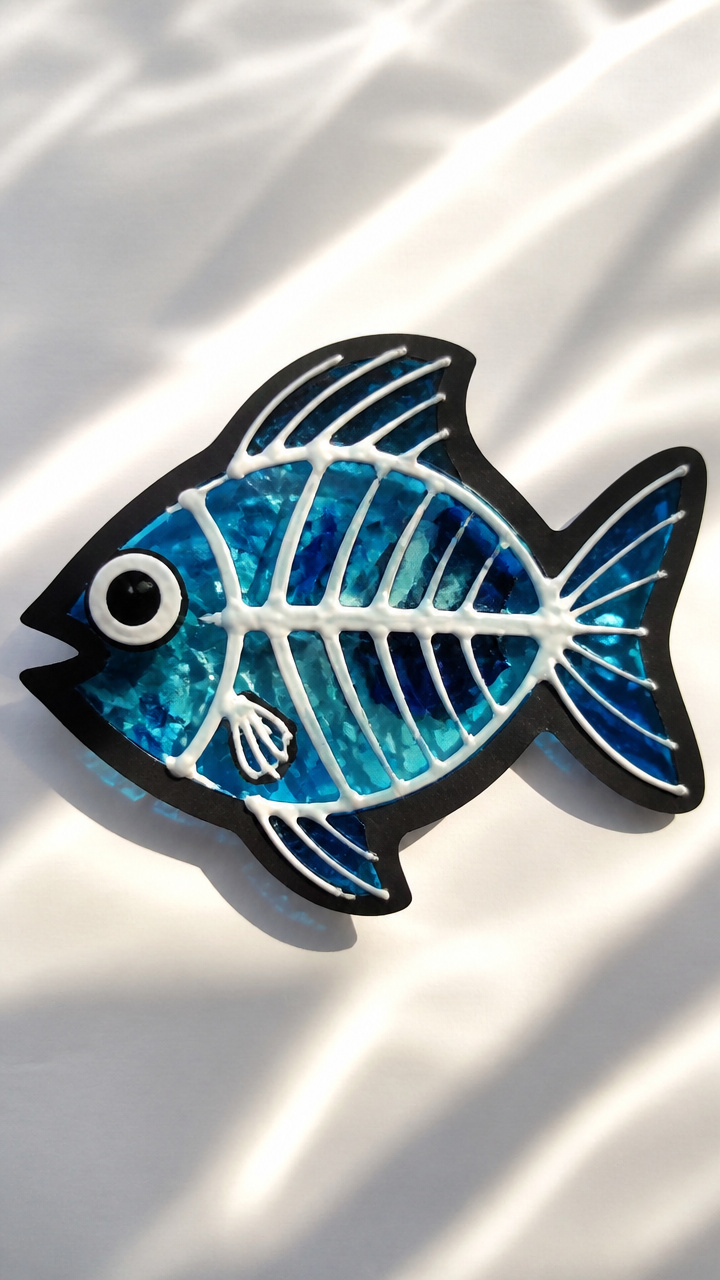
A shimmering fish with an X-shaped body teaches letter shape and sea creatures at once. Kids love sliding their fingers over the glossy finish.
Materials Needed
- One A4 black cardstock sheet
- White liquid glue
- Small plastic spoon
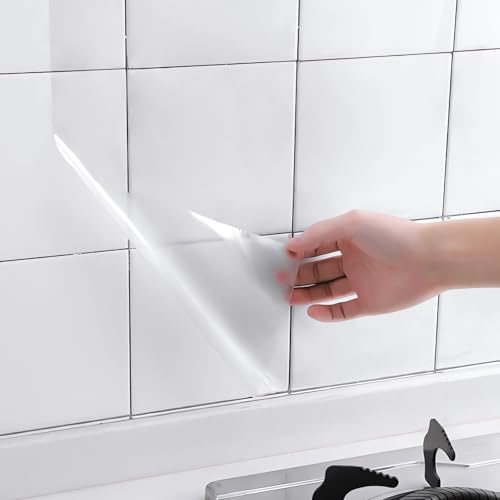
- Clear contact paper, 8×10 inches
- Blue cellophane, 6×6 inches
- Glitter glue pen
- Googly eyes, 2 per child
- Scissors
How to Make It
- Draw a large X on the black cardstock, then reshape the ends into a fish head and tail using curved lines.
- Squeeze white glue along the X line using the plastic spoon to spread it evenly into a thick stripe.
- Sprinkle glitter glue along the glued edges and press blue cellophane pieces inside the X-body for gills and scales.
- Let dry completely, then attach googly eyes near the head. Cover with contact paper to seal and add shine.


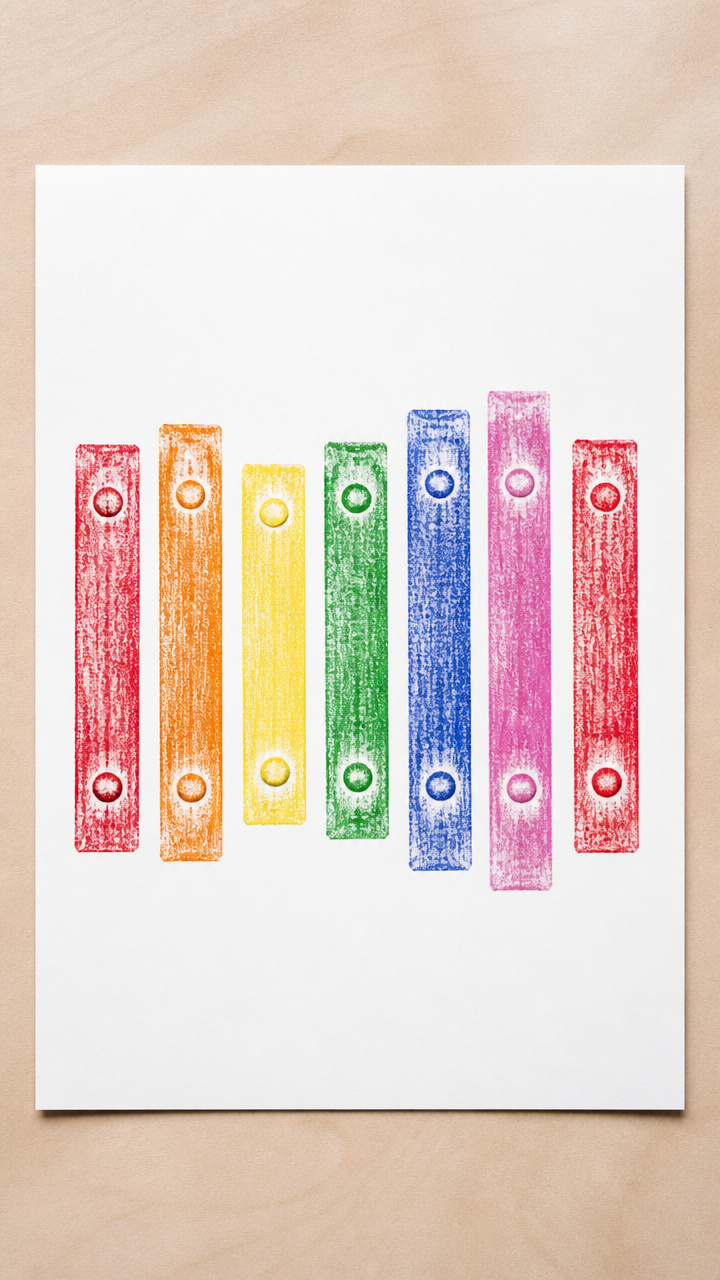
2. Xylophone Shaker Bottles
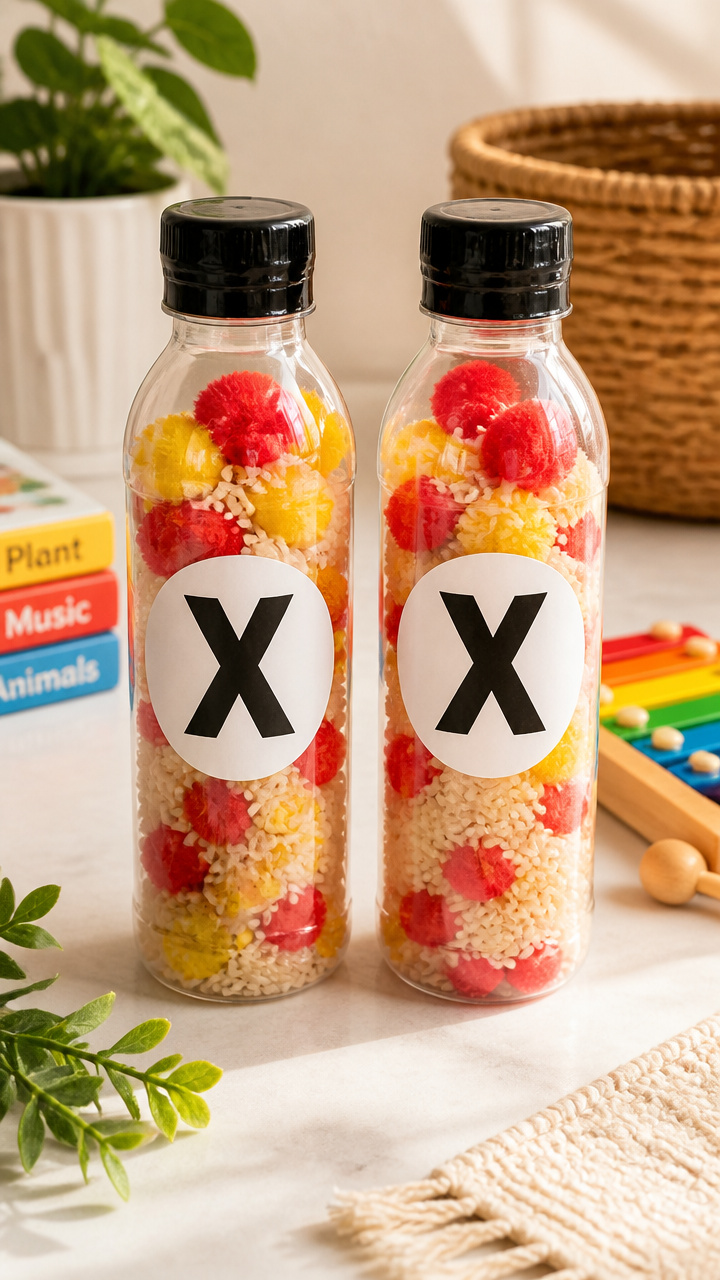
Mini sound makers shaped like Xs rattle with every shake. This combines letter learning with rhythm and sensory play.
Materials Needed
- Two clear 8 oz plastic bottles with lids
- Red and yellow pom poms, 10 each
- Alphabet sticker sheet with uppercase X
- Electrical tape, red
- Funnel
- Rice, 1/4 cup
How to Make It
- Use the funnel to pour rice and five red and five yellow pom poms into each bottle.
- Screw lids on tightly, then wrap electrical tape around the middle of each bottle to form an X shape.
- Press one X sticker on the front and back of each bottle where the tape crosses.


3. X-Winged Butterfly

Butterfly wings shaped like Xs flap with pipe cleaner movement. This simple folding craft builds symmetry awareness.
Materials Needed
- Pink construction paper, 9×12 inches
- Black pipe cleaner, 12 inches long
- White school glue
- Glitter, purple
- Hole punch
- Scissors
How to Make It
- Fold the paper in half lengthwise, then cut along the fold to make two pieces.
- On one piece, draw a large X and cut it out carefully with scissors.
- Lay the X flat, place a dab of glue at the center, and sprinkle purple glitter over it.
- Slide the pipe cleaner through the hole at the center, twist the ends to form antennae, and secure with glue.


4. X Marks the Spot Map
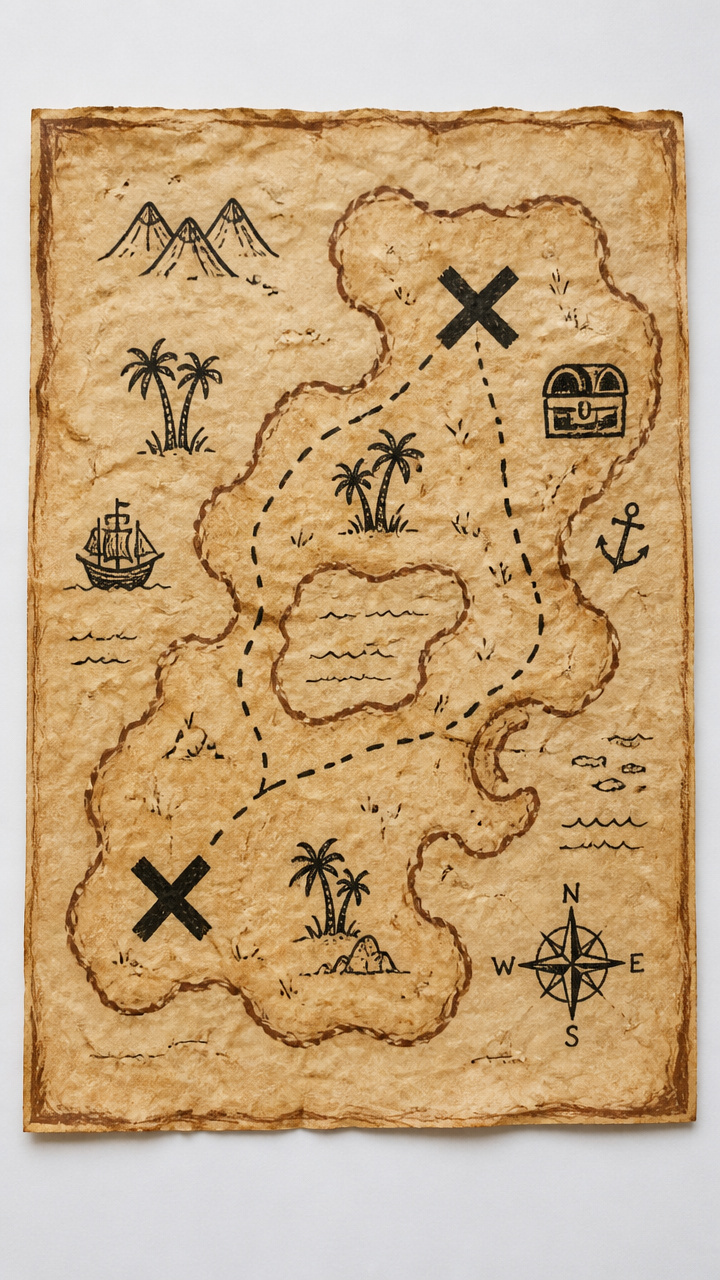
A pirate-themed treasure map uses crumpled paper and real tea staining. Kids follow clues ending at a bold X.
Materials Needed
- A4 white drawing paper
- Used tea bag
- Warm water, 1 cup
- Brown crayon
- Black marker
- Cotton swab
- Plastic tray
How to Make It
- Soak the tea bag in warm water for two minutes, then spread the liquid across the paper using the cotton swab.
- Let the paper dry slightly, then crumple it into a ball and flatten it for aged texture.
- Draw a simple island with palm trees and a path using the brown crayon, ending with a large X.
- Trace the X with the black marker so it stands out clearly against the stained background.


5. Xylophone Art Stamping
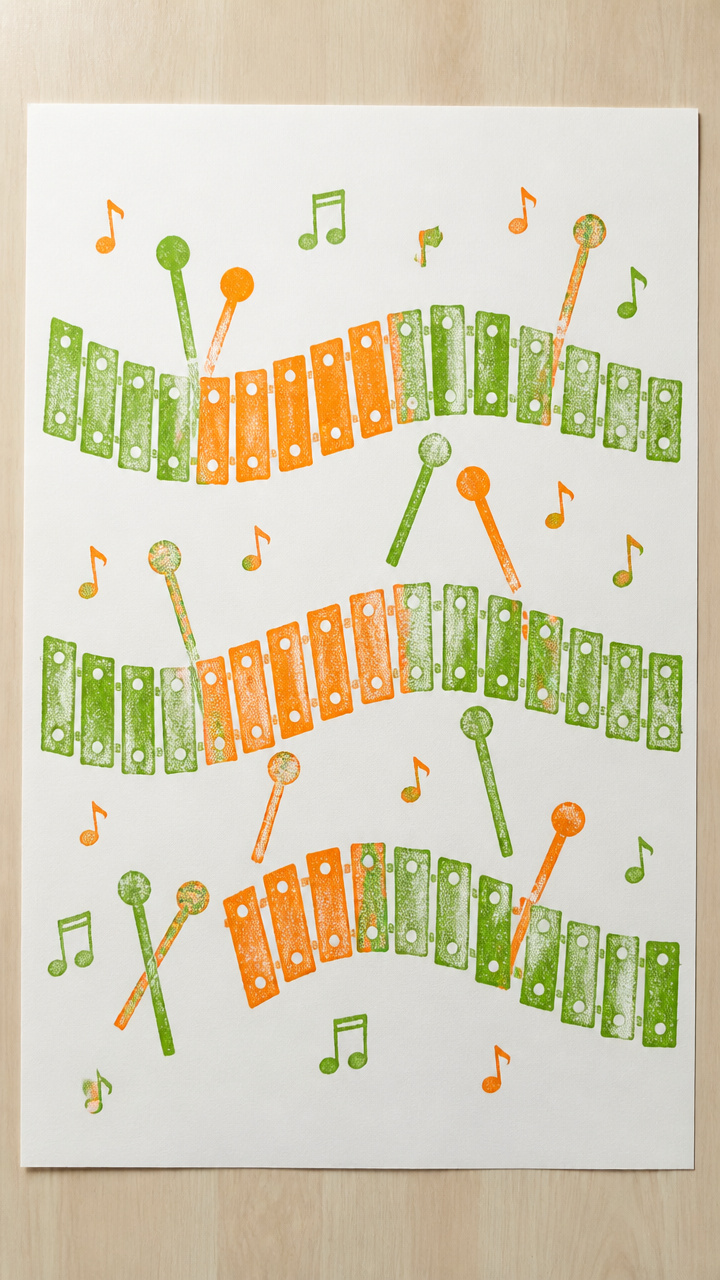
Wooden xylophone mallets double as paint stamps to form giant Xs. This active craft gets kids moving and creating.
Materials Needed
- Two wooden xylophone mallets
- Tempera paint, green and orange
- Shallow trays, 2
- Large white butcher paper, 18×24 inches
- Paper towels
How to Make It
- Pour a tablespoon of green paint into one tray and orange into the other, spreading each into a thin layer.
- Dip both ends of a mallet into different colors, then press diagonally across the paper to form one stroke of an X.
- Repeat with the second mallet for the opposite diagonal, crossing in the center to complete the X.
- Wipe mallet ends with paper towels between dips to keep colors bright.


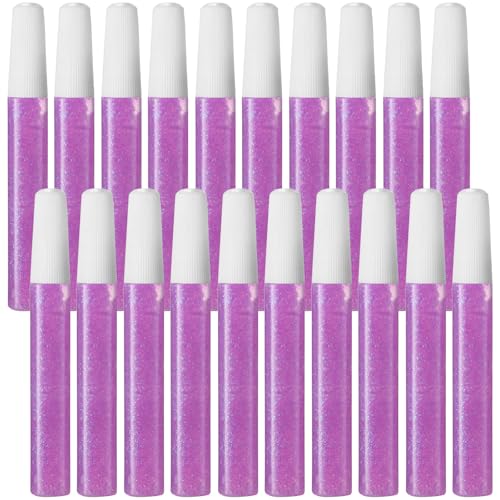
6. X-Patterned Pasta Necklace
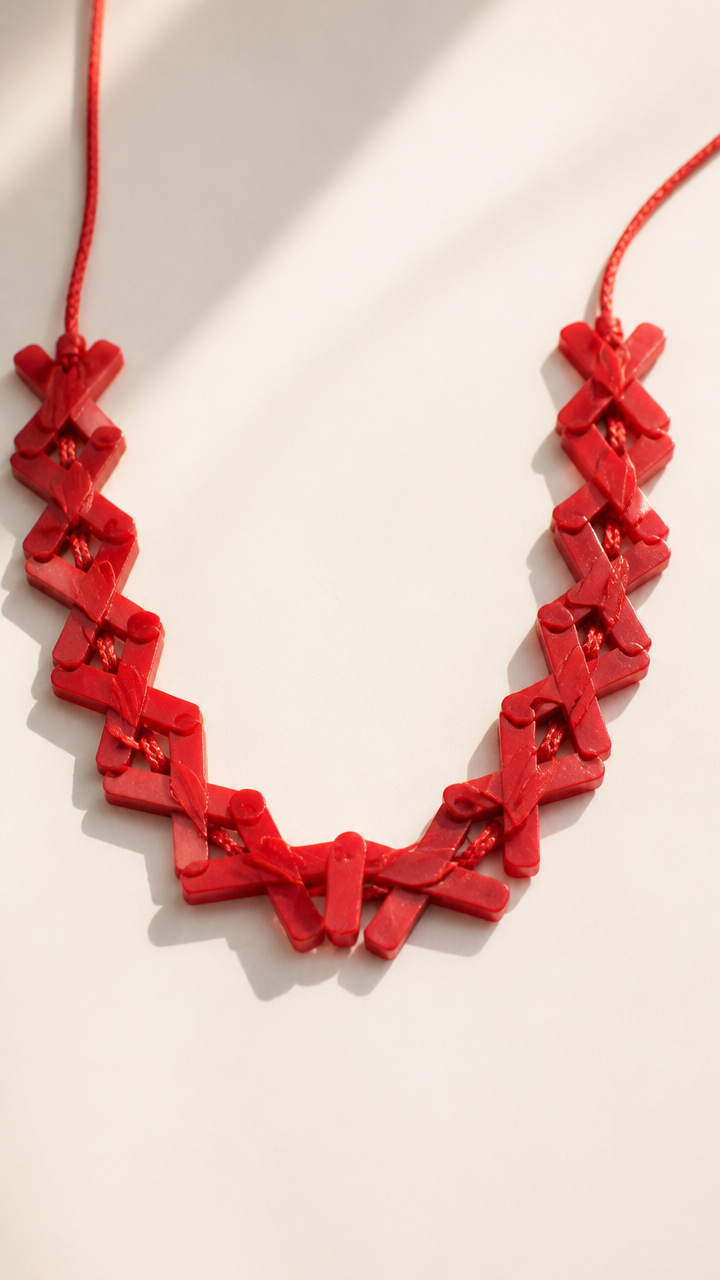
Fettuccine noodles painted in X stripes become wearable art. Threading builds hand strength and pattern recognition.
Materials Needed
- Dry fettuccine pasta, 20 pieces
- Red acrylic paint
- Paintbrush, size 4
- Plastic lacing cord, 2 feet long
- Tape, masking
- Paper plate
How to Make It
- Lay the pasta on the paper plate and use the brush to paint a thick red X across the center of each piece.
- Let the pasta dry for 30 minutes, turning each piece halfway through.
- Tape one end of the cord to make it stiff, then thread the pasta pieces onto the string in a row.
- Tie the ends of the cord together to form a necklace that rests comfortably on small shoulders.

7. X-Ray Hand Tracing
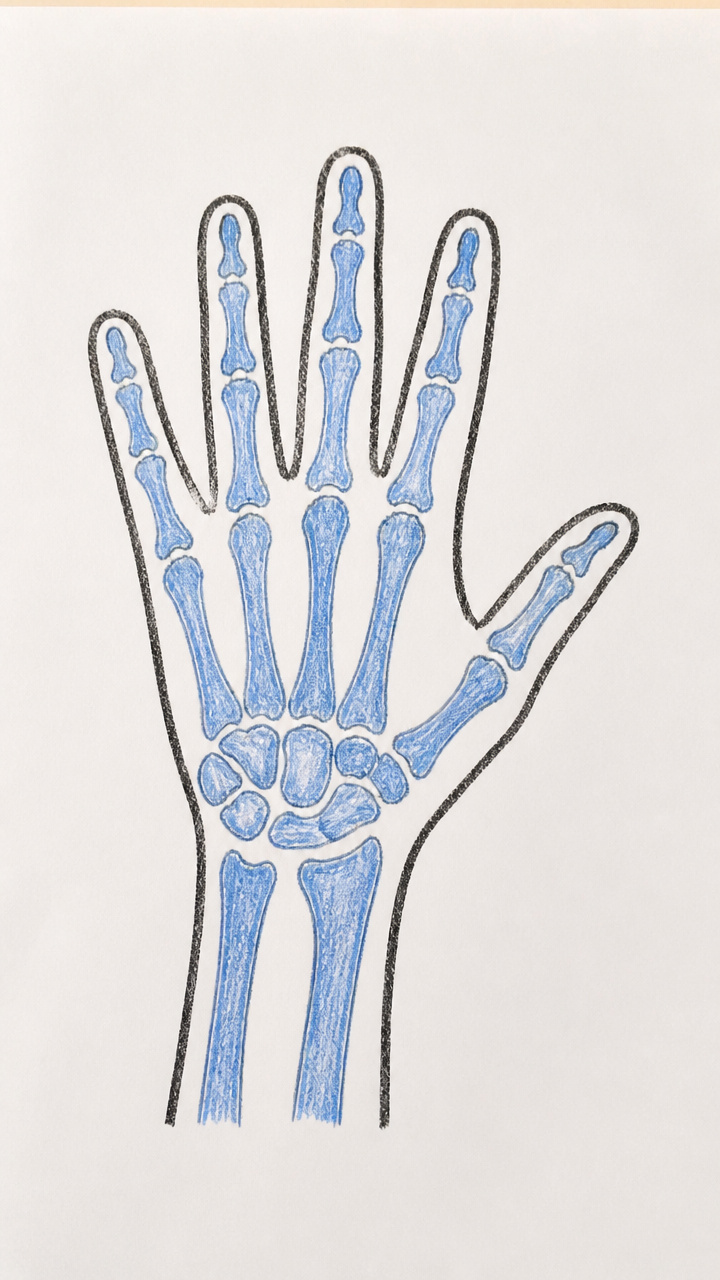
A traced hand with bones drawn as X branches makes anatomy fun. The bold lines invite storytelling.
Materials Needed
- White printer paper
- Black crayon
- Blue colored pencil
- Ruler
- Tracing stencil of hand bones (simple X-shapes)
How to Make It
- Have your child lay their hand flat on the paper and trace around it with the black crayon.
- Use the ruler to draw straight lines from the wrist into each finger, branching slightly at joints to mimic X shapes.
- Color the 'bones' with the blue pencil, leaving the hand outline black.
- Label the drawing with 'My X-Ray Hand' at the bottom using block letters.


8. X-Tiled Mosaic
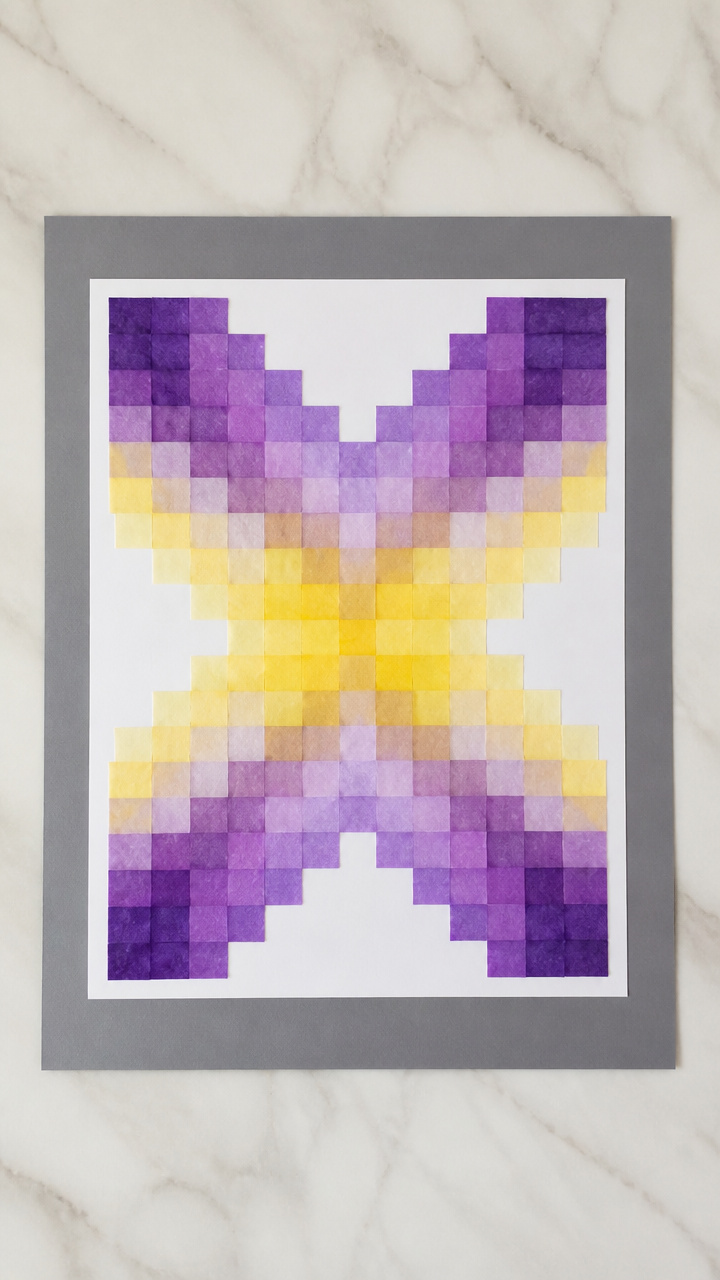
Tiny squares of colored tissue paper form a glowing X mosaic. The sticky process sharpens focus and precision.
Materials Needed
- Purple tissue paper, 8×8 inches
- Yellow tissue paper, 8×8 inches
- White glue
- Child-safe scissors
- Popsicle stick
- A4 gray cardstock
How to Make It
- Cut both tissue papers into 1-inch squares using the scissors, mixing colors in a pile.
- Draw a large X on the gray cardstock with a pencil, making it about 6 inches tall.
- Spread a thin layer of glue inside the X line using the popsicle stick.
- Press tissue paper squares into the glue, covering the X completely with no gaps.
9. Xylophone Hammer Painting
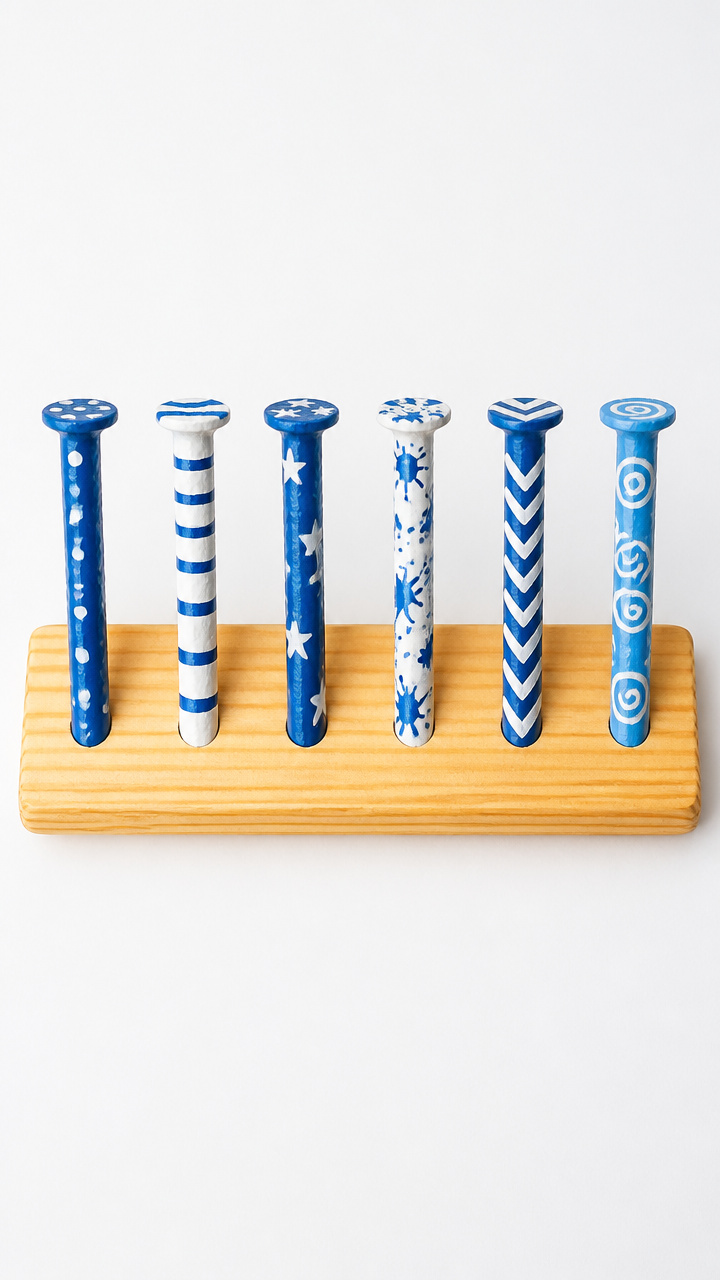
Gentle tapping with a toy hammer drives nails to form an X. This outdoor activity blends tool play with letter shape.
Materials Needed
- Soft pine board, 6×6 inches
- Panel nails, 1 inch, 6 per child
- Toy hammer, wooden
- Blue paint pen
- Safety goggles
How to Make It
- Mark two diagonal lines crossing in the center of the board with a pencil to guide nail placement.
- Put safety goggles on your child, then help them tap one nail at each end of the lines, forming an X.
- Once all six nails are secure, use the blue paint pen to connect the dots by drawing lines between them.
- Hang the board on display with a picture hanger stuck to the back.


10. X-Shaped Crayon Melts

Broken crayons reshaped into X molds create colorful keepsakes. The melting process fascinates young scientists.
Materials Needed
- Old crayons, 6 broken pieces, any color
- Silicone X-shaped mold, 3 inches wide
- Oven-safe tray
- Oven mitt
- Aluminum foil
How to Make It
- Peel paper off crayon pieces and pack them tightly into the silicone mold.
- Place the mold on the oven-safe tray and cover loosely with aluminum foil.
- Bake at 250°F for 15 minutes, then remove with oven mitt and let cool completely before popping out the X.


11. Xylophone Block Tower
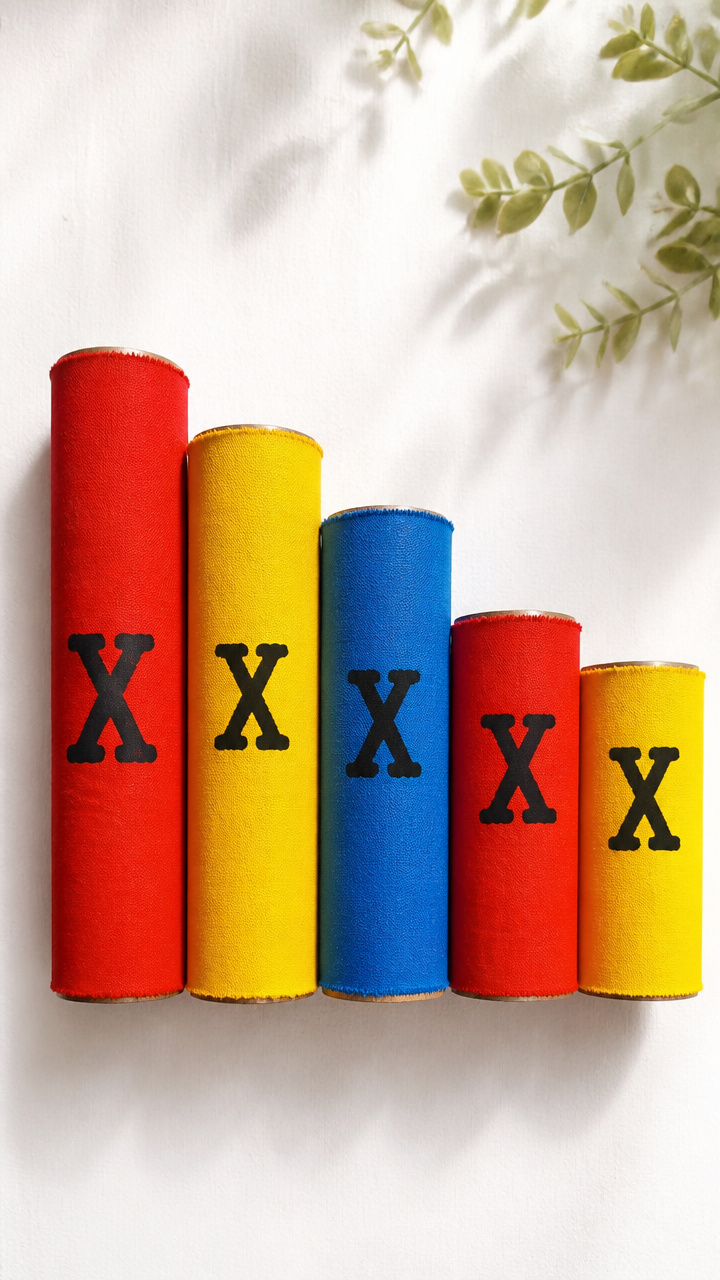
Cardboard blocks stamped with Xs stack into a musical tower. Each level features a different color and texture.
Materials Needed
- Cardboard toilet paper tubes, 5
- Red, yellow, blue fabric scraps, 4×4 inches each
- Glue stick
- Foam stamp with X shape
- Black ink pad
How to Make It
- Wrap each tube with a different fabric scrap and secure with the glue stick.
- Press the foam X stamp into the ink pad, then stamp one side of each tube.
- Let the ink dry for 5 minutes, then stack the tubes in a pyramid shape.
- Encourage your child to knock it down with a soft toss of a felt ball.
12. X-Footstep Garden Path
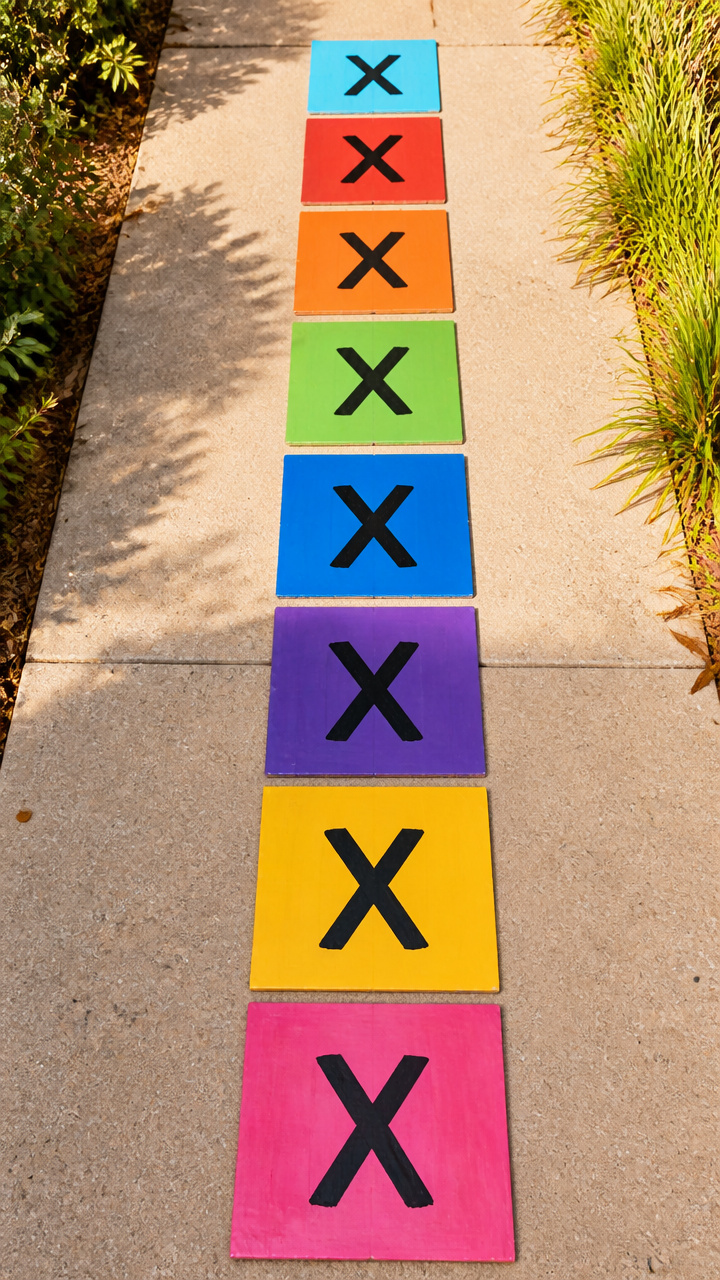
Cardboard footprints painted with X soles become a stepping trail. This gross motor game reinforces letter shape through motion.
Materials Needed
- Cardboard cereal boxes
- Scissors
- Black paint
- Paint roller, small
- Chalk, white
- Outdoor pavement or large roll of paper
How to Make It
- Cut two footprint shapes from the cardboard, each about 8 inches long.
- Use the roller to paint a large X on the sole part of each footprint.
- Let dry for 20 minutes, then write 'Step Here!' with chalk near each X.
- Place the footprints 2 feet apart on the ground to form a path leading to a toy or tree.
13. X-Quilt Square
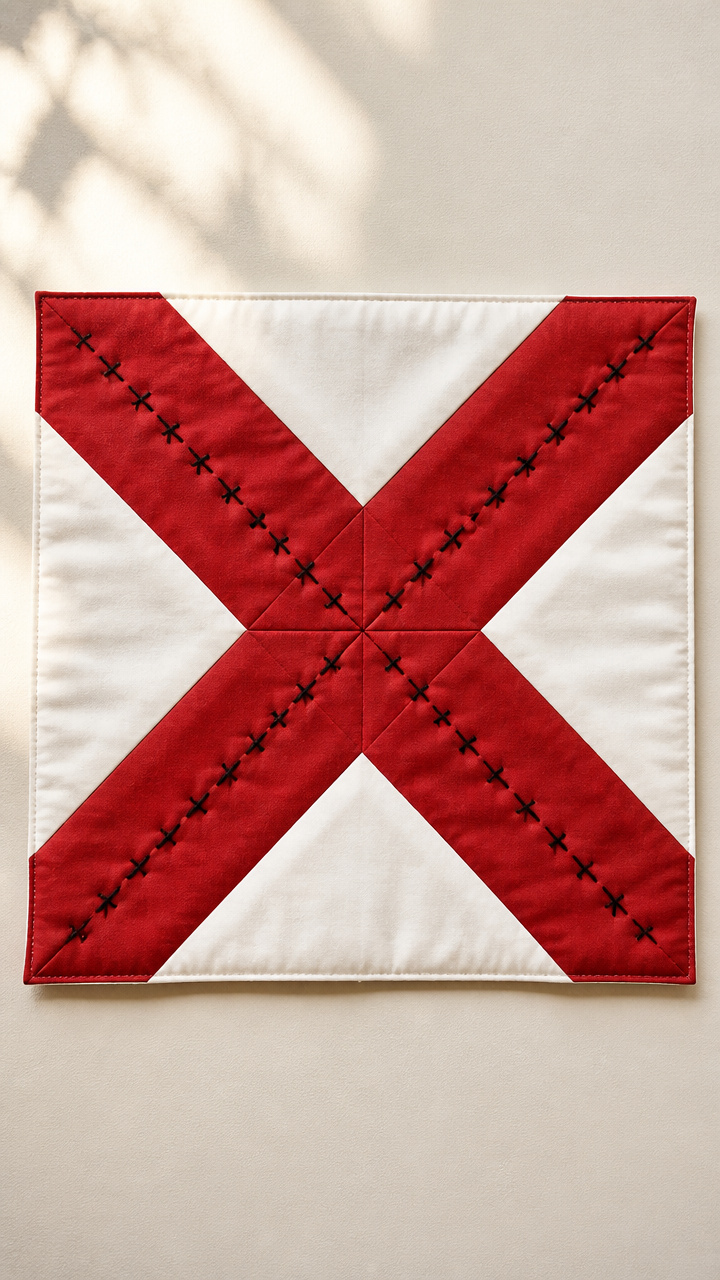
Fabric patches sewn into an X design make a mini quilt block. Simple stitching builds dexterity and pride.
Materials Needed
- Red cotton fabric scrap, 6×6 inches
- White cotton fabric scrap, 6×6 inches
- Plastic needle with blunt tip
- Embroidery floss, black, 12 inches
- Scissors
- Iron
How to Make It
- Cut both fabrics into four 3-inch squares each, then arrange them in alternating colors to form an X pattern.
- Pin the squares together and iron flat to set the layout.
- Thread the plastic needle and sew around each square with a running stitch using the black floss.
- Trim loose ends and display the finished square on a child’s bulletin board.


14. Xylophone Key Rubbing
Keys from a toy xylophone reveal X shapes when rubbed with crayons. This quiet sensory activity sharpens observation.
Materials Needed
- Toy xylophone with removable keys
- White paper, 8×10 inches
- Crayon, unwrapped, black
- Tape, clear
How to Make It
- Place the xylophone keys flat under the paper, arranging them to form an X shape.
- Tape the paper edges to the table to prevent slipping.
- Hold the crayon sideways and rub firmly over the keys to reveal the X impression.
- Lift the paper to see the hidden X pattern made by the key outlines.


15. X-Sticker Window Art
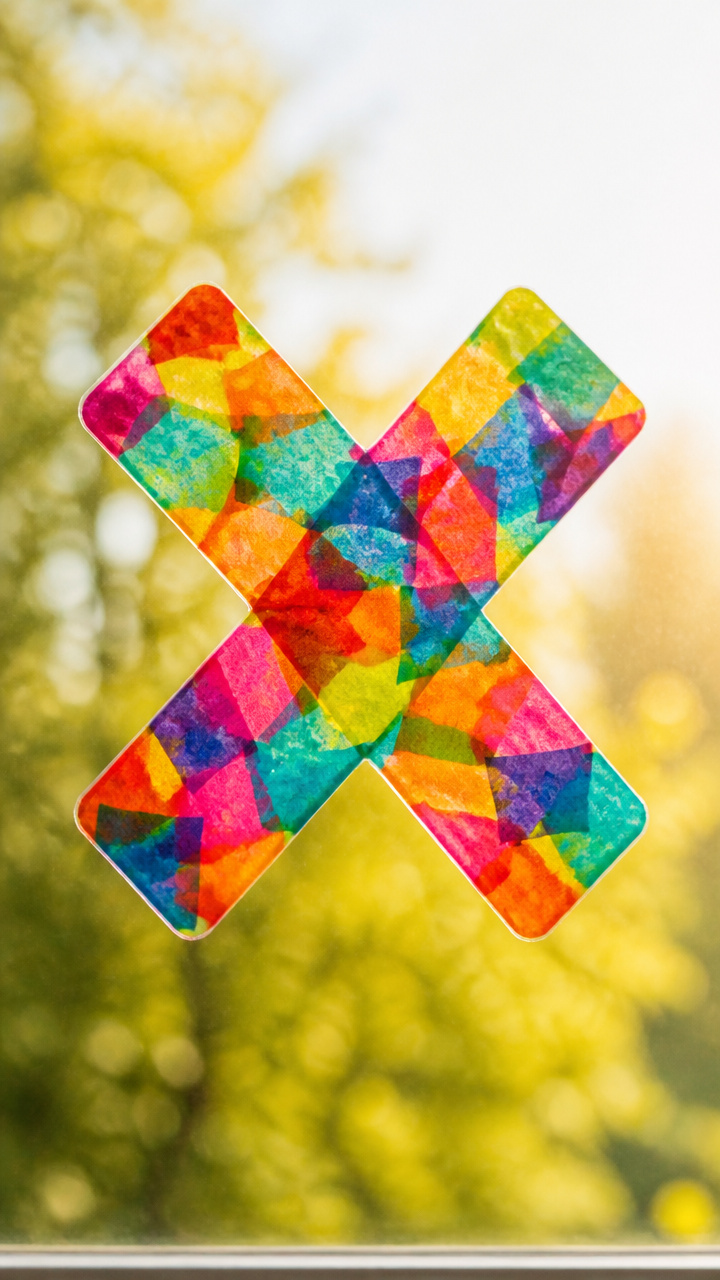
Translucent stickers arranged into a glowing X catch sunlight on glass. Easy to change and safe for little hands.
Materials Needed
- Clear stickers with X shape, 10 count
- Rainbow tissue paper scraps, assorted colors
- Spray bottle with water
- Sponge
- Window surface
How to Make It
- Stick five X stickers onto the window in a diagonal line, then place the other five to cross them.
- Tear tissue paper into small pieces and press them between the stickers and glass.
- Lightly spritz the window with water using the spray bottle and smooth with the sponge.
- Let air dry into a stained-glass effect that shines when the sun hits it.


You’ve got everything you need to turn a tricky letter into joyful moments. Grab your supplies and let the X adventures begin.