19 Winter Suncatcher Crafts for Preschool

Tiny hands pressing colorful tissue paper into place, giggles as glitter sticks to fingers, the quiet focus of a child threading beads one by one winter light shines differently when it filters through something made with love and curiosity.
These suncatchers bring sparkle to gray days, turning classroom windows or kitchen panes into joyful displays. Each craft uses simple materials and builds fine motor skills, creativity, and a sense of pride in making something beautiful.
1. Tissue Paper Snowflake Panes
Easy
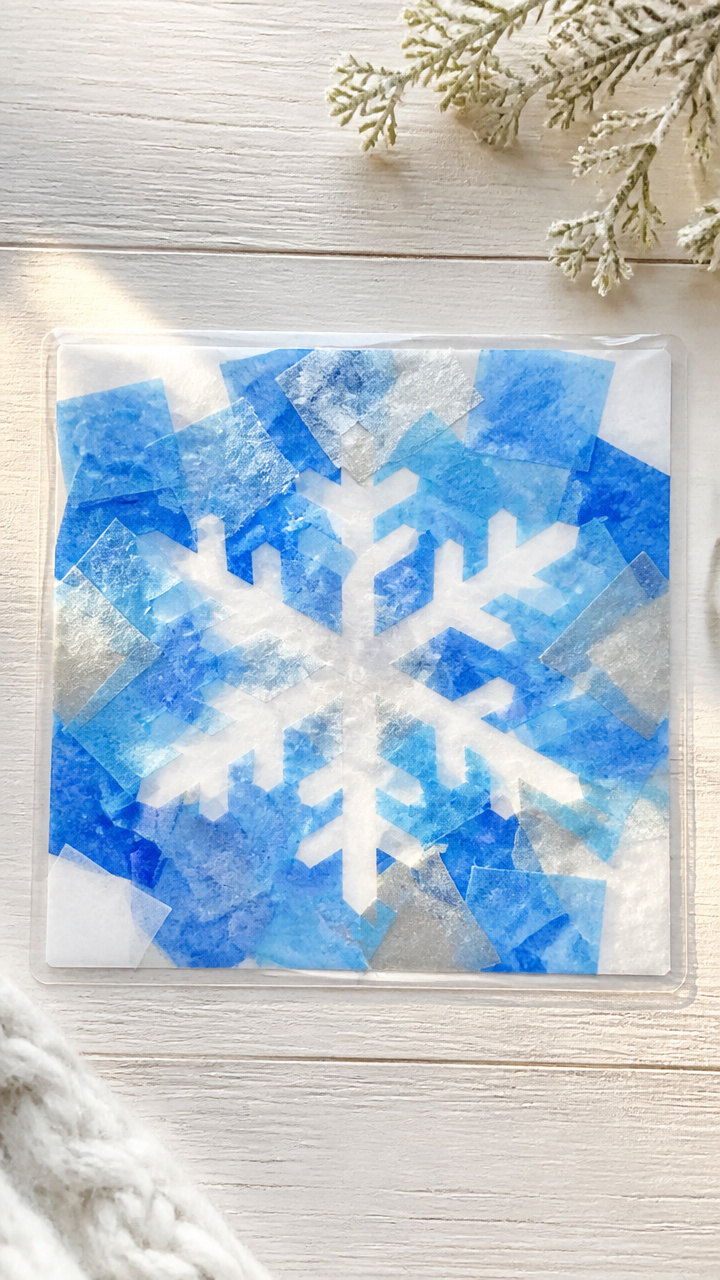
Layered squares of colored tissue create stained-glass-like windows that glow when backlit by winter sun. This project invites little fingers to explore color blending and texture.
Materials Needed
- 6×6 inch clear contact paper, 1 sheet
- 5×5 inch squares of blue, white, and silver tissue paper, 12 each
- Scissors, 1 pair
- Pencil, 1
- Ruler, 6 inch
- Yarn, 12 inches
How to Make It
- Cut the contact paper into a large snowflake shape using the pencil to draw the outline first and scissors to cut carefully around it.
- Peel the backing off the contact paper snowflake and lay it sticky-side up on the table.
- Place tissue paper squares onto the sticky surface, overlapping colors to create depth and let light shine through.
- Cover with another same-sized snowflake cut from contact paper, sandwiching the tissue between both sides.
- Punch a hole at the top corner and thread yarn through to hang near a sunny window.


2. Glittery Pinecone Silhouettes
Easy
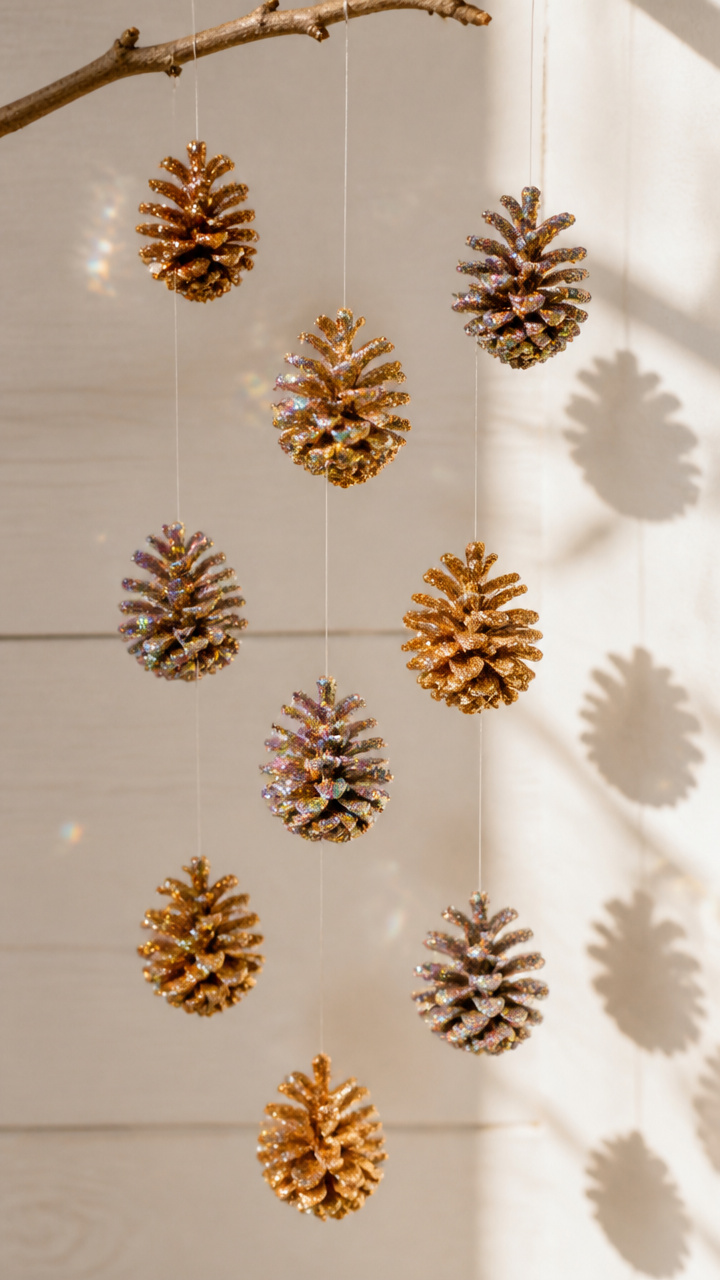
A rustic pinecone dipped in glue and glitter becomes a shimmering shadow against the glass. Its natural shape catches light in unexpected ways.
Materials Needed
- Small pinecones, 3
- White school glue, 4 oz
- Fine iridescent glitter, 2 tablespoons
- Clothespins, 3
- Clear fishing line, 9 inches
- Paper plate, 1
How to Make It
- Lay the pinecone on the paper plate and use your fingers to spread glue evenly over all its scales.
- Sprinkle glitter over the glued pinecone until fully coated, then shake off excess onto the plate.
- Clip a clothespin to the top of each pinecone and hang it to dry for 2 hours.
- Once dry, tie fishing line around the base of the clothespin to create a hanger.
- Press the pinecone gently against the window so the silhouette shows clearly in daylight.


3. Cotton Ball Frost Clouds
Easy
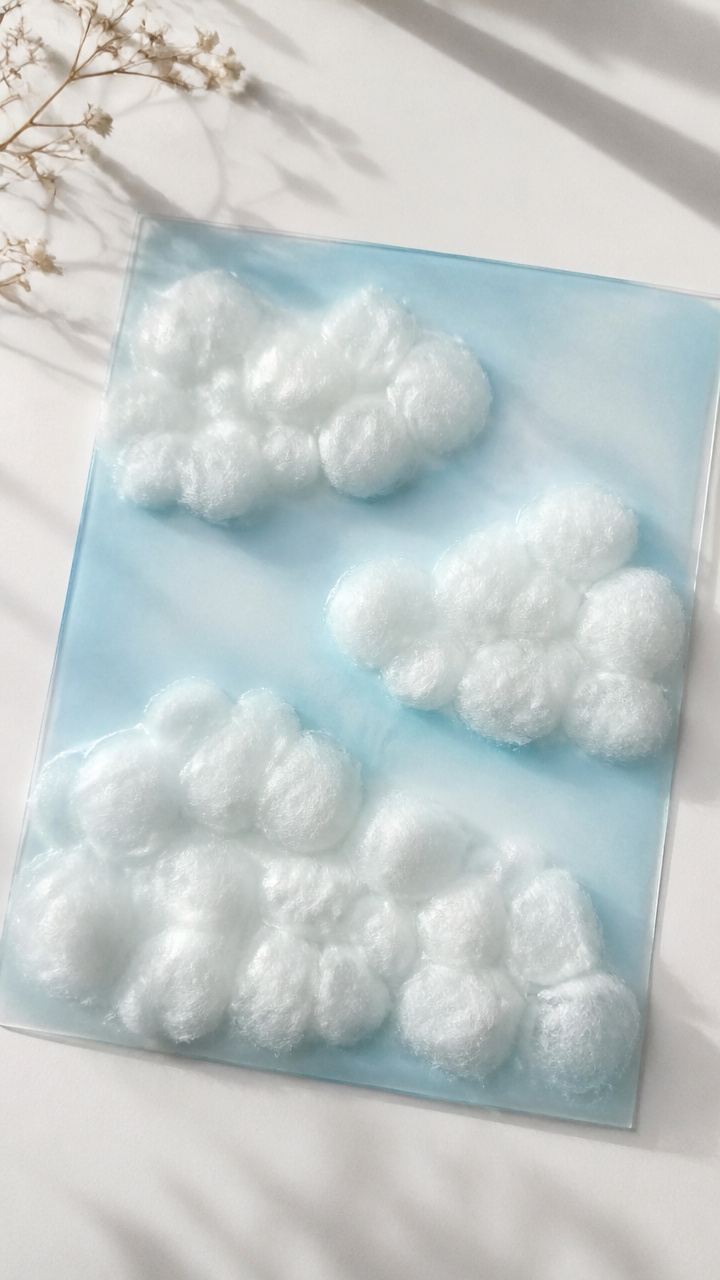
Soft tufts of cotton mimic frost gathering on glass, creating dreamy floating shapes. This tactile craft feels like building winter breath.
Materials Needed
- 8×10 inch clear transparency sheet, 1
- White school glue, 3 oz
- Cotton balls, 15
- Blue food coloring, 3 drops
- Paintbrush, 1 small
- Ribbon, 10 inches
How to Make It
- Mix three drops of blue food coloring into the glue using the paintbrush to blend evenly.
- Use the brush to paint cloudy swirls onto the transparency sheet with the tinted glue.
- Pull cotton balls apart into smaller puffs and press them gently into the glue lines.
- Let the suncatcher dry flat for 1 hour until the glue is clear and firm.
- Punch a hole at the top and thread ribbon through to hang where morning light hits.


4. Pipe Cleaner Ice Crystals
Moderate
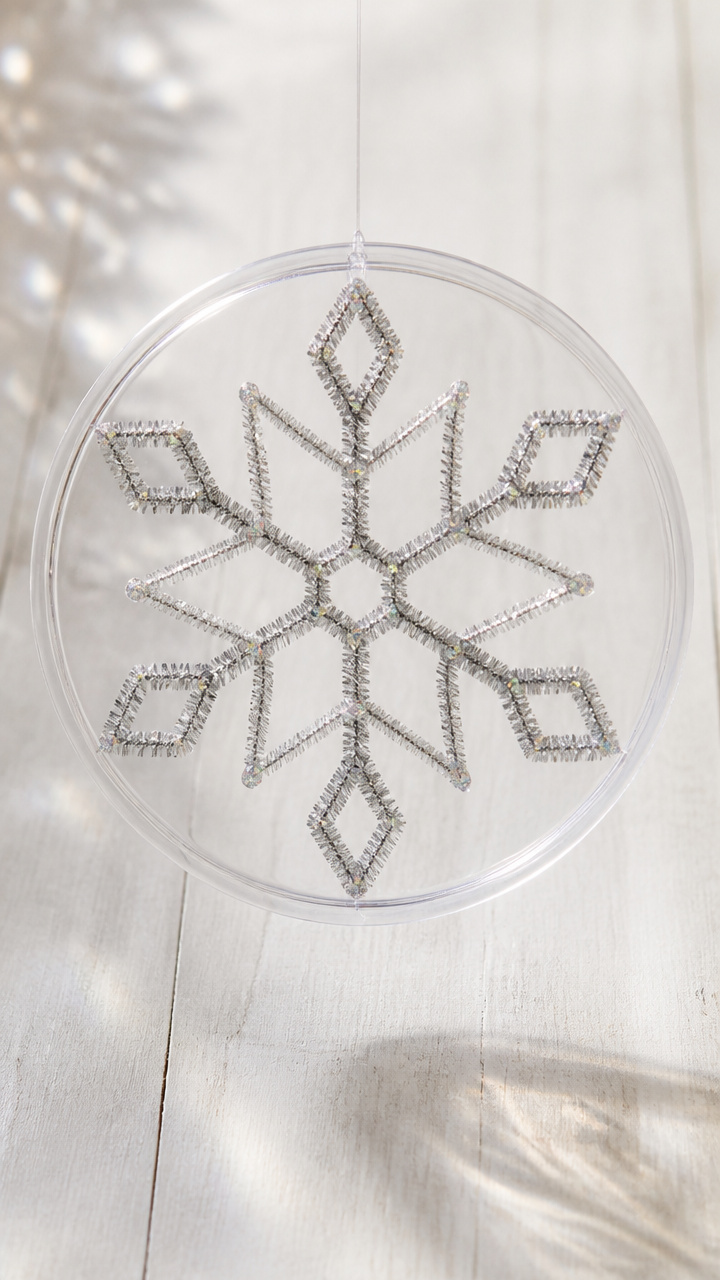
Twisted silver pipe cleaners form delicate geometric shapes that spin and catch light like real ice. Their metallic sheen reflects even dim daylight.
Materials Needed
- Silver pipe cleaners, 6
- Clear plastic lid from a takeout container, 1
- Hole punch, 1
- Glitter glue, 1 bottle
- Scissors, 1 pair
- Fishing line, 8 inches
How to Make It
- Cut each pipe cleaner into thirds to make 18 short segments.
- Bend three segments into a six-pointed star and twist the ends together securely at each joint.
- Repeat to make two more stars of varying sizes.
- Place the stars on the plastic lid and trace around them lightly with a finger to mark placement.
- Apply glitter glue along the edges of each star and let dry for 90 minutes.
- Punch a hole in the top of the lid and thread fishing line through to hang the mobile-style suncatcher.


5. Button Blizzard Windows
Easy
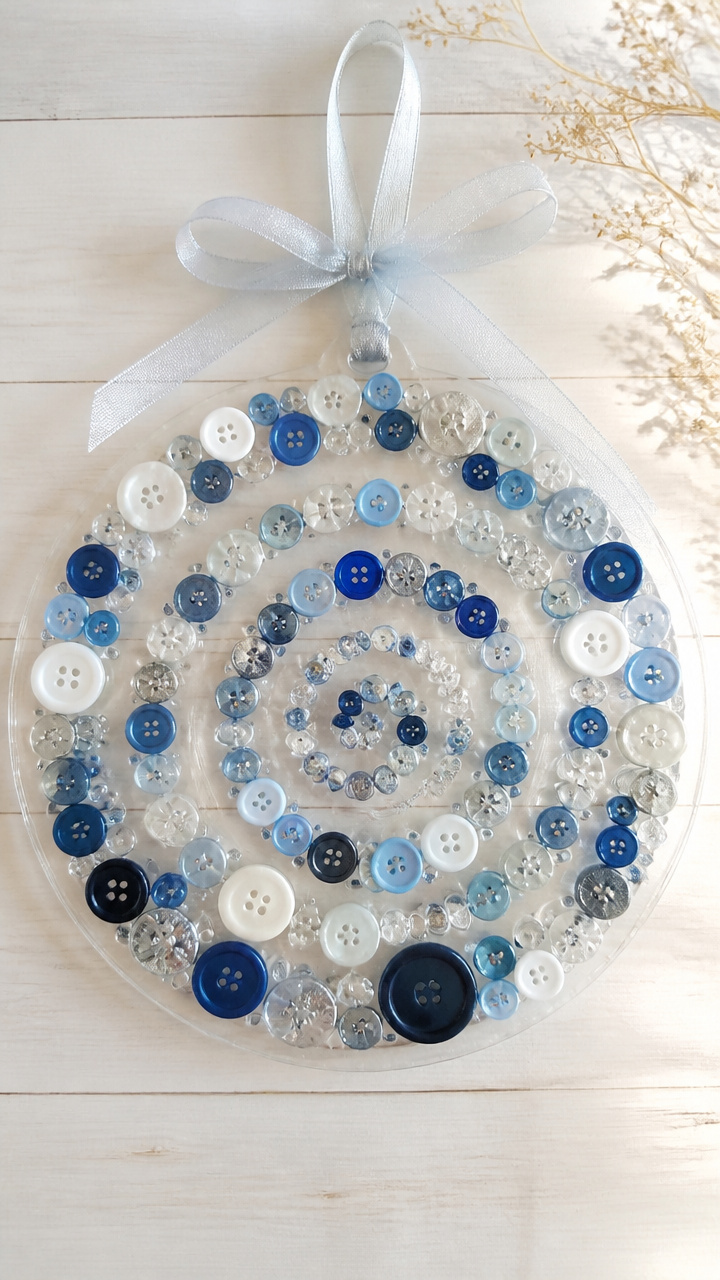
Assorted buttons in cool tones swirl across a clear sheet like a frozen storm. Their varied textures catch light uniquely from every angle.
Materials Needed
- Clear vinyl placemat, 8×10 inch piece
- White fabric glue, 3 oz
- Assorted blue, white, and silver buttons, 25
- Paintbrush, 1 medium
- Ribbon, 12 inches
- Scissors, 1 pair
How to Make It
- Cut the placemat to an 8×10 inch rectangle using scissors.
- Use the paintbrush to dab small dots of fabric glue across the surface in a scattered pattern.
- Press one button onto each glue dot, mixing sizes and shades for visual interest.
- Let the suncatcher dry flat for 2 hours until the glue sets completely.
- Cut a notch at the top center and thread ribbon through to hang near a bright window.


6. Wax Paper Mitten Melange
Moderate
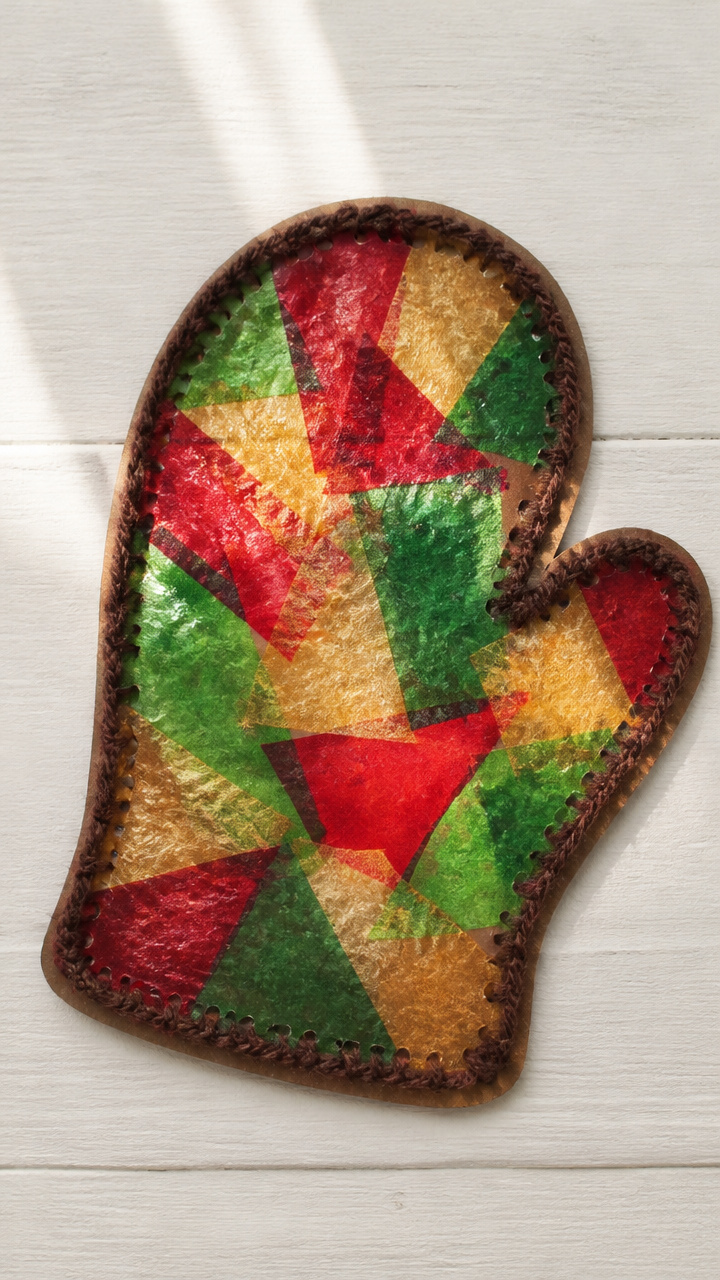
Brightly colored tissue scraps fill a mitten-shaped frame, melting together when pressed with warmth. The result is soft, glowing, and unmistakably wintry.
Materials Needed
- Brown construction paper, 9×12 inch sheet
- Wax paper, 8×8 inch square
- Red, green, and gold tissue paper, 10 squares each
- Iron, 1 household
- Parchment paper, 9×9 inch sheet
- Yarn, 10 inches
How to Make It
- Draw a large mitten shape on the construction paper and cut it out with scissors.
- Cut a matching mitten from wax paper and lay it inside the paper frame.
- Tear tissue paper into 1 inch pieces and layer them across the wax paper surface.
- Place parchment paper over the tissue, then press the iron on low heat for 20 seconds to melt the wax slightly.
- Lift the parchment and let cool for 1 minute before removing the paper frame.
- Punch a hole at the wrist end and thread yarn through to hang in direct sunlight.


7. Q-Tip Frost Frames
Easy
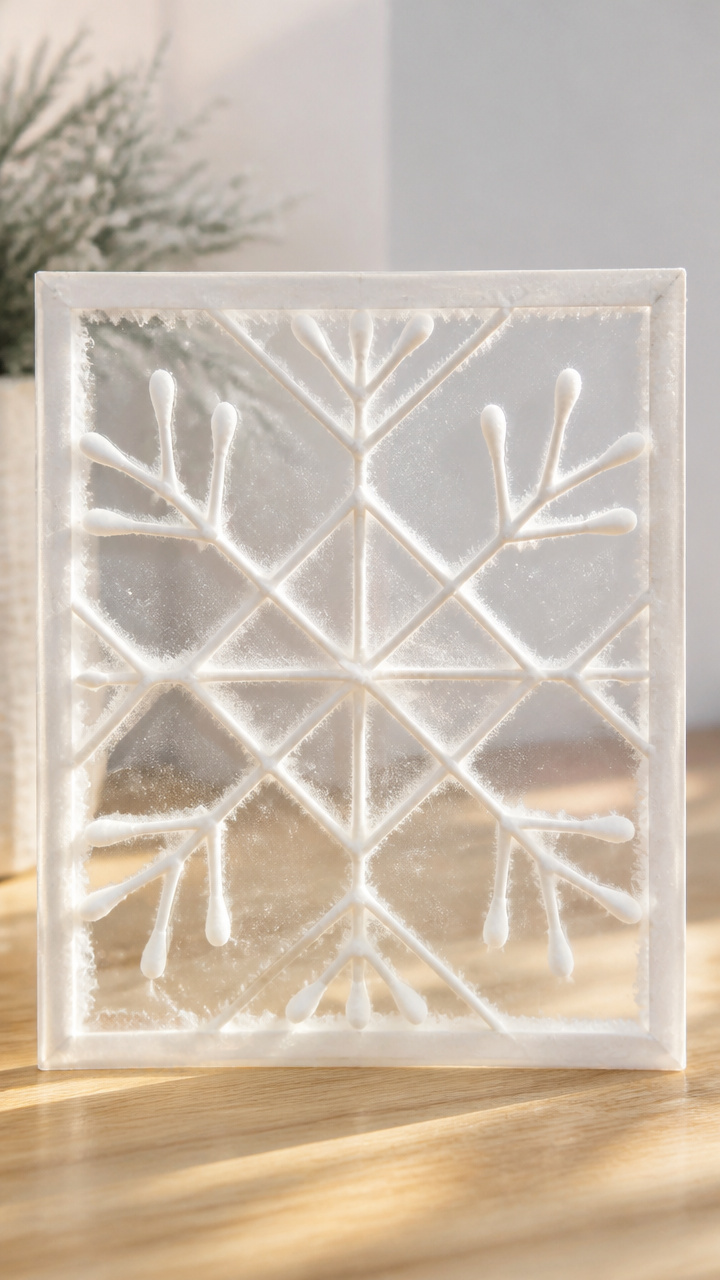
Miniature snow-covered fences built from cotton-tipped sticks form crisp geometric borders. Their clean lines contrast beautifully with soft light.
Materials Needed
- Clear CD case front, 1
- White school glue, 3 oz
- Q-Tips, 12
- Small sponge brush, 1
- Ribbon, 8 inches
How to Make It
- Lay the CD case front flat and apply a thin line of glue along one edge using the sponge brush.
- Press the rounded end of a Q-tip into the glue, laying it horizontally with the cotton facing up.
- Continue gluing Q-Tips side by side until the entire border is filled with cotton-up sticks.
- Let dry for 90 minutes until the glue turns clear and solid.
- Punch a hole at the top and thread ribbon through to hang where afternoon sun streams in.


8. Crayon Shavings Skies
Moderate
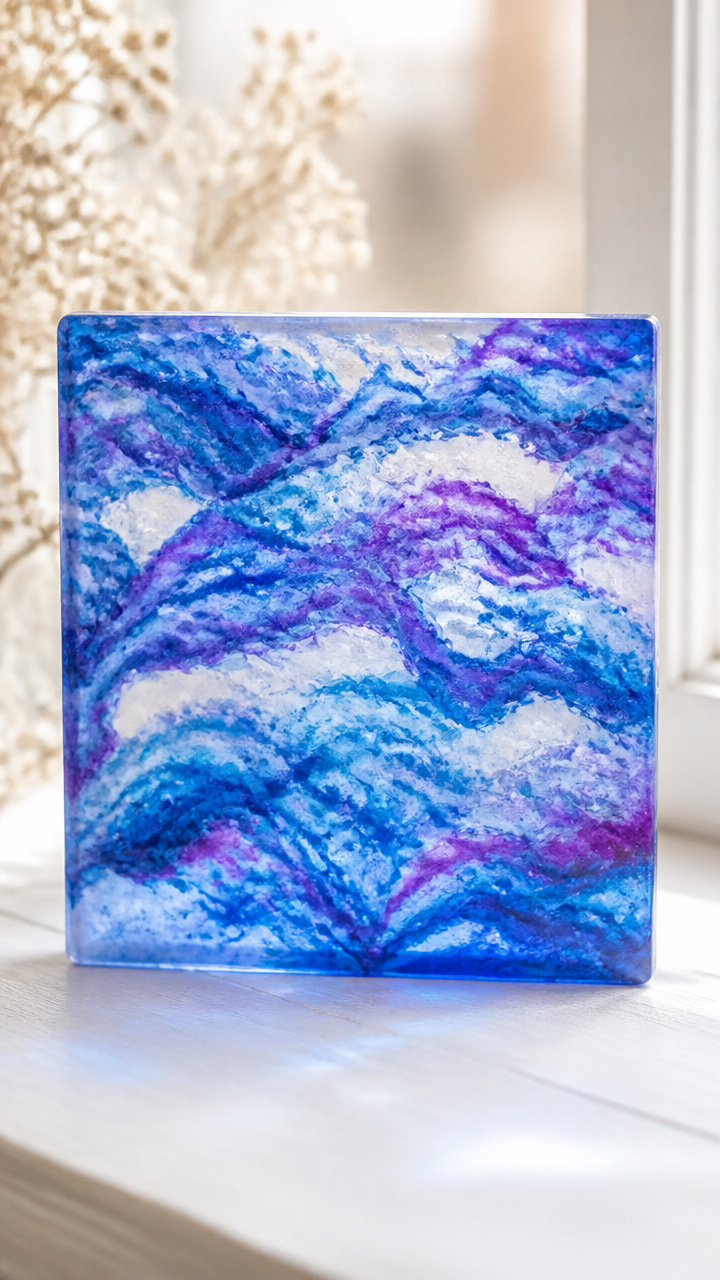
Rainbow shavings from old crayons melt into translucent layers when warmed. Each suncatcher holds a unique swirl of winter color.
Materials Needed
- Unwrapped blue, white, and purple crayons, 6
- Vegetable peeler, 1
- Wax paper, 2 sheets, 8×8 inch
- Iron, 1 household
- Parchment paper, 9×9 inch sheet
- String, 10 inches
How to Make It
- Use the vegetable peeler to shave thin curls from each crayon onto a plate.
- Lay one sheet of wax paper flat and sprinkle crayon shavings in a loose circle in the center.
- Cover with the second wax paper sheet and place parchment paper on top.
- Press the iron on low heat for 15 seconds to melt the shavings slightly, then lift and check.
- Repeat pressing until shavings are fused but not burned, about 3 total passes.
- Let cool for 2 minutes, then trim edges and punch a hole to add string for hanging.

9. Foam Snowman Stackers
Easy
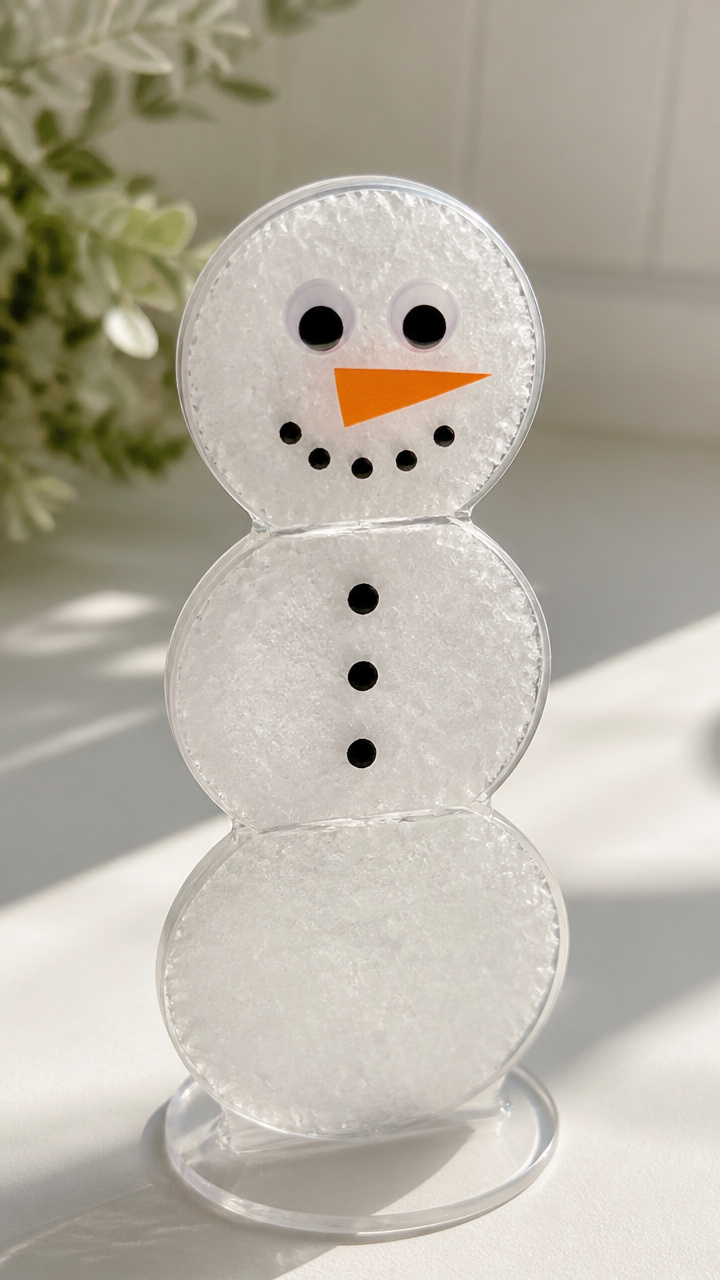
Three white foam circles layered into a smiling snowman glow when sunlight hits their raised features. Their cheerful faces brighten any cold day.
Materials Needed
- White foam craft circles, 3 inches, 3
- Orange foam sheet, 6×6 inch
- Googly eyes, 2
- Black marker, 1 fine-tip
- School glue, 2 oz
- Clear plastic sheet, 8×8 inch
- Ribbon, 10 inches
How to Make It
- Stack the foam circles vertically, largest on bottom, smallest on top, and glue them together at contact points.
- Cut a small triangle from orange foam for the nose and glue it to the middle circle.
- Draw a smile with the black marker and glue googly eyes above it.
- Place the snowman in the center of the plastic sheet and trace around it lightly.
- Glue the snowman down inside the traced outline and let dry for 1 hour.
- Punch a hole at the top and thread ribbon through to hang near a sunny sill.


10. Puffy Paint Ice Dots
Moderate
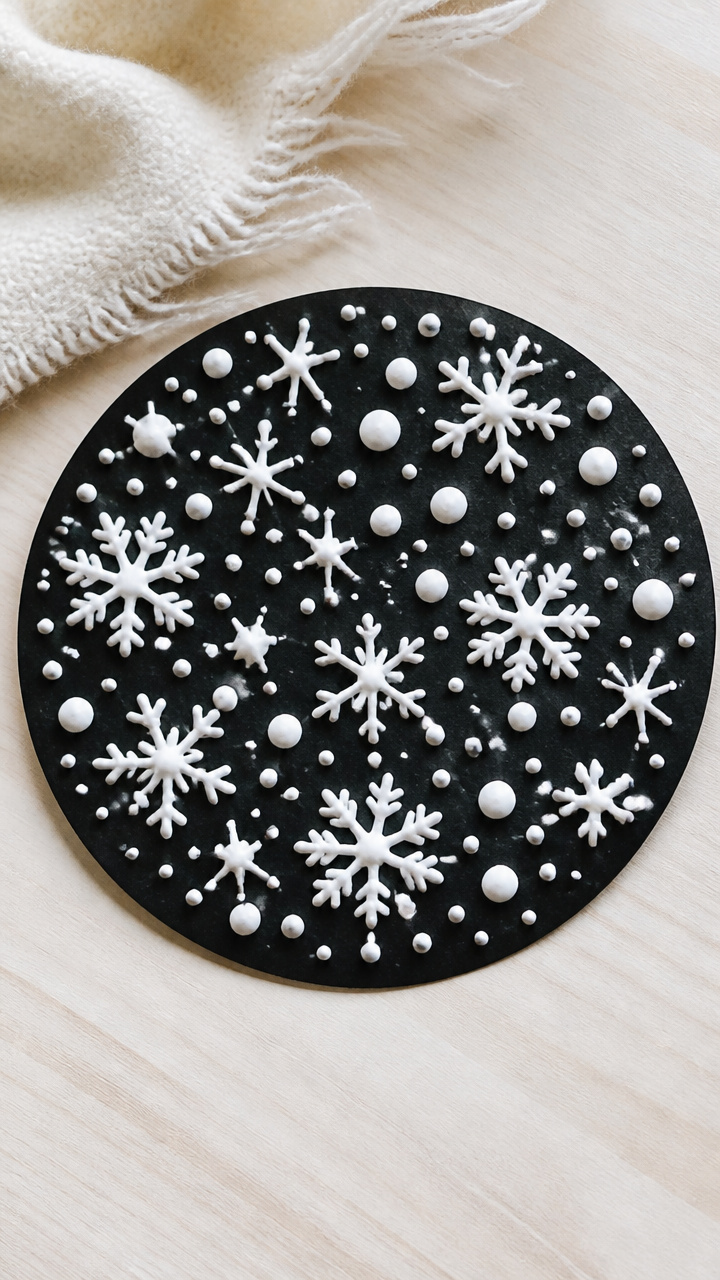
Raised blobs of homemade puffy paint mimic frost forming on glass. Their 3D texture casts tiny shadows as the sun moves.
Materials Needed
- White school glue, 4 oz
- Shaving cream, 1 cup
- Mixing bowl, 1
- Spoon, 1
- Pipette or zip-top bag with corner snipped, 1
- Black cardstock, 8×10 inch
- Clear contact paper, 9×11 inch
How to Make It
- Mix equal parts glue and shaving cream in the bowl with the spoon until fluffy and uniform.
- Fill the pipette or bag with the mixture.
- Squeeze small dots and swirls onto the black cardstock in a random frost pattern.
- Let dry completely for 3 hours until puffy and rigid to the touch.
- Trim contact paper to match the cardstock size and stick it over the top to seal.
- Hang with tape or magnet on a sunlit window.
11. Beaded Icicle Chains
Easy
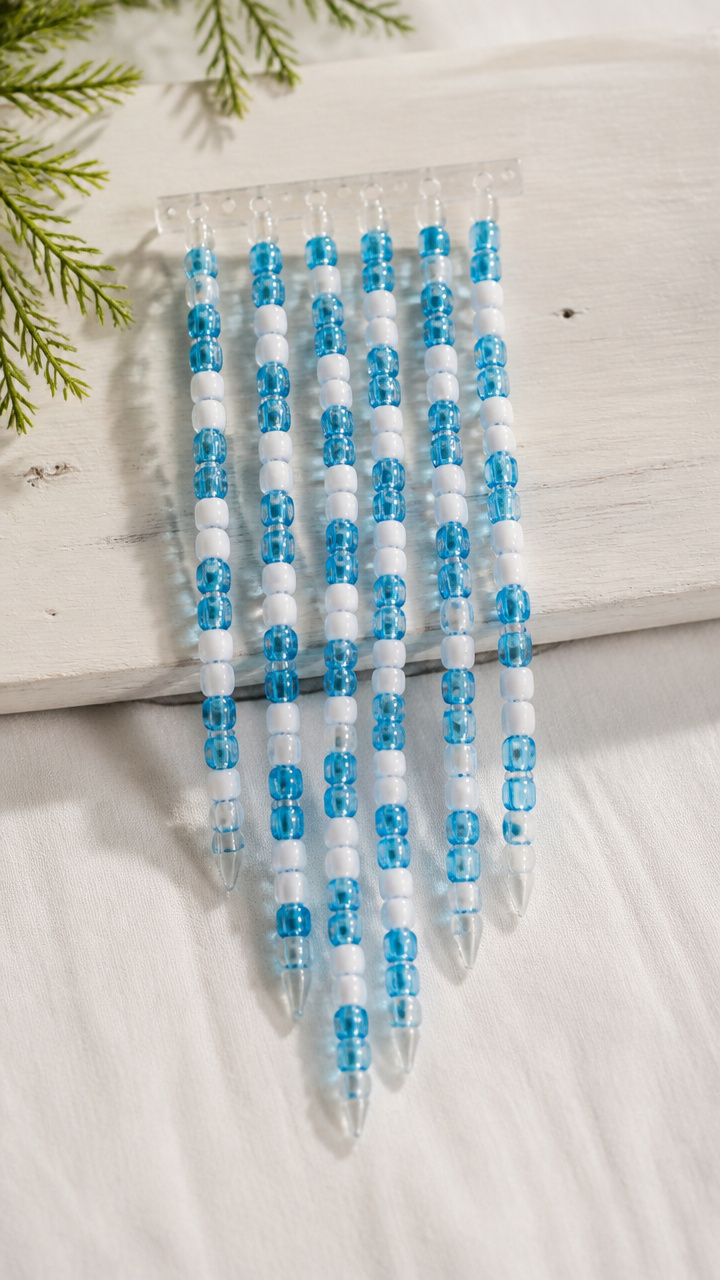
Long strands of icy blue beads dangle like frozen drops from a clear strip. They sway gently in drafts, catching light with every movement.
Materials Needed
- Clear plastic straw, 1
- Blue pony beads, 30
- White pony beads, 15
- Embroidery thread, 24 inches
- Needle, 1 blunt-tipped
- Scotch tape, 2 inches
How to Make It
- Thread the needle with embroidery thread and knot one end.
- String beads in alternating blue and white pairs, sliding each down to the knot.
- Continue until all beads are threaded and the strand measures about 18 inches long.
- Tape the knotted end to the bottom edge of the straw to secure.
- Wrap the top of the straw with thread and hang it from a window hook or tape.

12. Salt Dough Star Impressions
Moderate
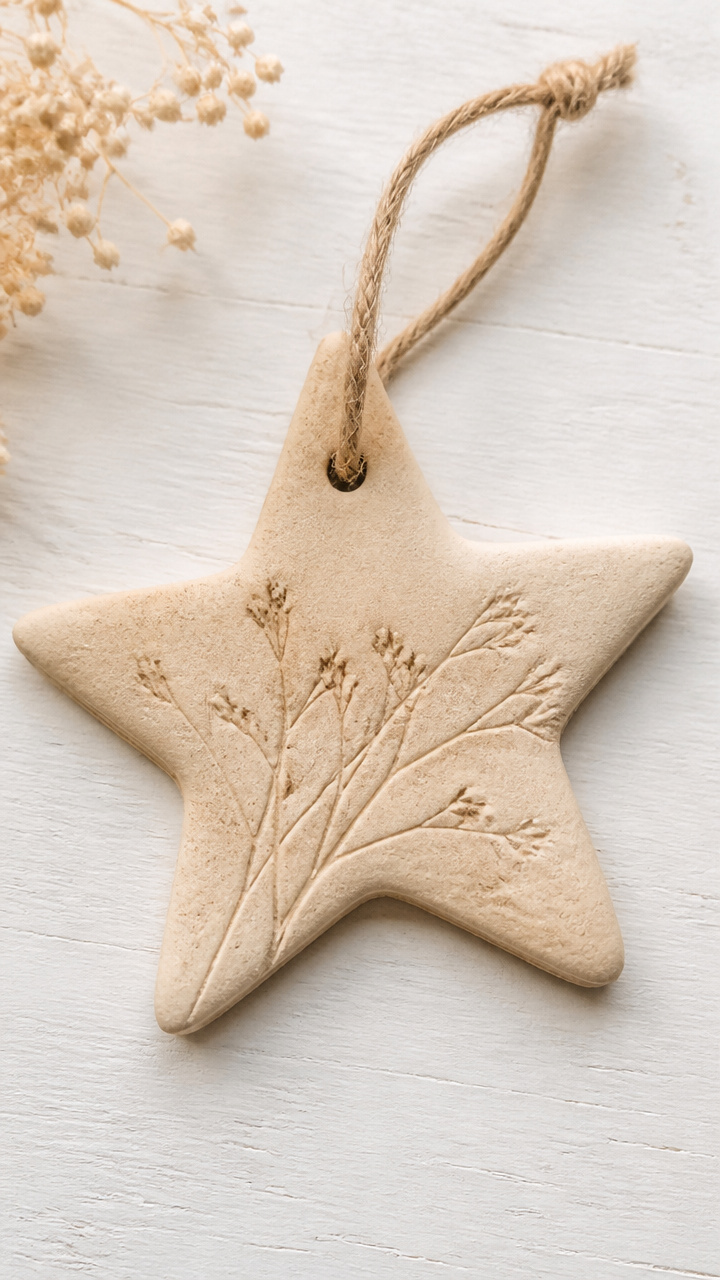
Hand-rolled dough stamped with star cookie cutters bakes into lasting keepsakes. Each impression holds a bit of childhood magic.
Materials Needed
- Flour, 1 cup
- Table salt, 1/2 cup
- Water, 1/2 cup
- Mixing bowl, 1
- Wooden rolling pin, 1
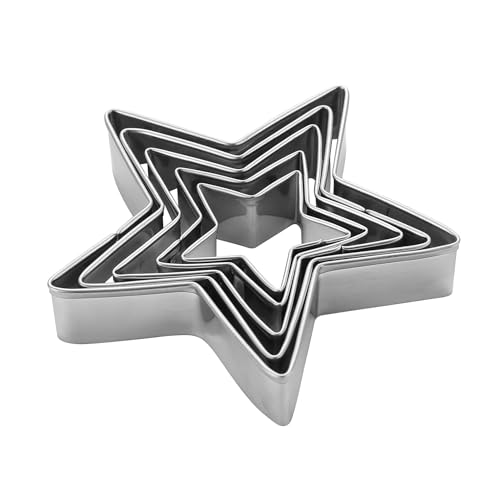
- Star-shaped cookie cutter, 1
- Straw, 1
- Oven, 1
- Clear acrylic sealer spray, 1 can
- Ribbon, 10 inches
How to Make It
- Mix flour, salt, and water in the bowl until a smooth dough forms, kneading with hands for 2 minutes.
- Roll the dough to 1/4 inch thickness using the rolling pin.
- Cut out one star shape with the cookie cutter and press a straw near the top to make a hanging hole.
- Place on a baking sheet and bake at 200°F for 2 hours until hard and dry.
- Let cool, then spray both sides with acrylic sealer and wait 30 minutes to dry.
- Thread ribbon through the hole and hang in a bright window.


13. Feathered Frost Wings
Easy
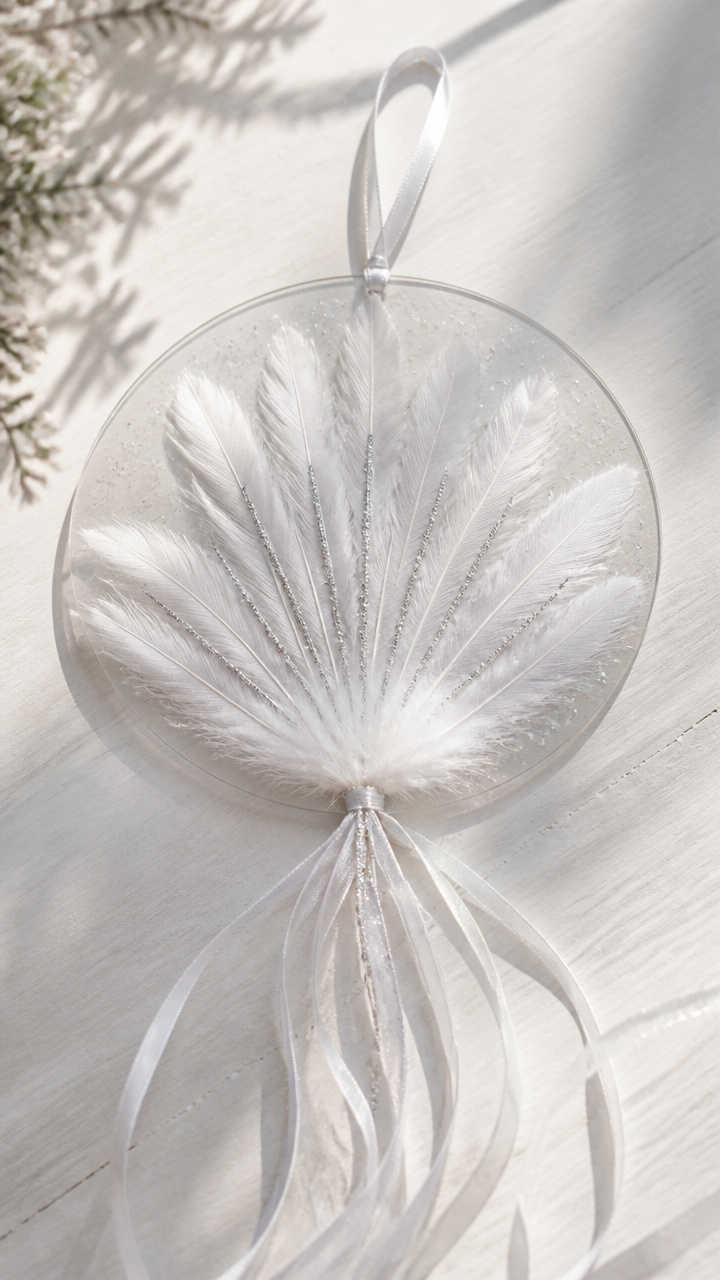
Tiny white feathers arranged in a fan resemble delicate frost patterns. Their soft edges blur the line between craft and nature.
Materials Needed
- Craft feathers, white, 8
- Clear glue stick, 1
- Round plastic lid, 4 inch diameter
- Glitter, silver, 1 teaspoon
- Ribbon, 8 inches
How to Make It
- Arrange feathers in a half-circle on the table, tips pointing outward like a fan.
- Run the glue stick along the base 1 inch of each feather where they overlap.
- Press the glued ends together in the center to form a cluster.
- While glue is wet, sprinkle silver glitter over the base and shake off excess.
- Let dry for 45 minutes, then tape the cluster to the underside of the plastic lid.
- Tie ribbon to the lid's edge and hang from a window hook.


14. Transparency Polar Bear Cutout
Moderate
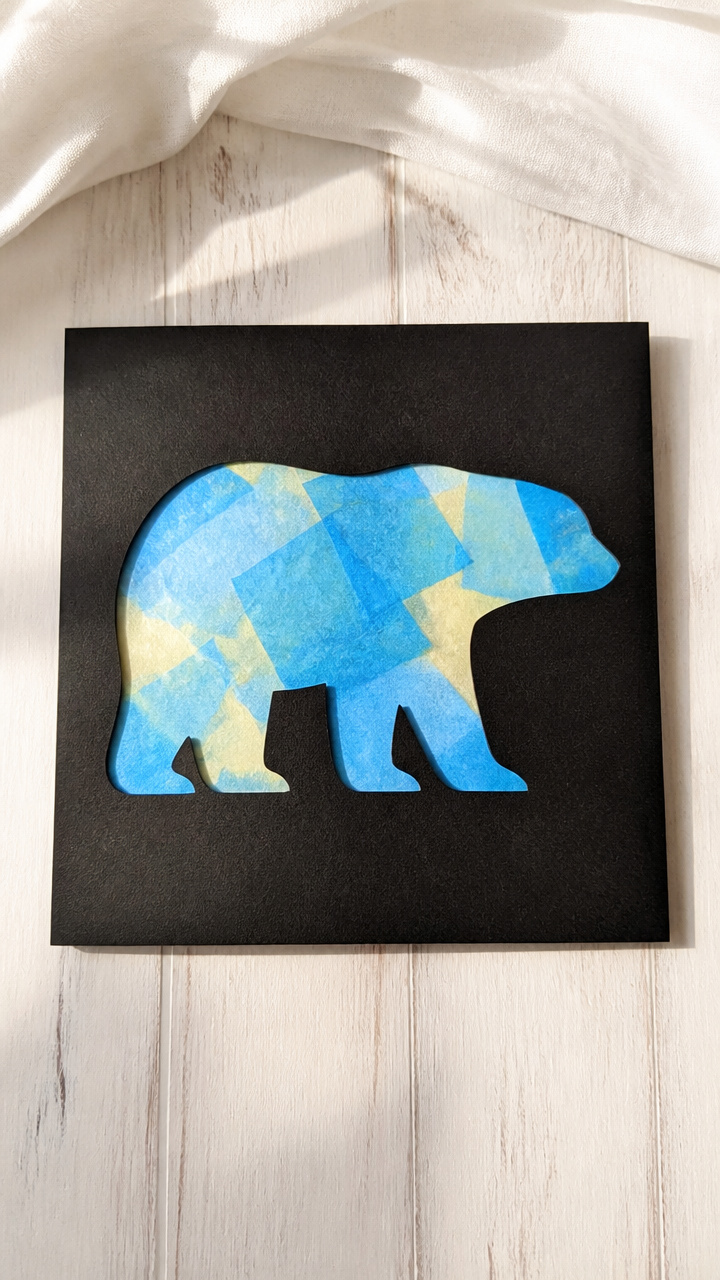
A bold black bear shape stands out against a backdrop of colored film. The contrast makes it visible even in low winter light.
Materials Needed
- Black construction paper, 6×6 inch
- Colored cellophane sheets (blue, pale yellow), 1 each
- Scissors, 1 pair
- Clear tape, 6 inches
- Pencil, 1
- Ruler, 6 inch
- String, 10 inches
How to Make It
- Cut a 5×5 inch square from each cellophane sheet and layer them together.
- Tape the edges of the cellophane stack to form a sealed window panel.
- Draw a simple polar bear silhouette on the black paper using the pencil and ruler for straight limbs.
- Cut out the bear shape carefully with scissors.
- Center the bear on the taped cellophane and tape all four corners down.
- Punch a hole at the top and thread string through for hanging in bright light.


15. Gemstone Snowdrift Tiles
Easy
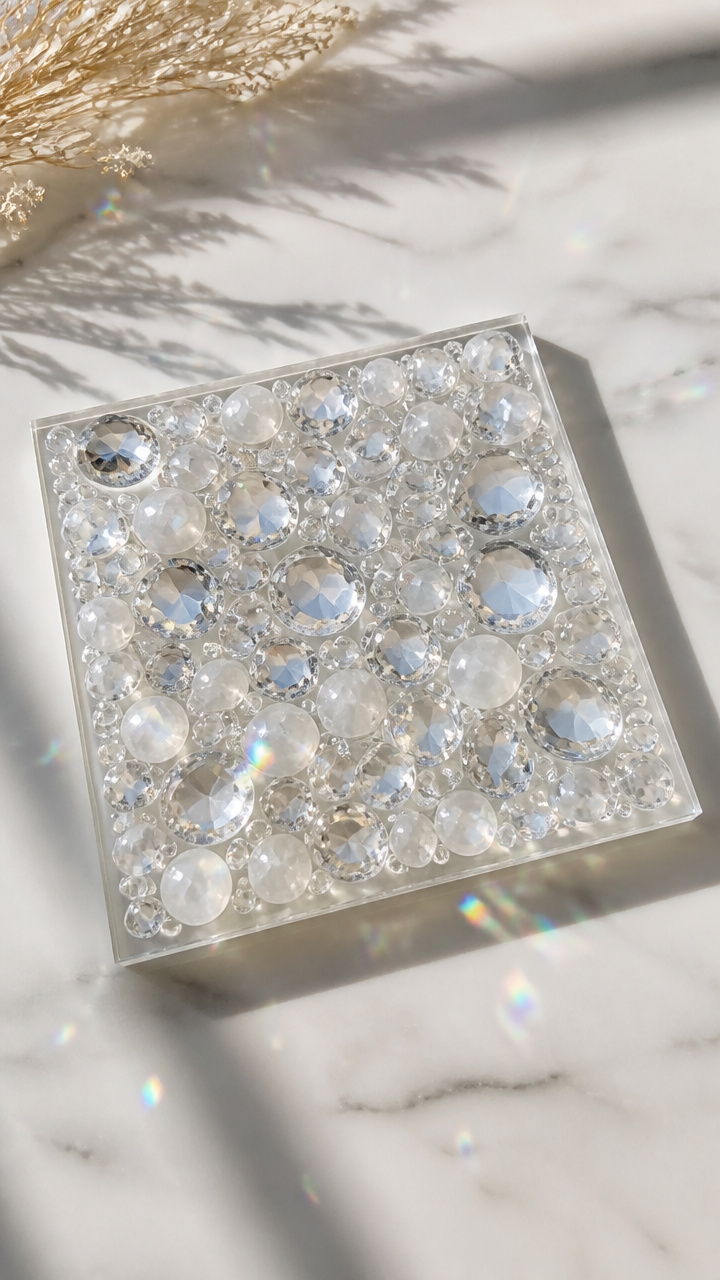
Flat-backed plastic gems cluster like snowdrifts on a clear tile. Their faceted surfaces scatter light into tiny rainbows.
Materials Needed
- Clear square tile, 4×4 inch, 1
- White and clear flatback gems, 20 total
- Tacky glue, 2 oz
- Paintbrush, 1 small
- Ribbon, 10 inches
How to Make It
- Use the paintbrush to apply a small dot of tacky glue to the back of each gem.
- Press gems onto the tile in uneven clusters, leaving some spaces clear for light to pass.
- Alternate white and clear gems to mimic natural snow variation.
- Let dry for 2 hours until gems are firmly attached.
- Tie ribbon around two opposite corners to create a hanger and display in sunlight.

16. Sticker Snow Scene Layers
Easy
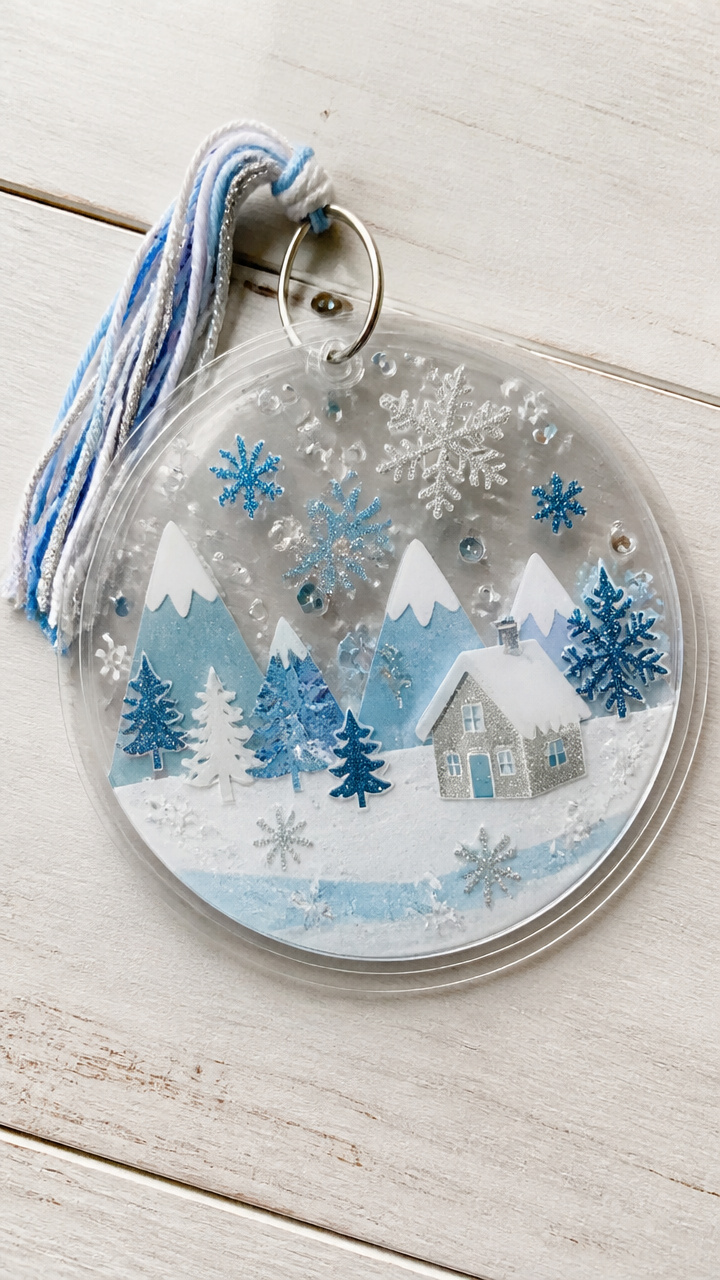
Winter stickers build a mini landscape on stacked acetate sheets. Depth appears as light passes through each level.
Materials Needed
- Clear acetate sheets, 5×7 inch, 3
- Winter-themed stickers (trees, animals, snowflakes), 1 sheet
- Double-sided tape squares, 4
- Binder ring, 1 inch
- Hole punch, 1
- Yarn, 12 inches
How to Make It
- Place one sticker on each acetate sheet, positioning them at different depths—near, middle, far.
- Align the sheets and place one tape square in each corner to hold them together temporarily.
- Punch a hole at the top center through all layers.
- Insert the binder ring through the hole to bind the layers permanently.
- Thread yarn through the ring and hang where side light enhances the layered effect.


17. Yarn-Wrapped Ice Reels
Moderate
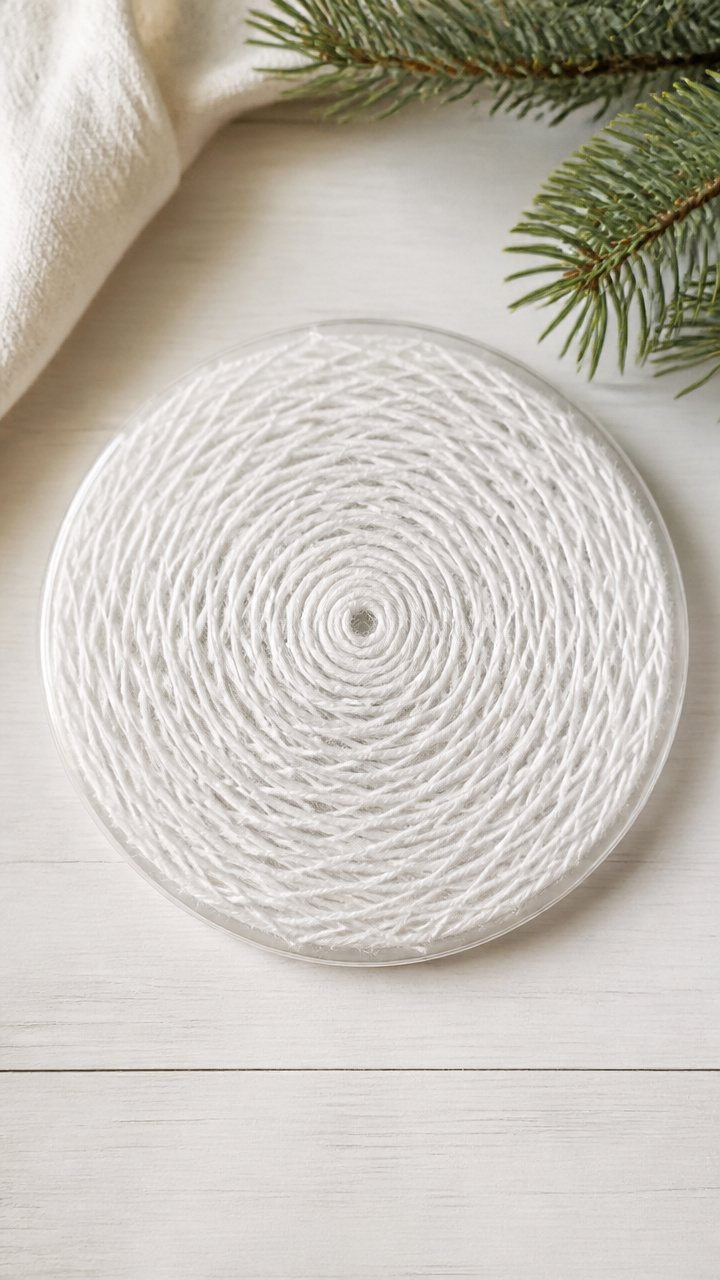
Thin white yarn spirals around a clear disc, mimicking frozen whirlpools. The wrapped texture diffuses light softly.
Materials Needed
- Clear plastic lid, 5 inch diameter
- White embroidery floss, 3 yards
- Fabric glue, 1 oz
- Toothpick, 1
- Scissors, 1 pair
- Ribbon, 10 inches
How to Make It
- Put a dot of fabric glue at the center of the lid using the toothpick.
- Press the end of the floss into the glue and wait 1 minute to set.
- Begin wrapping the floss tightly in a spiral from center to edge, adding glue every inch.
- Keep wraps close together without overlapping until the entire disc is covered.
- Trim the end and glue it down, then let dry for 90 minutes.
- Tie ribbon to the edge and hang in a bright window.
18. Puzzle Piece Snowflakes
Moderate

Interlocking puzzle pieces painted white form whimsical snowflake shapes. Their jigsaw edges catch light in playful ways.
Materials Needed
- Wooden jigsaw puzzle pieces, 6
- White acrylic paint, 2 oz
- Paintbrush, 1 small
- Hot glue gun, 1 with glue stick
- Fishing line, 8 inches
- Ribbon, 10 inches
How to Make It
- Paint all six puzzle pieces white using the brush and let dry for 30 minutes.
- Arrange three pieces in a star shape, interlocking their tabs and blanks at 120-degree angles.
- Apply hot glue to the joints underneath and press together firmly for 10 seconds.
- Repeat to make a second identical star.
- Glue the two stars together back-to-back to form a 3D snowflake.
- Tie fishing line to one tip and hang from a ribbon tied to a window handle.


19. Mosaic Tile Blizzard
Moderate
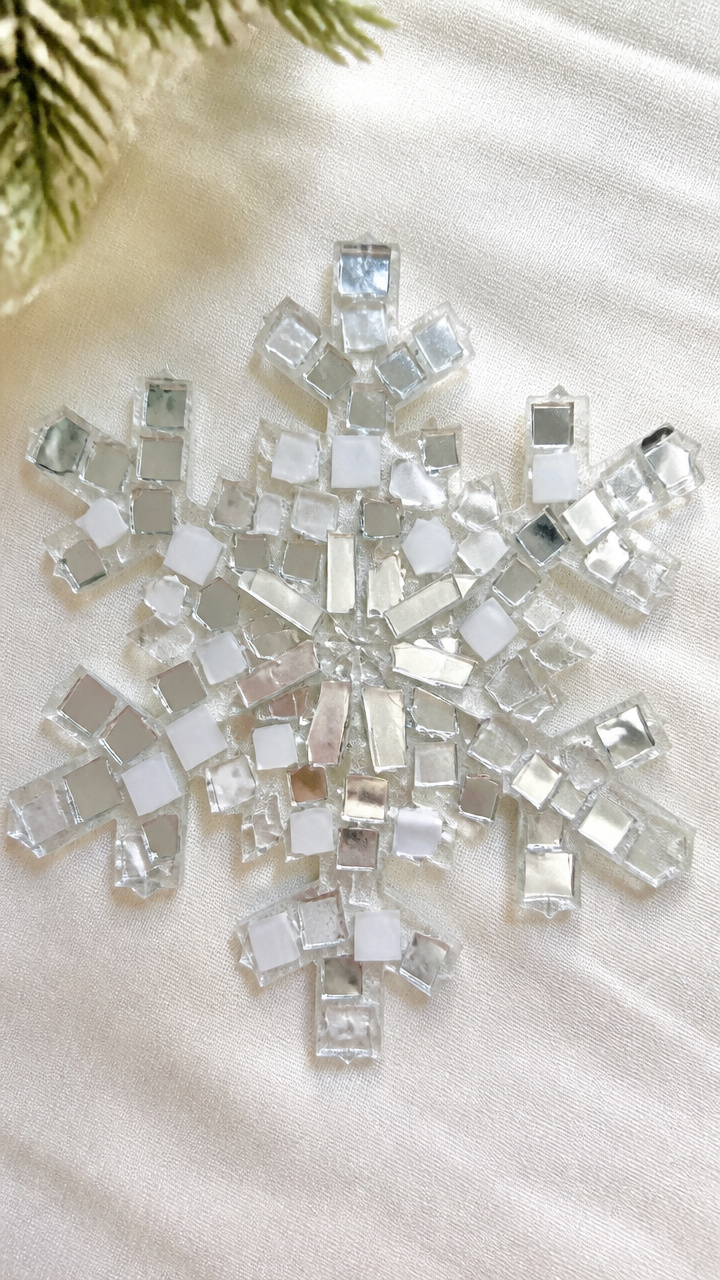
Tiny squares of mirrored and white paper create a sparkling storm on a clear base. Every shift in light changes the reflection.
Materials Needed
- Clear self-adhesive shelf liner, 6×6 inch
- Mirrored craft paper, 4×4 inch sheet
- White tissue paper, 4×4 inch
- Scissors, 1 pair
- Pencil, 1
- Ruler, 6 inch
- Yarn, 10 inches
How to Make It
- Use the ruler and pencil to mark 1 inch grids on both papers, then cut into small squares.
- Peel the backing from the shelf liner and lay it sticky-side up.
- Alternate mirrored and white squares in a random pattern, pressing each firmly into place.
- Leave no gaps and ensure full coverage across the surface.
- Let sit for 5 minutes to bond, then punch a hole at the top corner.
- Thread yarn through and hang where direct sun creates mirror flashes.


Each of these suncatchers brings a little more light into short winter days. Pick one that matches your child’s mood today and start creating.