20 January Crafts That Double as Valentine’s Day Decor

Red paper hearts strung across a sunlit kitchen, soft pink pom-poms swaying from a bedroom door, the delicate scent of cinnamon sticks tied with ribbon—these are the quiet signs that love is being handmade, not just bought.
Starting fresh in January gives you time to craft meaningful decor that lasts beyond a single day. Each piece here pulls double duty: a creative project to spark joy now and a heartfelt touch for Valentine’s later.
1. Felt Heart Garland
Easy
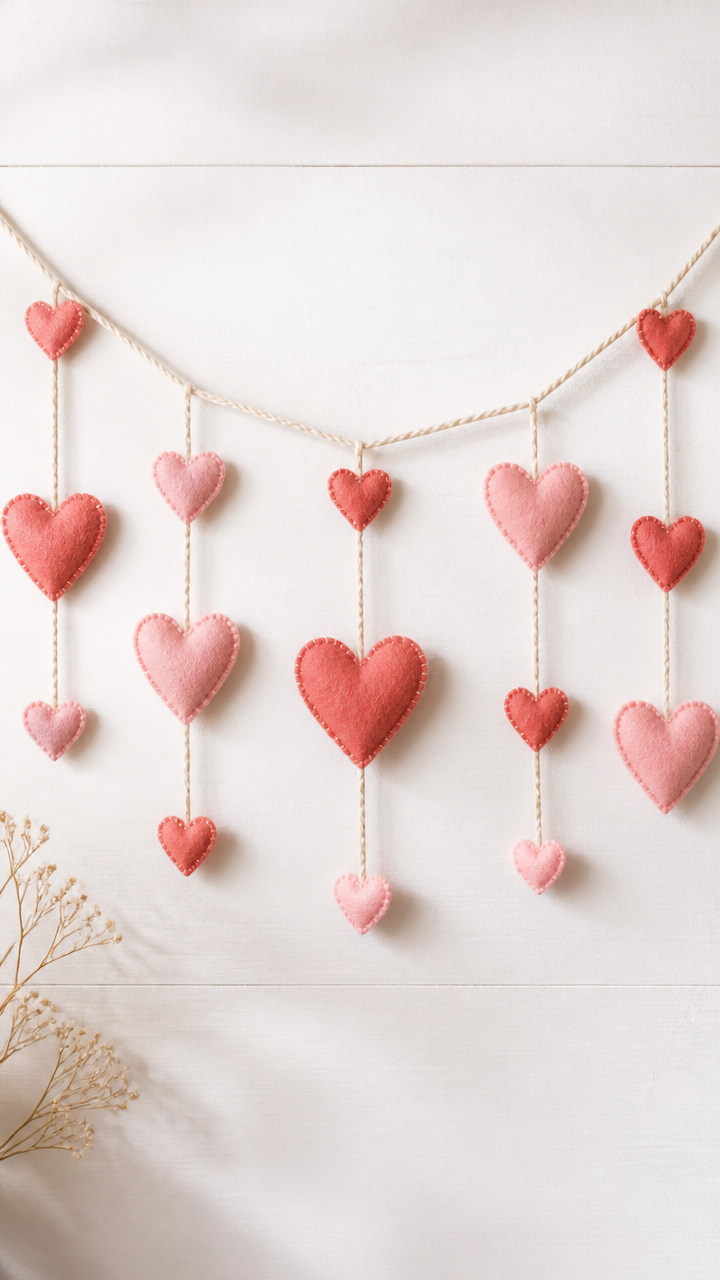
Soft coral and blush felt hearts dangle from a braided cotton cord, casting gentle shadows on your wall. This garland brings warmth without overwhelming your space.
Materials Needed
- 6 sheets rose pink felt (9×12 inches)
- 4 sheets dusty coral felt (9×12 inches)
- 1 yard natural cotton cording (3mm thickness)
- Fabric scissors
- Fabric glue (tacky type)
- Pencil
- Heart template (3 inches tall)
How to Make It
- Trace the heart template onto each felt sheet using the pencil, rotating the direction to maximize space, and cut out 20 hearts total.
- Apply a small dot of fabric glue to the center back of each heart, then press it onto the cotton cord at 3-inch intervals, alternating colors.
- Let the garland dry flat for 30 minutes before hanging near a window or mantel.


2. Painted Mason Jar Vase
Moderate
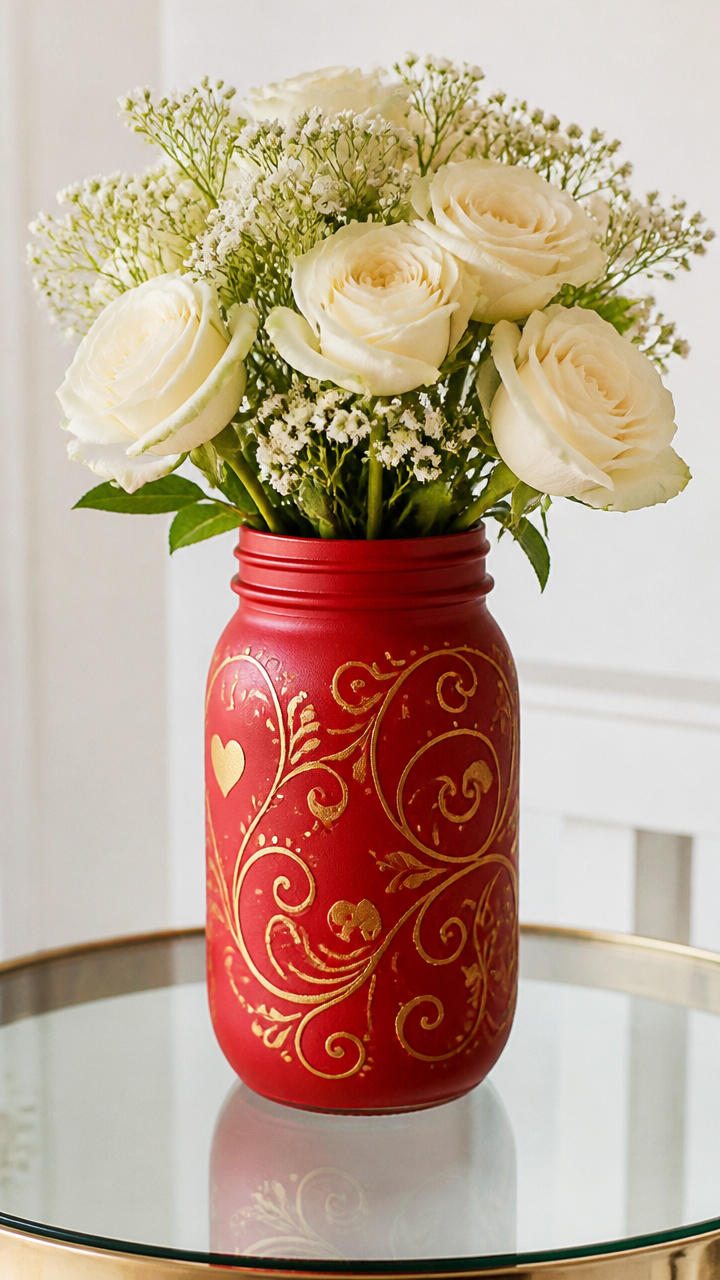
A simple mason jar becomes a romantic centerpiece with hand-painted crimson swirls and gold accents. Fill it with faux peonies or trailing ivy for instant charm.
Materials Needed
- 1 wide-mouth quart mason jar
- Crimson acrylic paint
- Gold metallic acrylic paint (fine tip brush included)
- Foam paintbrush (1 inch wide)
- Painter's tape (1/4 inch)
- Clear acrylic sealer spray (matte finish)
- Paper plate
How to Make It
- Wipe the jar with a damp cloth and let it dry completely, then apply painter's tape in a zigzag pattern around the lower half.
- Pour a small amount of crimson paint onto the paper plate and use the foam brush to coat the exposed glass, applying two thin layers with 15 minutes drying time between coats.
- Remove the tape carefully after the final layer dries, then use the gold paint to add swirling vines from the red area upward.
- Let the gold paint dry for 1 hour, then spray the entire jar with sealer from 10 inches away in a well-ventilated area.


3. Embroidered Love Banner
Advanced
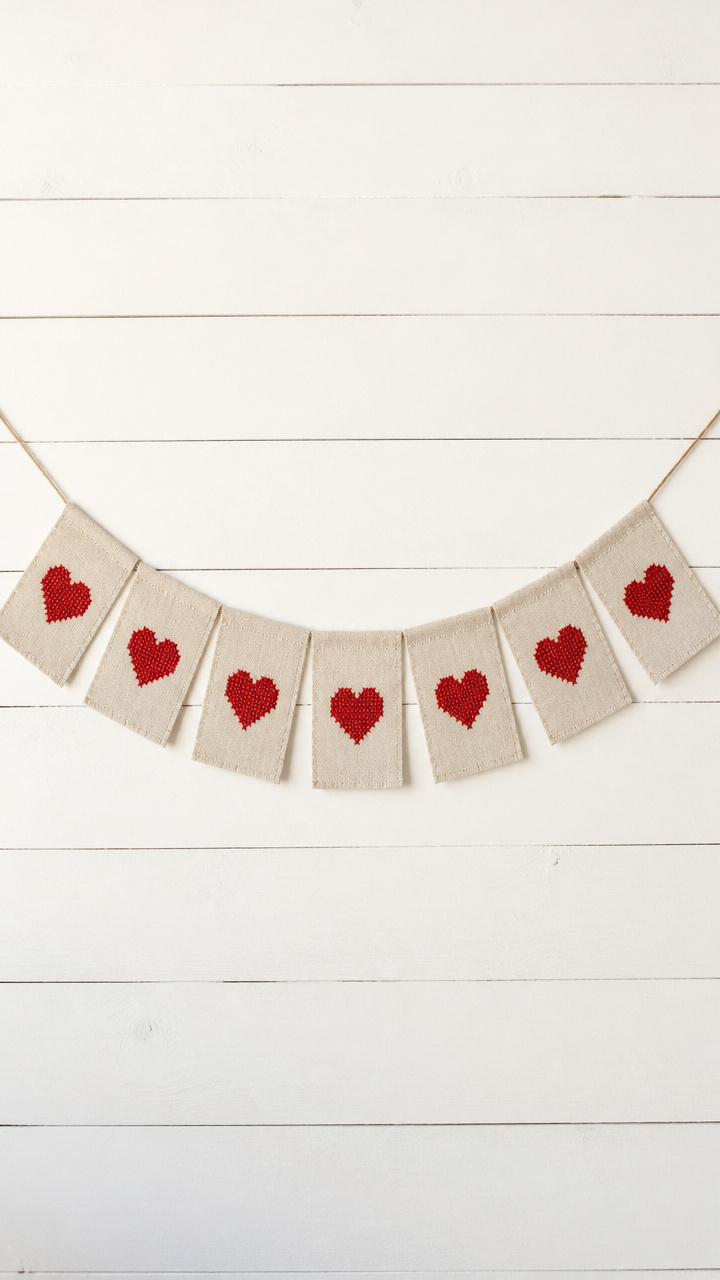
Tiny linen flags display delicate cross-stitch hearts in cherry red thread. Hang this banner above a bed or bookshelf for subtle sentiment.
Materials Needed
- 7 rectangles unbleached linen fabric (4×6 inches)
- Size 24 tapestry needle
- DMC embroidery floss in 310 (cherry red)
- Embroidery hoop (6 inches)
- Tailor's chalk
- Ruler
- Brown cotton twine (2 yards)
- Iron
How to Make It
- Iron each linen rectangle flat, then use the ruler and tailor's chalk to mark a heart shape (2 inches tall) centered on the top half.
- Secure one piece in the embroidery hoop, thread the tapestry needle with a 18-inch strand of floss, and stitch the heart outline using backstitch technique.
- Repeat stitching on all seven pieces, leaving a 6-inch tail of floss at both ends for tying.
- Thread the brown twine through the floss tails at the top corners of each flag, spacing them 3 inches apart, and knot securely.


4. Cinnamon Stick Candle Rings
Easy
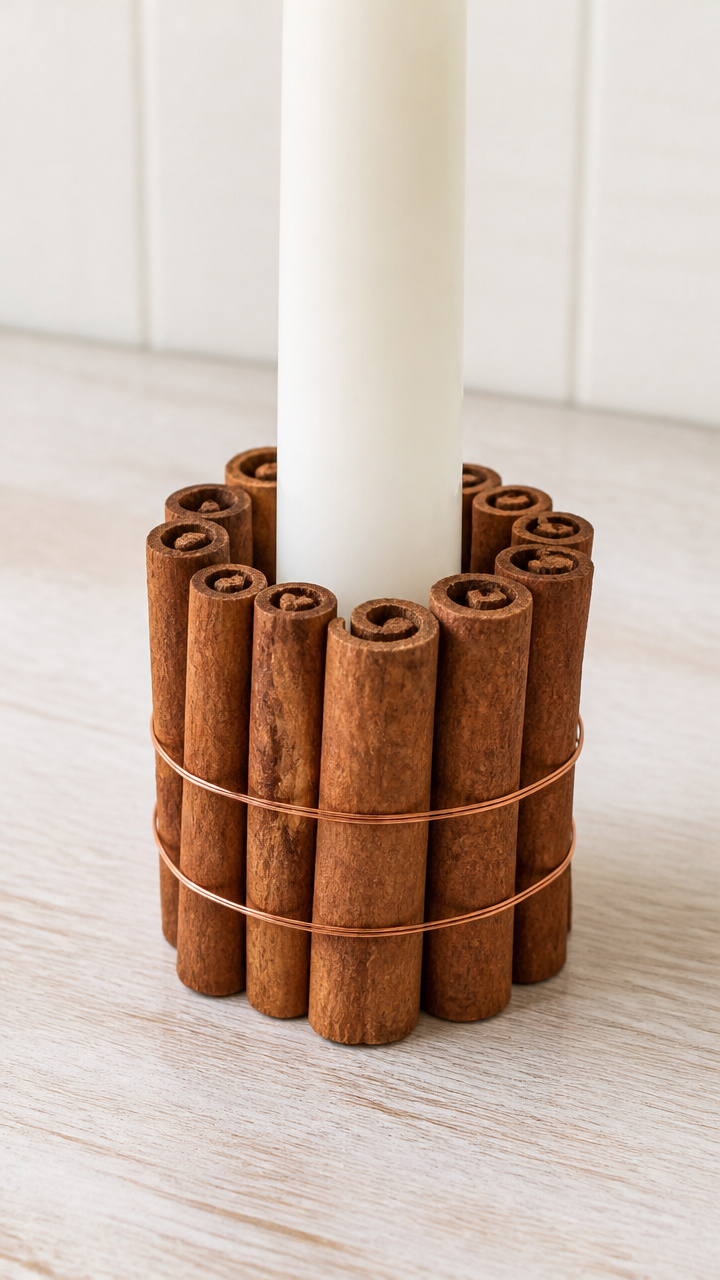
Clusters of cinnamon sticks wrapped with thin copper wire glow warmly around taper candles. The scent blooms gently when lit.
Materials Needed
- 12 cinnamon sticks (6 inches long)
- Thin copper craft wire (24 gauge, 10 feet)
- 2 unscented white taper candles (10 inches tall)
- Wire cutters
- Hot glue gun
- Glue sticks
How to Make It
- Cut twelve 8-inch lengths of copper wire using the wire cutters.
- Arrange four cinnamon sticks into a square around the base of a candle, touching sides, and wrap one wire tightly around the middle to bind them.
- Add a tiny dot of hot glue where the wire ends meet to secure, then repeat for two more rings per candle at different heights.
- Let glue cool for 2 minutes between each ring.


5. Pressed Flower Shadow Box
Moderate
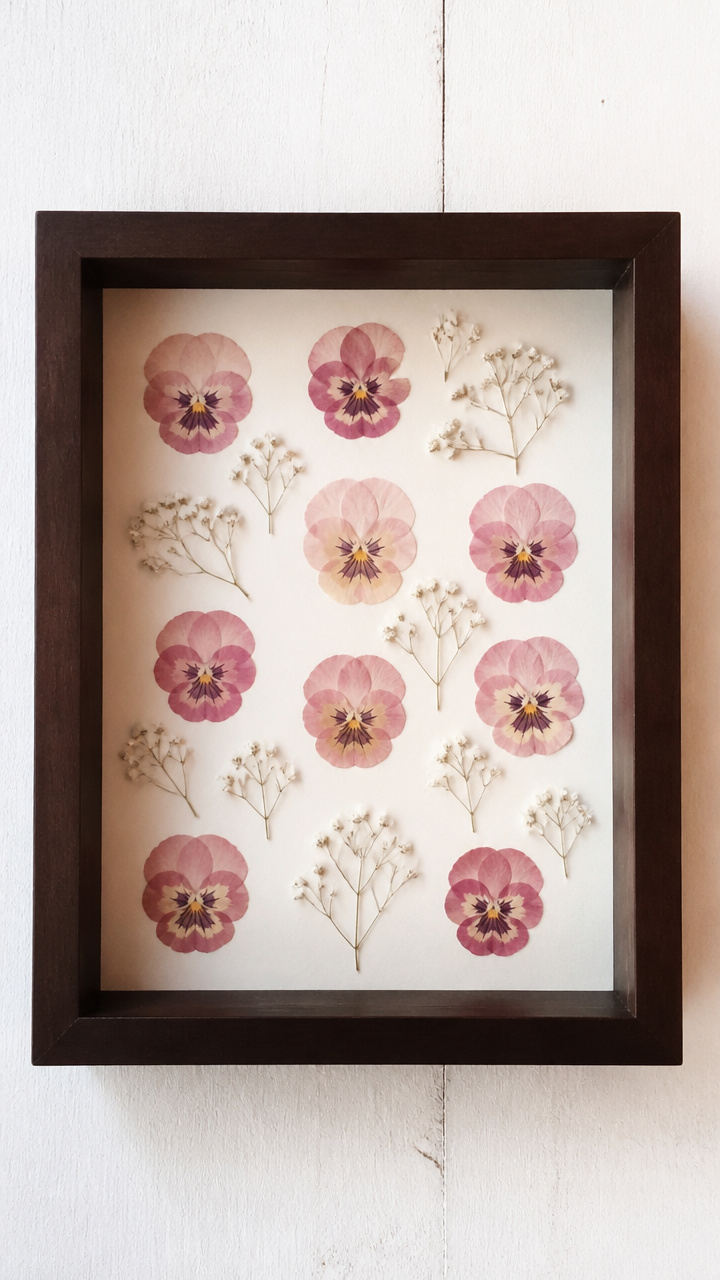
Delicate pink pansies and baby's breath rest under glass in a deep walnut frame. This keepsake feels vintage and tender.
Materials Needed
- 1 deep shadow box frame (8×10 inches, walnut finish)
- 12 pressed pink pansies
- 10 sprigs pressed baby's breath
- White acid-free background paper (8×10 inches)
- Tweezers
- Double-sided mounting squares (small, 1/2 inch)
- Scissors
How to Make It
- Place the white paper inside the shadow box and arrange the pansies in a loose heart shape slightly off-center using tweezers.
- Add baby's breath sprigs around the heart to create a soft halo, trimming any stems that extend past the edge.
- Press one mounting square under each flower stem and sprig, pressing firmly to adhere without shifting the arrangement.


6. Clay Heart Magnets
Easy
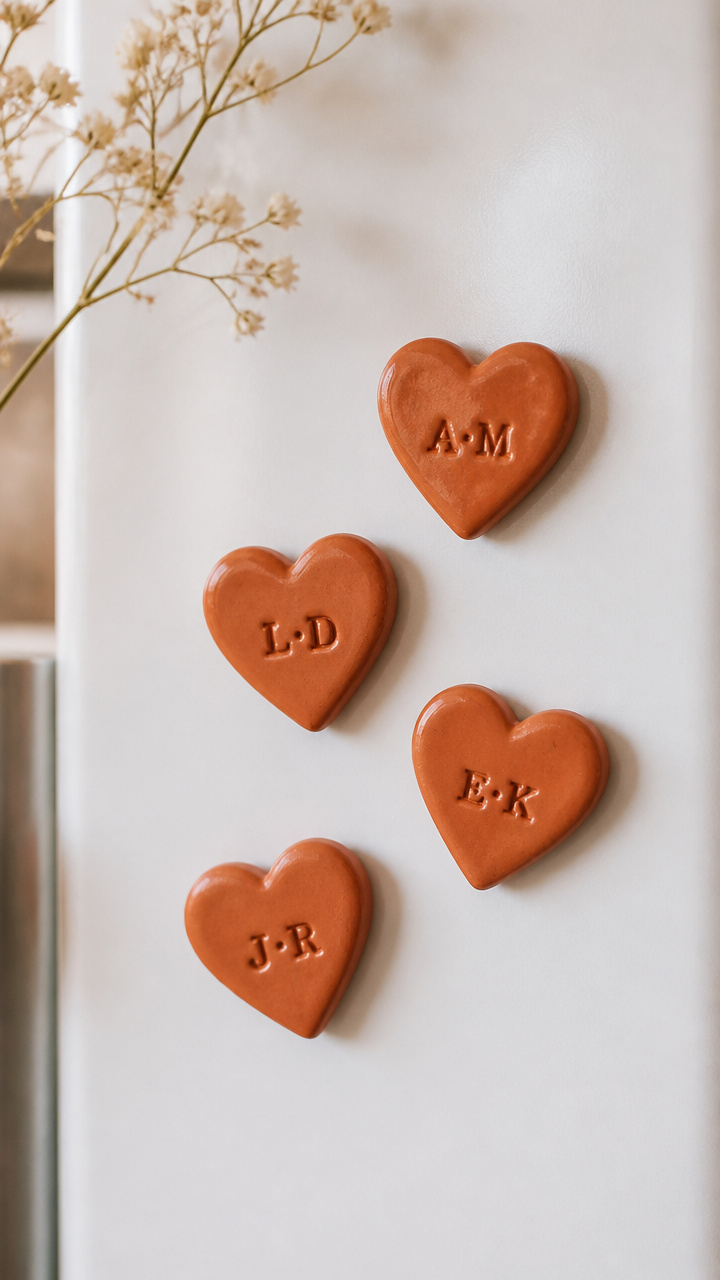
Mini terracotta hearts with etched initials stick cheerfully to your fridge. Bake them for durability and seal for a soft sheen.
Materials Needed
- Polymer clay (terracotta color, 2 oz pack)
- Clay roller (with 1/8 inch spacers)
- Small heart-shaped cutter (1.5 inches)
- Toothpick
- Alphabet stamp set (tiny, 1/4 inch letters)
- Baking sheet
- Parchment paper
- Clear gloss varnish (brush-on)
How to Make It
- Condition the clay by kneading for 1 minute, then roll it to 1/8 inch thickness using the spacer-equipped roller.
- Cut out 8 hearts with the cutter and place them on the parchment-lined baking sheet.
- Use the toothpick to pierce a hole at the top of each heart, then press two initials into each using the alphabet stamps.
- Bake at 275°F for 15 minutes, let cool, then apply one coat of varnish and let dry for 1 hour.


7. Yarn-Wrapped Photo Display
Easy
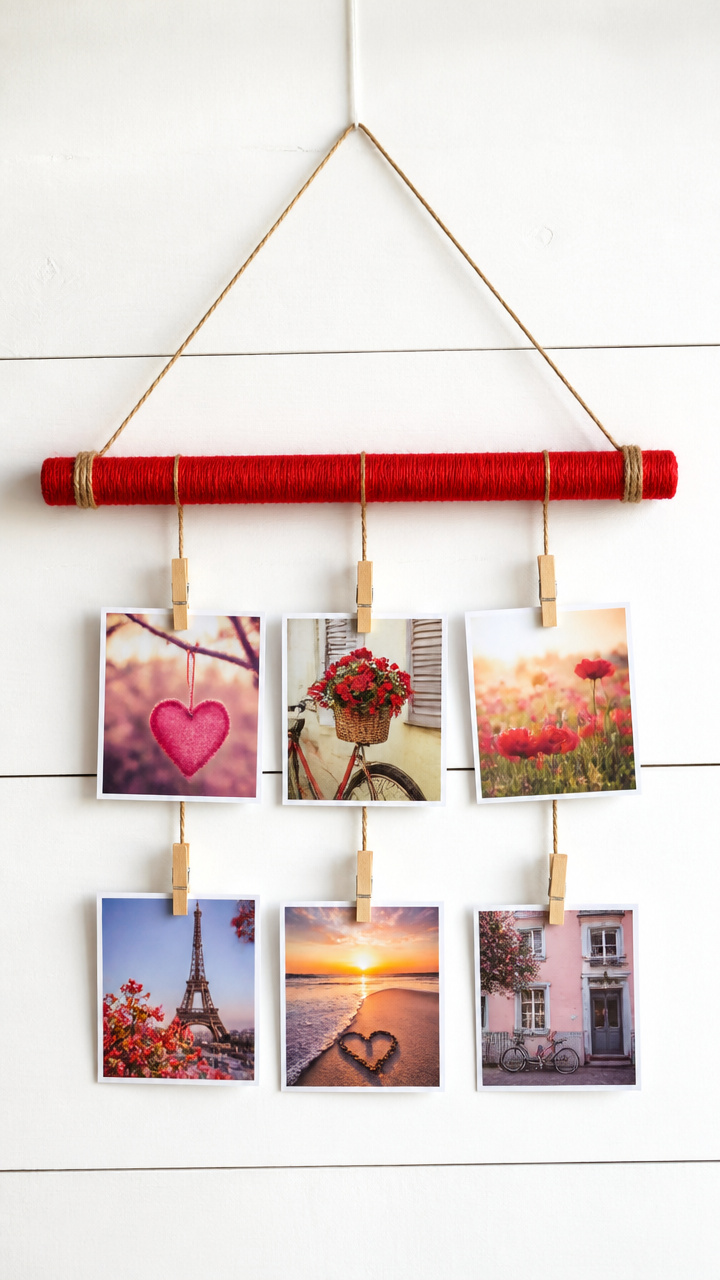
A rustic wooden dowel holds snapshots with red yarn loops and mini clothespins. It turns memories into living room art.
Materials Needed
- Wooden dowel (12 inches long, 1/2 inch diameter)
- Red wool yarn (20 yards)
- 6 miniature wooden clothespins
- Sandpaper (120 grit)
- Twine (24 inches)
- Scissors
- Photos (4×6 inches, 6 printed)
How to Make It
- Lightly sand the dowel to smooth any rough spots, then wipe away dust with a dry cloth.
- Tie one end of the twine to each end of the dowel to create a hanger, leaving a 4-inch loop in front.
- Wrap the red yarn tightly around the dowel from one end to the other, covering its length, and tuck the end under the last wrap.
- Clip photos into the clothespins and hang them from the yarn at varying heights.


8. Lace Doily Wall Hearts
Moderate
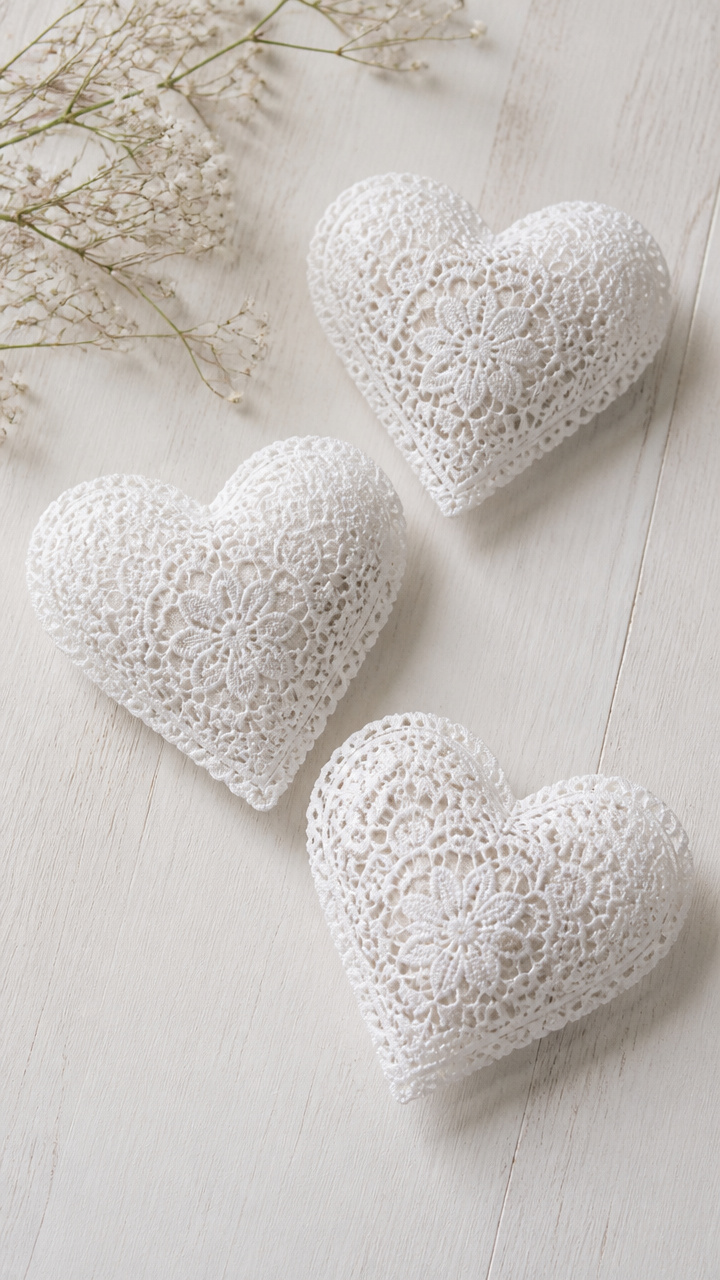
Vintage lace doilies stiffened into heart shapes make elegant wall ornaments. They catch light like snowflakes in February.
Materials Needed
- 3 paper lace doilies (7 inches diameter)
- Stiffening spray (fabric starch type)
- Heart mold (cardboard, 6 inches tall)
- Clothespins
- White craft glue
- Fine mist spray bottle
- Waxed paper
How to Make It
- Lay the waxed paper on a flat surface and place the cardboard heart mold on top.
- Spray the doily evenly with stiffening spray until damp but not soaked, then drape it over the mold.
- Use clothespins to clip the edges to the waxed paper underneath, shaping the doily into a 3D heart.
- Let dry for 4 hours, then brush a thin layer of white glue on the front and back edges for extra firmness.


9. Heart-Shaped Cork Board
Moderate
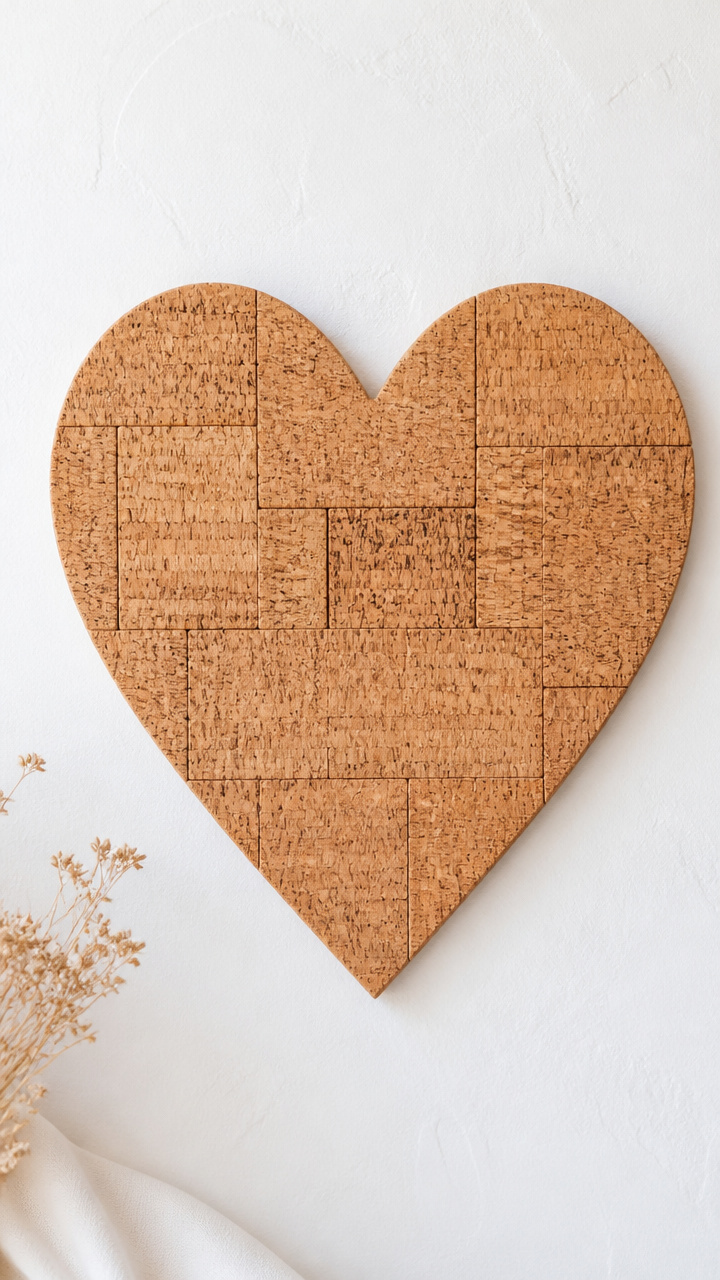
Cork tiles glued into a heart outline create a functional memo board. Pin notes, photos, or dried flowers to its surface.
Materials Needed
- 12 wine corks
- White poster board (12×18 inches)
- Pencil
- Hot glue gun
- Glue sticks
- Craft knife
- Ruler
- Green felt sheet (12×12 inches)
How to Make It
- Draw a 10-inch heart on the poster board with the pencil and cut it out using the craft knife.
- Slice each cork in half lengthwise with the craft knife to expose flat sides, creating 24 pieces.
- Glue the cork halves side by side along the heart outline on the poster board, filling the interior completely.
- Once dry, cut the felt to size and glue it to the back for a clean finish.


10. Rose Quartz Wind Chime
Advanced
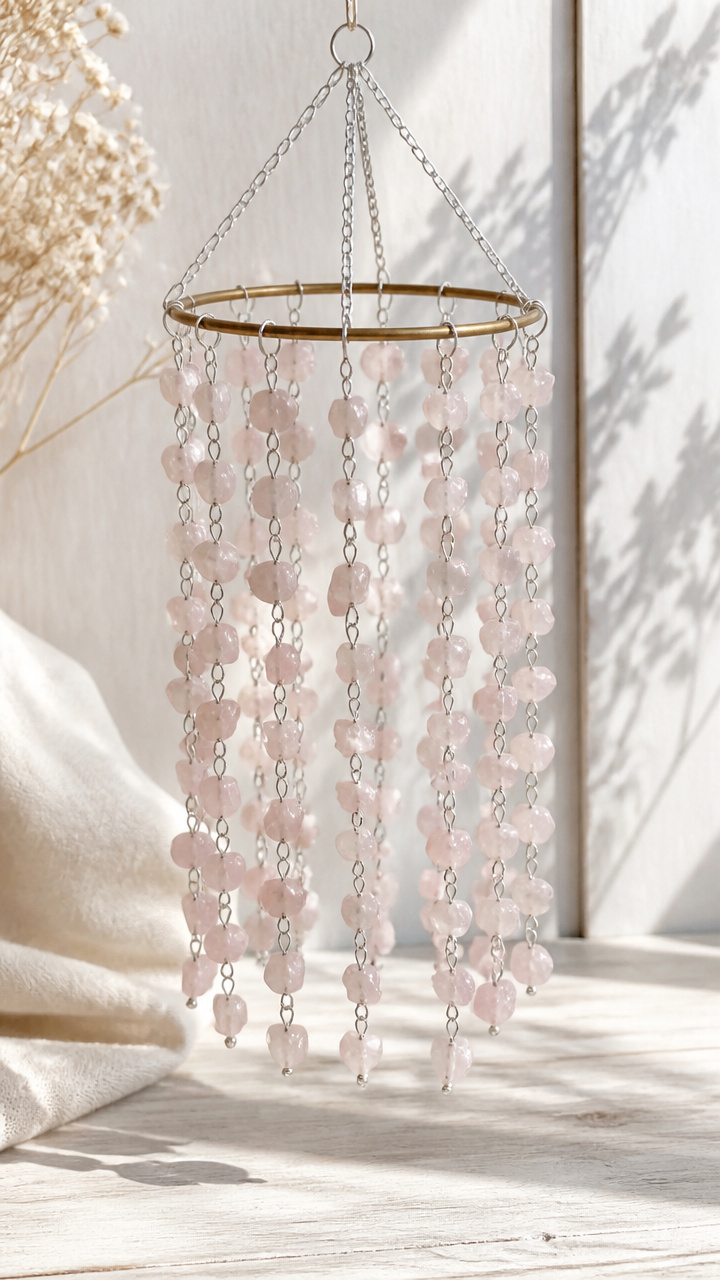
Genuine rose quartz chips dangle from a brass ring, chiming softly when touched by winter air. Their pale pink hue whispers romance.
Materials Needed
- 1 brass ring (4 inches diameter)
- 12 rose quartz gemstone chips (approx. 1 inch each)
- Silver-plated headpins (2 inches, 12 pieces)
- Chain-nose pliers
- Jewelry wire cutters
- Silver jump rings (6mm, 12 pieces)
- 2-foot length satin ribbon (deep rose, 1/2 inch wide)
How to Make It
- Slide one quartz chip onto a headpin, leaving 1/2 inch of wire above the stone.
- Use chain-nose pliers to bend the wire at 90 degrees just above the stone, then twist the end into a loop.
- Open a jump ring with pliers, attach it to the loop, then close it securely and connect it to the brass ring.
- Repeat for all 12 stones, spacing them evenly, then tie the ribbon to the top of the ring for hanging.


11. Salt Dough Ornaments
Easy
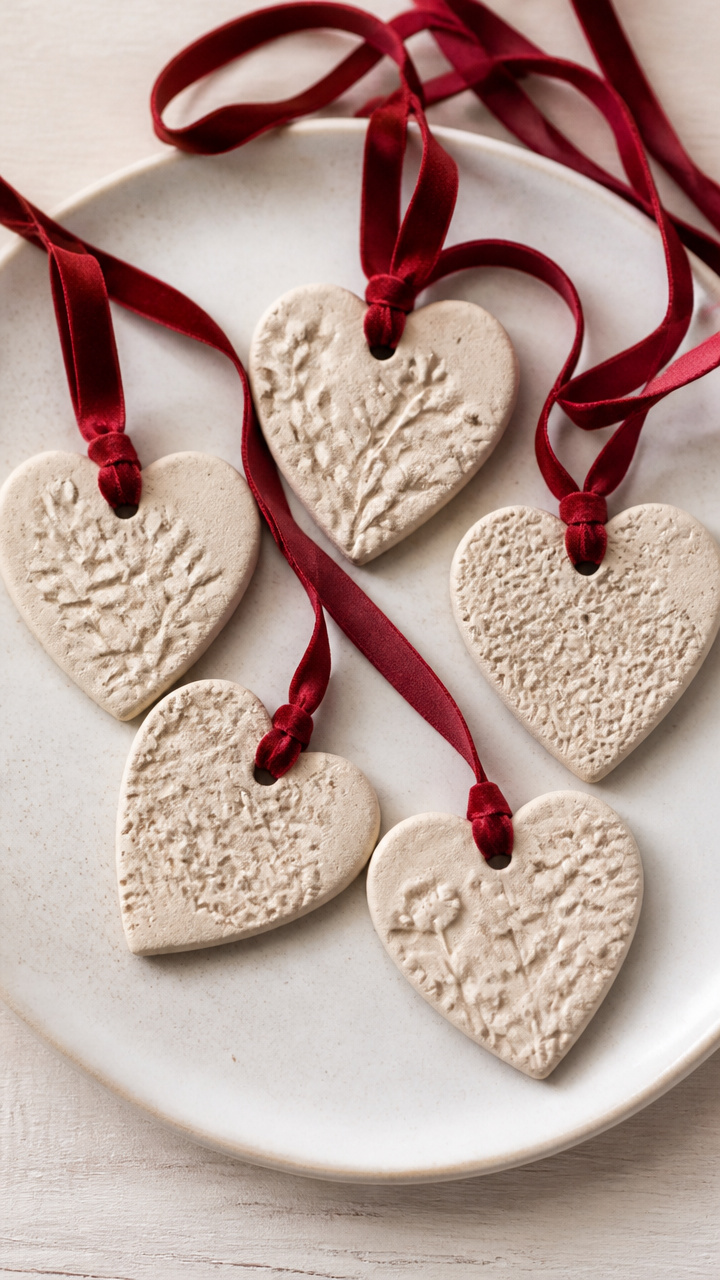
Hand-shaped salt dough hearts with stamped patterns bake into keepsakes. String them with velvet ribbon for tree or wall display.
Materials Needed
- 2 cups all-purpose flour
- 1 cup table salt
- 3/4 cup warm water
- Heart-shaped cookie cutter (3 inches)
- Straw (for hole punching)
- Baking sheet
- Parchment paper
- Red velvet ribbon (1/4 inch wide, 12 feet)
- Acrylic paint (magenta)
How to Make It
- Mix flour, salt, and warm water in a bowl until a smooth dough forms, then knead on a floured surface for 2 minutes.
- Roll the dough to 1/4 inch thickness and cut out 6 hearts, using the straw to poke a hole near the top edge of each.
- Place hearts on the parchment-lined baking sheet and bake at 200°F for 3 hours until hard.
- Cool completely, paint one side magenta, let dry, then thread ribbon through the holes for hanging.


12. Velvet Ribbon Wreath
Easy
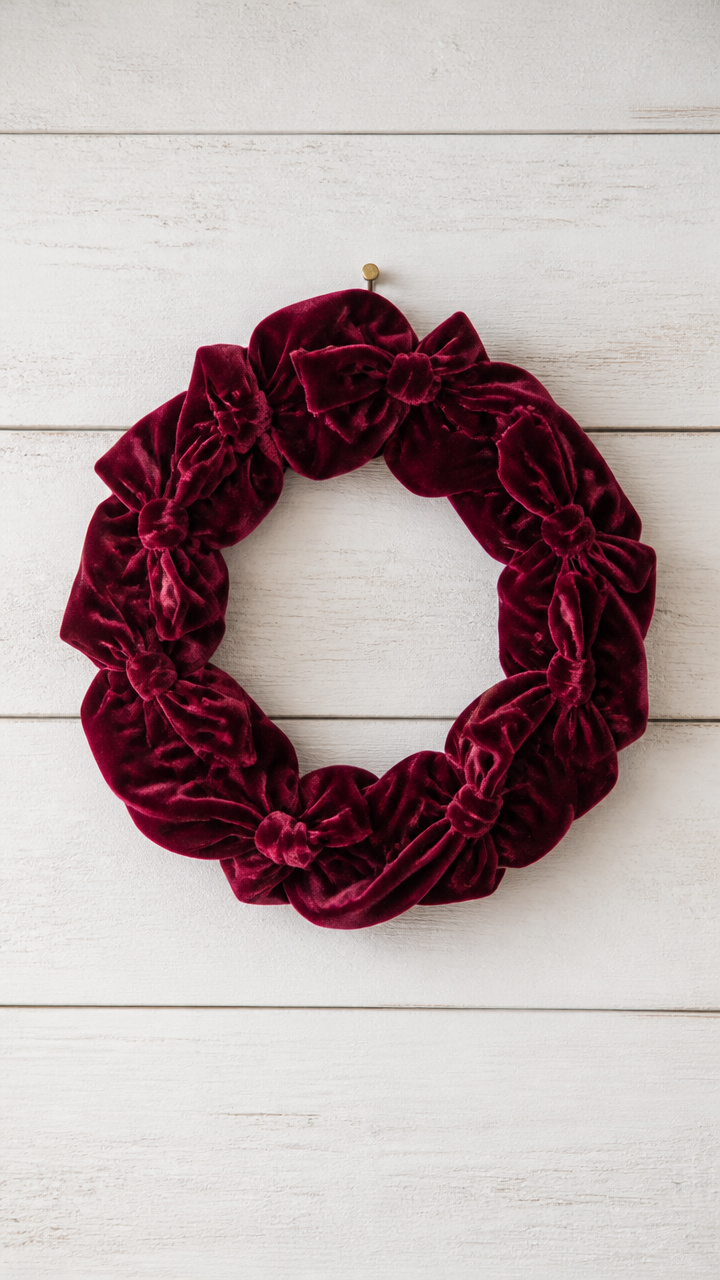
Loose knots of deep burgundy velvet ribbon form a plush wreath. It needs no frame and hangs with a single nail.
Materials Needed
- Burgundy velvet ribbon (2.5 inches wide, 3 yards)
- Wire wreath frame (8 inches, gold metal)
- Floral wire (green, 22 gauge, 12 inches)
- Wire cutters
- Scissors
How to Make It
- Cut the ribbon into nine 12-inch lengths using scissors.
- Fold one piece in half and slide the loop through the wreath frame from front to back, then pull the tails through the loop to form a knot.
- Continue adding knots around the frame, overlapping slightly for full coverage, until the entire circle is filled.
- Trim any uneven tails, then use floral wire to secure loose ends at the back and attach a hanging loop.


13. Calligraphy Quote Frame
Advanced
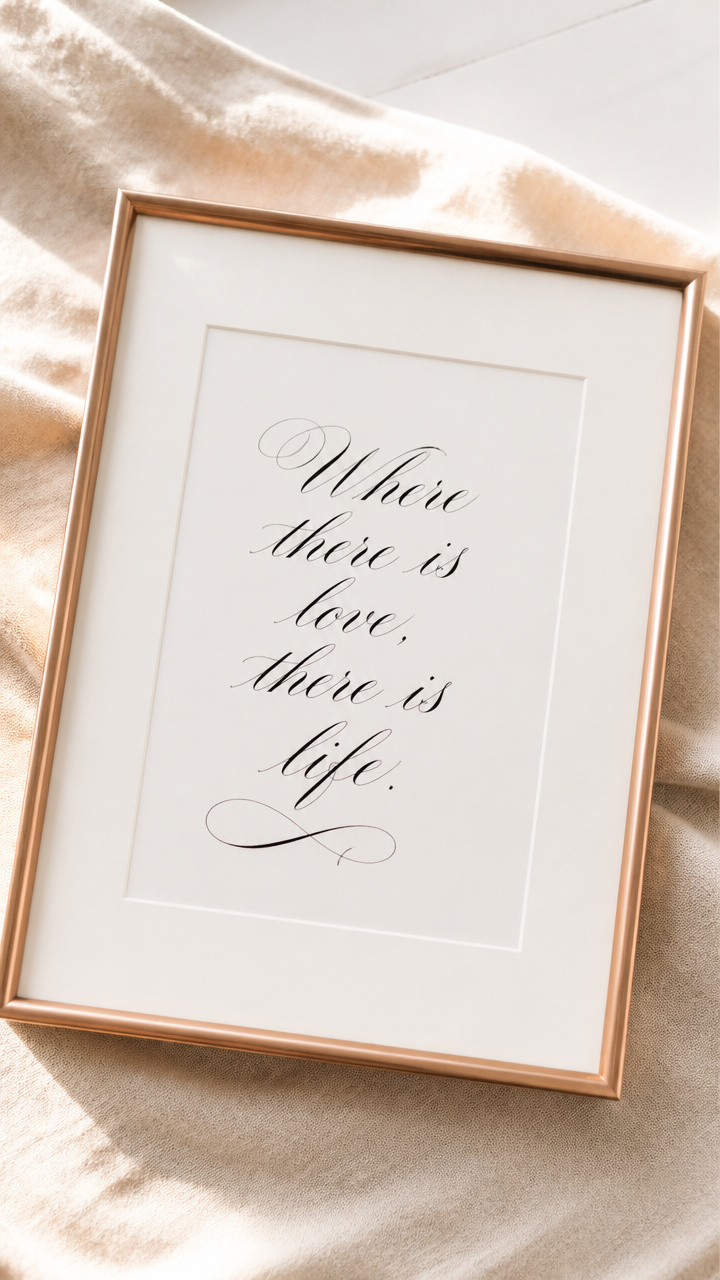
A favorite love quote in flowing copperplate script lives behind glass. This framed art elevates any entryway.
Materials Needed
- Plain white cardstock (5×7 inches)
- Oblique calligraphy pen holder
- Size 18 nib
- Sumi ink (black)
- Glass dip pen cleaner
- Ruler
- 7×9 inch picture frame with mat
- Lint-free cloth
How to Make It
- Use the ruler to lightly mark guidelines on the cardstock every 3/8 inch for consistent letter height.
- Load the nib with sumi ink and practice a few strokes on scrap paper before writing the quote in copperplate style.
- Write the quote slowly, allowing 2 minutes between lines to prevent smudging, and let the ink dry for 10 minutes.
- Wipe the glass with a lint-free cloth, then insert the cardstock behind the mat and close the frame.


14. Beaded Heart Mobile
Advanced
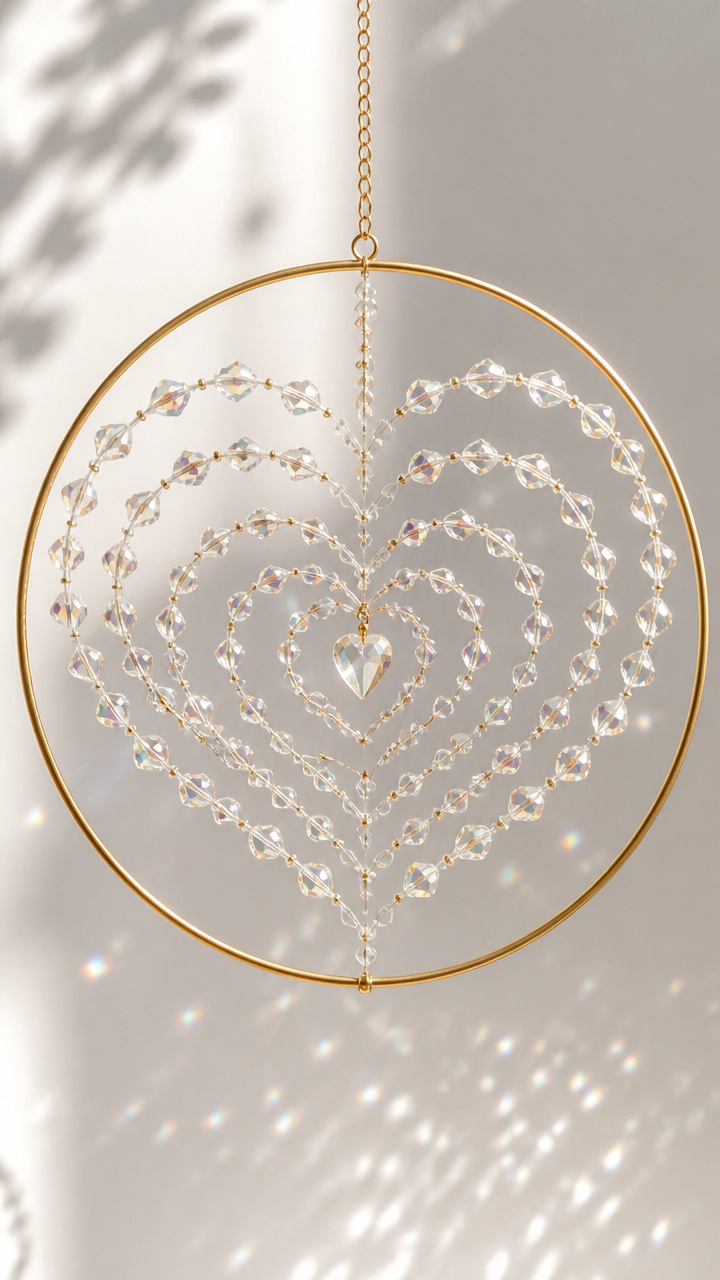
Tiny crystal beads catch light as they spiral downward on thin monofilament. This mobile spins gently above a nightstand.
Materials Needed
- Gold embroidery hoop (6 inches)
- Clear monofilament fishing line (10 lb test, 3 yards)
- Crystal AB seed beads (size 11/0, 2 grams)
- Scissors
- Needle (beading size 12)
- Gold wire (20 gauge, 6 inches)
How to Make It
- Wrap the gold wire around the embroidery hoop at the top to create a balanced hanger, twisting ends together securely.
- Cut six 18-inch lengths of monofilament and thread the needle with one.
- String 15 beads onto the line, tie a stop knot at the bottom, and tie the top to the hoop at even intervals.
- Repeat for all six strands, ensuring bead clusters vary slightly in length for movement.


15. Chalkboard Love Sign
Easy

A small wooden plaque with a hand-drawn 'You Are Loved' message changes weekly. Use chalk markers for bold, erasable text.
Materials Needed
- Unfinished wood plaque (6×8 inches)
- Black chalkboard paint (2 oz)
- Foam brush (1 inch)
- Chalk marker (pink, fine tip)
- Sandpaper (220 grit)
- Paper towel
How to Make It
- Lightly sand the plaque surface, wipe away dust with a paper towel, then apply one coat of chalkboard paint with the foam brush.
- Let dry for 2 hours, then lightly buff the surface with a dry paper towel to condition it.
- Write 'You Are Loved' in cursive with the pink chalk marker, letting it dry for 5 minutes before touching.
- Erase and rewrite as desired using any chalk marker color.


16. Origami Crane String
Moderate
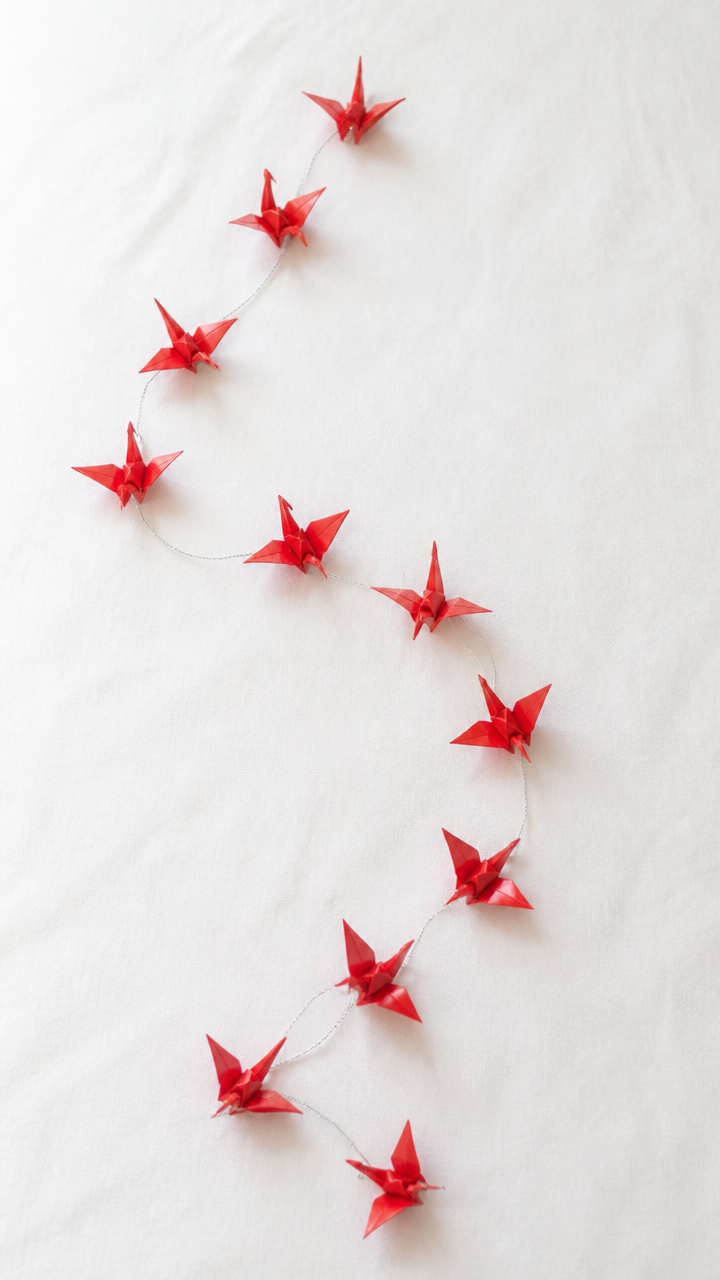
Fifteen red origami cranes fly in formation along a silver thread. Fold them during quiet mornings with tea nearby.
Materials Needed
- 15 sheets origami paper (red, 6×6 inches)
- Silver metallic thread (3 yards)
- Needle (large eye)
- Scissors
How to Make It
- Fold each sheet into a traditional crane using valley and mountain folds, following standard diagram steps.
- Thread the needle with the metallic thread and pass it through the body of the first crane just below the wings.
- Knot the thread above and below each crane to hold it in place, spacing them 4 inches apart along the string.
- Hang the completed string by tying loops at both ends.


17. Candle Dipping Tapers
Advanced
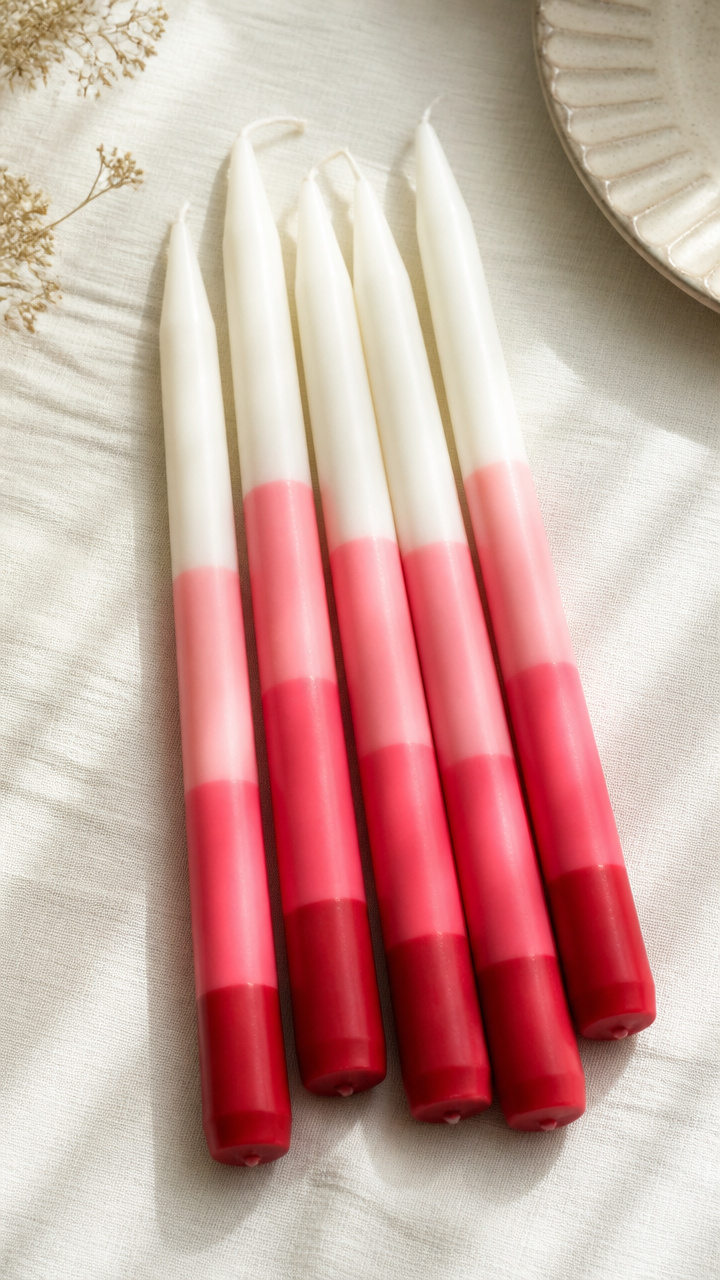
Layered red and pink wax builds rich texture on handmade tapers. Dip them slowly for even bands of color.
Materials Needed
- 2 plain white tapers (10 inches)
- Red paraffin wax blocks (8 oz)
- Pink paraffin wax blocks (8 oz)
- Double boiler
- Metal skewers
- Kitchen thermometer
- Parchment paper
- Scissors
How to Make It
- Melt red wax in the double boiler to 150°F, monitored with the thermometer, and place tapers on skewers stuck into a block of wax on parchment paper.
- Dip one taper into the red wax for 5 seconds, let drain for 10 seconds, then repeat 4 times for thick coating.
- Melt pink wax to 150°F and dip the same taper for 3 seconds, repeating twice to create layered effect.
- Let cool completely between dips and cure upright for 4 hours before use.


18. Button Flower Bouquet
Easy
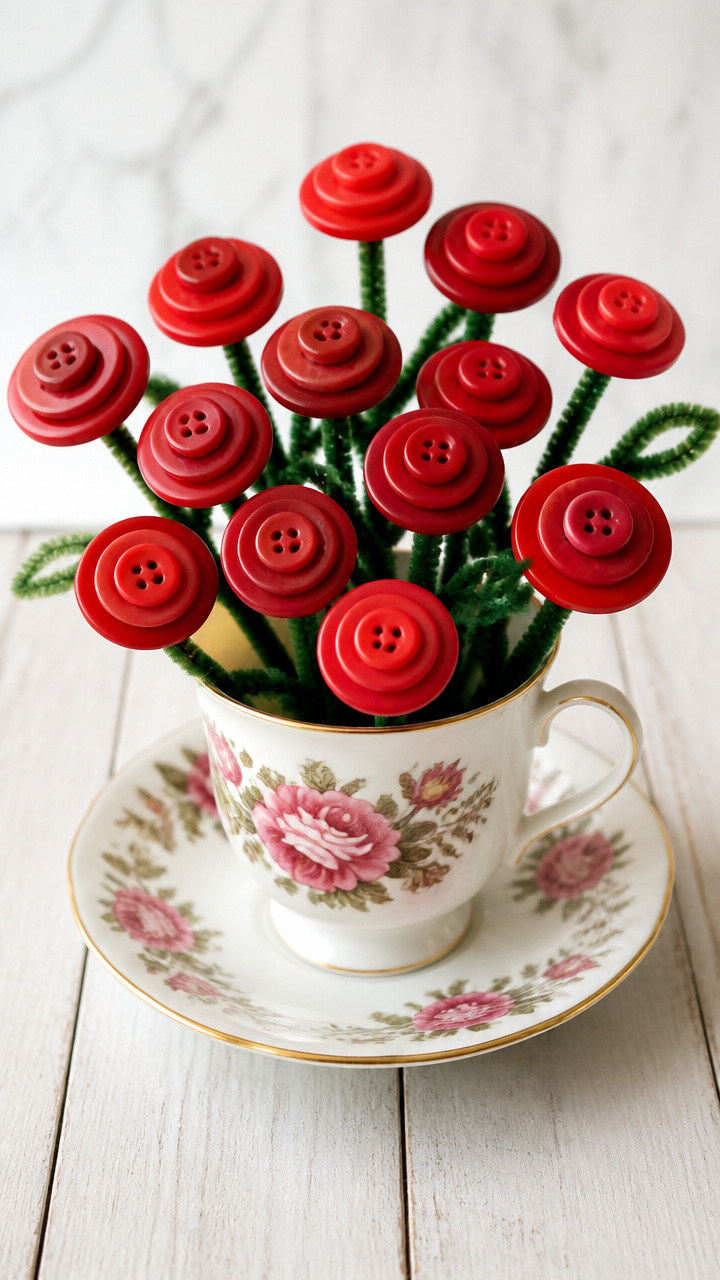
Mismatched red buttons bloom on pipe cleaner stems in a vintage teacup. This bouquet never wilts.
Materials Needed
- 12 red buttons (assorted sizes, 4 with 4 holes)
- 6 green pipe cleaners
- Hot glue gun
- Glue sticks
- Vintage teacup and saucer
- Craft scissors
How to Make It
- Cut each pipe cleaner in half to make 12 stems, then wrap one end of each around a pencil to coil the tip.
- Apply a small dot of hot glue to the back of a button and slide it onto the straight end of a coiled stem.
- Press firmly and hold for 10 seconds until set, using larger buttons for centers and smaller ones around them to mimic petals.
- Arrange all stems in the teacup, bending stems for natural curve, and let glue cure fully before moving.


19. Paper Quilled Hearts
Advanced
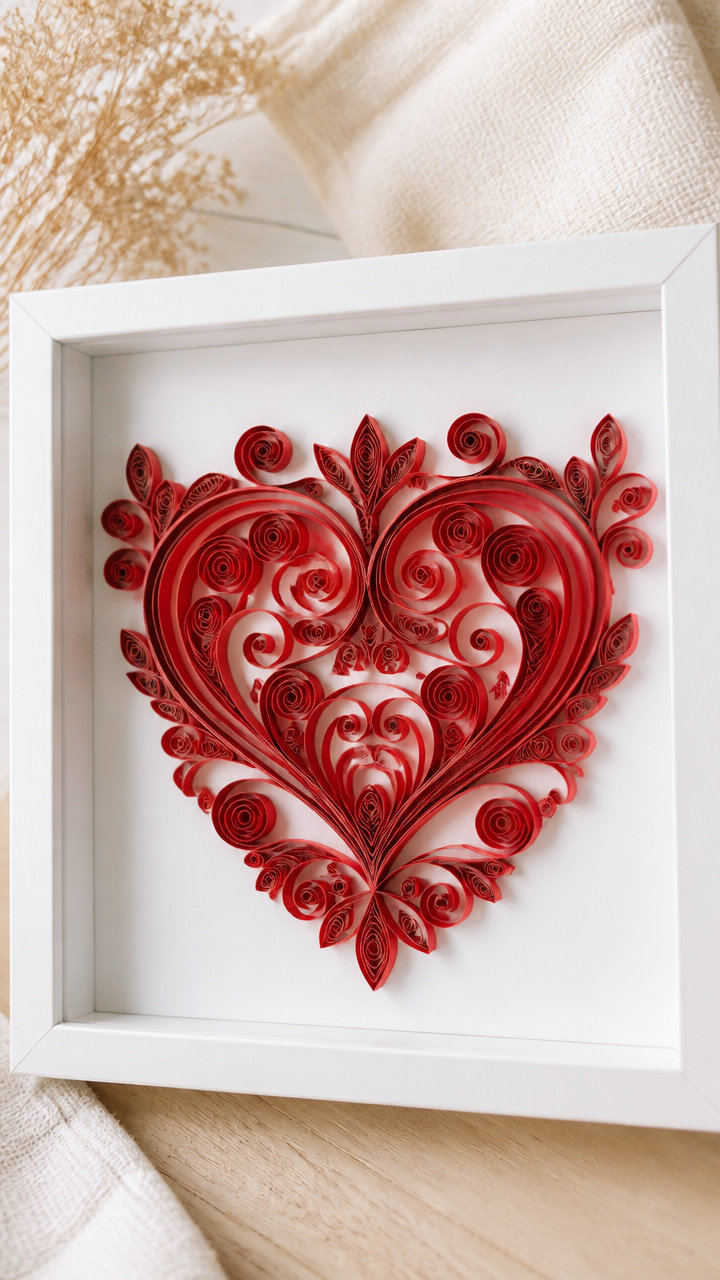
Tightly rolled strips of crimson paper form intricate heart shapes. These delicate coils shine in a floating frame.
Materials Needed
- Crimson quilling paper (1/4 inch wide, 25 feet)
- Quilling tool (slotted type)
- White glue (precision tip)
- Tweezers
- Cardboard base (4×4 inches)
- Clear plastic frame (5×5 inches)
How to Make It
- Wrap a 10-inch strip around the slotted quilling tool, squeeze the coil shut, and glue the end with a dab of white glue.
- Pinch one end of the coil to form a teardrop, make 20 identical shapes, and arrange them in a heart outline on the cardboard.
- Use tweezers to position each piece and glue adjacent tips together, adding inner rows to fill the shape.
- Let dry for 1 hour, then place the artwork into the plastic frame without glass to preserve dimension.


20. Knit Coaster Set
Moderate
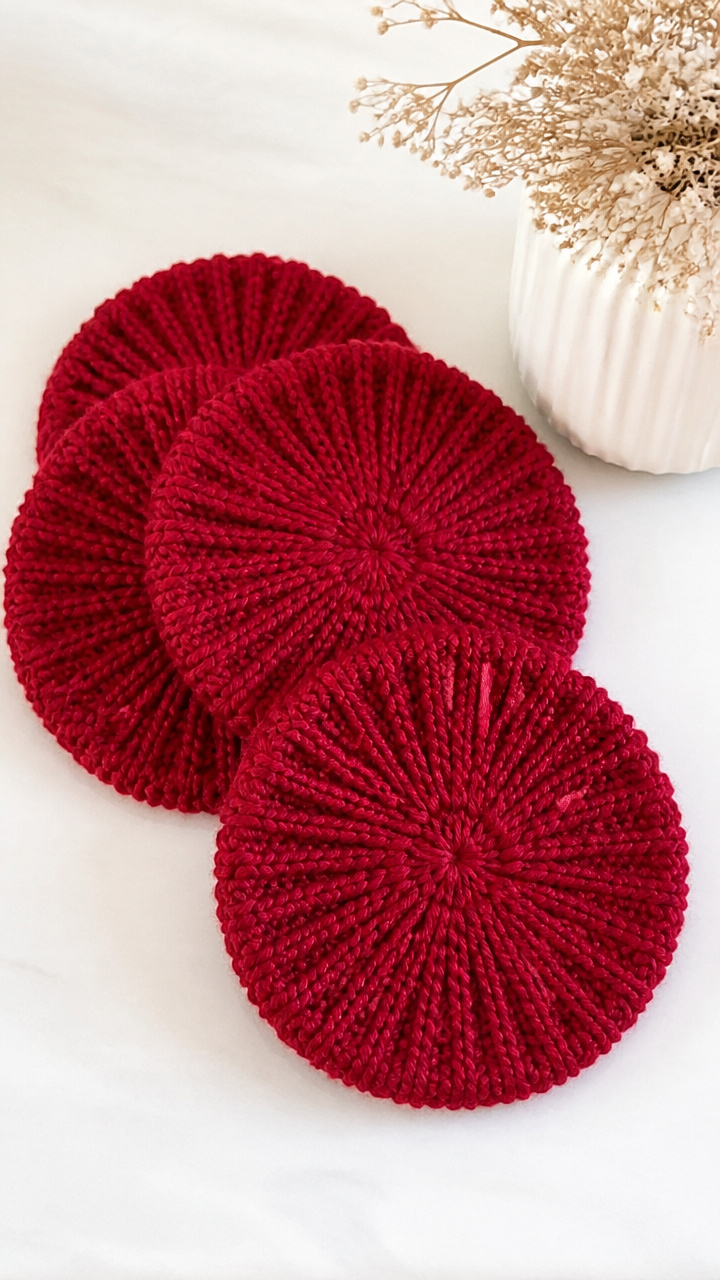
Soft merino wool coasters in cherry red protect surfaces while adding cozy charm. Knit them while watching evening films.
Materials Needed
- Merino wool yarn (cherry red, 50 grams)
- Pair of US size 6 knitting needles
- Scissors
- Yarn needle
- Ruler
How to Make It
- Cast on 20 stitches loosely onto one needle, then knit every row in garter stitch for 4 inches.
- Bind off all stitches tightly, cut yarn leaving a 6-inch tail, and weave in ends with the yarn needle.
- Measure and trim edges to form perfect 4×4 inch squares, making four coasters total.
- Stack and store together or gift in a linen pouch.


Grab your scissors, dig out that half-used glue bottle, and start with the one that makes your heart skip. You’ve got time to make them all.