20 Owl Crafts for Kids to Make This Winter

Soft cotton balls pressed into glue, glitter catching the light, paper wings fanned just so—these are the small magic moments that fill a child’s hands and heart during quiet winter days.
Owls, with their wide eyes and cozy feathers, invite creativity that’s both playful and calming. Here are twenty thoughtful, distinct crafts that let kids shape, paint, glue, and imagine their own woodland companions, one careful step at a time.
1. Cotton Ball Feather Owls
Easy
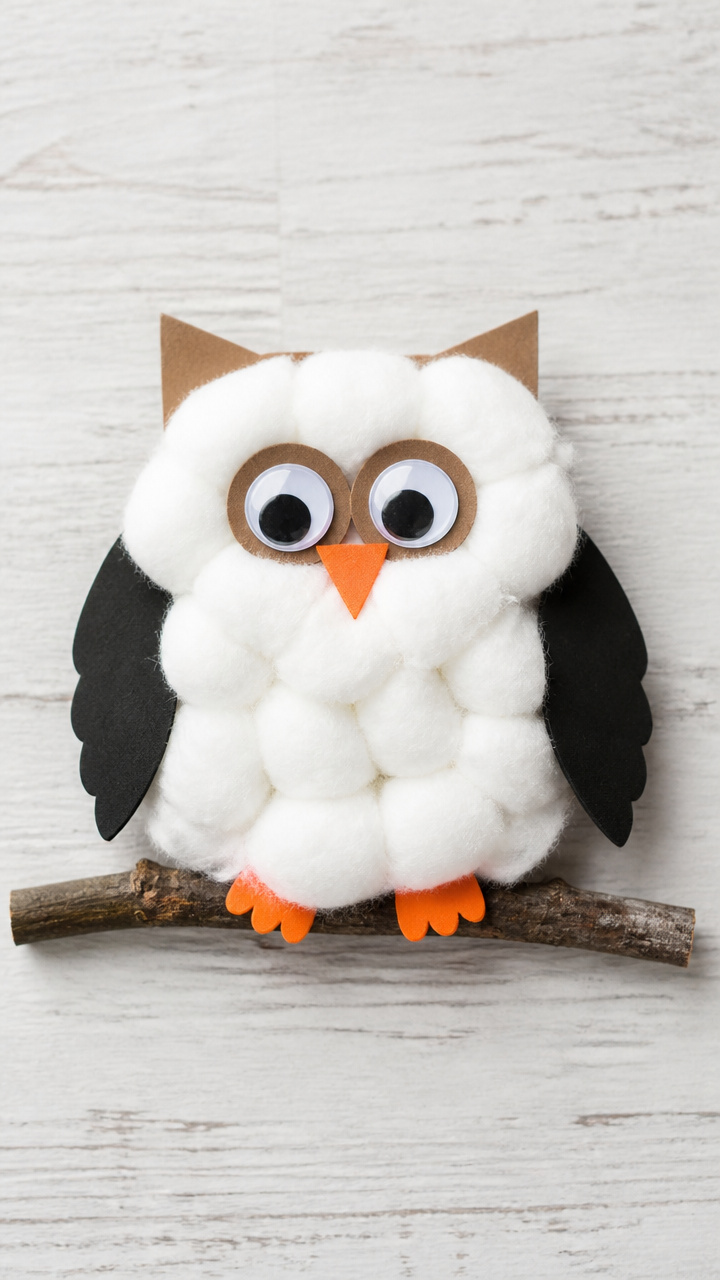
Fluffy layered bodies mimic real owl plumage and invite gentle touch. Kids love how soft and full these little owls feel in their hands.
Materials Needed
- A4 brown construction paper
- White school glue
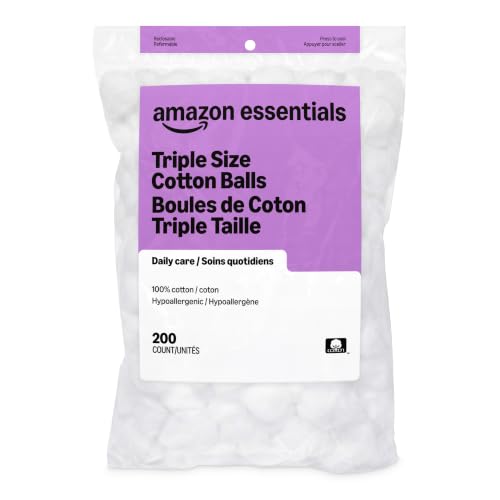
- Large cotton balls, 20 per owl
- Black foam sheet
- Scissors
- Googly eyes, 15mm, 2 per owl
- Black marker
How to Make It
- Cut the brown construction paper in half vertically to make two tall owl bodies.
- Draw a rounded owl face at the top of each half, then apply glue just below it in a thick horizontal band.
- Press cotton balls into the glue to form the chest, overlapping them slightly for fullness.
- Add another glued band below and attach more cotton balls to build the body.
- Cut two small circles from black foam for pupils and glue them onto the googly eyes.
- Glue the eyes just below the top edge of the paper, then draw a small triangle beak with the black marker.

2. Pinecone Perching Owls
Moderate
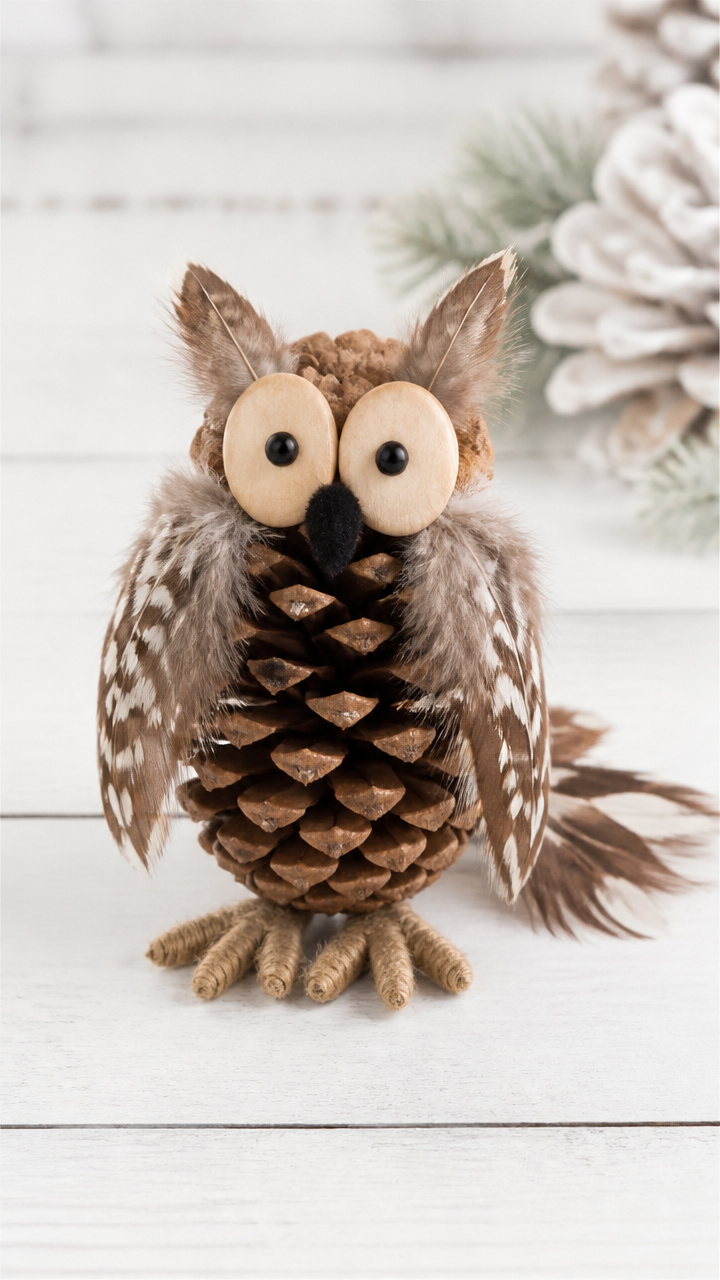
Natural pinecones become wise little forest dwellers with a few crafty touches. Their rough texture pairs perfectly with soft feather details.
Materials Needed
- Medium pinecones, 1 per owl
- Brown craft feathers, 6 per owl
- Hot glue gun and glue sticks
- Oval wooden beads, 25mm, 2 per owl
- Small black pom-poms, 1 per owl
- Tacky glue
- Black acrylic paint
- Paintbrush, size 2
How to Make It
- Use the paintbrush to dab black acrylic paint onto the flat bottom of each wooden bead to make pupils.
- Let the paint dry completely, about 10 minutes.
- Glue the painted beads side by side near the top of the pinecone using hot glue.
- Press a small black pom-pom just below the eyes to form the beak.
- Apply tacky glue to the back of six brown feathers and fan them in a semicircle beneath the beak to make the chest.

3. Paper Plate Snowy Owls
Easy
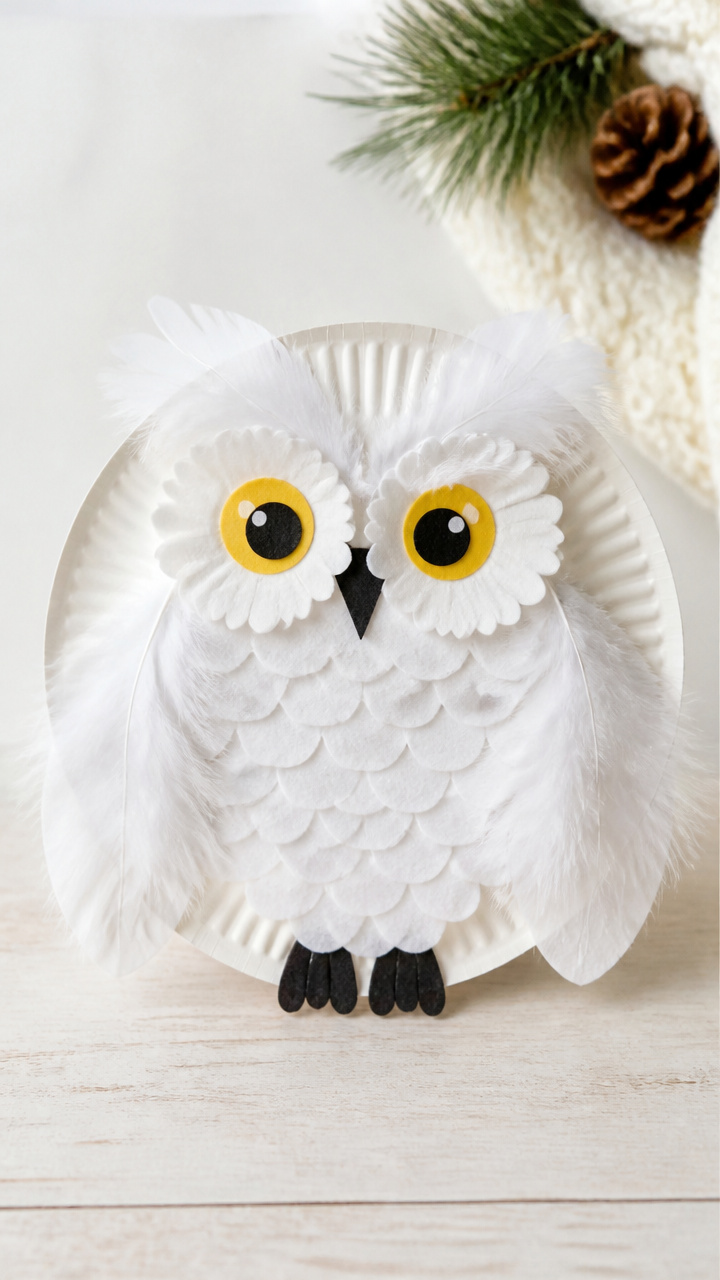
Bright white plates transform into winter guardians with golden eyes and feathery details. These owls look like they’ve just landed on a snowy branch.
Materials Needed
- White paper plates, 9-inch, 1 per owl
- Yellow acrylic paint
- Paintbrush, size 4
- White craft foam
- Scissors
- School glue
- Black marker
- Cotton puffs, 10 per owl
How to Make It
- Paint two large circles on the center top of the plate with yellow acrylic paint for the eyes.
- Let the paint dry for 15 minutes.
- Cut two small black pupils from the black marker tip and glue them onto the yellow eyes.
- Cut feather shapes from white craft foam and glue them around the edge of the plate to form wings.
- Glue cotton puffs around the eyes and beak area to mimic soft down feathers.
- Draw a small curved beak below the eyes with the black marker.
4. Toilet Paper Roll Guardians
Moderate
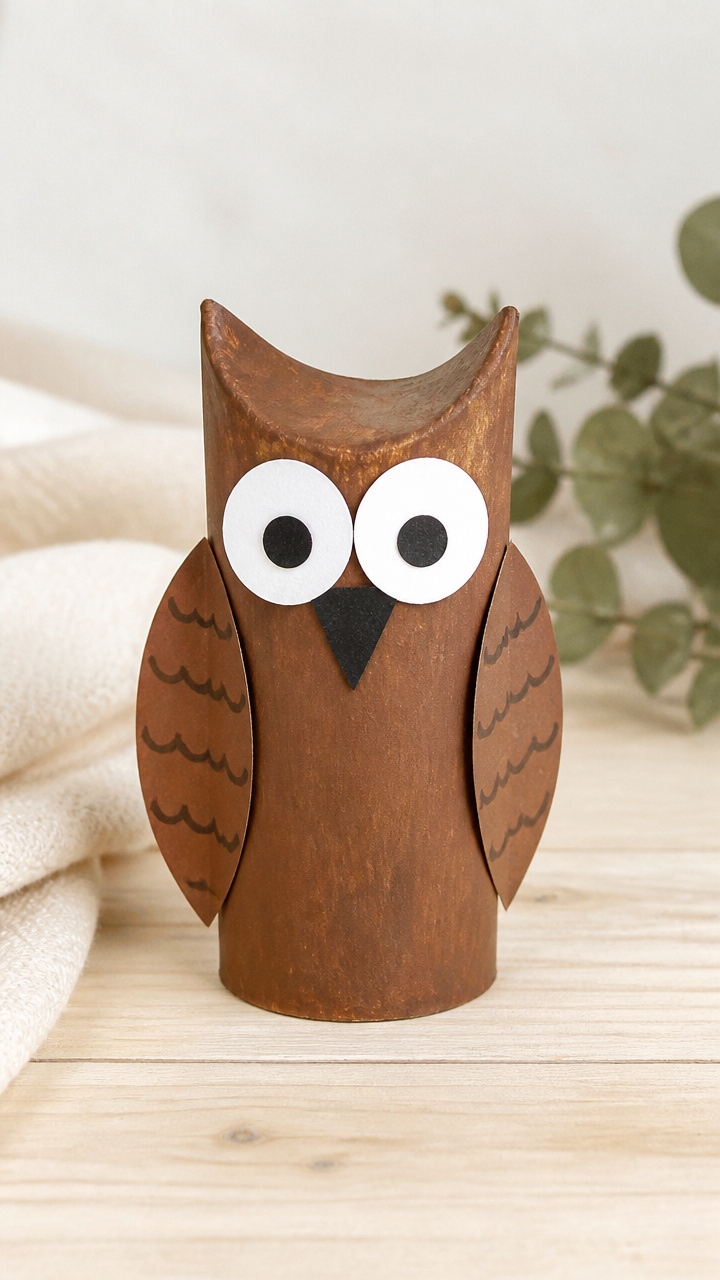
Sturdy cardboard tubes stand tall as woodland sentinels. Their hollow bodies make them perfect for hiding tiny notes or treats inside.
Materials Needed
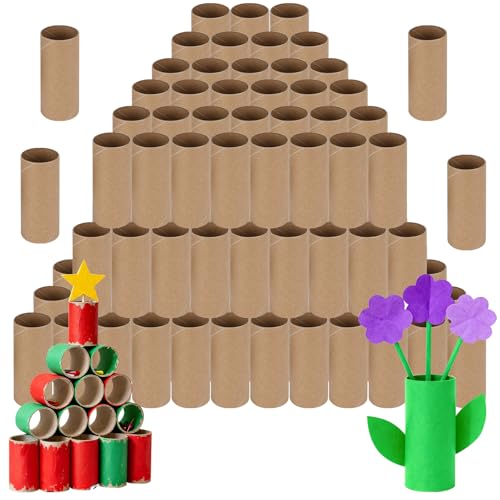
- Empty toilet paper rolls, 1 per owl
- Brown acrylic paint
- Paintbrush, size 3
- White cardstock
- Black craft foam
- School glue
- Googly eyes, 20mm, 2 per owl
- Scissors
- White acrylic paint
How to Make It
- Paint the entire toilet paper roll with brown acrylic paint and let it dry for 20 minutes.
- Cut two large circles from white cardstock, each about 3 inches wide, for the face.
- Glue the white circles side by side near the top of the roll to form the face.
- Glue googly eyes onto the center of each white circle.
- Cut a small triangle beak from black craft foam and glue it below the eyes.
- Dip the paintbrush in white acrylic paint and flick it gently over the roll to create a snowy splatter effect.


5. Handprint Tree Perchers
Easy
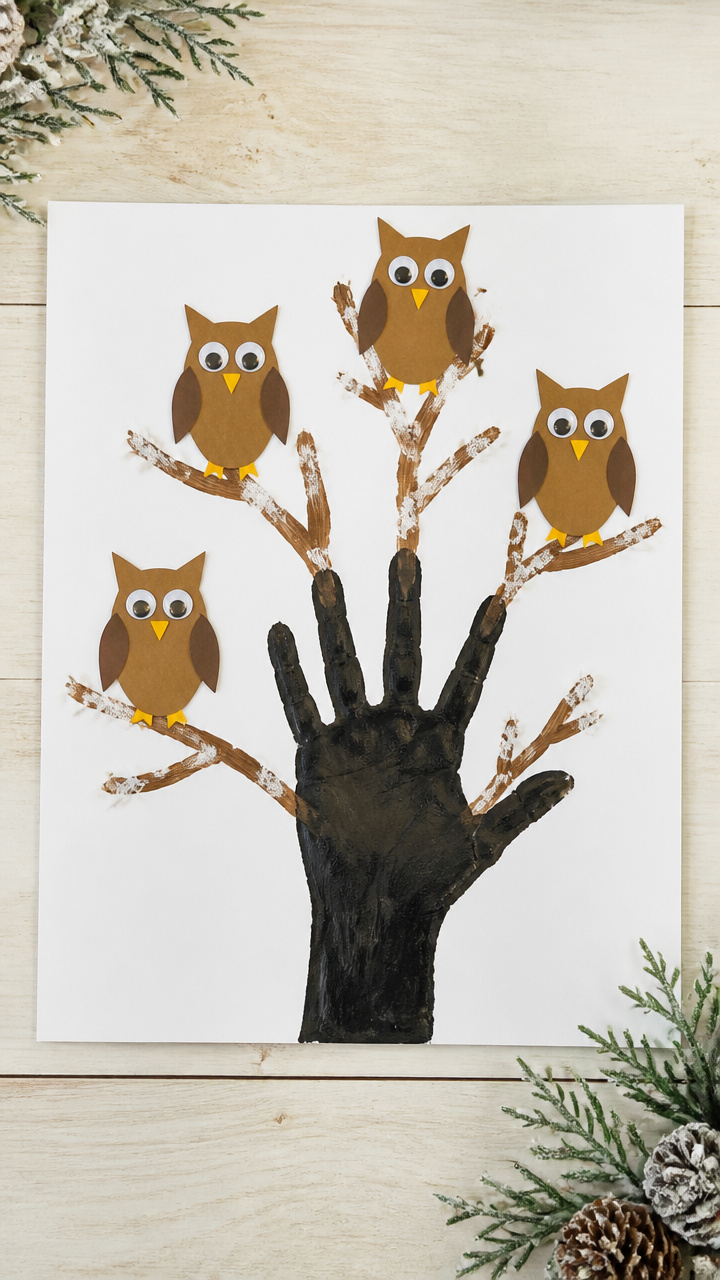
A child’s handprint becomes the trunk of a winter tree, with owls nestled in the branches. This craft celebrates their growing hands.
Materials Needed
- Black paint
- White drawing paper, 12×18 inches
- Brown finger paint
- Paper owl cutouts, pre-cut from brown construction paper
- School glue
- Googly eyes, 10mm, 4 per owl
- Black marker
How to Make It
- Press your child’s hand into black paint and stamp it near the bottom of the paper to make the tree trunk.
- Use fingers to drag upward and outward to create bare winter branches.
- Let the paint dry for 15 minutes.
- Glue a brown paper owl cutout onto one of the upper branches.
- Glue two googly eyes onto each owl’s face.
- Draw a small beak and feet with the black marker.


6. Salt Dough Feather Prints
Advanced
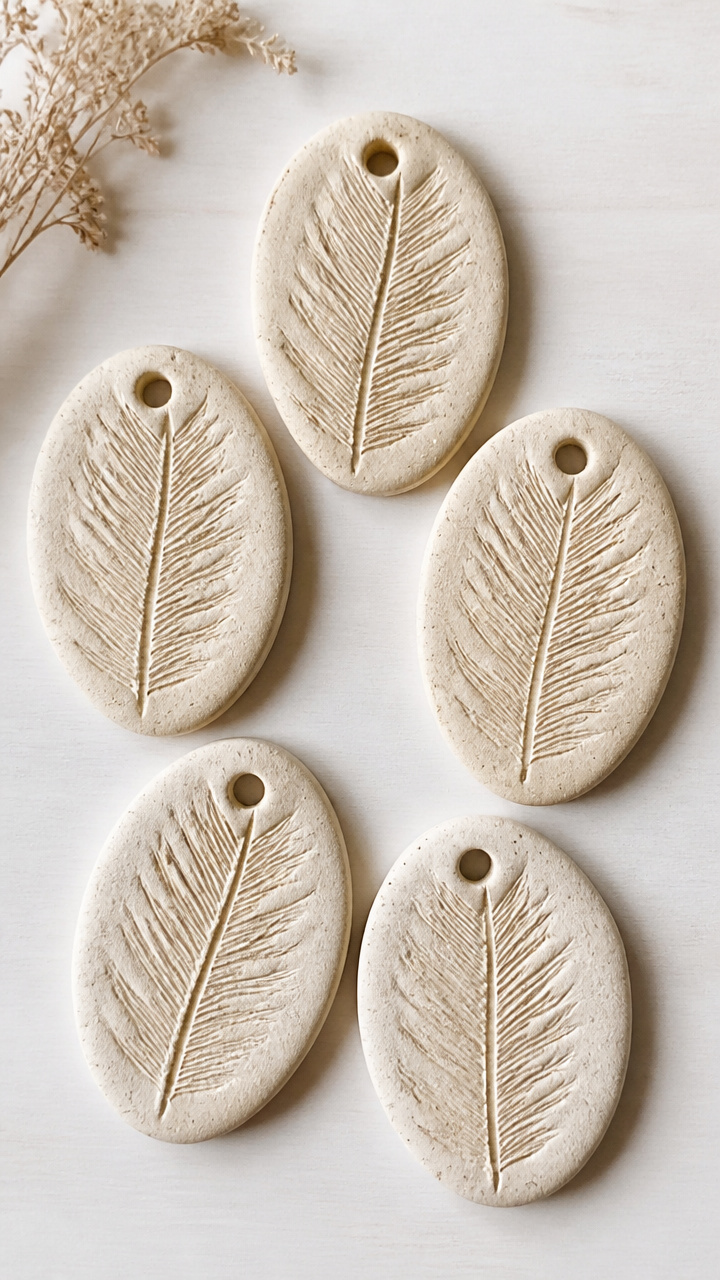
Soft dough pressed with real feather shapes bakes into keepsake ornaments. Each one holds the delicate impression of flight.
Materials Needed
- 2 cups all-purpose flour
- 1 cup table salt
- 3/4 cup warm water
- Real bird feathers, 3 per owl
- Rolling pin
- Straw, 1 per ornament
- Baking sheet
- Parchment paper
- Oven
- White acrylic paint
- Paintbrush, size 1
- Ribbon, 12-inch, 1 per ornament
How to Make It
- Mix flour, salt, and warm water in a bowl until a smooth dough forms, kneading for 2 minutes.
- Roll the dough to 1/4 inch thickness on a floured surface.
- Press three feathers into the dough side by side, leaving space around each.
- Use the straw to poke a hole near the top edge for hanging.
- Place the dough shapes on a parchment-lined baking sheet and bake at 200°F for 3 hours until hard.
- Paint the background white with acrylic paint and let dry, then thread ribbon through the hole.


7. Egg Carton Nestlings
Moderate
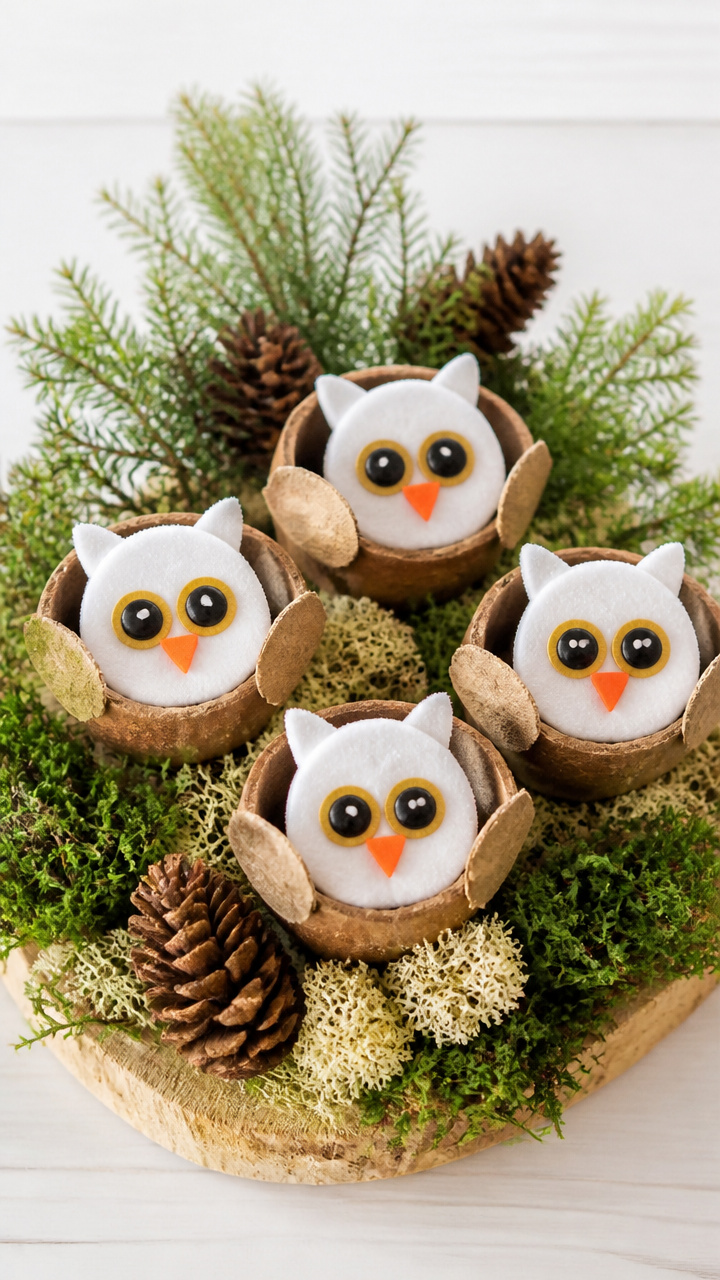
Mini cup sections cradle tiny owls with soft faces and perky eyes. These little ones nestle together in a handmade forest bed.
Materials Needed
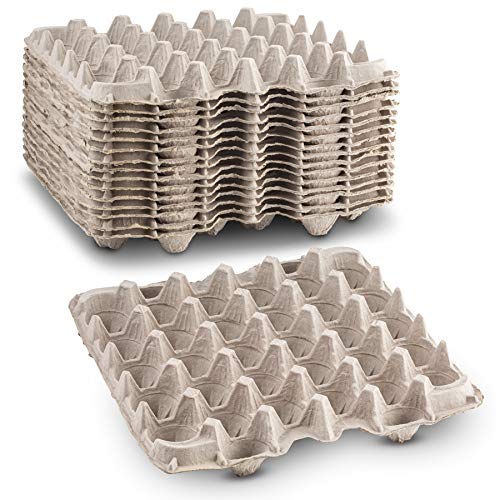
- Cardboard egg carton, 1 per project
- Scissors
- Brown acrylic paint
- Paintbrush, size 2
- White craft foam
- School glue
- Pink pom-poms, 8mm, 1 per owl
- Googly eyes, 8mm, 2 per owl
How to Make It
- Cut three cup sections from the egg carton, keeping the base attached for stability.
- Paint the outside of each cup with brown acrylic paint and let dry for 20 minutes.
- Cut small face shapes from white craft foam and glue them inside the top edge of each cup.
- Glue a pink pom-pom below each face for the beak.
- Attach two googly eyes just above the beak on each foam face.


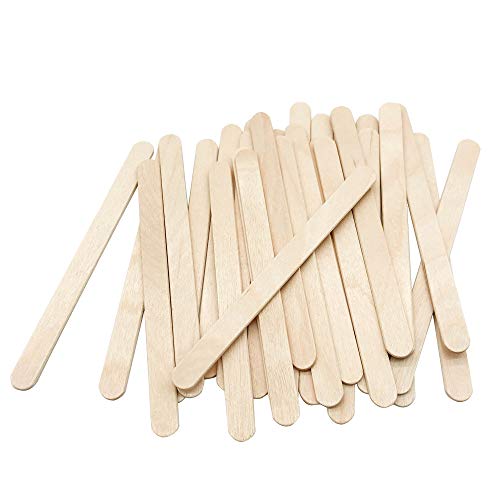
8. Popsicle Stick Owl Frames
Moderate
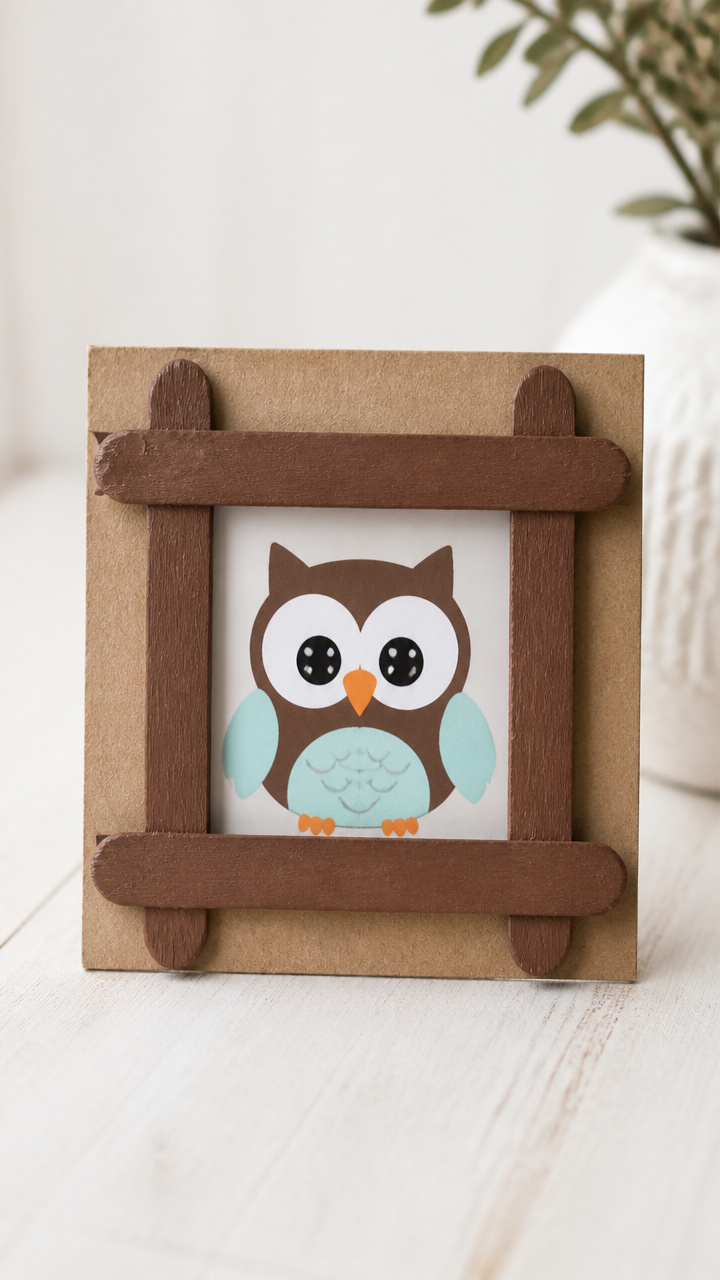
Crisp wooden sticks assemble into a rustic frame that holds a tiny owl portrait. It stands upright on a shelf or desk.
Materials Needed
- 8 flat wooden craft sticks, 4.5 inches, per owl
- White glue
- Brown acrylic paint
- Paintbrush, size 2
- Small printed owl image, 2×2 inches
- Cardboard, 4×4 inches
- Scissors
- Clear tape
How to Make It
- Paint six craft sticks brown and let them dry for 15 minutes.
- Glue four sticks vertically in a square shape, leaving small gaps between each.
- Glue the remaining two sticks horizontally across the back to form a stand.
- Cut the cardboard to 3×3 inches and glue the owl image in the center.
- Tape the cardboard to the back of the frame, aligning it with the inner edges.


9. Fingerprint Moonlight Owls
Easy
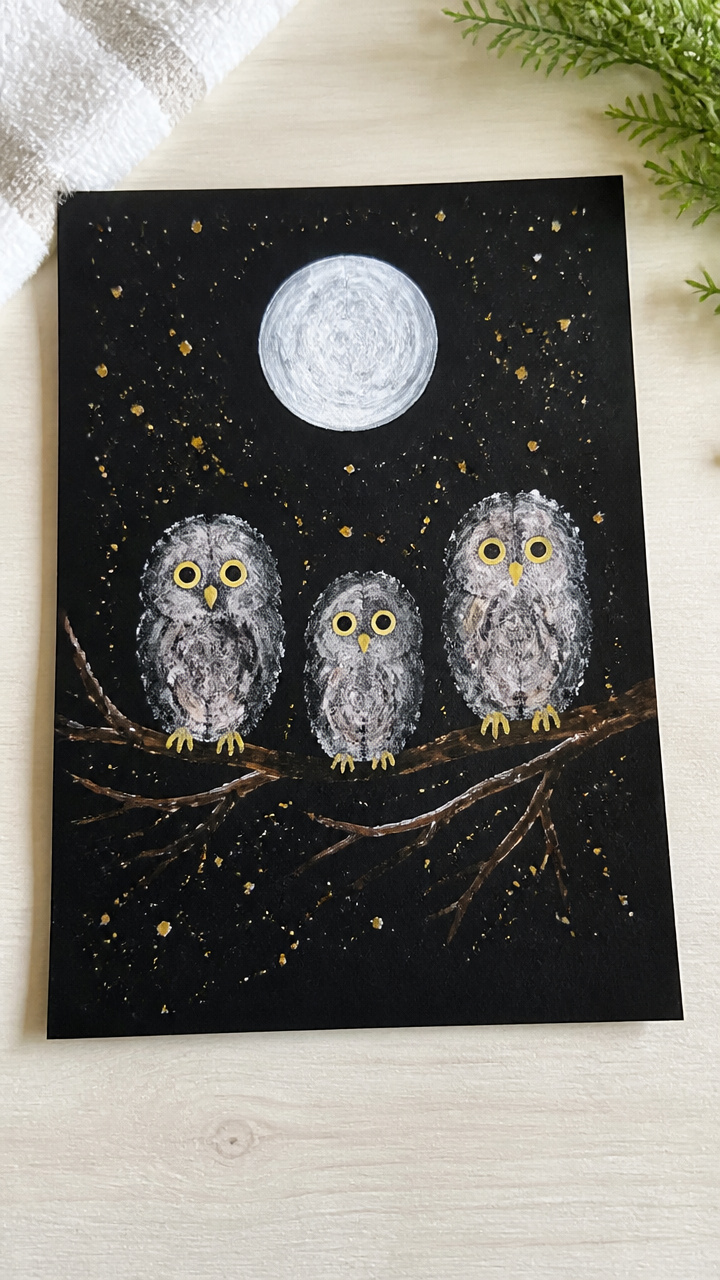
Inky thumbprints curve into owl shapes glowing under a painted moon. The smudged edges look like soft night feathers.
Materials Needed
- Black drawing paper, 9×12 inches
- White ink pad
- White acrylic paint
- Paintbrush, size 6
- Cotton swab
- Yellow glitter glue
How to Make It
- Press your thumb into the white ink pad and stamp it sideways near the top of the paper to form an owl body.
- Repeat to make two more owls on the same page.
- Use the paintbrush to paint a large circle in the top corner for the moon.
- Dip the cotton swab in white paint and dot stars around the owls.
- Squeeze yellow glitter glue for eyes and beaks on each owl, letting it dry for 20 minutes.


10. Tissue Paper Window Owls
Moderate
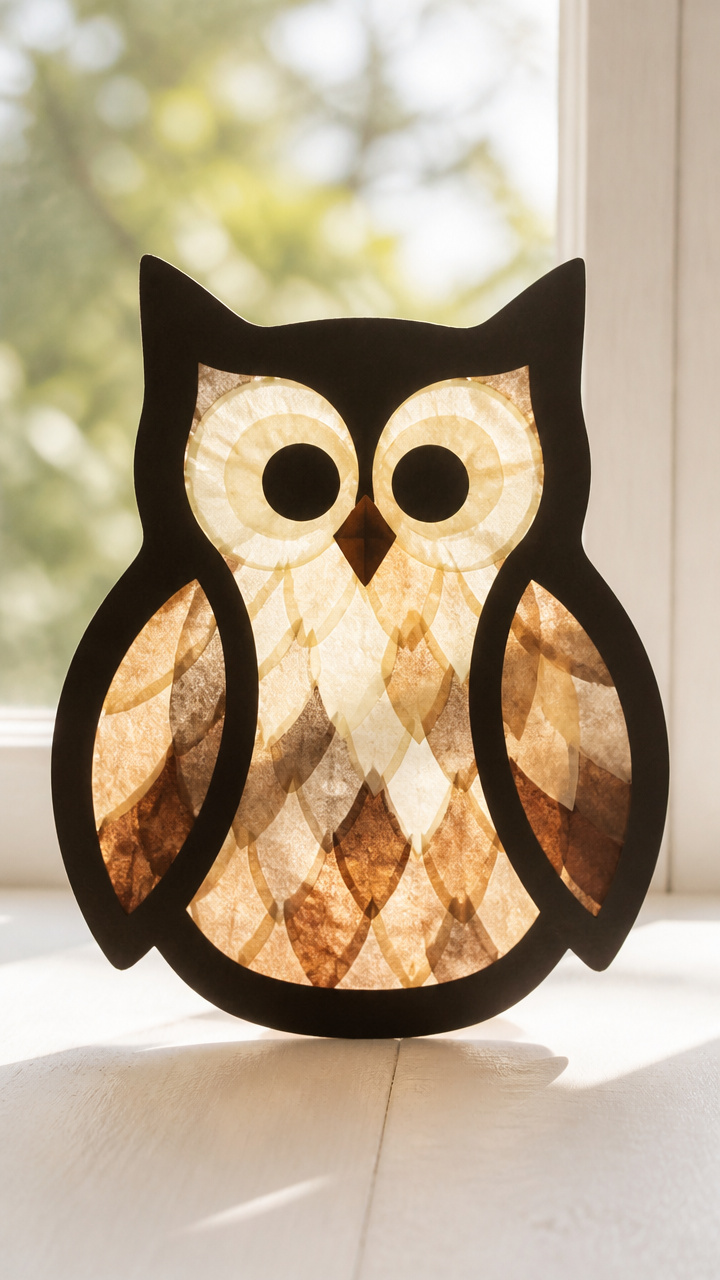
Sheets of colored tissue glow like stained glass when hung in a sunlit window. Light shines through layered feather shapes.
Materials Needed
- Black cardstock, 8.5×11 inches
- Brown, beige, and cream tissue paper
- Scissors
- School glue
- Glue stick
- Clear contact paper, 12×12 inches
- Ruler
How to Make It
- Cut the black cardstock in half and glue one half to the sticky side of the contact paper using the glue stick.
- Cut feather shapes from the tissue paper in varying sizes and layer them on the cardstock to form an owl body.
- Overlap the pieces slightly to create depth and texture.
- Cover the collage with the second half of contact paper, sandwiching the tissue inside.
- Trim the edges with scissors and hang in a window using tape.


11. Yarn-Wrapped Owl Pals
Moderate
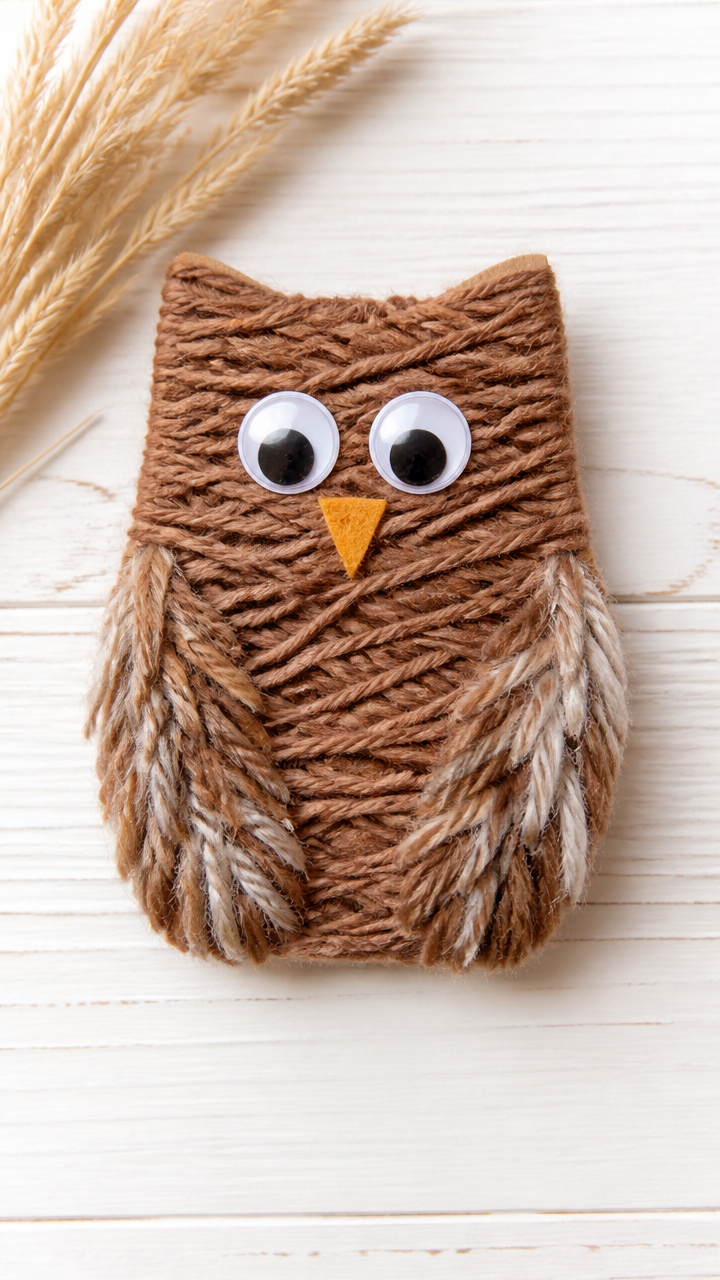
Stiff cardboard wrapped in warm brown yarn becomes a plush-feeling owl. The wrapped texture mimics real feathers.
Materials Needed
- Cardboard, 6×6 inches
- Pencil
- Scissors
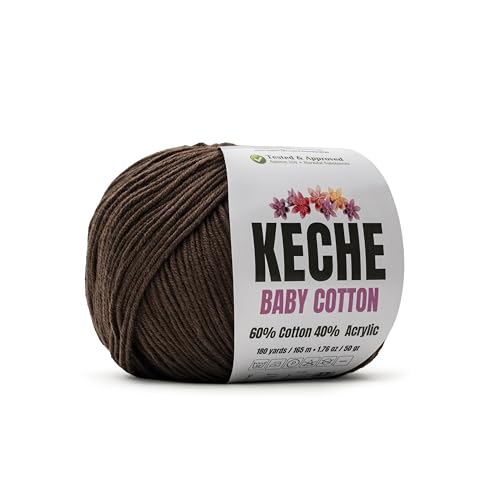
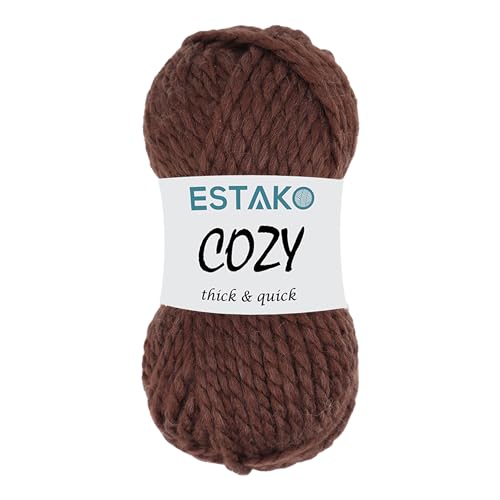
- Brown yarn, 50 yards per owl
- White school glue
- Googly eyes, 15mm, 2 per owl
- Black felt, 3×3 inches
How to Make It
- Draw an owl shape on the cardboard and cut it out with scissors.
- Apply a small dot of glue to the top edge of the owl.
- Press the yarn end onto the glue and let it dry for 2 minutes.
- Wrap the yarn tightly around the owl shape, covering the surface completely, and glue the end on the back.
- Cut a small triangle from black felt and glue it below the eyes for the beak.

12. Button-Faced Forest Owls
Easy
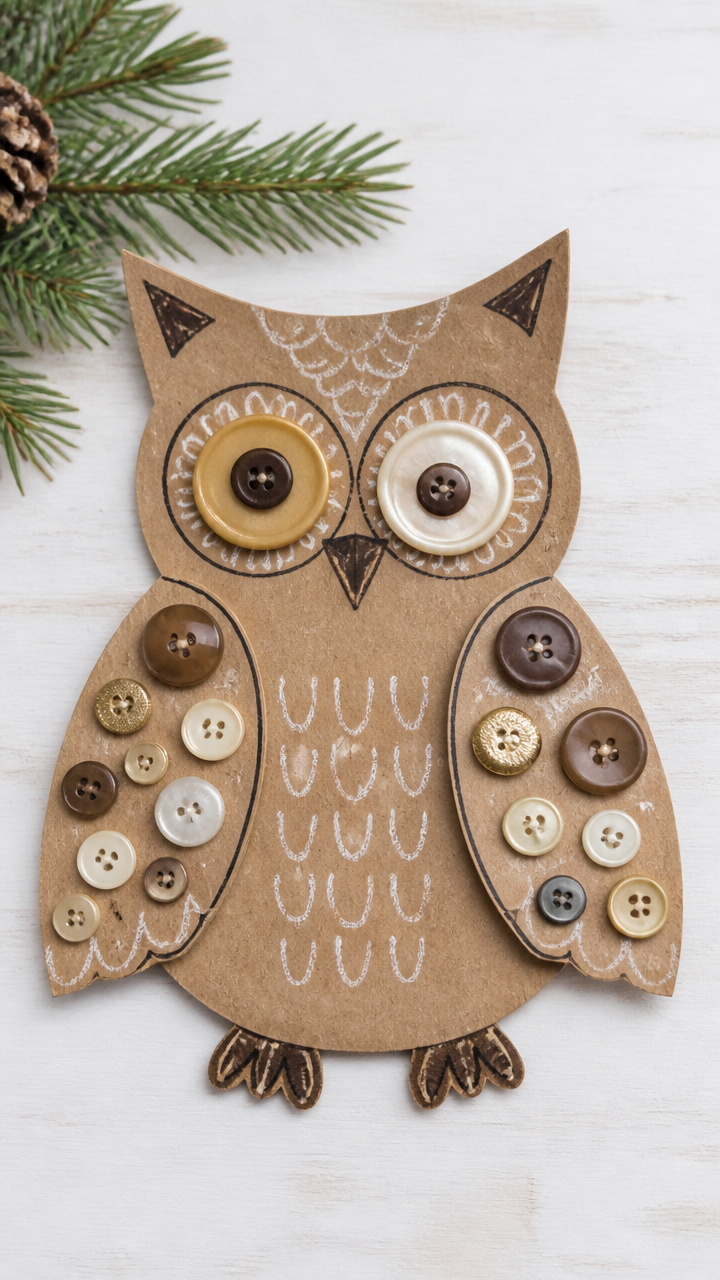
Mismatched buttons with shiny surfaces become expressive eyes and feather accents. Each owl has a unique, sparkly personality.
Materials Needed
- Brown kraft paper, 8.5×11 inches
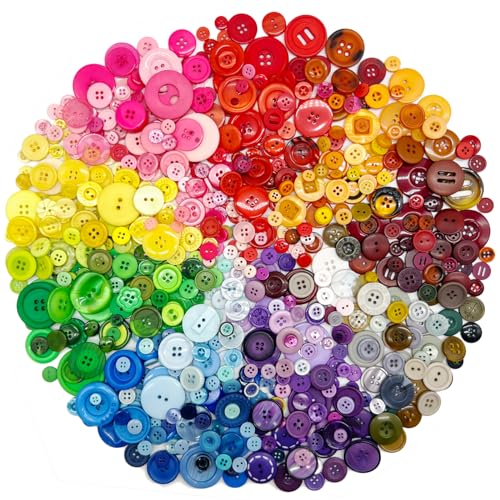
- Assorted buttons, 10 per owl
- School glue
- Black marker
- Scissors
- White chalk
How to Make It
- Cut an owl shape from the kraft paper using scissors.
- Glue two large buttons near the top for eyes.
- Add smaller buttons below the eyes to form a feathered chest.
- Draw a beak with the black marker just below the eyes.
- Use white chalk to smudge soft feathers around the face and wings.


13. Crayon Resist Night Sky
Easy
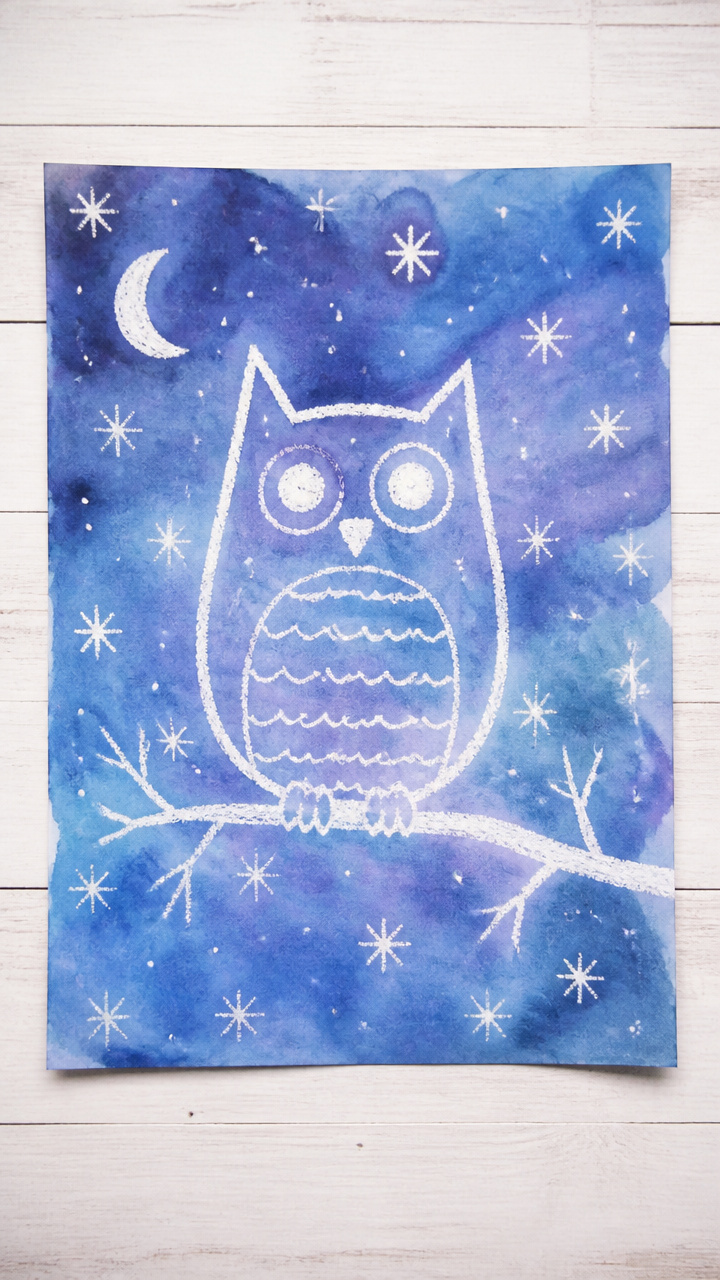
Waxy owl shapes stay bright while blue paint washes over them. The contrast feels like stars appearing at dusk.
Materials Needed
- White drawing paper, 9×12 inches
- White crayon
- Blue liquid watercolor
- Paintbrush, size 5
- Cup of water
- Paper towel
How to Make It
- Use the white crayon to draw an owl shape in the center of the paper, pressing firmly.
- Dip the paintbrush in blue watercolor and cover the entire page with paint.
- Let the paint sit for 30 seconds, then blot excess with a paper towel.
- Let the artwork dry flat for 30 minutes, revealing the white owl against the dark sky.


14. Puffy Paint Feather Owls
Moderate
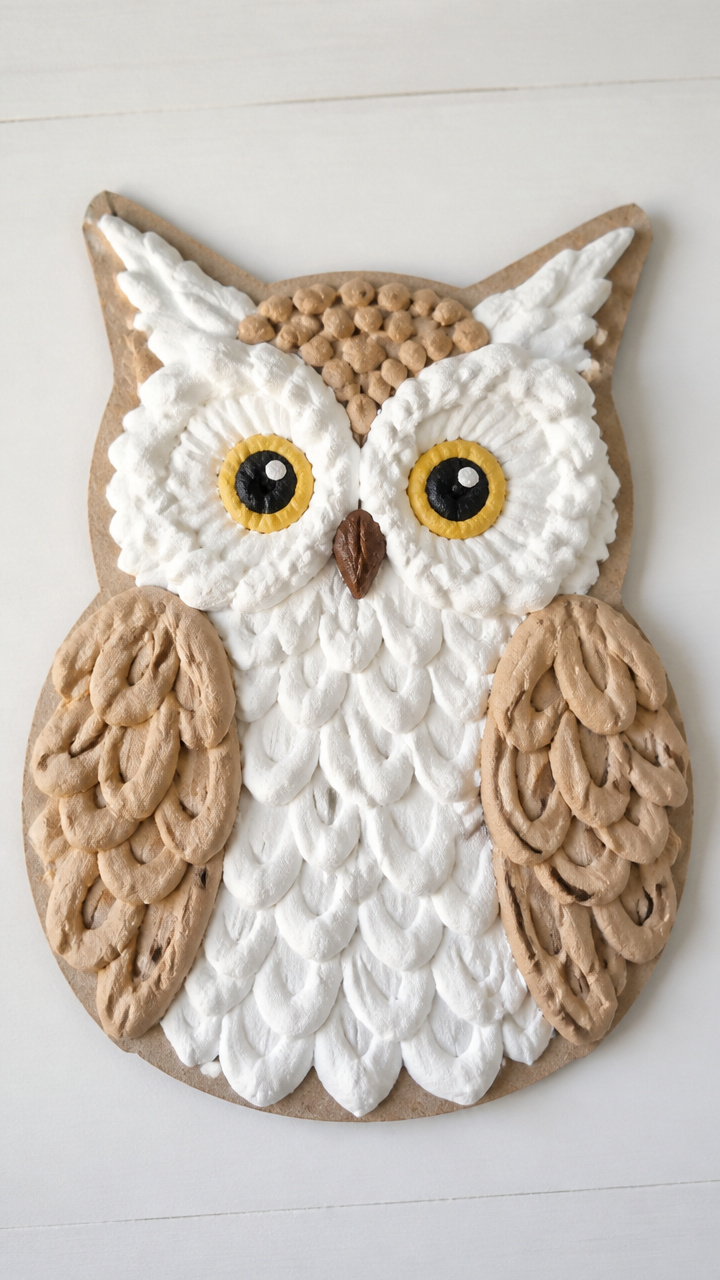
Homemade puffy paint adds thick, cloud-like texture to paper owls. Kids love watching their feathers rise as they dry.
Materials Needed
- White school glue, 1/2 cup
- Shaving cream, 1 cup
- Mixing bowl
- Spoon
- Brown food coloring, 10 drops
- Cardboard, 5×7 inches
- Paintbrush, wide
How to Make It
- Mix glue and shaving cream in the bowl until smooth and fluffy.
- Add brown food coloring and stir until evenly tinted.
- Paint an owl shape on the cardboard with the mixture using the wide brush.
- Let the painting dry undisturbed for 4 hours, during which it will puff up and harden slightly.


15. Leaf Print Woodland Owls
Easy
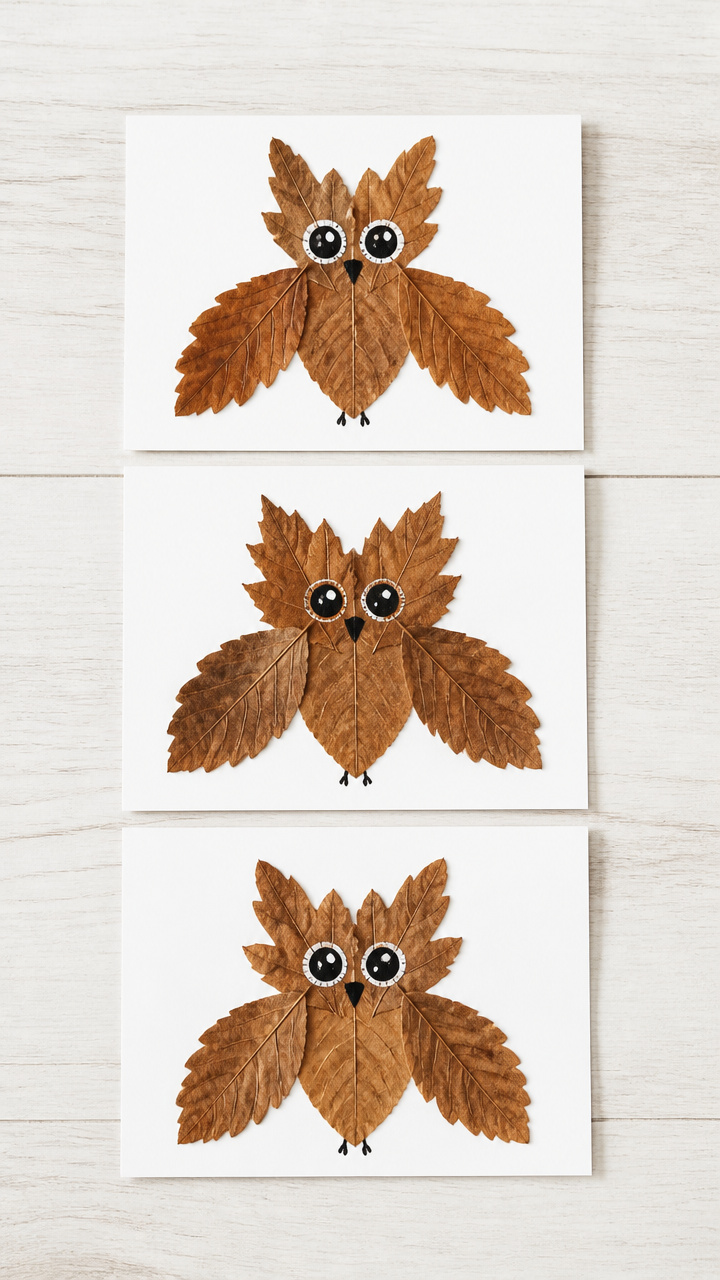
Real leaves dipped in paint press into feather patterns. Each print captures the delicate veins of nature.
Materials Needed
- Oak or maple leaves, 3 per owl
- Brown acrylic paint
- Paint tray
- Paintbrush, size 4
- White cardstock, 8.5×11 inches
- Black marker
- Googly eyes, 12mm, 2 per owl
How to Make It
- Pour brown paint onto the paint tray and use the brush to coat the back of a leaf.
- Press the painted side of the leaf onto the cardstock to make a feather shape.
- Repeat with two more leaves, overlapping slightly to form an owl body.
- Let the paint dry for 15 minutes.
- Glue googly eyes near the top and draw a beak with the black marker.


16. Sock Puppet Hooters
Moderate
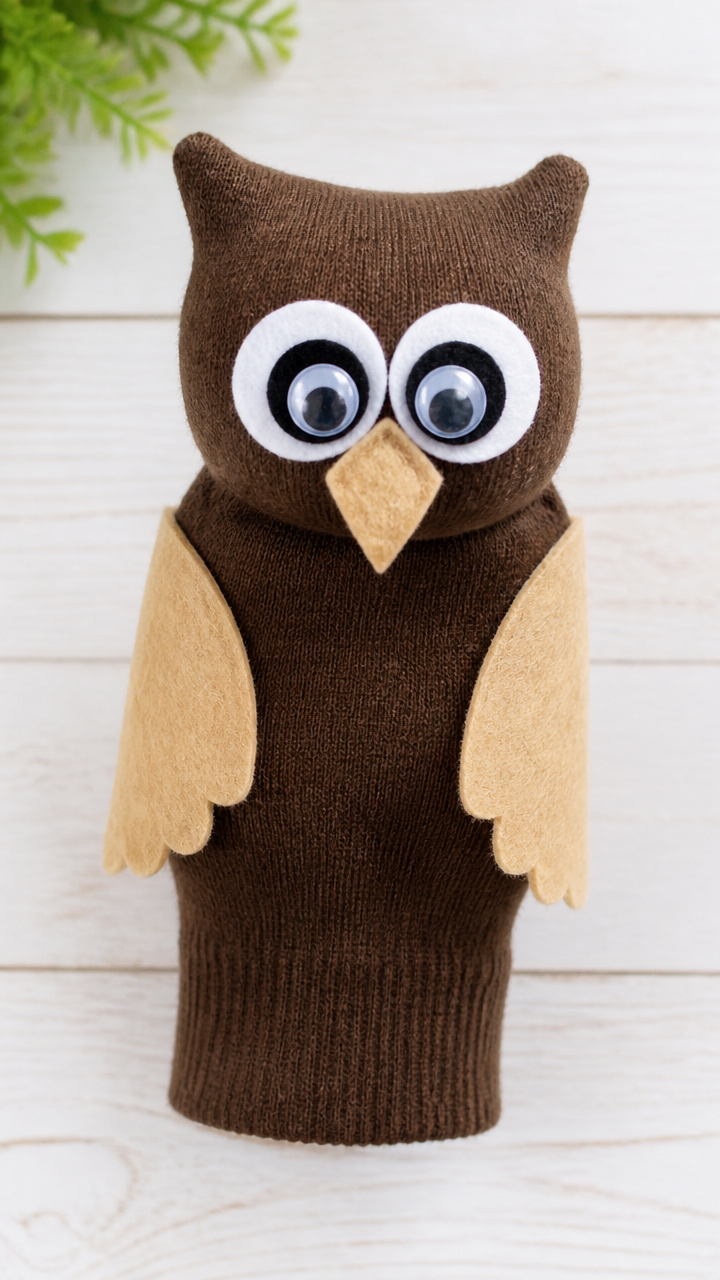
An old brown sock finds new life as a talking owl friend. Its soft body fits perfectly in small hands.
Materials Needed
- Brown crew sock, clean
- Felt sheets: beige, black, white
- Scissors
- Fabric glue
- Googly eyes, 25mm, 2 per owl
- Needle and brown thread
How to Make It
- Cut two large circles from beige felt for the face and glue them to the toe of the sock.
- Glue googly eyes onto the beige circles.
- Cut a small triangle from black felt and glue it below the eyes for the beak.
- Cut feather shapes from white felt and glue them around the face.
- Stitch a line of running stitch across the top of the heel to form a mouth opening.


17. Q-Tip Feather Patterns
Easy
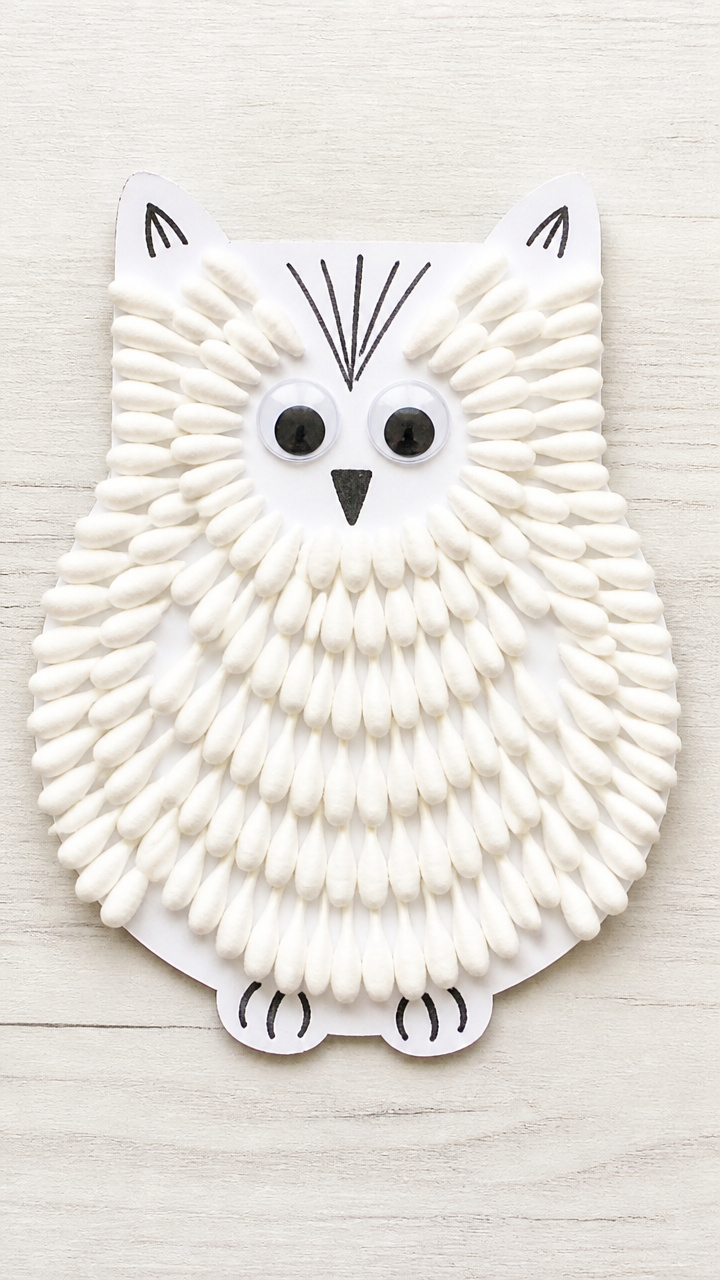
Cotton swabs arranged in tight rows form neat feather rows on flat owls. The uniform texture is satisfying to build.
Materials Needed
- White cardstock
- Black marker
- Cotton swabs, 15 per owl
- School glue
- Googly eyes, 10mm, 2 per owl
How to Make It
- Draw an owl outline on the cardstock with the black marker.
- Apply glue inside the body area in horizontal bands.
- Press cotton swabs side by side onto each glued band, pointing downward.
- Let the glue dry for 20 minutes.
- Glue googly eyes near the top and draw a small beak below.


18. Clay Perched Sculptures
Advanced
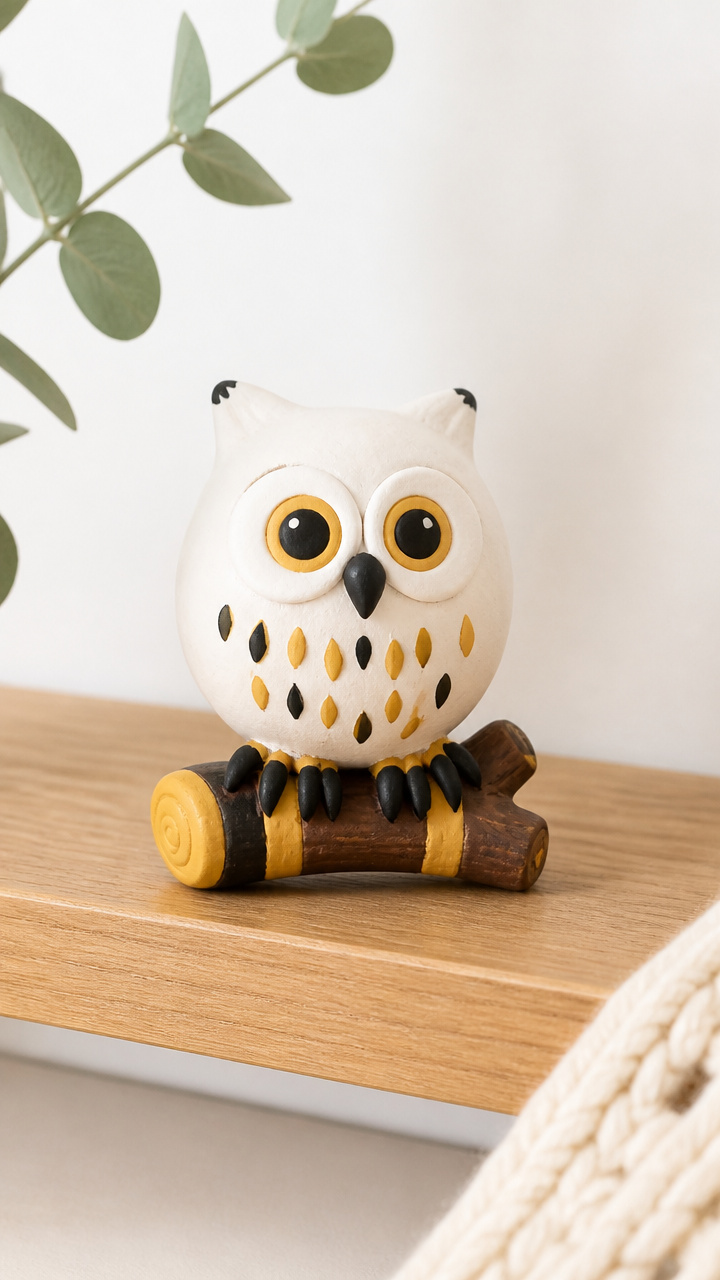
Air-dry clay shaped into round bodies and wide eyes hardens into lasting figures. These owls hold their pose on any shelf.
Materials Needed
- White air-dry clay, 1/2 pound
- Rolling pin
- Butter knife
- Toothpick
- Acrylic paints: brown, yellow, black
- Paintbrushes, sizes 1 and 3
- Clear varnish
How to Make It
- Roll a walnut-sized piece of clay into a ball for the body and flatten it slightly on a table.
- Shape two smaller balls for the eyes and press them near the top front.
- Use the toothpick to indent pupils in each eye.
- Cut a small triangle from leftover clay and attach it below the eyes for the beak.
- Let the sculpture dry for 24 hours, then paint with brown, yellow, and black acrylics.
- Apply a coat of clear varnish and let it dry for 2 hours.


19. Sticker Scene Forest Owls
Easy
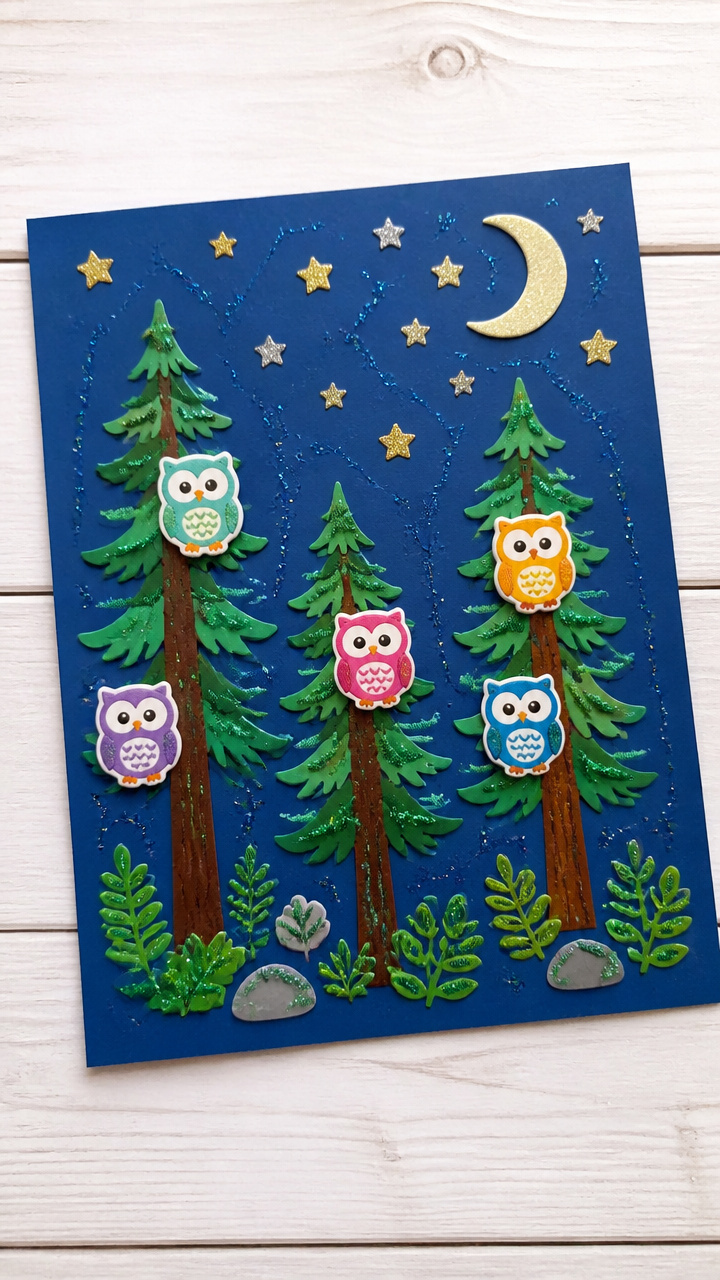
Pre-cut owl stickers combine with tree and moon stickers to build a full night scene. Perfect for little hands still building control.
Materials Needed
- Blue construction paper, 9×12 inches
- Owl stickers, assorted
- Tree stickers, 3 per scene
- Star and moon stickers
- Glitter glue pen
How to Make It
- Place one owl sticker near the top center of the blue paper.
- Add three tree stickers below it, spaced apart.
- Scatter star and moon stickers across the top half of the page.
- Draw small sparkles around the owl with the glitter glue pen and let dry for 20 minutes.


20. Flashlight Shadow Puppets
Moderate
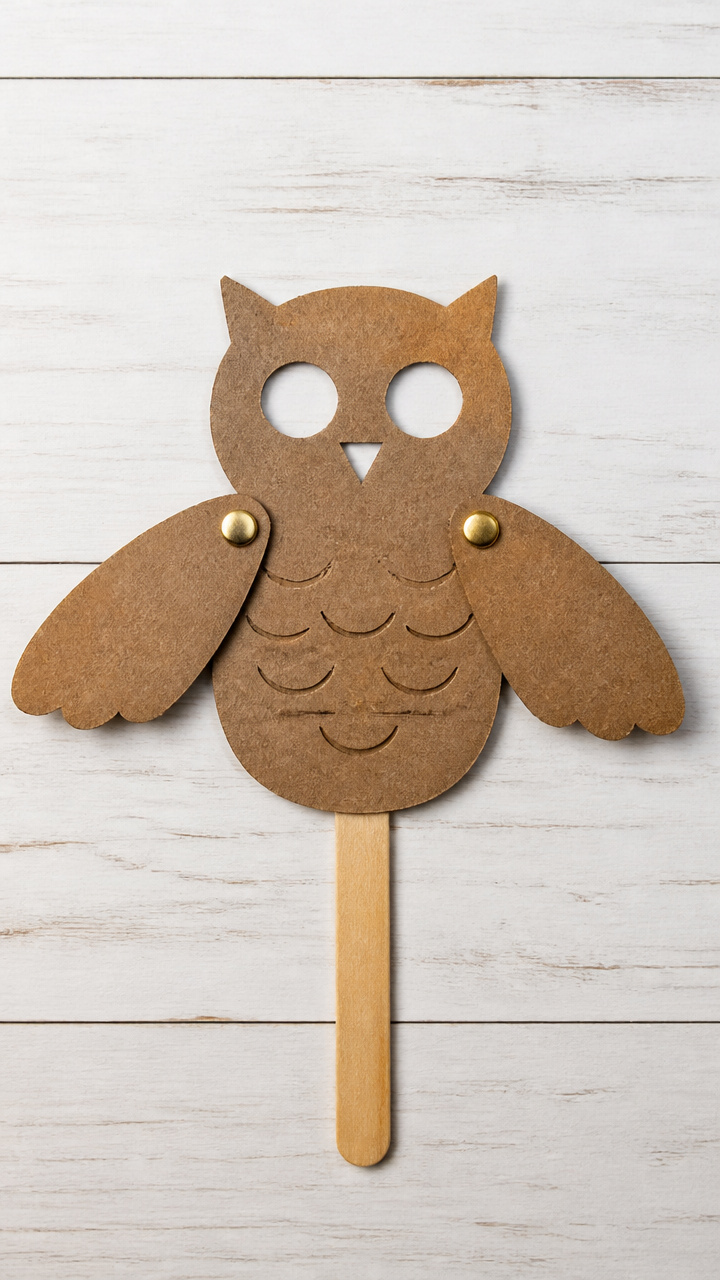
Cardboard owls with moving wings cast dancing shadows on the wall. They come alive in a dark room with a light beam.
Materials Needed
- Cardboard, 5×7 inches
- Pencil
- Scissors
- Brass fastener, 1 per owl
- Craft stick, 1 per owl
- Glue
- Black marker
How to Make It
- Draw an owl body and two separate wings on the cardboard and cut them out.
- Color all pieces black with the marker.
- Glue the craft stick to the back of the body.
- Attach each wing to the body with a brass fastener, allowing them to pivot.
- Hold the puppet in front of a flashlight to cast moving shadows on the wall.


Grab a pair of scissors, pour the glue, and let the quiet joy of making fill your days. These owls are ready to take flight into your home.