16 Winter Mantel and Shelf Decor Crafts Without Holiday Colors

Frosted mornings, soft light through bare branches, the quiet hush of snow-covered yards—winter holds a beauty all its own, one that doesn’t need red or green to shine. Your mantel and shelves can reflect that serene stillness with handmade pieces in cool grays, creamy whites, deep charcoals, and natural wood tones.
These sixteen crafts celebrate winter’s quiet elegance using textures like linen, bleached driftwood, and hand-thrown ceramics. Each one brings subtle warmth without leaning into festive palettes, so your home feels cozy, intentional, and in tune with the season’s quiet rhythm.
1. Driftwood Branch Centerpiece
Easy
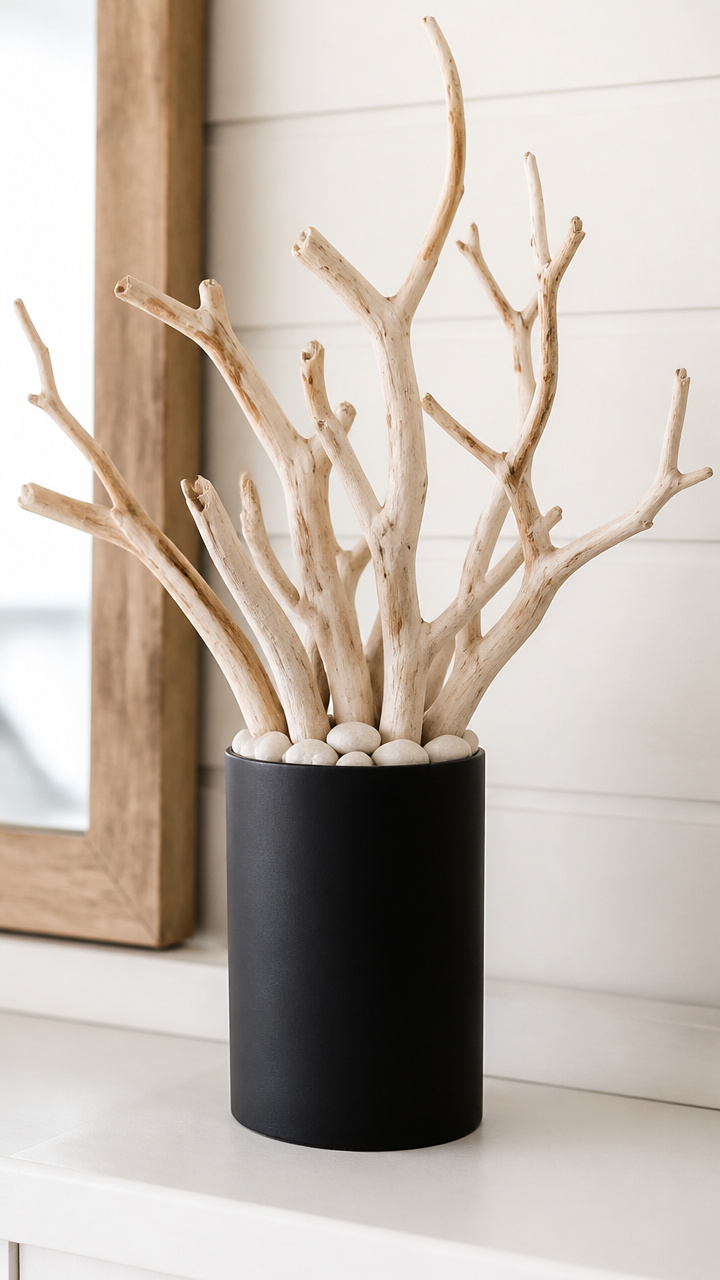
A cluster of bleached driftwood branches in a matte black vase creates a sculptural focal point that mimics snow-laden trees. This arrangement brings organic height and movement to your mantel with zero color.
Materials Needed
- 5-7 pieces of bleached driftwood branches, each 8–14 inches long
- 1 matte black ceramic cylinder vase, 6 inches tall
- 1 small bag of decorative white river stones
How to Make It
- Place the river stones at the base of the vase to stabilize the branches.
- Arrange the driftwood branches vertically in the vase, varying heights for natural asymmetry.
2. Linen-Wrapped Candle Holders
Easy
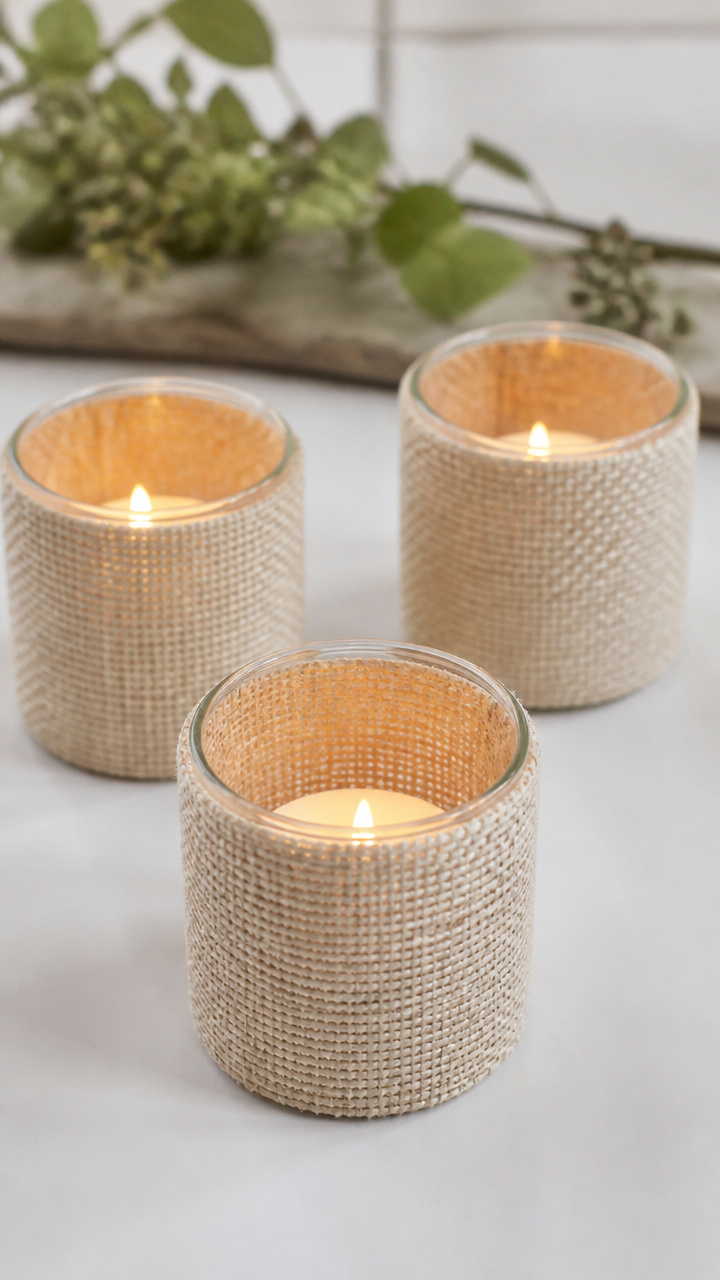
Textured natural linen wrapped around clear glass votive holders softens candlelight and adds tactile warmth. These holders blend into neutral decor while creating gentle pools of glow on your shelf.
Materials Needed
- 4 clear glass votive holders, 3 inches tall
- 1 yard of natural unbleached linen fabric, 44 inches wide
- 1 small bottle of fabric glue
- Scissors
- Ruler
How to Make It
- Cut the linen into 4 strips, each 3 inches wide and 12 inches long.
- Apply a thin line of fabric glue along the bottom edge of a glass holder, wrap one linen strip around it, and press the end down to secure.
3. Frosted Eucalyptus Wreath
Moderate
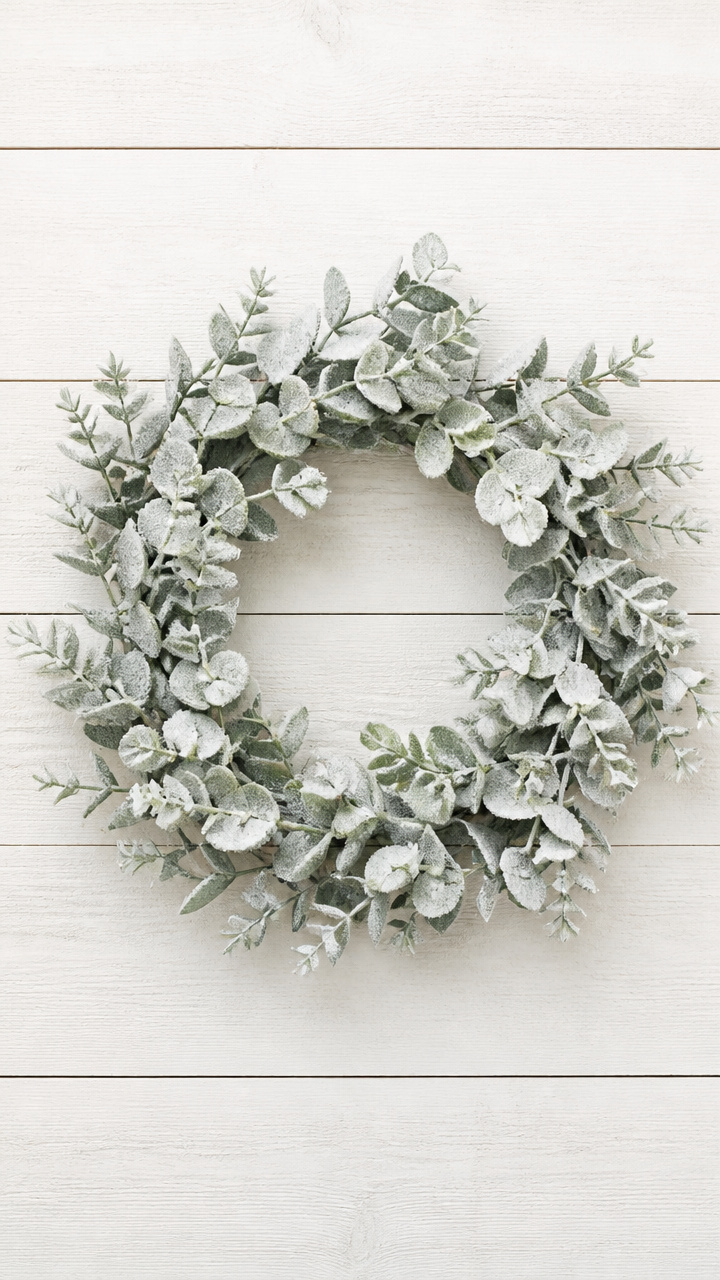
Preserved eucalyptus dipped in matte white craft frost gives the look of freshly snow-dusted greenery. Hang it above your mantel or lay it flat as a base for other decor.
Materials Needed
- 1 preserved eucalyptus wreath, 12 inches in diameter
- 1 can of matte white craft frost spray
- 2 sheets of scrap paper, 18×24 inches each
- Disposable gloves
- Plastic drop cloth
How to Make It
- Lay the drop cloth over a flat surface outdoors or in a well-ventilated area, then place the scrap paper on top.
- Wear gloves, hold the wreath by the base, and spray the craft frost evenly over the leaves, rotating slowly for full coverage. Let dry for 2 hours.
4. Concrete Candle Stands
Moderate
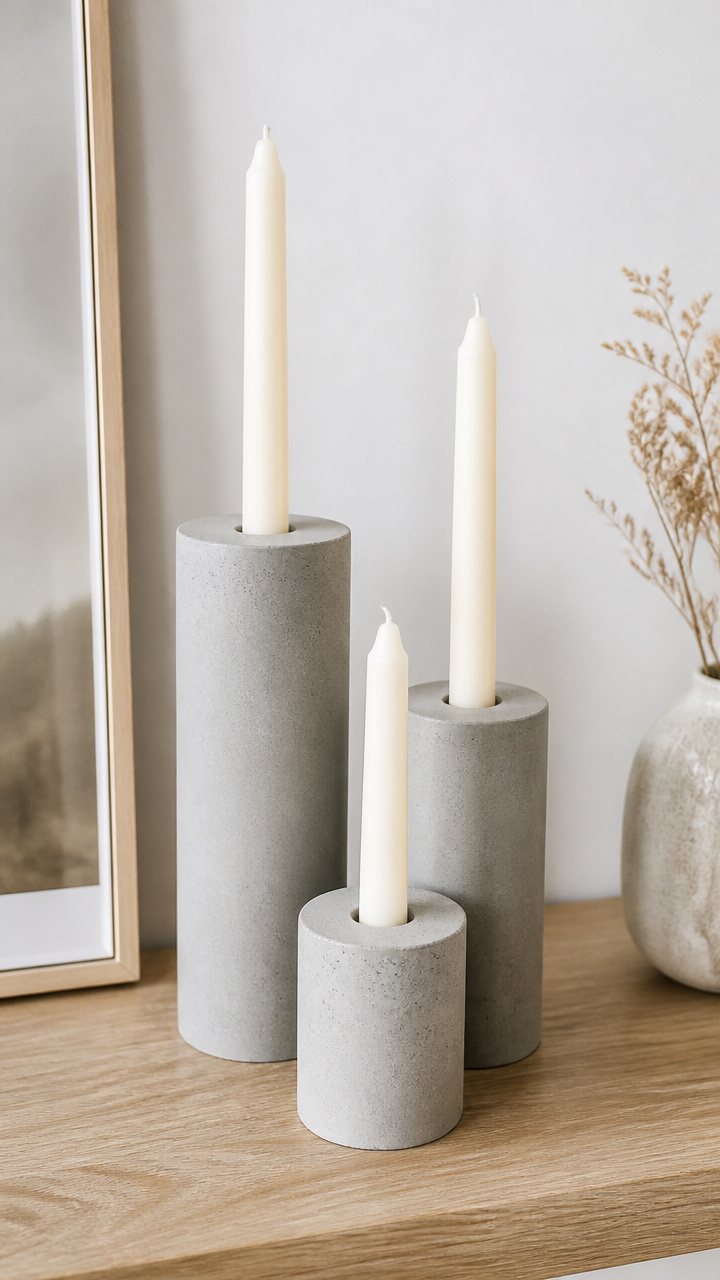
Hand-poured concrete cylinders in varying heights hold taper candles with modern simplicity. These minimalist stands add weight and grounding to a long shelf.
Materials Needed
- Concrete mix, 5 lb bag
- 3 cardboard toilet paper rolls
- Plastic mixing bowl
- Wooden mixing stick
- Water
- Cooking spray
- Sandpaper, 120 grit
How to Make It
- Spray the inside of each toilet paper roll with cooking spray, then place them upright on a flat surface.
- Mix concrete with water according to package directions, pour into each roll, and tap gently to remove air bubbles. Let cure for 48 hours.
- Peel away the cardboard and lightly sand any rough edges with sandpaper.
5. Twine-Wrapped Apothecary Jars
Easy
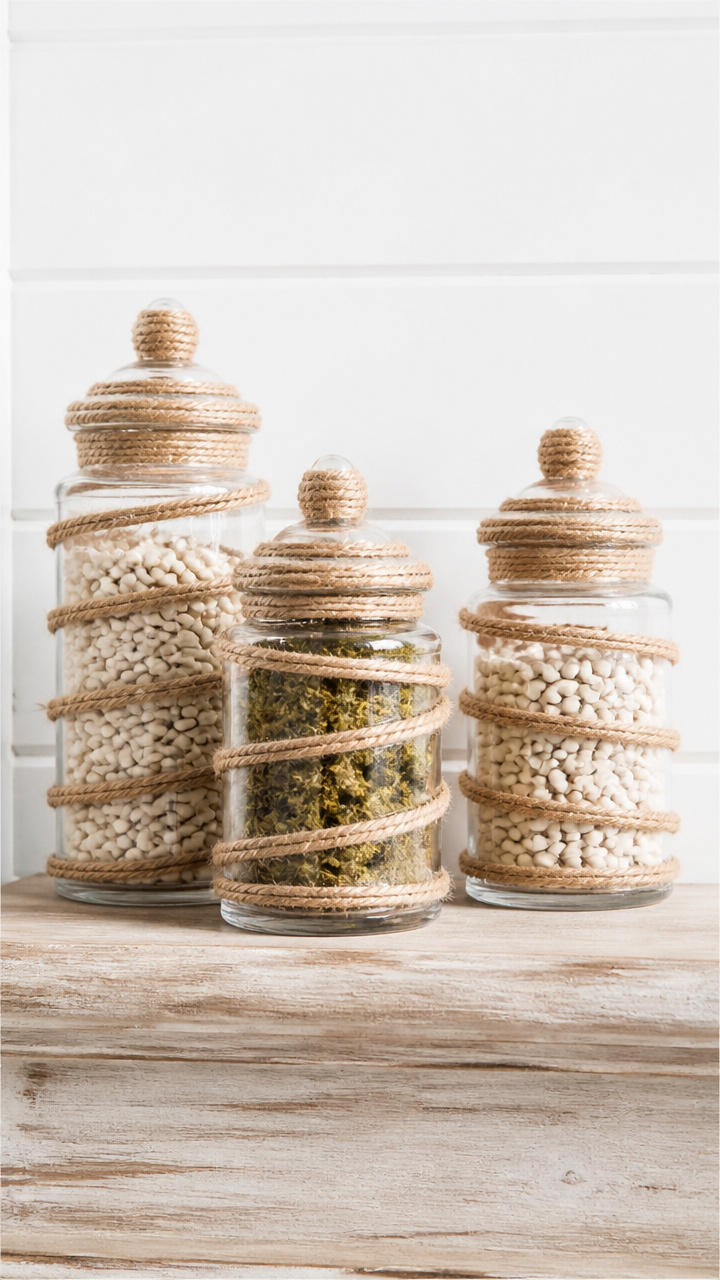
Natural jute twine spiraled around glass jars gives a rustic yet refined look. Fill them with dried white beans or moss for subtle texture on a bookshelf.
Materials Needed
- 3 clear glass apothecary jars with lids, 4 inches tall
- 1 spool of natural jute twine, 50 yards
- 1 small bottle of clear-drying craft glue
- Scissors
How to Make It
- Apply a dot of glue to the bottom edge of a jar, press the end of the twine to it, and wrap tightly upward in a spiral.
- Glue the twine end at the top rim and trim with scissors.
6. Air-Dry Clay Snowflake Ornaments
Moderate
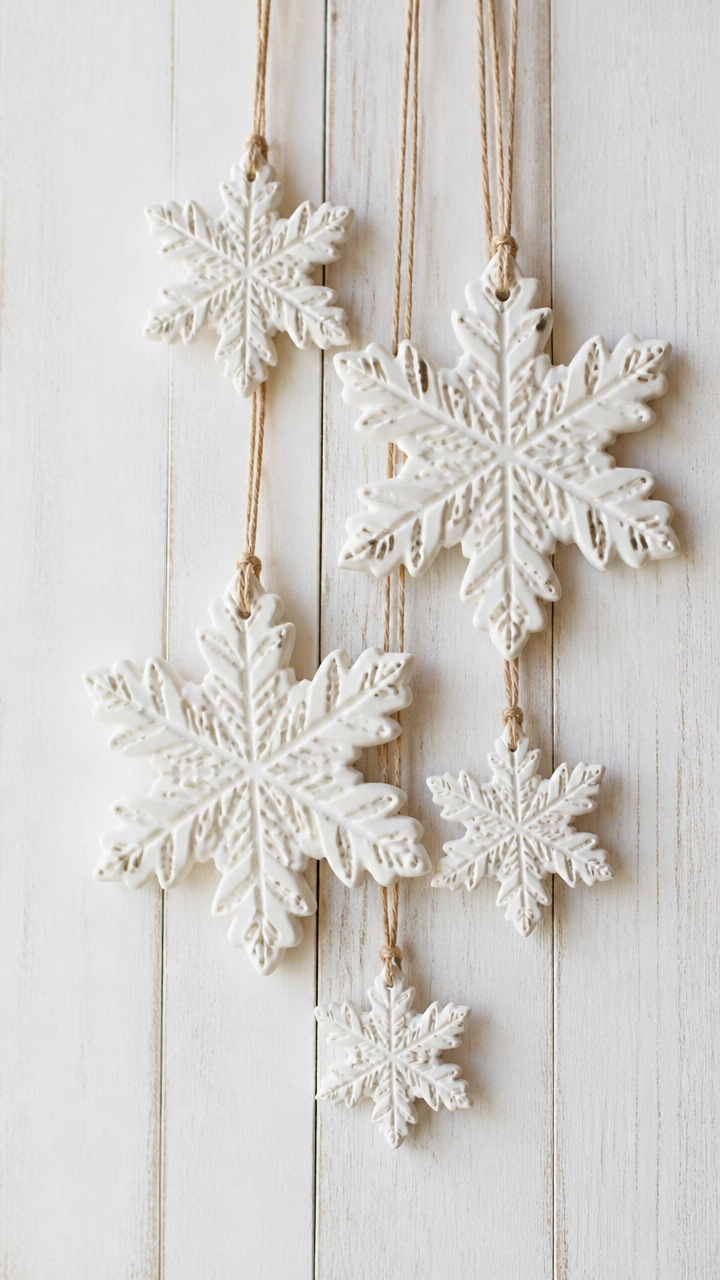
Delicate handmade snowflakes made from white air-dry clay hang from linen thread in a graceful cluster. These add frosty detail without glitter or color.
Materials Needed
- 1 block of white air-dry clay, 2 lb
- Snowflake-shaped cookie cutters, set of 3 different sizes
- Rolling pin
- Straw
- Linen thread, 10 yards
- Needle
- Acrylic sealer spray, matte finish
How to Make It
- Roll the clay to 1/4 inch thickness on a flat surface, then press each snowflake cutter into the clay and lift carefully.
- Use the straw to poke a hole at the top of each snowflake, then let dry for 24 hours.
- Thread linen through each hole using the needle, then spray lightly with matte sealer on both sides.
7. Gray-Washed Wood Slice Stack
Easy
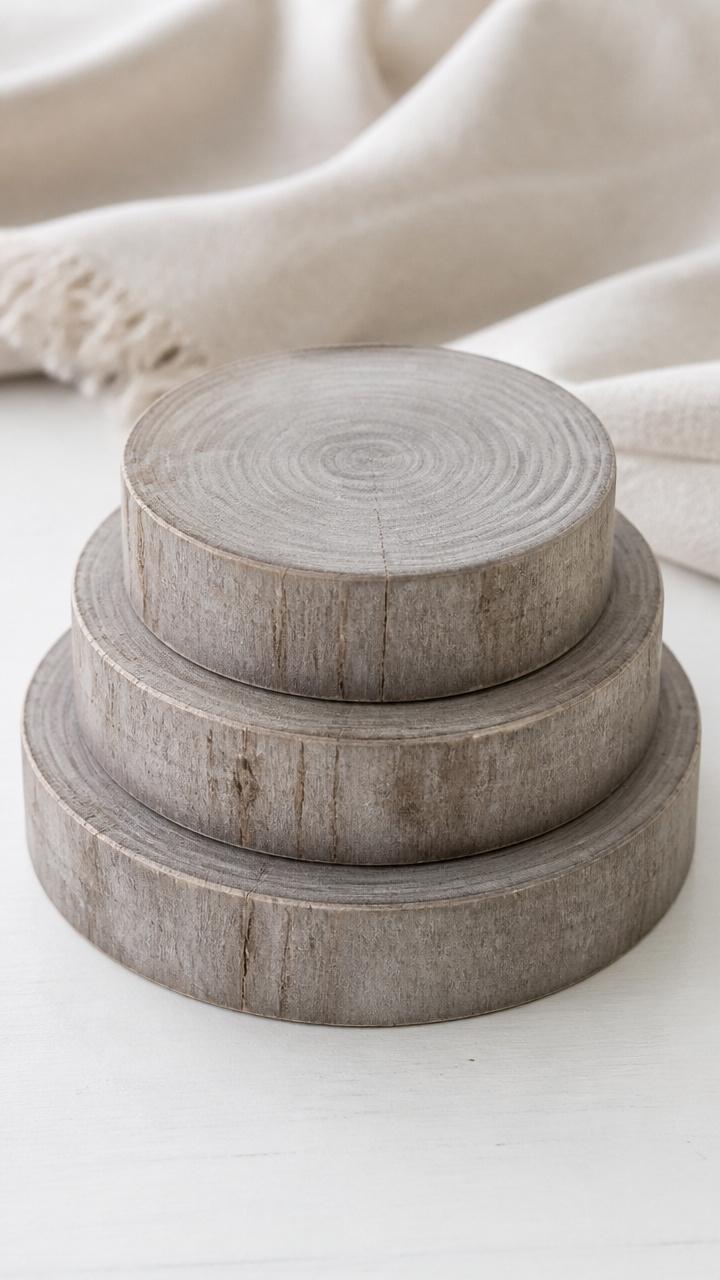
Sanded wood slices coated in diluted gray acrylic paint create a layered stack that feels like frozen tree rings. This natural sculpture works on a wide shelf or mantel corner.
Materials Needed
- 3 wood slices, each 6 inches in diameter and 1 inch thick
- 1/4 cup gray acrylic paint
- 1/2 cup water
- Paintbrush, 2 inch flat
- Sandpaper, 100 grit
How to Make It
- Lightly sand each wood slice with sandpaper to smooth the surface.
- Mix the gray paint with water, then brush a thin, even coat onto the top and sides of each slice. Let dry for 1 hour.
- Stack the slices in descending order from largest to smallest base.
8. Hand-Felted Wool Balls Garland
Moderate
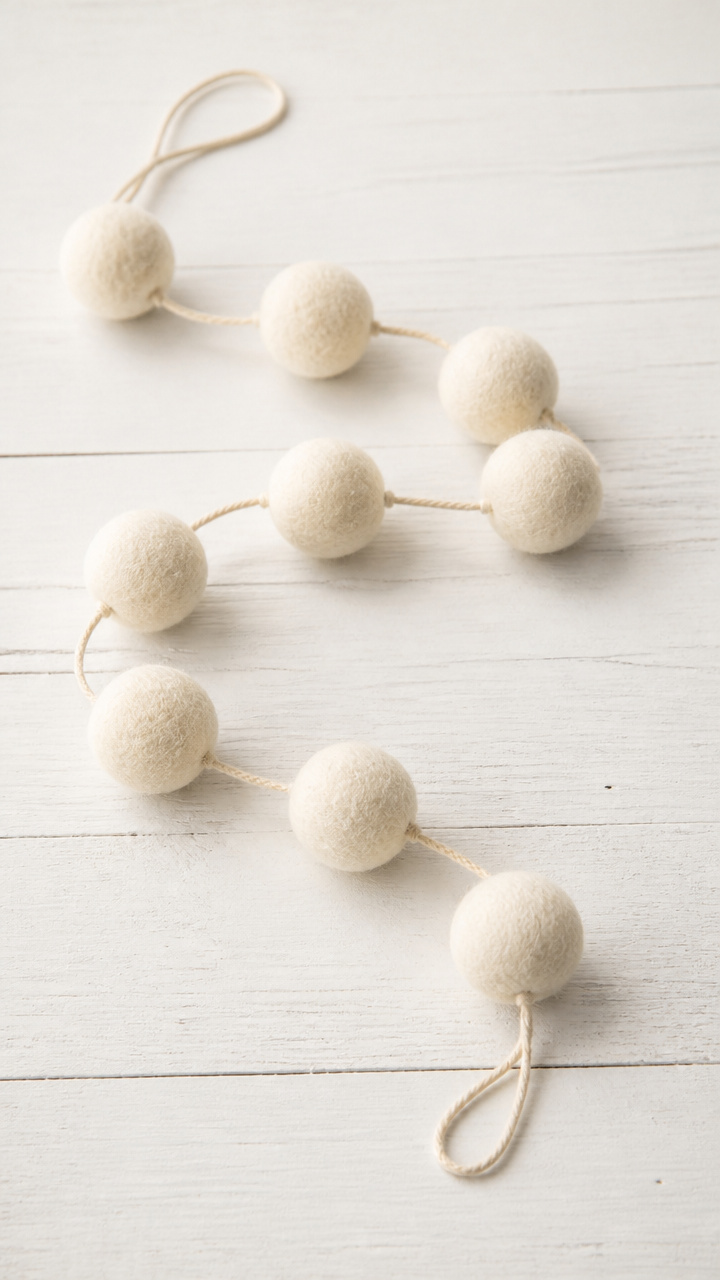
Soft spheres of undyed wool felt strung together make a cozy, bouncy garland. Drape it along a shelf for a touch of handmade softness.
Materials Needed
- 100% raw wool roving, 4 oz, natural off-white
- Needle felting needle, size 36
- Foam felting pad, 6×4 inches
- Embroidery needle
- Natural cotton string, 5 feet
How to Make It
- Pull small pieces of wool roving, roll into loose balls, and place on the foam pad.
- Poke each ball repeatedly with the felting needle until firm and spherical, rotating often. Make 12 balls.
- Thread the cotton string through each ball using the embroidery needle, spacing them 2 inches apart.
9. Tapered Beeswax Tapers
Easy
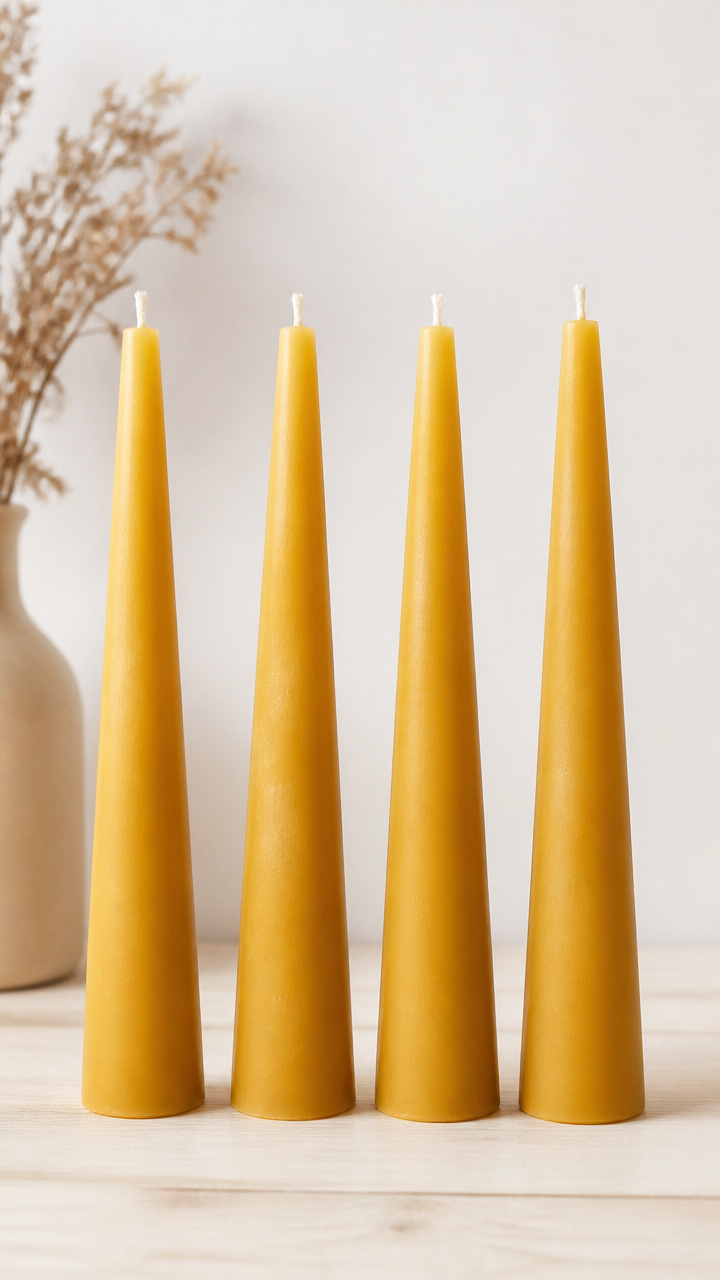
Pure beeswax sheets rolled around cotton wicks create naturally golden candles that burn cleanly. Their honeyed scent and soft glow enhance a quiet winter evening.
Materials Needed
- Beeswax sheets, 8×16 inches, natural color, 4 sheets
- Pre-wicked cotton taper cores, 10 inches, 4 pieces
- Rolling pin
- Scissors
How to Make It
- Lay a beeswax sheet flat, place a wick at one short end, and roll tightly using the rolling pin to seal.
- Trim the end with scissors if uneven. Repeat for all four sheets.
10. Ladder-Back Twig Mirror Frame
Advanced
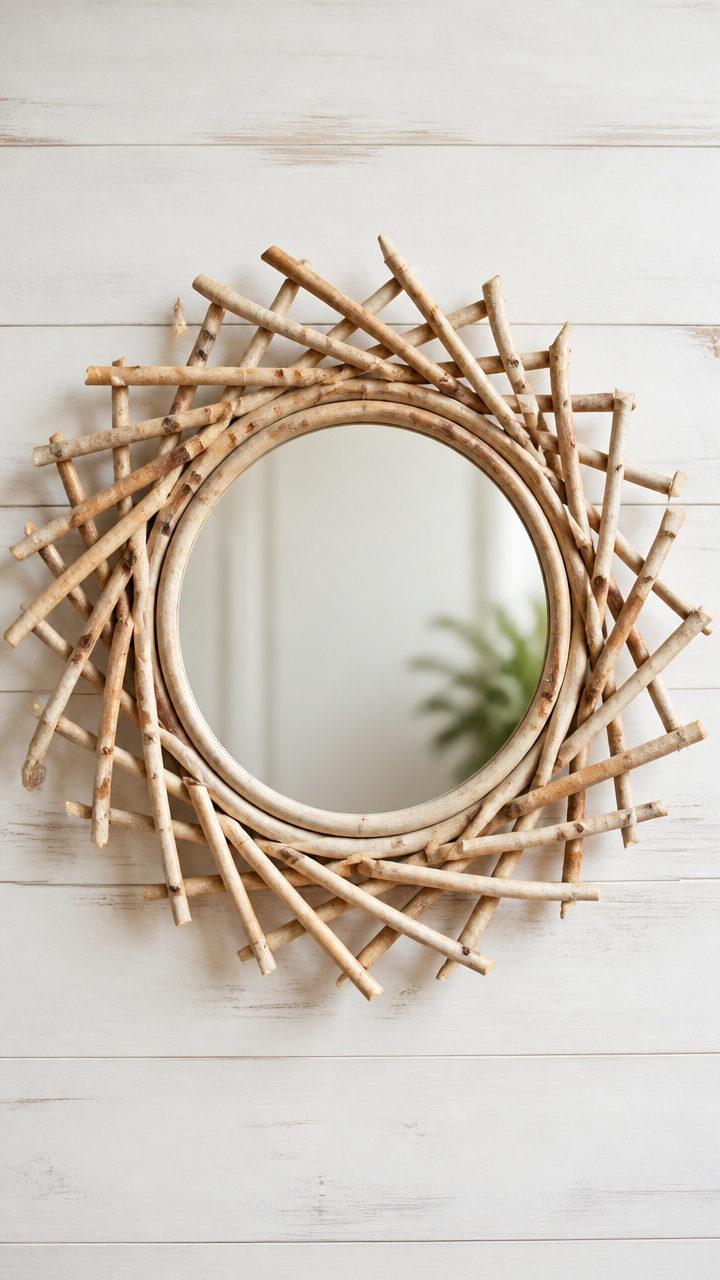
Slender birch twigs glued in a crisscross pattern around a round mirror add woodland texture. Hang it above your mantel for depth and reflection.
Materials Needed
- Round frameless mirror, 10 inches diameter
- 20 birch twigs, each 8–10 inches long and 1/4 inch thick
- Hot glue gun
- Hot glue sticks, clear
- Pruning shears
- Ruler
How to Make It
- Trim each twig to exactly 10.5 inches using pruning shears.
- Apply hot glue to one end of a twig and press it vertically against the edge of the mirror, spacing evenly around the circle.
- Glue horizontal twigs over the vertical ones in a ladder pattern, forming 8 intersections. Let dry 30 minutes.
11. Pressed Fern Art in Shadow Box
Moderate
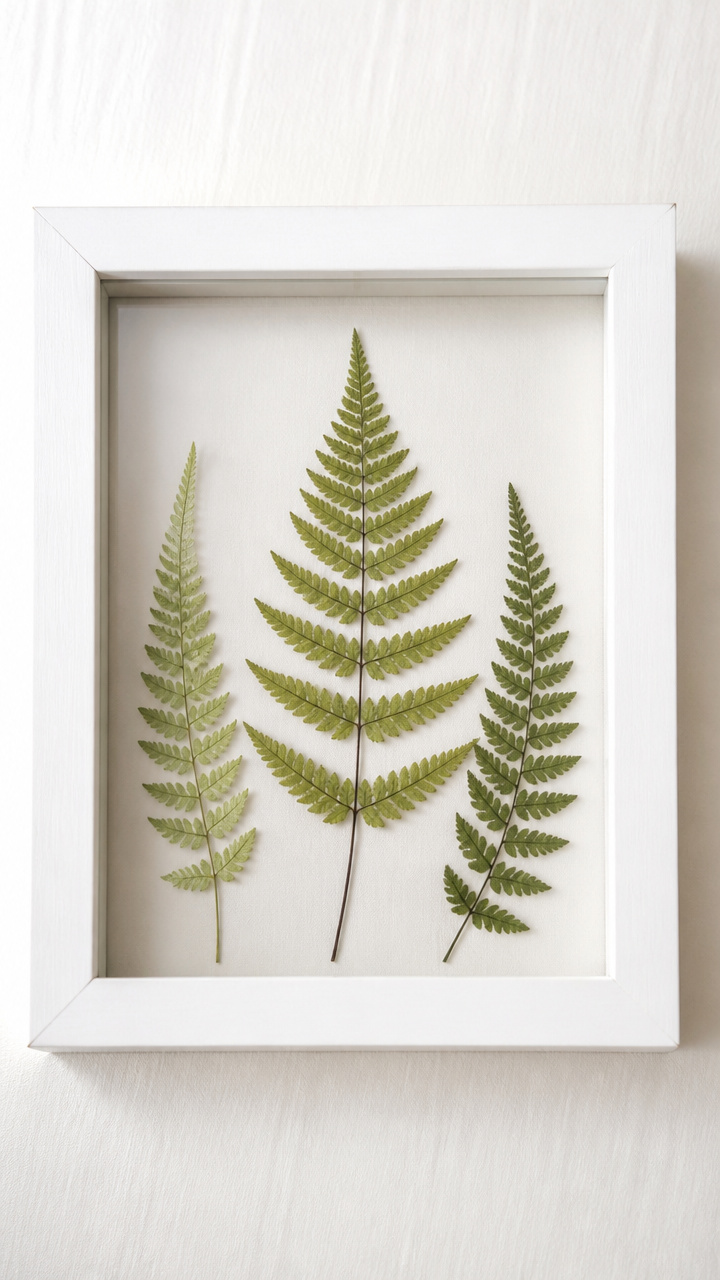
Delicate fern fronds preserved between glass and mounted in a deep frame make a living fossil display. This piece brings quiet greenery without vibrant color.
Materials Needed
- 3 fresh fern fronds, 6–8 inches long
- Heavy book
- Deep shadow box frame, 8×10 inches, white wood
- Double-sided tape, 1/4 inch wide
- Craft tweezers
How to Make It
- Place ferns between two sheets of printer paper and press inside a heavy book for 48 hours.
- Open the shadow box, use tweezers to position the ferns on the backing, and secure each tip with small pieces of double-sided tape.
12. Ceramic Pebble Tray
Moderate
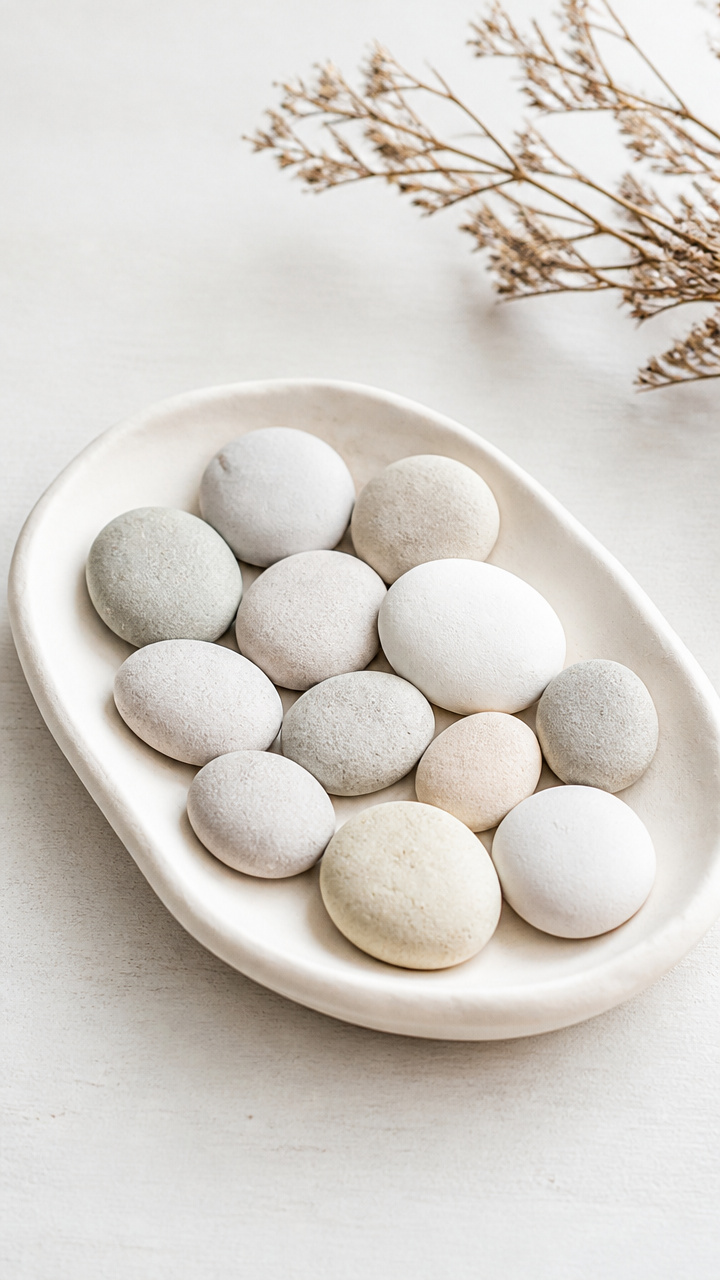
Smooth white pebbles nestled in a handmade air-dry clay tray hold matches or small decor. The soft curve of the tray mimics a snowbank.
Materials Needed
- White air-dry clay, 1.5 lb
- Small mixing bowl, 4 inches diameter
- Rolling pin
- Craft knife
- 12 smooth white river pebbles, 1 inch diameter
- Sandpaper, 220 grit
How to Make It
- Roll the clay to 1/2 inch thickness, drape over the outside of the bowl, and smooth with fingers.
- Let sit for 1 hour, then gently lift off the bowl and trim the base flat with the craft knife. Let dry 36 hours.
- Sand edges smooth and fill with pebbles.
13. Herringbone Wool Runner
Advanced
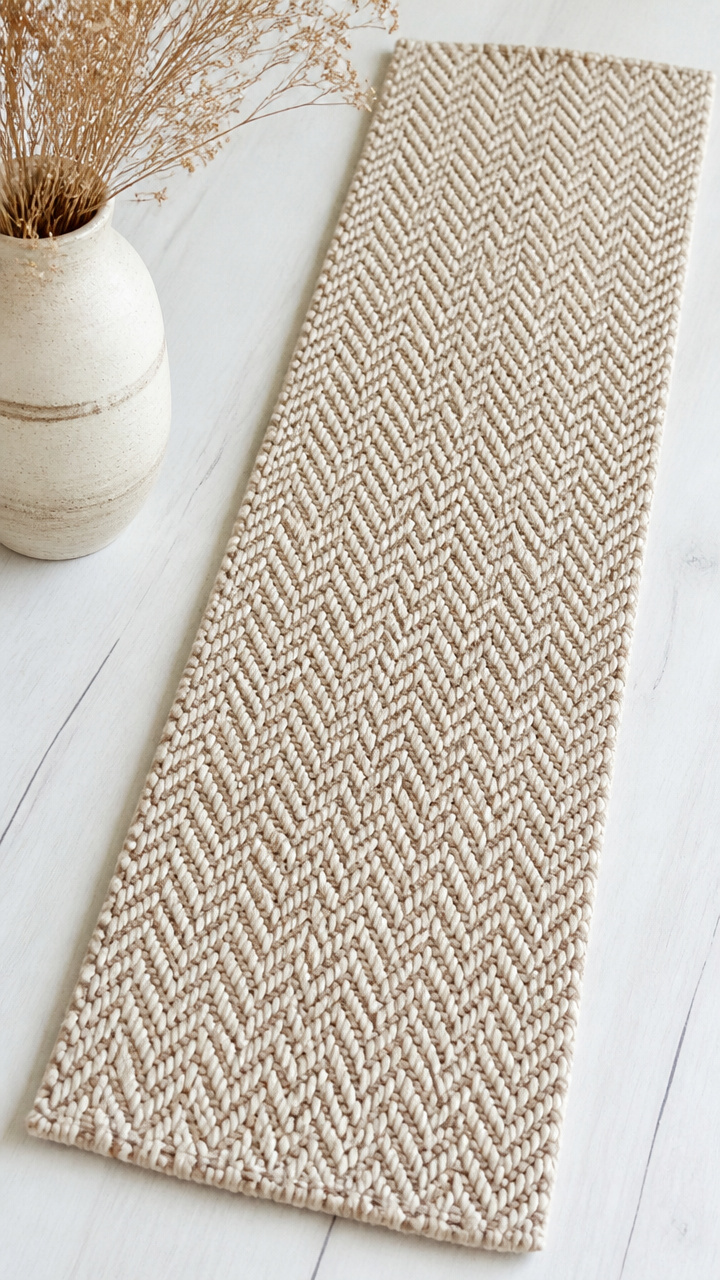
A narrow runner woven in herringbone pattern from undyed wool yarn brings soft structure to a shelf. Its tight weave resists dust and adds warmth.
Materials Needed
- Rigid heddle loom, 10 inch weaving width
- Warp yarn, 8/4 unbleached cotton, 20 yards
- Weft yarn, undyed wool, worsted weight, 100 yards
- Shuttle
- Comb
How to Make It
- Warp the loom using the cotton yarn at 8 ends per inch across the width.
- Weave with the wool yarn using a herringbone pattern: alternate 2 over 2 under, shifting by one each row. Use the comb to beat each row.
- Weave for 24 inches, then cut off the loom and secure the ends.
14. Charcoal-Dipped Pine Cones
Easy
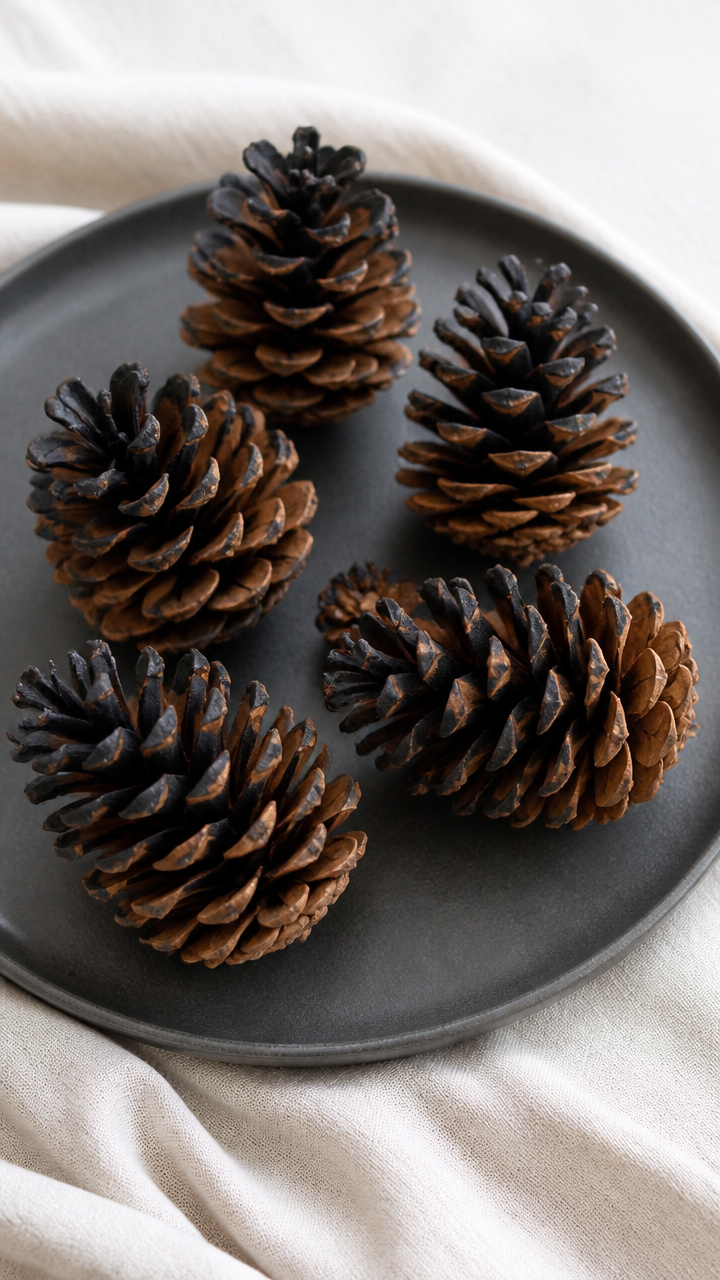
Pine cones partially dipped in liquid charcoal create a frost-and-shadow effect. These sit well in a low bowl or line a windowsill.
Materials Needed
- 6 medium pine cones
- 1 bottle of liquid charcoal pigment, 8 oz
- Shallow ceramic dish
- Tongs
- Paper plate
How to Make It
- Pour liquid charcoal into the ceramic dish to a depth of 1/2 inch.
- Hold a pine cone with tongs and dip the bottom third into the charcoal, then place on the paper plate to dry for 3 hours.
15. Linen Pouches with Twig Ties
Moderate
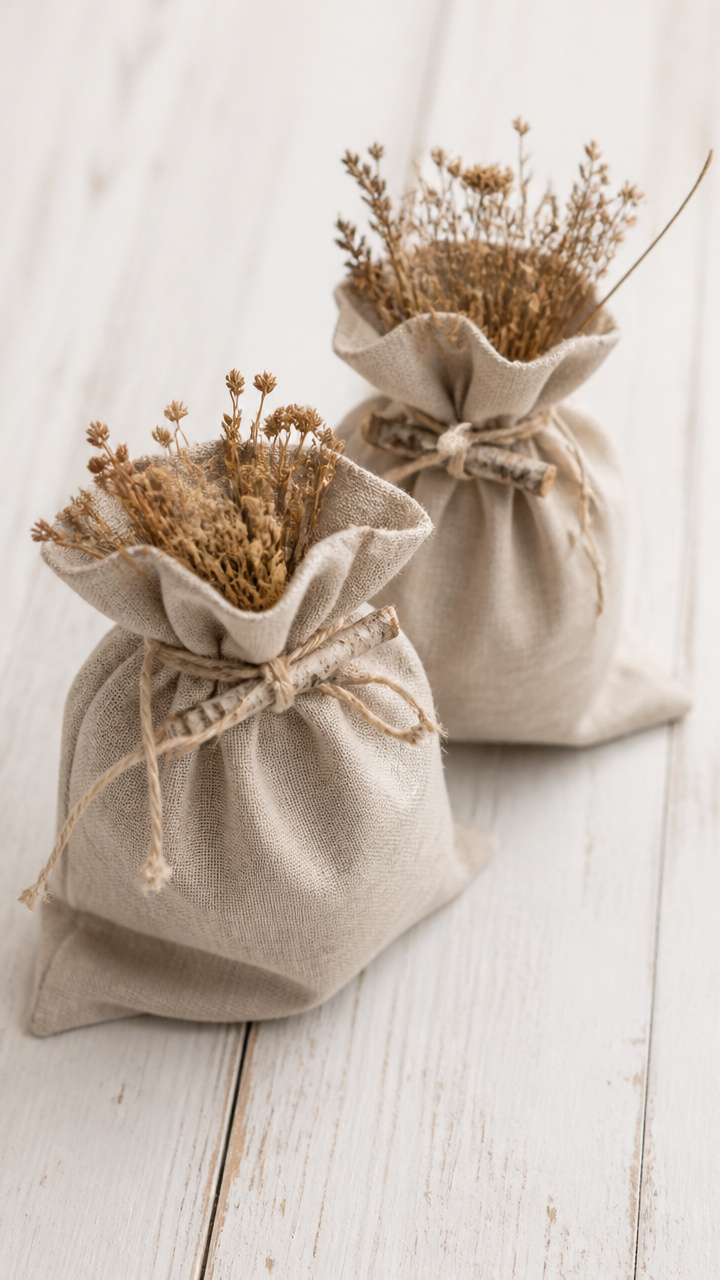
Simple drawstring pouches made from oat-colored linen hold pine sprigs or dried grasses. Each is closed with a tiny birch twig threaded through twine.
Materials Needed
- Oat-colored linen fabric, 1/2 yard
- Sewing machine
- Thread, natural cotton
- Scissors
- 6 small birch twigs, 3 inches long
- Natural twine, 1/8 inch thick, 6 feet
How to Make It
- Cut six rectangles of linen, each 6×8 inches, and fold in half with right sides together.
- Sew along the two sides and bottom with a 1/4 inch seam, then turn right side out.
- Cut six 12 inch twine pieces, thread each through the top hem to form a drawstring, and tie a birch twig to each end.
16. Salt-Crusted Grapevine Balls
Easy
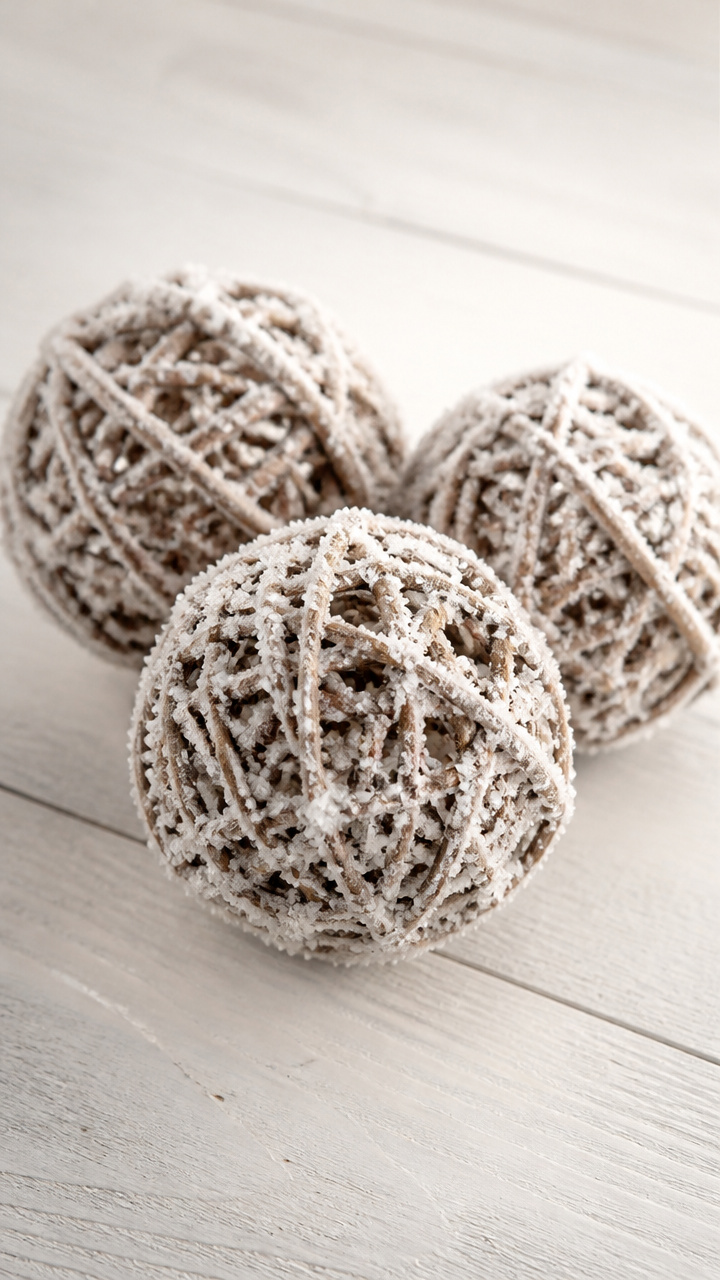
Grapevine balls coated in a paste of salt and glue sparkle like hoarfrost under soft light. Cluster three together for a textural centerpiece.
Materials Needed
- 3 grapevine balls, 3 inches diameter
- 1/2 cup table salt
- 2 tablespoons white craft glue
- 1 teaspoon water
- Small mixing bowl
- Paintbrush, 1 inch
How to Make It
- Mix salt, glue, and water in the bowl to form a gritty paste.
- Use the paintbrush to coat each grapevine ball completely with the paste.
- Let dry upright on wax paper for 4 hours until crusty and white.
You don’t need bright colors to celebrate winter’s quiet beauty. With these crafts, your mantel and shelves become a gallery of texture, light, and handmade calm. Pick one that calls to you and start today.