15 New Year Paper Crafts for Kids

Glitter spills across the table like stardust, scissors snip through bright paper, and tiny hands shape wishes into something you can hold. These moments—messy, joyful, full of laughter—are how memories begin.
Each craft here turns simple materials into celebration. They’re made for small fingers, big ideas, and the quiet pride that comes from making something all on your own.
1. Sparkly Countdown Chain
Easy
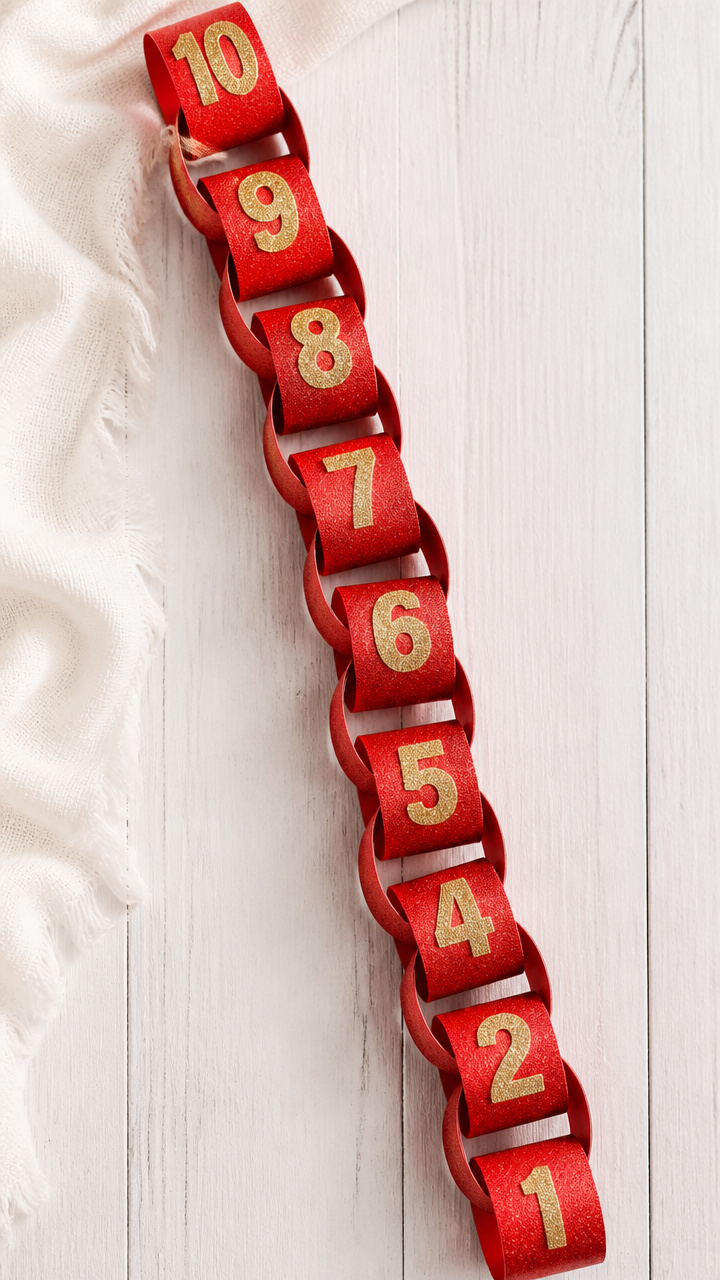
A looped chain with numbers from 10 to 1 lets kids count down the final seconds before the new year begins. Each link shimmers with glitter and pride when finished.
Materials Needed
- Ten 2-inch x 8-inch strips of red construction paper, one for each number
- Gold glitter glue
- Number stickers 10 through 1
- Clothespin
- Scissors
How to Make It
- Write a number from 10 to 1 on each paper strip using number stickers.
- Squeeze gold glitter glue along one long edge of the first strip and press the ends together to form a loop.
- Clamp the seam with a clothespin and let dry for 10 minutes.
- Thread the second strip through the first loop before sealing it closed, repeating until all ten are linked in order.


2. Paper Fireworks Banner
Easy
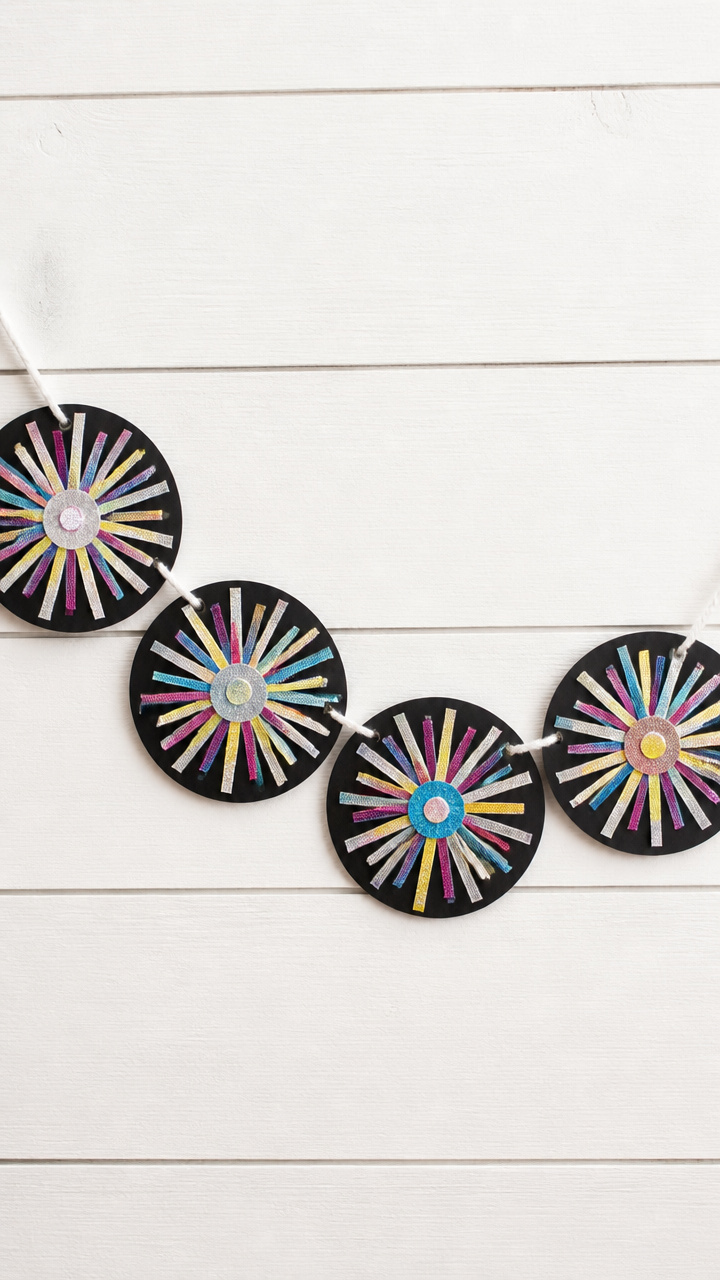
Bold bursts of color fan out from a string, mimicking fireworks lighting up the night sky. Hang it above a doorway for instant festivity.
Materials Needed
- Six sheets of black A4 cardstock
- Round craft punch, 1.5-inch diameter
- Glitter gel pens in silver, pink, blue, and yellow
- White yarn, 3 feet
- Glue dots
How to Make It
- Use the round craft punch to cut one circle from each sheet of black cardstock.
- Draw radiating lines and sparkles on each circle with glitter gel pens to resemble fireworks.
- Punch a small hole at the top of each circle.
- Thread the yarn through the holes and space the circles evenly, securing each with a glue dot on the back.


3. New Year Crown
Easy
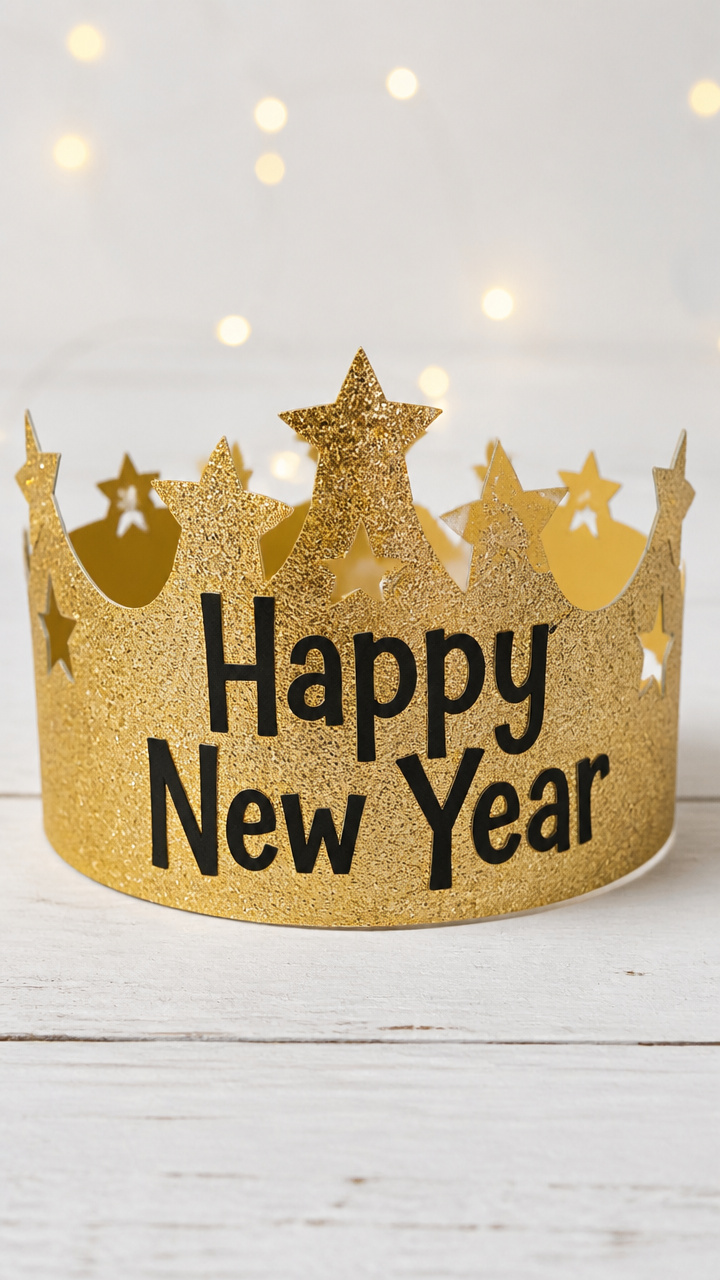
Every child becomes royalty at midnight with this sturdy paper crown adorned with 'Happy New Year' lettering and star cutouts. It holds up through dancing and dessert.
Materials Needed
- One 9-inch x 12-inch sheet of gold glitter cardstock
- Black fine-tip marker
- Star-shaped hole punch
- Ruler
- Scotch tape
How to Make It
- Measure and cut the cardstock into a 3-inch tall band that wraps around the child’s head, overlapping by 1 inch.
- Write 'Happy New Year' in large letters across the front third of the band.
- Use the star punch along both top edges, spacing stars 1 inch apart.
- Tape the overlapping ends together to form a crown.


4. Confetti Popper Tubes
Moderate
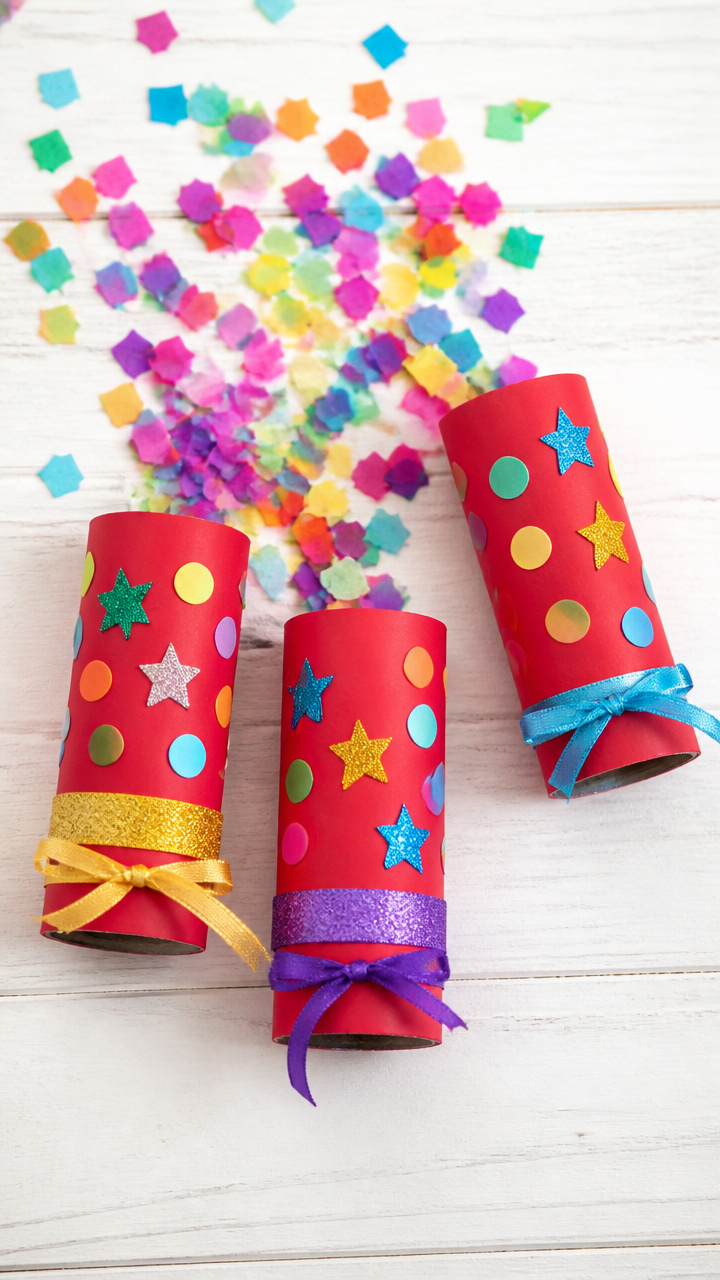
Pull a ribbon and out shoots a burst of colorful confetti from a decorated cardboard tube. Safe, reusable, and thrilling every time.
Materials Needed
- Four empty toilet paper rolls
- Assorted tissue paper squares, 1-inch, 50 total in assorted colors
- Craft foam sheet, red
- Elastic band, 6 inches long
- Double-sided tape
- Ribbon, 12 inches per popper
How to Make It
- Line the inside of each roll with double-sided tape and press tissue paper squares onto it to create a confetti lining.
- Cut a circle from the red craft foam slightly larger than the roll’s diameter.
- Center the elastic band over the circle and secure both ends with tape so it crosses like an X.
- Attach the foam circle to one end of the roll with double-sided tape, then thread the ribbon through the elastic and pull to release confetti.


5. Wishing Tree Display
Moderate
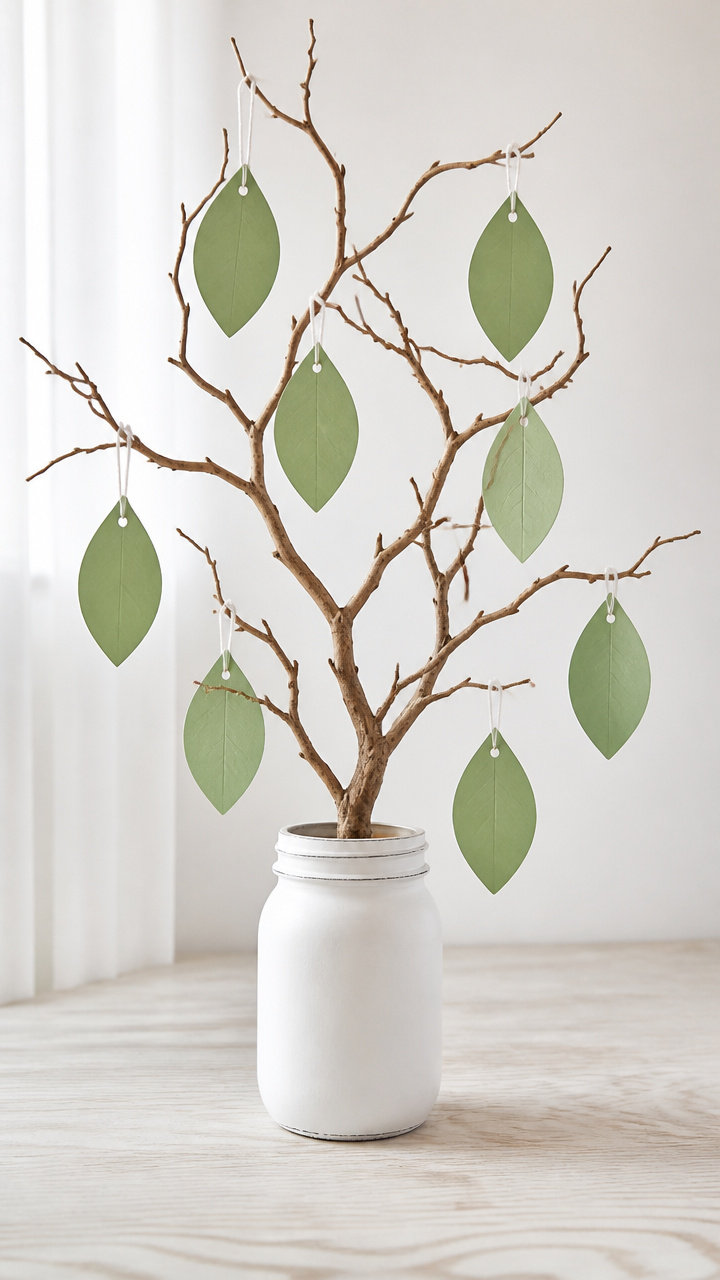
Delicate paper leaves carry handwritten hopes for the year ahead and hang from a small branch in a painted jar. A quiet moment wrapped in craft.
Materials Needed
- Manzanita branch, 8 inches tall
- Mason jar, 6 oz
- Acrylic paint, matte white
- Paintbrush, size 4 round
- Green A4 printer paper
- Hole punch
- Twine, 1-foot length
How to Make It
- Paint the mason jar with white acrylic paint and let dry for 20 minutes.
- Cut 12 leaf shapes from green printer paper, about 2 inches long.
- Have each child write a wish on a leaf and punch a hole at the stem.
- Tie twine through each hole and hang the leaves from the branch, placing the branch in the jar.


6. Noisemaker Maracas
Easy
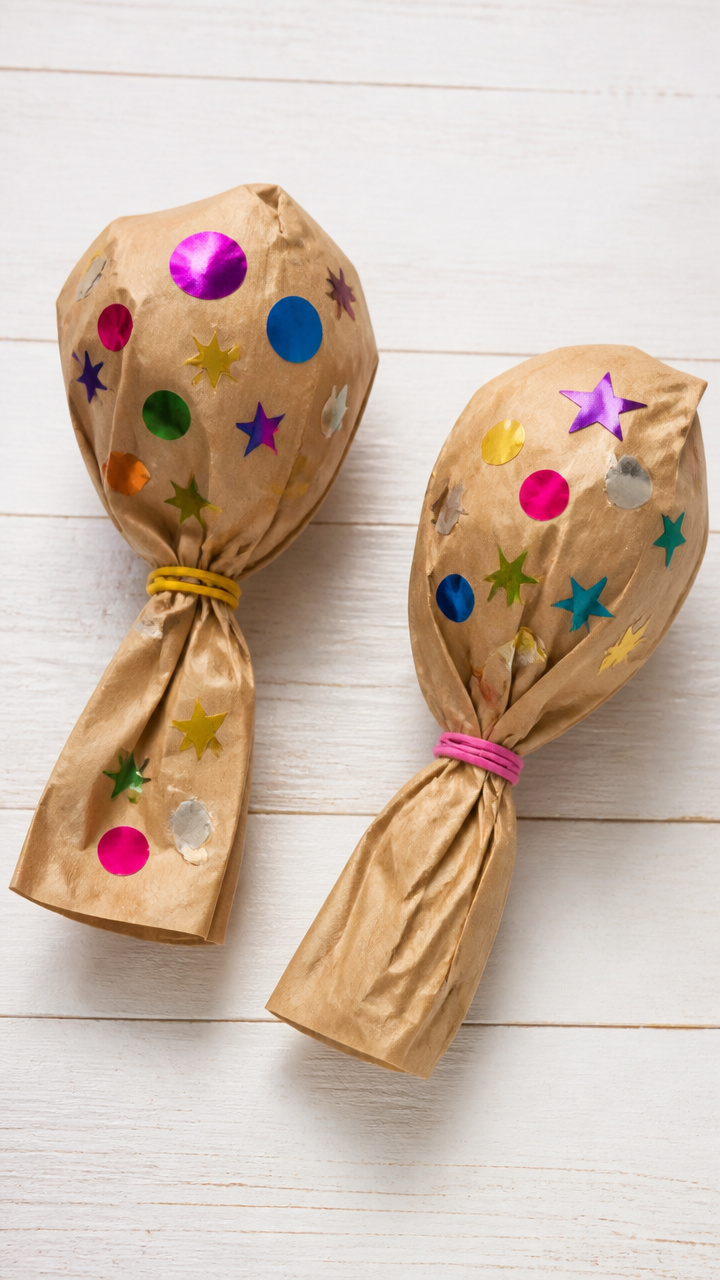
Shake these paper maracas to ring in the new year with sound and rhythm. The crinkled paper inside gives them a crisp, satisfying rattle.
Materials Needed
- Two paper lunch bags, medium size
- Crumpled newspaper, handful
- Stickers, assorted
- Rubber band
How to Make It
- Fill one bag halfway with crumpled newspaper.
- Press the second bag inside the first, folding the open ends together outward.
- Secure the folded edge with a rubber band.
- Decorate the outside with stickers to personalize each maraca.


7. Glowing Lantern Balls
Advanced
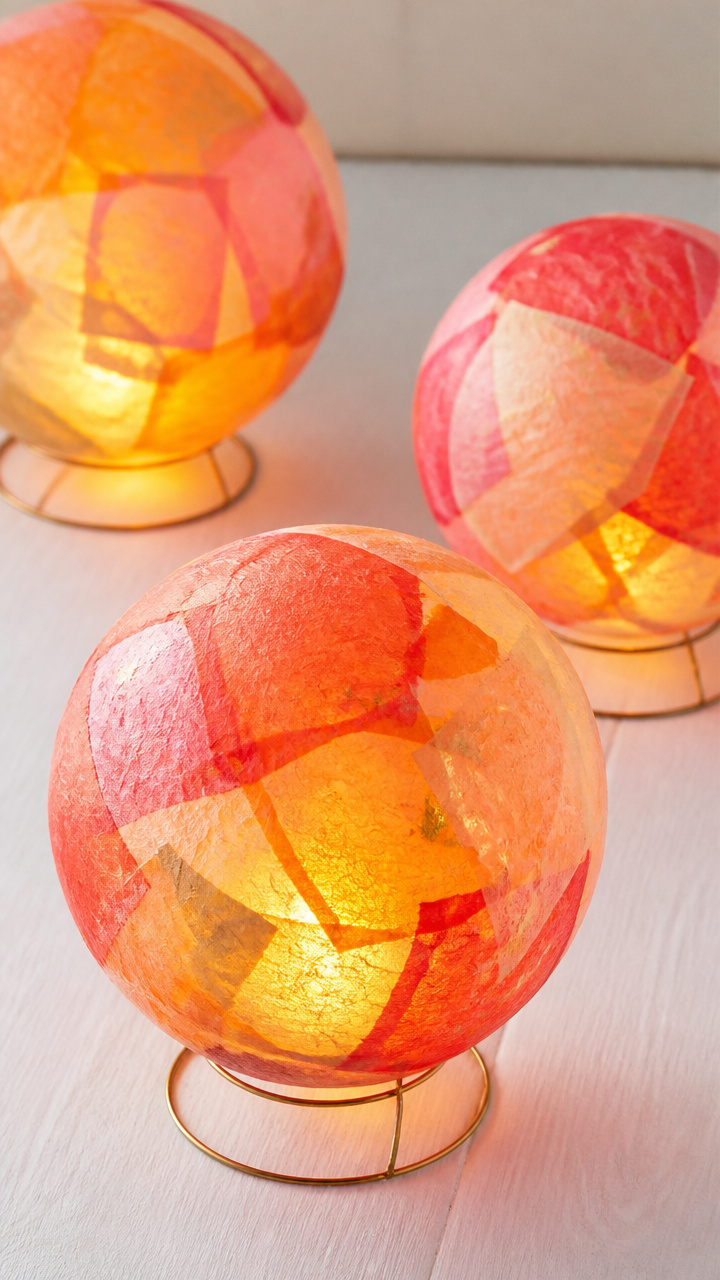
Layered rice paper spheres glow softly when placed over a battery tea light. They float like lanterns from shelves or windowsills.
Materials Needed
- Five sheets of colored rice paper, 12×12 inches, in warm tones
- Wire coat hanger
- Floral wire, 20-gauge
- Scissors
- Battery-operated tea light
How to Make It
- Straighten the coat hanger and bend it into a circle, twisting the ends together securely.
- Cut rice paper into 6-inch wide strips and layer five strips at a time.
- Crumple each layered strip loosely and attach one end to the wire circle with floral wire, fanning out the paper.
- Continue spacing and attaching crumpled layers all around the circle until fully covered, then place the tea light inside the sphere.
8. Time Capsule Tags
Easy
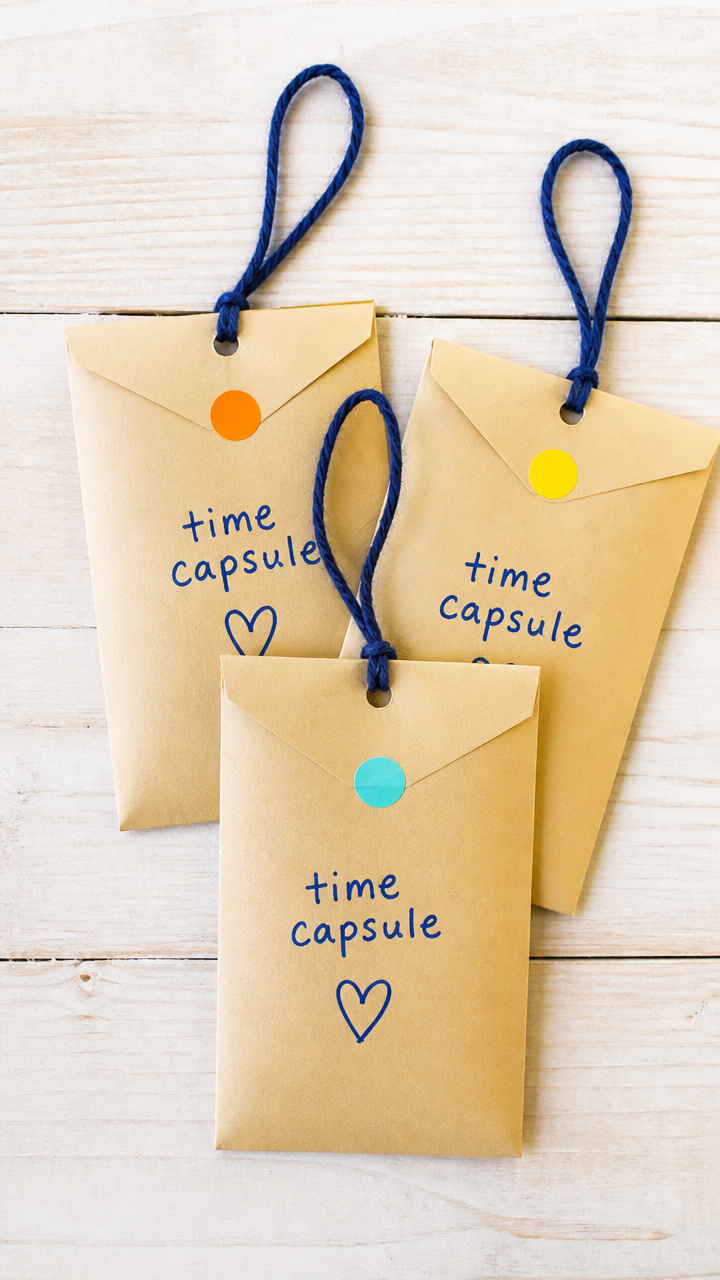
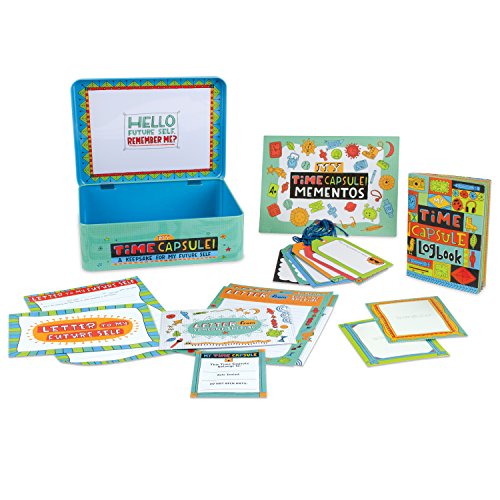
Tiny envelopes hold notes about today that kids will read years later. Attach them to a balloon or tuck into a drawer for safekeeping.
Materials Needed
- Mini manila envelopes, 3×5 inches, five per child
- Blue ballpoint pen
- Sticker dots
- Yarn, 8 inches per tag
How to Make It
- Write the current date on the front of each envelope with the blue pen.
- Have the child write a sentence about their favorite thing right now and place it inside.
- Seal the envelope and stick a sticker dot over the flap.
- Punch a hole in the top and thread yarn through to make a hanging tag.

9. Pop-Up Clock Card
Moderate
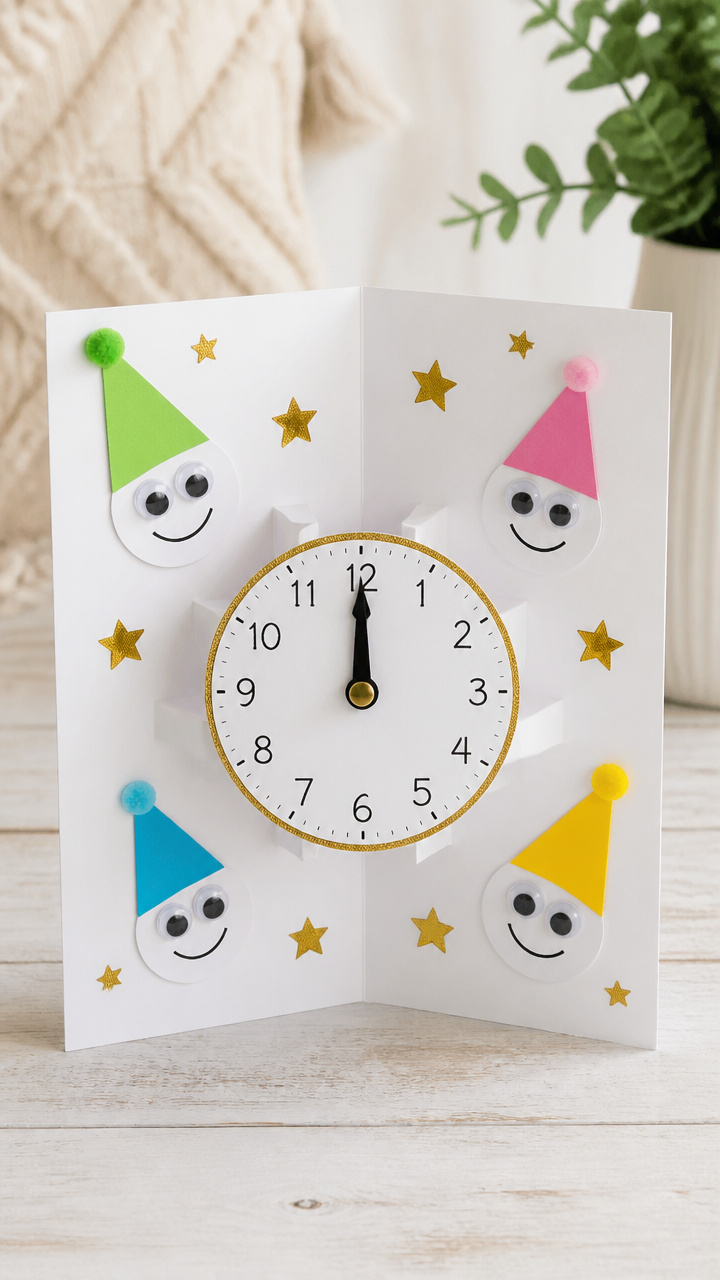
Open the card to reveal a clock face with hands set to midnight, flanked by party hats and stars. It stands upright on a shelf after use.
Materials Needed
- A4 white cardstock, folded in half
- Brass fastener, 1/2 inch
- Clock face template printed on cardstock
- Googly eyes, two
- Glue stick
How to Make It
- Glue the clock face centered on the inside of the card.
- Cut out hour and minute hands from extra cardstock and position them over the clock face.
- Push the brass fastener through both hands and the center of the clock, securing it at the back.
- Glue googly eyes just above the clock to give it a playful look.
10. Balloon Drop Box
Advanced
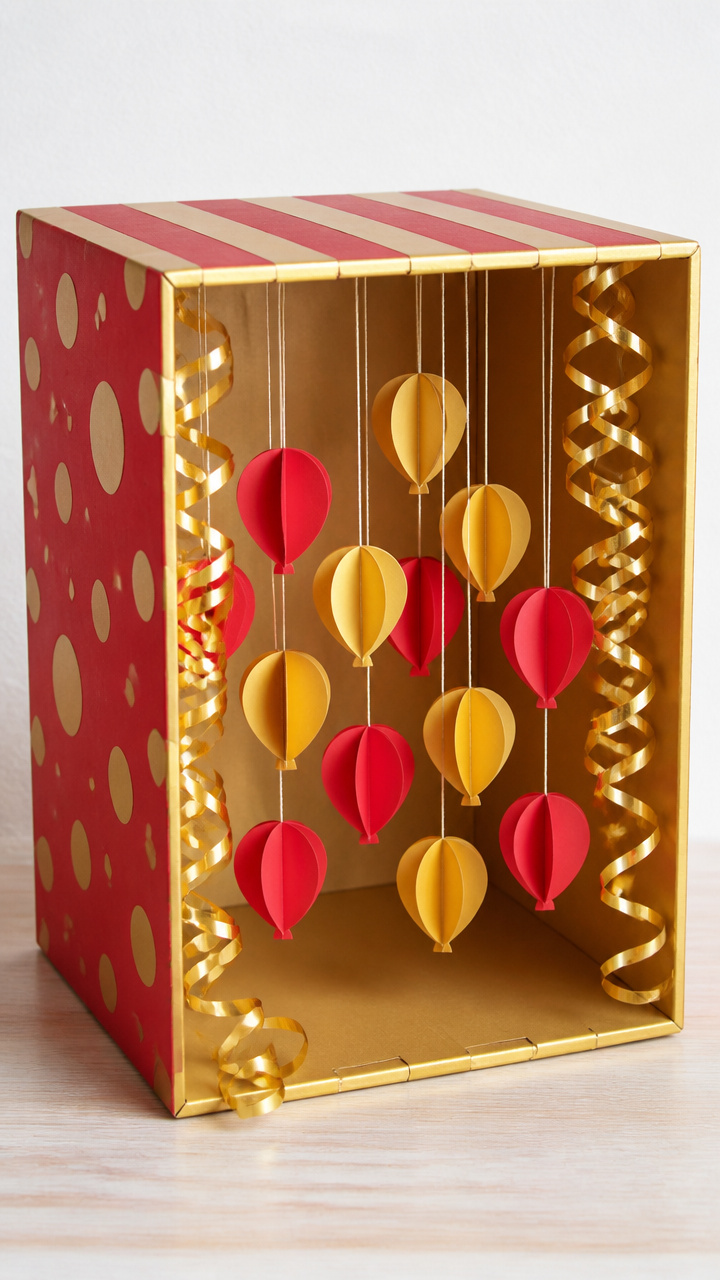
A decorated box opens at midnight to release mini paper balloons on strings. The surprise lift makes everyone look up and smile.
Materials Needed
- Cardboard gift box with lid, 8x8x8 inches
- Red crepe paper streamers
- Scissors
- Hot glue gun and glue sticks
- Fishing line, 2 feet
- Tape
How to Make It
- Cut streamers into 12-inch lengths and twist-tie six together at one end to form a balloon shape.
- Repeat to make eight paper balloons and hot glue each to separate fishing line strands.
- Tape the free ends of the fishing lines inside the box lid, spacing them evenly.
- Close the box and reinforce the seam with tape so it stays shut until pulled open at midnight.


11. Year Number Frame
Moderate
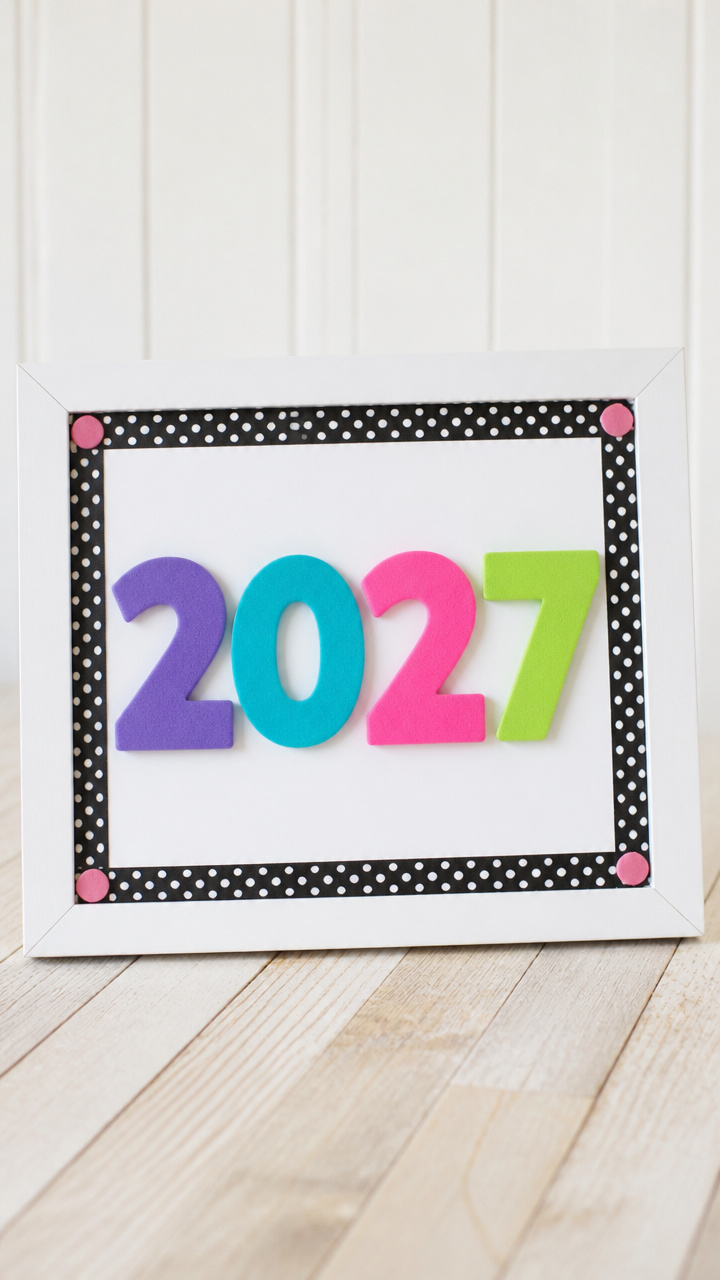
Foam numbers shaped like the coming year stand in a hand-decorated frame, ready to display on a mantel or shelf. It marks time with charm.
Materials Needed
- Foam numeral set, size 4 inches, matching desired year
- Picture frame, 8×10 inches, plain white
- Washi tape, polka dot design
- Glue dots
How to Make It
- Remove the glass and backing from the frame.
- Wrap the outer edge of the frame with washi tape, smoothing as you go.
- Position the foam numbers in the center of the backing board.
- Attach each number with glue dots and reassemble the frame.
12. Streamer Wall Swirl
Easy
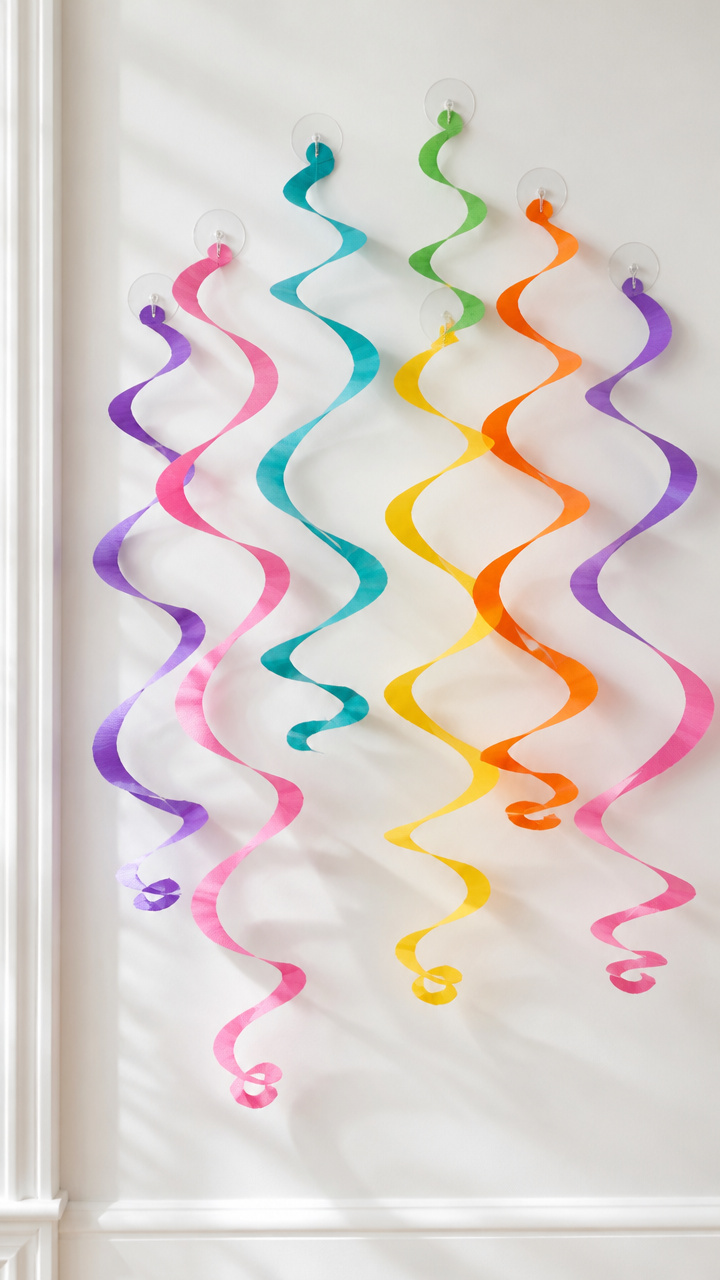
Long ribbons twist into a hypnotic spiral on the wall, catching every breeze from running children and door slams. Simple but impossible to ignore.
Materials Needed
- Five 1/4-inch wide crepe paper streamers, 10 feet long, assorted colors
- Pack of suction cup hooks, four per pack
- Scissors
How to Make It
- Tie one end of each streamer to a suction cup hook.
- Press the hooks firmly onto a smooth wall in a loose diamond pattern.
- Let the streamers fall freely, then gently twist them around each other from top to bottom.
- Adjust spacing so the swirl fills the area without tangling.
13. Resolution Mobile
Moderate
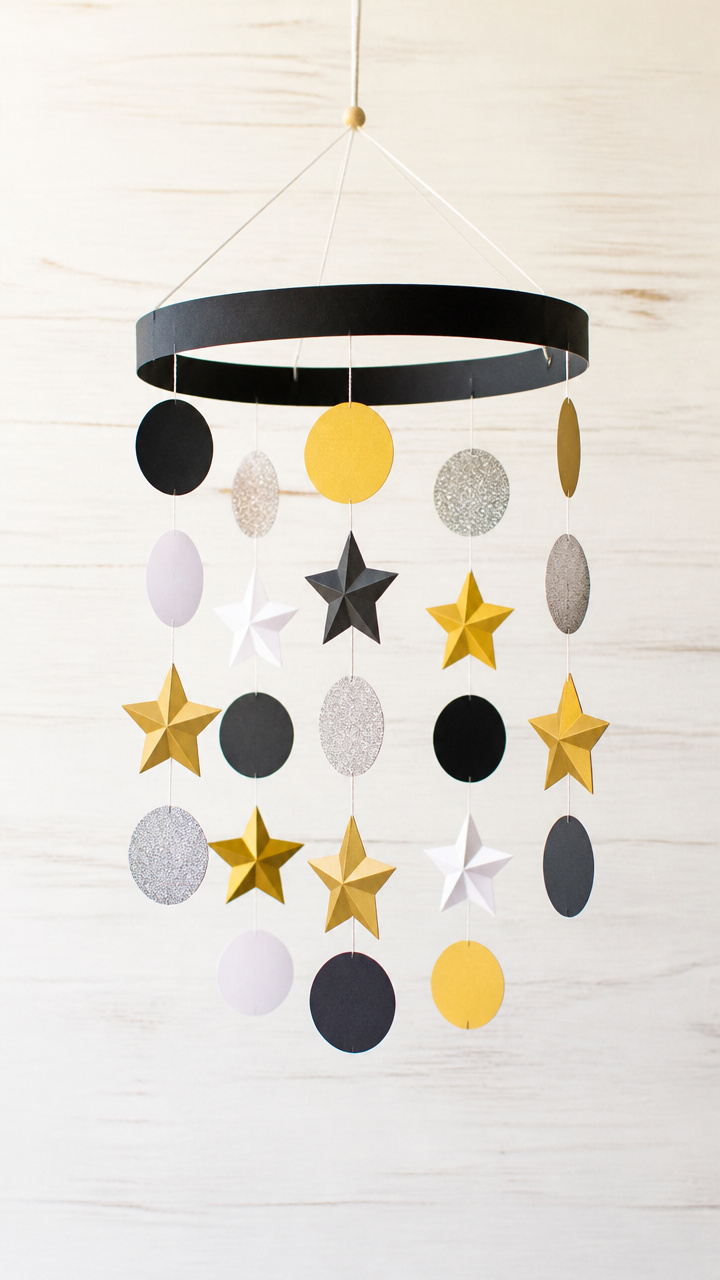
Three paper shapes—one word per piece—dangle from a bent wire hoop, spelling out hopes like 'kind', 'brave', and 'fun'. It spins quietly above a bed.
Materials Needed
- Aluminum wire, 12 inches long, 14-gauge
- Pliers
- Letter stickers, uppercase
- Three 3-inch paper circles, white
- Fishing line, 3 pieces of 6 inches each
- Glue dots
How to Make It
- Use pliers to bend the wire into a circle and twist the ends together to close.
- Stick one resolution word onto each paper circle using letter stickers.
- Tie one end of each fishing line to a circle and the other to the wire hoop with a knot.
- Space the circles evenly around the hoop and hang with additional fishing line from the top.
14. Party Hat Garland
Easy
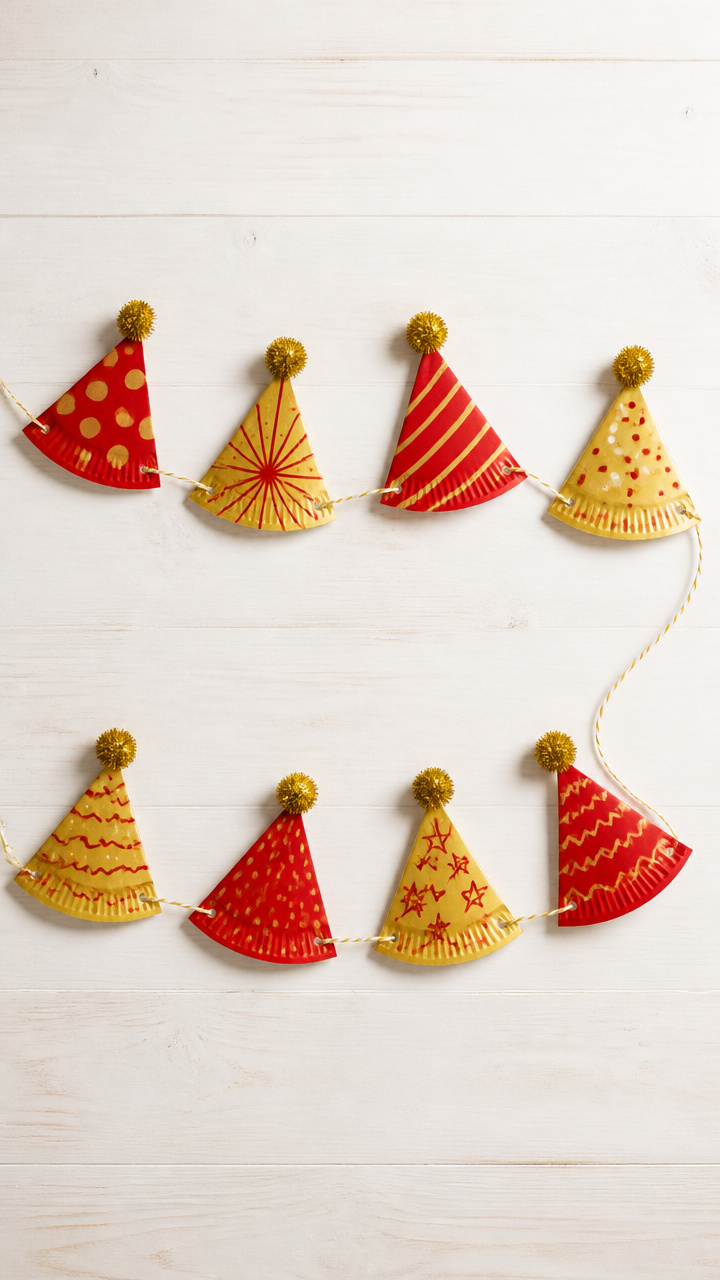
Mini paper hats in red and gold march across the garland, each one a tiny celebration strung together with pride. Perfect above a snack table.
Materials Needed
- Eight 6-inch paper plates
- Red and gold markers
- Scissors
- Hole punch
- String, 4 feet
How to Make It
- Cut a wedge out of each plate to form a cone when rolled.
- Color each plate with bold stripes or dots using the markers.
- Roll into cones and staple the overlap to secure.
- Punch a hole on each side near the base and thread string through all hats, tying knots between to space them.


15. Noise Level Chart
Moderate
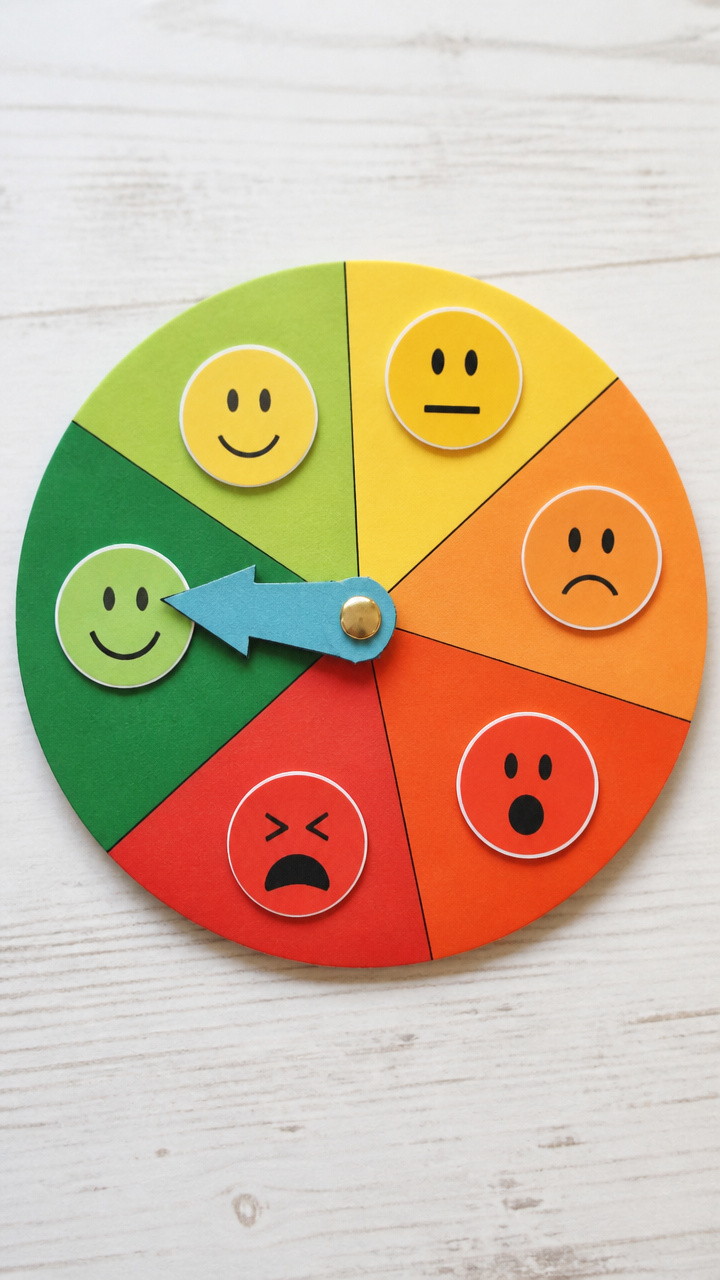
A paper dial with faces from quiet to wild lets kids monitor their volume during celebrations. Hands-on learning dressed as fun.
Materials Needed
- Cardstock circle, 6 inches in diameter
- Split pin
- Markers
- Smiley face stickers: neutral, smiling, loud
- Protractor template
How to Make It
- Divide the circle into four equal sections using the protractor template and label them Quiet, Talking, Excited, Loud.
- Color each section with corresponding shades: blue, green, yellow, red.
- Place a neutral sticker in Quiet, smiling in Excited, and loud in Loud.
- Push the split pin through the center of the circle and attach a paper arrow so it rotates freely.
Grab a pair of scissors, unfold a sheet of paper, and start right where you are. The best crafts begin not with perfection, but with a willing hand and a little sparkle.