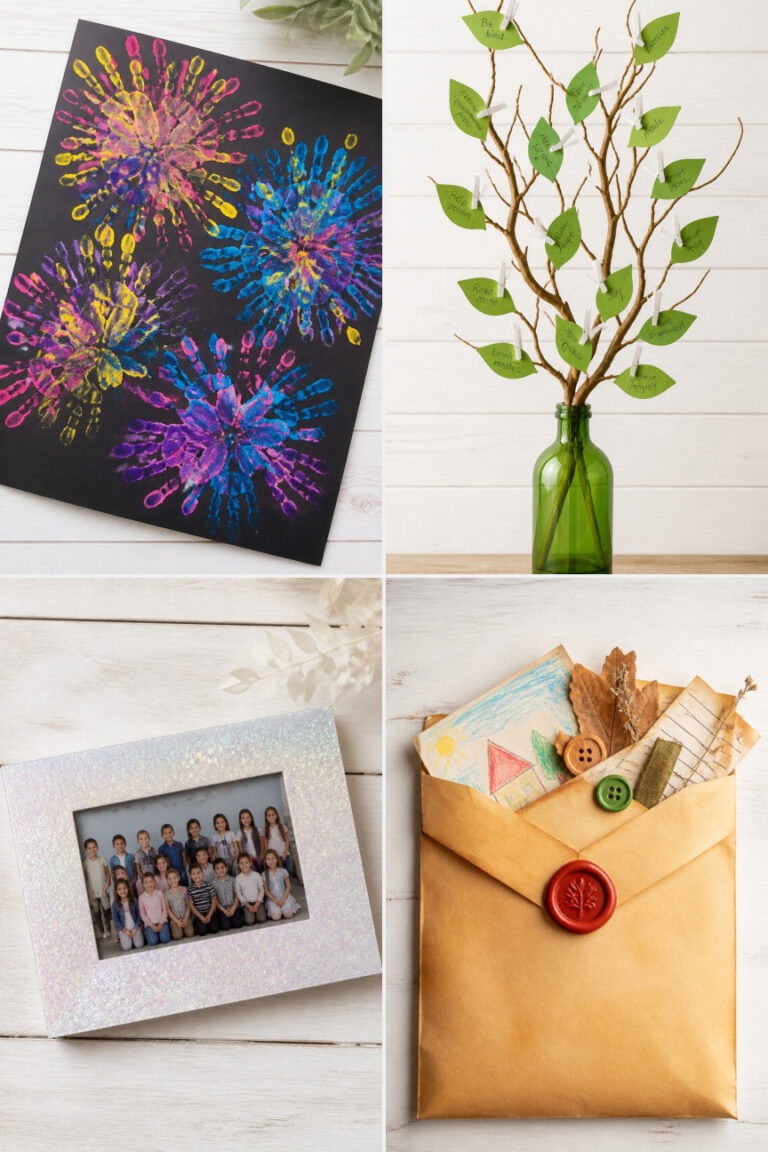
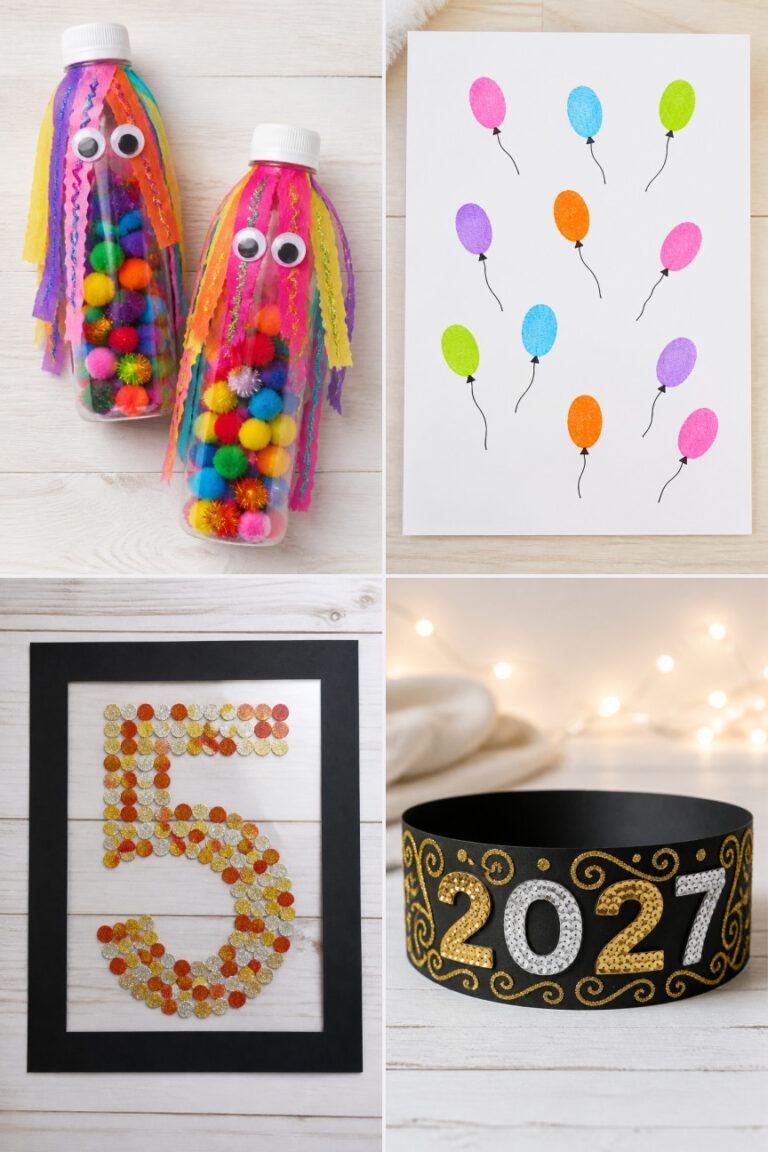
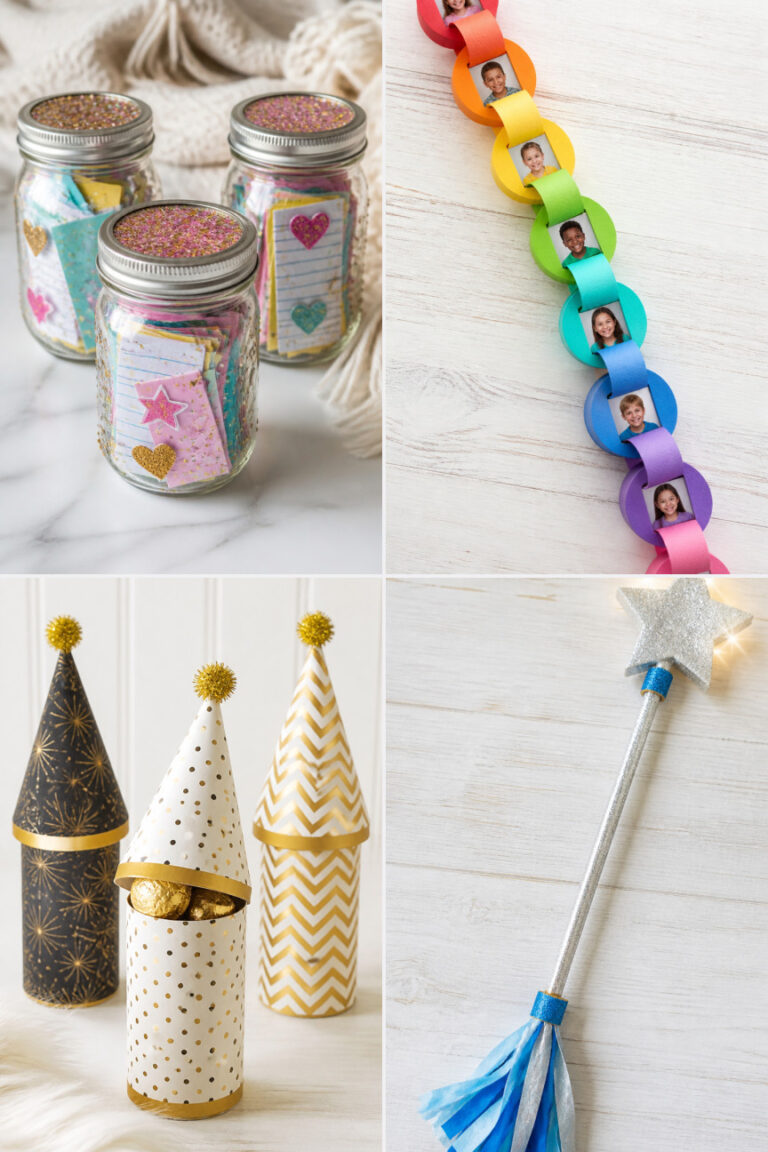
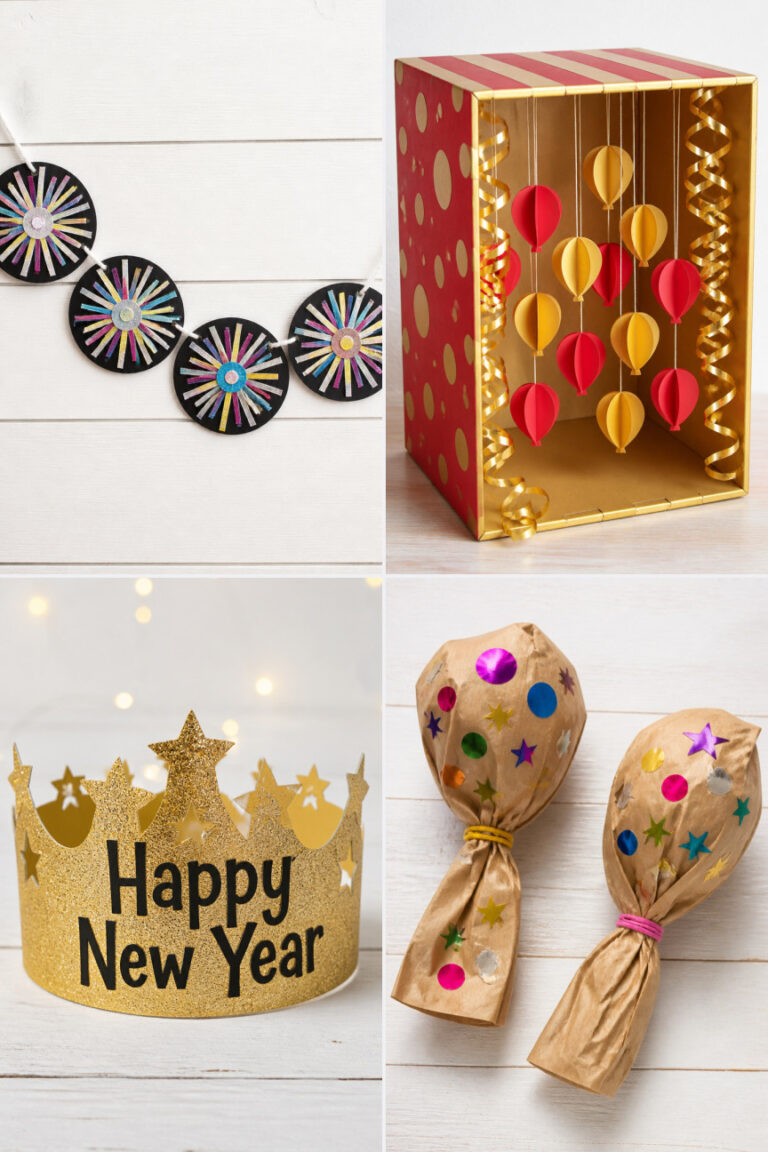
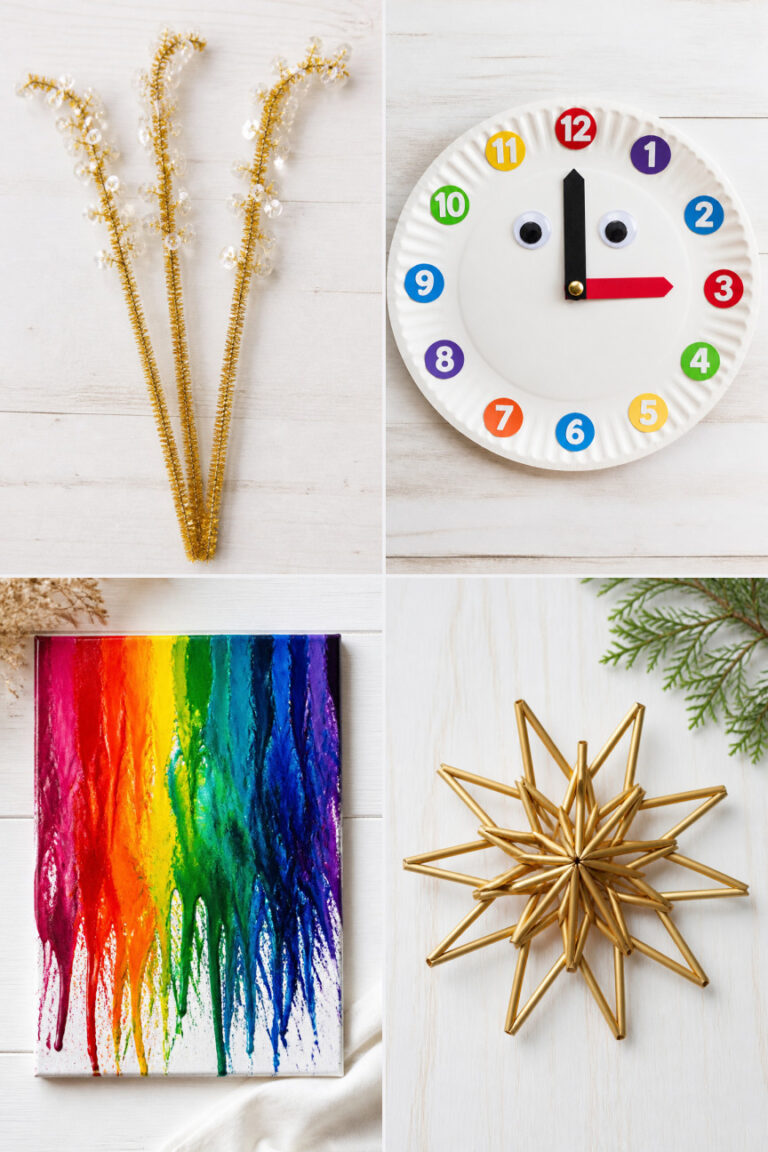
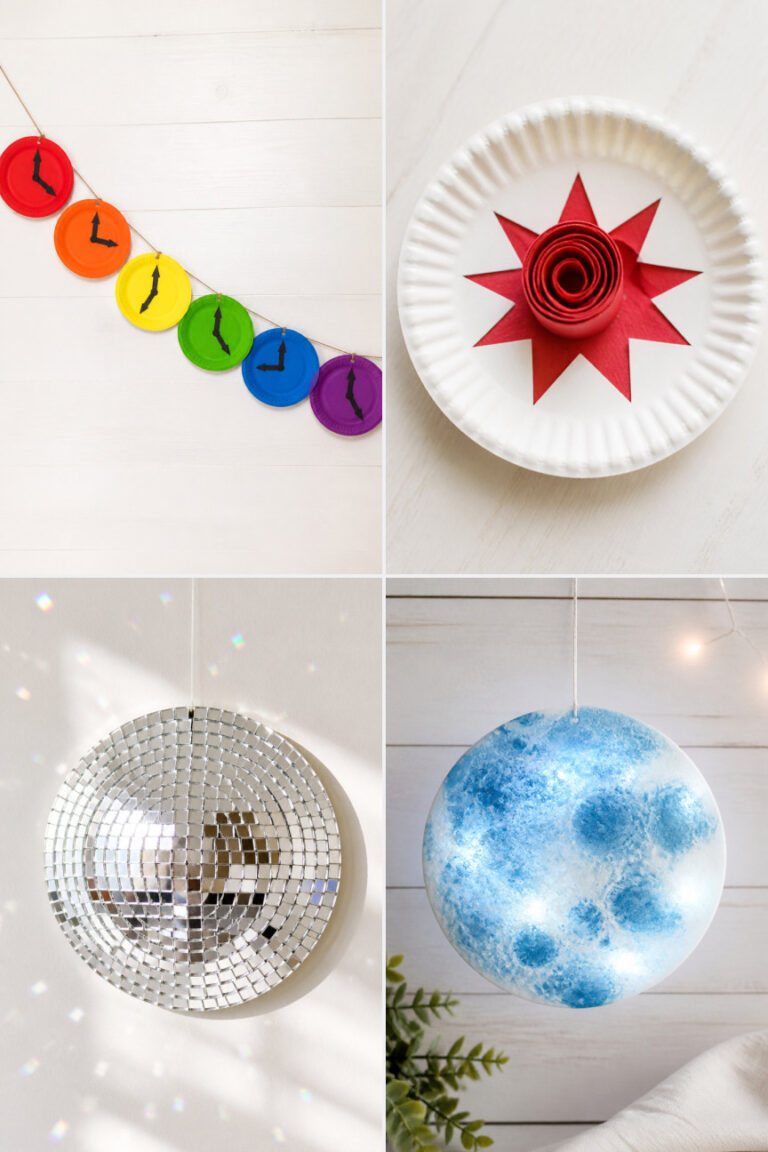
15 New Year Crafts for Kindergarten

Glitter spills like confetti across the table, tiny hands press paper together, and laughter bubbles up as kids create something that sparkles with hope. These crafts capture the joy of a fresh start, made just right for little fingers and big imaginations.
Each one is designed to be simple, joyful, and full of color. You’ll find no complicated tools or messy surprises—just happy moments and keepsakes worth saving.
1. Glittery Countdown Clock
Easy
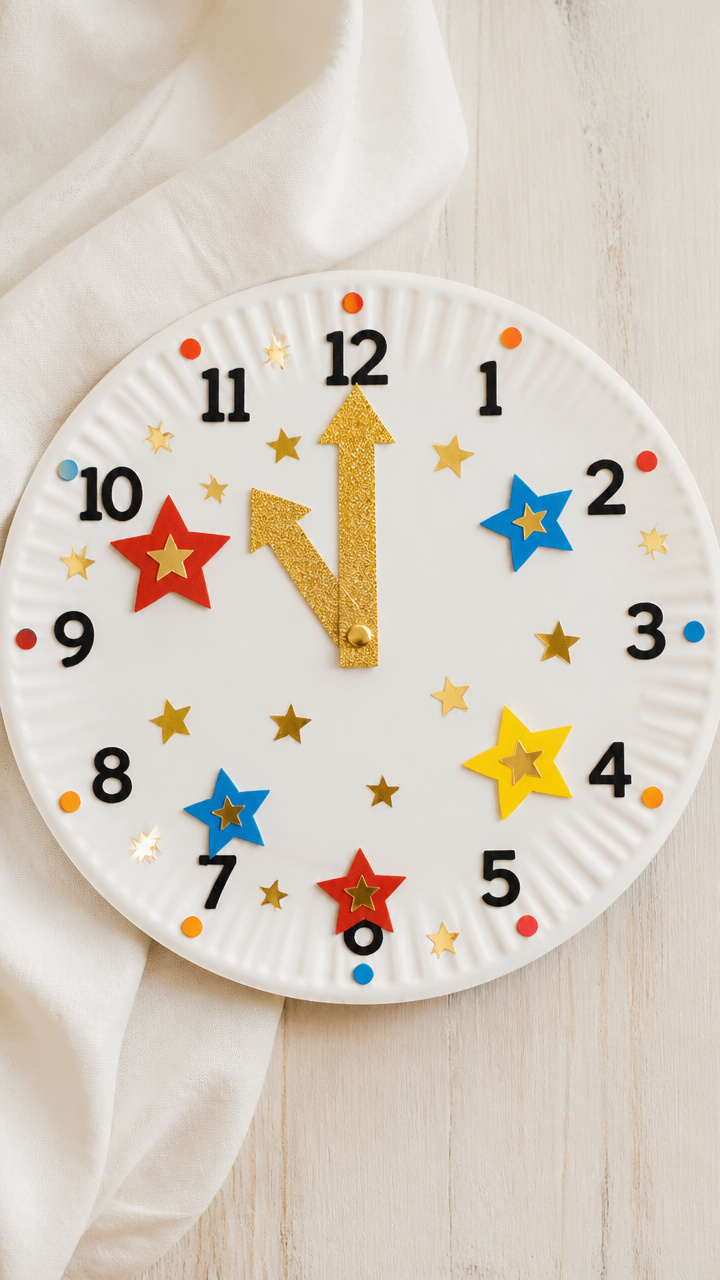
A spinning paper clock with bold numbers and shimmering hands helps children feel the excitement of time moving toward a celebration. This hands-on toy teaches counting and patience in the sweetest way.
Materials Needed
- 12-inch white paper plate
- Black fine-tip marker
- Gold glitter glue
- 12 small star-shaped sequins
- 1 brass fastener
- Cardstock (red, blue, yellow)
- Scissors
- Glue stick
How to Make It
- Draw a clock face on the paper plate using the black marker, marking numbers 1 through 12 evenly around the edge.
- Squeeze gold glitter glue along each number and let dry completely, about 20 minutes.
- Cut two clock hands (one short for hours, one long for minutes) from the cardstock. Glue a star sequin at the tip of each hand.
- Use scissors to poke a hole in the center of the plate and through both hands. Attach them with the brass fastener from the back.


2. New Year Noise Makers
Easy
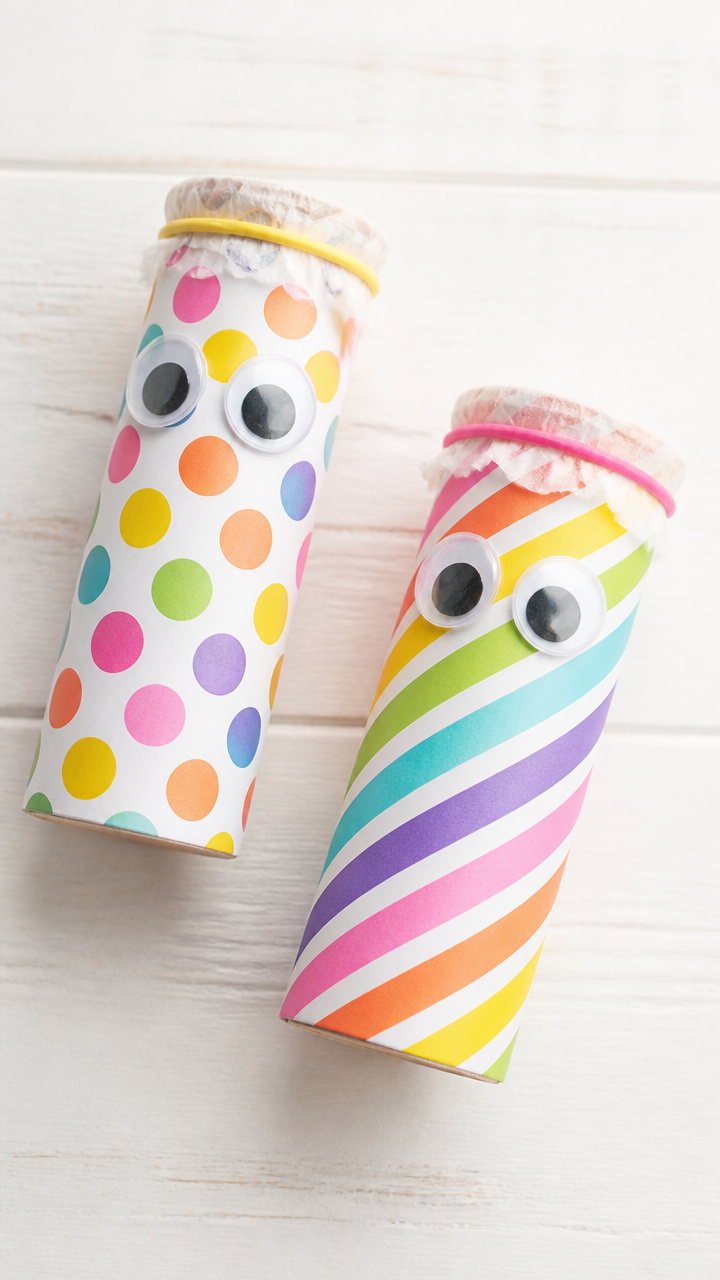
Shake, rattle, and cheer with handmade party instruments wrapped in bright patterns and filled with cheerful sounds. These are perfect for a classroom countdown moment.
Materials Needed
- Empty toilet paper rolls (2 per child)
- Pinto beans (3 tablespoons)
- Waxed paper (6×6 inch squares)
- Rubber bands (2 per roll)
- Googly eyes (2 per noise maker)
- Glue dots
- Washi tape (assorted colors)
How to Make It
- Pour 1.5 tablespoons of pinto beans into each toilet paper roll.
- Stretch a waxed paper square tightly over one end of the roll and secure it with a rubber band.
- Repeat with the second roll and beans, then tape the two rolls together end to end using washi tape.
- Stick googly eyes on the front with glue dots and decorate the body with strips of washi tape.


3. Paper Plate Fireworks
Easy
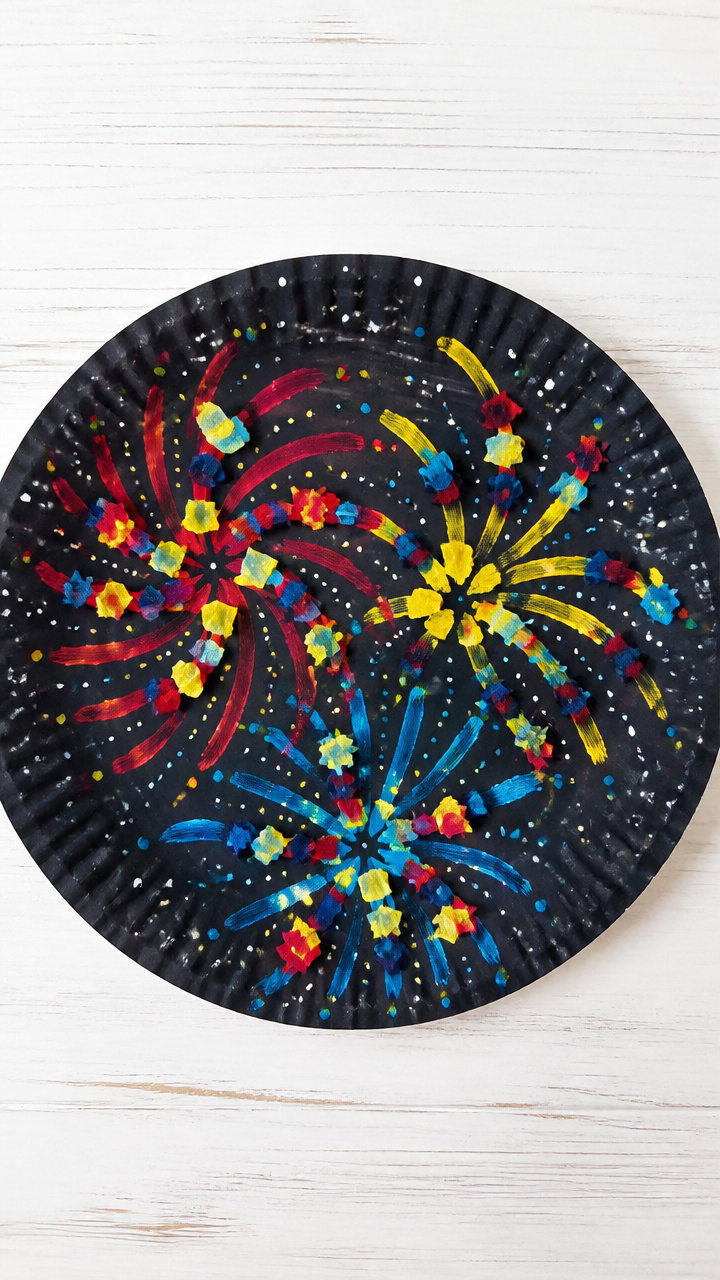
Swirling bursts of paint and tissue paper mimic night sky explosions, capturing the magic of midnight celebrations. These lightweight displays hang beautifully near windows.
Materials Needed
- White paper plate (per child)
- Cotton swabs (5 per craft)
- Red, blue, and yellow liquid watercolors
- Tissue paper squares (assorted colors, 2×2 inches, 10 per craft)
- Glue stick
- Scissors
- Black construction paper (9×12 inch)
How to Make It
- Cut out the center of the paper plate, leaving a ring. Trim small notches around the outer edge to resemble fireworks sparks.
- Dip cotton swabs into each watercolor and dab them in clusters on the plate ring. Let dry 15 minutes.
- Glue tissue paper squares randomly over the painted areas for added texture and color.
- Glue the finished ring onto the black construction paper to create a night-sky background.


4. Handprint Calendar Pages
Moderate
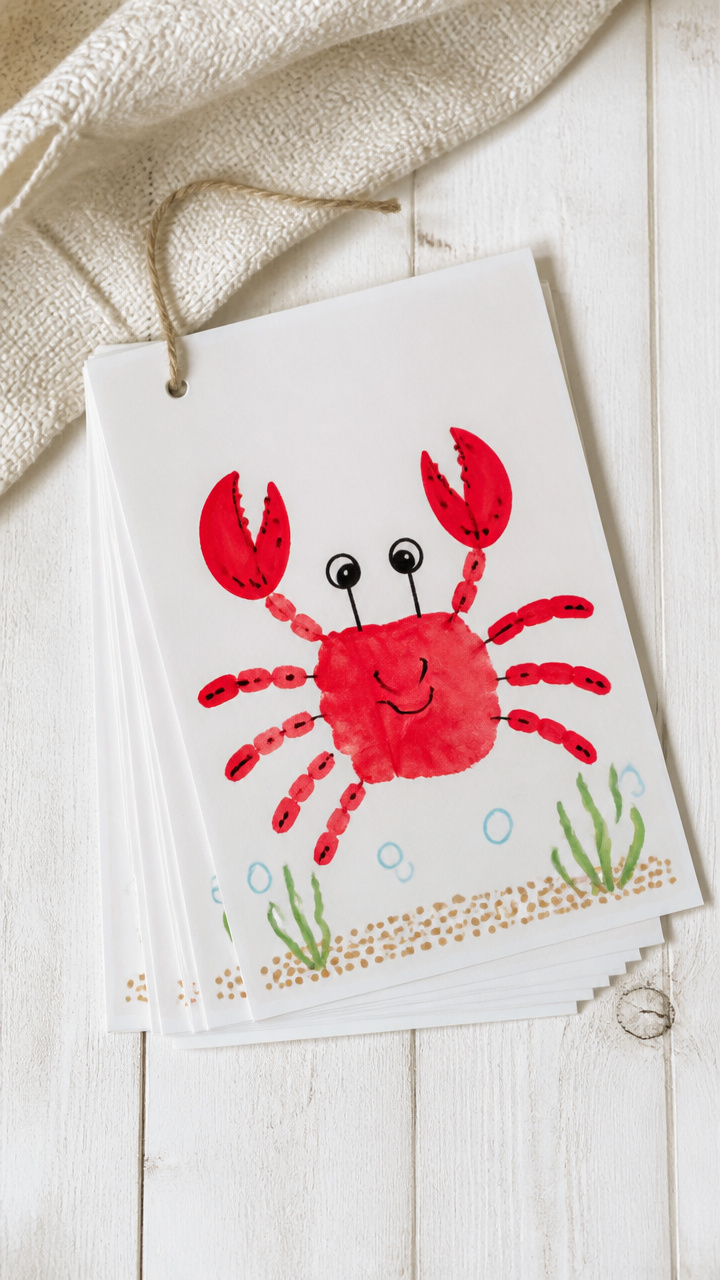
Each month starts with a child’s handprint transformed into a cheerful animal or symbol, making time personal and fun. These become a cherished classroom timeline.
Materials Needed
- Washable red finger paint
- A4 white cardstock (12 sheets per child)
- Black fine-tip marker
- Crayons (assorted colors)
- Hole punch
- Yarn (12 inches per page)
- Paintbrush (for smoothing paint)
How to Make It
- Press the child’s hand into red paint, then firmly onto the top third of a cardstock sheet. Lift straight up to avoid smudging.
- Let the handprint dry completely, about 10 minutes. Use the marker to turn fingers into animal features—like a crab, turkey, or butterfly.
- Let the child draw a simple scene below using crayons that matches the theme, such as snow for January or flowers for May.
- Punch a hole in the top left corner and thread with yarn so pages can be hung in order.


5. Foil Number 2025
Easy

A bold, reflective number display made from cardboard and shiny wrap catches the light and draws attention. This centerpiece stands proudly on a shelf or table.
Materials Needed
- Cardboard sheet (8×10 inches)
- Silver foil wrap
- Scissors
- Glue stick
- Black marker
- Craft glue
- Popsicle stick (1 per number)
How to Make It
- Draw the number 2027 large on the cardboard and cut it out with scissors.
- Cover both sides of each number with silver foil wrap, smoothing with a glue stick to avoid bubbles.
- Outline each number with bold black marker to make edges pop.
- Glue a popsicle stick to the back of each number so it can stand upright on a flat surface.
6. Pom-Pom Time Capsule
Moderate
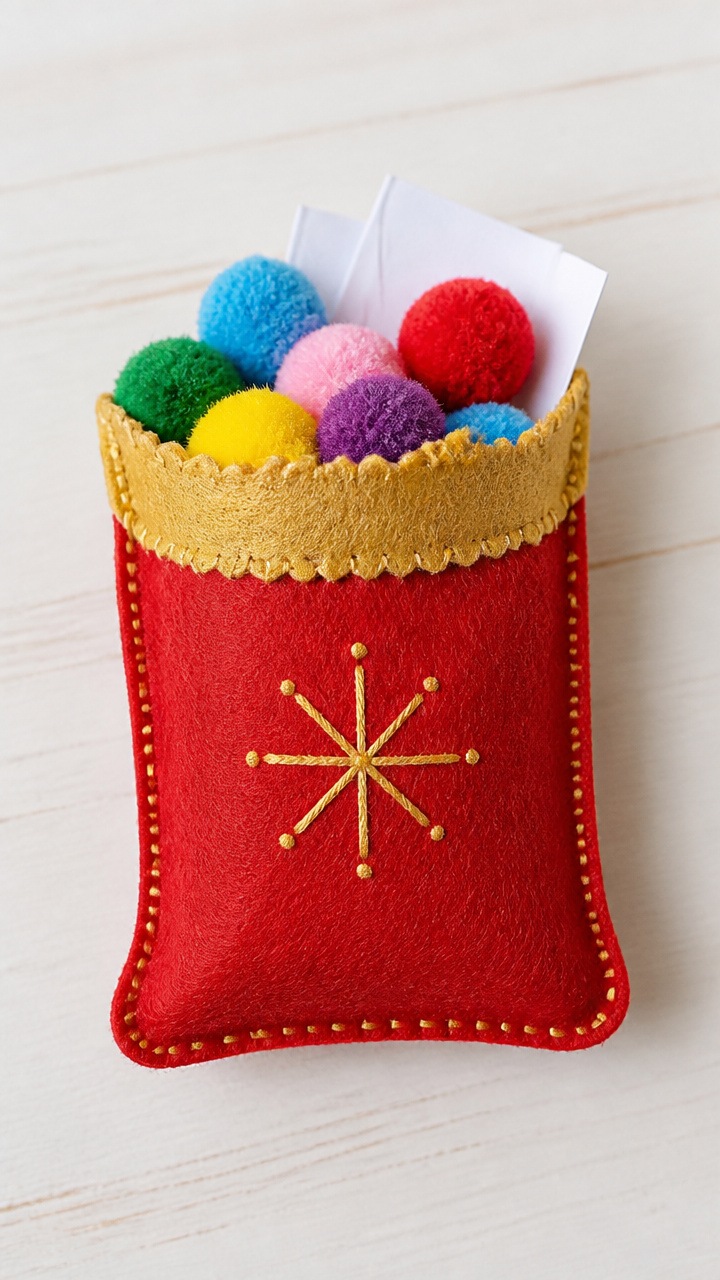
A soft fabric pouch holds tiny notes and trinkets from the year, ready to be opened later. This craft builds anticipation and memory keeping.
Materials Needed
- Felt squares (6×6 inch, red and gold, 1 each)
- Pom-poms (assorted colors, 10 per child)
- Yarn needle
- Embroidery floss (gold, 18 inches)
- Fabric glue
- Small slips of paper (2×3 inch, 3 per child)
- Crayons
How to Make It
- Let the child draw or write one thing they love right now on each paper slip using crayons.
- Place the slips and pom-poms in the center of the red felt square.
- Lay the gold felt on top and thread the yarn needle with embroidery floss.
- Sew around three edges with a simple running stitch, then fold the open edge inward and stitch shut, leaving a neat seam.
7. Cotton Ball Snow Banner
Easy
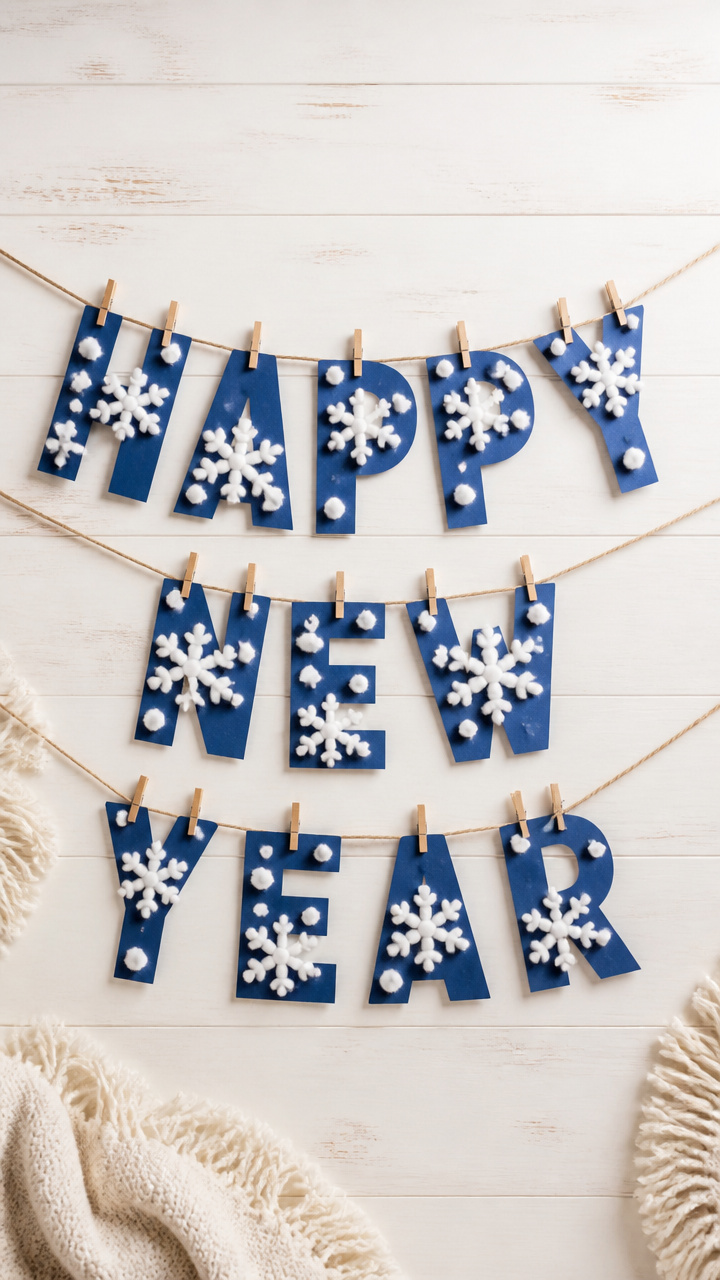
Fluffy white clouds of cotton hang on a string like falling snow, spelling out 'Happy New Year' in soft texture. This banner brings cozy winter charm.
Materials Needed
- Cotton balls (15 per child)
- Jute twine (24 inches)
- Clothespins (7 per banner)
- Construction paper (dark blue, 6×9 inch sheet)
- Glue stick
- Black marker
How to Make It
- Cut seven small flags from the construction paper, each 3×4 inches. Write one word of 'Happy New Year' on each with the marker.
- Glue three cotton balls onto each flag to look like puffs of snow.
- Clip each flag to the jute twine using clothespins, spacing them evenly.
- Hang the banner by tying extra twine to both ends.


8. Star Wand with Ribbon
Easy
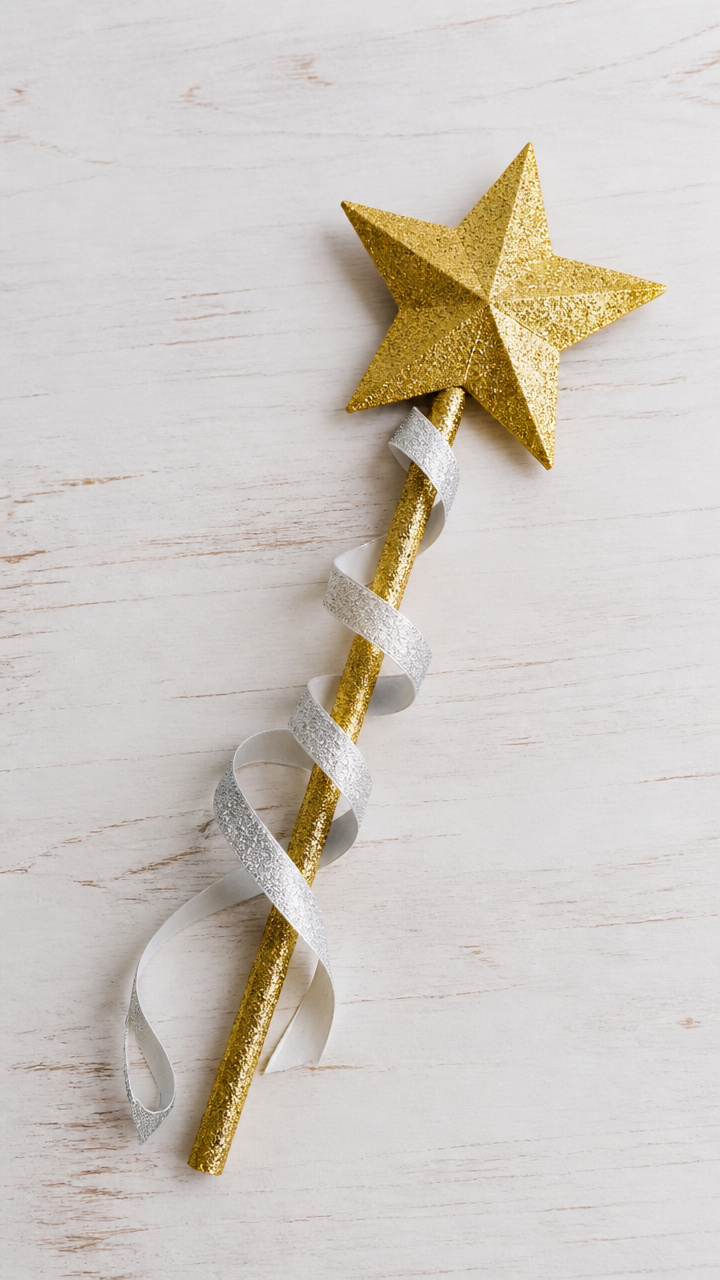
A glitter-dipped wand topped with a golden star invites twirling and wishing under imaginary fireworks. This keepsake sparks imaginative play.
Materials Needed
- Wooden dowel (12-inch, 1/4 inch thick)
- Gold star craft pick (1 inch wide)
- Glitter glue (gold)
- Ribbon (1/4 inch wide, 24 inches, silver)
- Hot glue gun and glue stick
- Scissors
How to Make It
- Squeeze gold glitter glue along the top 3 inches of the dowel and let dry completely, about 25 minutes.
- Use the hot glue gun to attach the star pick to the very top of the dowel. Let cool for 1 minute.
- Cut the ribbon in half. Tie one piece to each side of the star pick’s base.
- Let the child wave it gently to see the ribbons swirl like celebration streams.


9. Confetti Poppers
Moderate
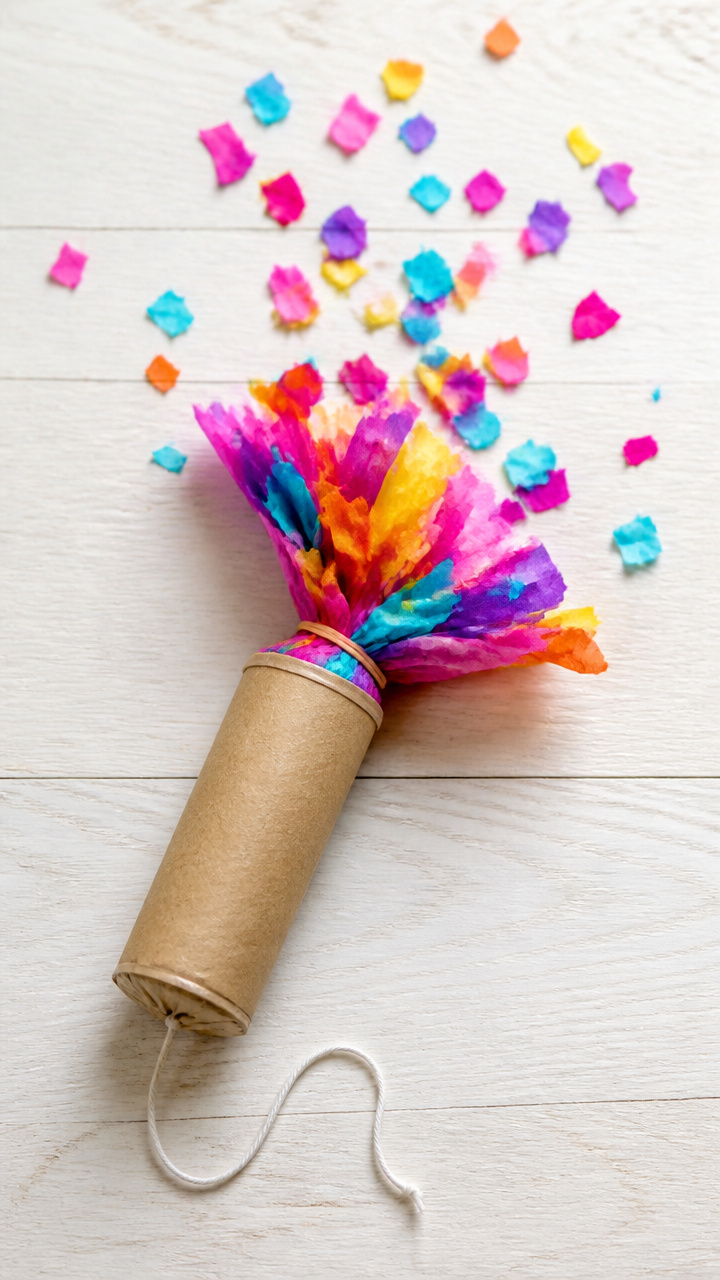
Pull a string and out bursts colorful paper bits in a joyful surprise. These safe, noisemakers deliver instant festivity with every tug.
Materials Needed
- Cardboard tubes (from paper towels)
- Tissue paper (red, yellow, blue, 6×6 inch squares)
- Rubber bands (1 per popper)
- String (12 inches)
- Hole punch
- Craft glue
- Confetti (paper, 2 tablespoons)
How to Make It
- Glue a tissue paper square tightly over one end of the tube and secure with a rubber band.
- Punch two small holes opposite each other just below the tissue-covered end.
- Thread the string through both holes and tie the ends together on the inside to form a small loop.
- Fill the tube with confetti, stretch another tissue square over the open end, and pull the string to pop.
10. Crayon Melting Clock
Advanced
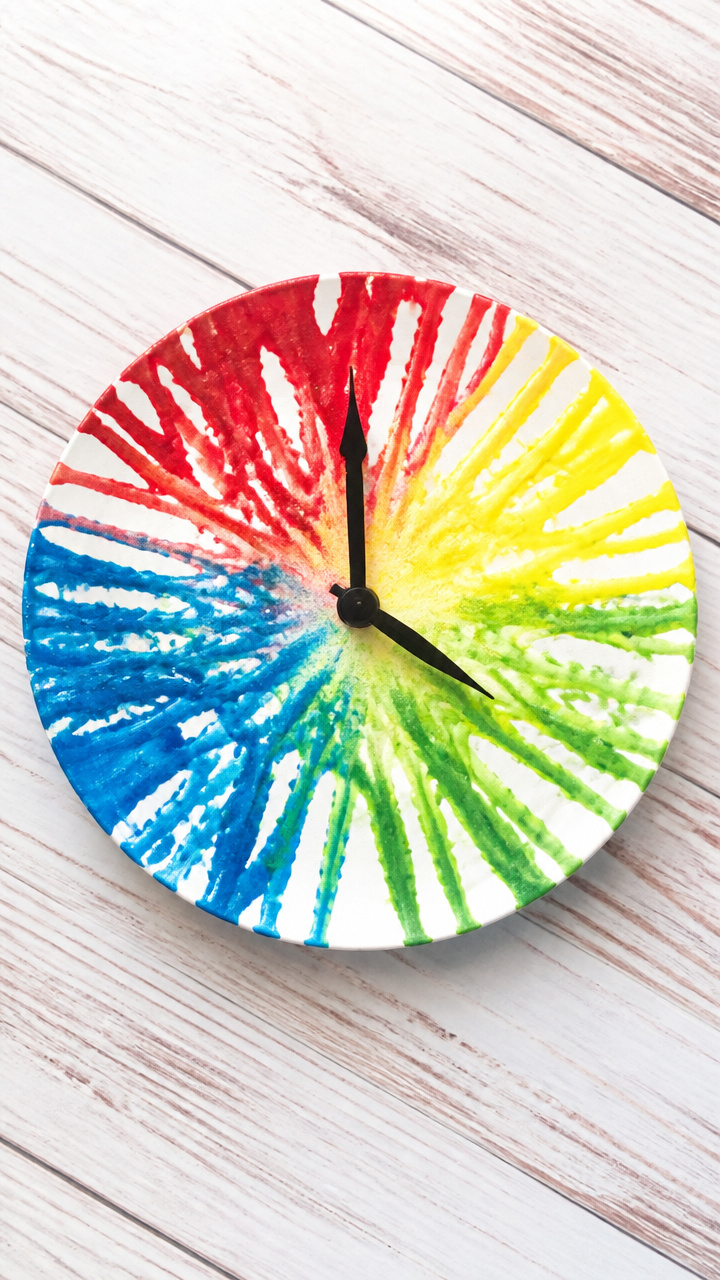
A cardboard clock face with dripping crayon 'hands' shows the passage of time in bright, waxy trails. This art piece blends science and craft.
Materials Needed
- Round cereal box cardboard (flattened)
- Unwrapped crayons (4, in red, yellow, blue, green)
- Hot glue gun
- Oven-safe ceramic plate
- Oven mitt
- Black marker
- Scissors
How to Make It
- Cut the cardboard into a clock face, about 8 inches wide, and draw numbers 1–12 with the marker.
- Use the hot glue gun to stand the crayons upright at the 12, 3, 6, and 9 positions on the back of the clock.
- Place the clock face on the ceramic plate and put it in a preheated oven at 200°F. Watch closely as crayons melt in 8–12 minutes.
- Remove with oven mitt and let cool completely before displaying.


11. Photo Countdown Chain
Easy
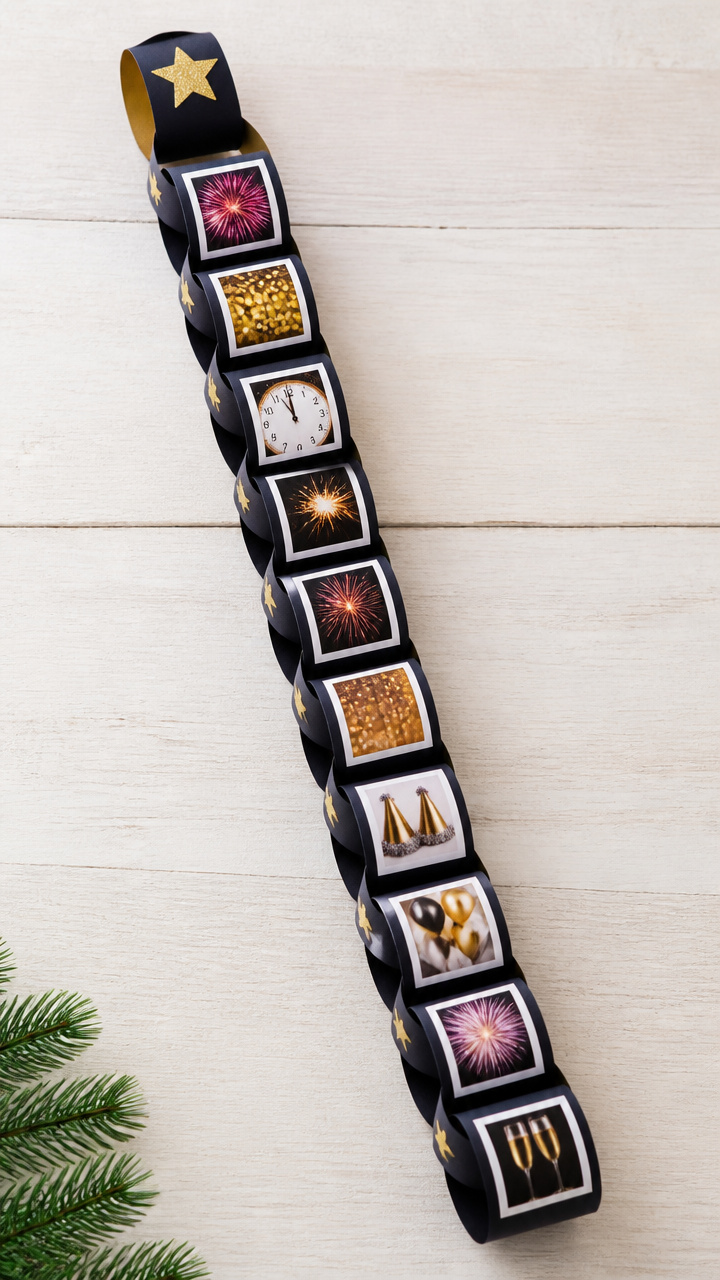
Interlocking paper loops each hold a tiny printed photo and a word like 'hope' or 'joy'. This growing chain marks each day with meaning.
Materials Needed
- Colored cardstock (red, gold, silver, 8.5×11 inch, 1 sheet each)
- School photos (1×1 inch, 10 per child)
- Glue stick
- Scissors
- Black marker
- Hole punch
How to Make It
- Cut each cardstock sheet into 1-inch wide strips, about 8 inches long.
- Write one positive word like 'fun', 'smile', or 'play' on each strip with the marker.
- Glue a photo to the center of every third strip.
- Form the first strip into a loop and glue the ends. Thread the next strip through and glue, continuing to build the chain.


12. Tissue Paper Lanterns
Moderate
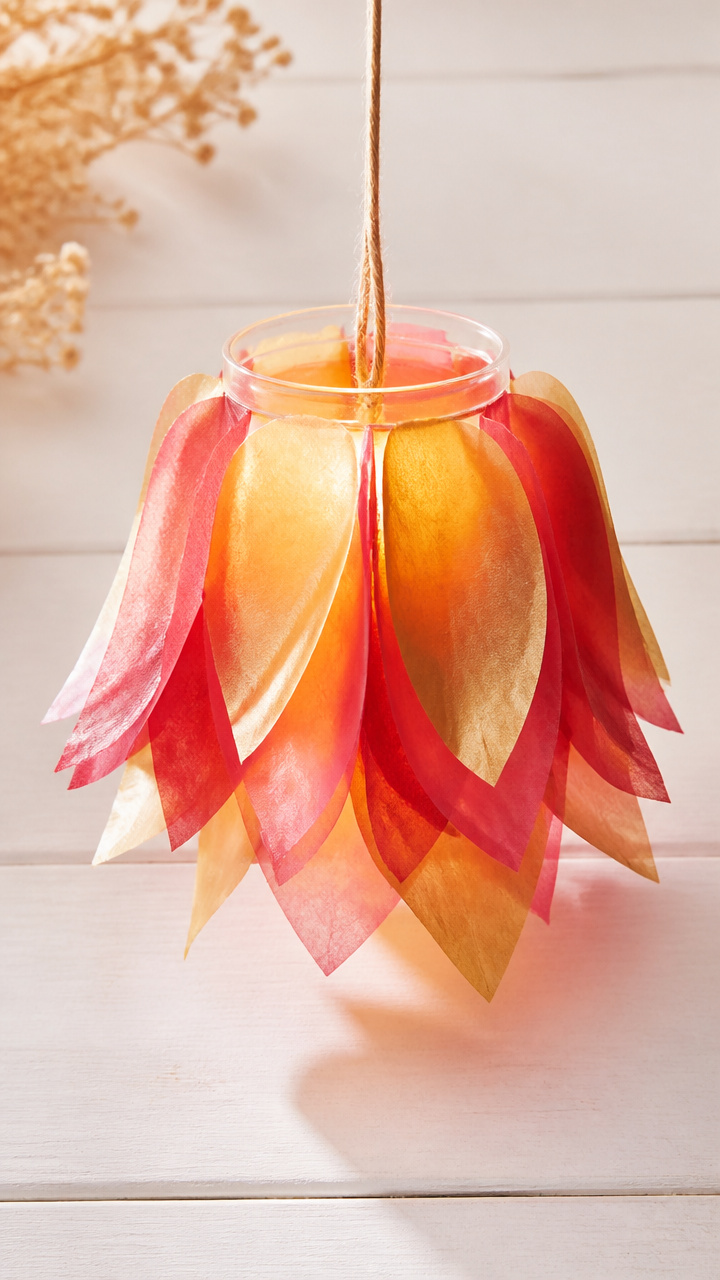
Layered petals of colored tissue open like blooming flowers to reveal a glowing center. These catch light beautifully when hung near a window.
Materials Needed
- Tissue paper (red, gold, pink, 2 sheets each)
- Clear plastic cup (6 oz)
- Glue stick
- String (12 inches)
- Scissors
- Battery-operated tea light
How to Make It
- Cut each tissue sheet into 2-inch wide strips, about 6 inches long.
- Glue one end of each strip to the rim of the cup, overlapping them like flower petals until the rim is full.
- Repeat on the bottom rim to create a second bloom.
- Tie string to opposite sides of the cup and hang. Place the tea light inside for a soft glow.


13. Popsicle Stick Maracas
Easy
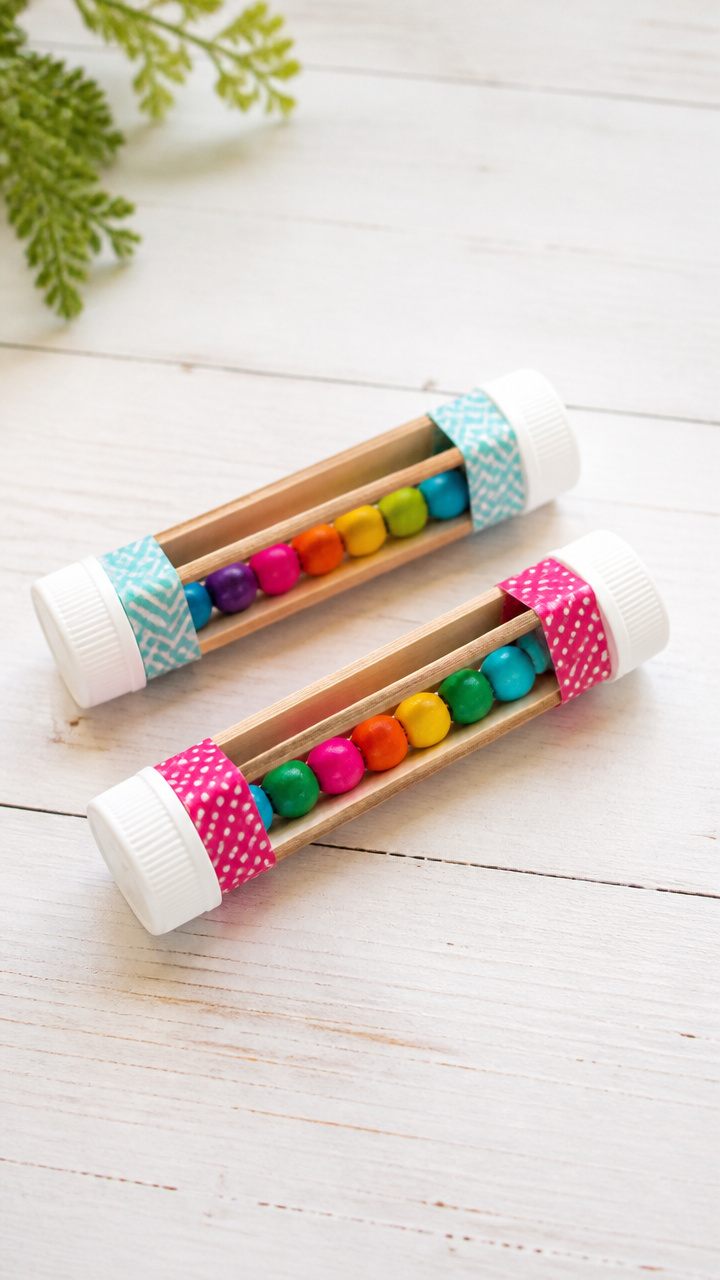
Rhythm shakes to life in bright sticks sealed with bottle caps and filled with tiny beads. These instruments add music to any celebration circle.
Materials Needed
- Popsicle sticks (2 per maraca)
- Plastic bottle caps (2 per maraca)
- White craft glue
- Colored masking tape
- Small beads (1 tablespoon)
- Paintbrush
How to Make It
- Lay the two popsicle sticks in a cross shape and glue them together at the center.
- Fill one bottle cap with beads and press it firmly onto one end of a stick.
- Glue the second cap to the opposite end and let dry 30 minutes.
- Wrap masking tape around each stick for color and grip.


14. New Year Hat Crowns
Easy
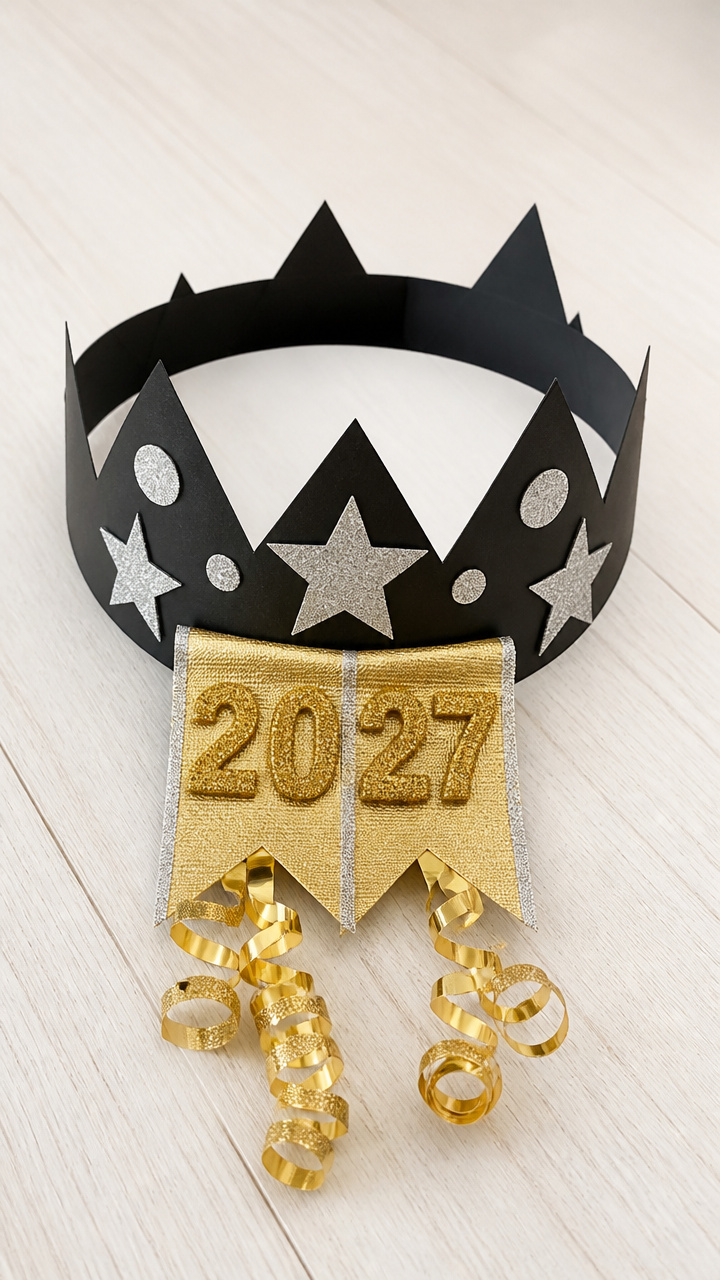
A wearable crown of glitter numbers and curling ribbons lets every child feel like royalty at the party. This festive headband inspires proud strutting.
Materials Needed
- Cardstock (black, 8.5×11 inch)
- Number stickers (2, 0, 2, 7)
- Glitter glue (silver)
- Ribbon (1/2 inch wide, 12 inches, gold)
- Scissors
- Hole punch
- Double-sided tape
How to Make It
- Cut the cardstock into a strip 2 inches wide and long enough to fit around the child’s head, plus 1 inch overlap.
- Place the number stickers across the front in order: 2 0 2 7
- Squeeze silver glitter glue around each number and let dry 20 minutes.
- Punch holes on each end and thread ribbon through to tie the crown together.


15. Bubble Wrap Stamped Banner
Easy
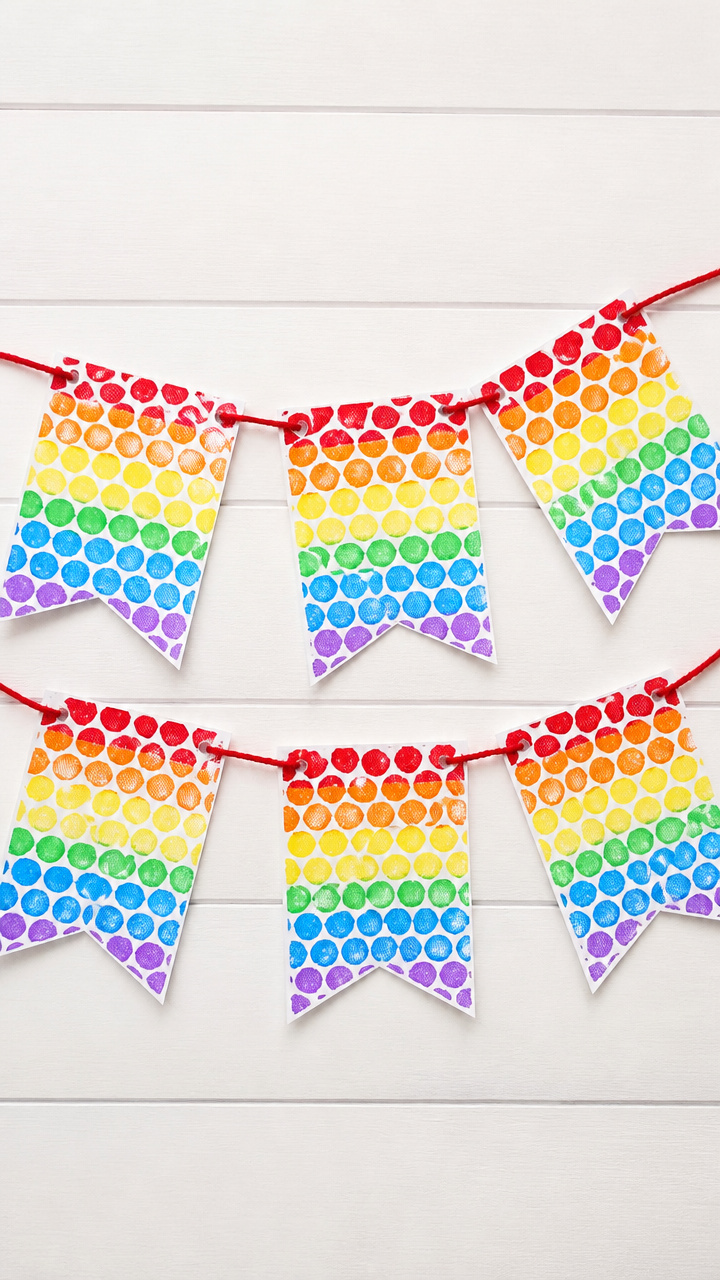
Rows of bubbled prints in rainbow ink form a bold, textured garland that celebrates with every pop-shaped mark. This tactile craft is quick and loud with color.
Materials Needed
- Bubble wrap (6×12 inch piece)
- Tempera paint (red, yellow, blue, 2 tablespoons each)
- Paint tray
- White cardstock (8.5×11 inch, 3 sheets)
- Scissors
- Yarn (36 inches)
- Hole punch
How to Make It
- Cut the cardstock into 6 trapezoids, 4 inches wide at the top and 3 inches at the bottom.
- Pour each paint color into the tray. Press the bubble wrap, bubble-side down, into one color.
- Stamp the wrap onto each trapezoid, using a new color for each row. Let dry 15 minutes.
- Punch holes in the top corners of each shape and thread onto yarn to create a banner.


Grab your glue sticks and gather the little ones. These crafts are ready to bring joy, one glittery, colorful step at a time.