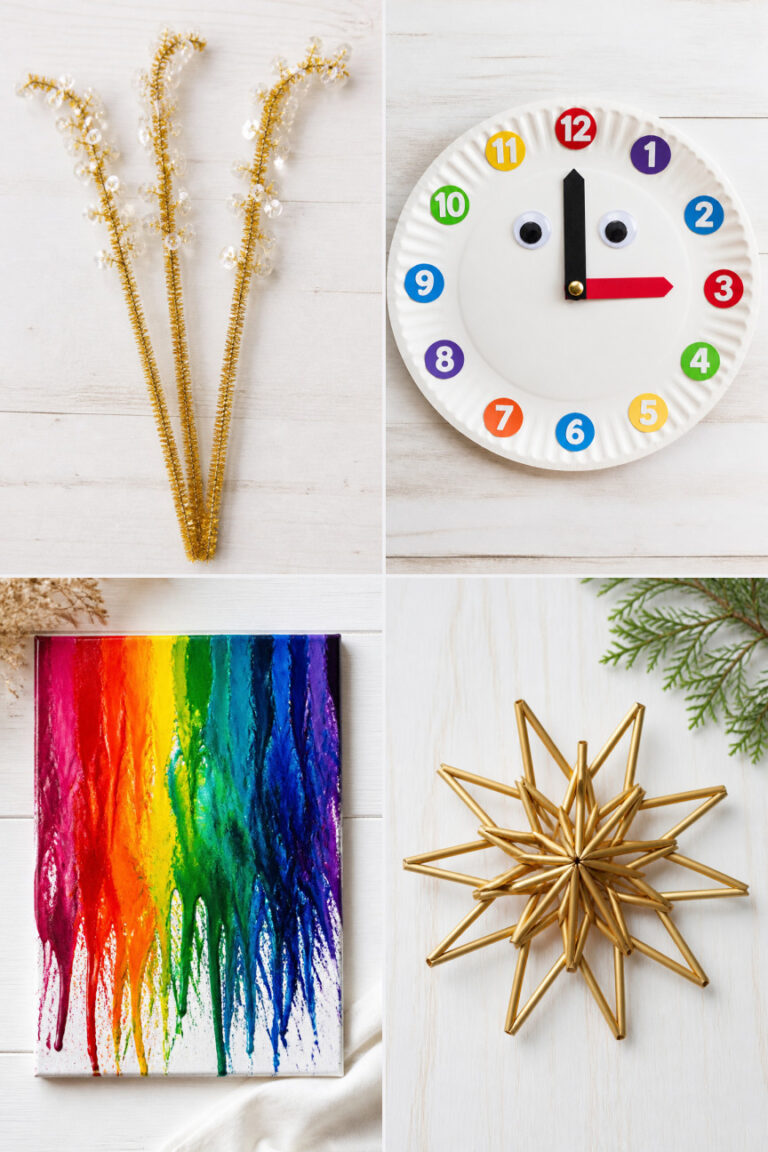
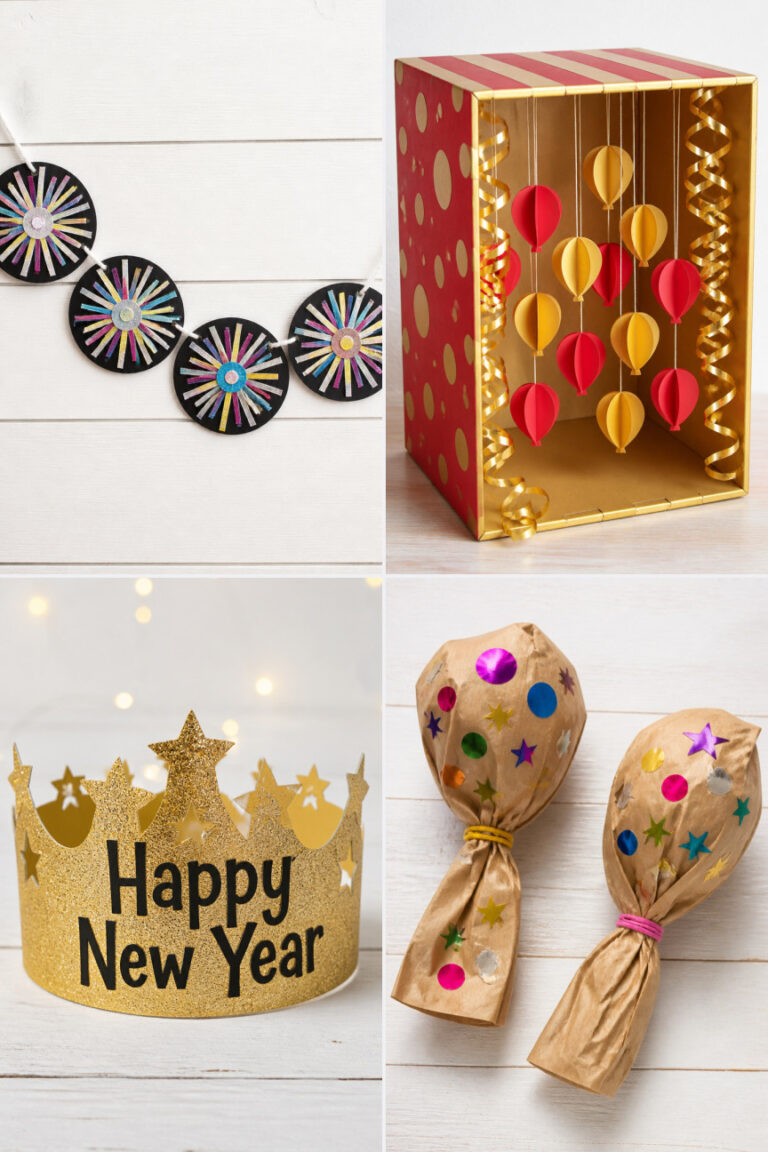
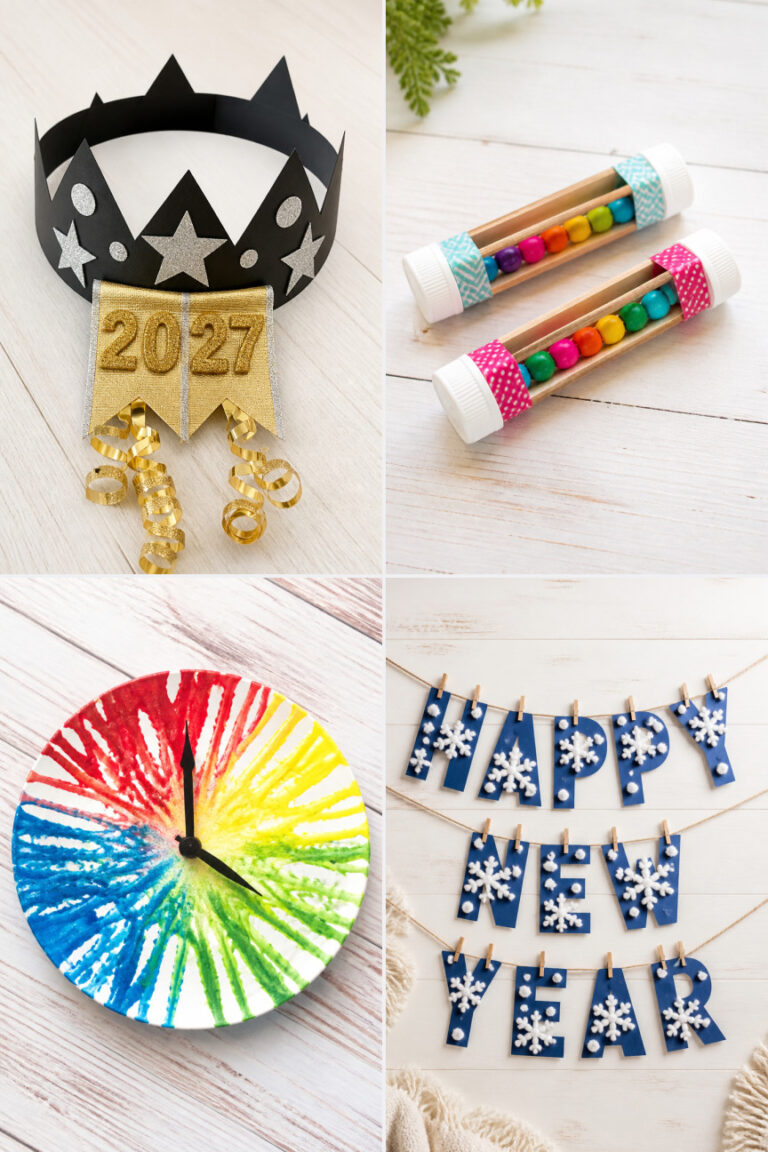
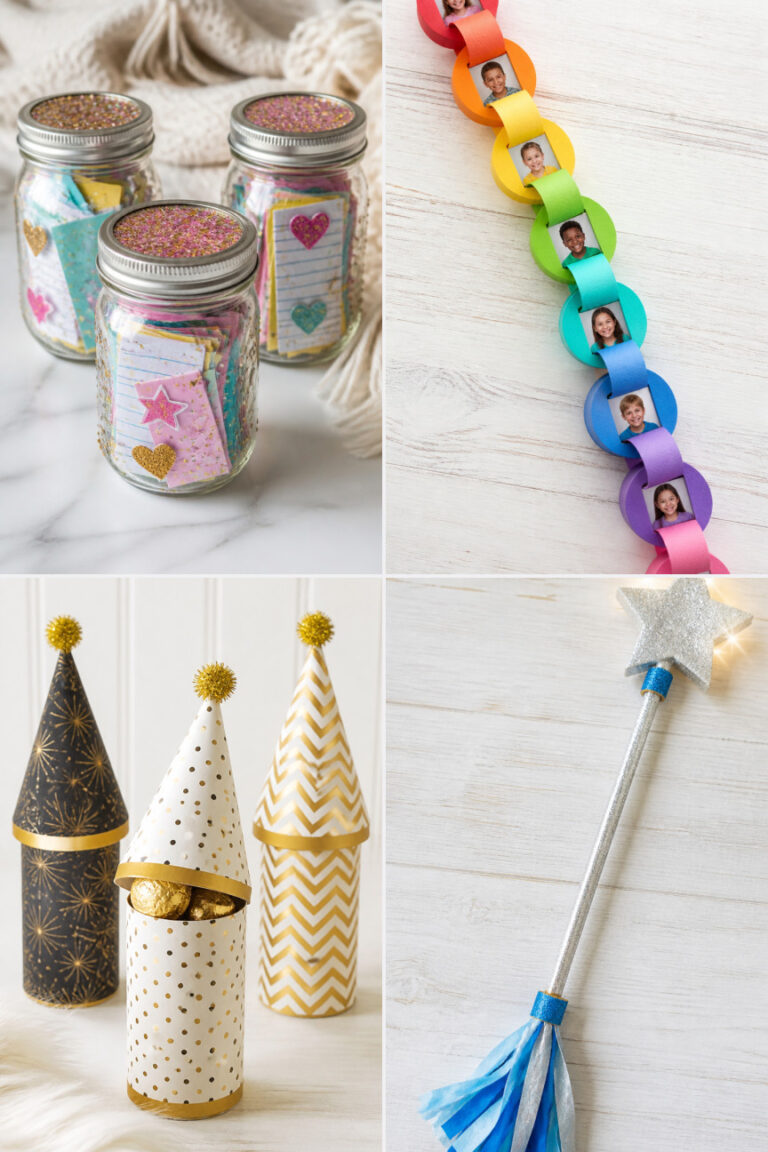
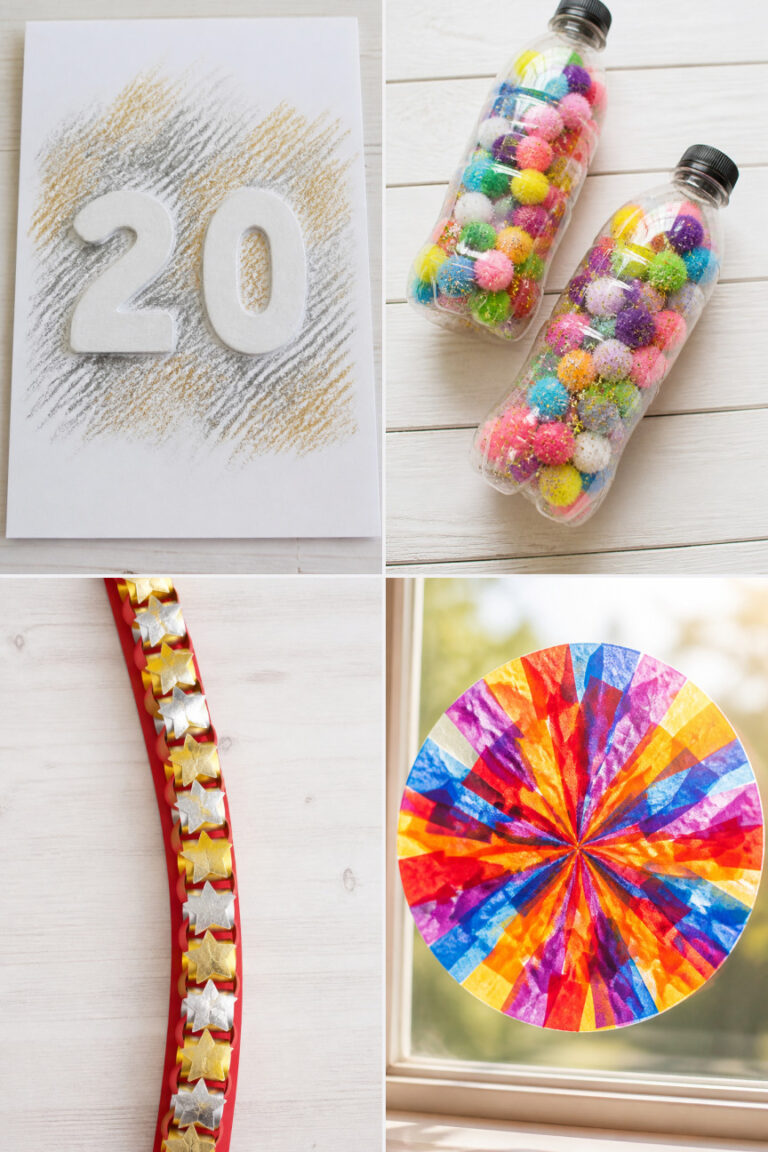
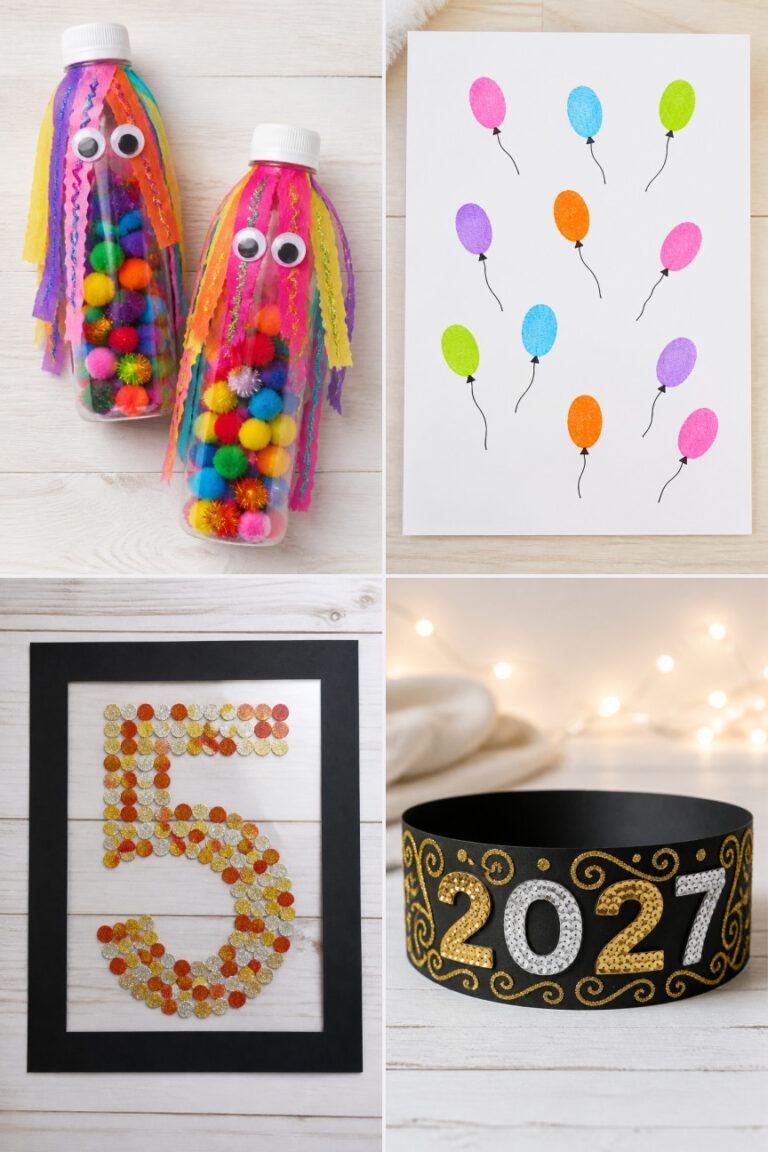
15 Easy New Year Crafts for Kids

Glitter spills across the table like stardust, paper scraps pile in bright heaps, and tiny hands press glue dots just a little too hard. These moments spark joy and keep young fingers busy with purpose.
Each craft here brings something fresh to the table — different materials, new techniques, and joyful results that double as decorations or gifts. You’ll find no repeats, no guesswork, just clear steps and real supplies you can gather fast.
1. Glittery Countdown Clock
Easy
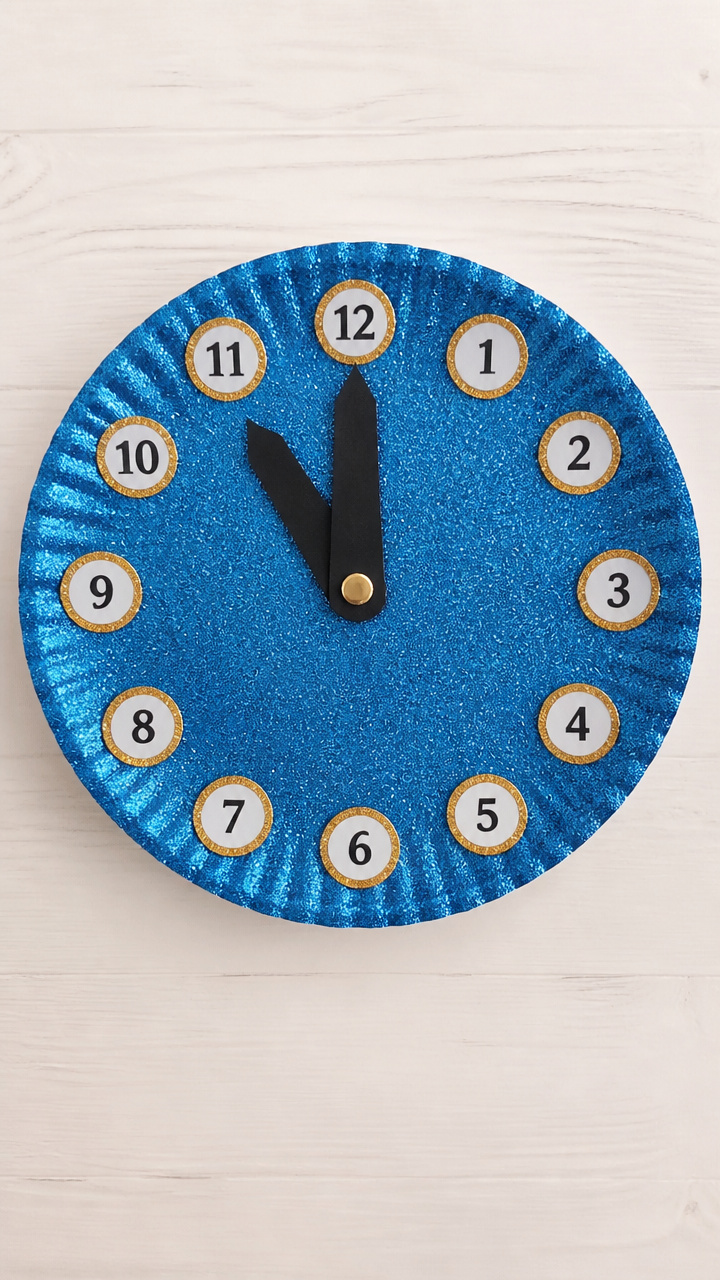
A spinning cardboard clock helps kids track hours until midnight with shimmering flair. This doubles as party decor and a fun way to stay excited without staying up late.
Materials Needed
- One 9-inch paper plate
- Twelve stickers numbered 1–12
- Two strips of cardstock (one 6 inches long, one 4 inches long)
- Brass fastener
- Glue stick
- Blue glitter
- Clear school glue
How to Make It
- Lay the paper plate flat and write 'Midnight' at the top edge. Stick the numbered stickers evenly around the outer rim like a clock face.
- Paint the entire plate with a thin layer of clear school glue. Sprinkle blue glitter over it and let dry for 10 minutes.
- Cut a small circle from scrap paper, write 'New Year' on it, and glue it in the center of the plate.
- Attach the longer cardstock strip to the shorter one using the brass fastener through both centers. Push the fastener through the middle of the plate and bend the tabs behind to secure.


2. Popsicle Stick Noise Maker
Easy
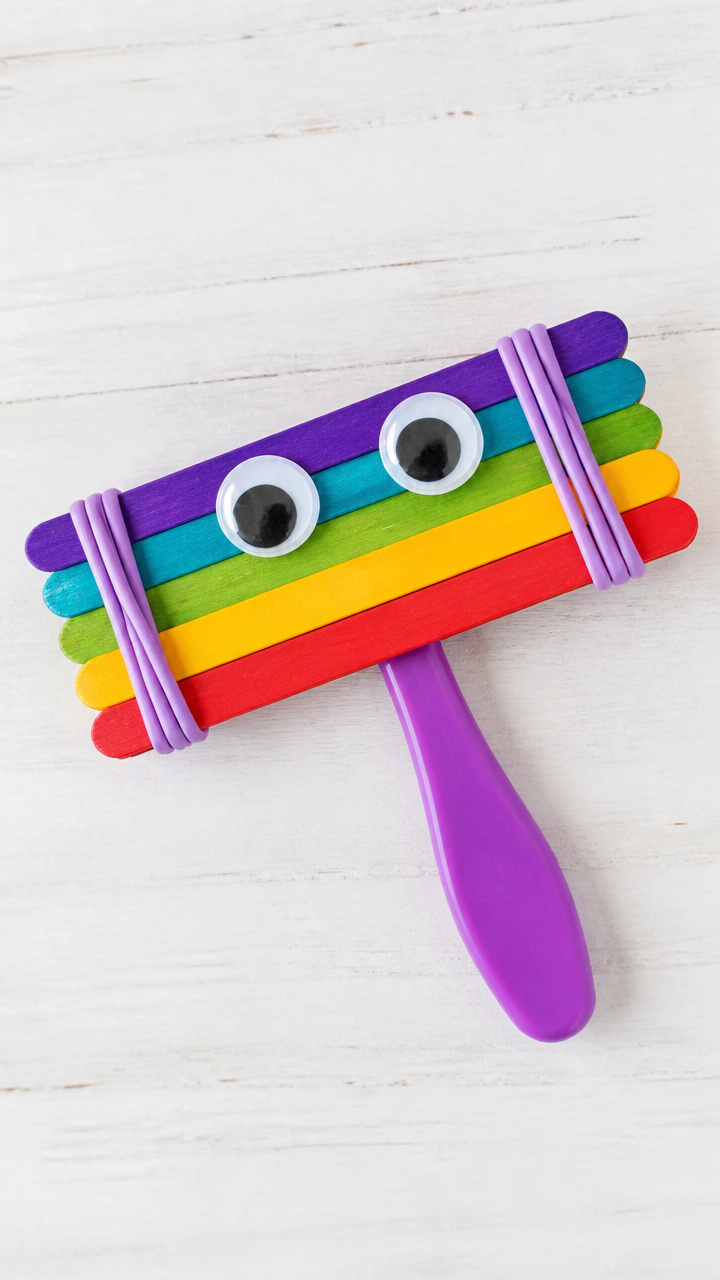
Rattle and cheer with a handheld noisemaker built from colorful sticks and rubber bands. Perfect for ringing in the moment with sound and motion.
Materials Needed
- Five jumbo popsicle sticks
- Four wide rubber bands
- One plastic spoon
- Googly eyes (2, 1-inch diameter)
- Glue dot
How to Make It
- Stack three popsicle sticks together and wrap a rubber band tightly around each end to bind them.
- Slide one loose stick between the top two sticks at one end, then another between the bottom two at the opposite end so they stick out like handles.
- Place the plastic spoon bowl-down against the two loose sticks and wrap the remaining two rubber bands around the spoon handle and sticks to lock it in place.
- Press a glue dot onto the spoon bowl and stick on two googly eyes for a silly face.


3. Tissue Paper Fireworks Banner
Easy
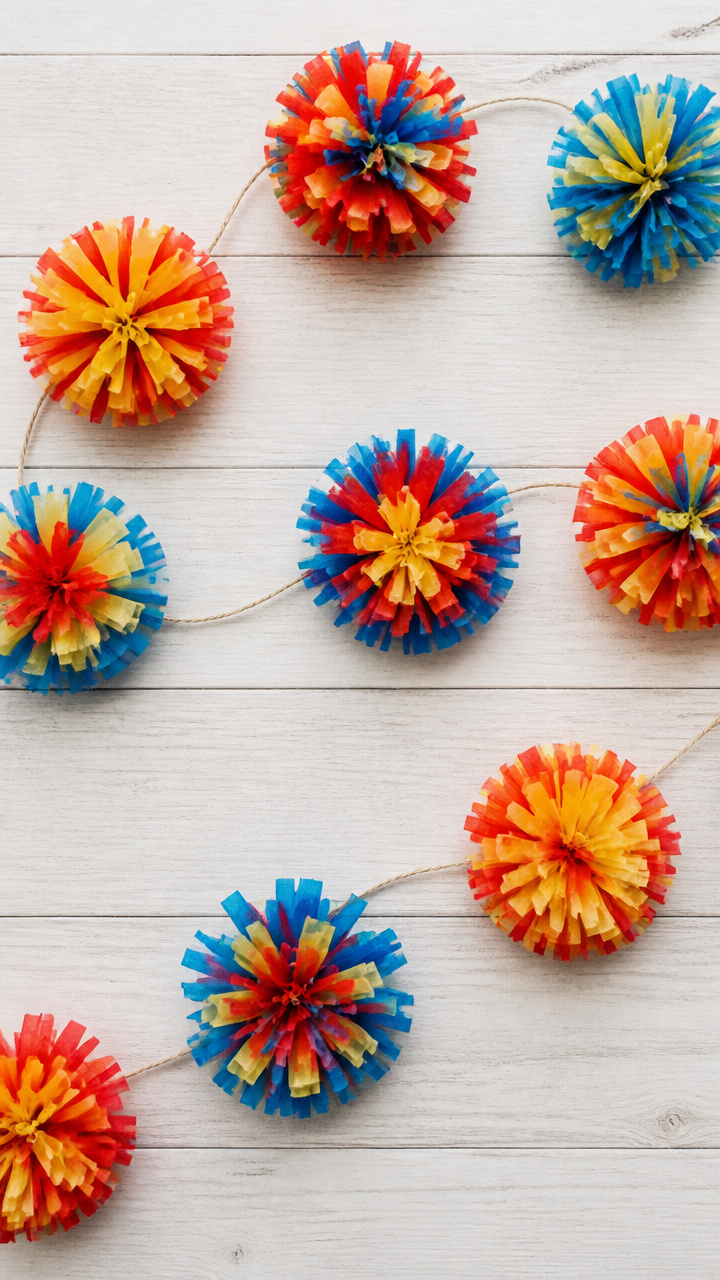
Vibrant bursts of tissue paper hang like silent fireworks across the room. Lightweight and airy, this banner flutters with every breeze.
Materials Needed
- Six sheets red tissue paper
- Six sheets yellow tissue paper
- Six sheets blue tissue paper
- Twine (3 feet)
- Scissors
- White glue
How to Make It
- Stack one sheet each of red, yellow, and blue tissue paper. Fold the stack accordion-style into 1.5-inch pleats.
- Round the outer edges of the folded stack with scissors to create a burst shape. Unfold slightly and fan out layers to form a starburst.
- Repeat to make five more fireworks. Let each dry flat for 2 minutes after shaping.
- Dab white glue on the center of each firework and press onto the twine 4 inches apart. Hang and let dry for 15 minutes.


4. Foil Balloon Numbers
Moderate
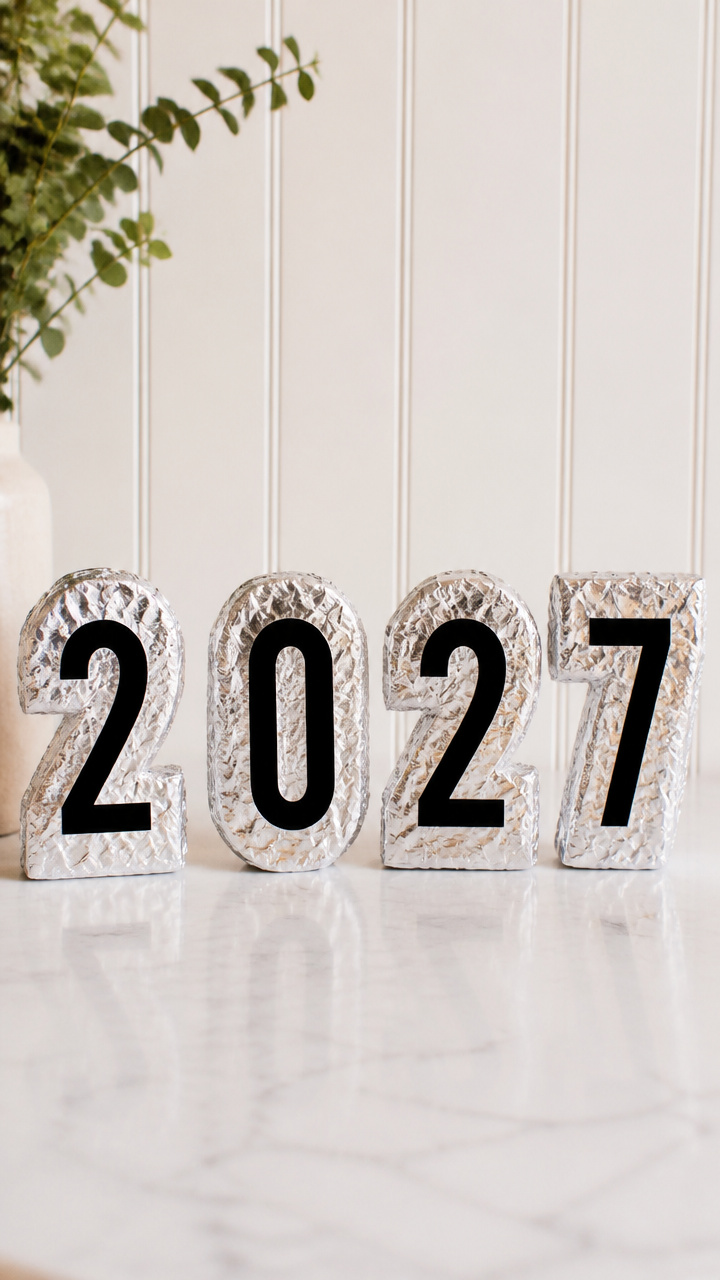
Shiny foil numbers catch the light and announce the coming year proudly. These stand upright on tables or lean against walls.
Materials Needed
- Two sheets silver metallic cardstock (8.5 x 11 inches)
- Black fine-tip marker
- Ruler
- Craft knife
- Cutting mat
- Double-sided tape
How to Make It
- Use the ruler and black marker to draw a large number (like 2 and 5) on each sheet of cardstock, filling most of the page.
- Place the cardstock on the cutting mat and cut out each number carefully with the craft knife. Use slow, steady strokes.
- Fold a 1-inch tab along the bottom edge of each number backward. Do the same on the back side to create support flaps.
- Attach double-sided tape to each flap and press firmly to the table surface so the numbers stand upright.


5. Yarn-Wrapped Time Capsule Box
Easy
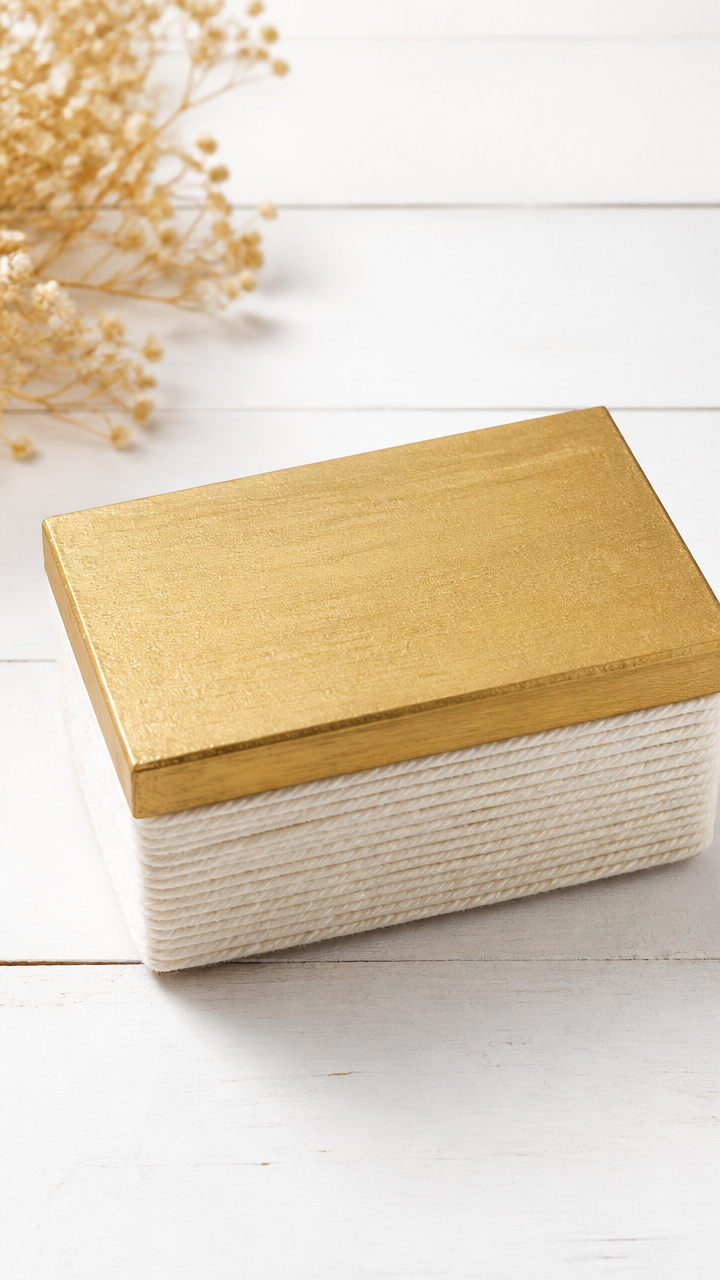
A decorated shoebox holds notes, drawings, and trinkets to open next year. Wrapping yarn gives it a cozy handmade feel.
Materials Needed
- One plain cardboard shoebox with lid
- White cotton yarn (50 yards)
- School glue
- Paintbrush
- Gold acrylic paint
How to Make It
- Brush a thin line of school glue along the bottom edge of the box. Press the yarn end into the glue and let sit for 1 minute.
- Wrap the yarn tightly around the box, adding dabs of glue every inch to hold it in place. Cover all sides completely.
- Repeat wrapping on the lid. Let the box dry for 10 minutes.
- Use the paintbrush to streak gold acrylic paint lightly over the yarn for sparkle. Let dry 15 minutes before filling.
6. Cotton Ball Cloud Wand
Easy
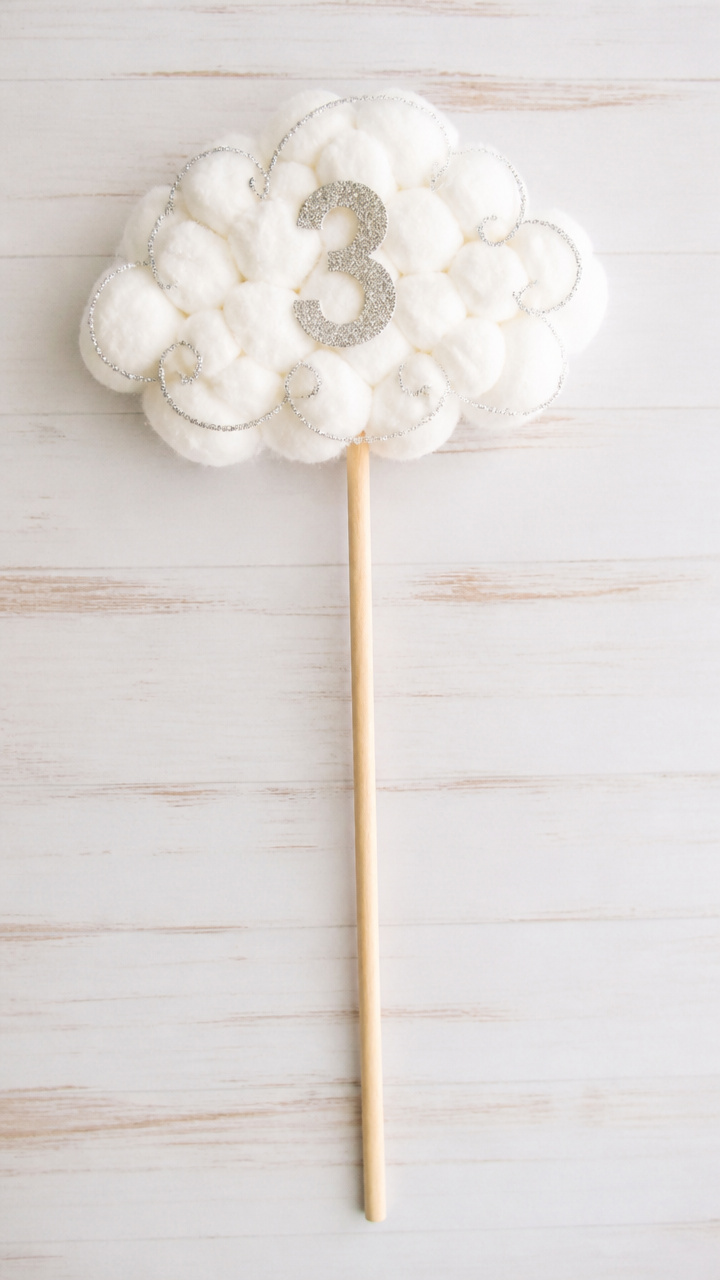
A fluffy wand topped with a glittery number floats above the crowd like a gentle promise. Soft to hold and magical to wave.
Materials Needed
- One 12-inch wooden dowel
- Ten large white cotton balls
- Hot glue gun and glue sticks
- Number-shaped foam sticker (3 inches tall)
- Glitter glue (silver)
How to Make It
- Plug in the hot glue gun and let it heat up. Work on a heat-safe surface.
- Glue cotton balls densely around the top 3 inches of the dowel, overlapping them to form a soft cloud shape.
- Let the glue cool for 1 minute, then outline the foam number with glitter glue and press it into the center of the cloud.
- Set aside for 5 minutes to let the glitter glue set before waving.
7. Photo Booth Hat Set
Easy

Cardstock hats with bold numbers and tassels turn any kid into a celebration star. Snap pictures and save the memory.
Materials Needed
- Three sheets black cardstock (8.5 x 11 inches)
- Red ribbon (1/4 inch wide, 3 feet)
- Hole punch
- Double-sided tape
- Foam number stickers (3 inches, gold)
- Scissors
How to Make It
- Cut each sheet of cardstock in half lengthwise to make six 4.25 x 11-inch strips. Curve one end of each into a semi-circle.
- Punch a hole at each end of every strip. Thread a 6-inch piece of red ribbon through each pair and tie knots to connect them into crowns.
- Stick a gold foam number onto the front of each crown using double-sided tape.
- Cut the remaining ribbon into 6-inch pieces and knot them at one end to make tassels. Tape one tassel to each side of every hat.


8. Beaded Ringing Bell
Easy
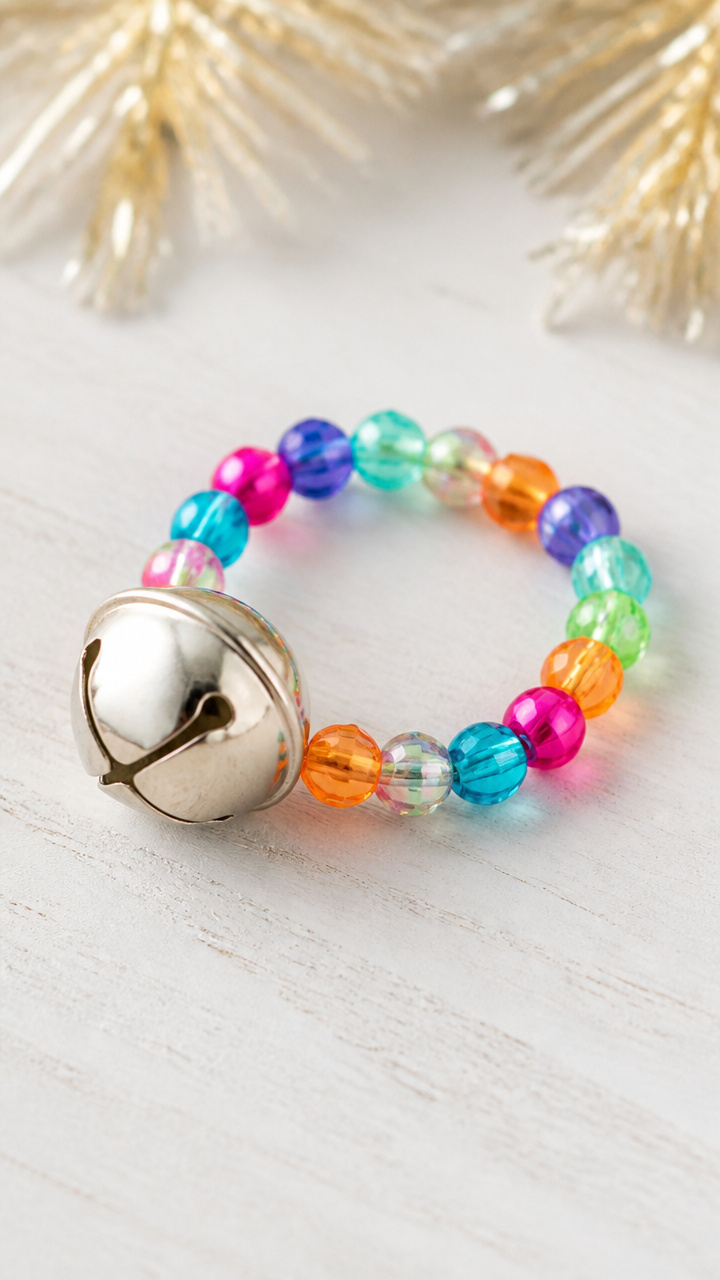
A jingle bell strung with colorful beads chimes with every shake. This sensory craft builds fine motor skills while making merry noise.
Materials Needed
- One large silver jingle bell (1.5 inches)
- Plastic lacing cord (24 inches)
- Twenty plastic beads (various colors, 1 cm diameter)
- Scissors
How to Make It
- Thread one end of the lacing cord through the loop of the jingle bell and tie a double knot to secure it.
- String ten beads onto each side of the cord, pushing them down to the bell.
- Tie a knot at each end of the cord to keep beads from sliding off.
- Shake gently to hear the bell ring and beads click together.


9. Salt Dough Number Ornaments
Moderate
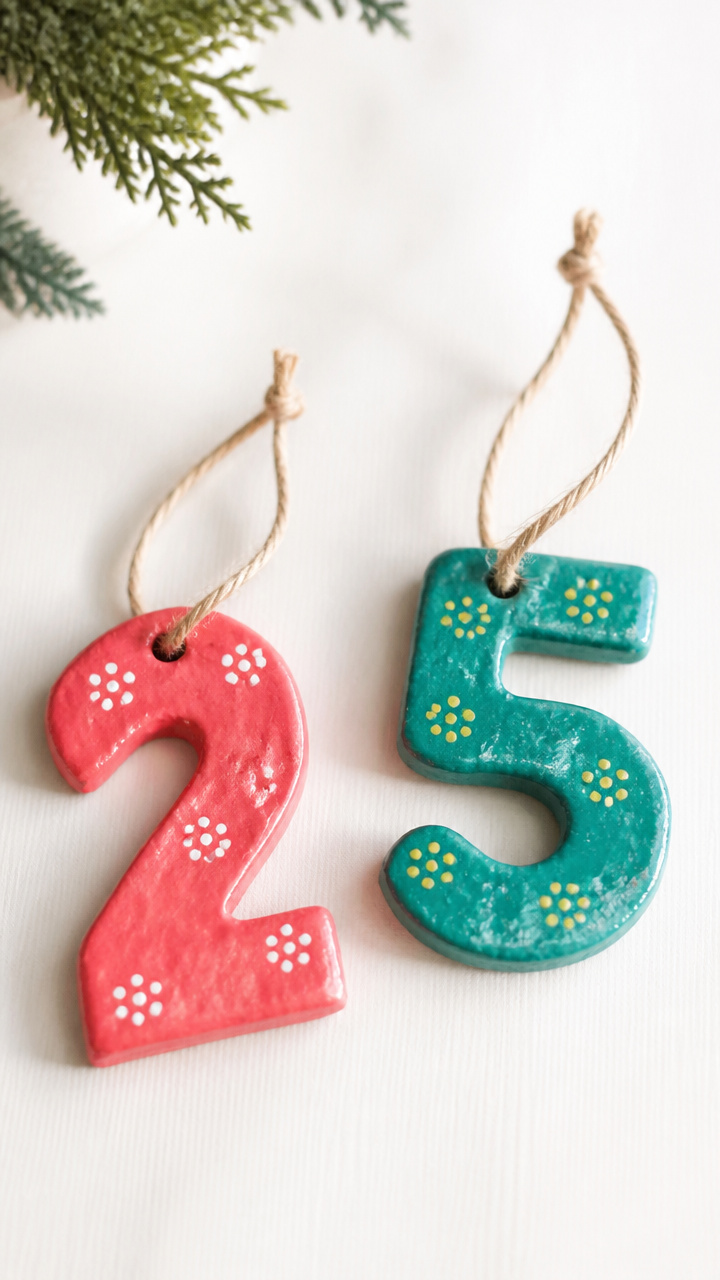
Hand-shaped ornaments bake firm and last for years on display. The rough texture holds paint beautifully and feels satisfying to mold.
Materials Needed
- 2 cups all-purpose flour
- 1 cup table salt
- 3/4 cup warm water
- Rolling pin
- Number-shaped cookie cutters (2 and 5)
- Straw
- Baking sheet
- Oven
- Acrylic paint (gold, silver, red)
- Paintbrush
- Ribbon (12 inches, thin)
How to Make It
- Mix flour, salt, and warm water in a bowl until a smooth dough forms. Knead for 2 minutes on a floured surface.
- Roll the dough to 1/4-inch thickness. Cut out two numbers using the cookie cutters.
- Push a straw through the top edge of each ornament to make a hanging hole. Place on a baking sheet.
- Bake at 250°F for 2 hours. Let cool completely.
- Paint each ornament with acrylics and let dry for 20 minutes. Thread ribbon through the hole to hang.


10. Paper Plate Clock Face
Easy
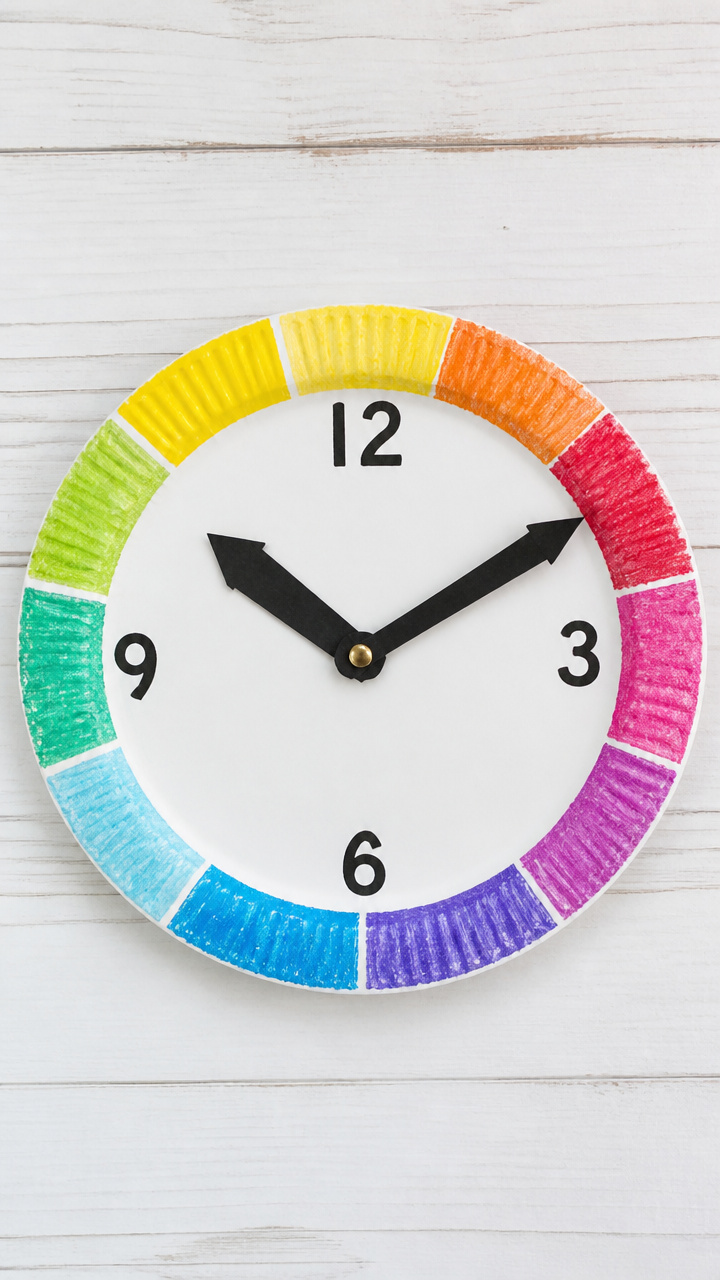
A rainbow-colored clock teaches time while marking the countdown. Bright numerals and moving hands make learning part of the fun.
Materials Needed
- One white paper plate
- Crayons (red, orange, yellow, green, blue, purple)
- Black marker
- Two cardstock arrows (hour and minute hands, cut ahead)
- Brass fastener
- Scissors
How to Make It
- Color each quarter of the plate a different crayon color, blending sections into a rainbow circle.
- Write numbers 1 through 12 evenly around the edge with the black marker.
- Cut a small notch in the center of both cardstock hands. Layer the minute hand over the hour hand.
- Push the brass fastener through the hands and center of the plate. Bend the tabs behind to allow spinning.

11. Pipe Cleaner Sparklers
Easy
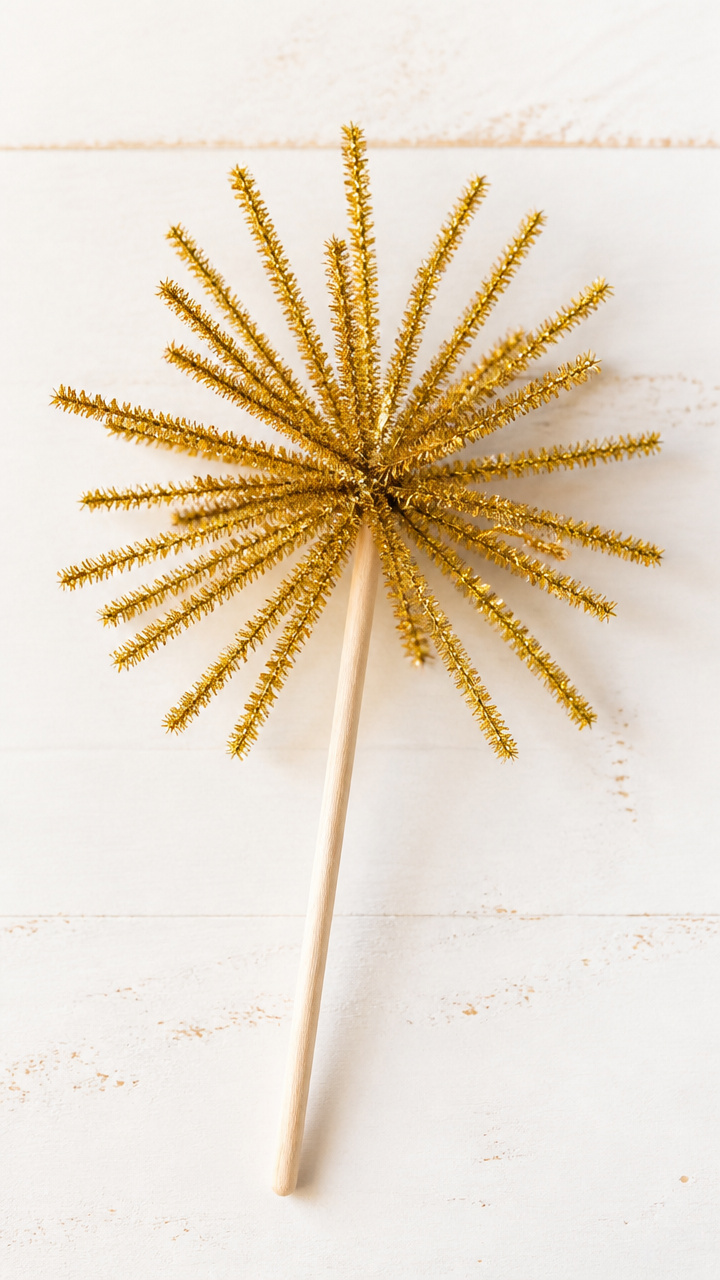
Twisty wire wands glow under lights and twist into endless shapes. Safe indoor sparklers add sparkle without the flame.
Materials Needed
- Twelve gold pipe cleaners
- Scissors
- One 6-inch wooden dowel
How to Make It
- Cut ten pipe cleaners in half to make twenty 6-inch pieces.
- Twist five full-length pipe cleaners tightly around one end of the dowel, fanning them outward like rays.
- Wrap the short pieces around the base of the rays to secure them to the dowel.
- Bend the tips of each ray outward to create a splayed, sparkler effect.


12. Confetti Popper Cannons
Easy
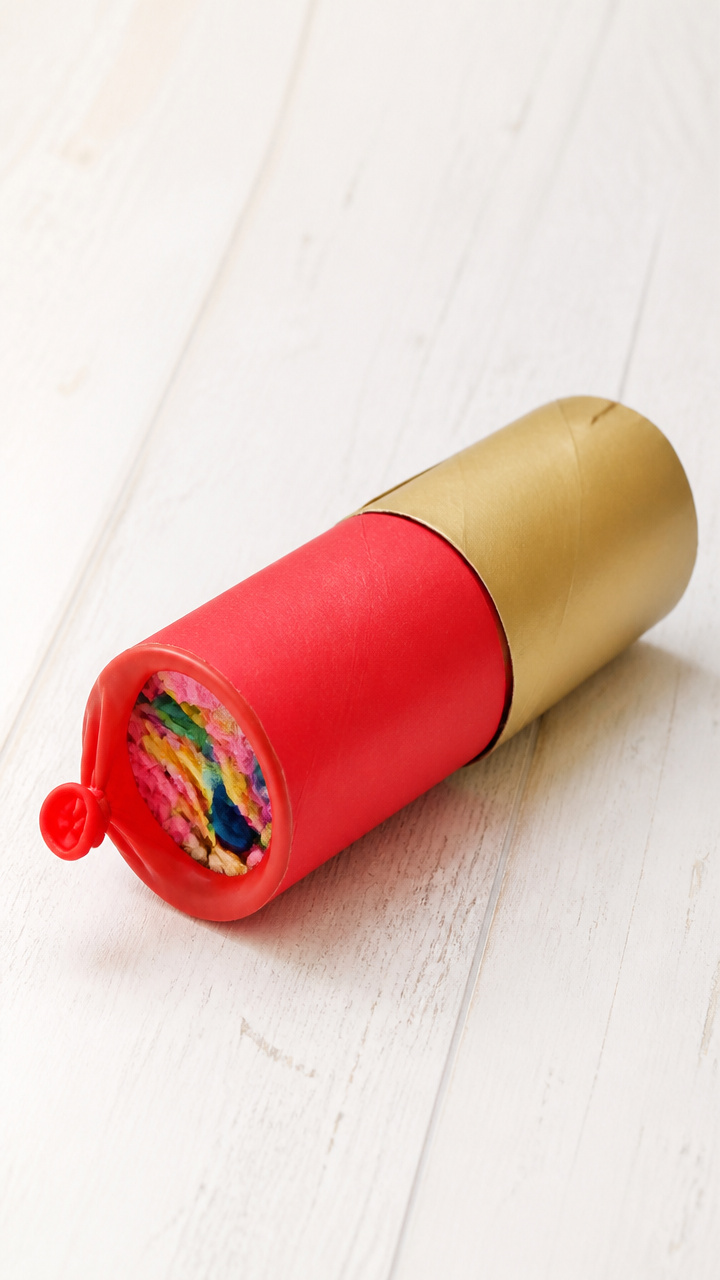
Empty toilet paper rolls launch biodegradable confetti with a pop. Pull-string action delivers surprise bursts of color.
Materials Needed
- Two empty toilet paper rolls
- Tissue paper confetti (1/4 cup)
- Balloon (two-inch neck width)
- Rubber band
- Glue stick
- Construction paper (red and gold)
- Scissors
How to Make It
- Cut the balloon neck off and stretch the round part over one end of a toilet paper roll. Secure with a rubber band.
- Decorate each roll with glued construction paper strips in red and gold.
- Fill the open end with 2 tablespoons of confetti.
- Pull back on the balloon membrane and release to shoot confetti across the room.


13. New Year's Crown of Lights
Moderate
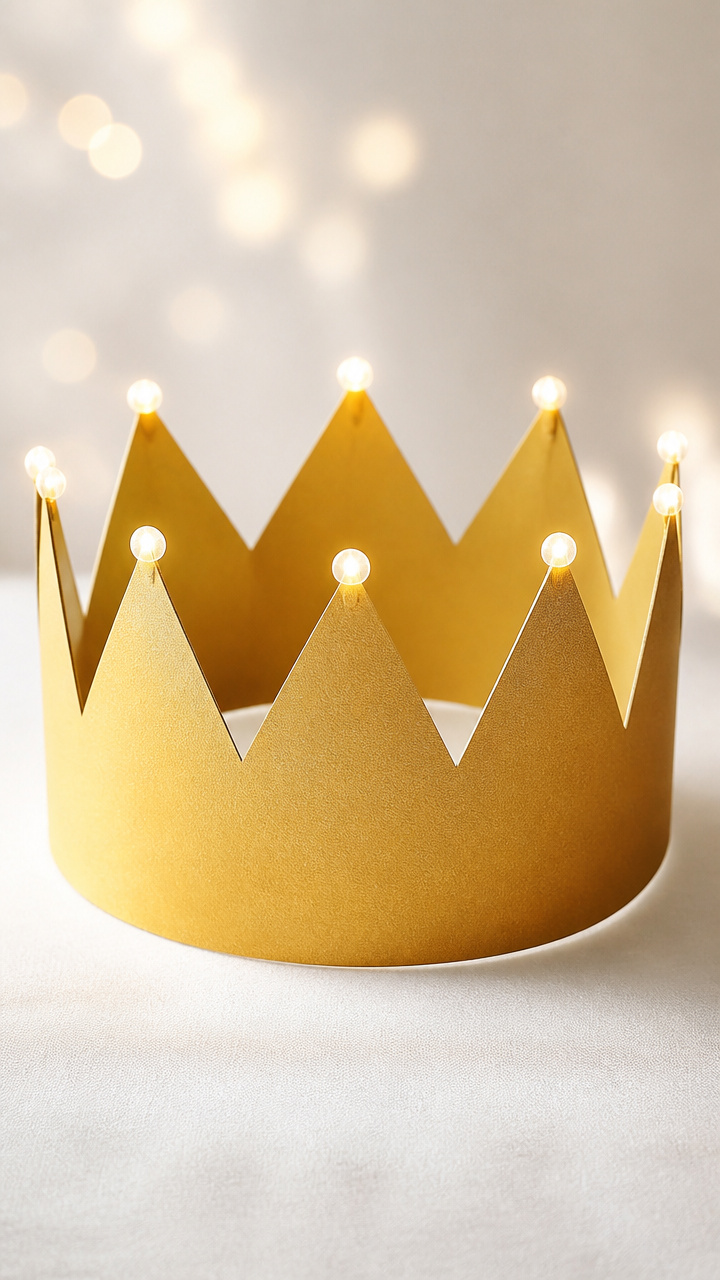
Battery-powered fairy lights twinkle atop a cardstock crown. Safe and radiant, it makes every child the center of attention.
Materials Needed
- One sheet gold cardstock (8.5 x 11 inches)
- Mini battery-powered fairy lights (30 LEDs, 3V coin cell)
- Glue dots
- Scissors
- Double-sided tape
How to Make It
- Cut the cardstock into a crown shape: a 3-inch-tall rectangle with pointed peaks every 2 inches along the top edge.
- Measure your child’s head and trim the ends to fit. Overlap slightly and seal with double-sided tape.
- Coil the fairy light strand loosely and place along the top edge of the crown. Press glue dots under each LED to hold it in place.
- Slide the battery pack into a pocket made from folded cardstock and tape it to the inside back of the crown.


14. Fingerprint Countdown Tree
Easy
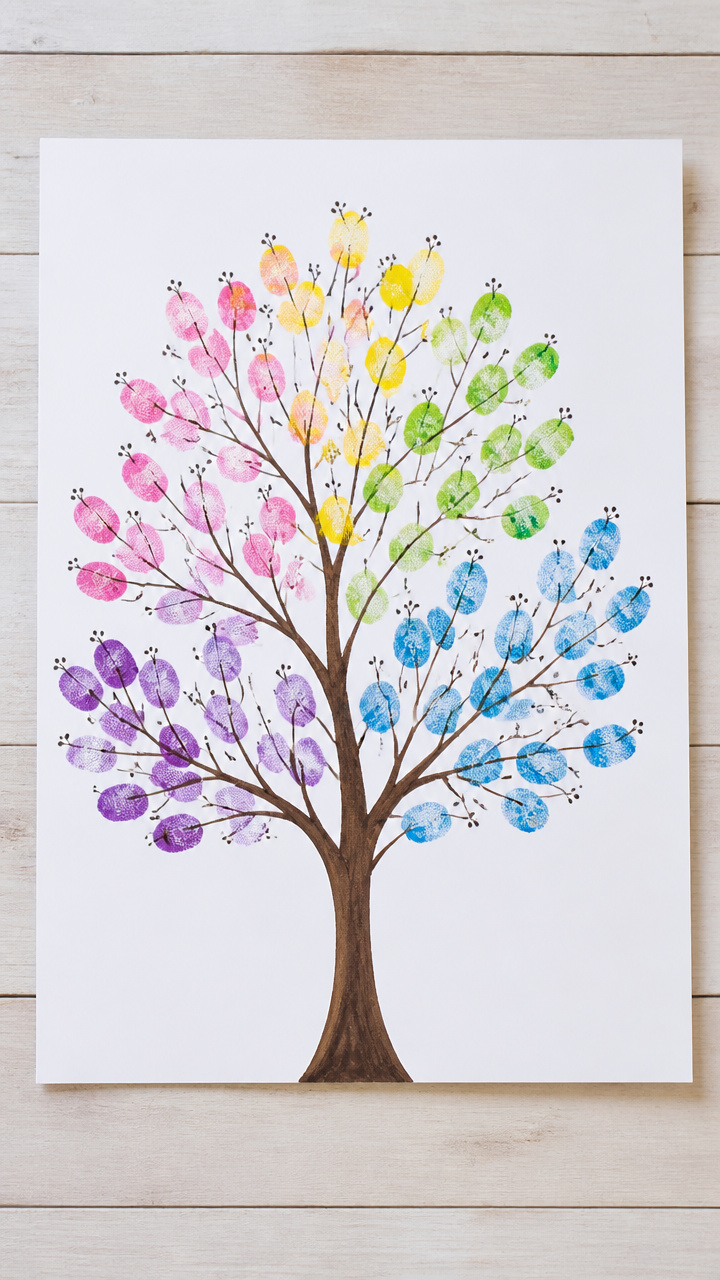
A bare branch fills with colored fingerprints counting down the days. Each print is a tiny mark of anticipation.
Materials Needed
- One sheet A4 white cardstock
- Brown washable paint
- Paintbrush
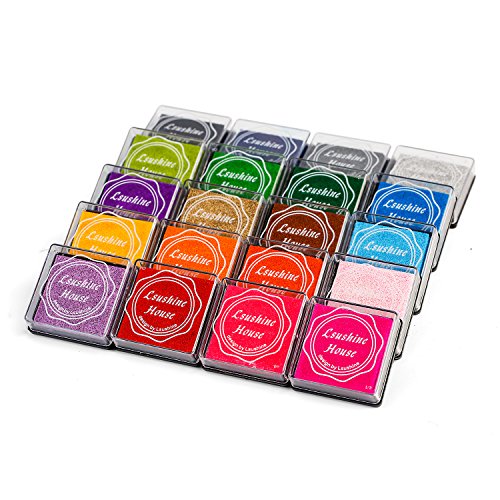
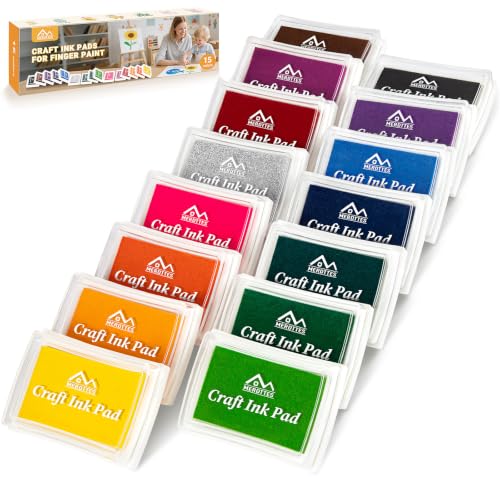
- Pink, yellow, blue, green, and purple ink pads
- Black fine-tip marker
How to Make It
- Paint a thick, curving tree trunk and branches near the center of the cardstock. Let dry for 5 minutes.
- Use the black marker to write numbers 10 to 1 along the right margin.
- Press a finger into one ink pad and stamp a dot near the corresponding number. Repeat with different colors for each day.
- Let the ink dry completely before handling or framing.

15. Streamers-in-a-Jar Display
Easy
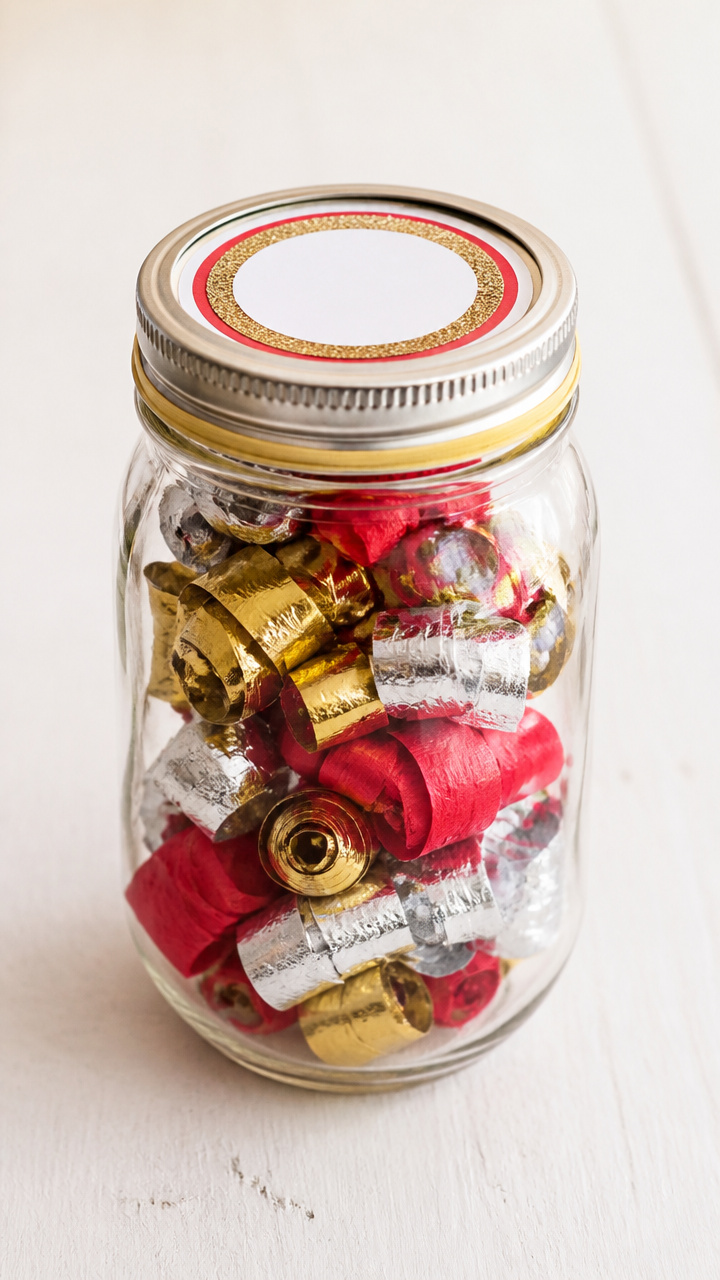
A mason jar holds coiled streamers ready to burst forth when tipped. It sits quietly on a shelf until the big moment.
Materials Needed
- One 8-ounce clear mason jar with lid
- Crepe paper streamers (red, silver, gold – 3 rolls total)
- Scissors
- Rubber band
- Label sticker
How to Make It
- Cut each roll of crepe paper into 18-inch lengths. Stack ten pieces together.
- Fold the stack in half and tie the center tightly with a rubber band.
- Coil the streamers tightly and squeeze into the jar. Screw the lid on firmly.
- Write 'Pull at Midnight!' on the label sticker and stick it to the jar lid.


Grab a few supplies and start with the one that makes you smile. These crafts are simple enough to begin now and joyful enough to remember later.