22 Cheap Winter Decor DIYs to Brighten Up Your Home

Frosty windowpanes, the soft glow of candles, and the quiet hush of snow-covered mornings—winter brings a mood all its own. You don’t need a big budget to bring that cozy magic inside.
With simple materials and a little creativity, you can craft warmth into every corner. These handmade touches add charm, color, and cheer without draining your wallet.
1. Pinecone Wreath with Ribbon
Easy

A rustic front door wreath made from gathered pinecones and a velvet ribbon gives instant seasonal charm. It smells like the woods and costs next to nothing.
Materials Needed
- 12 medium pinecones, cleaned and dried
- 12-inch wire wreath frame
- Hot glue gun
- Hot glue sticks
- 1-yard wide red velvet ribbon
How to Make It
- Arrange the pinecones around the wire frame to check spacing, placing the narrow ends outward.
- Use the hot glue gun to attach each pinecone base to the frame, holding for 10 seconds until set.
- Tie the ribbon into a large bow and glue it at the bottom of the wreath.
- Let the glue cool completely before hanging the wreath on your door.


2. Salt Dough Ornaments
Easy
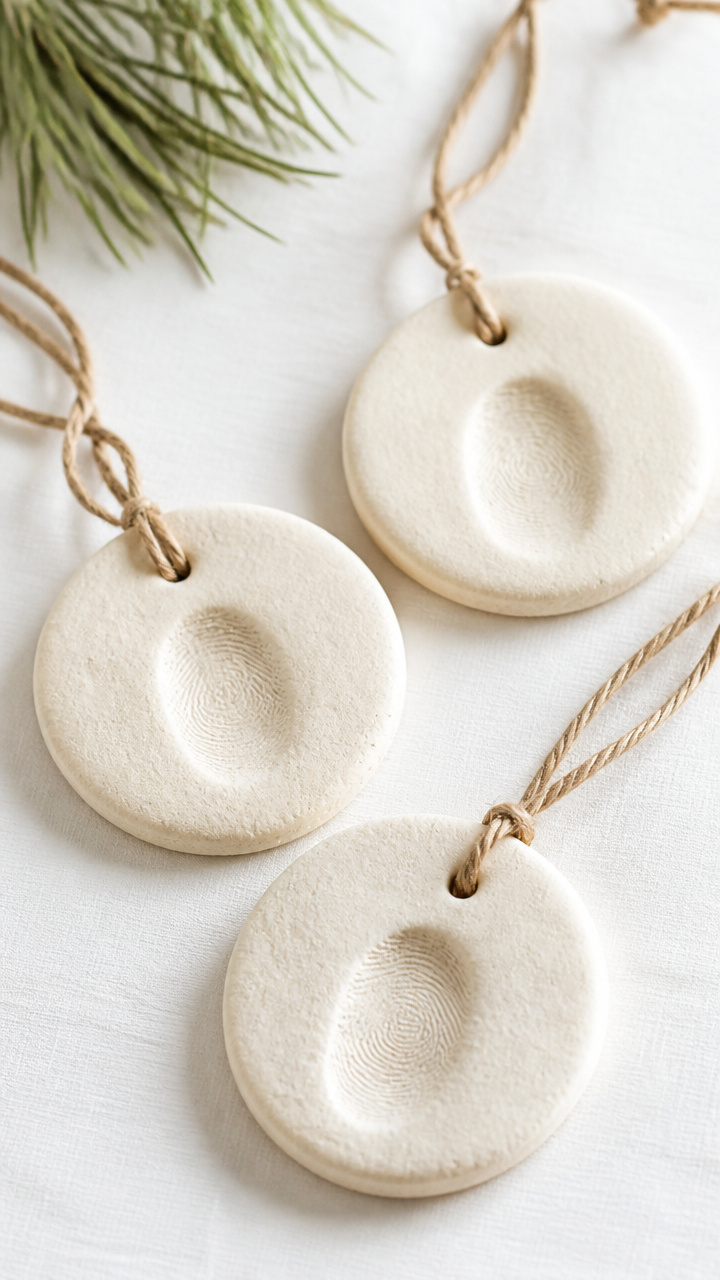
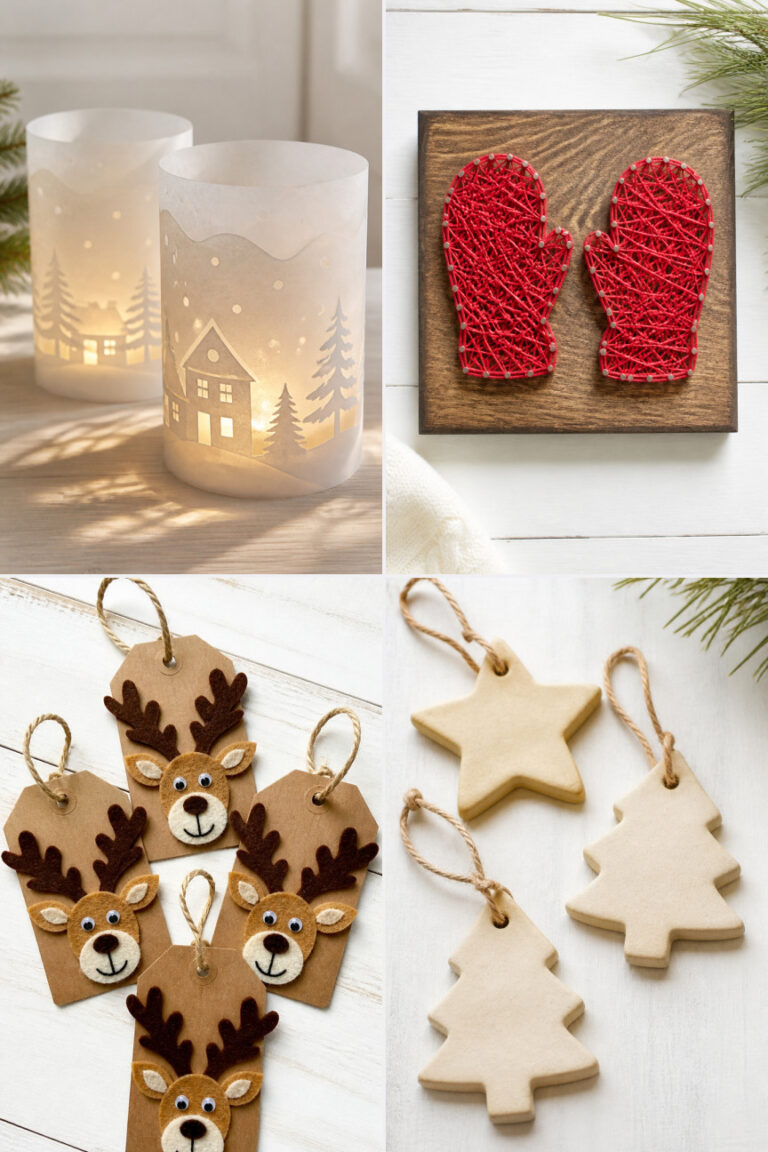
Soft white ornaments shaped by hand and stamped with family fingerprints become keepsakes. They’re light, natural, and perfect for a tree with character.
Materials Needed
- 1 cup all-purpose flour
- 1/2 cup table salt
- 1/2 cup warm water
- Parchment paper
- Baking sheet
- Straw
- Acrylic paint, white and gold
- Fine paintbrush
- Twine, 10 feet
How to Make It
- Mix flour, salt, and water in a bowl until a smooth dough forms, kneading for 2 minutes.
- Roll out the dough to 1/4-inch thickness and cut into 2-inch circles using a glass or cutter.
- Press a fingertip or small stamp into each ornament, then use a straw to poke a hole near the top edge.
- Place ornaments on a parchment-lined baking sheet and bake at 200°F for 3 hours until hard.
- Paint each ornament white, let dry, then add gold accents with the brush.
- Thread twine through each hole to hang.


3. Felt Snowflake Garland
Easy
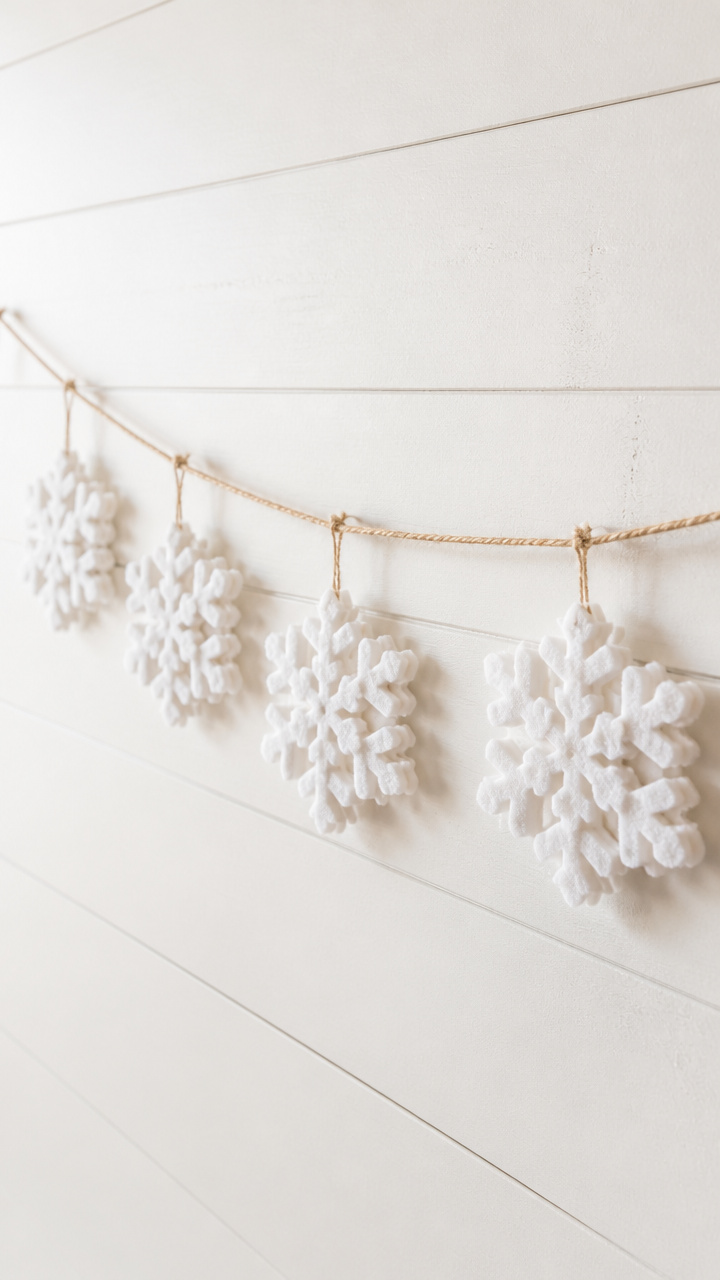
Delicate layered snowflakes in white felt float like real ones caught mid-fall. String them across a mantel for a soft winter breeze indoors.
Materials Needed
- White craft felt sheet, 9×12 inches
- Snowflake stencil, 3-inch
- Fabric scissors
- Chalk pencil
- Clothesline string, 6 feet
- Needle and white thread
How to Make It
- Trace the snowflake stencil onto the felt with the chalk pencil, making 10 copies.
- Cut out each snowflake carefully with fabric scissors.
- Thread the needle and knot the end, then sew through the top center of each snowflake, spacing them 4 inches apart.
- Tie the ends of the string to create a loop for hanging.


4. Cinnamon Stick Bundles
Easy
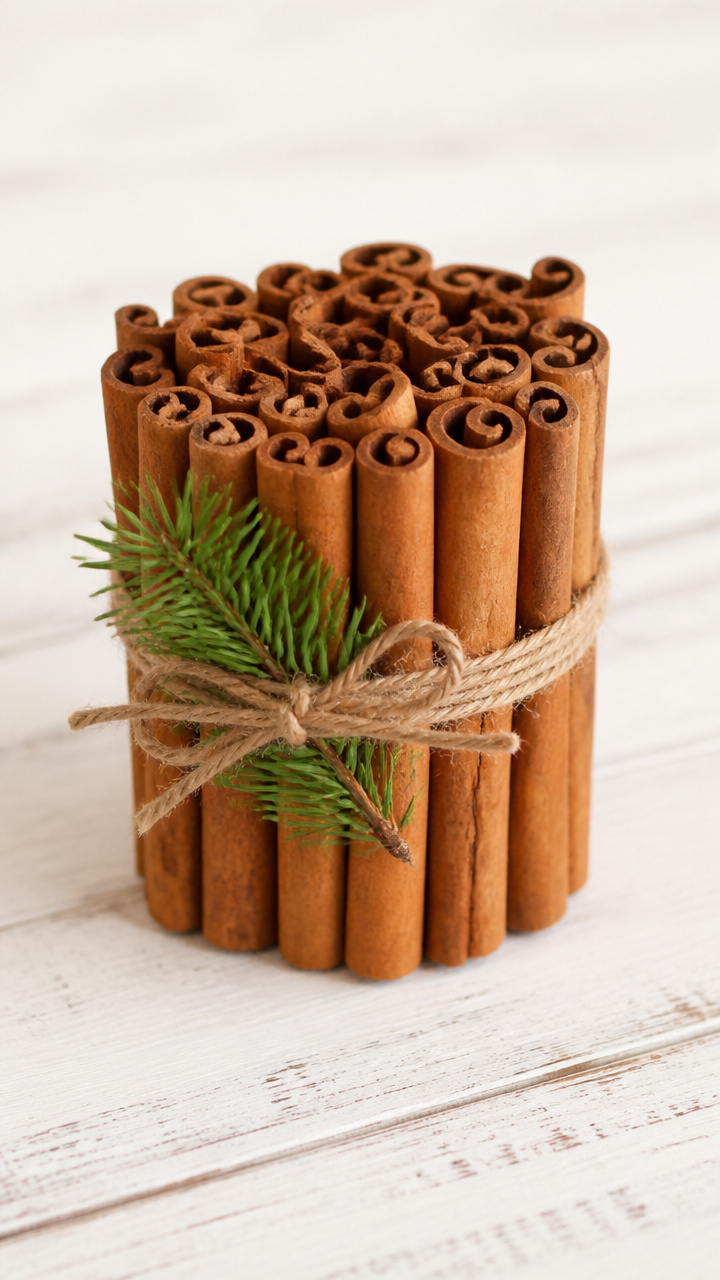
Tight bundles of cinnamon sticks tied with twine smell like holiday baking and look elegant on a coffee table. They take five minutes and cost pennies.
Materials Needed
- 30 cinnamon sticks, 3 inches long
- Jute twine
- Scissors
- Small pine sprig (optional)
How to Make It
- Gather 6 cinnamon sticks into a bundle and wrap twine around one end, tying a secure knot.
- Wrap the twine twice more along the bundle and knot again at the other end.
- Repeat to make five bundles.
- Tuck a pine sprig into one bundle if desired.



5. Mason Jar Snow Globes
Moderate
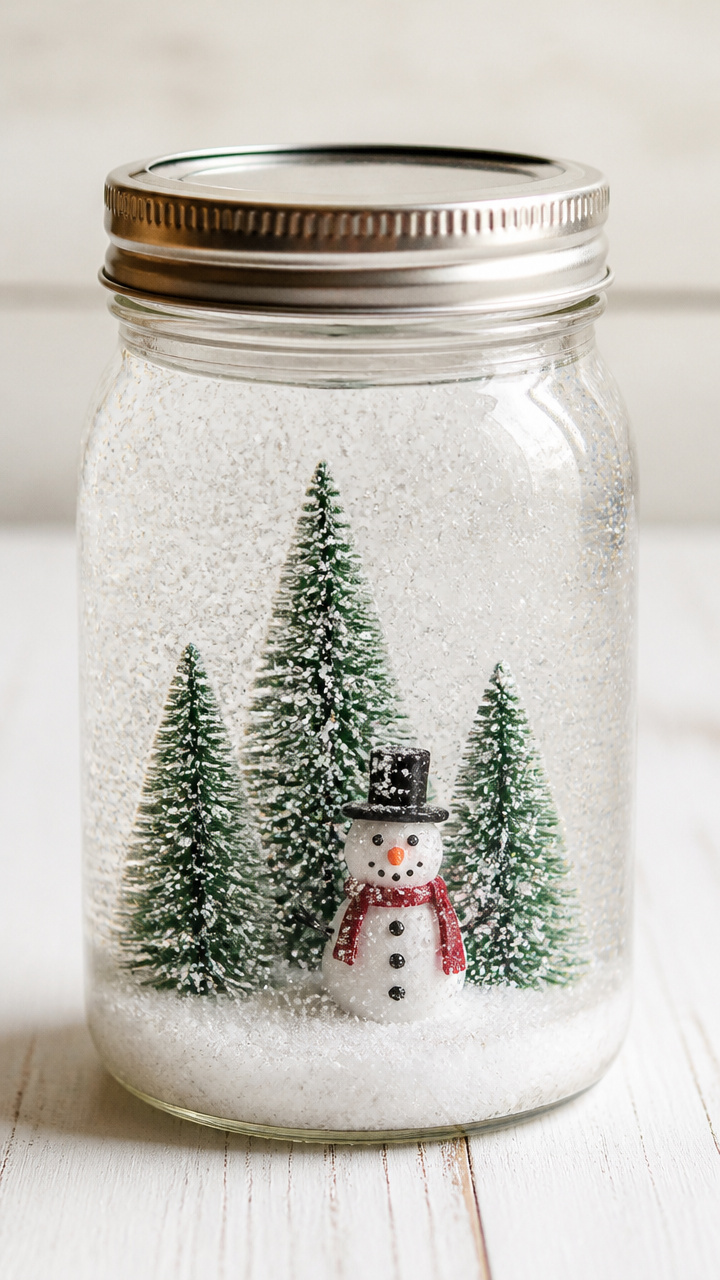
Mini winter scenes inside wide-mouth mason jars sparkle when shaken. These make sweet nightstand decor or heartfelt gifts.
Materials Needed
- 4-ounce wide-mouth mason jars with lids
- Distilled water, 3 ounces per jar
- Clear craft glue, 1 teaspoon per jar
- Fine white glitter
- Miniature plastic evergreen trees, 3 per jar
- Tiny plastic snowman, 1 per jar
- Hot glue gun
- Small funnel
How to Make It
- Use hot glue to attach the trees and snowman to the inside of the lid, letting it dry for 5 minutes.
- Fill the jar with distilled water using the funnel, leaving 1/2 inch of space at the top.
- Add 1 teaspoon of craft glue and a pinch of glitter, then screw the lid on tightly.
- Shake gently to swirl the glitter and check for leaks.


6. Knit Pillow Cover
Easy
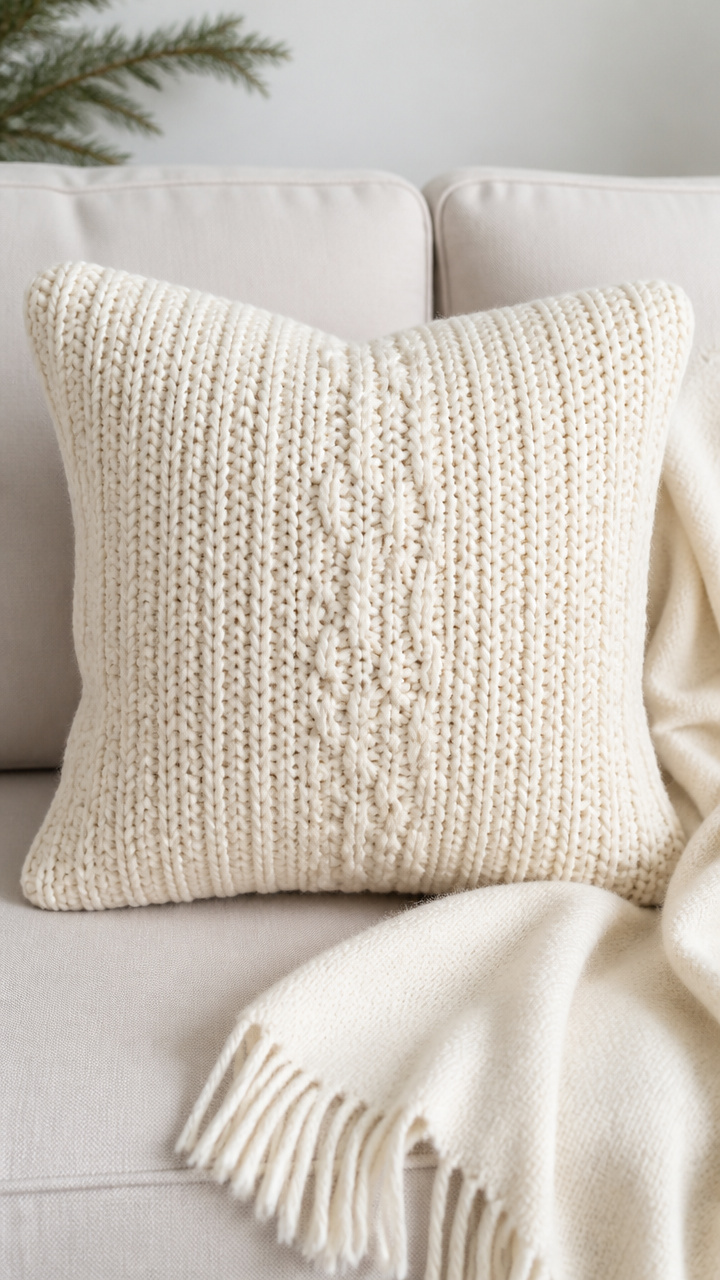
A chunky knit pillow cover in cream adds instant texture to a sofa. You don’t need to knit it yourself—just stretch and sew.
Materials Needed
- 1 yard cream-colored chunky knit fabric
- 18×18 inch throw pillow insert
- Scissors
- Measuring tape
- Needle and heavy-duty thread
- Straight pins
How to Make It
- Cut the knit fabric to 19×19 inches using scissors and measuring tape.
- Place the pillow insert in the center and fold the edges over it.
- Pin the corners in place, then sew the folds closed with a whipstitch.
- Remove pins after sewing.


7. Peppermint Candle Jars
Easy
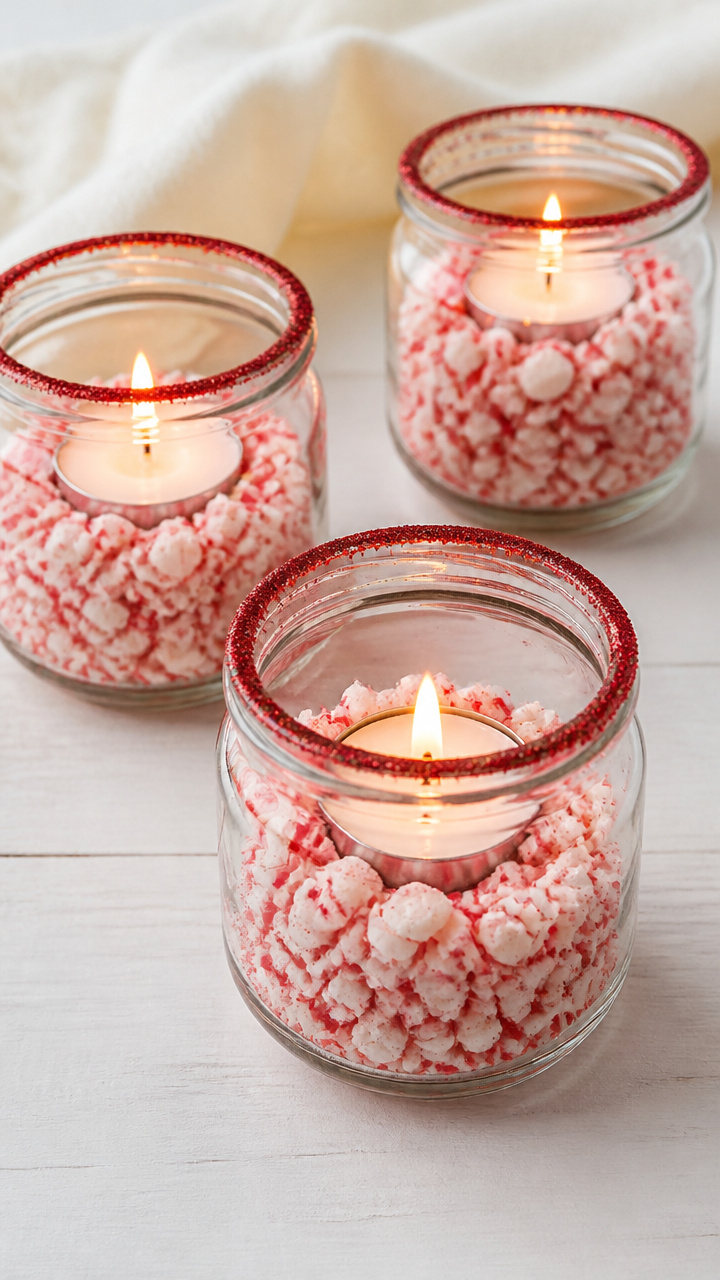
Clear glass jars filled with red-and-white candy canes glow warmly when a tea light is added. They’re festive and double as edible decor.
Materials Needed
- 8-ounce clear glass jars with lids
- Crushed red-and-white peppermint candies, 1/2 cup per jar
- Tea light candles, 3 per jar
- Glitter glue pen, red
How to Make It
- Fill each jar halfway with crushed peppermints.
- Draw swirls or dots on the outside of the jar with the glitter glue pen.
- Let the glue dry for 20 minutes.
- Place a tea light on top of the candies and light when ready.


8. Flannel Plaid Coasters
Easy
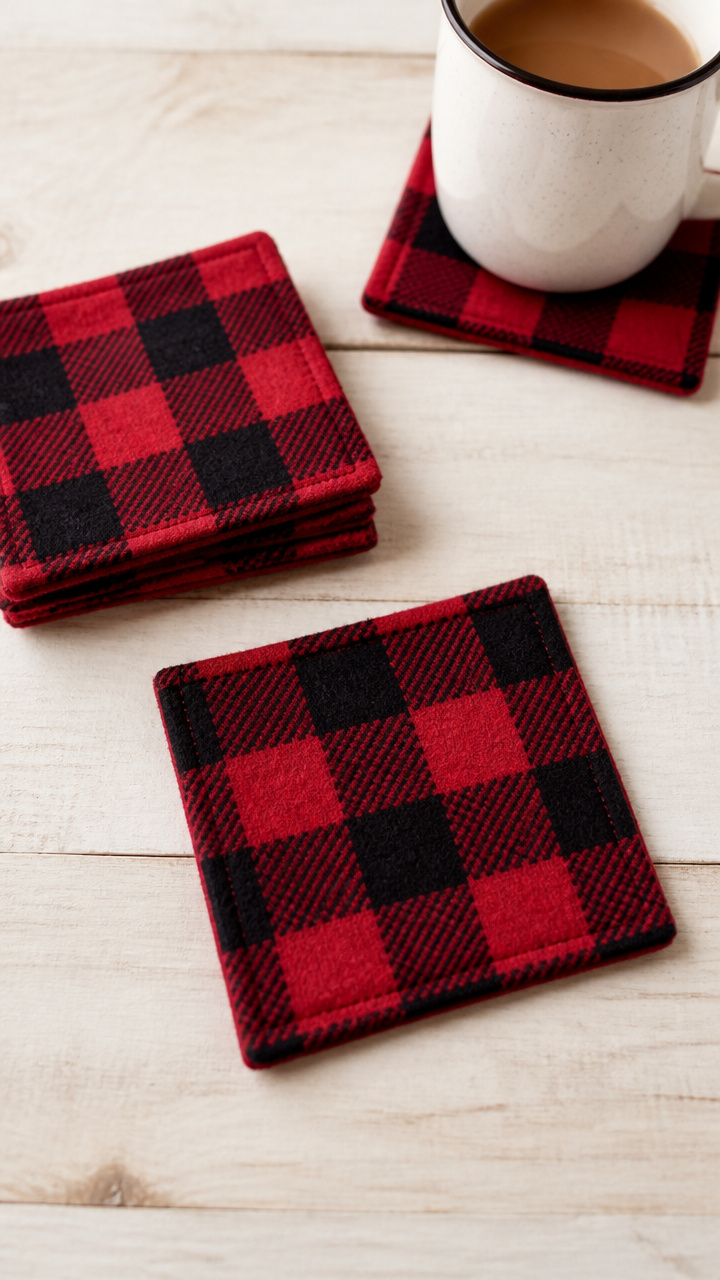
Scraps of red-and-black flannel become absorbent, cozy coasters. They’re practical, washable, and full of cabin charm.
Materials Needed
- Red-and-black plaid flannel fabric, 1/4 yard
- Fusible interfacing, 1/4 yard
- Rotary cutter
- Cutting mat
- Ruler
- Iron
- Scissors
How to Make It
- Iron the fusible interfacing to the wrong side of the flannel using the manufacturer’s heat settings.
- Use the ruler, mat, and rotary cutter to slice the fabric into 4×4 inch squares.
- Trim any loose threads with scissors.
- Use each square as a coaster.


9. Citrus Slice Ornaments
Easy

Thin slices of orange and lemon, dried until crisp, smell like sunshine and look like stained glass. Hang them on a tree or garland.
Materials Needed
- 3 oranges
- 2 lemons
- Baking sheet
- Parchment paper
- Knife
- Straw
- Twine, 5 feet
How to Make It
- Slice each citrus fruit into 1/4-inch rounds using the knife.
- Place slices on a parchment-lined baking sheet in a single layer.
- Bake at 200°F for 4 hours, flipping halfway through.
- Use a straw to poke a hole in the top edge of each slice.
- Thread twine through each hole to hang.


10. Lumber Scrap Lanterns
Moderate
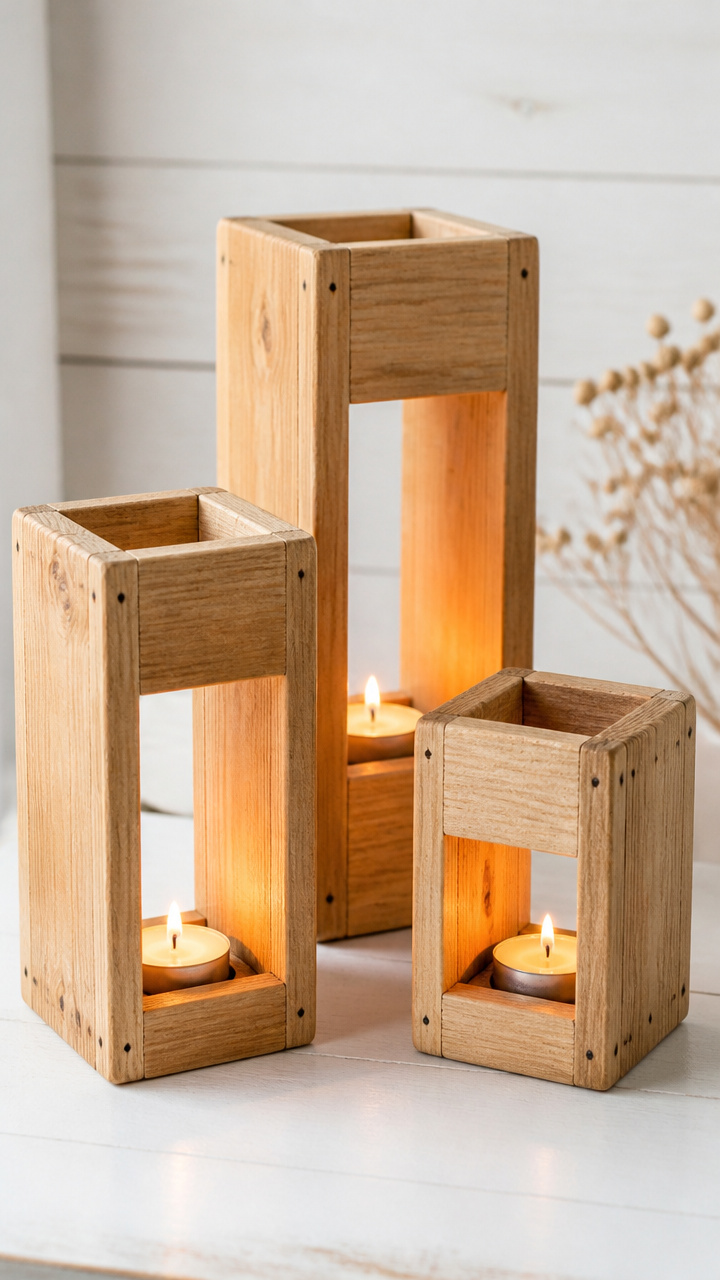
Short pine boards sanded and nailed into boxes hold candles safely. Their rough-hewn look brings woodsy warmth to a dining table.
Materials Needed
- 4 pine board scraps, 6x2x1/2 inches
- Wood glue
- 1-inch brad nails
- Hammer
- Sandpaper, 120 grit
- Tea light candle
- Clamp
How to Make It
- Sand each board smooth with 120-grit sandpaper.
- Lay two boards upright and one flat across the top to form a U shape, then clamp in place.
- Apply wood glue to the joints and hammer in two brad nails at each corner.
- Repeat for the opposite side and let dry for 1 hour.
- Place a tea light inside.


11. Crocheted Doorknob Hangers
Moderate
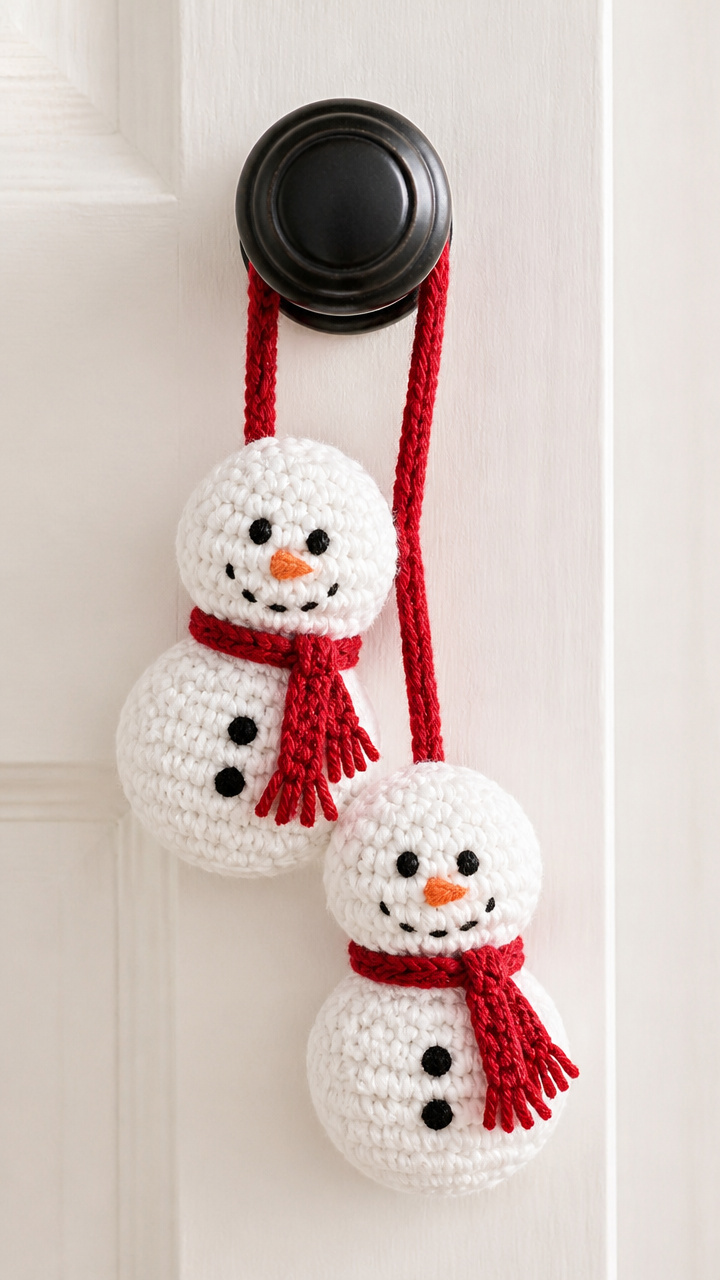
Tiny snowmen crocheted in white yarn dangle from doorknobs with a loop of red thread. They’re whimsical and take one evening to finish.
Materials Needed
- White medium-weight yarn, 50 yards
- Size H crochet hook
- Black and orange embroidery floss
- Embroidery needle
- Scissors
- Red cotton thread, 12 inches
How to Make It
- Chain 2, then work 6 single crochets into the first stitch to form a ring.
- Work 2 single crochets in each stitch around for 6 rounds, increasing evenly.
- Fasten off, leaving a 6-inch tail to sew.
- Use black floss to embroider eyes and buttons, orange for a tiny carrot nose.
- Thread red cotton through the top loop and tie a knot.


12. Maple Seed Wing Decor
Easy
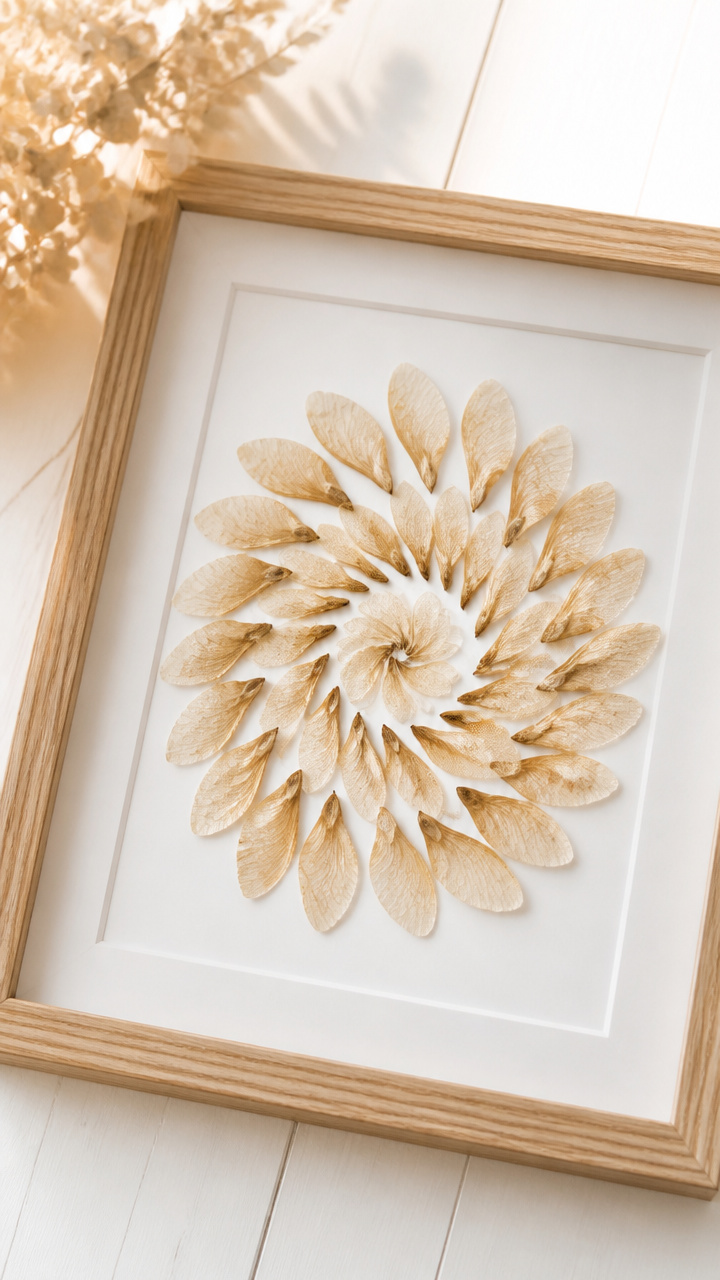
Pressed maple seeds arranged in a spiral look like fluttering snow when framed. Their delicate wings catch the light like lace.
Materials Needed
- 20 dried maple seed wings
- 8×10 inch picture frame with glass
- White cardstock
- Tweezers
- Craft glue
- Pencil
How to Make It
- Place the cardstock inside the frame and arrange the seeds in a spiral using tweezers.
- Trace a light pencil guide for the spiral if needed.
- Glue each seed in place with a dot of craft glue under the base.
- Let dry for 30 minutes before closing the frame.


13. Wine Cork Snowmen
Easy
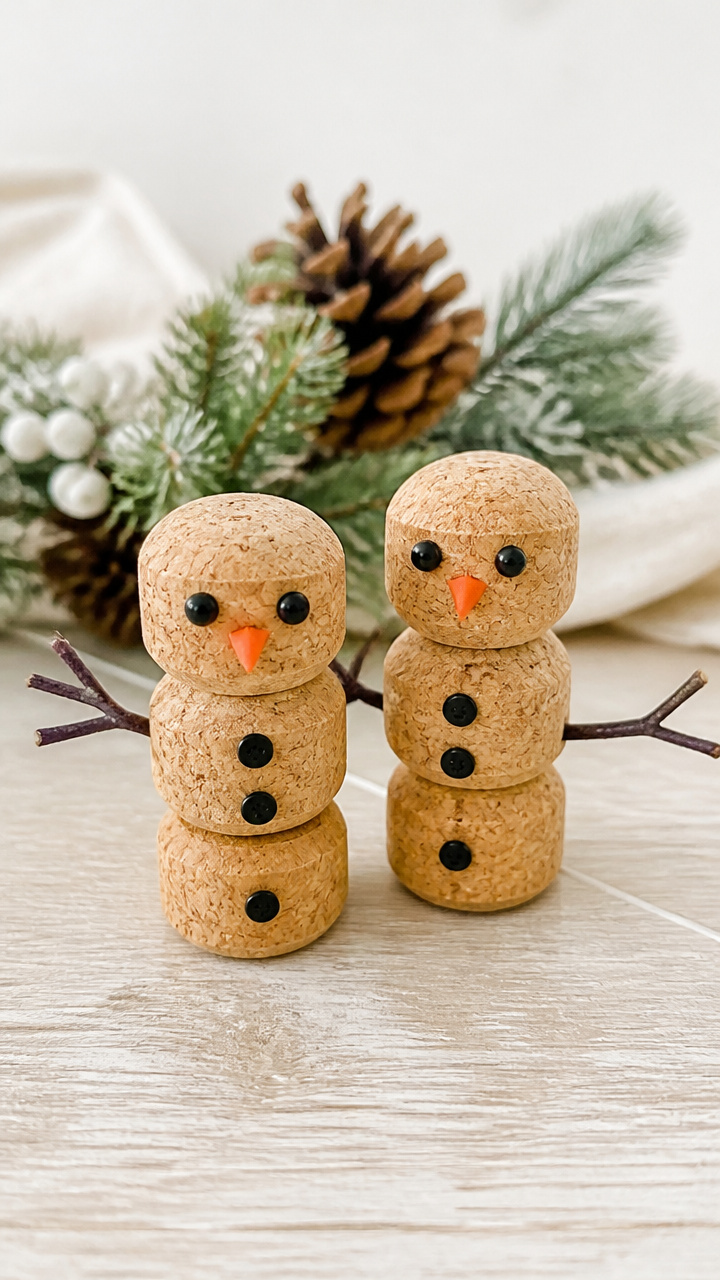
Stacked wine corks with button eyes and twigs for arms become tiny snowmen. They’re perfect for a windowsill or centerpiece.
Materials Needed
- 6 wine corks
- Black buttons, 12
- Hot glue gun
- Hot glue sticks
- Small twigs, 6 pieces, 1 inch long
- Orange craft foam
- Scissors
- Toothpicks, 3
How to Make It
- Glue two corks together vertically for each snowman body, making three total.
- Glue two black buttons on each for eyes.
- Cut tiny triangles from orange foam for noses and glue on.
- Glue twigs to the sides for arms.
- Insert a toothpick into the bottom of each to stand them upright.
14. Frosted Pine Branch Centerpiece
Easy
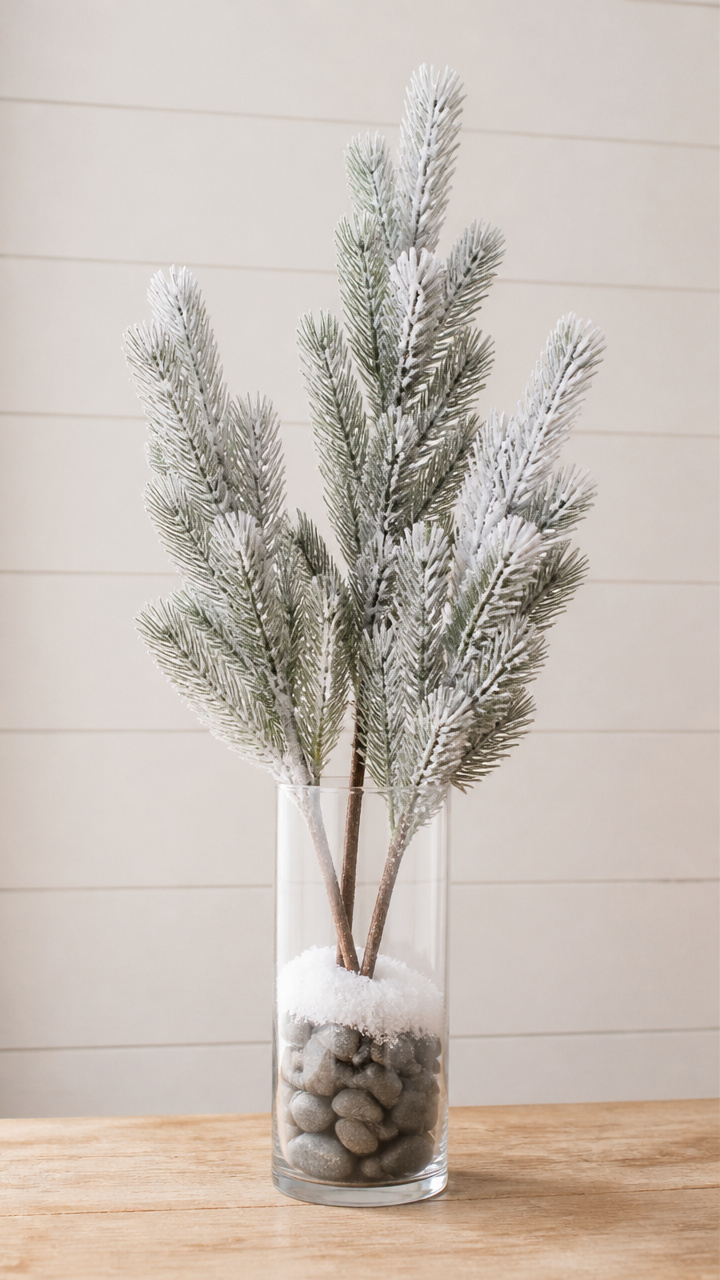
Real pine branches dipped in fake snow and placed in a vase look freshly dusted. They bring the forest indoors without shedding.
Materials Needed
- 3 fresh pine branches, 12 inches long
- Artificial snow spray
- Plastic drop cloth
- Tall clear vase
- Rocks or pebbles, 1 cup
How to Make It
- Lay the drop cloth outside and arrange the branches on top.
- Shake the snow spray can well and apply an even coat to each branch, holding 10 inches away.
- Let dry for 20 minutes.
- Place pebbles in the vase for weight, then arrange the branches upright.


15. Denim Pocket Wreath
Moderate
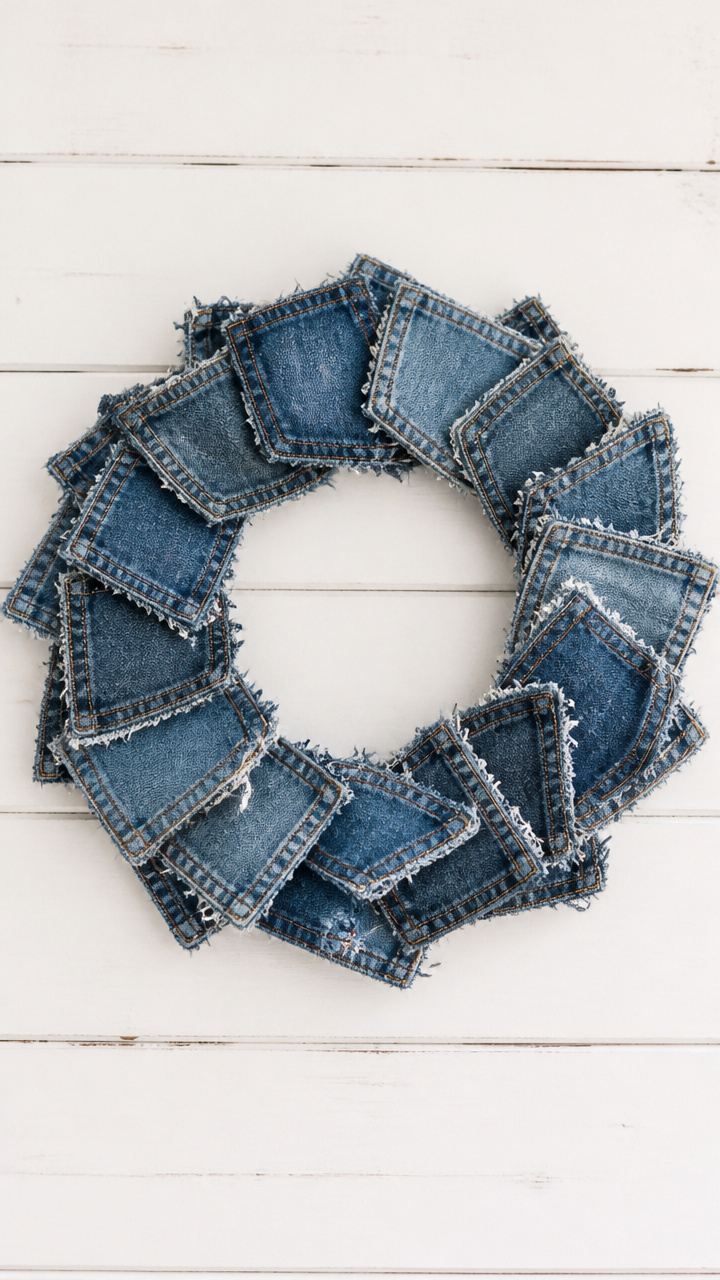
Old jeans cut into pocket sections form a shabby-chic wreath with real texture. It’s a clever way to reuse fabric with history.
Materials Needed
- Old blue jeans with back pockets
- Scissors
- 12-inch wire wreath frame
- Pliers
- Clothespins, 12
- Hot glue gun
How to Make It
- Cut out 12 back pockets with 2 inches of fabric around each.
- Use pliers to bend the coat hanger into a circle and wrap with fabric strips if desired.
- Attach each pocket to the frame with hot glue, overlapping slightly.
- Clip clothespins around the edge for extra texture.


16. Glittered Mason Jar Vases
Easy
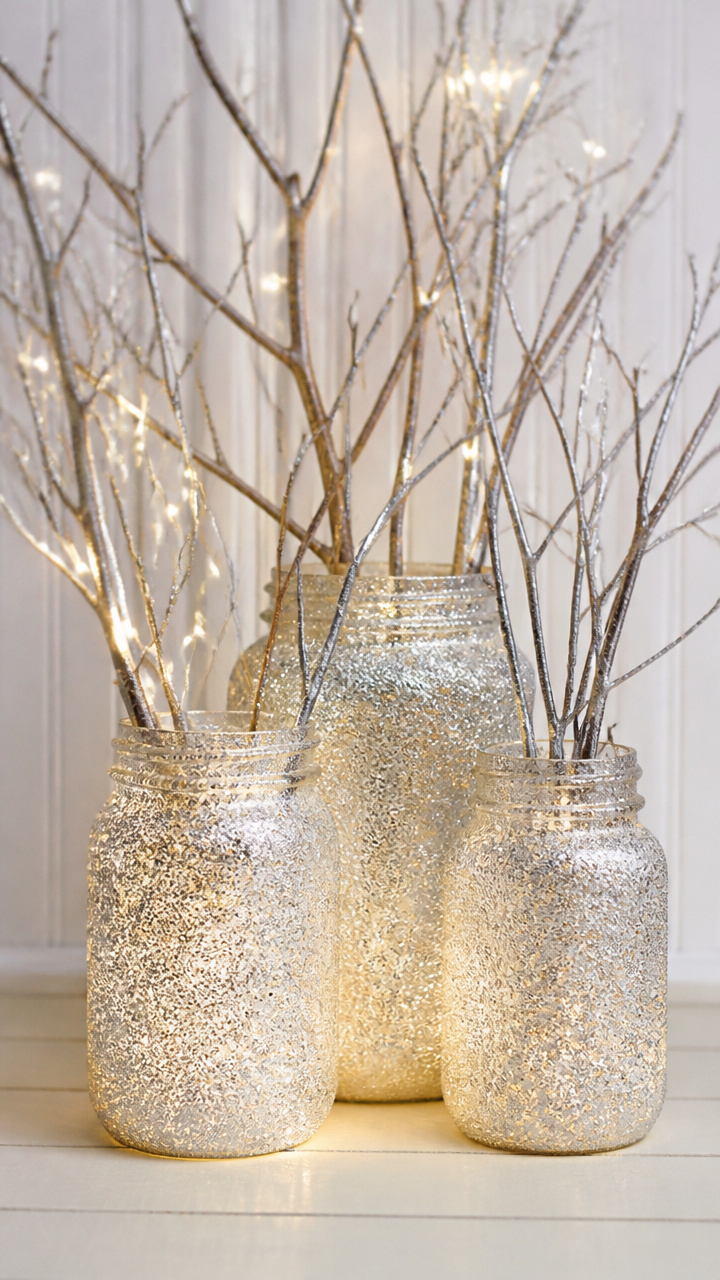
Clear mason jars coated in glue and fine silver glitter become icy vases. They sparkle under string lights and hold bare winter branches.
Materials Needed
- 16-ounce mason jars, 3
- White craft glue
- Foam brush
- Fine silver glitter
- Cardboard tray
- Clear acrylic sealer spray
How to Make It
- Pour glue into a dish and use the foam brush to coat the outside of each jar.
- Sprinkle glitter over the wet glue, rotating the jar over the tray to catch excess.
- Let dry for 1 hour.
- Spray with acrylic sealer for durability.


17. Braided Yarn Rug
Moderate
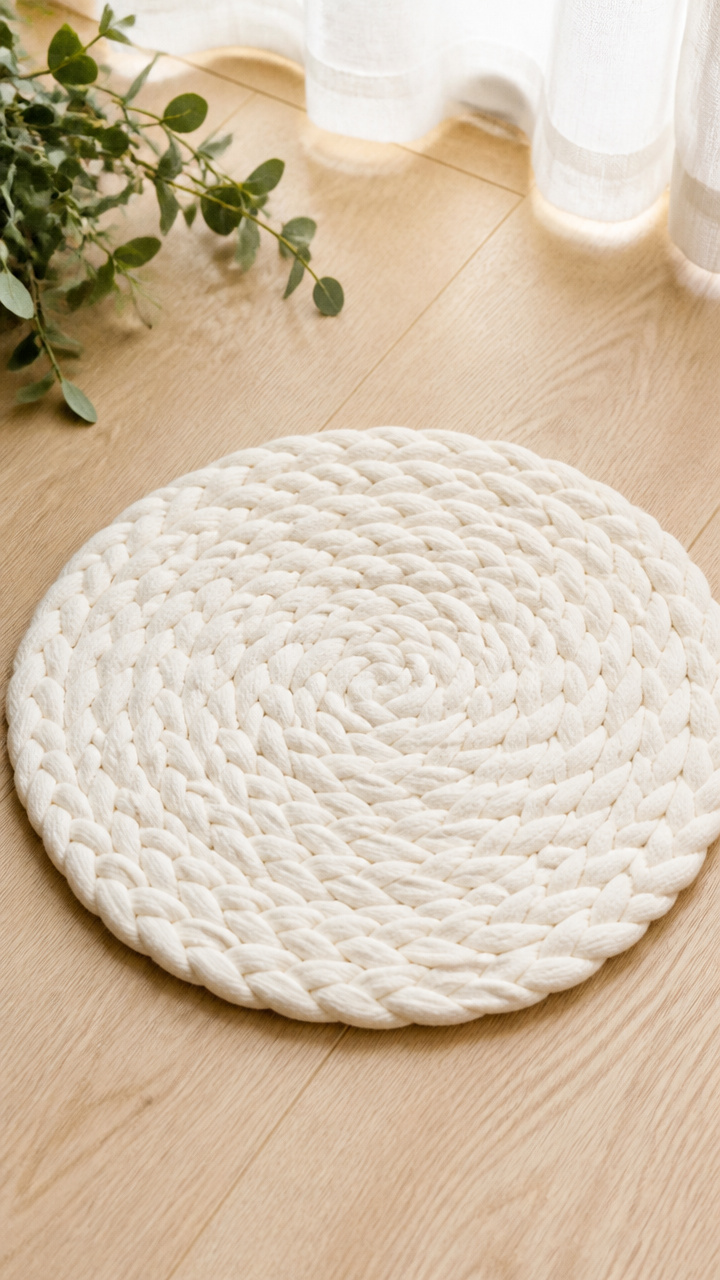
Three strands of bulky yarn braided and coiled into a small rug add softness by the bed. It’s warm under bare feet and simple to make.
Materials Needed
- Bulky white yarn, 3 skeins
- Scissors
- Needle and yarn threader
- Ruler
How to Make It
- Cut three 6-foot lengths of yarn.
- Braid them tightly from one end to the other and knot the end.
- Coil the braid into a spiral, sewing each loop to the one before with the needle and thread.
- Weave in loose ends with the yarn threader.


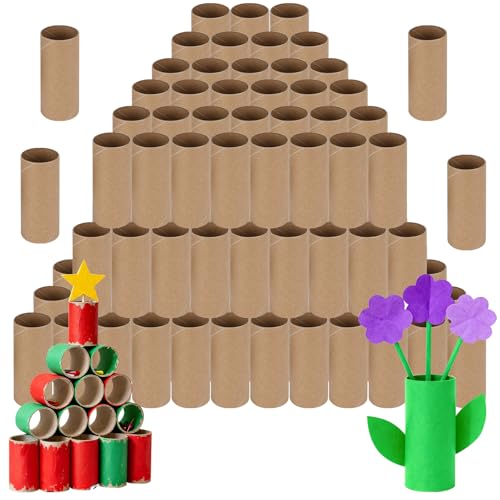
18. Cardboard Tube Trees
Easy
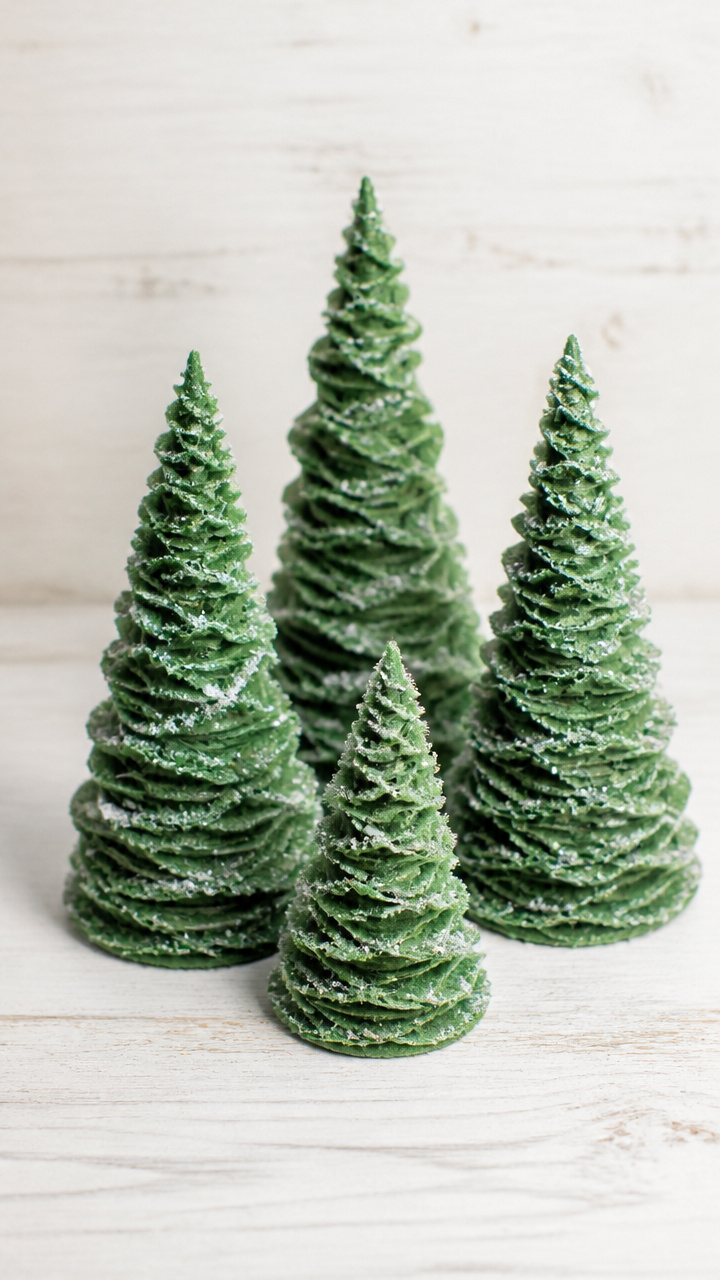
Toilet paper rolls cut into spirals and fluffed into cones become mini Christmas trees. Paint them green and dust with glitter for snow.
Materials Needed
- 5 cardboard toilet paper tubes
- Scissors
- Green acrylic paint
- Paintbrush
- White glitter
- Craft glue
- Small star stickers, 5
How to Make It
- Cut a spiral from the bottom to the top of each tube, starting 1 inch from the edge.
- Gently pull and fluff the spiral into a cone shape.
- Paint each cone with green acrylic paint and let dry for 30 minutes.
- Brush glue on the tips and sprinkle with glitter.
- Stick a star at the top of each.


19. Waxed Paper Window Art
Easy
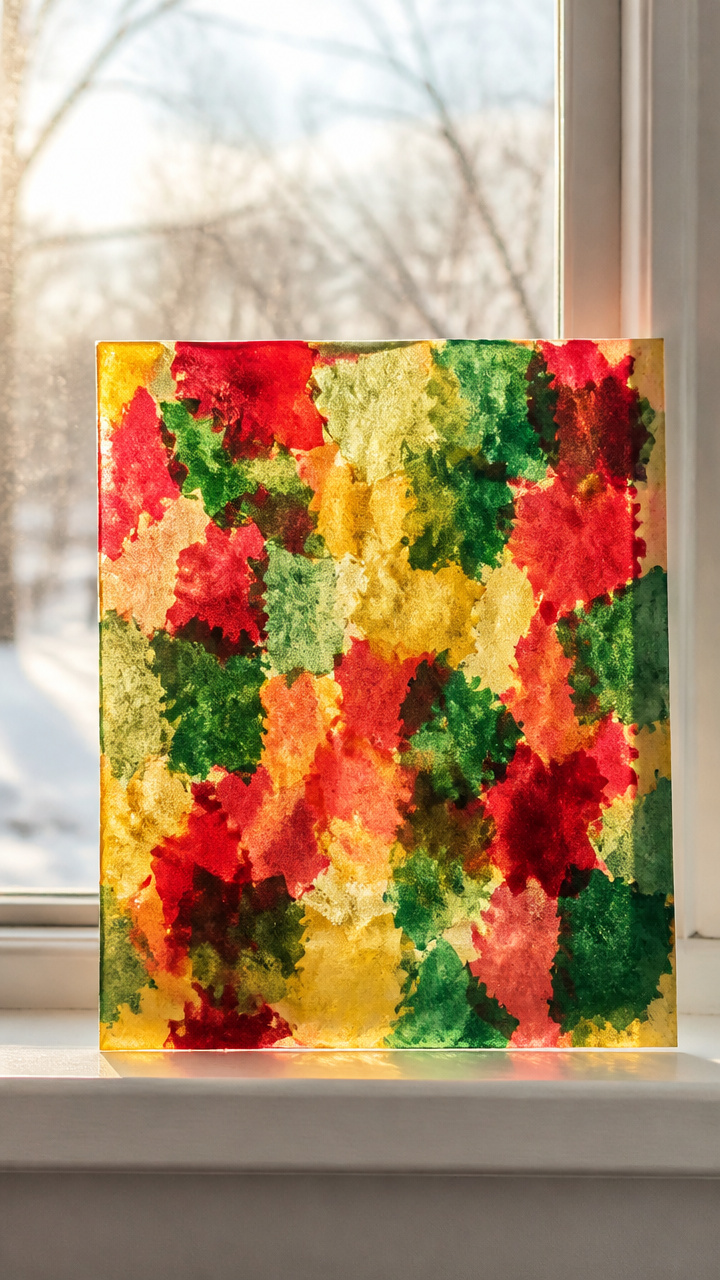
Crayon shavings melted between waxed paper create stained-glass effects on windows. They catch winter light and glow like real glass.
Materials Needed
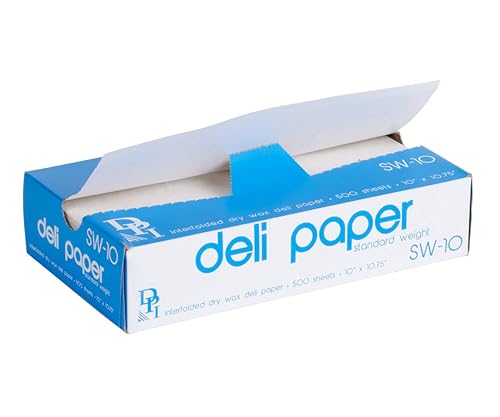
- White waxed paper, 1 sheet
- Red, green, and gold crayons
- Vegetable peeler
- Iron
- Parchment paper
- Scissors
- Tape
How to Make It
- Use the peeler to shave thin curls from the crayons onto one half of the waxed paper.
- Fold the paper over and cover both sides with parchment.
- Iron on low heat for 10 seconds until melted, then cool.
- Cut into snowflake shapes and tape to a window.

20. Knit Hat Mug Cozies
Moderate
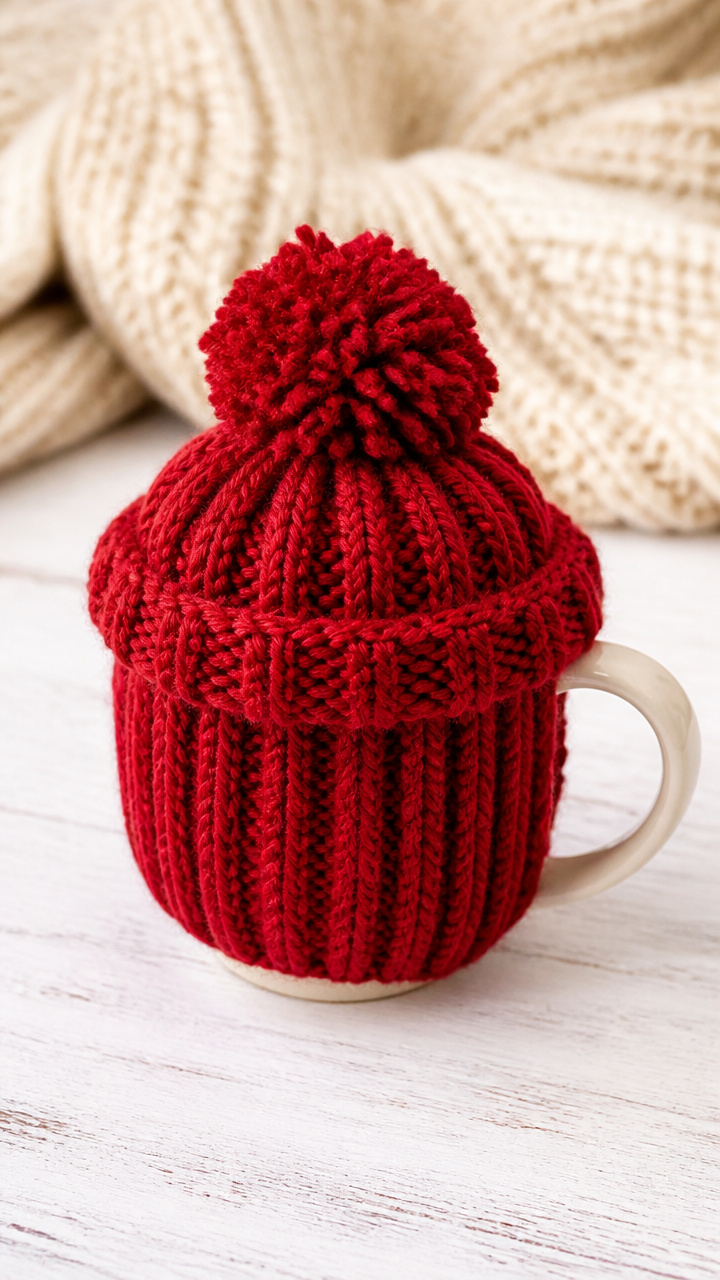
Mini knit hats slip over mugs to keep drinks warm and add whimsy. They fit most standard mugs and make great host gifts.
Materials Needed
- Chunky red yarn, 1 skein
- Size K crochet hook
- Scissors
- Stitch marker
- Measuring tape
How to Make It
- Chain 20, join with a slip stitch to form a ring.
- Work single crochet in each stitch around for 8 rounds, placing the marker to track the start.
- Fasten off, leaving a 6-inch tail.
- Sew the tail to close the top slightly, shaping it like a hat.
- Slip over a mug.


21. Pine Twig Mirror Frame
Moderate
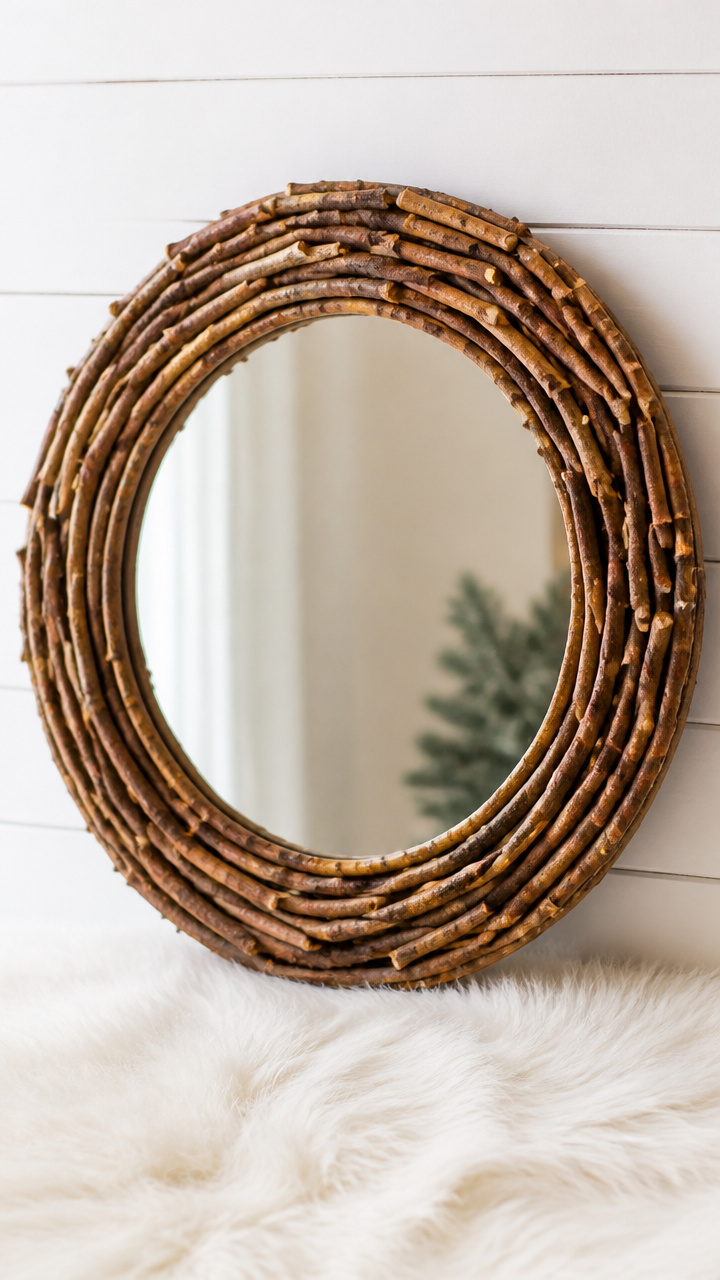
Short pine twigs glued around a round mirror create a natural, woodsy border. It turns a basic mirror into a winter focal point.
Materials Needed
- Round mirror, 12 inches diameter
- Pine twigs, 20 pieces, 4 inches long
- Hot glue gun
- Hot glue sticks
- Pruning shears
How to Make It
- Trim each twig to 4 inches using pruning shears.
- Arrange twigs around the mirror edge, pointing outward.
- Glue each twig in place with hot glue, holding 10 seconds until set.
- Let the glue cool completely before hanging.


22. Chalkboard Paint Signs
Easy
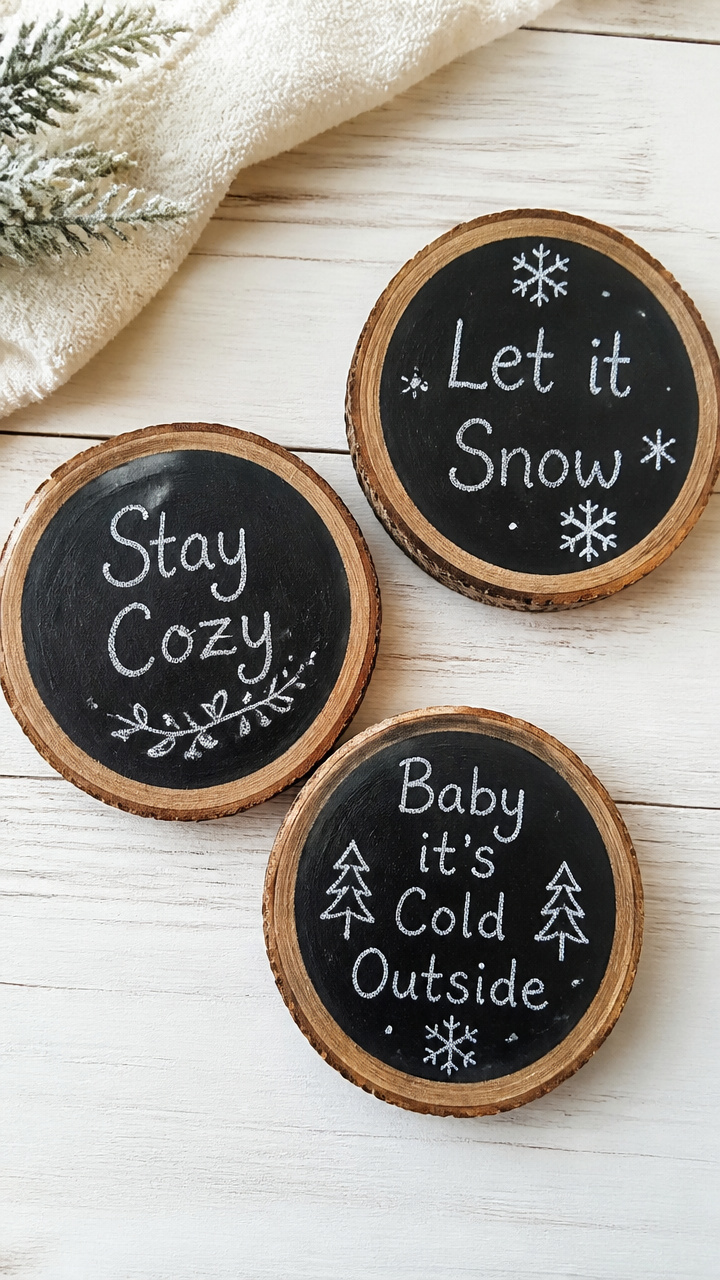
Wood slices painted with chalkboard paint hold seasonal messages you can change daily. They’re rustic, reusable, and full of charm.
Materials Needed
- Wood slices, 6 inches diameter, 3
- Chalkboard paint, 2 ounces
- Foam brush
- White chalk
- Sandpaper, 220 grit
How to Make It
- Lightly sand each wood slice with 220-grit sandpaper.
- Apply one coat of chalkboard paint with the foam brush and let dry for 2 hours.
- Apply a second coat and dry overnight.
- Write a winter message with white chalk.


You’ve got everything you need to bring cozy, handmade cheer into your space. Grab a few supplies and start with the one that makes you smile.