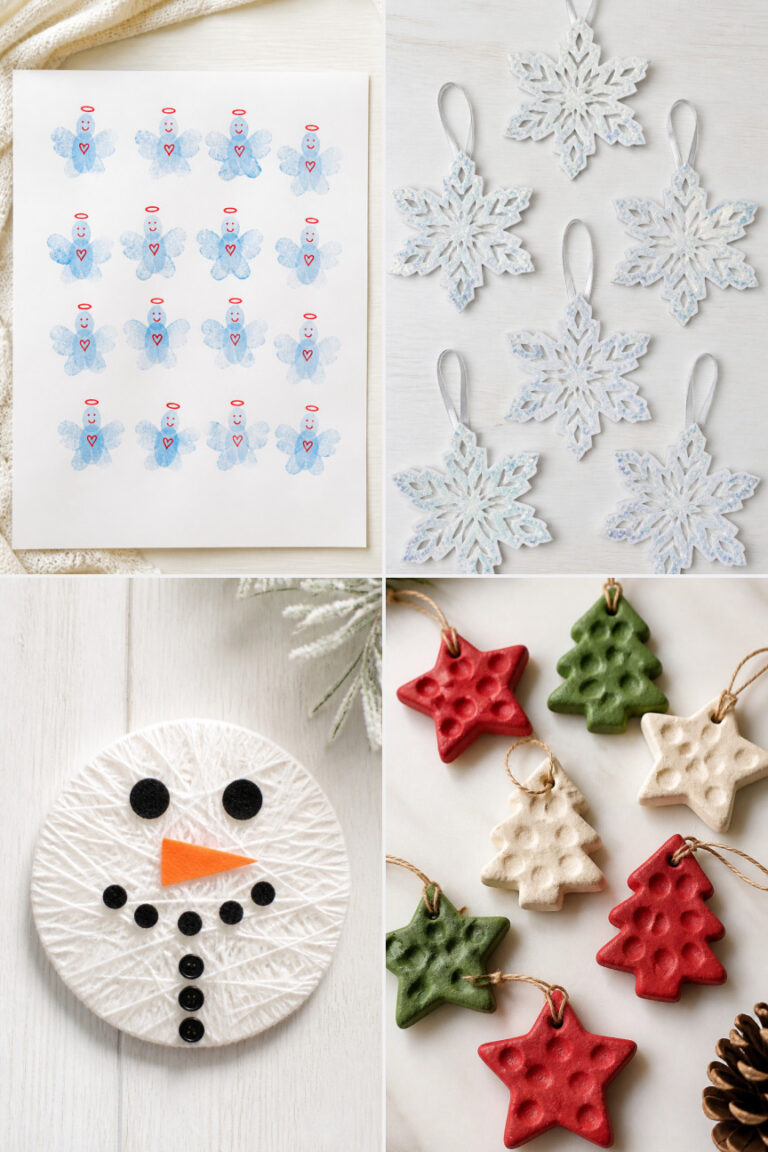
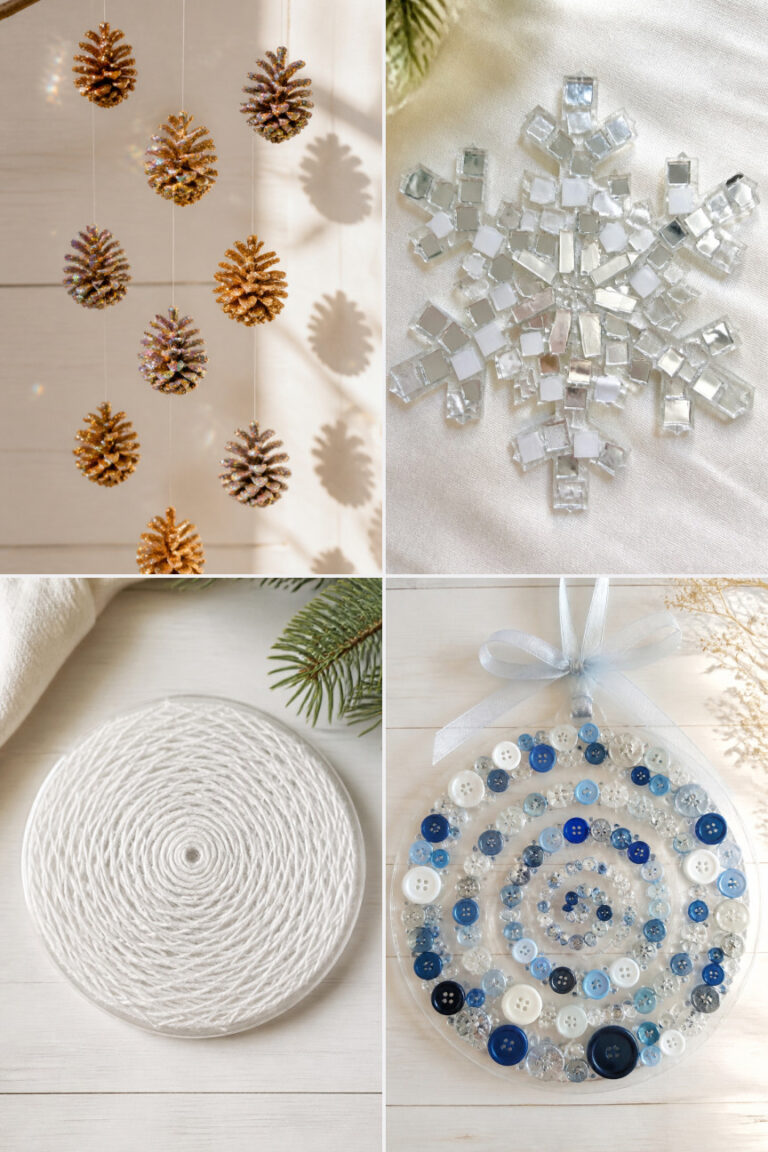
16 Winter Wonderland Crafts for Kids and Adults

Frosted windowpanes, glowing lights tangled like stars, mittens stacked by the heater—winter invites quiet magic into your home. Crafting together brings that stillness to life, one handmade detail at a time.
These projects blend cozy textures, shimmering touches, and simple joys you can make with people of all ages. From quick paper cutouts to detailed ornaments, each one adds a personal spark to the season.
1. Glitter-Dipped Pinecones
Easy
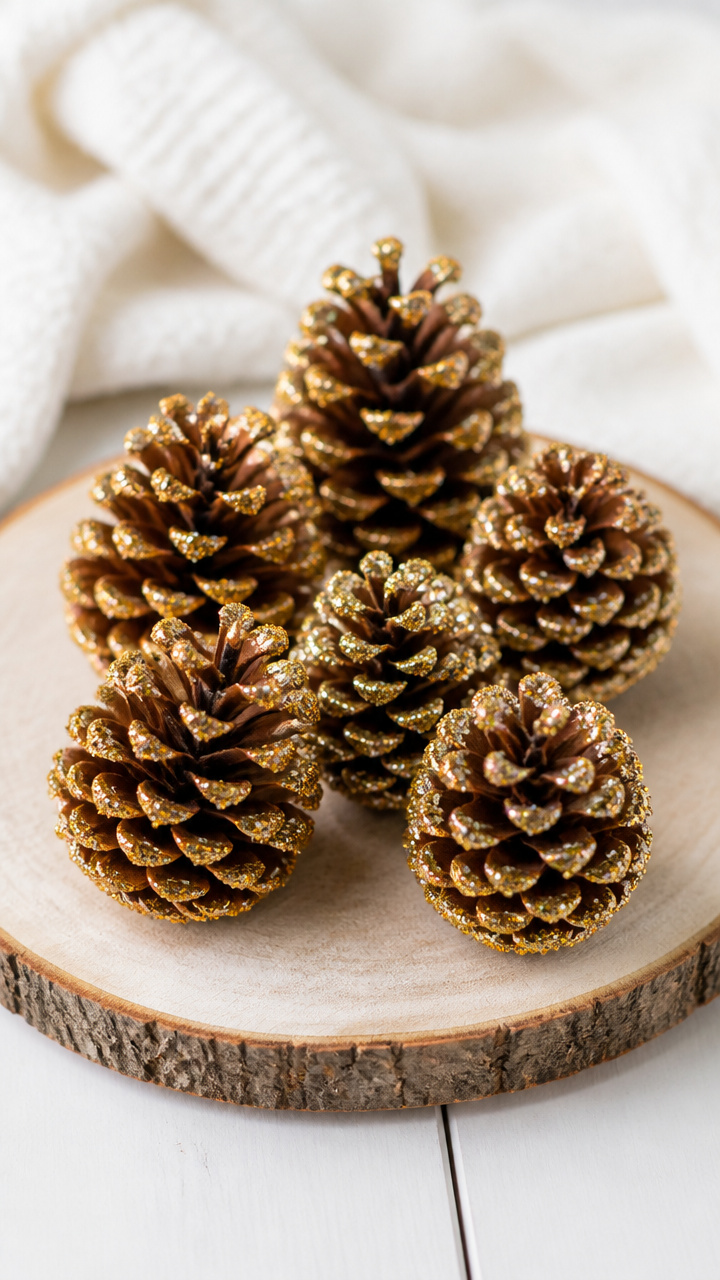
Golden sparkle catches on rough bark, turning humble pinecones into woodland treasures. These make natural centerpieces or tree ornaments with rustic charm.
Materials Needed
- 6 medium pinecones, clean and dry
- 1/4 cup white craft glue
- 1/2 cup fine iridescent glitter
- Parchment paper
- Small mixing bowl
- Paintbrush
How to Make It
- Lay parchment paper on your work surface to catch spills.
- Pour glue into the bowl and stir in glitter until fully blended.
- Use the paintbrush to coat each pinecone, working from base to tip.
- Set pinecones aside for 2 hours to dry completely before handling.


2. Salt Dough Ornaments
Moderate
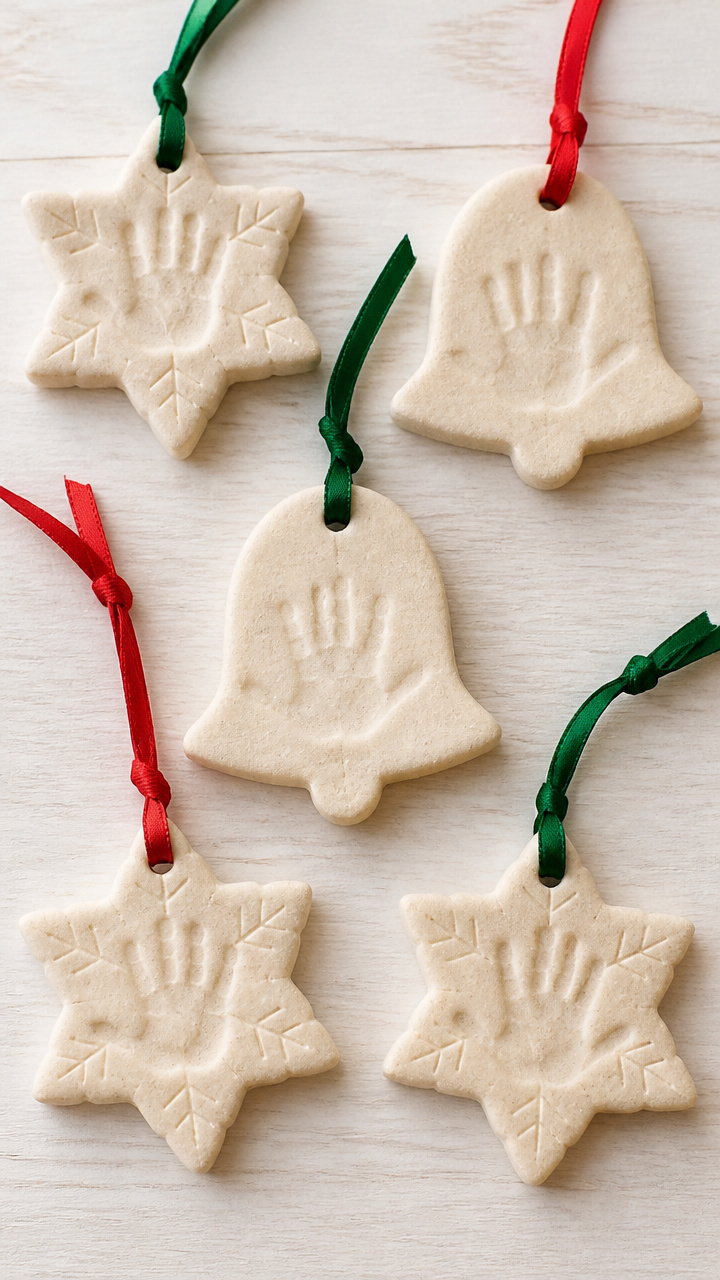
Soft shapes stamped with tiny hands become keepsakes that last for years. Baking them turns simple dough into durable holiday decorations.
Materials Needed
- 2 cups all-purpose flour
- 1 cup table salt
- 3/4 cup warm water
- Rolling pin
- Straw
- Cookie cutters (snowflake, star, bell)
- Baking sheet
- Parchment paper
- Acrylic paint set
- Clear varnish spray
- Red satin ribbon, 12 inches per ornament
How to Make It
- Mix flour, salt, and water in a bowl until a smooth dough forms.
- Roll dough to 1/4-inch thickness on a floured surface.
- Cut shapes with cookie cutters and poke a hole near the top using a straw.
- Place on a parchment-lined baking sheet and bake at 200°F for 3 hours.
- Let cool, then paint with acrylics and let dry for 1 hour.
- Spray both sides lightly with varnish and let cure overnight.
- Thread ribbon through the hole to hang.


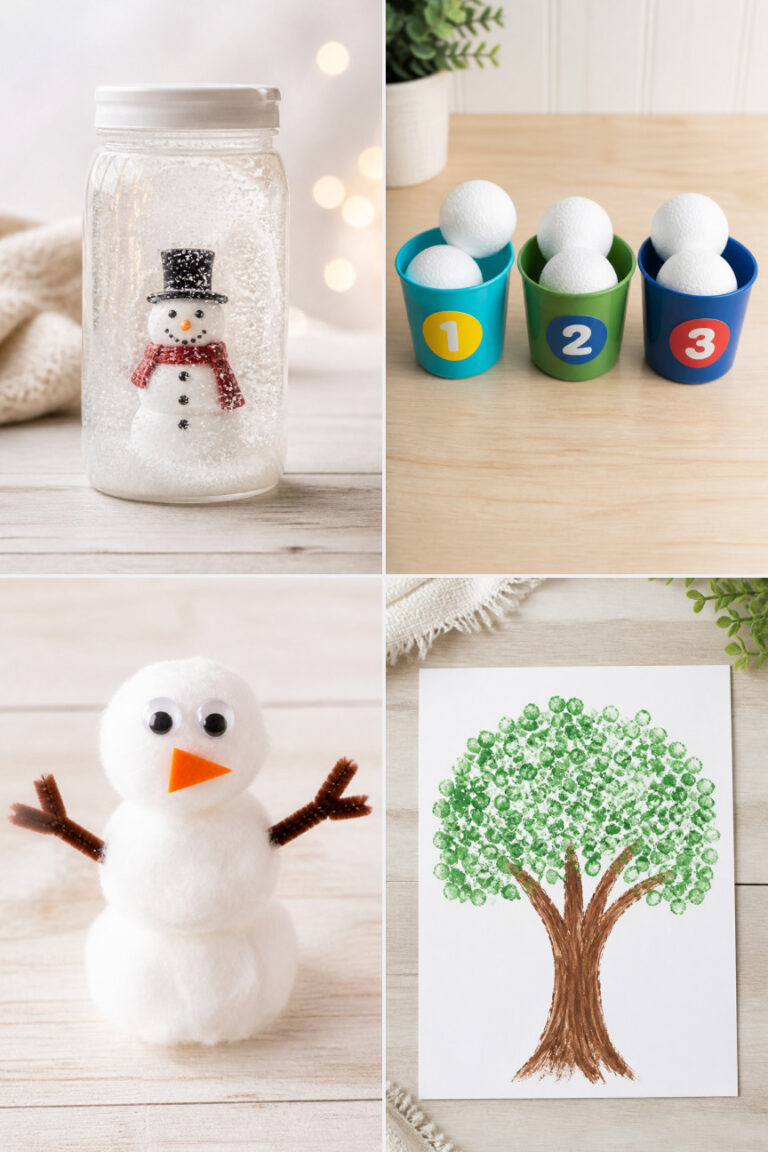
3. Cotton Ball Snowmen
Easy
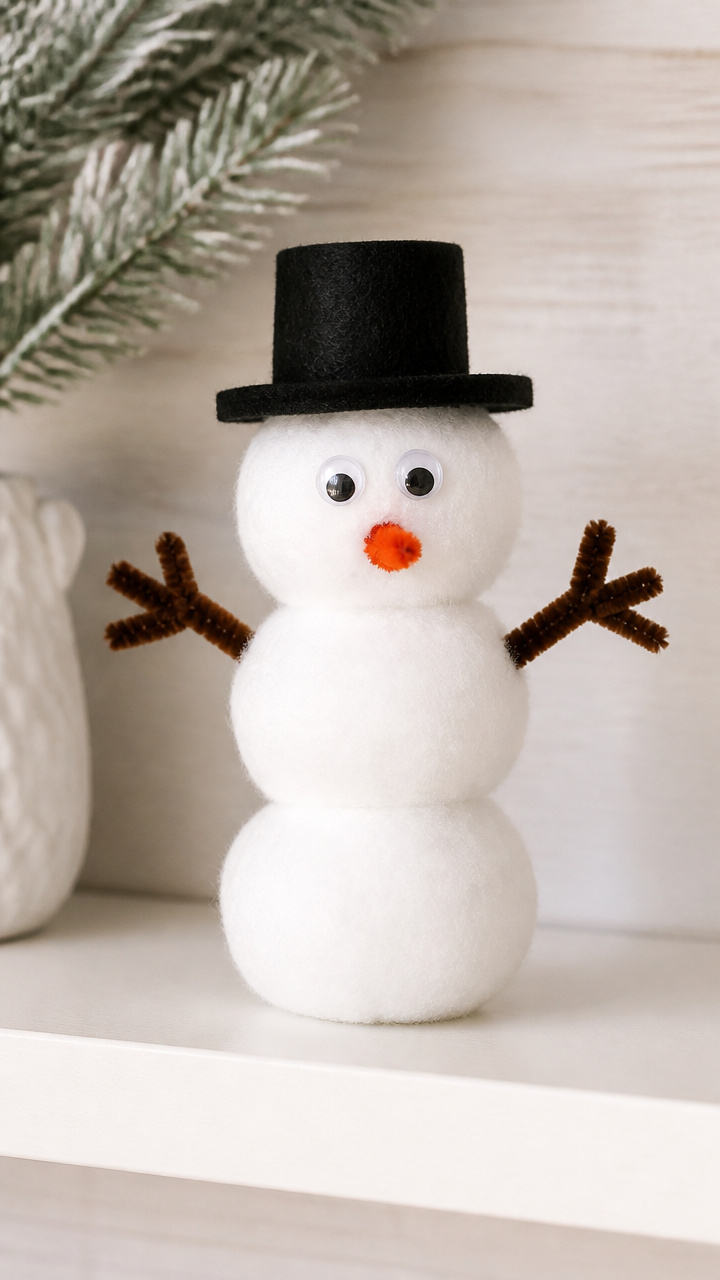
Plump white balls stack into cheerful figures with carrot noses and twig arms. These fluffy snowmen brighten shelves and desks without melting.
Materials Needed
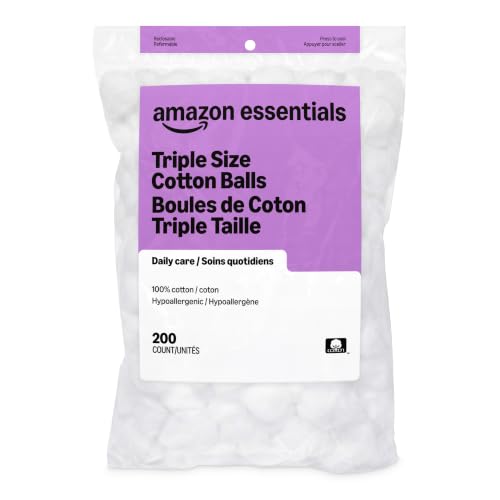
- 9 large white cotton balls per snowman
- Black felt sheet, 6×6 inches
- Orange pipe cleaner, 12 inches
- Googly eyes, 10mm, 2 per snowman
- Brown chenille stems, 6 inches, 2 per snowman
- White school glue
- Cardboard base, 3×3 inches
- Hot glue gun and glue sticks
How to Make It
- Stack three cotton balls vertically on the cardboard base and glue in place with school glue.
- Cut two small circles from black felt for buttons and glue down the front.
- Snip the orange pipe cleaner to 1 inch for the nose and glue at an angle.
- Glue googly eyes above the nose.
- Bend brown chenille stems into arm shapes and hot-glue to the sides.

4. Felt Mitten Garland
Moderate
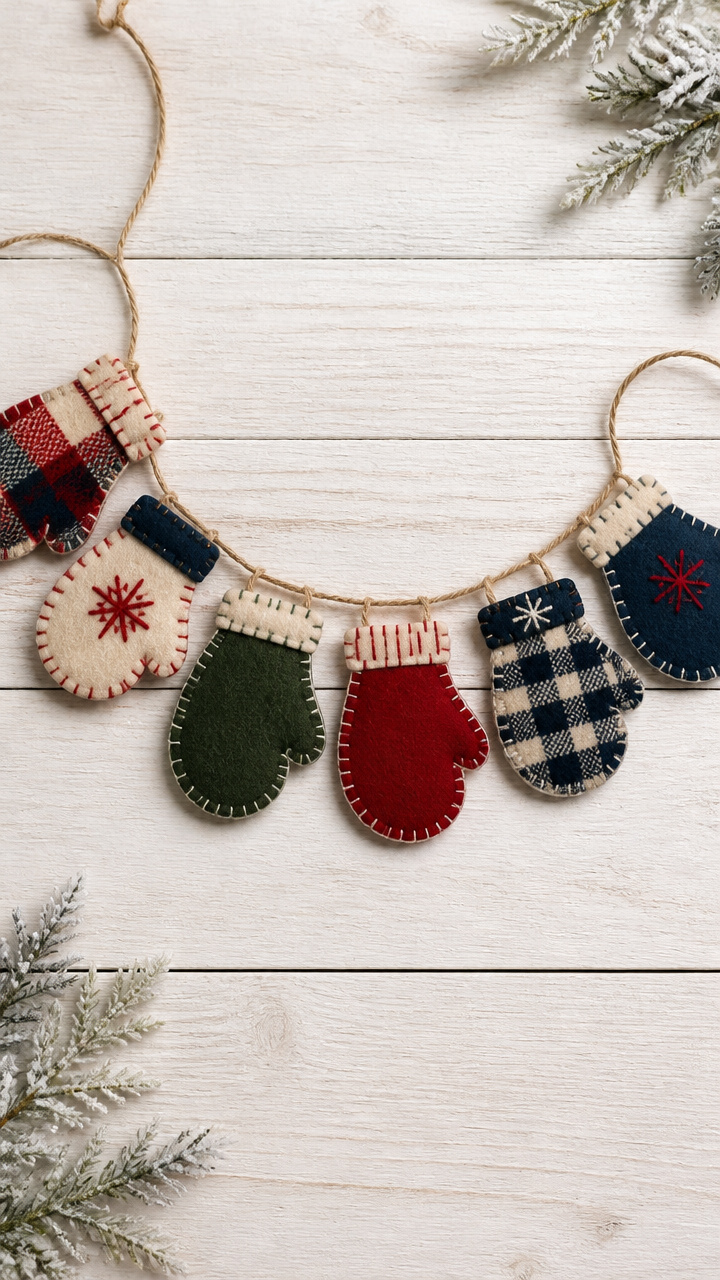
Mini mittens in plaid and solid wools dangle from twine like laundry on a snowy line. This garland warms up mantels and windows with handmade cheer.
Materials Needed
- Assorted wool felt sheets (red, navy, cream, forest green), 9×12 inches each
- Embroidery floss: red, white, green (6-yard strands each)
- Embroidery needle
- Scissors
- Twine, 5 feet
- Mitten template (cut from cardstock, 3 inches tall)
- Fabric glue
How to Make It
- Trace the mitten template onto felt and cut 10 pairs (20 total).
- Layer two matching mittens and backstitch around the edge with embroidery floss, leaving the top open.
- Repeat for all pairs, varying thread colors for contrast.
- Knot twine at one end, then slide a mitten onto the string by its cuff.
- Space each mitten 3 inches apart and secure with a dot of fabric glue under the cuff.
- Tie a loop at the end for hanging.


5. Snow Globe Jars
Advanced
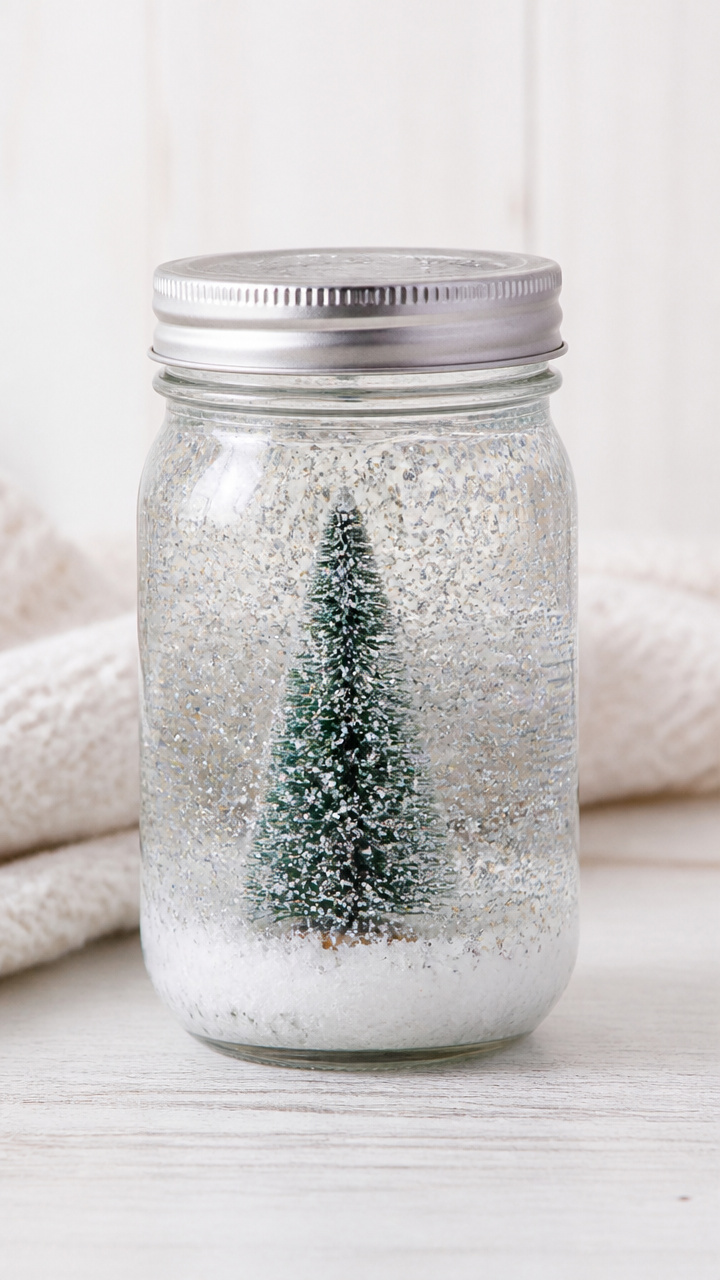
Tiny winter scenes swirl inside glass jars when you shake them. These personalized globes hold mini trees, animals, or houses under a blizzard of glitter.
Materials Needed
- 8-ounce mason jars with lids
- Distilled water, 6 ounces per jar
- Glycerin, 1 teaspoon per jar
- Fine silver glitter
- Miniature plastic evergreen tree, 1.5 inches
- Waterproof craft glue
- Small foam snow base, 2 inches diameter
- Measuring spoon
- Funnel
How to Make It
- Glue the tree to the center of the foam base and let dry for 30 minutes.
- Attach the foam securely to the inside of the jar lid using waterproof glue.
- Let the glue cure for 2 hours until fully set.
- Fill the jar with distilled water using the funnel, leaving 1/2 inch space at the top.
- Add glycerin and 1/2 teaspoon glitter, then screw the lid on tightly.
- Turn the jar upside down and shake gently to test the snow effect.


6. Pipe Cleaner Ice Crystals
Easy
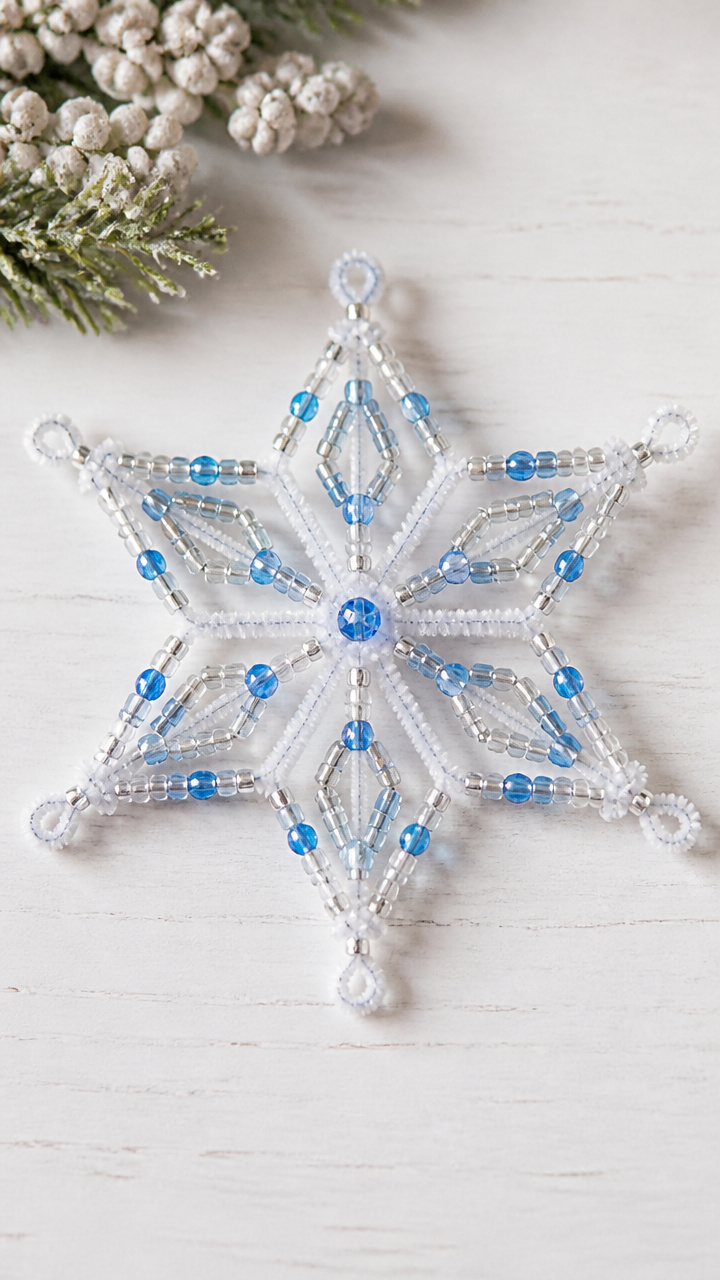
Six-sided wire frames bloom with colorful beads like frozen raindrops. These geometric crystals catch light and hang beautifully in windows.
Materials Needed
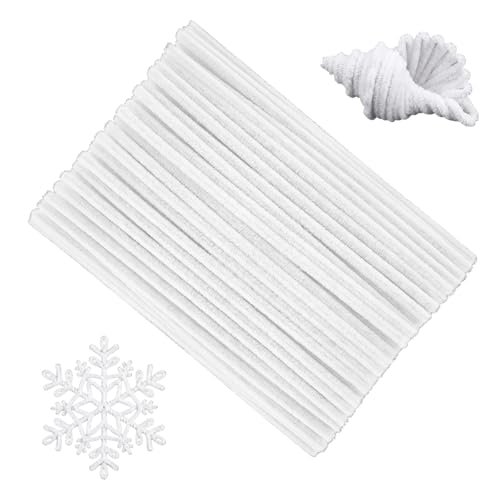
- White pipe cleaners, 12 inches, 6 per crystal
- Assorted pony beads (clear, blue, silver), 30 per crystal
- Scissors
- Clear fishing line, 18 inches
How to Make It
- Cut one pipe cleaner in half and set aside.
- Twist three full-length pipe cleaners together at the center to form a six-point star.
- Slide beads onto each arm, ending about 1 inch from the tip.
- Bend each arm into a gentle curve and press the tips into the center knot.
- Thread fishing line through the top point and tie a loop for hanging.


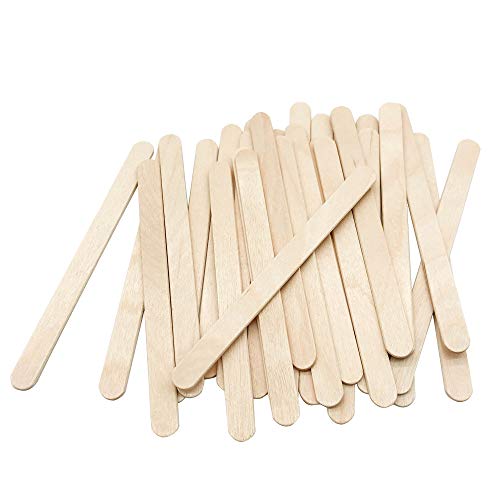
7. Popsicle Stick Sleds
Moderate
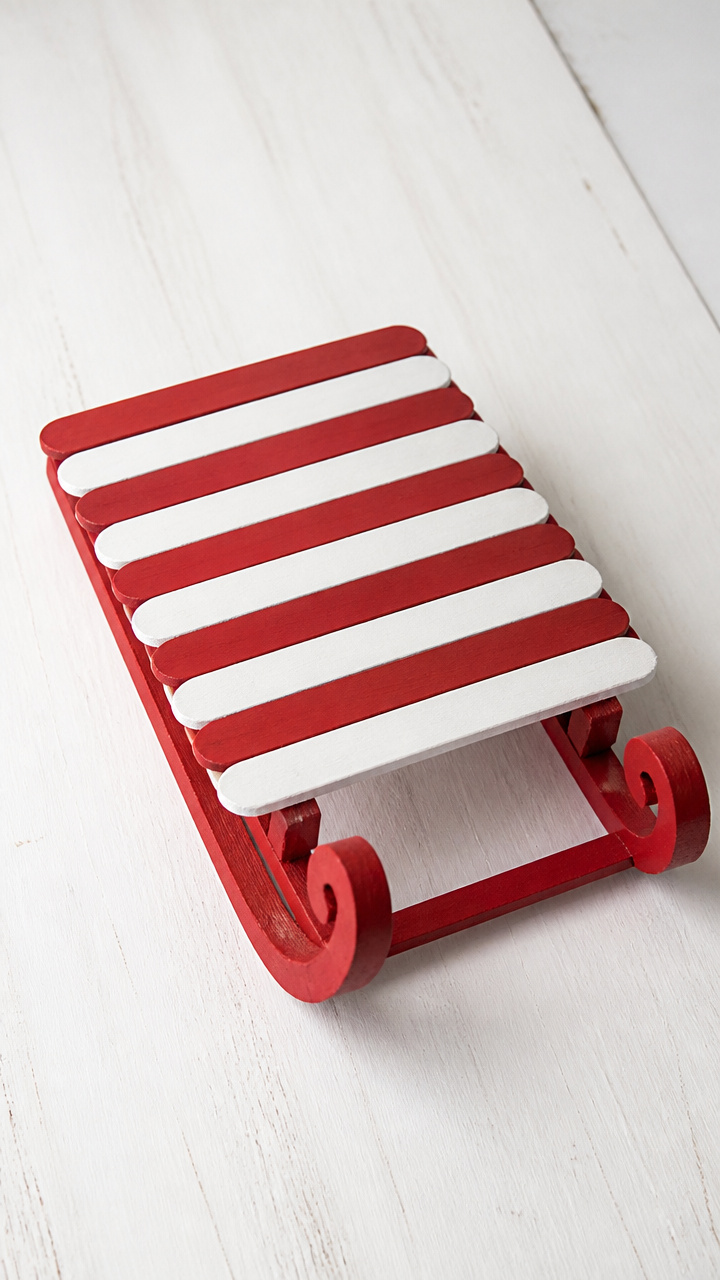
Rustic sleds built from painted sticks carry tiny gifts or notes across tabletops. Their runners curl slightly, just like real wooden sleighs.
Materials Needed
- 12 flat wooden popsicle sticks per sled
- Acrylic paint: red and white
- Paintbrush
- Wood glue
- Ruler
- Sandpaper (120 grit)
- Mini jingle bell, 1/2 inch
- String, 6 inches
How to Make It
- Lightly sand the edges of all sticks to smooth any splinters.
- Paint six sticks red and six white, let dry for 30 minutes.
- Lay two red sticks parallel, 2 inches apart, as the base.
- Glue white sticks perpendicularly across the base every 1/2 inch to form slats.
- Bend the ends of two additional red sticks into curves and glue to each side as runners.
- Tie string between the front uprights and attach the bell with a knot.


8. Tissue Paper Lanterns
Easy
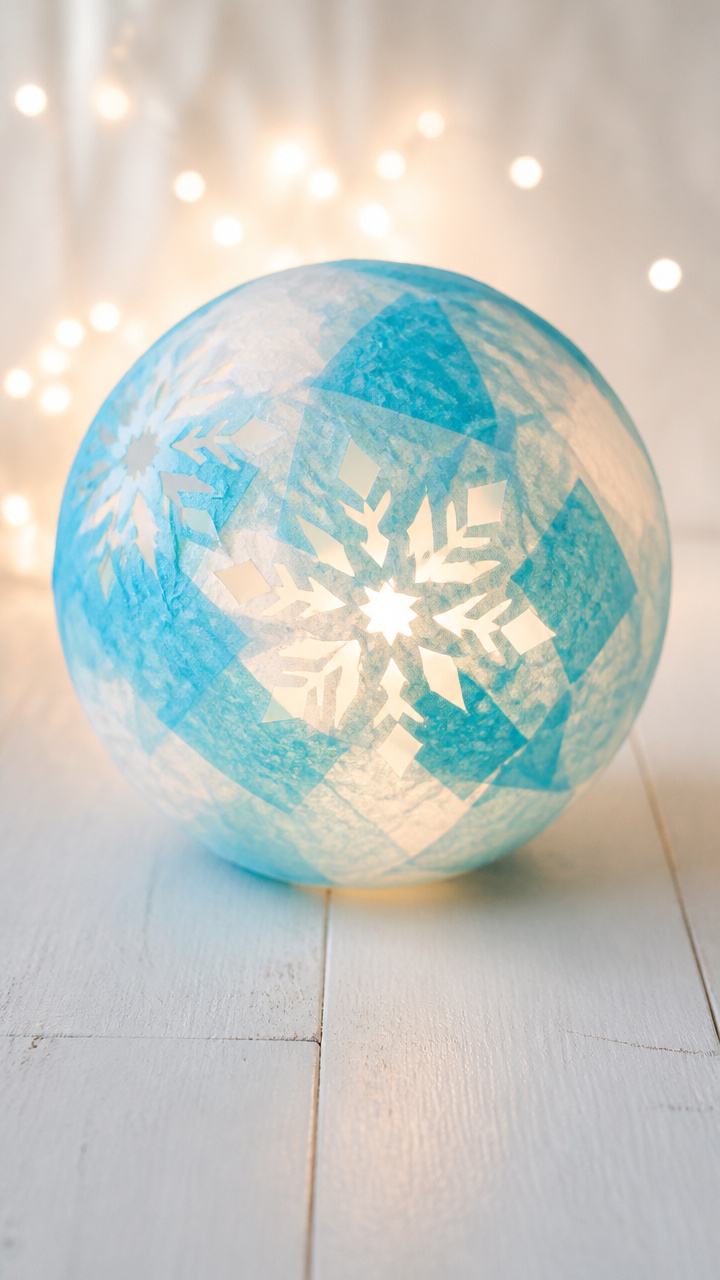
Layers of soft blue and white tissue glow like moonlight when lit from within. These lanterns cast peaceful patterns on walls and ceilings.
Materials Needed
- White paper lantern, 8 inches diameter
- Blue and white tissue paper sheets, 20×20 inches, 2 of each
- Scissors
- White school glue
- Foam brush
- LED tea light
How to Make It
- Cut tissue paper into 2-inch wide strips.
- Apply a thin layer of glue to the lantern with the foam brush.
- Lay strips horizontally, overlapping slightly, alternating colors.
- Cover the entire sphere and let dry for 1 hour.
- Place the LED tea light inside and turn on in a dark room.


9. Yarn-Wrapped Gift Tags
Easy
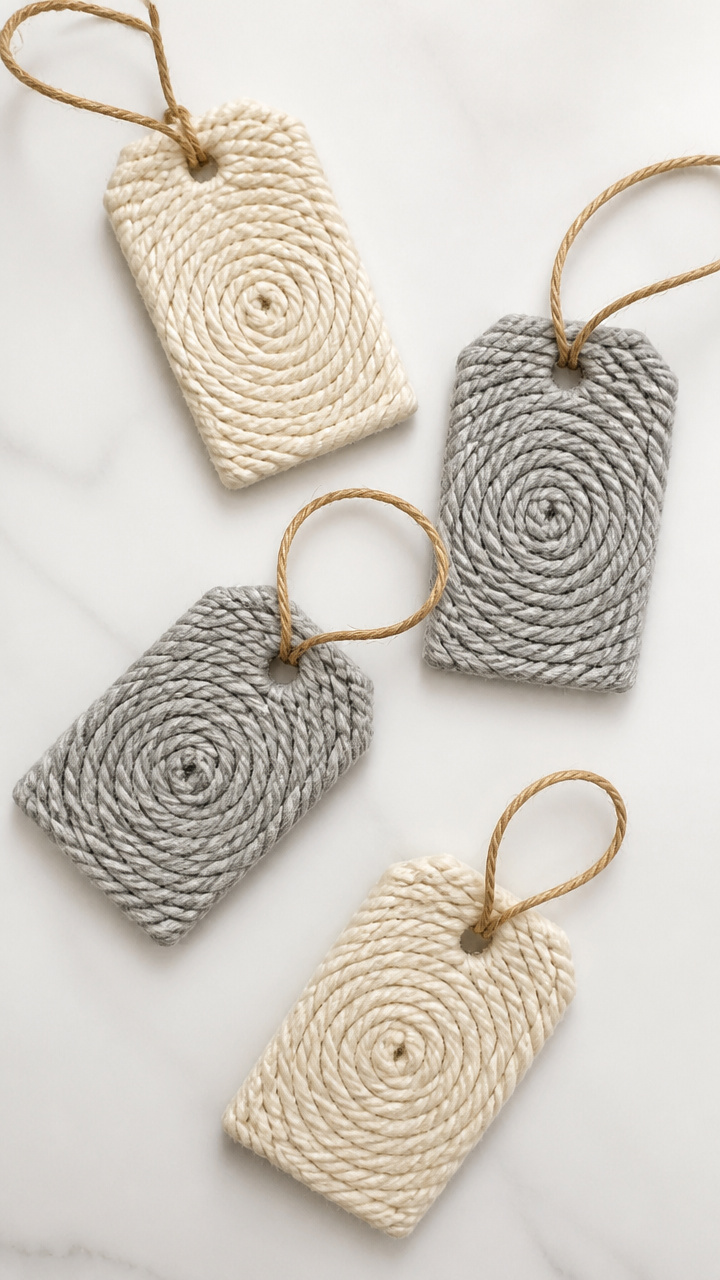
Thick yarn spirals around cardboard tags, making textured labels that feel like scarves. Wrap them around presents for a cozy touch.
Materials Needed
- White cardboard, 2×3 inches, 10 pieces
- Chunky wool yarn (cream or gray), 10 yards
- Hole punch
- Double-sided tape
- Scissors
How to Make It
- Punch a hole in the top left corner of each tag.
- Cut yarn into 12-inch lengths.
- Wrap one piece around the tag vertically and secure the ends with double-sided tape on the back.
- Continue wrapping adjacent pieces until the tag is fully covered.
- Trim ends neatly on the backside.


10. Edible Birdseed Ornaments
Moderate
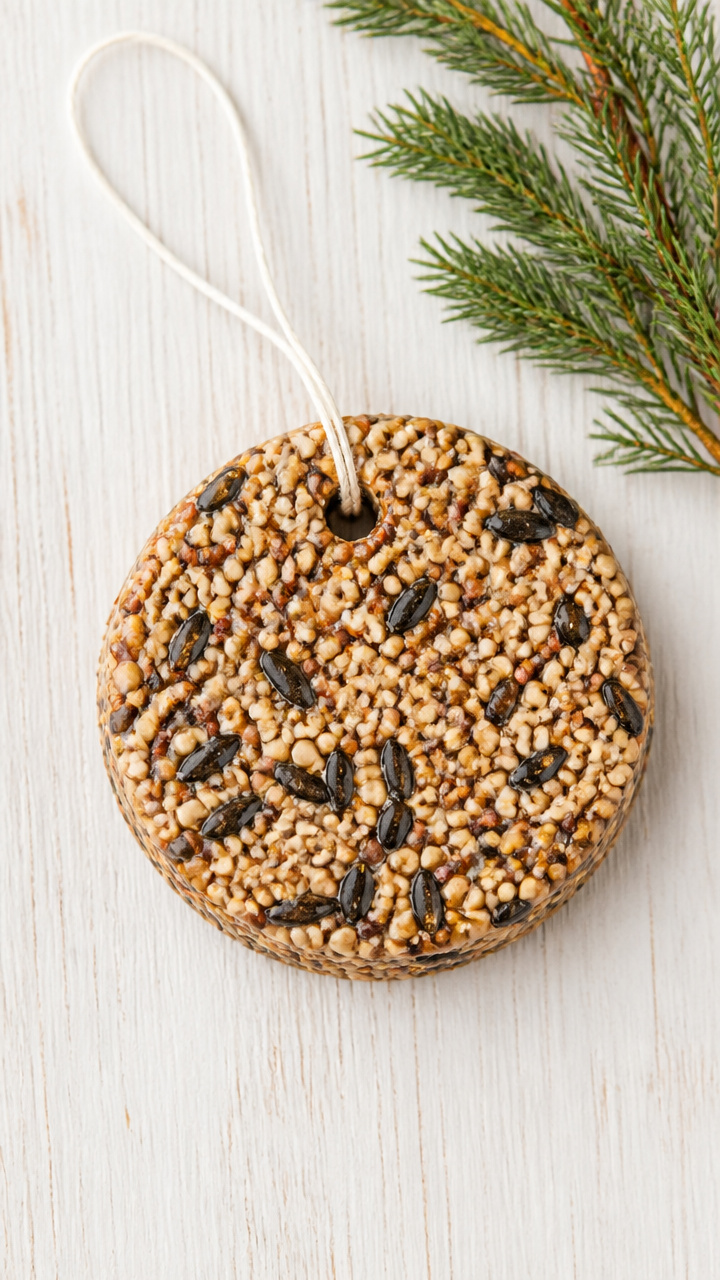
Ornate shapes hung outdoors feed visiting birds while adding life to bare branches. These biodegradable treats are safe and satisfying to make.
Materials Needed
- 1 cup birdseed mix
- 1/4 cup corn syrup
- 1 tablespoon peanut butter (unsalted)
- Circular cookie cutter, 3 inches
- Parchment paper
- Unflavored dental floss, 12 inches
- Mixing bowl
- Spoon
How to Make It
- Line a tray with parchment paper.
- In the bowl, mix corn syrup and peanut butter until smooth.
- Stir in birdseed until all grains are coated.
- Press mixture into the cookie cutter on the parchment and pack tightly.
- Push floss through the top to create a hanger, leaving a loop.
- Let sit for 4 hours to harden before lifting off the paper.


11. Wax Paper Snowflakes
Easy
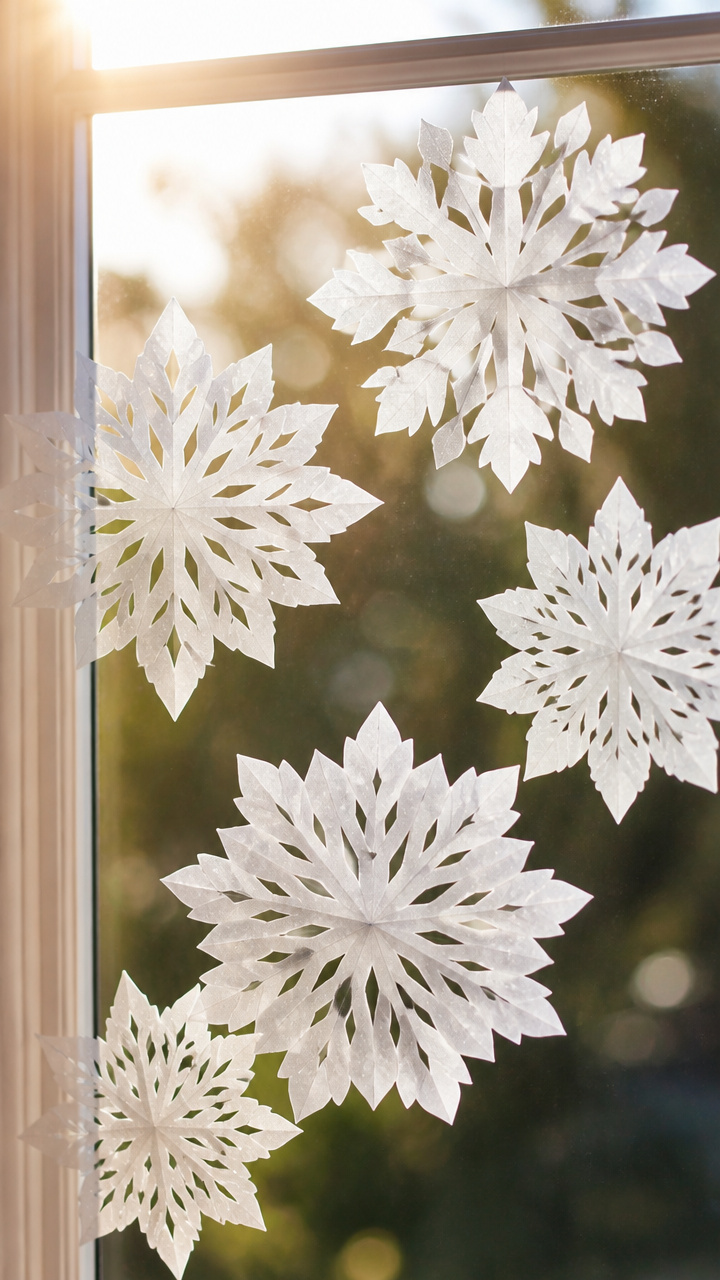
Crisp folds cut into layered wax paper unfold into delicate, translucent flakes. When taped to windows, sunlight turns them into icy jewels.
Materials Needed
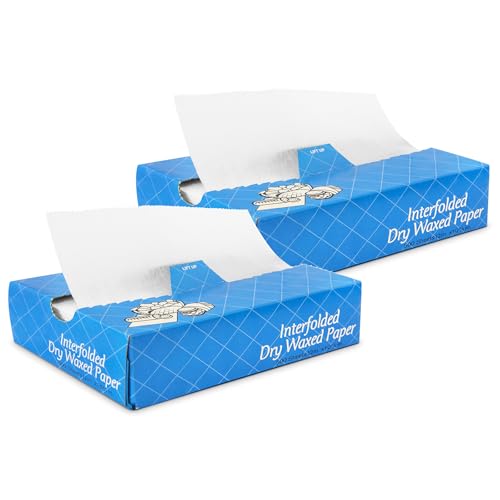
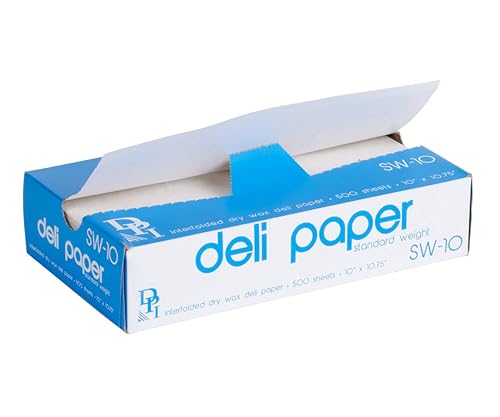
- Wax paper sheets, 15×15 inches, 10
- Scissors
- Pencil
- White school glue
- Glitter (optional)
- Painter’s tape
How to Make It
- Fold one wax paper square diagonally into a triangle.
- Fold the triangle into thirds, overlapping the sides to form a cone shape.
- Cut small shapes from the edges using scissors—triangles, curves, or dots.
- Unfold carefully to reveal the snowflake.
- Add a pinch of glitter with glue if desired and let dry 15 minutes.
- Tape to a sunny window with painter’s tape.

12. Clay Animal Figurines
Advanced
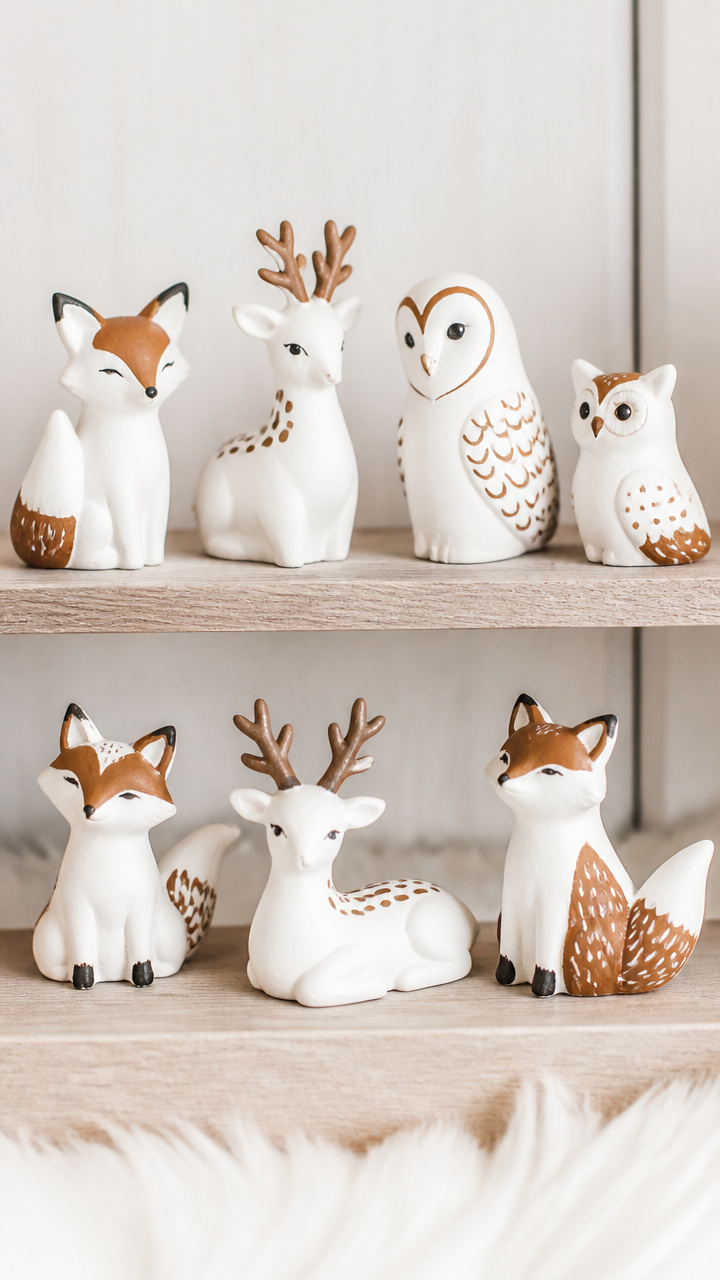
Smooth air-dry clay molds into foxes, deer, and owls with careful pinches and rolls. These quiet creatures stand guard on bookshelves or tables.
Materials Needed
- White air-dry clay, 1 pound
- Clay sculpting tool set (loop, needle, ball stylus)
- Acrylic paints: rust, brown, black, white
- Paintbrushes (fine tip and medium)
- Work mat
- Damp cloth
How to Make It
- Knead clay on the mat until soft and pliable.
- Roll a walnut-sized ball for the body and shape into a slight oval.
- Pinch out a neck and head, then roll a small cone for the snout.
- Use the needle tool to score lines for fur and define facial features.
- Shape legs from pea-sized rolls and attach with scoring and water.
- Let dry for 24 hours, then paint with acrylics in thin layers.
- Allow paint to dry 2 hours between coats.
13. Button Snowmen
Easy
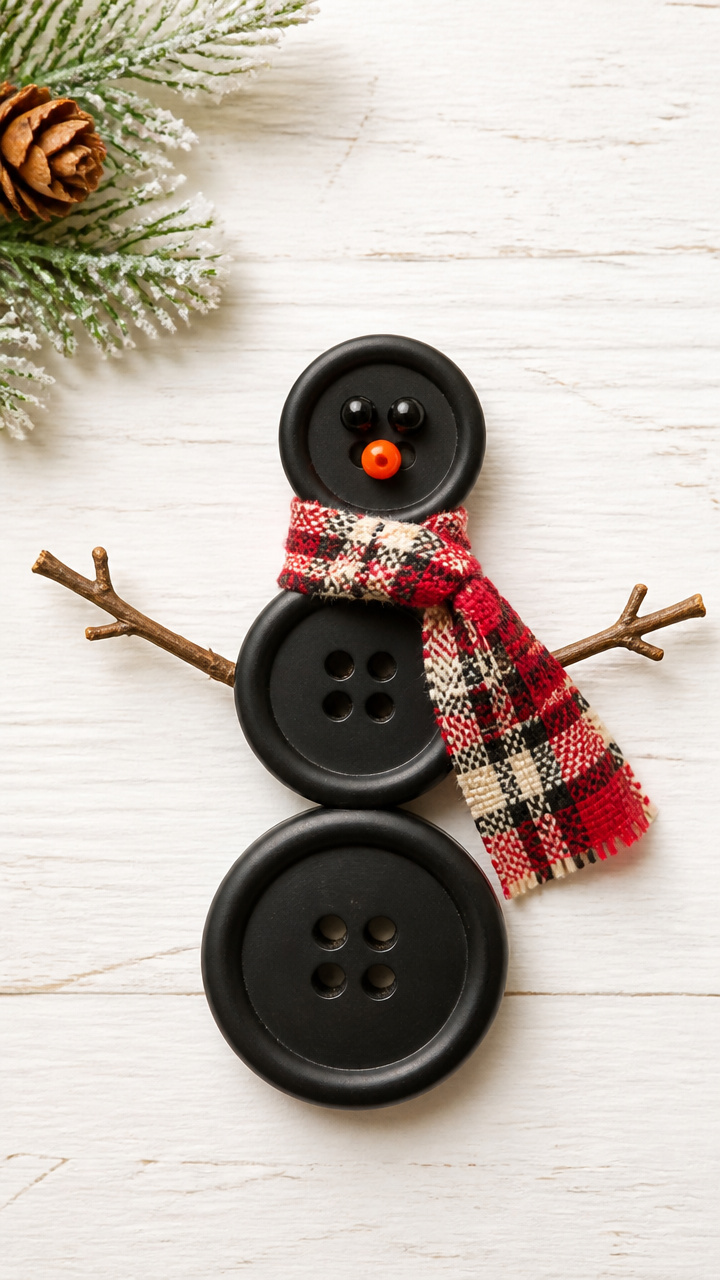
Mismatched buttons stack into smiling faces with twig arms and fabric scarves. These no-sew snowmen cling to cards or wreaths with personality.
Materials Needed
- Three black buttons per snowman: 1 inch, 3/4 inch, 1/2 inch
- Orange seed bead, 4mm
- Two black seed beads, 4mm
- Fabric scrap (red or plaid), 2×4 inches
- Hot glue gun and glue sticks
- Toothpick
- Green pipe cleaner, 6 inches
How to Make It
- Glue the largest button to a flat surface using hot glue.
- Stack the medium button on top, then the smallest at the peak.
- Use the toothpick to apply a tiny dot of glue for the orange bead nose.
- Glue black beads for eyes just below the top button.
- Cut a 1-inch strip of fabric and loop around the middle button for a scarf.
- Twist the pipe cleaner into arms and glue to the sides.


14. Ice Lanterns with Lights
Moderate
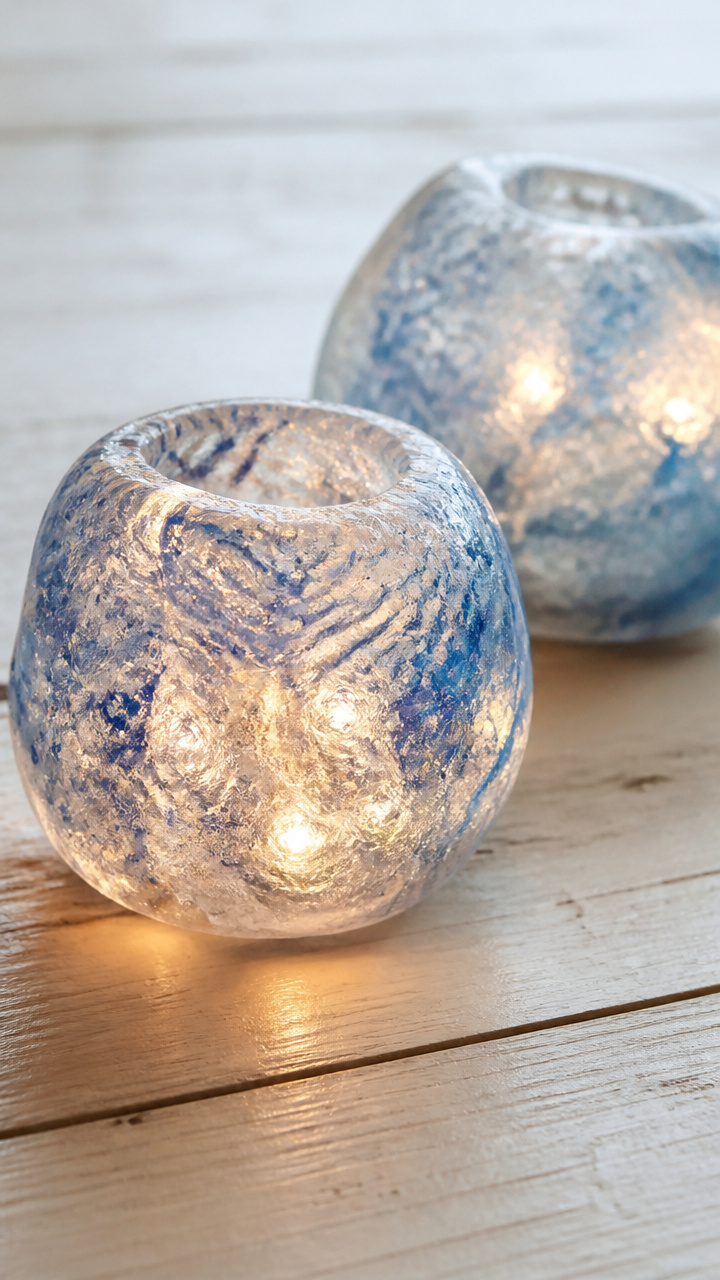
Frozen balloons encase LED lights, forming glowing orbs that shine in the yard. As temperatures shift, each one becomes a unique sculpture.
Materials Needed
- Round balloon, 12 inches
- Water, 2 quarts
- Freezer-safe bucket, 6 inches deep
- LED string lights (battery-powered, waterproof)
- Food coloring (optional)
- Scissors
How to Make It
- Blow up the balloon to the size of a basketball and tie it shut.
- Place the balloon in the bucket and pour water around it until submerged.
- Add a few drops of food coloring if you want tinted ice.
- Leave outside or in a freezer for 12 hours until solid.
- Run warm water over the balloon to peel it away carefully.
- Cut a small hole in the top and lower the lights inside, draping the cord out.
- Place in your yard and turn on at dusk.


15. Quilted Fabric Coasters
Advanced
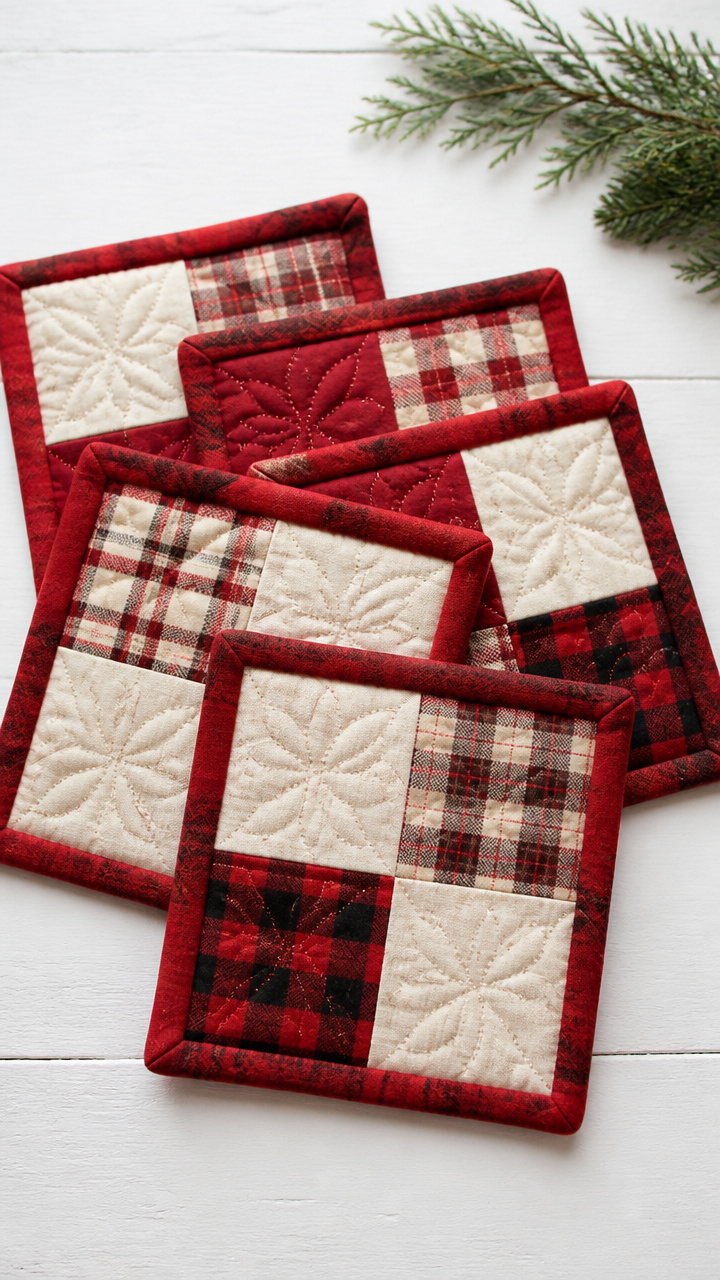
Tiny patchworks of flannel and cotton absorb condensation while looking like mini quilts. These practical squares protect tables in style.
Materials Needed
- Flannel fabric scraps (red, cream, plaid), 5×5 inches each
- Cotton batting squares, 4×4 inches, 4
- Rotary cutter
- Cutting mat
- Ruler
- Sewing machine
- All-purpose thread
- Iron
- Binding tape, 1/2 inch, 16 inches
How to Make It
- Cut flannel into four 4×4 inch squares per coaster.
- Layer batting between two flannel squares, aligning edges.
- Pin layers together and quilt with straight stitches 1/2 inch apart.
- Trim excess and attach binding tape around the edge with the sewing machine.
- Fold binding to the back and hand-stitch in place for a clean finish.
- Press with iron before use.


16. Paper Quilled Snowflakes
Moderate
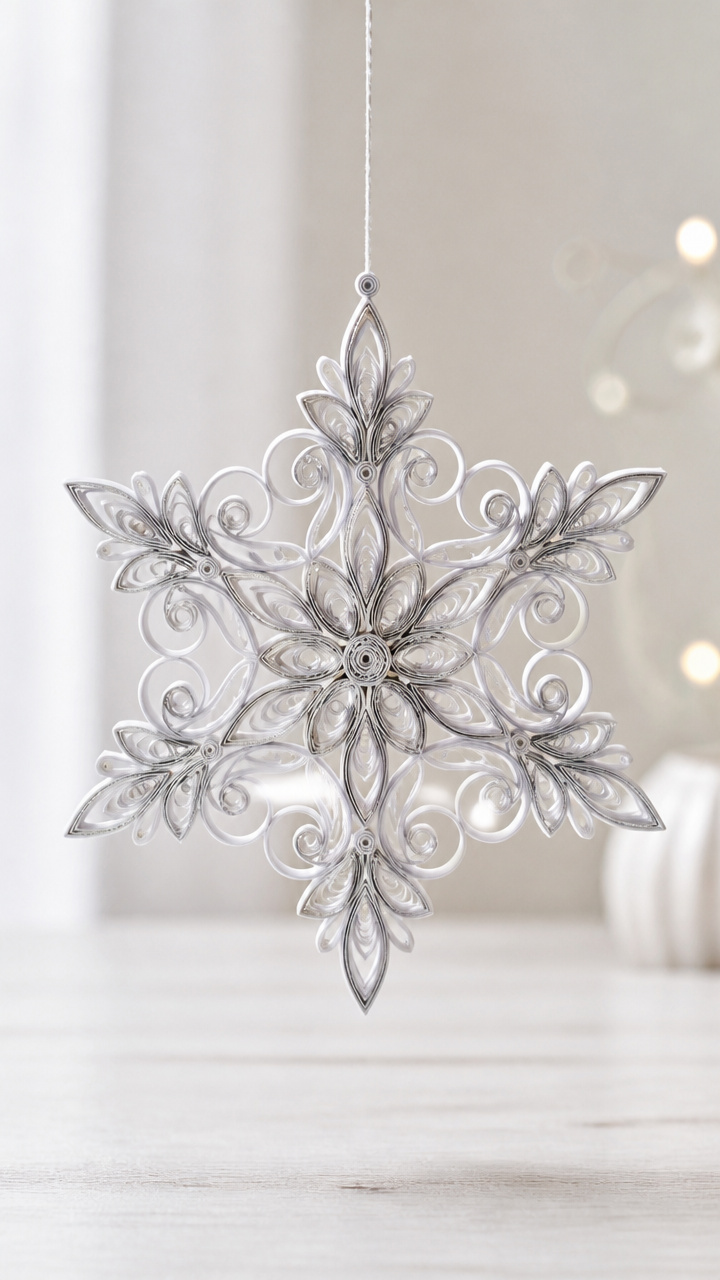
Thin strips of paper coil and pinch into symmetrical blooms that mimic real frost. Framed or hung, they add intricate beauty with minimal tools.
Materials Needed
- Quilling paper strips, 1/4 inch wide (white and silver), 20 each
- Quilling tool
- White glue
- Tweezers
- Quilling board or graph paper
- Clear drying sealant spray
- Double-sided tape
How to Make It
- Wrap one paper strip around the quilling tool and glue the end.
- Release the coil and pinch opposite edges to form a teardrop.
- Make five more teardrops and arrange them in a circle, gluing tips together.
- Add a small tight coil in the center and secure with glue.
- Let dry for 30 minutes, then spray lightly with sealant on both sides.
- Attach to cards or windows with double-sided tape.


Grab a pair of scissors, pull out that glue stick, and let the quiet joy of crafting fill your days. Each piece you make becomes part of your winter story.