23 Winter Paper Crafts with Cricut and Cardstock

Frost gathers on the windowpane, and the glow of lamplight makes paper cutouts dance across the walls. Inside, where mittens dry by the radiator and cocoa warms your palms, crafting feels like a quiet act of joy.
These winter paper projects blend precision cutting with heartfelt design. Each one uses your Cricut and cardstock to create something beautiful for your home, gifts, or seasonal celebrations.
1. Snowflake Window Suncatchers
Easy
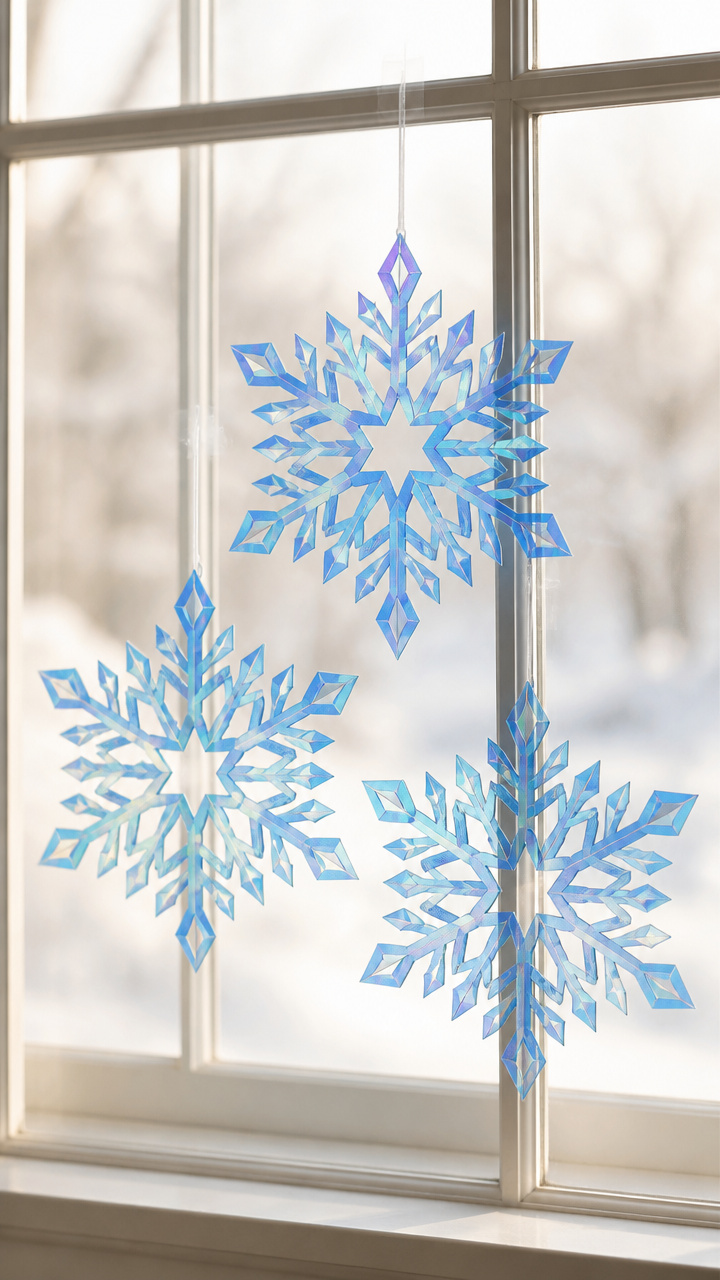
Delicate laser-cut snowflakes catch the low winter light and scatter icy patterns across your floor. These suncatchers bring a touch of frost without the chill.
Materials Needed
- 6 sheets 8.5 x 11 inch iridescent blue cardstock
- Cricut Explore Air 2
- StandardGrip cutting mat
- Weeding tool
- Clear tape
- String
How to Make It
- Upload a multi-layered snowflake SVG file to Cricut Design Space and size each layer to 7 inches wide.
- Load the iridescent cardstock onto the cutting mat and cut all six layers using the Cricut machine.
- Use the weeding tool to remove excess paper from inside the intricate cuts.
- Stack the layers offset slightly and secure them together in the center with clear tape.
- Tie a 10-inch piece of string to the top for hanging near a sunny window.
2. Folded Paper Pine Tree Garland
Easy
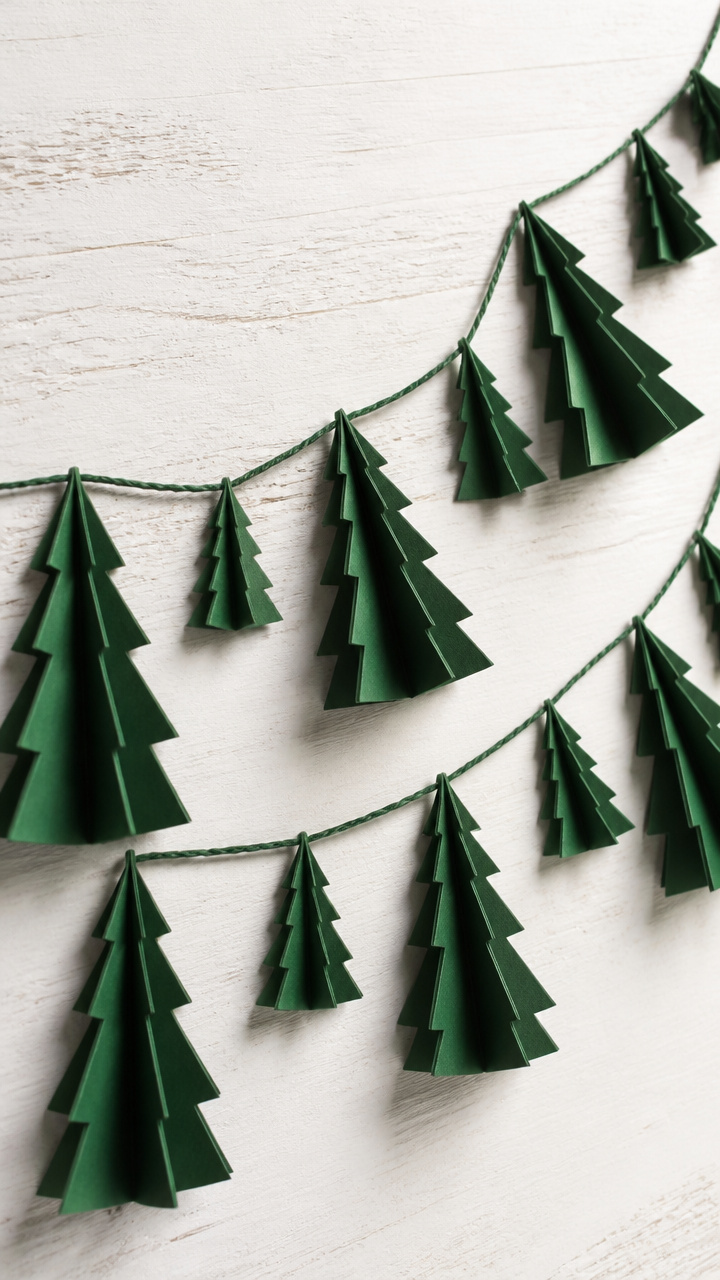
Mini evergreens made from folded green cardstock dangle from twine like a forest strung with holiday cheer. This garland adds dimension and whimsy to mantels or stair rails.
Materials Needed
- 4 sheets forest green 12 x 12 inch cardstock
- Cricut Maker
- Fine Point blade
- Green twine, 5 yards
- Glue dots
- Pencil
How to Make It
- In Design Space, use the accordion-fold tree template and set each tree height to 3 inches.
- Cut 20 trees from the green cardstock using the Cricut Maker and Fine Point blade.
- Score each trunk section lightly with a pencil to help it fold upright.
- Fold each tree along the scored line and attach the base with a glue dot for stability.
- Space the trees evenly and glue them to the twine using glue dots every 6 inches.
3. Layered Winter Cabin Scene
Moderate
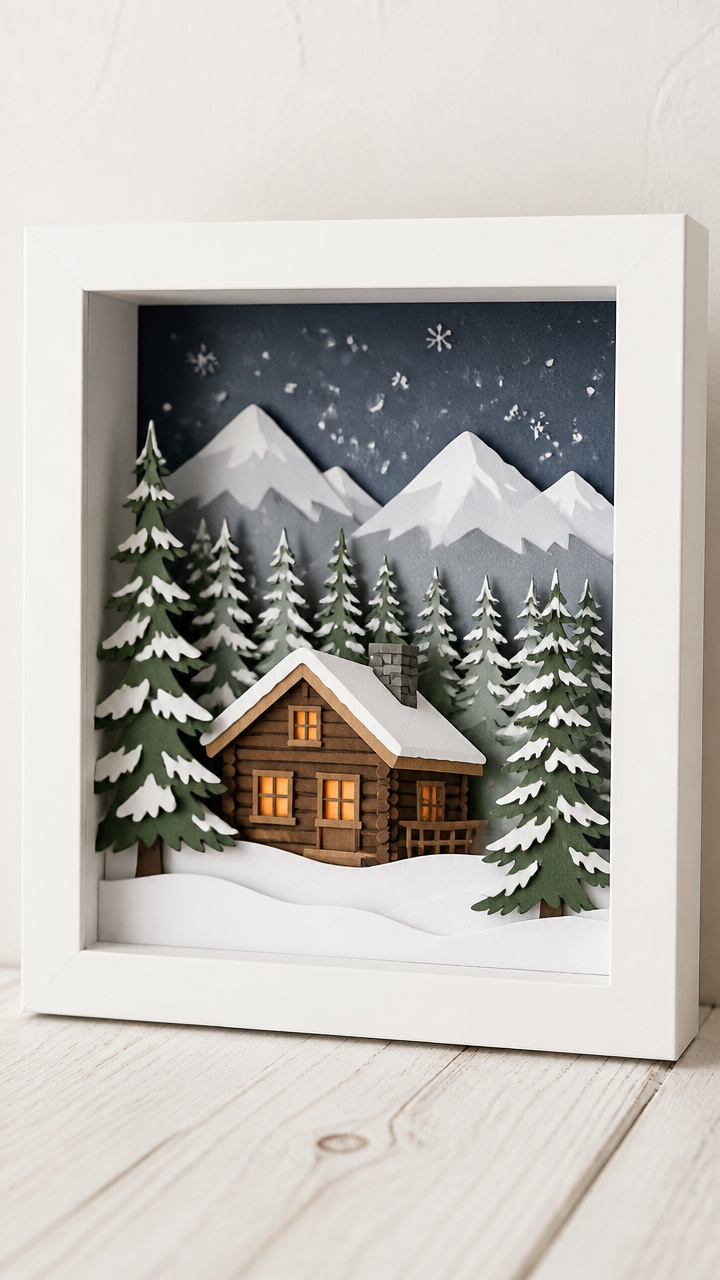
A cozy log cabin with glowing windows stands in a snowy clearing, all built from stacked cardstock layers. This shadow box creates depth like a tiny winter diorama.
Materials Needed
- 1 sheet dark brown cardstock
- 1 sheet light brown cardstock
- 1 sheet white cardstock
- 1 sheet amber vellum
- 8×10 inch shadow box frame
- Cricut Joy
- Bonded fabric adhesive
- Ruler
How to Make It
- Design a five-layer cabin scene in Cricut Design Space, including ground, cabin, roof, smoke, and moon layers.
- Cut each layer from the corresponding cardstock using the Cricut Joy.
- Trim the amber vellum to 3×3 inches and place it behind the window cutouts to mimic warm light.
- Adhere each layer with bonded fabric adhesive, starting with the ground and ending with the smoke.
- Place the finished stack into the shadow box frame and close securely.
4. Icicle Hanging Ornaments
Easy
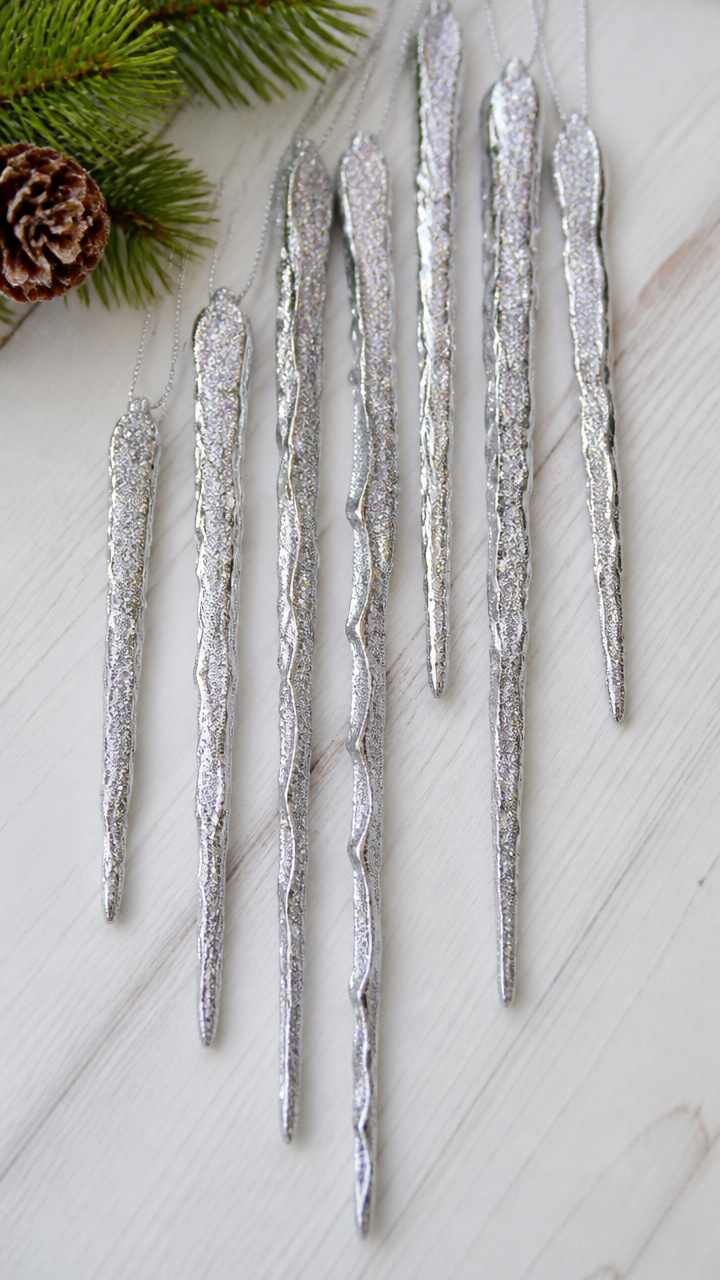
Long, shimmering icicles drape from ceiling hooks or chandeliers, catching light like real frozen drops. These ornaments add vertical sparkle to any room.
Materials Needed
- 5 sheets silver glitter cardstock
- Cricut Explore Air 2
- LightGrip mat
- Clear fishing line, 20 feet
- Scissors
- Hole punch
How to Make It
- In Design Space, select a tapered icicle shape and duplicate it into a cluster of three per cut.
- Cut 15 icicle clusters from the silver glitter cardstock using the Cricut Explore Air 2.
- Use scissors to trim any stray fibers from the glitter edges.
- Punch a small hole at the top of each cluster and thread 8 inches of fishing line through it.
- Tie a knot above each cluster and hang them at varying lengths from a ceiling hook.
5. Pop-Up Northern Lights Card
Moderate
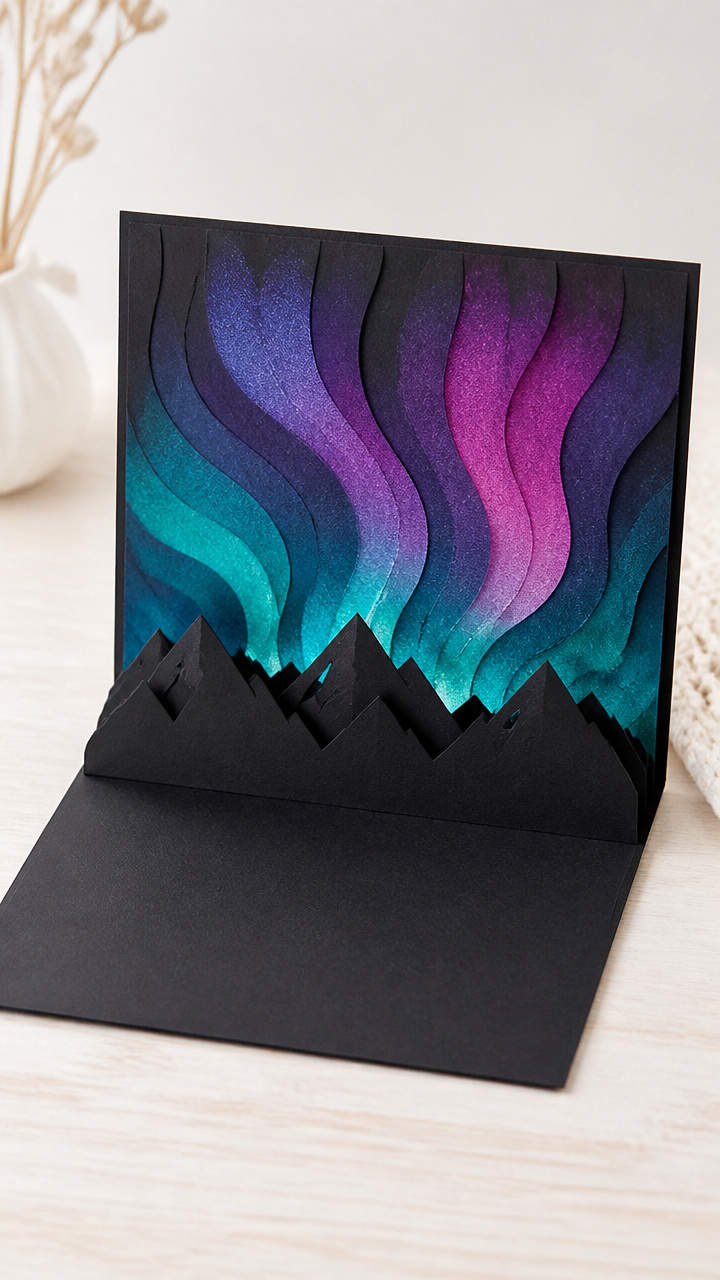
When opened, a burst of swirling aurora bands rises from a mountain ridge inside a handmade card. This surprise element delights anyone who receives it.
Materials Needed
- 1 sheet black 12 x 12 inch cardstock
- 1 sheet teal shimmer cardstock
- 1 sheet purple shimmer cardstock
- 1 sheet magenta shimmer cardstock
- Bone folder
- Cricut Maker
- Washi tape, 1/4 inch wide
How to Make It
- Create a pop-up mechanism in Design Space using a central V-fold strip 3 inches tall.
- Cut the background mountain and three aurora wave shapes from their respective shimmer papers.
- Score the black cardstock in half with the bone folder to form the card base.
- Attach the V-fold strip to the inside center crease using washi tape.
- Glue the mountain to the base and layer the aurora waves onto the pop-up arms for lift.
6. Reindeer Silhouette Wall Art
Moderate
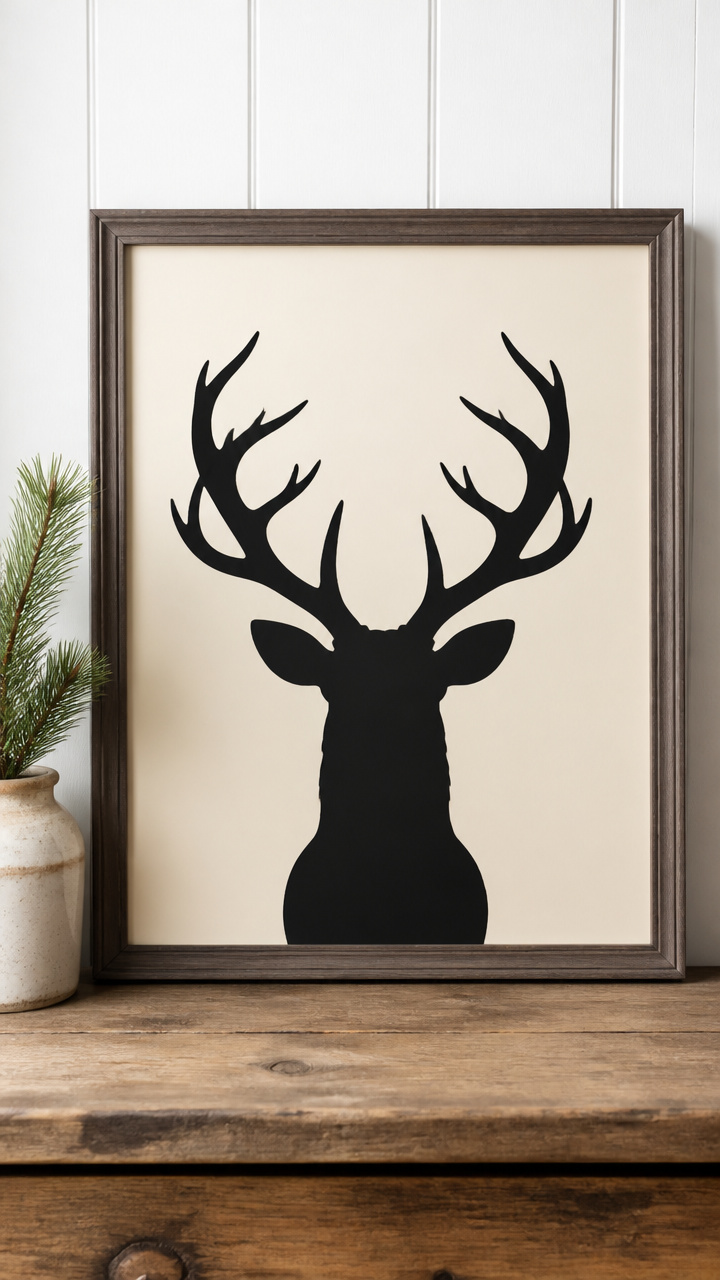
A proud reindeer in profile stands against a full moon, its antlers stretching across a framed print. This bold piece works as modern rustic decor.
Materials Needed
- 1 sheet matte black 12 x 12 inch cardstock
- 1 sheet cream 12 x 12 inch cardstock
- Cricut Explore Air 2
- Deep Point blade
- 11×14 inch picture frame
- Double-sided tape
How to Make It
- Import a single-line reindeer silhouette with antlers extended into Design Space and scale to 10 inches tall.
- Cut the silhouette from the black cardstock using the Deep Point blade and machine.
- Weed away the negative space around the reindeer shape carefully.
- Center the cream cardstock in the frame as a backdrop.
- Position the black reindeer centered on the cream sheet and secure with double-sided tape.
7. Paper Mitten Gift Tags
Easy

Tiny mittens with stitched details hold gift messages with a looped string. These tags make presents feel instantly personal.
Materials Needed
- 3 sheets red cardstock
- White gel pen
- Cricut Joy
- Hole punch
- Baker's twine, 2 yards
- Scissors
How to Make It
- Use a mitten-shaped SVG in Design Space and set each tag to 2 inches wide.
- Cut 12 mitten tags from the red cardstock using the Cricut Joy.
- Draw stitch lines across each mitten with the white gel pen.
- Punch a hole at the top curve of each mitten and thread a 6-inch piece of baker's twine through it.
- Write names or messages on the front before tying to gift packages.
8. 3D Frosted Evergreen Centerpiece
Advanced
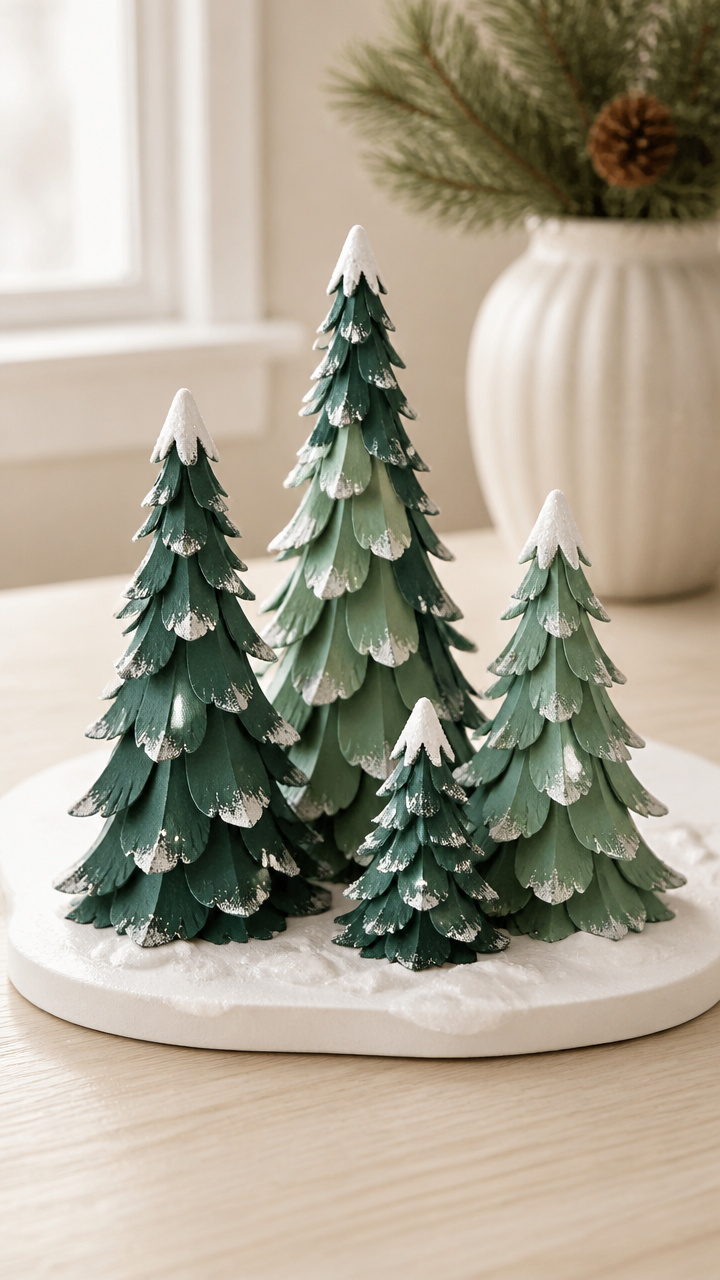
Five pine trees of graduated height form a frosted forest centerpiece dusted with faux snow. This tablescape anchor looks lush and wintry.
Materials Needed
- 1 sheet dark green cardstock
- 1 sheet light green cardstock
- 1 sheet white cardstock
- Cricut Maker
- Scoring stylus
- Low-temp hot glue gun
- Artificial snow spray, 4 oz can
How to Make It
- Design five conical tree bases with score lines for folding and vary heights from 4 to 8 inches.
- Cut all pieces from green and white cardstock using the Cricut Maker.
- Score each triangle side and fold into cones, securing with hot glue at the seam.
- Stack a white snowcap circle on each tip and glue in place.
- Spray each tree lightly with artificial snow, let dry for 15 minutes, then arrange in a row on your table.
9. Hot Cocoa Mug Wrap
Easy

A festive sleeve wraps around a mug filled with cocoa mix and marshmallows. This craft turns a simple drink into a keepsake gift.
Materials Needed
- 1 sheet kraft cardstock
- Red marker
- Cricut Explore Air 2
- Adhesive roller
- Scissors
- Mug, 12 oz
How to Make It
- Design a rectangular wrap 3.5 inches high and 10 inches long with a 'Stay Cozy' cutout in Design Space.
- Cut the wrap from kraft cardstock using the Cricut machine.
- Use the red marker to draw tiny hearts around the cutout lettering.
- Roll the wrap around the mug and secure the back edge with the adhesive roller.
- Fill the mug with cocoa packets and mini marshmallows before gifting.
10. Starburst Ornament Mobile
Moderate

Golden rays radiate from a central hub, suspended in mid-air like a captured sunbeam. This mobile spins gently above a crib or shelf.
Materials Needed
- 3 sheets gold metallic cardstock
- Cricut Joy
- Clear nylon thread, 15 feet
- Small wooden ring, 2 inches diameter
- Needle
- Ruler
How to Make It
- Create a starburst shape with 12 even rays in Design Space and size to 5 inches across.
- Cut 6 starbursts from gold cardstock using the Cricut Joy.
- Thread the needle with 12 inches of nylon thread and tie a knot at the end.
- Sew through the center of each starburst and stack them evenly on the thread.
- Tie the top thread to the wooden ring and attach four more threads at 90-degree points for balance.
11. Cardstock Ice Skates
Moderate
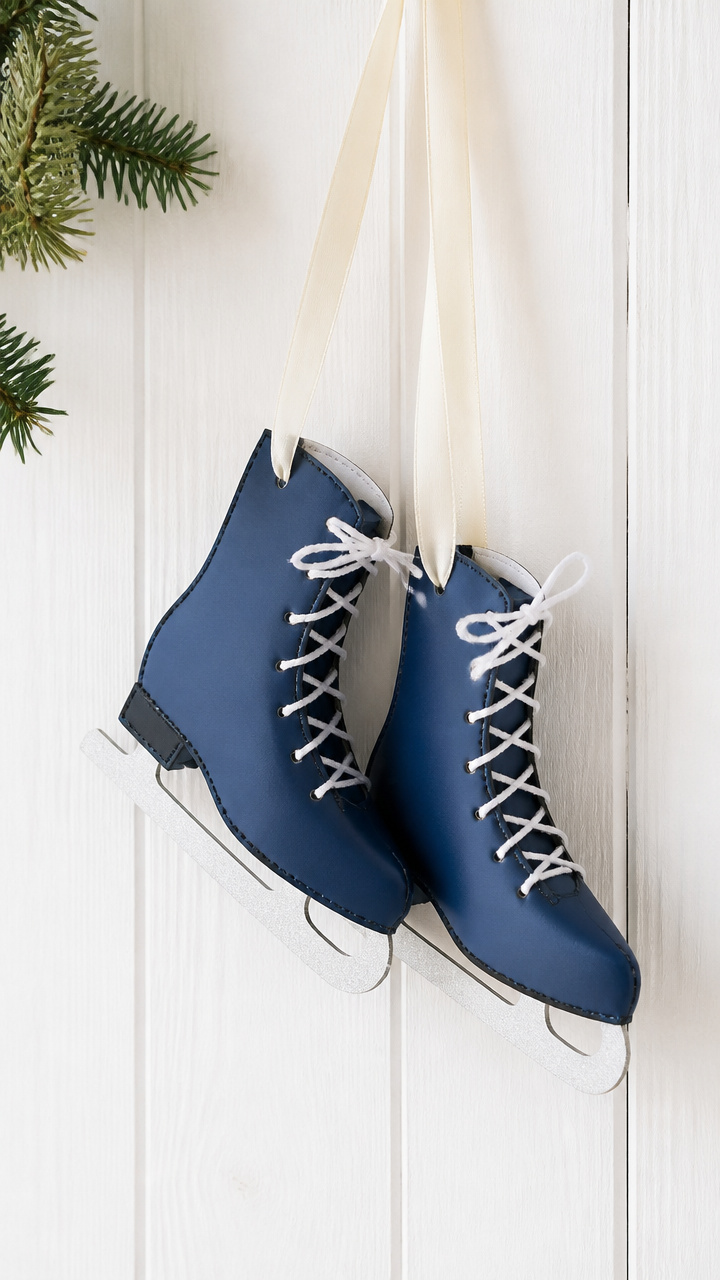
Miniature skates with laced fronts sit on shelves or dangle from ribbons. These charming decorations celebrate winter activity.
Materials Needed
- 2 sheets navy blue cardstock
- White embroidery floss, 1 yard
- Cricut Maker
- Fine Point blade
- Tacky glue
- Blunt needle
How to Make It
- Download a two-part skate template with blade and boot sections and mirror for pairs.
- Cut four skate sets from navy cardstock using the Cricut Maker.
- Apply tacky glue to the curved blade edge and press it under the boot piece.
- Thread the blunt needle with white floss and stitch through pre-punched lace holes.
- Tie off ends neatly at the top and display flat or hang with ribbon threaded through the top loop.
12. Winter Animal Pocket Cards
Advanced
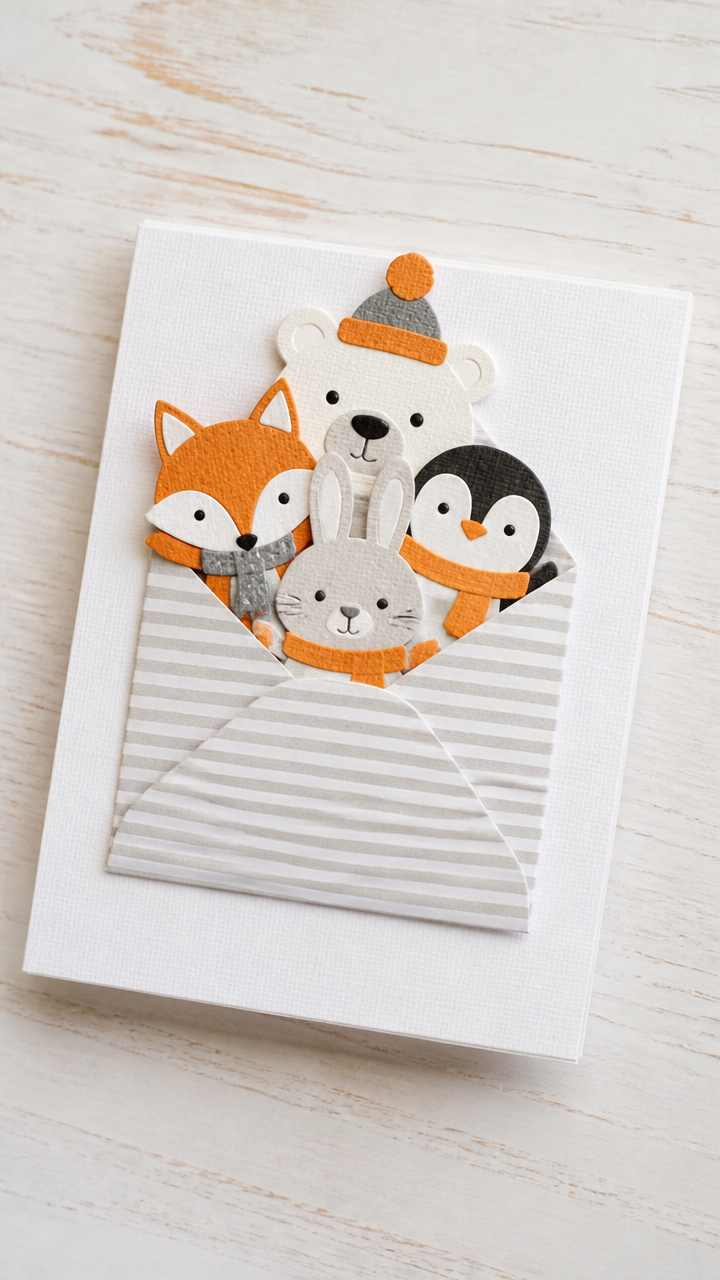
A fox, rabbit, or owl peeks from a lined envelope tucked into a greeting card. These interactive cards spark delight when opened.
Materials Needed
- 1 sheet orange cardstock
- 1 sheet white cardstock
- 1 sheet gray cardstock
- 6×8 inch blank card with envelope
- Cricut Explore Air 2
- Glue stick
- Black fine liner pen
How to Make It
- Design three animal head cutouts with pocket tabs and size to fit within a 3×4 inch frame.
- Cut each animal from their respective colored cardstock using the Cricut machine.
- Glue the tabbed sides to form standing pockets and let dry flat.
- Draw facial details with the black fine liner pen.
- Insert each pocket into the card so the animal face shows when opened.
13. Geometric Snow Globe Dome
Advanced
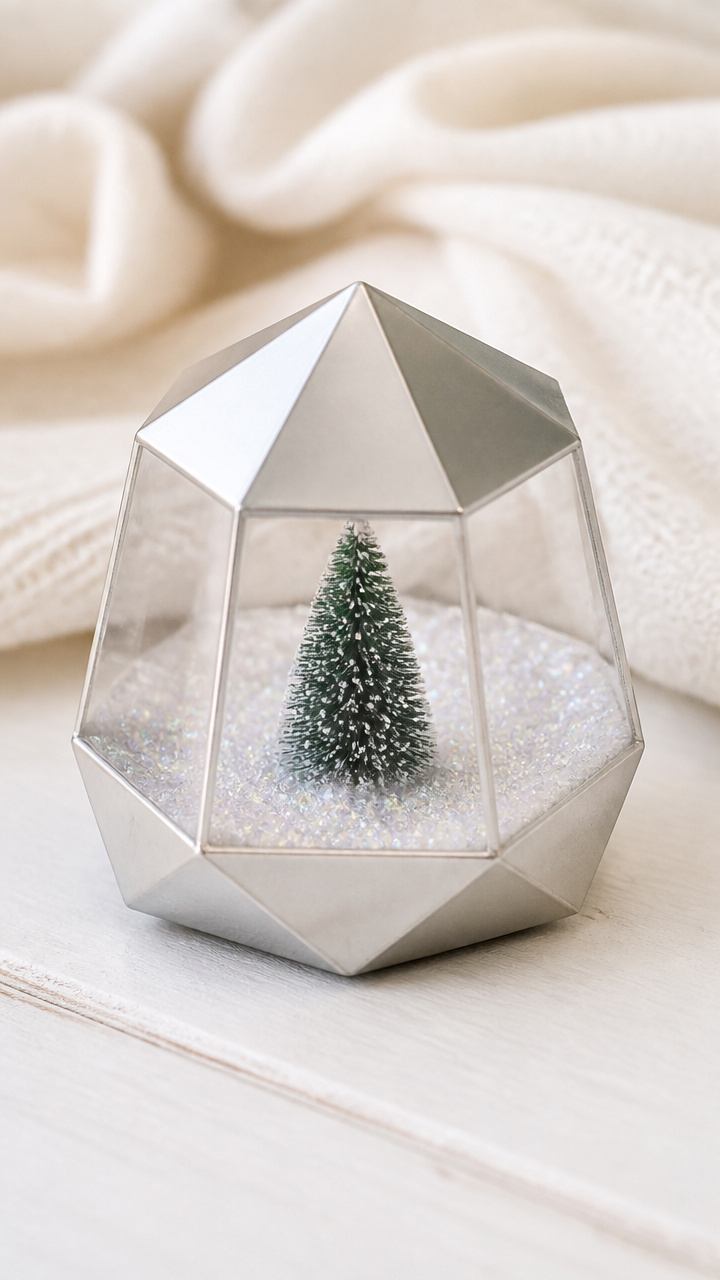
A faceted dome made of cardstock mimics glass over a tiny winter scene. This ornament gives the illusion of a real snow globe.
Materials Needed
- 1 sheet clear acetate
- 1 sheet silver cardstock
- Cricut Maker
- Scoring wheel
- Glitter glue
- Miniature pine tree, 1 inch tall
- Glue dots
How to Make It
- Use a 12-panel geodesic dome template in Design Space and scale to 4 inches wide.
- Cut the silver facets and acetate base circle using the Cricut Maker.
- Score each panel edge with the scoring wheel for clean folding.
- Apply glue dots to each edge and assemble into a dome shape.
- Glue the miniature tree to the acetate circle, add glitter glue 'snow', and attach the dome on top.
14. Frosted Berry Wreath
Moderate

Clusters of red berries peek through layered white vines forming a wintry wreath. Hang this on doors or walls for seasonal color.
Materials Needed
- 2 sheets deep red cardstock
- 2 sheets white cardstock
- Cricut Explore Air 2
- Wreath form, 8 inch diameter
- Hot glue gun
- Floral wire, 18 gauge
How to Make It
- Design vine swirls with berry clusters in Design Space and set to random rotations.
- Cut 8 vine segments from white cardstock and 20 berry groups from red.
- Wrap floral wire around the wreath form and twist ends to secure.
- Glue vine segments around the form, overlapping slightly for fullness.
- Add red berry clusters beneath the vines using hot glue.
15. Paper Lantern Ice Lamps
Moderate
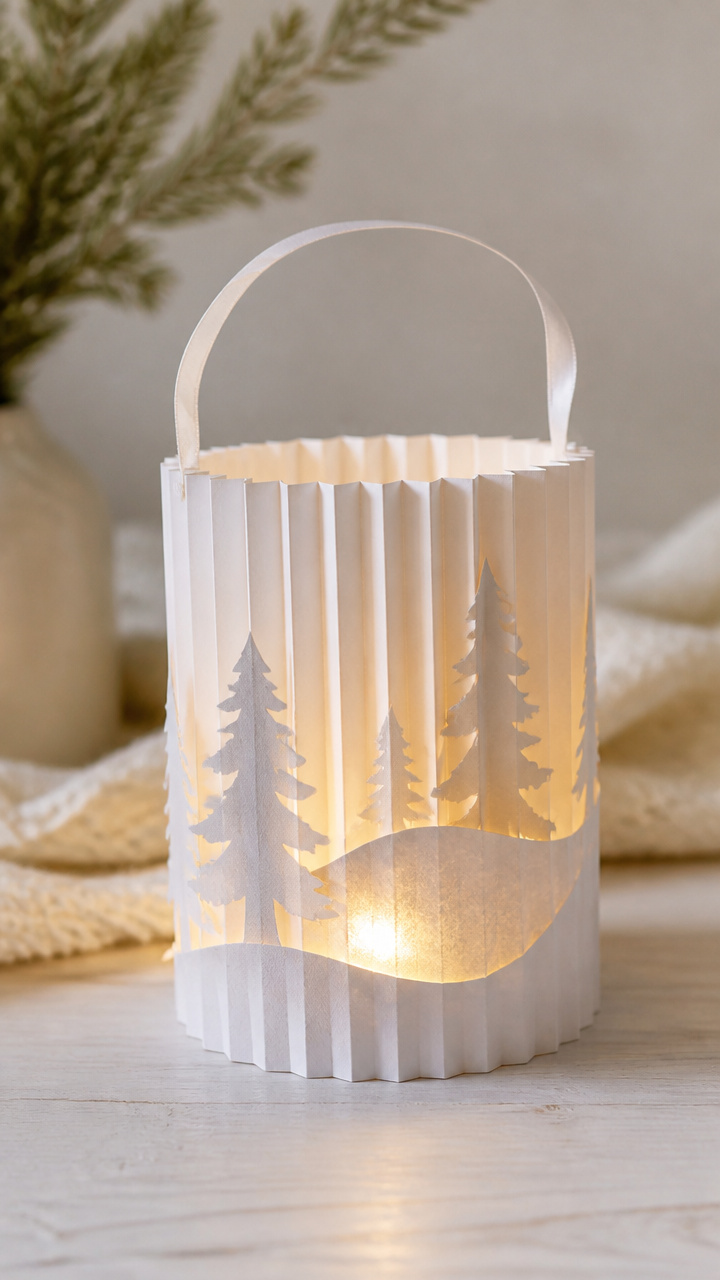
Soft light glows through frosted cutouts shaped like snowbanks and trees. These lanterns cast peaceful shadows at night.
Materials Needed
- 4 sheets white cardstock
- Cricut Maker
- Lantern base with LED tea light
- Double-sided tape
- Ribbon, 1/2 inch wide, 2 yards
How to Make It
- Create a cylindrical lantern template with winter scene cutouts and height of 5 inches.
- Cut four sleeves from white cardstock using the Cricut Maker.
- Roll each sleeve into a tube and secure with double-sided tape.
- Slide each over a lantern base and center the LED tea light inside.
- Tie a ribbon bow around the top rim of each lantern.
16. Hand-Tinted Cardinal Ornament
Moderate
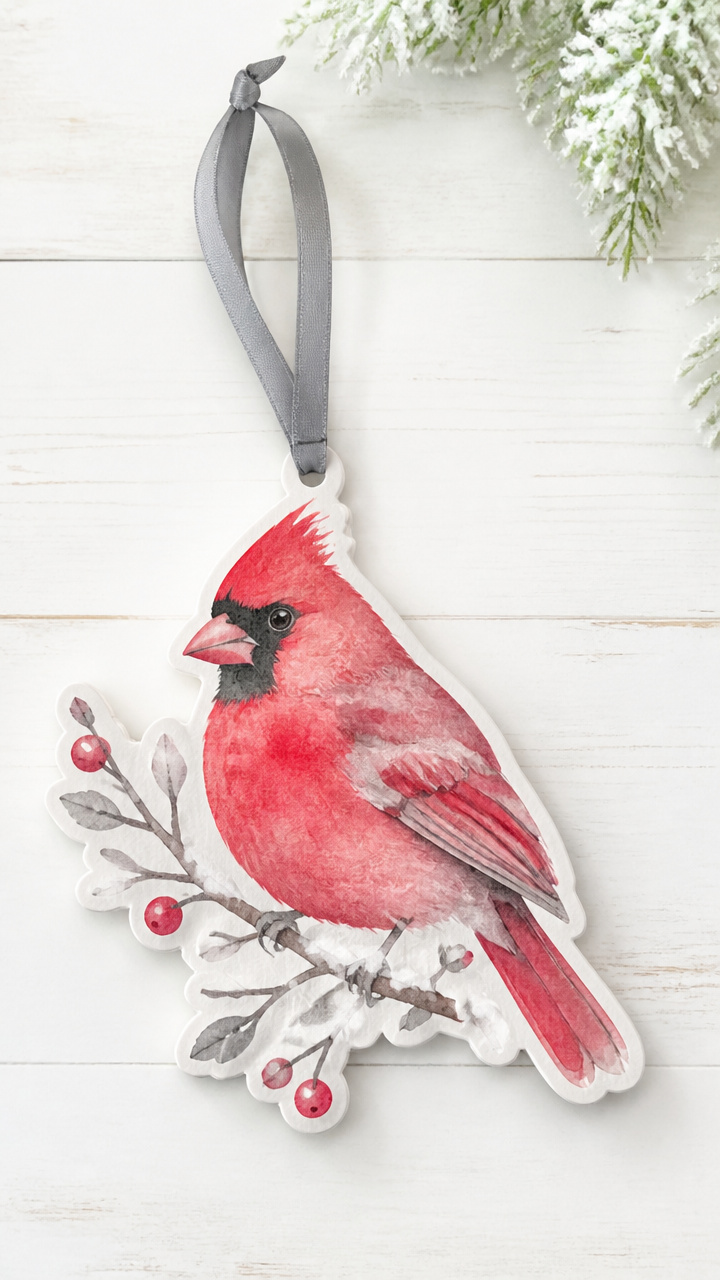
A sharp red bird stands out against snowy branches, its feathers softly shaded by hand. This ornament blends digital precision with gentle artistry.
Materials Needed
- 1 sheet red cardstock
- 1 sheet gray cardstock
- Watercolor pencils (crimson, gray)
- Blending stump
- Cricut Explore Air 2
- Ribbon, 8 inches
How to Make It
- Upload a cardinal silhouette with branch perch and cut from red and gray cardstock using the machine.
- Use crimson watercolor pencil to add feather texture along the wing and tail.
- Blend with the stump for a soft gradient effect.
- Layer the gray branch under the bird and glue together.
- Attach ribbon to the top for hanging.
17. Mini Advent Calendar Book
Advanced
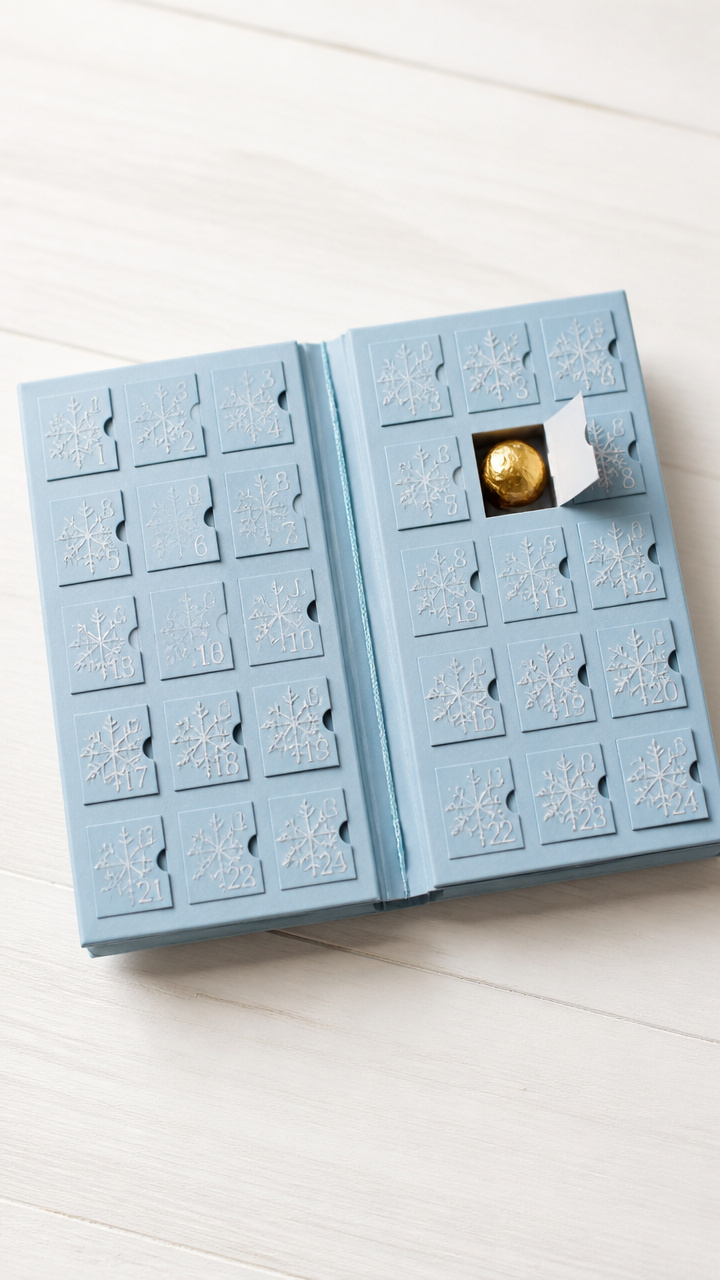
A tiny book with 24 numbered flaps hides treats or notes underneath. This compact calendar fits in a pocket or stocking.
Materials Needed
- 6 sheets pastel blue cardstock
- Cricut Maker
- Bookbinding needle and thread
- Embossing folder, snowflake pattern
- Bone folder
- Mini candy chocolates, 24
How to Make It
- Design a 2-inch square book with 12 pages and 24 number flaps secured by corner folds.
- Cut all pages and flaps from cardstock using the Cricut Maker.
- Run the cover sheet through an embossing folder using the bone folder for pressure.
- Stack pages and sew spine with needle and thread in a pamphlet bind.
- Tuck one chocolate under each flap before closing.
18. Felt-Backed Paper Snowmen
Moderate
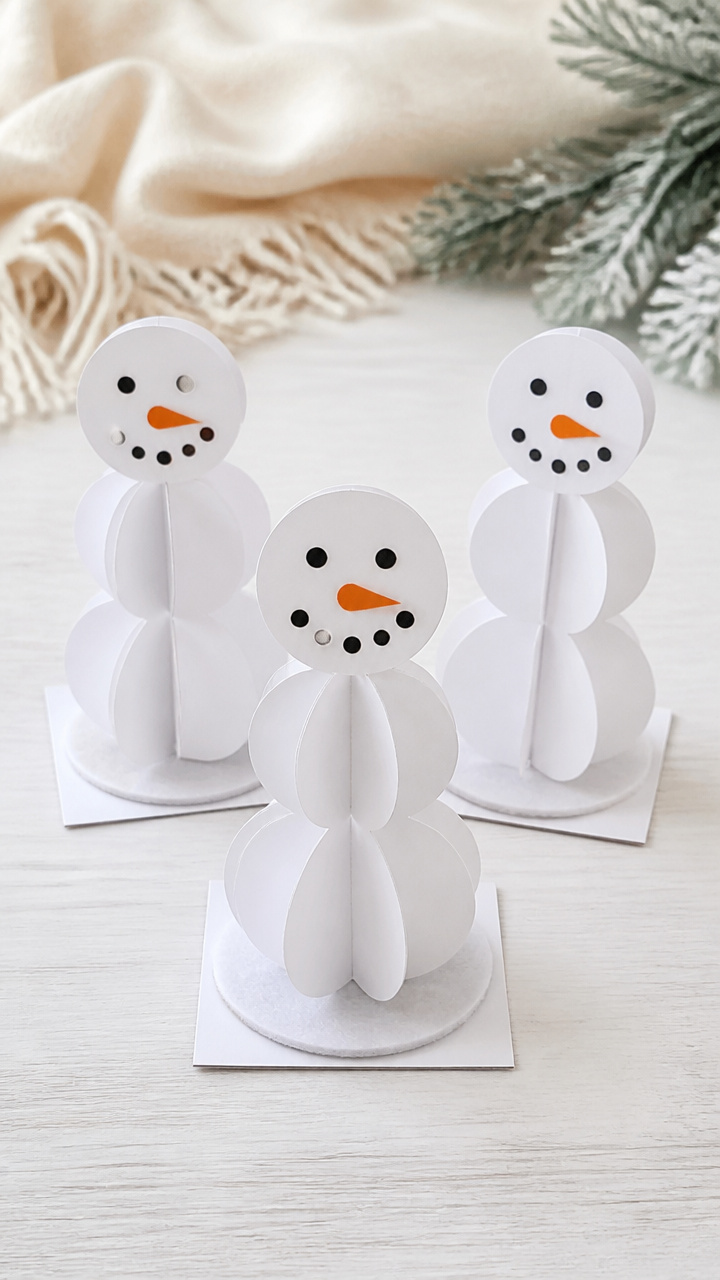
Three carrot-nosed snowmen with coal eyes stand proudly on felt bases. These free-standing figures work as table markers or decor.
Materials Needed
- 2 sheets white cardstock
- 1 sheet orange cardstock
- 1 sheet black cardstock
- Cricut Explore Air 2
- Felt squares, 3 inches, 3 pcs
- Glue dots
How to Make It
- Design three tiered snowman bodies with scarf and hat details and cut from white, orange, and black cardstock.
- Assemble each snowman by stacking circles and attaching facial features with glue dots.
- Cut a small carrot nose from orange and glue below the eyes.
- Attach each completed snowman to a felt square using a large glue dot for stability.
- Place on a dining table or shelf as cheerful accents.
19. Peekaboo Fireplace Cutout
Advanced
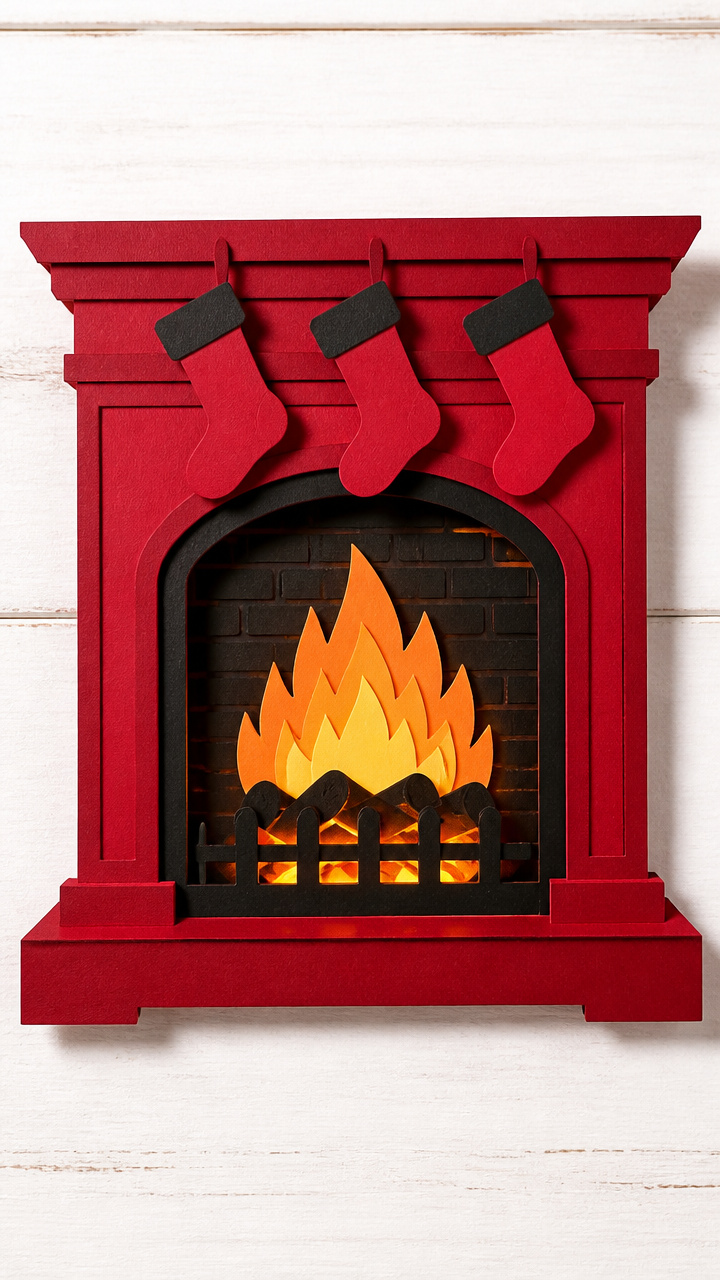
Stockings hang above glowing embers, visible through cleverly layered paper cuts. This wall decoration brings warmth to blank spaces.
Materials Needed
- 1 sheet red cardstock
- 1 sheet black cardstock
- 1 sheet yellow cardstock
- 1 sheet orange cardstock
- Cricut Maker
- Foam adhesive squares
- Command strip
How to Make It
- Create a fireplace outline with arched opening and mantle in Design Space.
- Cut the outer frame from red, logs from black, flames from yellow and orange.
- Layer flame pieces over logs with foam adhesive for floating effect.
- Attach logs inside the arched opening with flat glue.
- Mount the entire piece on the wall using a Command strip.
20. Twisted Paper Snowflakes
Easy
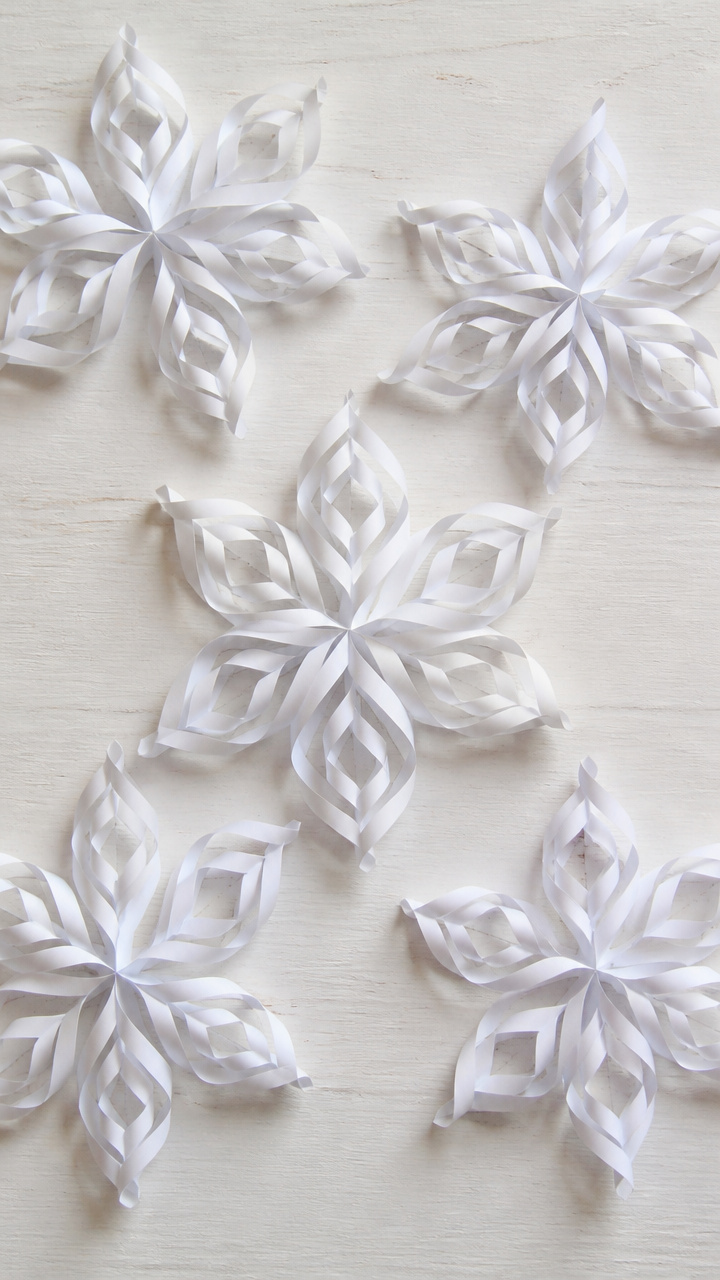
Rolled paper strips spiral into unique snowflake forms with no two alike. These lightweight ornaments flutter gently indoors.
Materials Needed
- 6 sheets white cardstock
- Cricut Explore Air 2
- Glue stick
- Toothpicks
- Clear thread
How to Make It
- Cut 18 thin strips, 1/4 inch wide and 6 inches long, from white cardstock using the Cricut.
- Apply a dab of glue to one end and roll tightly around a toothpick.
- Release the coil and press flat to form a petal shape.
- Repeat for five petals and glue them together at the base in a star pattern.
- Tie clear thread to one point for hanging.
21. Cardstock Sled Decoration
Advanced
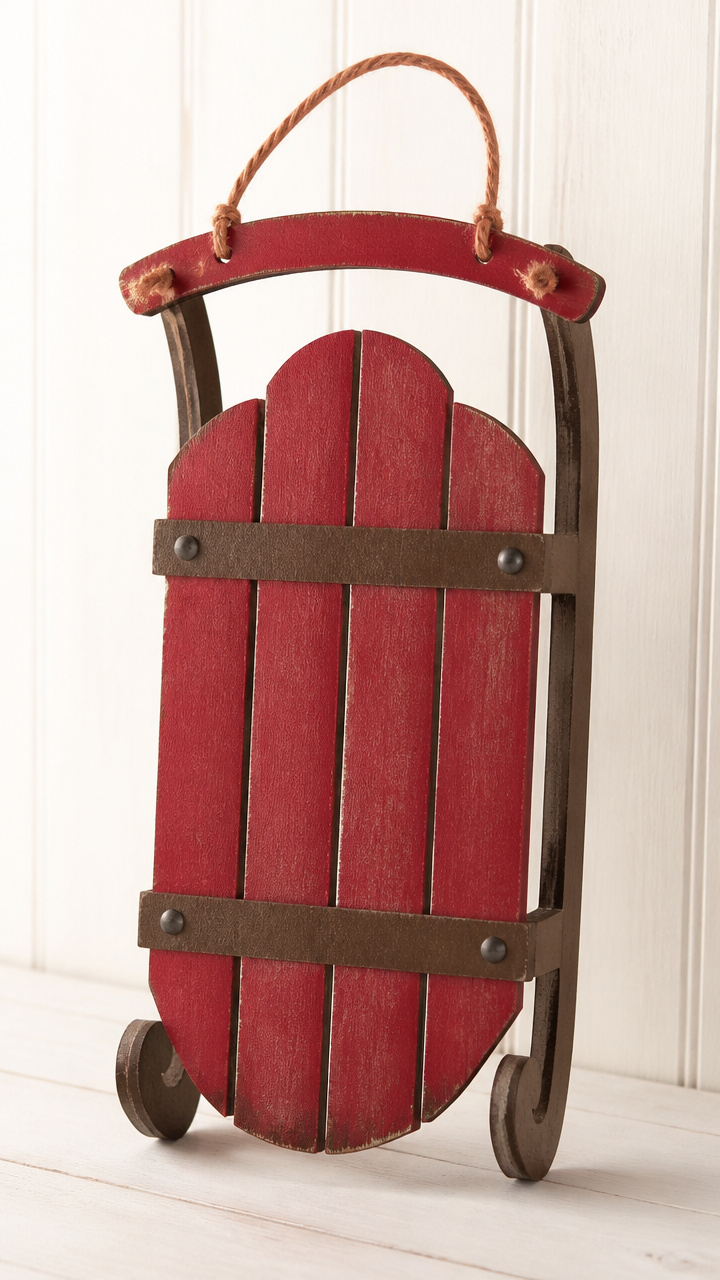
A vintage-style sled with runners and rope handle leans in the corner like a memory of childhood rides. This freestanding piece evokes nostalgia.
Materials Needed
- 1 sheet cherry red cardstock
- 1 sheet brown cardstock
- Cricut Maker
- Scoring stylus
- Hot glue gun
- Jute rope, 12 inches
How to Make It
- Design a sled with curved runners, slats, and side rails in Design Space and scale to 7 inches long.
- Cut all parts from red and brown cardstock using the Cricut Maker.
- Score each slat for slight curvature and bend gently.
- Glue slats between side rails and attach runners at angles with hot glue.
- Tie jute rope around the front rail to form a handle.
22. Layered Aurora Greeting Card
Moderate
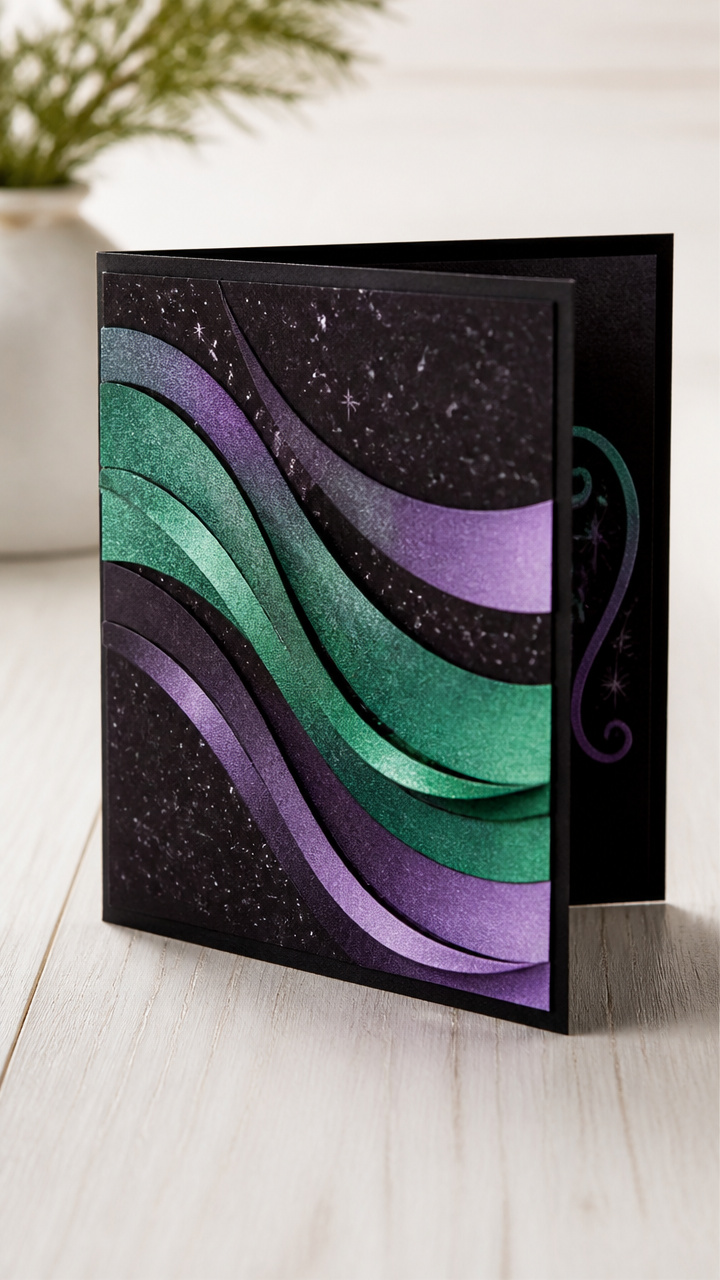
Ribbons of green and violet sweep across a night sky when the card opens. This elegant design impresses with subtle movement.
Materials Needed
- 1 sheet black cardstock
- 1 sheet green shimmer cardstock
- 1 sheet violet shimmer cardstock
- Cricut Joy
- Slider mechanism kit
- Glue dots
How to Make It
- Design two wavy aurora bands and a starry background in Cricut Design Space.
- Cut the bands from shimmer papers and the background from black cardstock using the Cricut Joy.
- Attach the slider mechanism to the card base following kit instructions.
- Glue the green band to the slider tab and the violet band above it.
- Add the starry background to the outside front with glue dots.
23. Penguin Family Place Cards
Easy
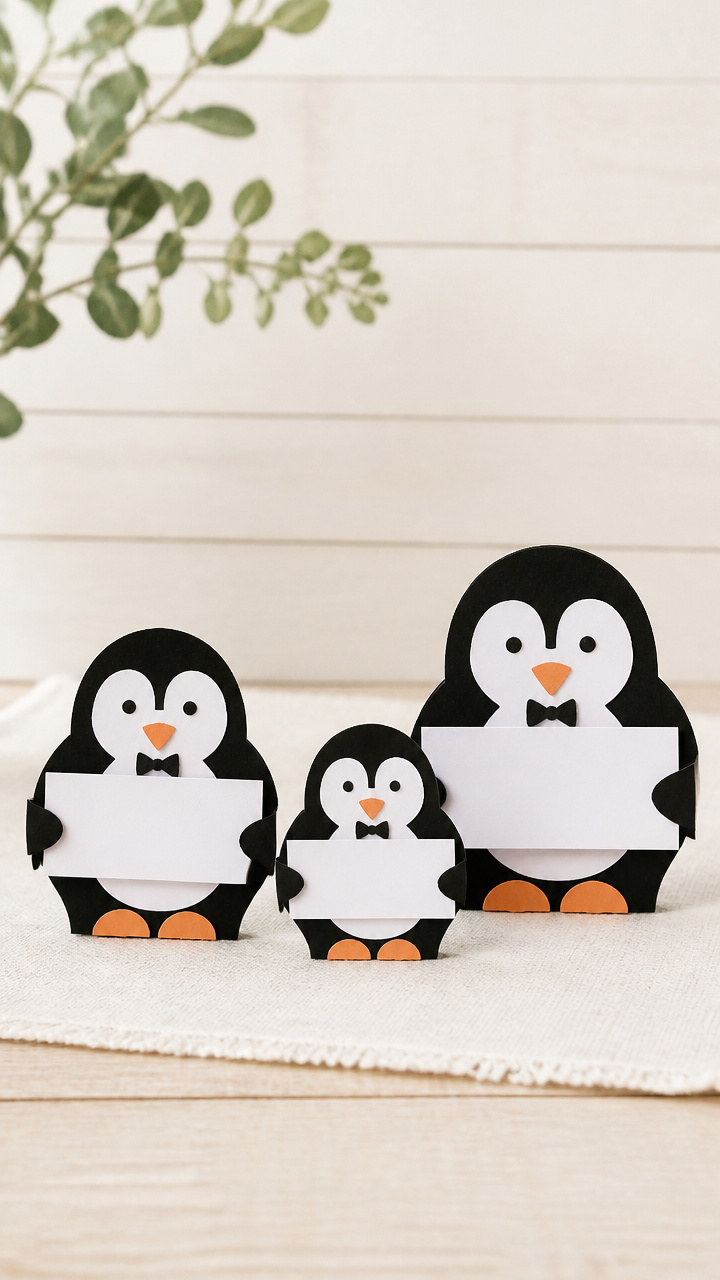
Chubby penguins in tuxedo markings stand at each dinner seat, holding personalized name tags. These place cards charm guests of all ages.
Materials Needed
- 3 sheets black cardstock
- 1 sheet white cardstock
- 1 sheet orange cardstock
- Cricut Explore Air 2
- Name stickers
- Glue dots
How to Make It
- Use a penguin silhouette with belly curve and cut body shapes from black and white cardstock.
- Cut small beaks and feet from orange cardstock using the same machine.
- Attach white bellies to black bodies and add orange parts with glue dots.
- Stick name labels to small white rectangles and fold into stands.
- Place each penguin in front of a plate with its matching name card.
Grab your favorite cardstock and fire up your Cricut. The quiet magic of winter is waiting in every cut and fold.