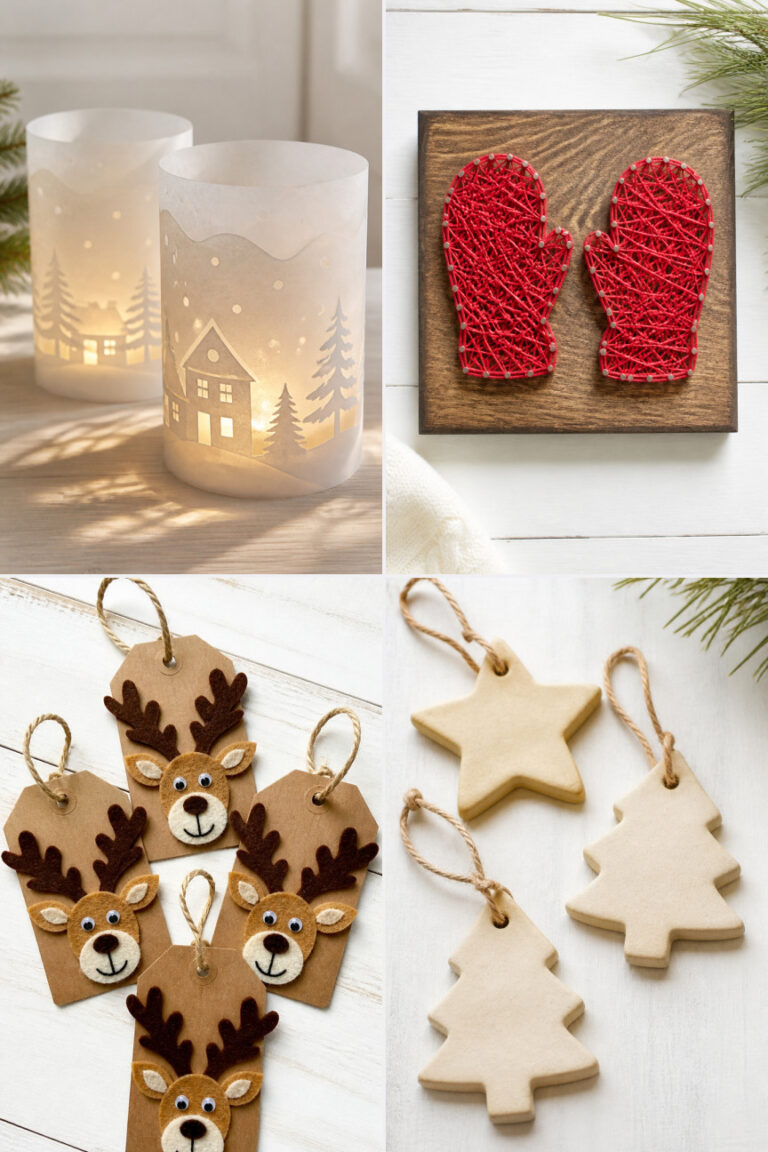
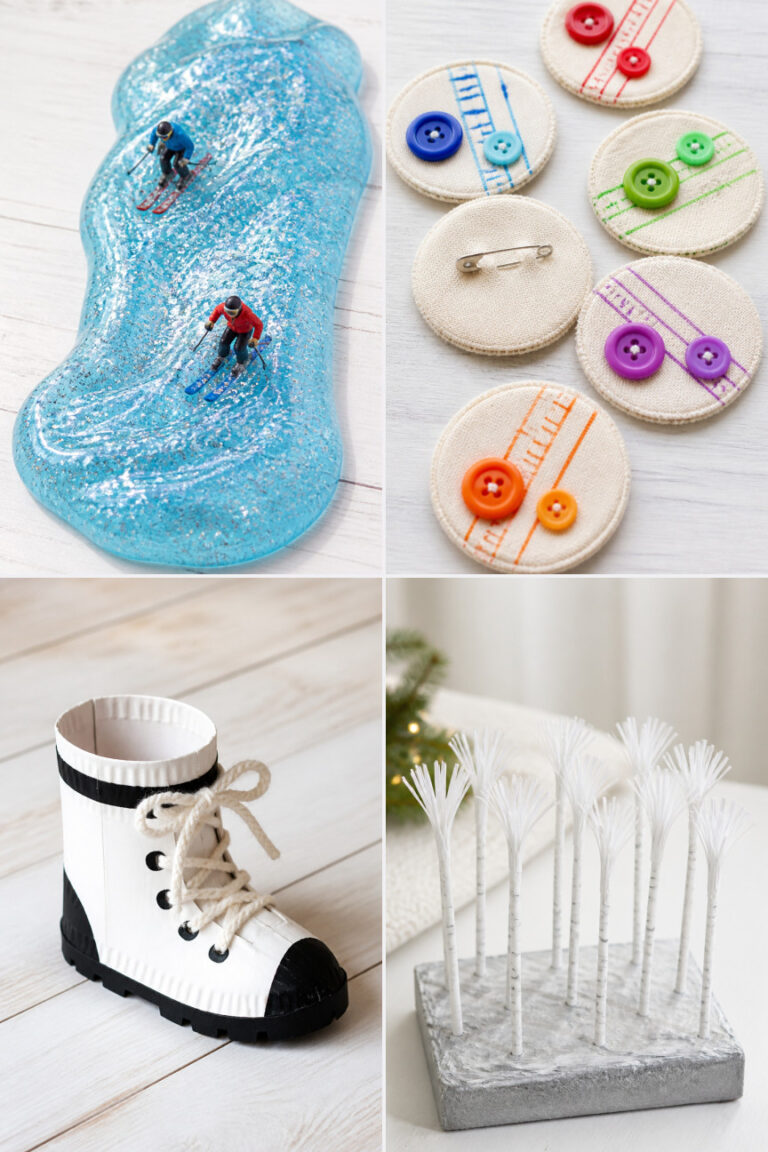
24 Winter Crafts for Two Year Olds

Fuzzy mittens stacked with paint-splattered paper, tiny hands pressing glue where it doesn’t belong, laughter rising like steam from a mug of cocoa, winter crafting with a two-year-old is less about perfection and more about sticky fingers and proud grins.
These crafts meet little ones where they are: full of wonder, short on focus, and endlessly curious. Each one uses simple materials you can keep on hand and delivers a moment of connection, creativity, and calm.
Every project here is designed to be safe, engaging, and just challenging enough to feel rewarding. You’ll find sensory play, fine motor practice, and joyful messes that lead to keepsakes worth saving.
1. Puffy Snowflake Prints
Easy
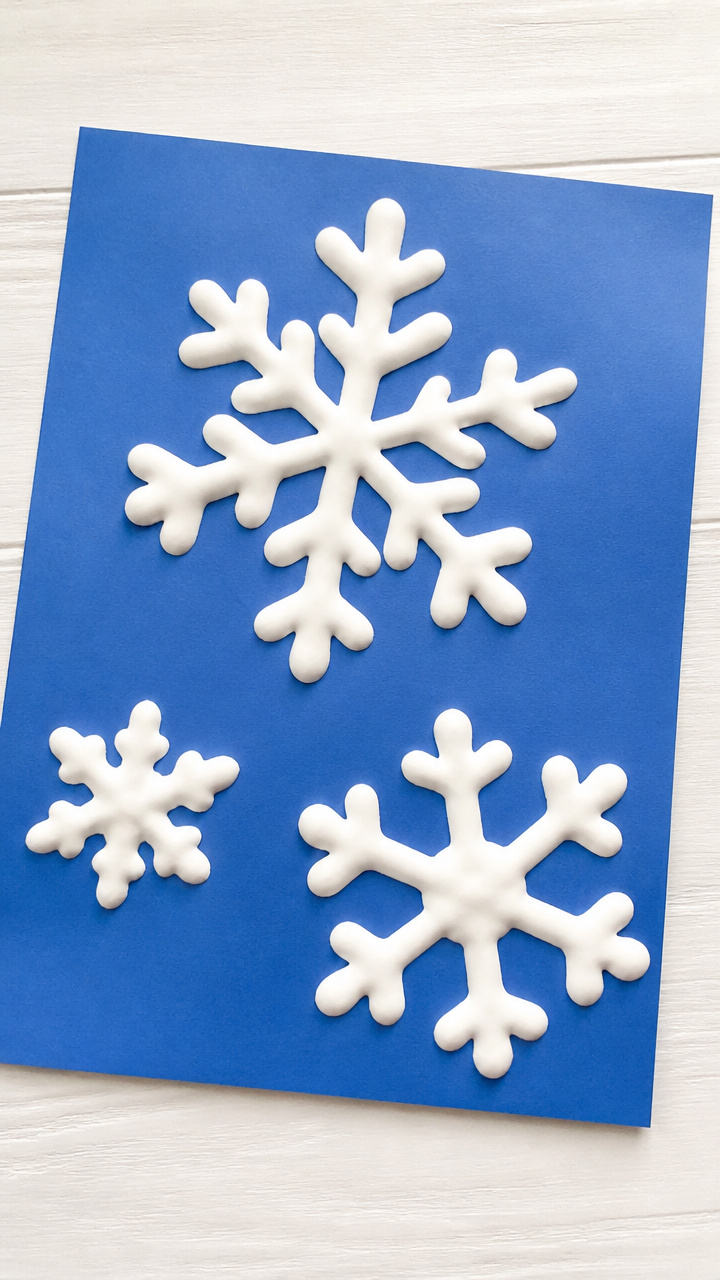
Swirls of puffy paint bloom into soft, dimensional snowflakes that hold light and texture in a way flat art never can.
Materials Needed
- White puffy paint (Elmer's Puffy Paint or similar)
- Blue construction paper (6×9 inches)
- Plastic snowflake cookie cutters (3 different sizes)
- Paper plate
How to Make It
- Pour a tablespoon of puffy paint onto the paper plate.
- Press the back of a snowflake cookie cutter into the paint to coat the surface.
- Press the painted side firmly onto the blue construction paper and lift straight off.
- Repeat with different snowflake shapes and let dry overnight.


2. Cotton Ball Snowmen
Easy
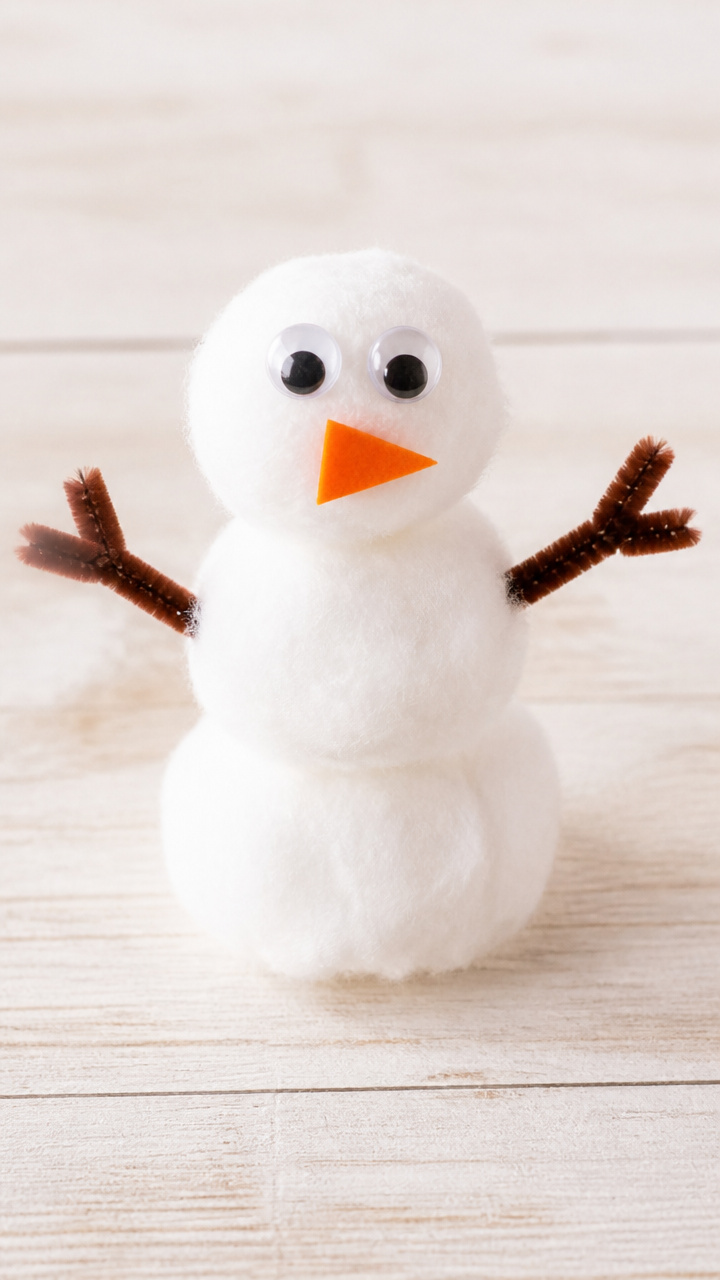
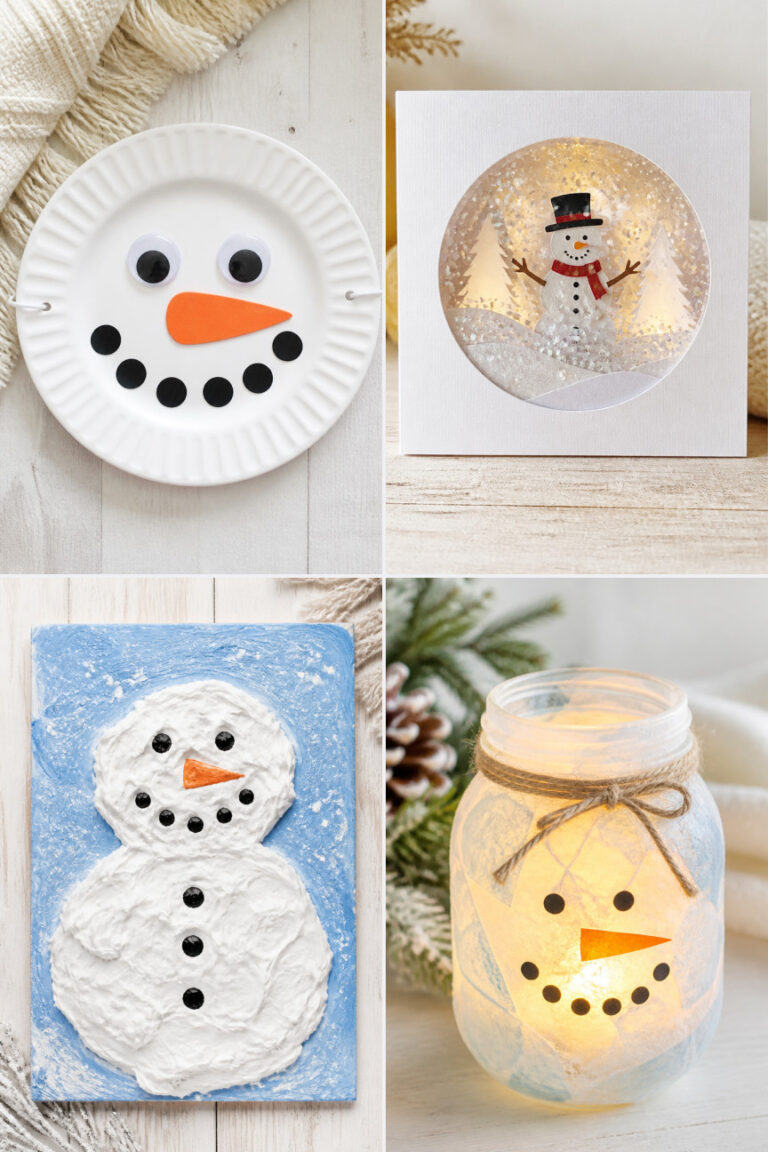
Three fluffy cotton balls stack into a smiling snowman with button eyes and a carrot nose made from craft foam.
Materials Needed
- White cotton balls (6 per child)
- Orange craft foam sheet
- Black buttons (4mm, 2 per snowman)
- Glue stick
- Googly eyes (8mm, 2 per snowman)
- Brown pipe cleaner (half piece per snowman)
- A4 white cardstock
How to Make It
- Draw three large circles on the cardstock using a cup as a guide and place one cotton ball in each circle.
- Glue the cotton balls in a vertical stack on the cardstock.
- Cut a small triangle from orange craft foam for the nose and glue it near the top cotton ball.
- Glue googly eyes above the nose and buttons below for the belly.
- Snip the pipe cleaner into three pieces and glue them as arms on each side of the middle cotton ball.

3. Shaving Cream Marble Paper
Moderate
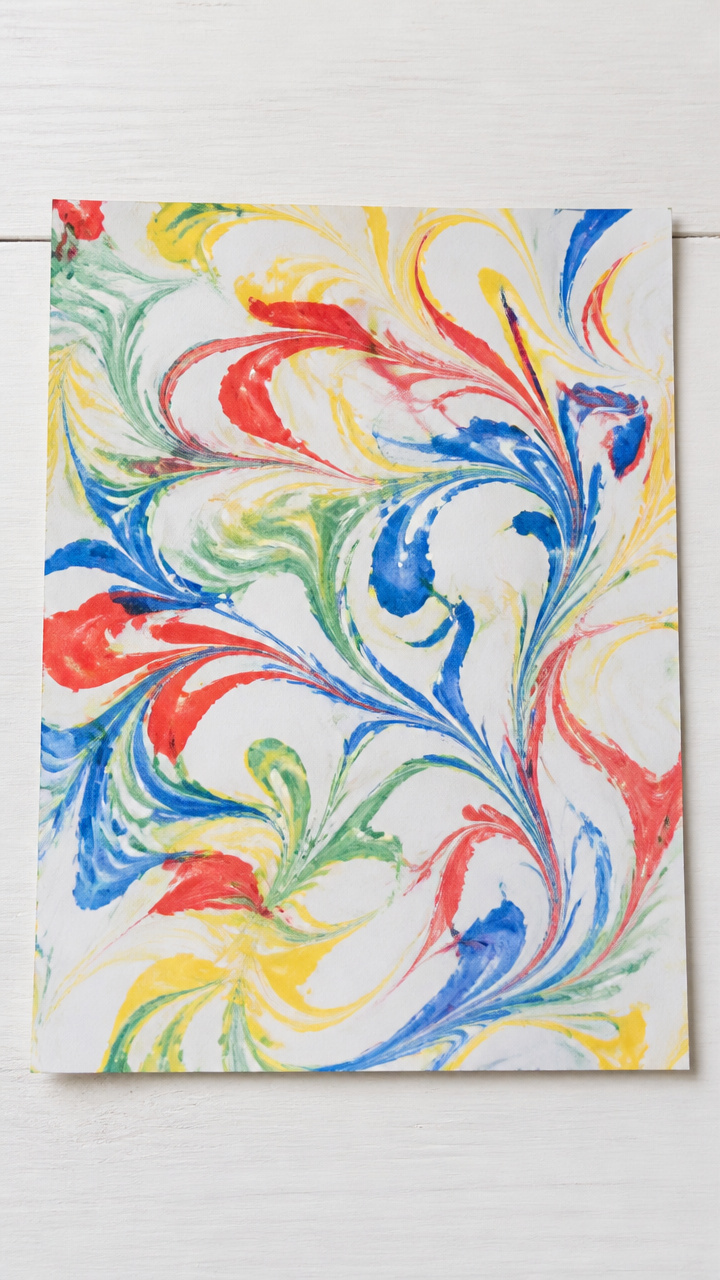
Swirling colors float on a creamy base to create bold, marbled patterns perfect for framing or making cards.
Materials Needed
- White shaving cream (non-gel, 1 cup)
- Food coloring (red, blue, green, yellow, 5 drops each)
- Cardboard tray (9×12 inches)
- Spoon
- A4 white cardstock (2 sheets)
- Popsicle stick
- Spreader or old credit card
- Paper towel
How to Make It
- Spread shaving cream evenly across the cardboard tray to a thickness of about 1 inch.
- Drop 3–4 colors of food coloring randomly onto the surface.
- Drag a popsicle stick through the colors to create swirls and patterns.
- Lay a sheet of cardstock gently over the surface and press down lightly with your palm.
- Slowly lift the paper and scrape excess shaving cream back into the tray with the spreader.
- Blot the surface with paper towel and let dry flat for 2 hours.



4. Yarn-Wrapped Ice Skates
Moderate
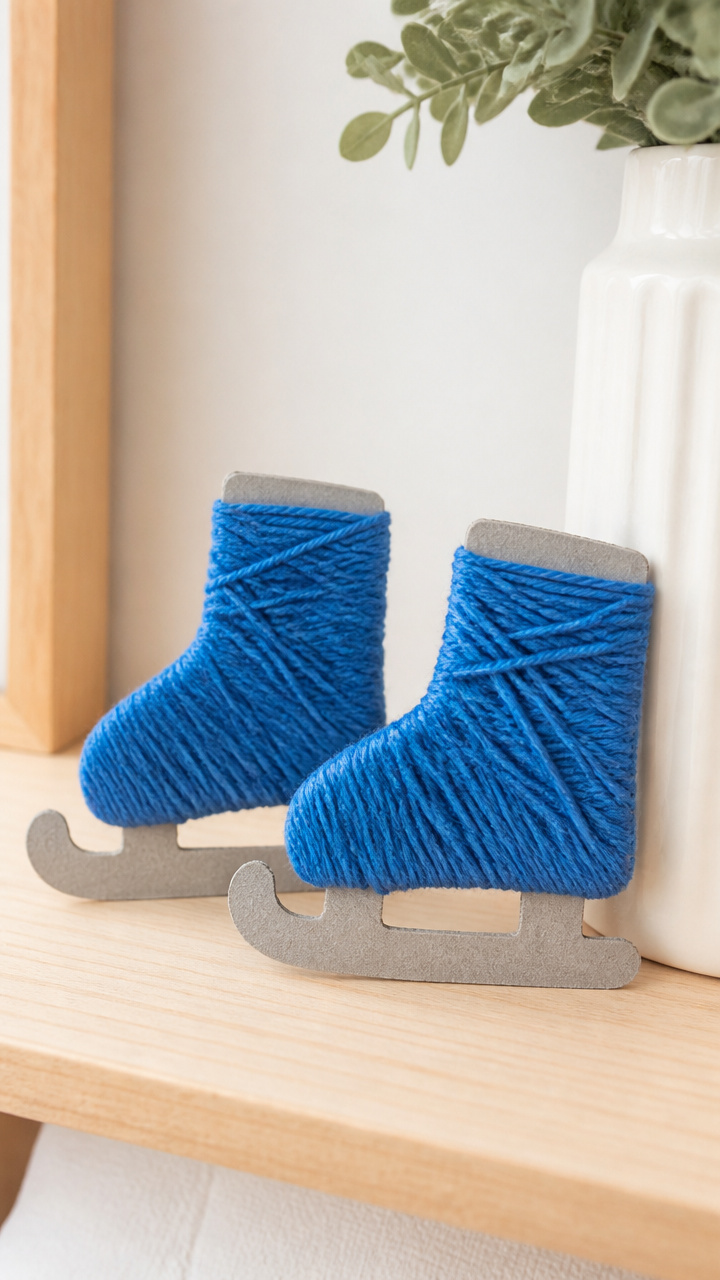
Cardboard ice skates take on cozy texture when wrapped in bright yarn, turning into sweet decorations for a winter shelf.
Materials Needed
- Gray cardstock
- Scissors
- Pencil
- Ruler
- Clear school glue
- Blue yarn (medium weight, 3 feet per skate)
- Black marker
How to Make It
- Draw an ice skate shape measuring 5 inches tall on gray cardstock and cut it out.
- Draw a second identical skate and cut it out.
- Apply a thin line of glue along the outer edge of one skate.
- Wrap the blue yarn tightly around the glued edge, covering the entire perimeter.
- Press the second skate on top to sandwich the yarn ends and let dry for 1 hour.
- Draw laces and a blade with the black marker.

5. Pinecone Bird Feeders
Easy
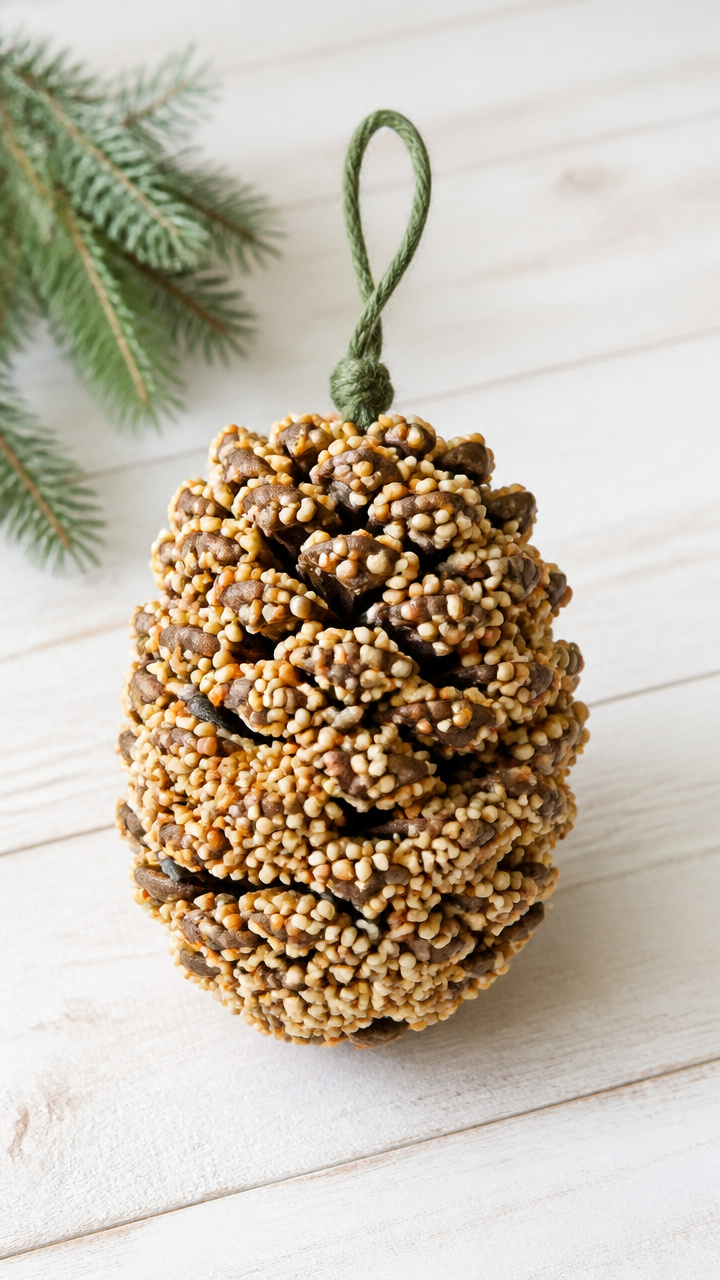
A pinecone heavy with peanut butter and seeds becomes a gift that brings birds fluttering to your window.
Materials Needed
- Large pinecone (1 per child)
- Smooth peanut butter (2 tablespoons)
- Birdseed (1/2 cup)
- Butter knife
- Bowl
- Green yarn (12 inches per feeder)
How to Make It
- Tie a loop of green yarn around the top of the pinecone and knot securely.
- Spread peanut butter into the crevices of the pinecone using the butter knife.
- Pour birdseed into the bowl and roll the pinecone in it until fully coated.
- Let dry on wax paper for 1 hour before hanging outside.


6. Salt Dough Ornaments
Moderate
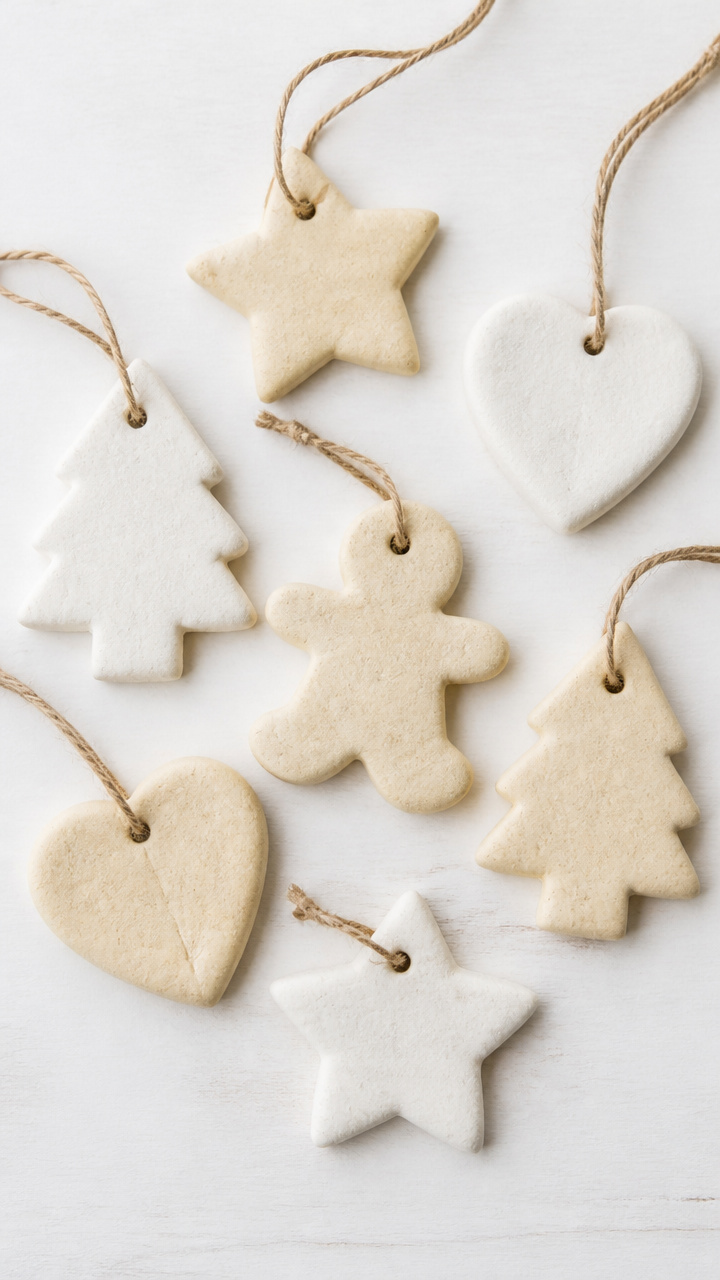
Simple dough shaped by tiny fingers bakes into keepsake ornaments ready to hang year after year.
Materials Needed
- All-purpose flour (1 cup)
- Table salt (1/2 cup)
- Water (1/2 cup)
- Mixing bowl
- Rolling pin
- Straw
- Cookie cutters (snowman, star, mitten shapes)
- Baking sheet
- Parchment paper
- Oven
- Red ribbon (6 inches per ornament)
How to Make It
- Mix flour, salt, and water in a bowl until a smooth dough forms.
- Roll the dough to 1/4-inch thickness on a floured surface.
- Cut shapes using cookie cutters and poke a hole at the top with a straw.
- Place on a parchment-lined baking sheet and bake at 200°F for 3 hours.
- Cool completely, then thread ribbon through the hole.


7. Glitter Jar Snow Globes
Easy
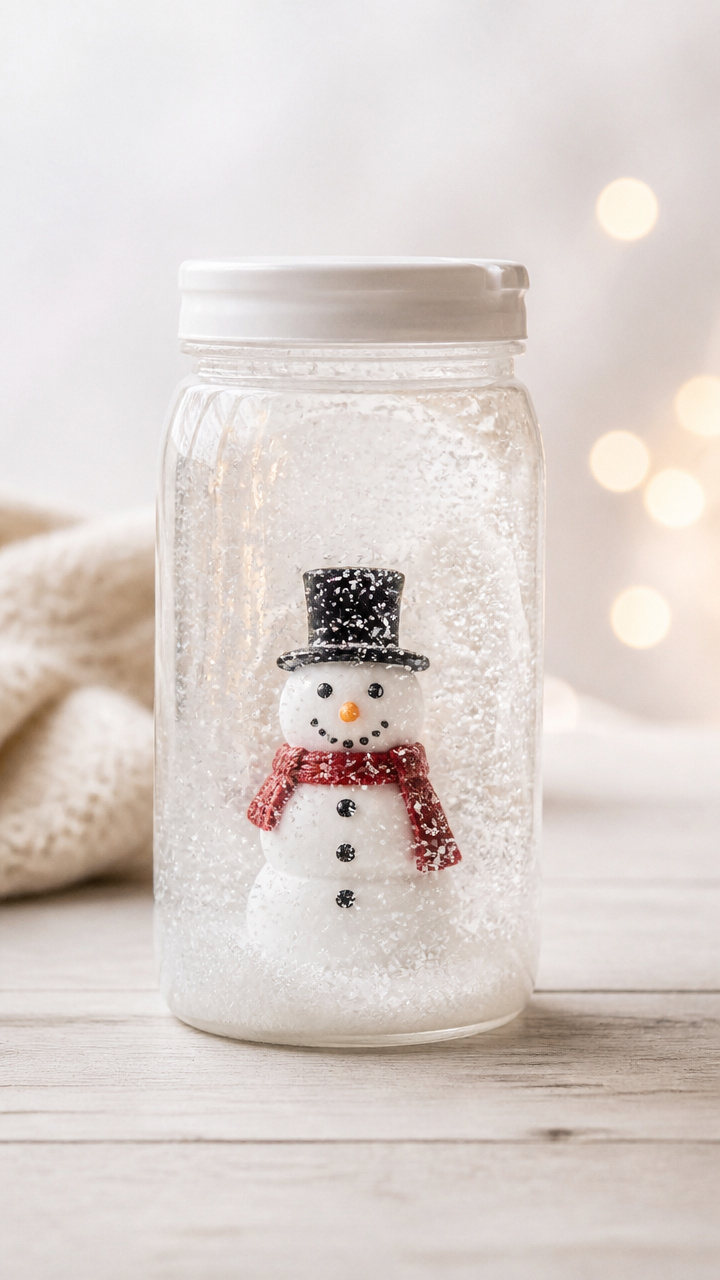
A swirling storm of glitter settles slowly in a jar, creating a calming sensory tool for active moments.
Materials Needed
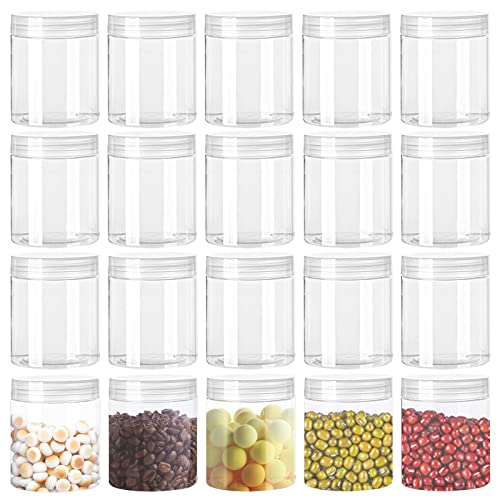
- Clear plastic jar with lid (4 oz, like a baby food jar)
- Distilled water (3 oz)
- Clear school glue (1 oz)
- Fine white glitter
- Miniature plastic snowman (1 per jar)
- Hot glue gun
- Funnel
How to Make It
- Use hot glue to attach the mini snowman to the inside of the jar lid and let cool for 2 minutes.
- Fill the jar with distilled water using the funnel.
- Add glue and 1 teaspoon of glitter, then screw the lid on tightly.
- Shake vigorously and watch the glitter swirl and settle.


8. Mitten Handprint Art
Easy
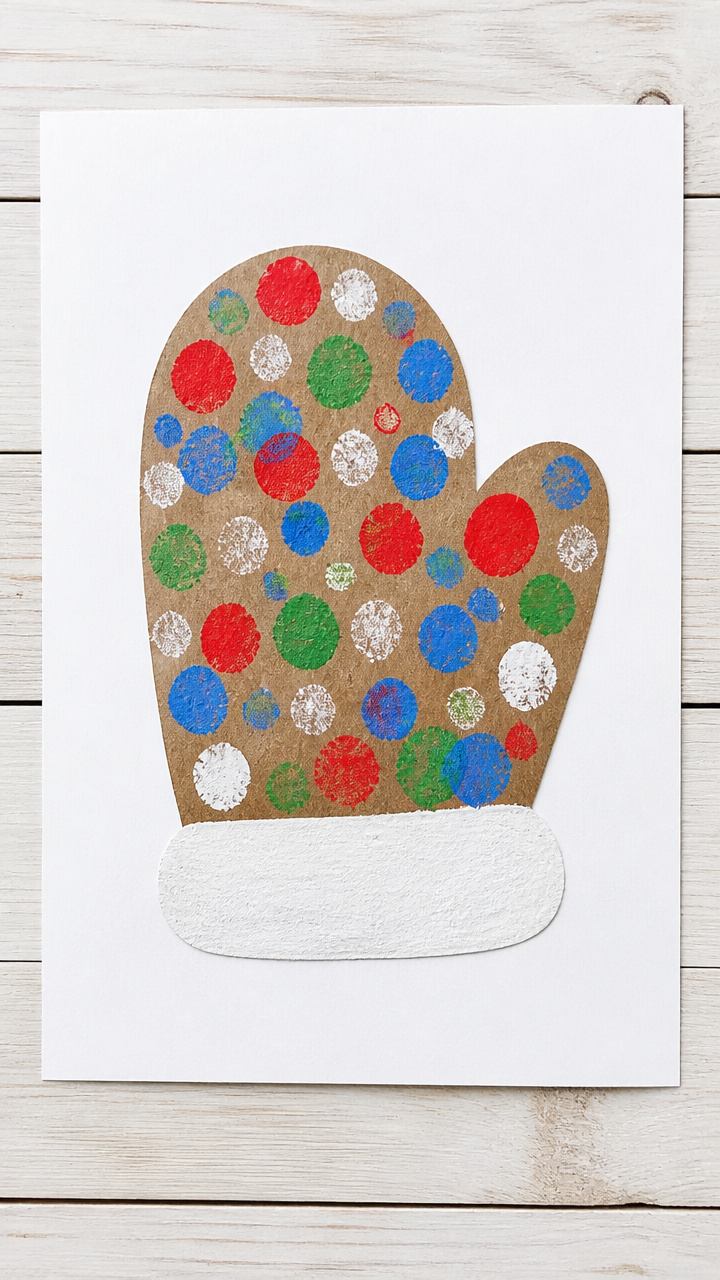
A traced hand becomes a cozy mitten filled with colorful fingerprints in wintery shades.
Materials Needed
- Brown washable paint
- Red, green, and blue washable paint (each 1 tablespoon)
- White A4 cardstock
- Paintbrush
- Paper plate
- Cup
- Black marker
How to Make It
- Trace your child’s hand on white cardstock with the fingers together and thumb out to the side.
- Cut out the hand shape.
- Dip fingertips into colored paints and press each finger onto the hand outline to fill it like a mitten.
- Let dry for 20 minutes, then draw a cuff at the wrist with the black marker.


9. Toilet Paper Roll Penguins
Easy
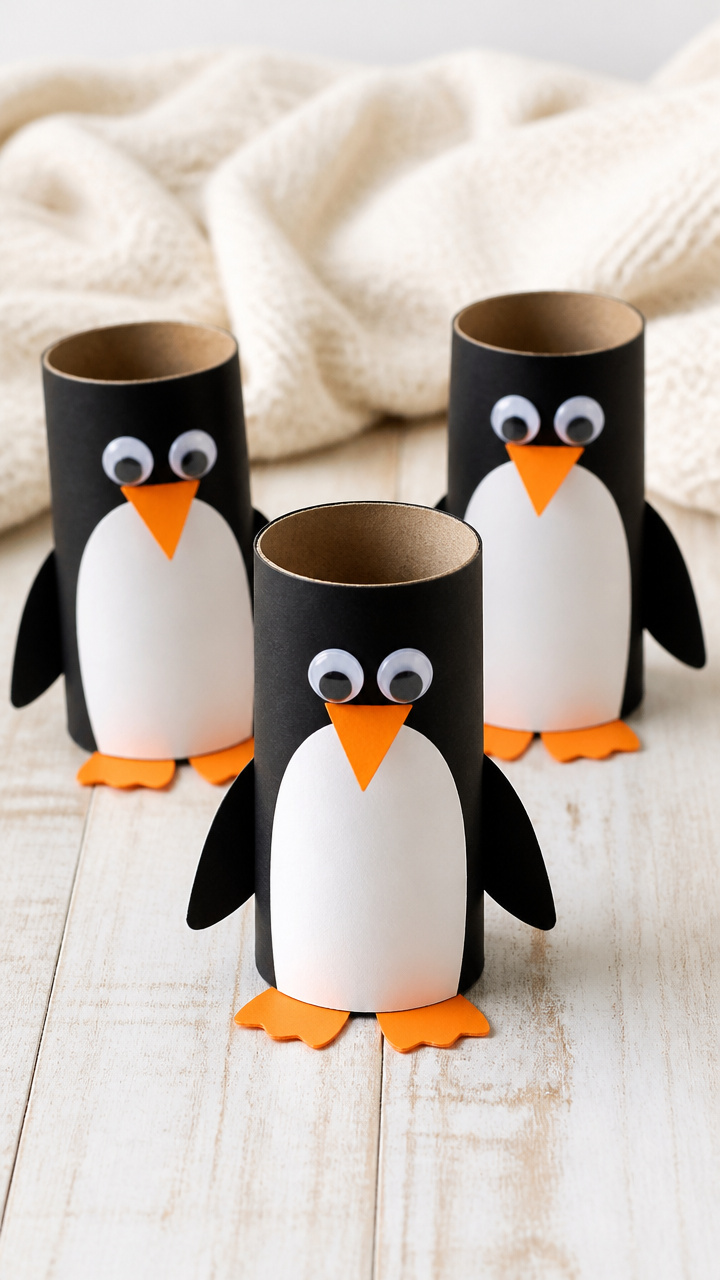
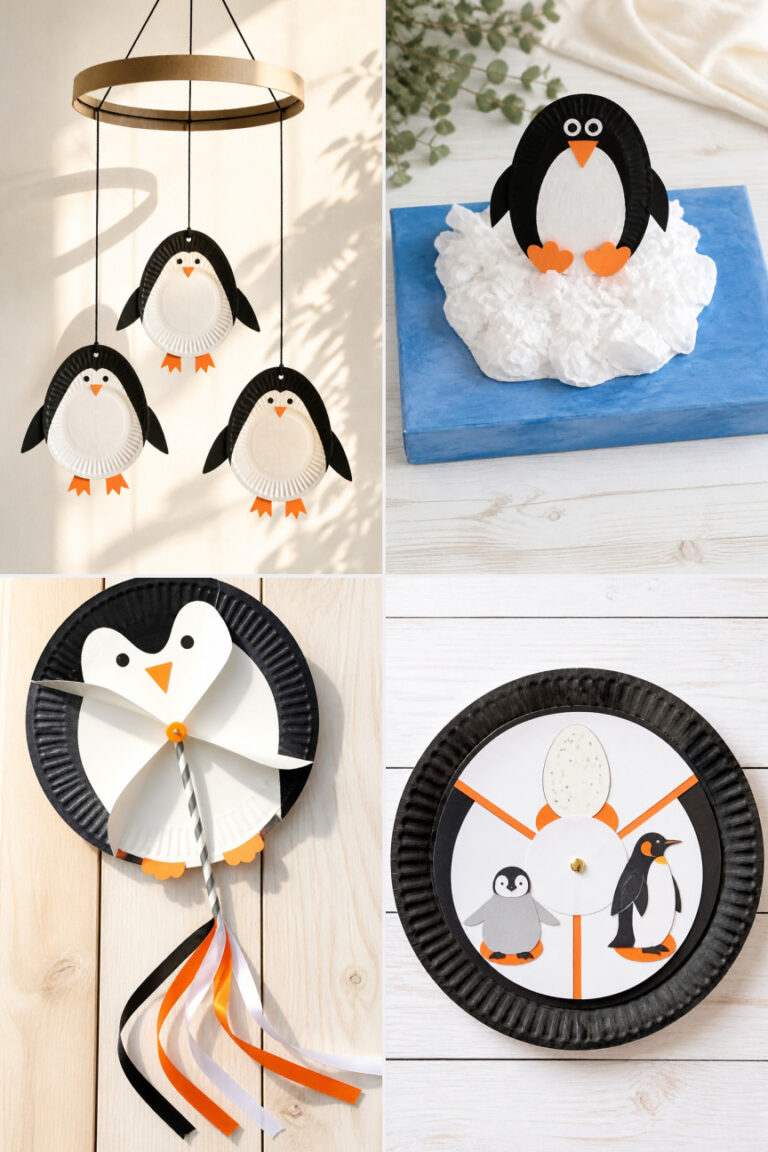
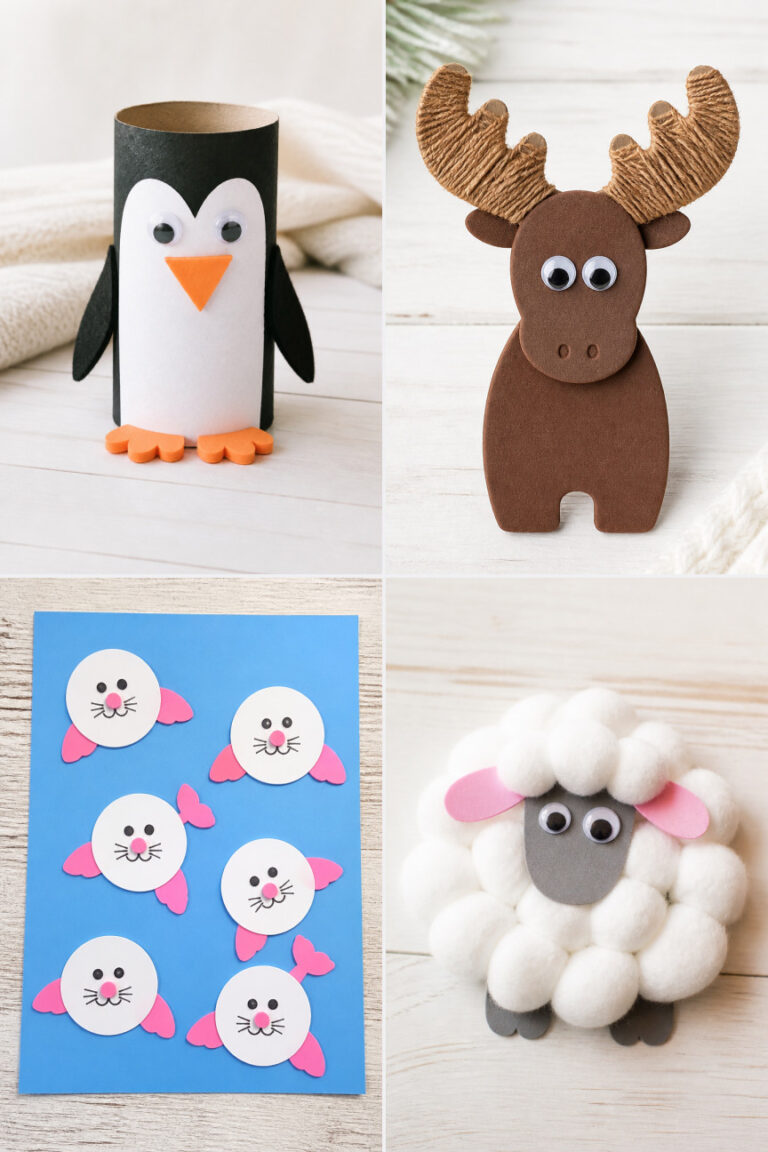
Empty toilet paper rolls wear black-and-white feathers and waddle proudly across the shelf.
Materials Needed
- Toilet paper roll (1 per penguin)
- Black and white construction paper
- Orange craft foam
- Glue stick
- Googly eyes (10mm, 2 per penguin)
- Scissors
- Pencil
How to Make It
- Cut a half-circle from black construction paper and wrap it around the toilet paper roll to form a tuxedo, gluing the seam.
- Cut a white oval from white paper and glue it to the front of the roll.
- Cut a small triangle from orange foam for the beak and glue it between the eyes.
- Glue googly eyes above the beak.


10. Snowy Sensory Bottle
Easy
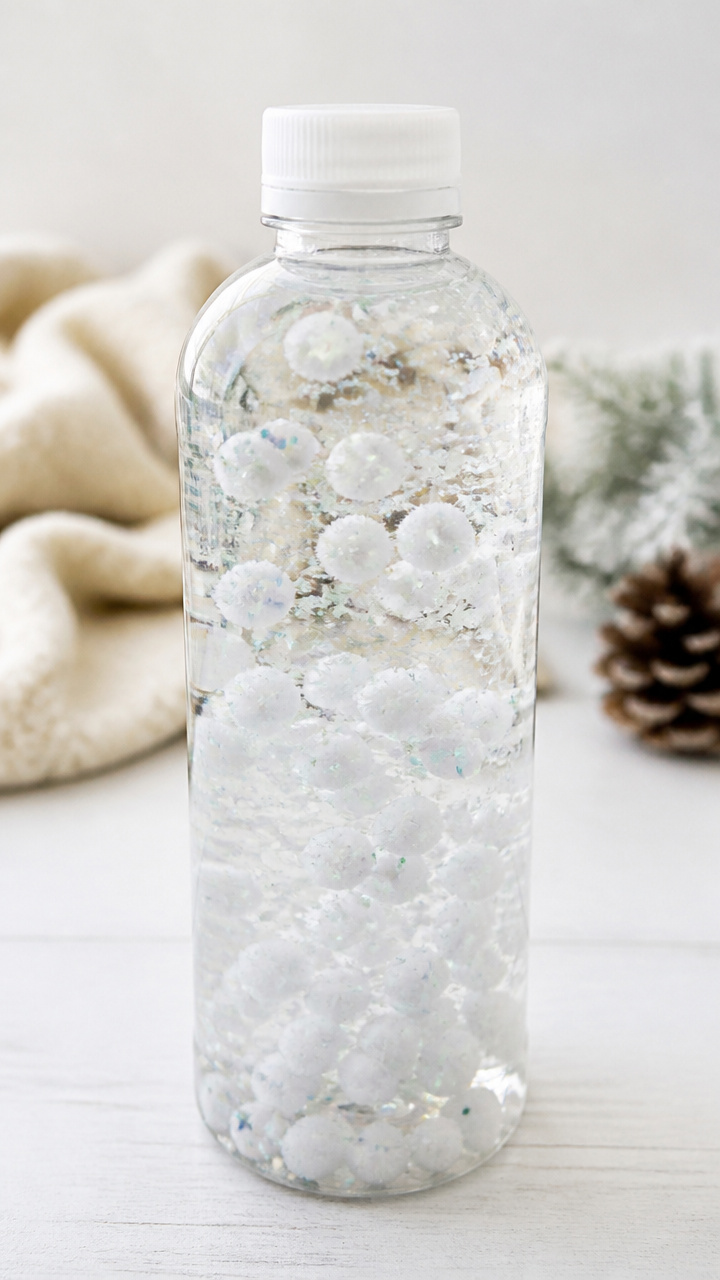
White pom-poms bounce and drift in a clear bottle filled with iridescent beads and fake snow.
Materials Needed
- Clear plastic bottle with screw-top (16 oz)
- White pom-poms (10, 1/2 inch)
- Iridescent loose beads (2 tablespoons)
- Fake snow powder (1 teaspoon)
- Warm water (14 oz)
- Funnel
- Super glue
How to Make It
- Use the funnel to add pom-poms, beads, and fake snow powder into the bottle.
- Fill the rest of the bottle with warm water.
- Screw the cap on tightly and seal the thread with super glue to prevent opening.
- Turn the bottle upside down and watch the contents tumble slowly.


11. Button Mitten Matching
Easy
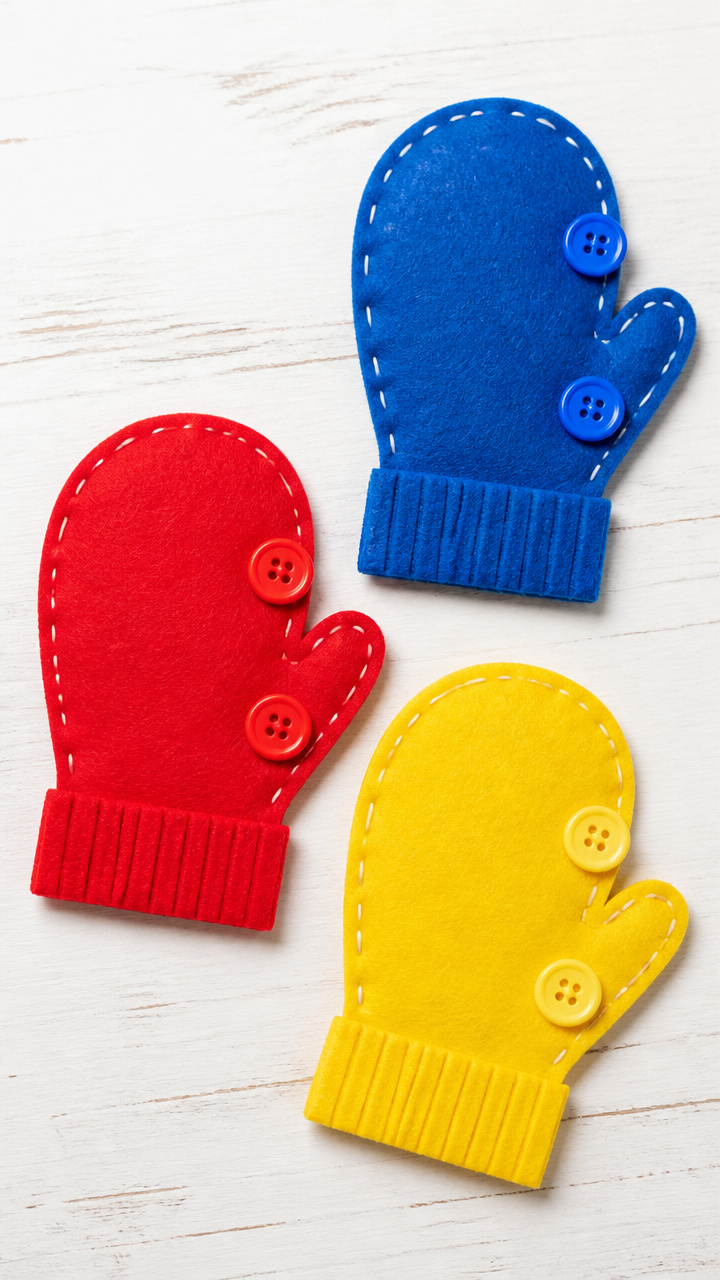
Colorful mittens lined with matching buttons build sorting skills and brighten up a quiet afternoon.
Materials Needed
- Red, blue, and yellow felt sheets
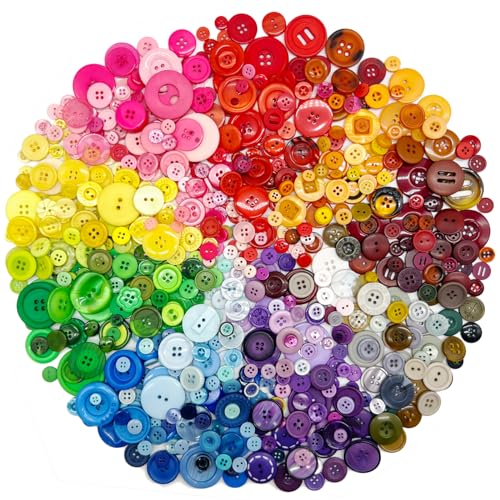
- Assorted buttons (12 total, 2 per color pair)
- Scissors
- Fabric glue
- Pencil
How to Make It
- Draw two mitten shapes (3 inches tall) on each felt color and cut them out.
- Glue one mitten of each color to a flat surface to serve as bases.
- Sort buttons by color and place matching pairs beside their mitten.
- Let your child glue each button onto the matching mitten.


12. Crayon Melts Winter Scene
Advanced
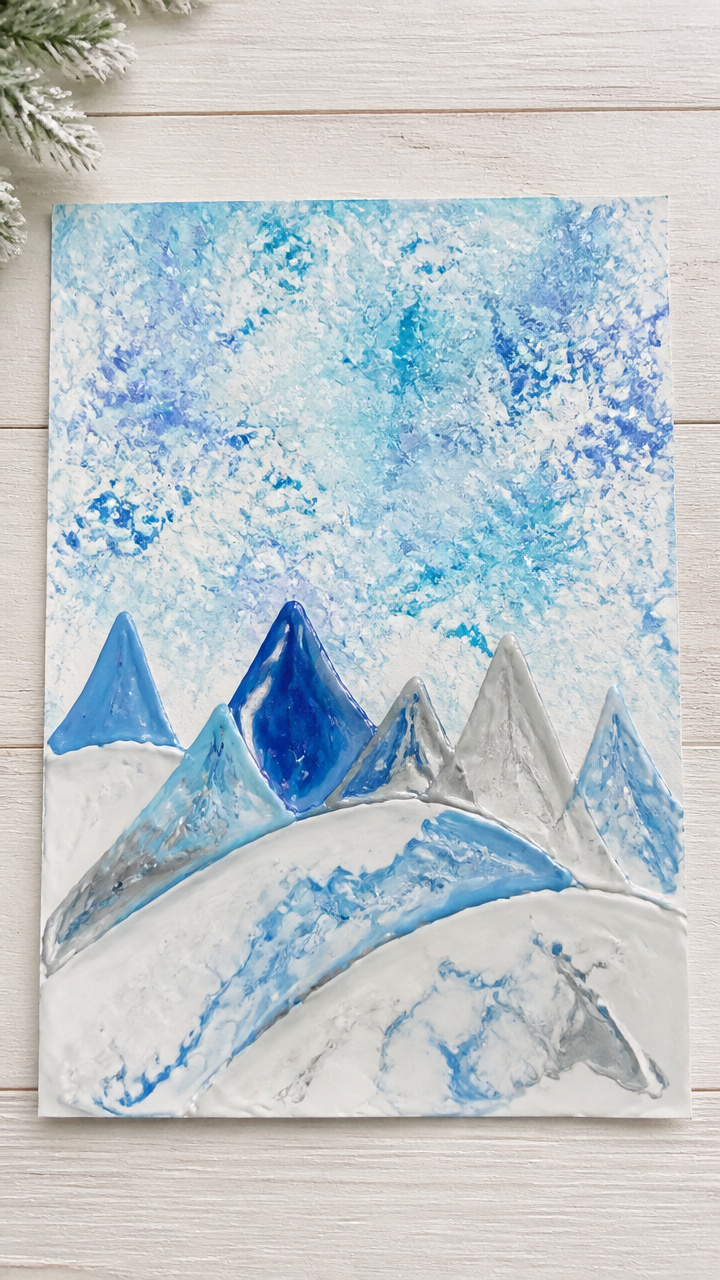
Shaved crayons melt into snowy hills and icy skies when heat pulls color across paper.
Materials Needed
- White A4 cardstock
- Blue, white, and gray crayons
- Vegetable peeler
- Hair dryer
- Aluminum foil
- Clothespins
How to Make It
- Peel shavings from crayons and pile them along the bottom edge of the cardstock.
- Clip the top of the paper to a clothespin attached to a box lined with foil.
- Point the hair dryer at the crayon pile from 6 inches away and run it on high heat for 1 minute.
- Let the melted wax drip upward slightly to mimic wind-blown snow and cool for 10 minutes.


13. Sticker Window Frosting
Easy
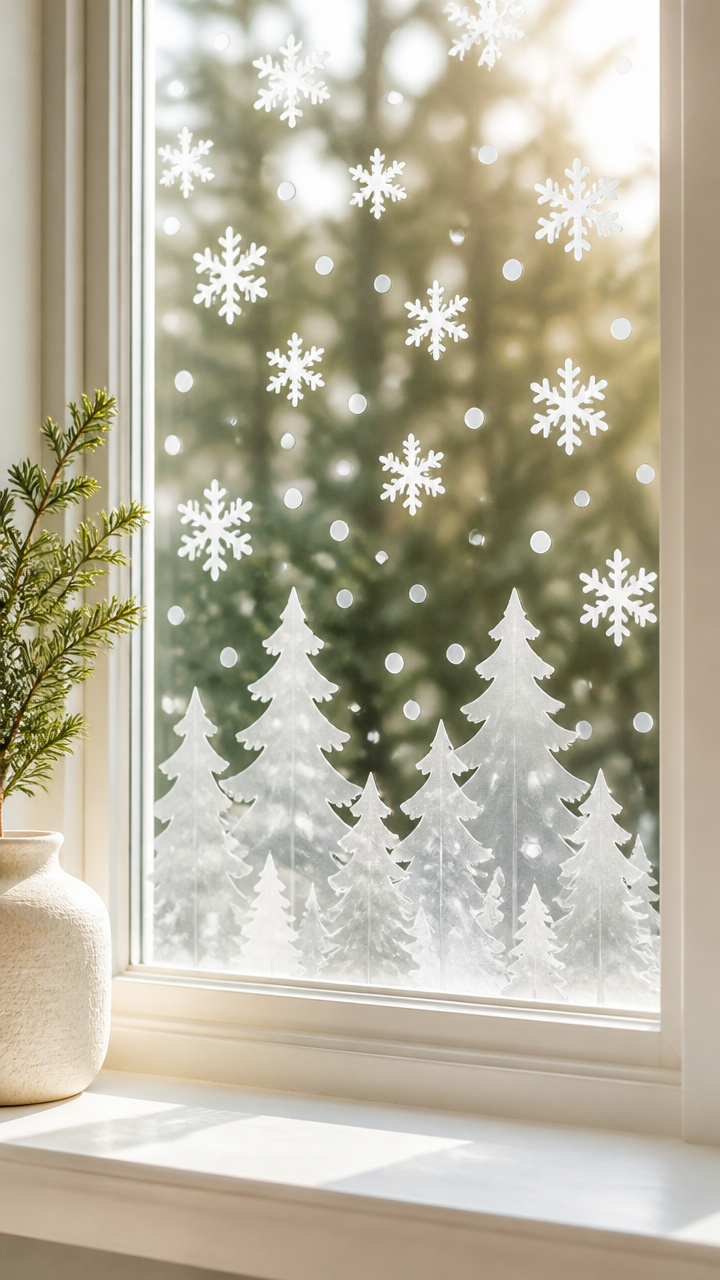
Peeling stickers reveals frosty silhouettes on glass, turning any window into a winter forest.
Materials Needed
- White vinyl sticker dots (1 inch, 12 per window)
- Snowflake die-cut stickers (3 per window)
- Spray bottle
- Water
- Sponge
How to Make It
- Spray the window with water and wipe with a sponge to clean.
- Press sticker dots and snowflakes randomly onto the damp window.
- Let dry completely for 1 hour, leaving behind frosted shapes where stickers covered the glass.


14. Felt Snowflake Stacking
Easy
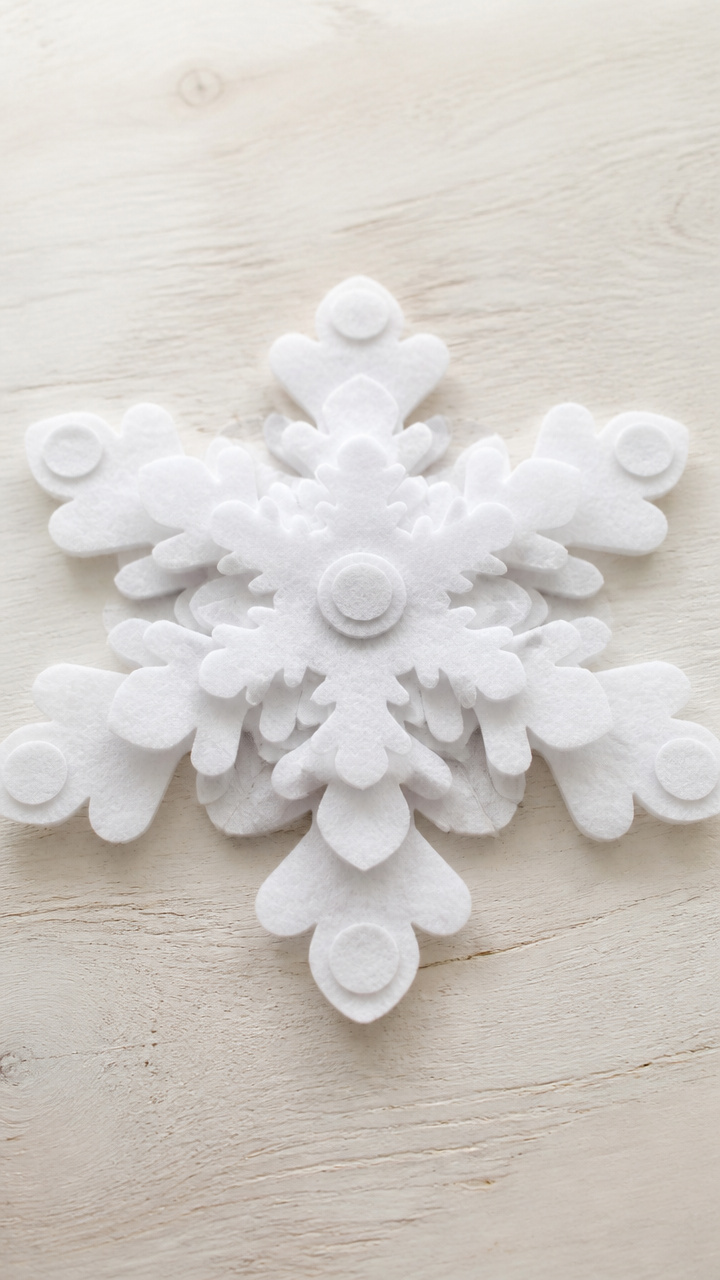
Interlocking felt snowflakes click together with hook-and-loop dots, building fine motor control and pattern sense.
Materials Needed
- White felt sheet
- Scissors
- Hook-and-loop dots (self-adhesive, 12 pairs)
- Pencil
- Snowflake template (printed)
How to Make It
- Trace six snowflakes from the template onto the felt and cut them out.
- Stick one side of a hook-and-loop dot on the center of each snowflake.
- Place the matching side on the back of another to allow stacking.
- Let your child build towers or chains of snowflakes.


15. Pom-Pom Ice Cube Tray Sort
Easy
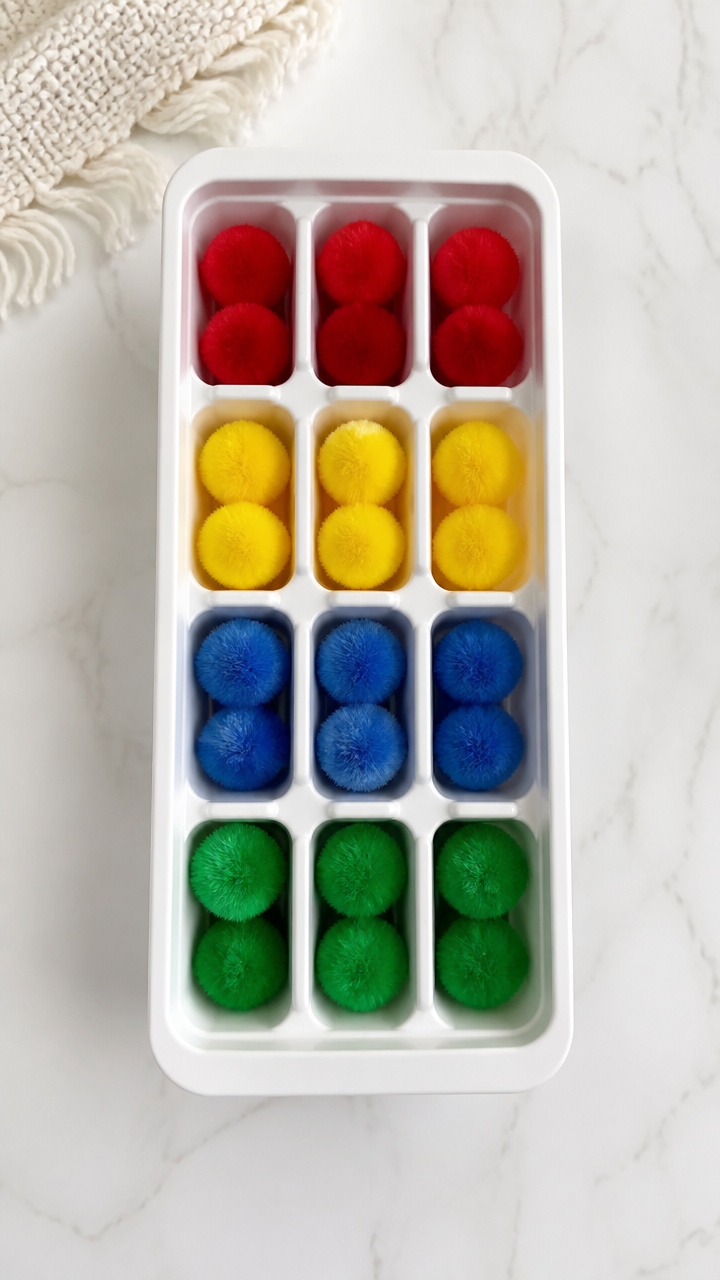
Bright pom-poms dropped into ice cube tray slots teach colors and counting with satisfying snaps.
Materials Needed
- Ice cube tray (12-slot)
- Red, yellow, blue, and green pom-poms (3 of each color)
- Small bowl
How to Make It
- Place all pom-poms in the bowl.
- Name each color as your child picks one and drops it into a slot.
- Repeat until all colors are sorted and each slot holds one pom-pom.


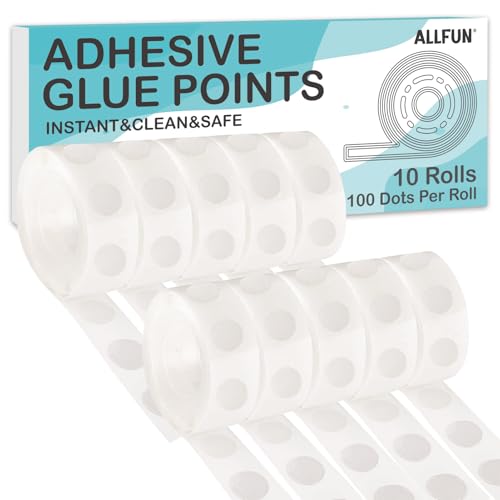
16. Glue Dot Snowmen
Easy
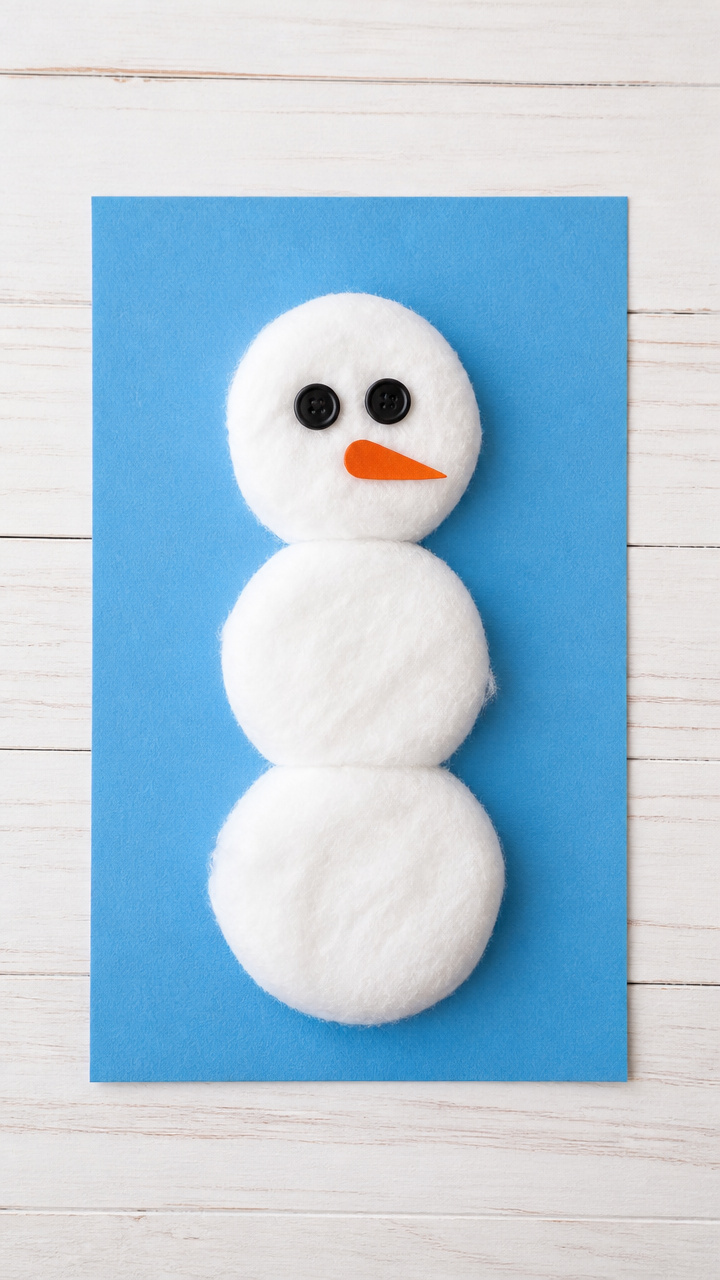
Pre-made glue dots hold cotton balls and buttons in place without mess, perfect for quick crafting sessions.
Materials Needed
- Double-sided glue dots (12 mm, 3 per snowman)
- White cotton balls (3 per snowman)
- Black buttons (4mm, 2 per snowman)
- Orange craft foam
- Scissors
- A4 blue cardstock
How to Make It
- Peel a glue dot and press a cotton ball onto it, then stick it to the cardstock.
- Repeat with two more cotton balls, stacking them vertically.
- Cut a small triangle from orange foam for the nose and stick it with a glue dot.
- Press buttons above the nose for eyes.


17. Tissue Paper Snow Windows
Easy
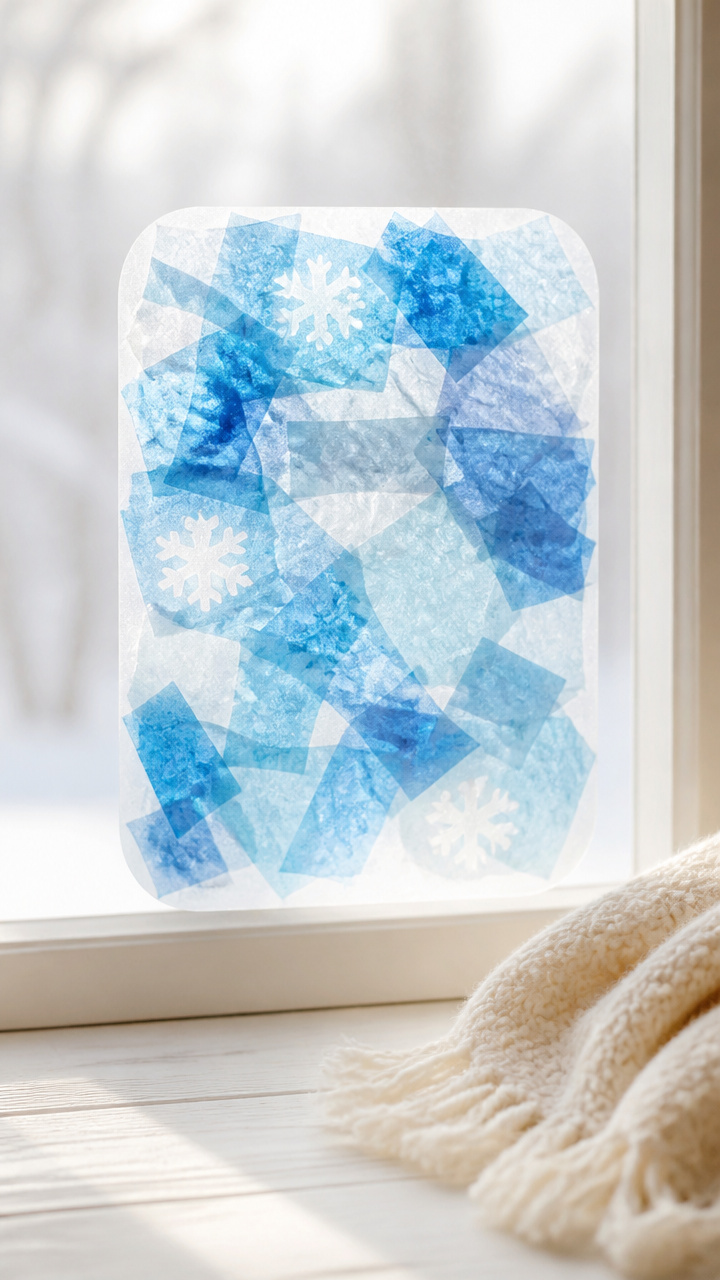
Layered tissue squares crinkle into frosted panes that catch the light like real winter windows.
Materials Needed
- Clear contact paper (12×12 inches)
- Blue and white tissue paper (6 squares each, 2×2 inches)
- Scissors
- Rolling pin
How to Make It
- Peel the backing off the contact paper and lay it sticky-side up on a table.
- Let your child arrange tissue squares in overlapping layers on the sticky surface.
- Cover with a second sheet of contact paper or press a second sticky side over the top.
- Roll gently with the rolling pin to smooth and seal.


18. Q-Tip Tree Painting
Easy
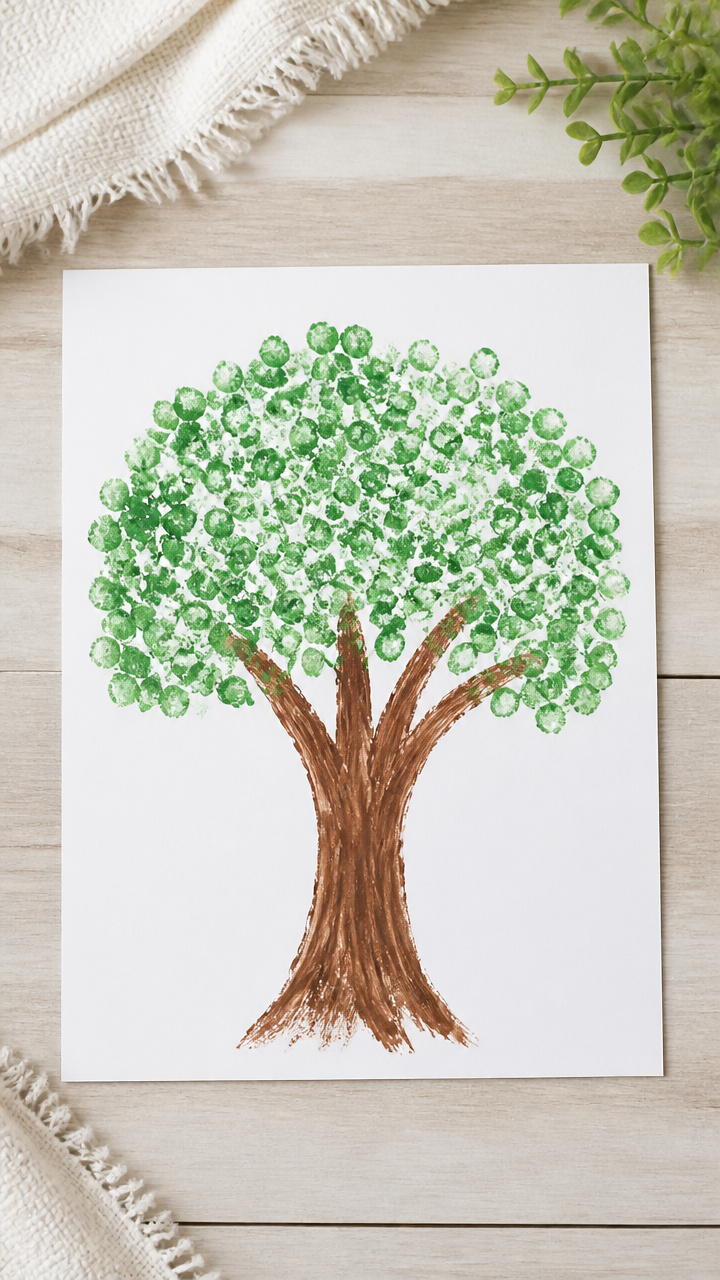
Bundled-up trees rise from the page in soft dabbed greens, built one Q-tip dot at a time.
Materials Needed
- Green washable paint
- Brown washable paint
- Q-Tips (6 per tree)
- White A4 cardstock
- Paper plate
- Black marker
How to Make It
- Pour green and brown paint into separate sections of the paper plate.
- Dip one end of a Q-Tip into green paint and dab it in a triangular shape for the tree top.
- Use a second Q-Tip dipped in brown paint to draw a short trunk below.
- Let dry and draw snow beneath with the black marker.
19. Pipe Cleaner Snowflakes
Moderate
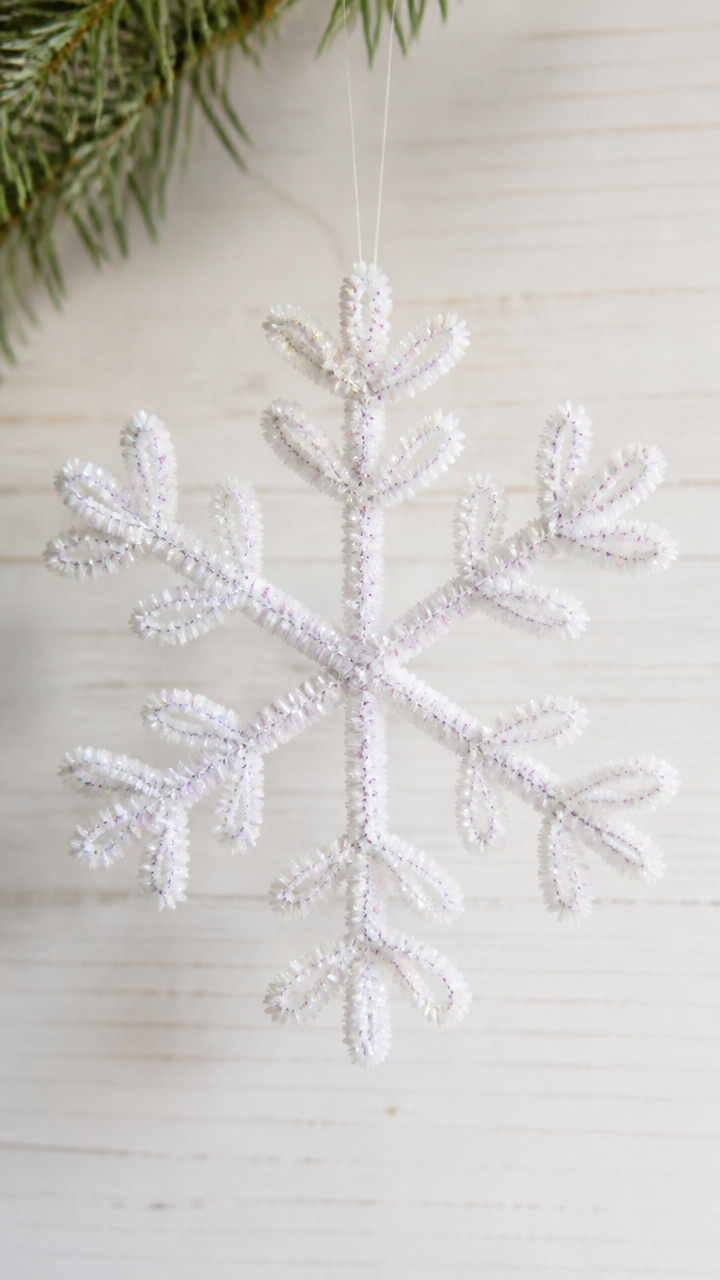
Bent and twisted pipe cleaners form glittery snowflakes that sparkle from the ceiling.
Materials Needed
- White pipe cleaners (3 per snowflake)
- Glitter spray (fine, iridescent)
- Scissors
- Pliers
- Clear thread (8 inches per snowflake)
How to Make It
- Cut one pipe cleaner into three equal lengths.
- Twist one short piece across the center of a full-length piece at a 60-degree angle.
- Add the second short piece at another 60-degree angle to form a six-pointed star.
- Spray lightly with glitter spray and let dry for 30 minutes.
- Tie thread to one point for hanging.


20. Handprint Reindeer Cards
Easy
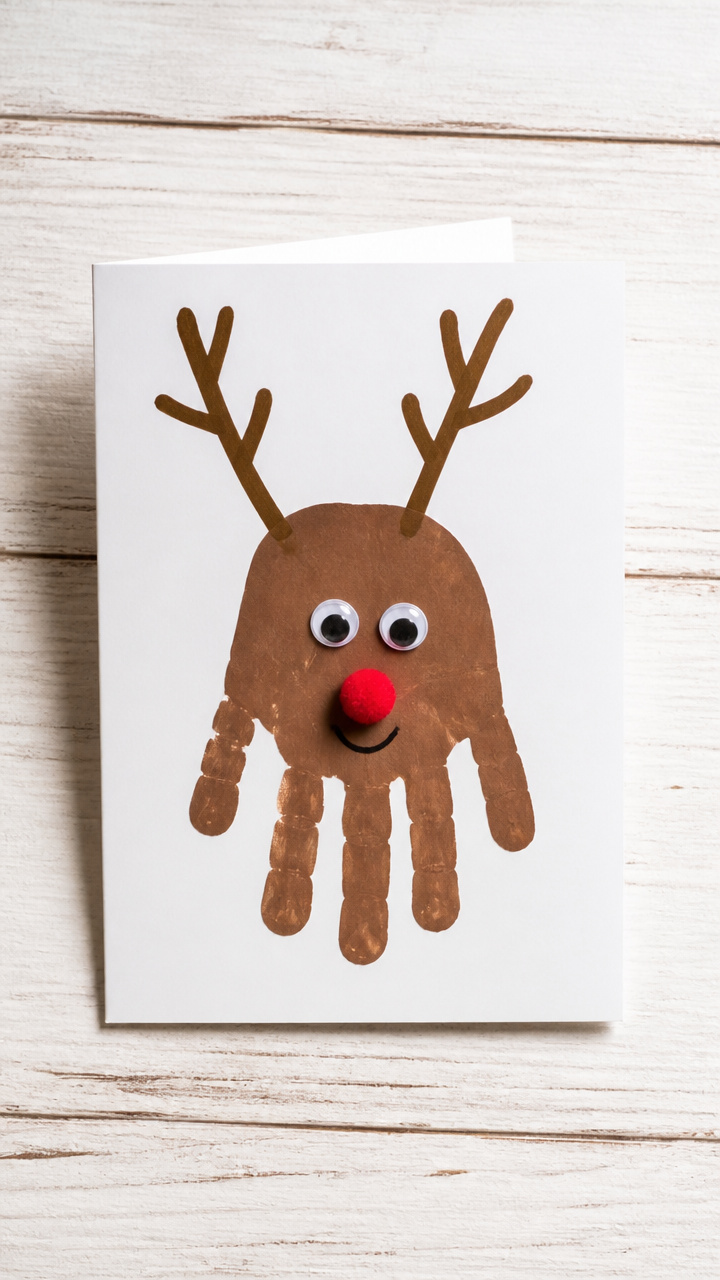
A backward handprint grows antlers and a red nose to become a cheerful holiday card.
Materials Needed
- Brown washable paint
- Red pom-pom (1/2 inch)
- Googly eyes (8mm, 2 per card)
- White A4 cardstock folded in half
- Glue stick
- Black marker
- Paper plate
How to Make It
- Paint the palm and fingers of your child’s hand with brown paint and press it backward on the card so the thumb points down.
- Let dry for 15 minutes.
- Glue googly eyes above the thumb and a red pom-pom below for the nose.
- Draw antlers and a mouth with the black marker.


21. Foam Snowball Toss
Easy
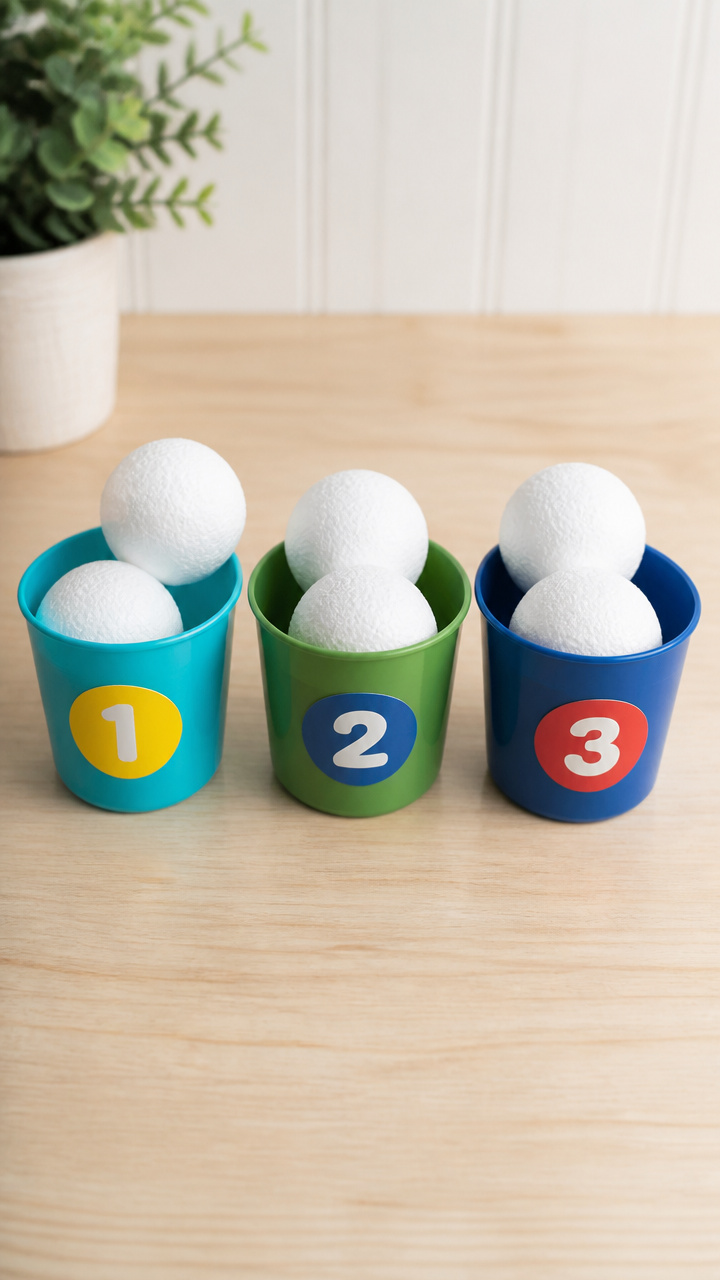
Soft foam balls land in numbered buckets, turning counting into a lively indoor game.
Materials Needed
- White foam balls (2 inches, 6)
- Plastic cups (3, 6 oz size)
- Stickers (numbers 1, 2, 3)
- Tape
- Table
How to Make It
- Label each cup with a number sticker and tape them to the edge of a low table.
- Place your child 3 feet away and hand them one foam ball at a time.
- Encourage them to toss each ball into a cup and name the number as it lands.


22. Cereal Loop Snowflakes
Easy
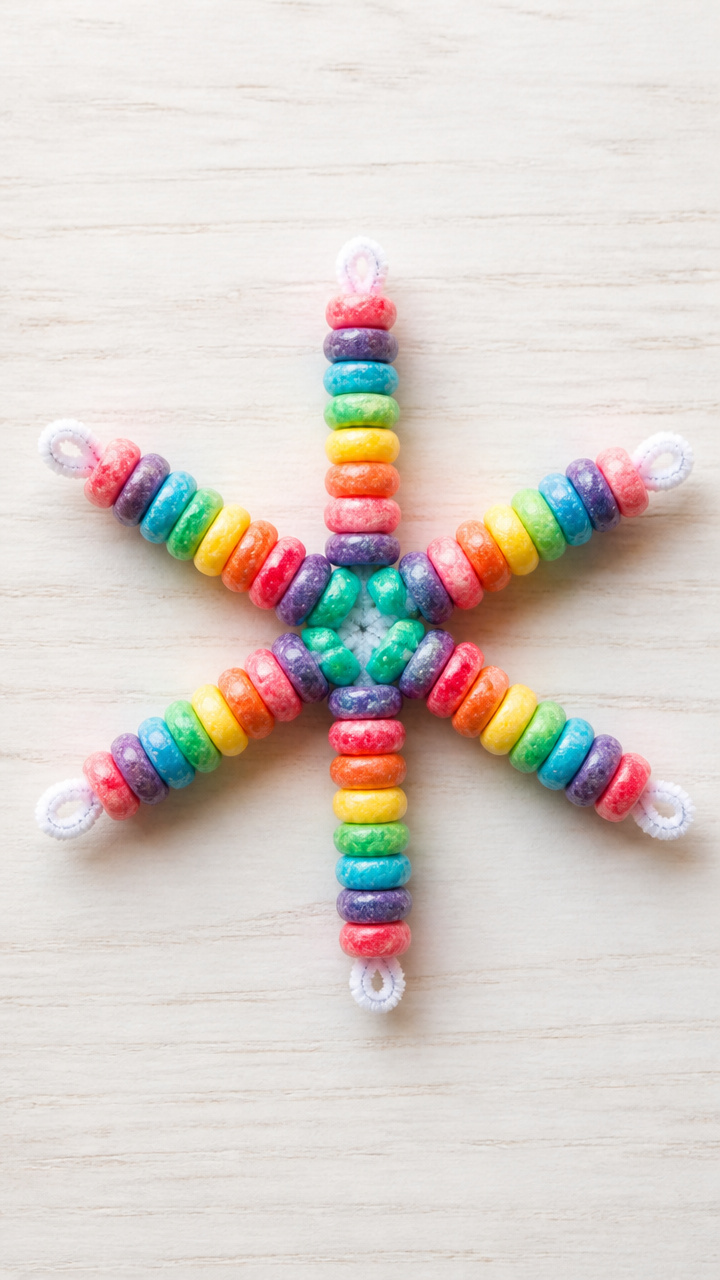
Rainbow-colored cereal loops thread onto pipe cleaners to form edible-looking snowflake shapes.
Materials Needed
- Multicolored oat cereal rings (like Fruit Loops, 20 per snowflake)
- White pipe cleaner (1 per snowflake)
- Bowl
How to Make It
- Bend the pipe cleaner into a six-pointed star by folding it into thirds and twisting at the center.
- Let your child slide cereal loops onto each arm of the star.
- Continue until all arms are filled and the shape is full.


23. Playdough Igloo
Easy
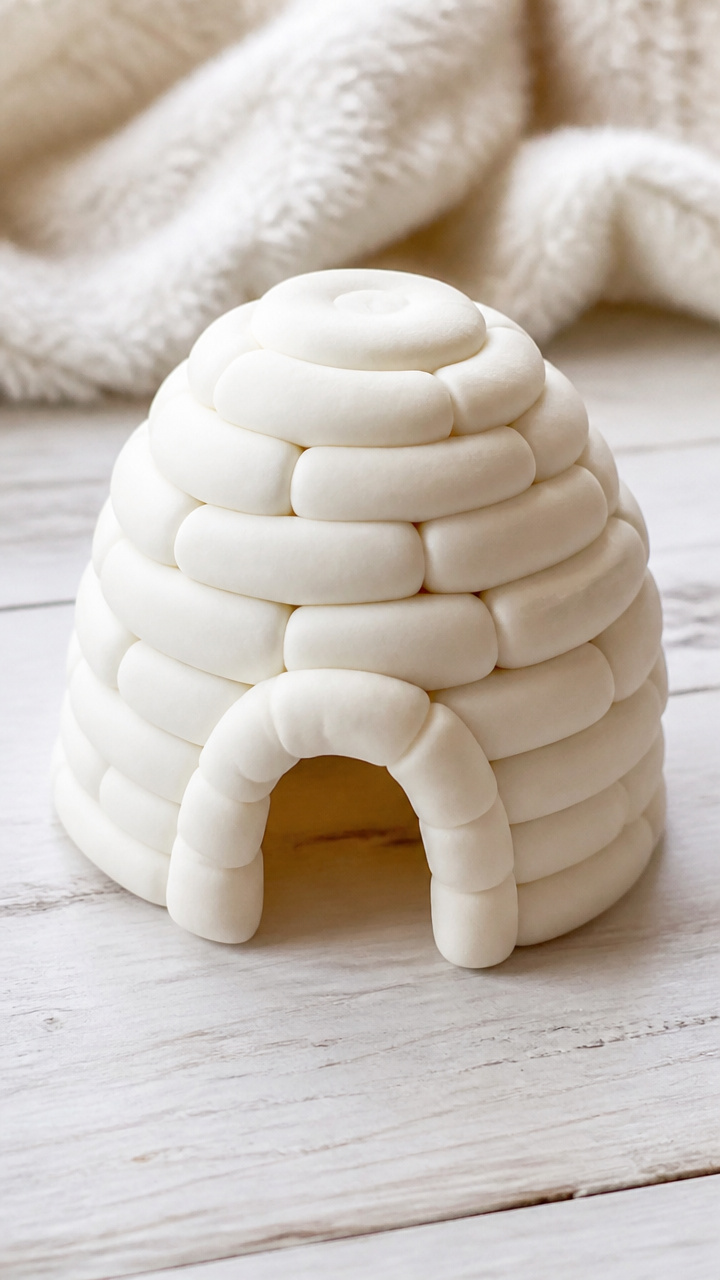
Rolled ovals of white playdough stack in a spiral to form a sturdy igloo that fits small toys inside.
Materials Needed
- White playdough (homemade or store-bought, 1 cup)
- Rolling pin
- Plastic knife
- Circular lid (3 inches)
- Wax paper
How to Make It
- Roll the playdough into a thick rope about 1 inch in diameter.
- Cut the rope into 12 equal pieces with the plastic knife.
- Roll each piece into an oval shape and flatten slightly with the rolling pin.
- Arrange the pieces in a spiral on wax paper, pressing edges together to form a dome.


24. Feathered Owls
Easy
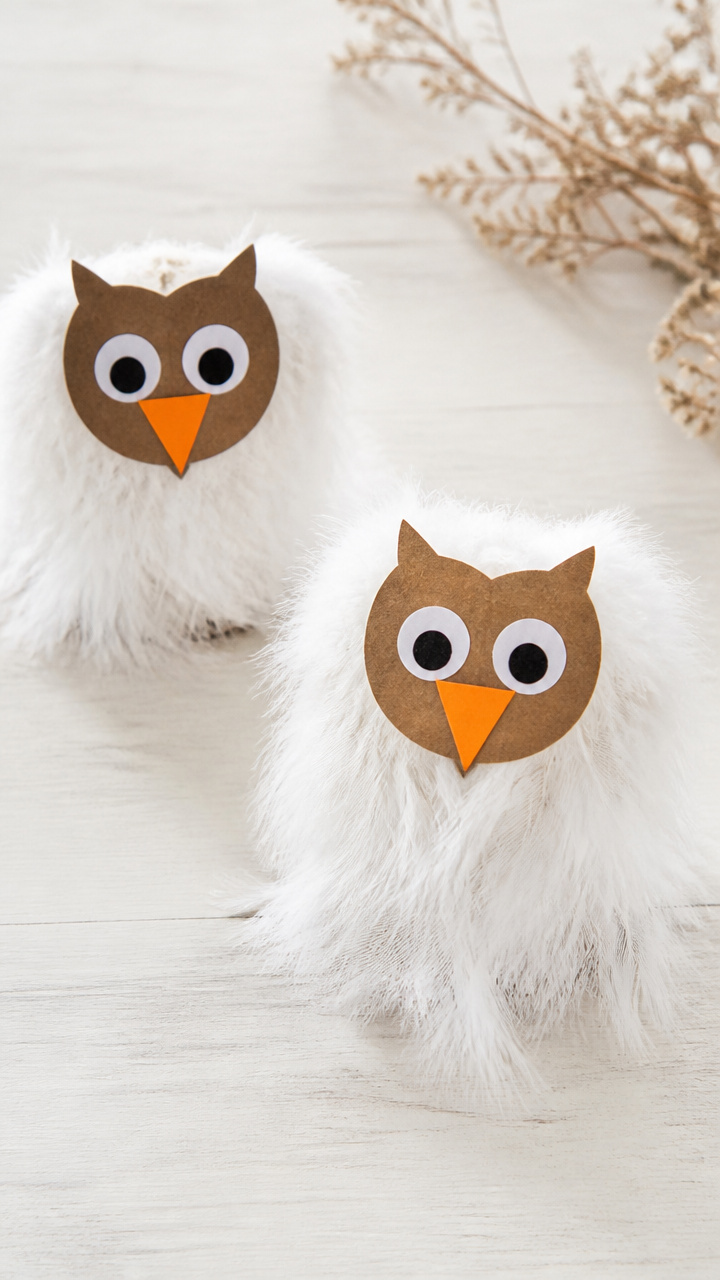
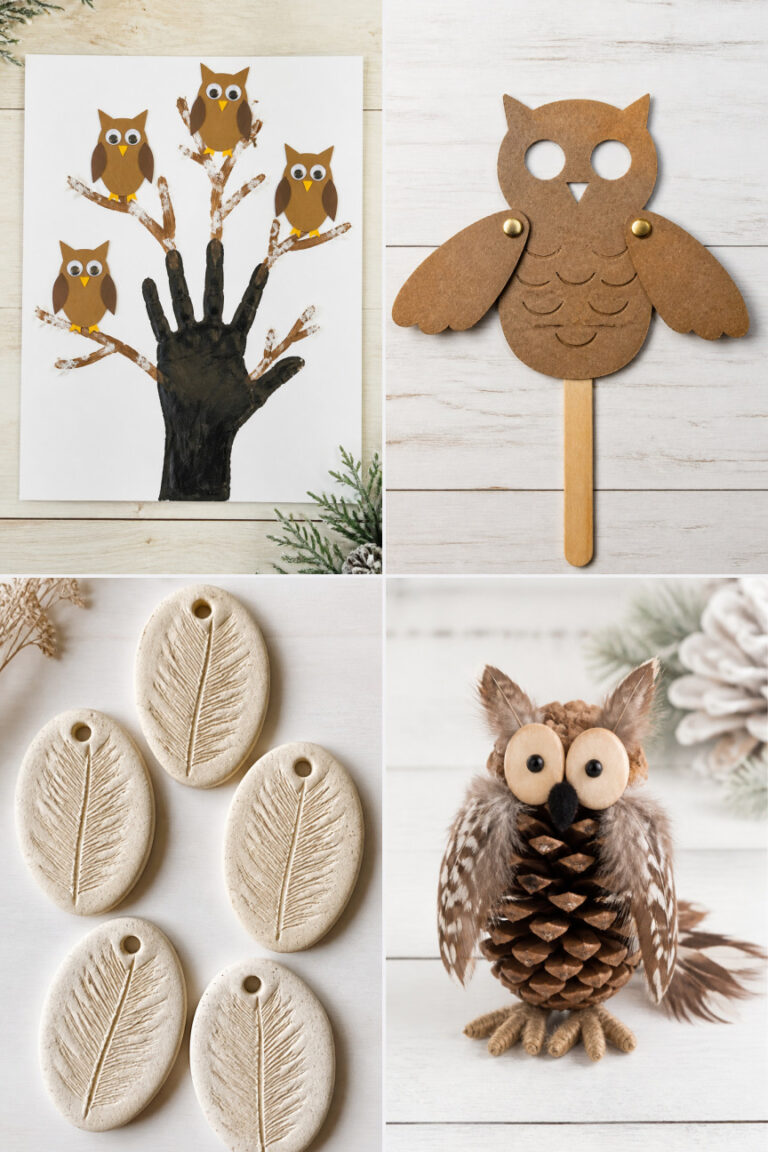
Downy feathers glue to paper owls, giving them soft bodies and quiet wings perfect for story time.
Materials Needed
- Brown construction paper
- White craft feathers (10 per owl)
- Googly eyes (10mm, 2 per owl)
- Orange craft foam
- Glue stick
- Scissors
- Pencil
How to Make It
- Draw a large teardrop shape (5 inches tall) on brown paper and cut it out.
- Glue feathers vertically along the lower half of the shape.
- Cut two small triangles from orange foam for the beak and feet.
- Glue eyes and beak near the top and feet below the feathers.


Grab a few supplies and invite your little one to make something messy, bright, and entirely theirs. These crafts are waiting to be discovered, one giggle at a time.