20 Farmhouse Mason Jar Crafts

Mason jars carry the quiet charm of country kitchens, open windows, and sunlit pantries. With a little time and care, you can turn these simple glass jars into handmade treasures that feel both useful and full of heart.
Each craft here is built to last, made with clear steps and real materials. No guesswork, just honest making.
1. Rustic Candle Holders
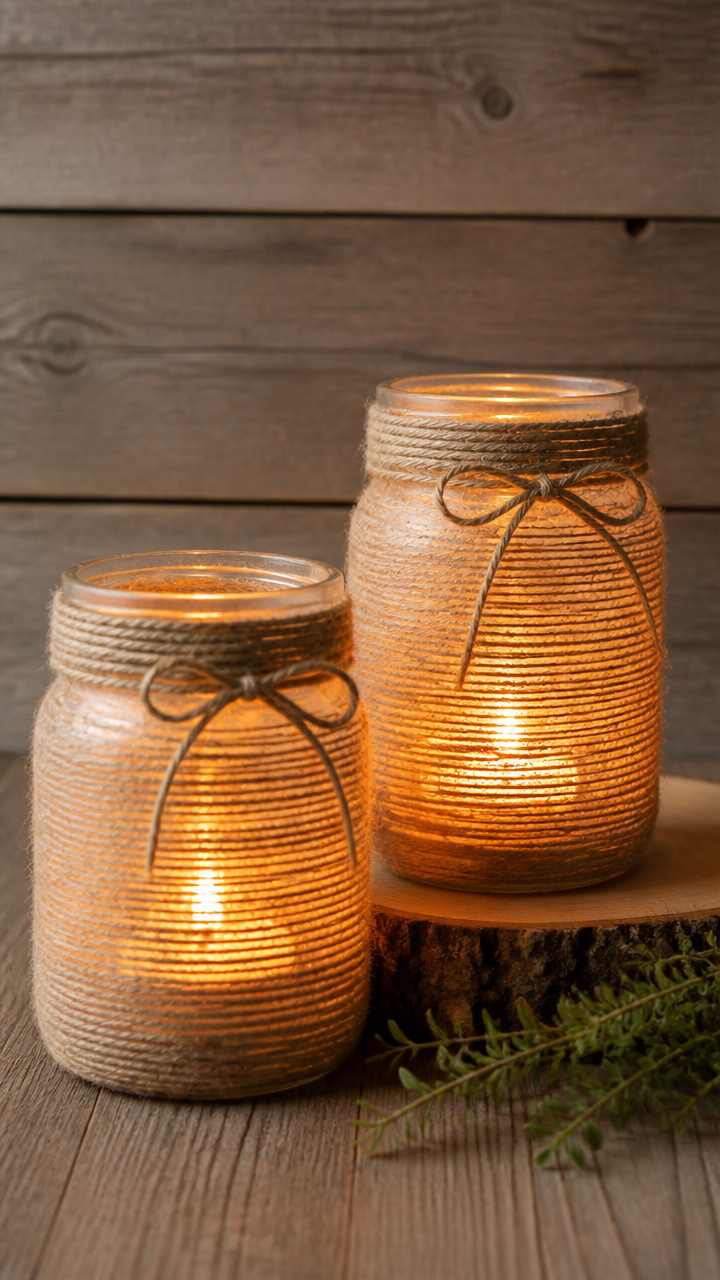
Soft candlelight glows warmly through mason jars wrapped in twine and stained with tea. These holders add cozy depth to tables and shelves.
Materials Needed
- 4 wide mouth pint mason jars
- cotton wick tabs
- paraffin wax flakes, 1 pound
- beeswax pellets, 8 ounces
- essential oil, 15 drops lavender
- jute twine, 10 feet
- used black tea bags, 3
- boiling water, 2 cups
- small saucepan
- heatproof glass measuring cup
- paintbrush, 1 inch flat
How to Make It
- Steep three used tea bags in two cups of boiling water for ten minutes, then let cool to room temperature.
- Dip each jar halfway into the tea solution and set upright on a rack to dry for two hours.
- Melt paraffin wax and beeswax together in a double boiler over low heat, stirring every two minutes until smooth.
- Stir in 15 drops of lavender essential oil, then pour wax into jars, leaving one inch at the top.
- Center a wick tab in each jar and hold upright with a pencil laid across the rim until wax sets, about two hours.
- Wrap jute twine tightly around the neck of each jar, securing the end with a dot of hot glue.


2. Herb Keeper Jars
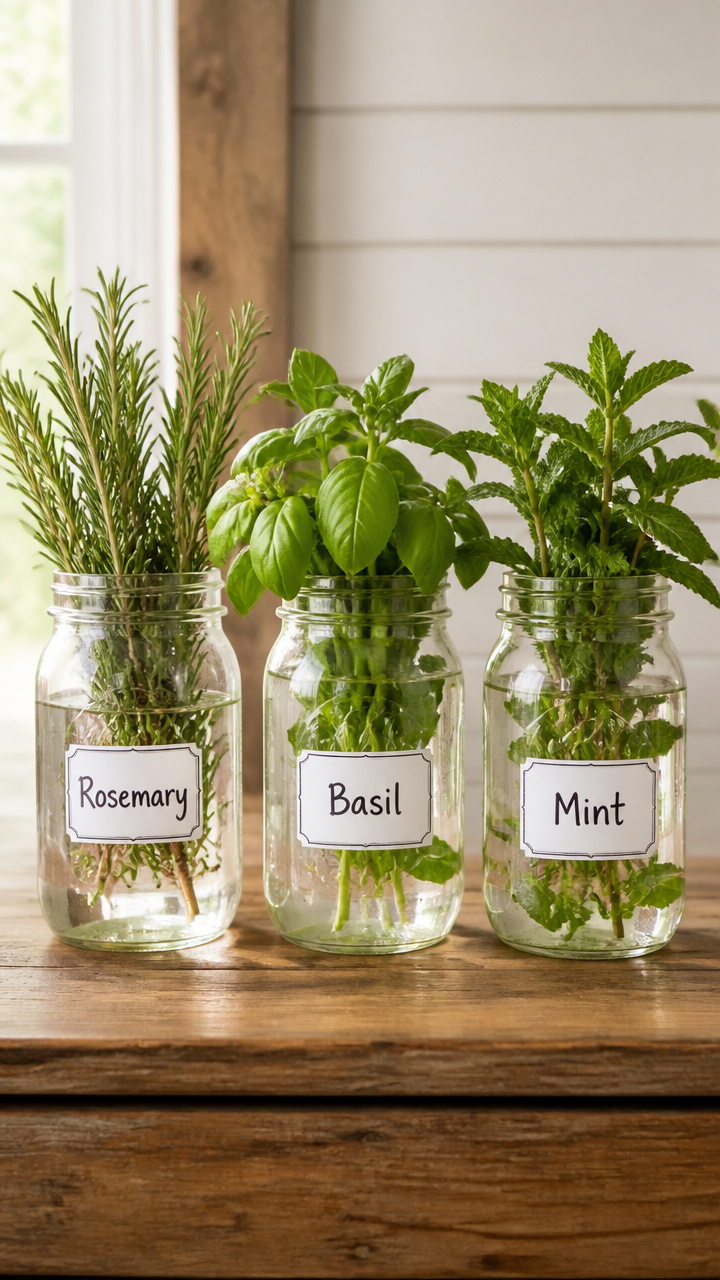
Fresh parsley, thyme, or cilantro stay crisp for days when stored upright in water inside labeled jars. A practical kitchen upgrade.
Materials Needed
- 3 regular mouth quart mason jars
- A4 white cardstock
- black fine-tip marker
- scissors
- clear packing tape
- measuring spoons
- distilled water, 1 cup
How to Make It
- Cut three rectangles from cardstock, each 3 inches by 5 inches.
- Write 'Parsley', 'Thyme', and 'Cilantro' clearly on each label using the marker.
- Tape each label to the front of a jar with packing tape, smoothing out air bubbles.
- Fill each jar with 1/3 cup of distilled water.
- Place fresh herb stems into the jars like cut flowers and store in the refrigerator.


3. Chalkboard Spice Jars
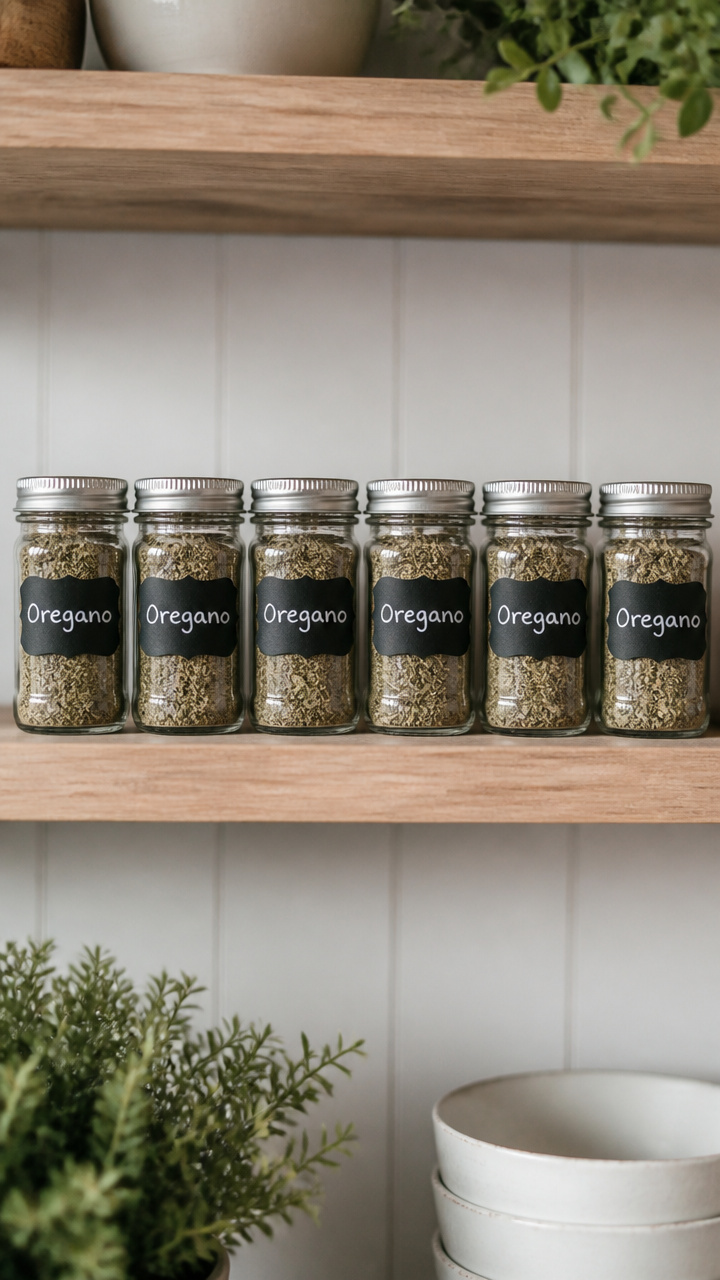
Refillable spice jars with chalkboard labels let you update contents without waste. They look tidy on open shelves.
Materials Needed
- 6 regular mouth half-pint mason jars
- chalkboard paint, 2 ounces
- foam brush, 1 inch
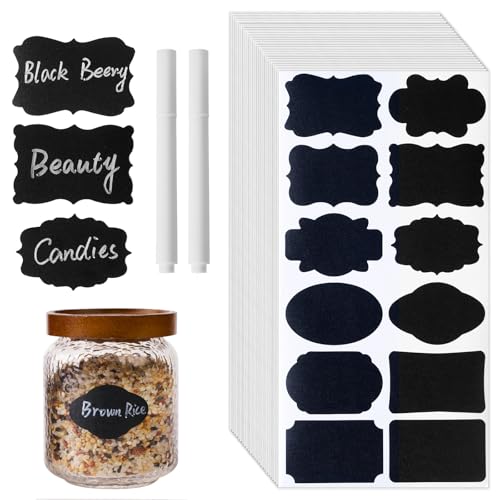
- white chalk stick
- measuring spoon, 1 tablespoon
- dried oregano, 3 tablespoons
- dried basil, 3 tablespoons
- dried thyme, 3 tablespoons
How to Make It
- Wash and dry each jar thoroughly, removing any paper residue.
- Apply one even coat of chalkboard paint to the lid top using the foam brush, then let dry for one hour.
- Rub the side of a chalk stick over the painted lid to season it, then wipe clean with a soft cloth.
- Fill each jar with one tablespoon of a dried herb using the measuring spoon.
- Label each lid with the herb name using chalk and tighten onto the jar.


4. Mason Jar Soap Dispensers
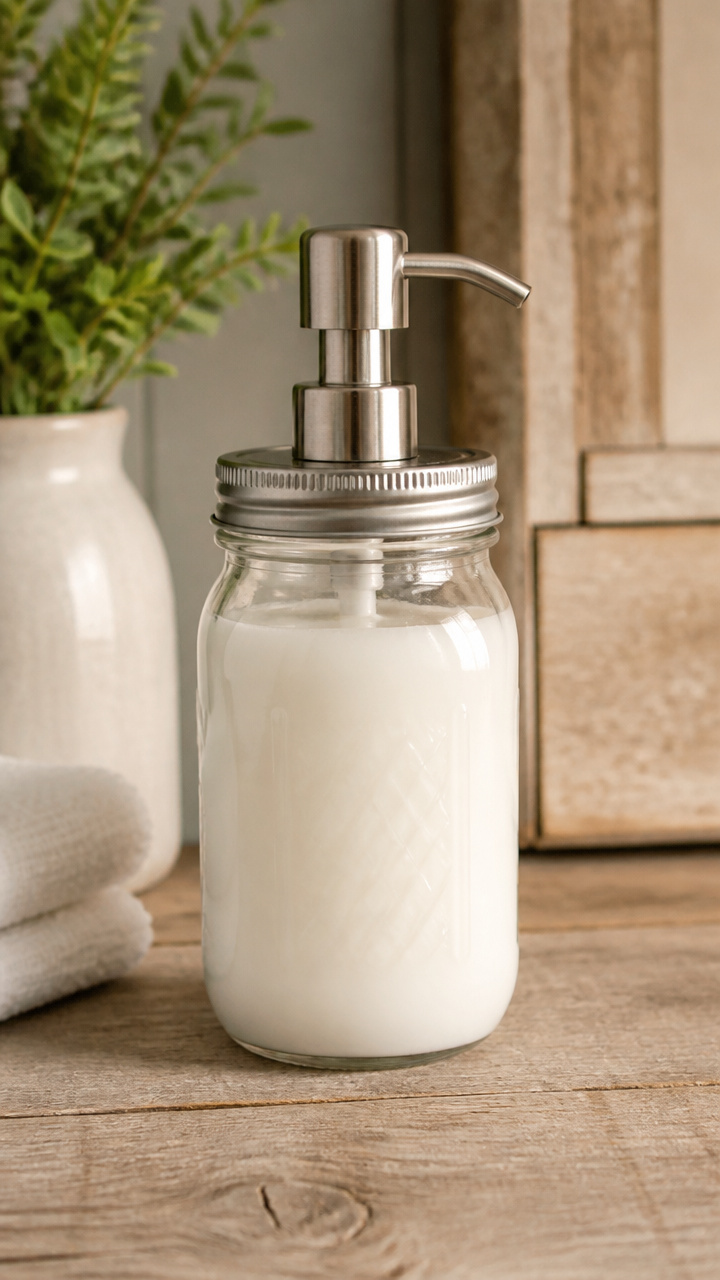
Pump-top soap dispensers made from mason jars blend function and farmhouse style at sinks and entryways.
Materials Needed
- 1 wide mouth pint mason jar
- stainless steel pump dispenser top, 2 inch diameter
- liquid hand soap, 12 ounces
- funnel, small
- rubber gasket, size 2
How to Make It
- Insert the rubber gasket into the groove of the stainless steel pump top.
- Screw the pump top firmly onto the jar until snug.
- Use the funnel to pour 12 ounces of liquid hand soap into the jar.
- Prime the pump by pressing down five times until soap flows smoothly.
5. Mini Succulent Planters
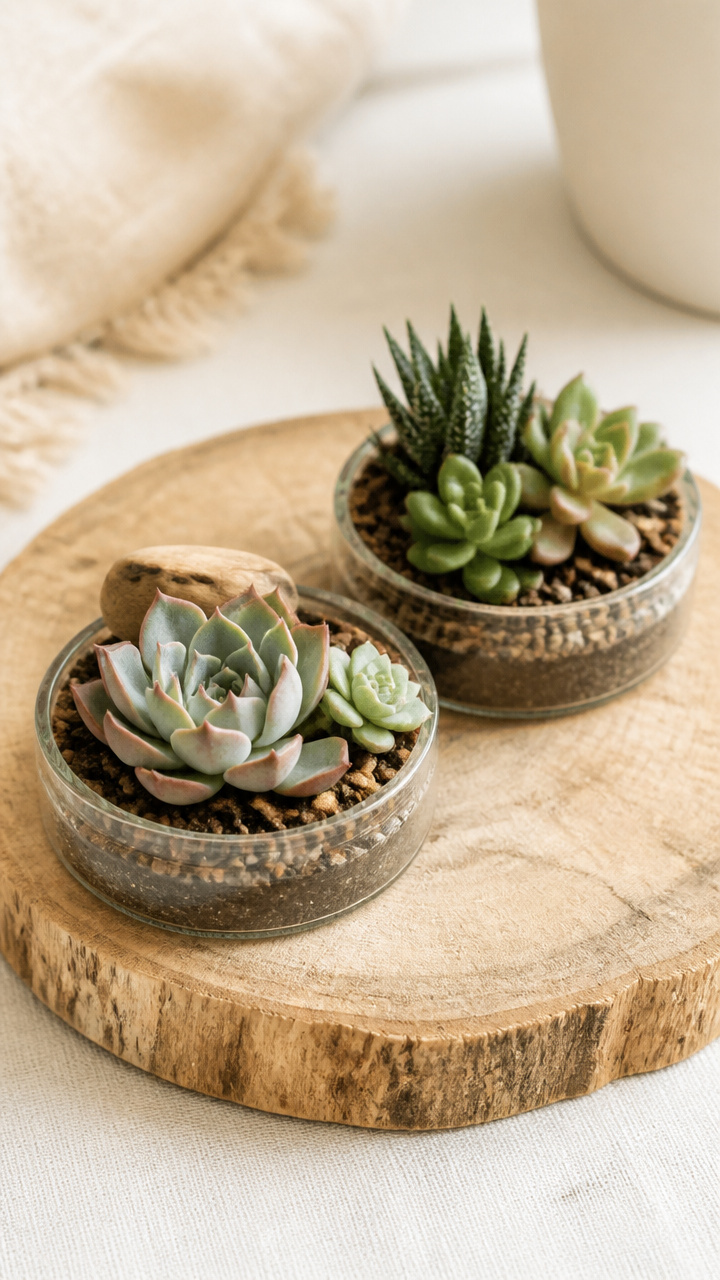
Tiny succulents thrive in shallow mason jar bottoms, mounted on driftwood for natural display.
Materials Needed
- 2 regular mouth half-pint mason jars
- glass cutter tool
- sandpaper, 120 grit
- small succulent plants, 2
- cactus potting mix, 1 cup
- driftwood slice, 6 inches long
- silicone adhesive, clear
- tweezers
How to Make It
- Score the bottom of each jar with a glass cutter using steady pressure in a circular motion.
- Heat the scored line evenly with a candle flame for 30 seconds, then dip into cold water to separate the base.
- Smooth sharp edges with sandpaper until safe to touch.
- Add one tablespoon of cactus mix to each jar base using tweezers.
- Place a succulent into each jar and gently pack more soil around the roots.
- Glue each jar base to the driftwood with silicone adhesive and let cure for 24 hours.


6. Farmhouse Salt Cellars
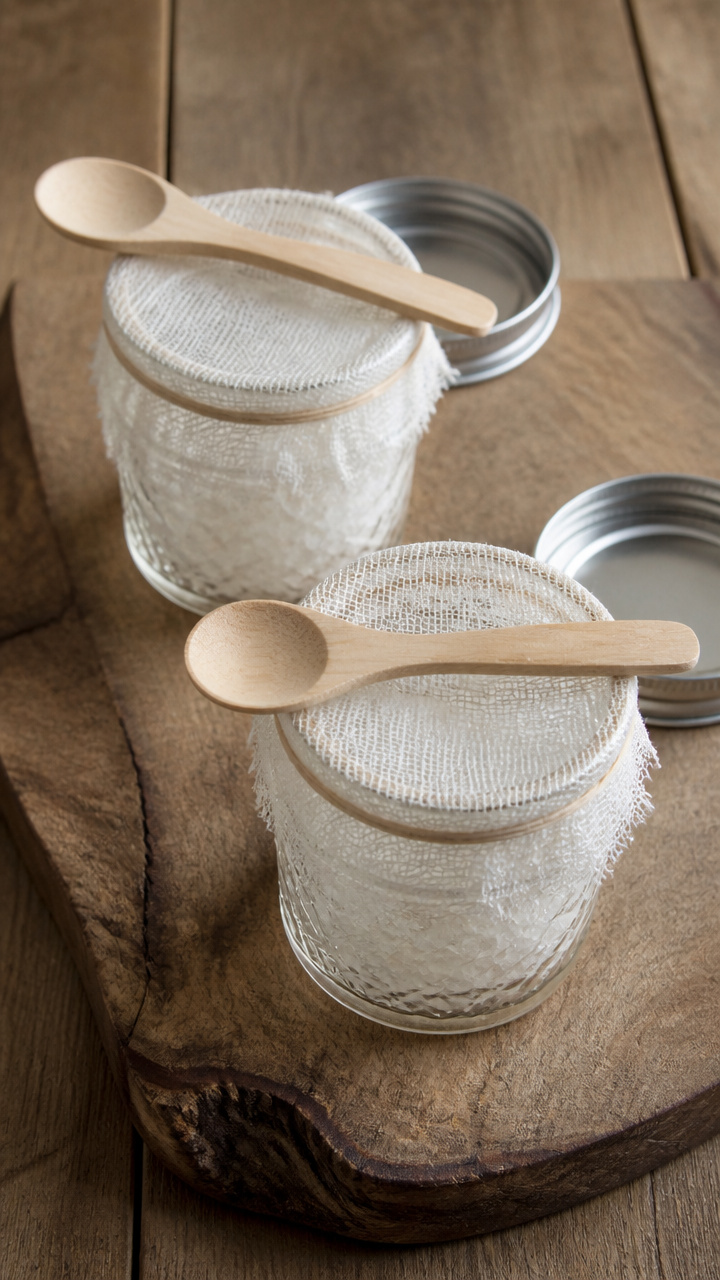
Open salt jars with wooden spoons perched on rims keep seasoning close at hand during cooking.
Materials Needed
- 2 regular mouth quarter-pint mason jars
- unfinished maple spoon, 5 inches long
- fine-grit sandpaper
- coarse sea salt, 1 cup
- cheesecloth, 6 inch square
- rubber band, 1/4 inch
How to Make It
- Sand the handle of each maple spoon lightly to remove splinters.
- Fill each jar with 1/2 cup of coarse sea salt using a spoon.
- Cut a 6 inch square of cheesecloth and place over the jar opening.
- Secure with a rubber band and rest the maple spoon across the rim.


7. Twine-Wrapped Vases
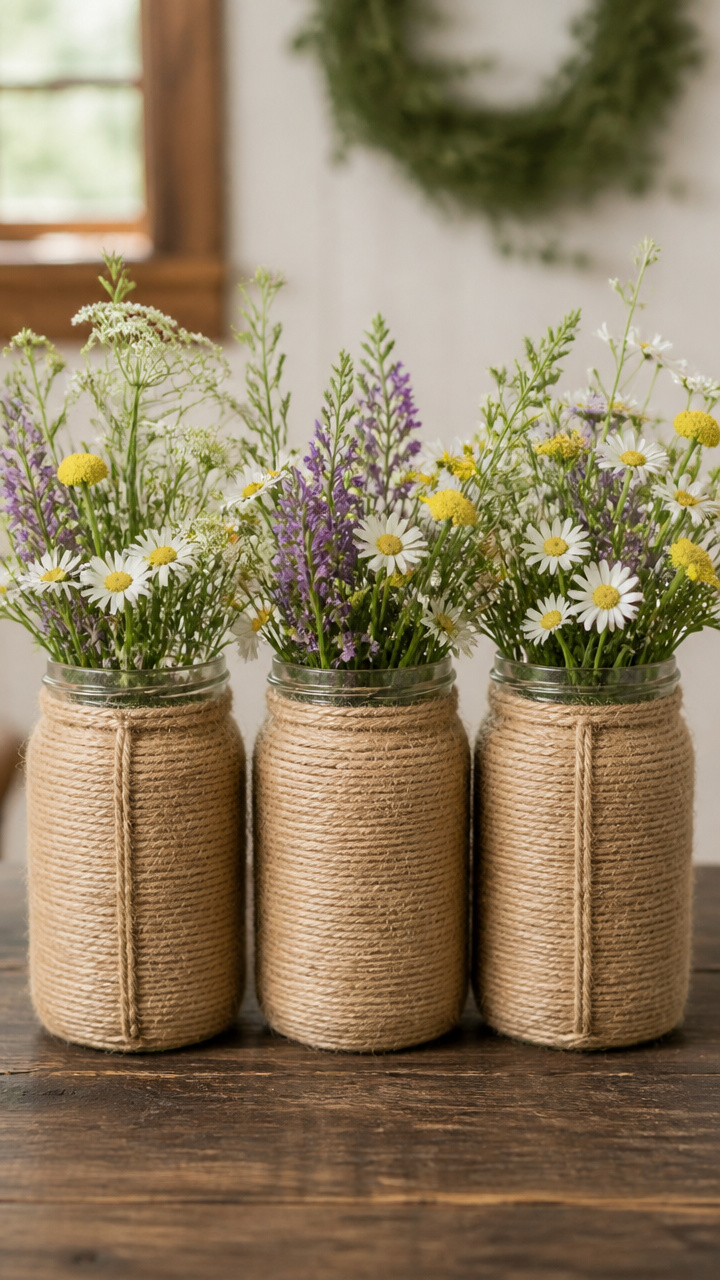
Jars wrapped tightly in twine become textured vases that hold wildflowers or dried stems with country grace.
Materials Needed
- 3 wide mouth pint mason jars
- natural jute twine, 15 feet
- fabric glue, 2 ounces
- wildflower bouquet, small
- paintbrush, 1/2 inch
How to Make It
- Apply a thin line of fabric glue near the base of the jar with the paintbrush.
- Press the end of the twine into the glue and wait two minutes to set.
- Wrap the twine tightly upward in straight rows, adding glue every inch to secure.
- Trim the end and glue it flat at the rim.
- Repeat for all three jars, then arrange wildflowers inside.


8. Layered Dip Jars
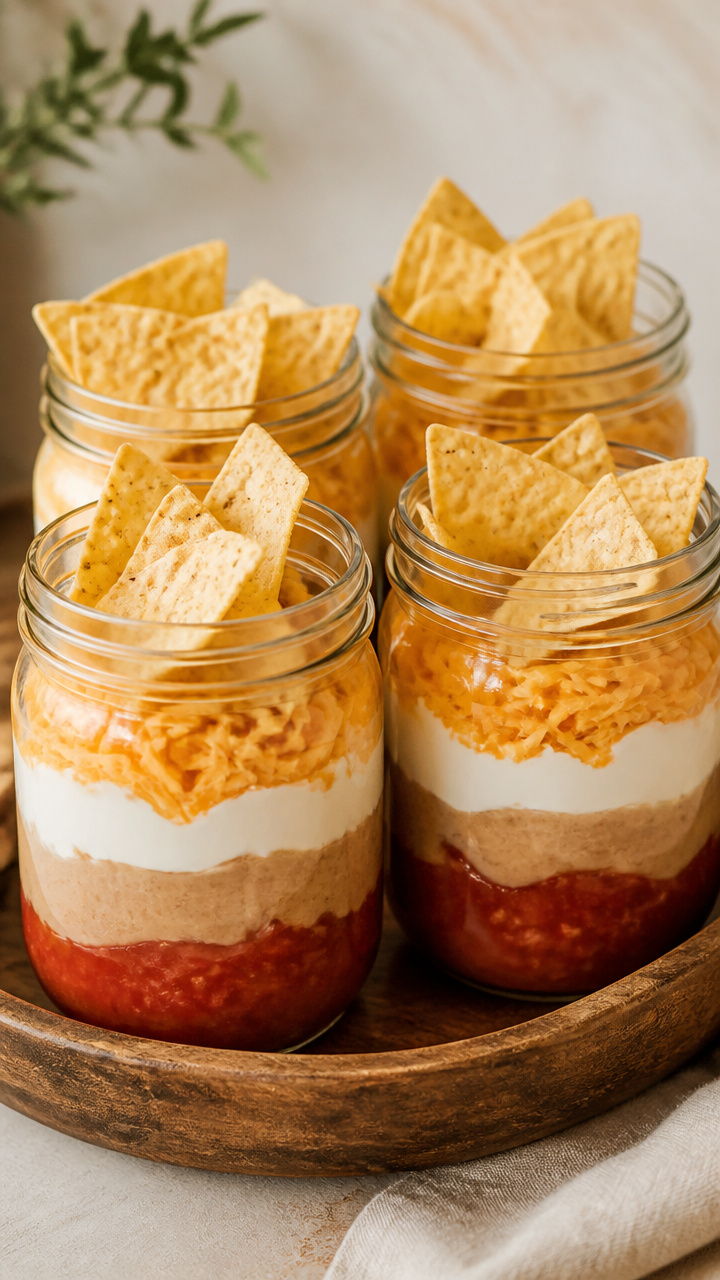
Edible gift jars with visible layers of ingredients make festive party starters and hostess tokens.
Materials Needed
- 4 regular mouth pint mason jars
- salsa, 2 cups
- refried beans, 2 cups
- shredded cheddar cheese, 1 cup
- sour cream, 1 cup
- tortilla chips, 1 bag
- label stickers, 4
- marker, red
How to Make It
- Layer 1/4 cup salsa into each jar, followed by 1/4 cup refried beans.
- Add 2 tablespoons shredded cheese, then 2 tablespoons sour cream to each jar.
- Seal jars with lids and label each with a sticker marked 'Layered Nacho Dip'.
- Include a note to stir before serving with tortilla chips.


9. Lid Garden Markers
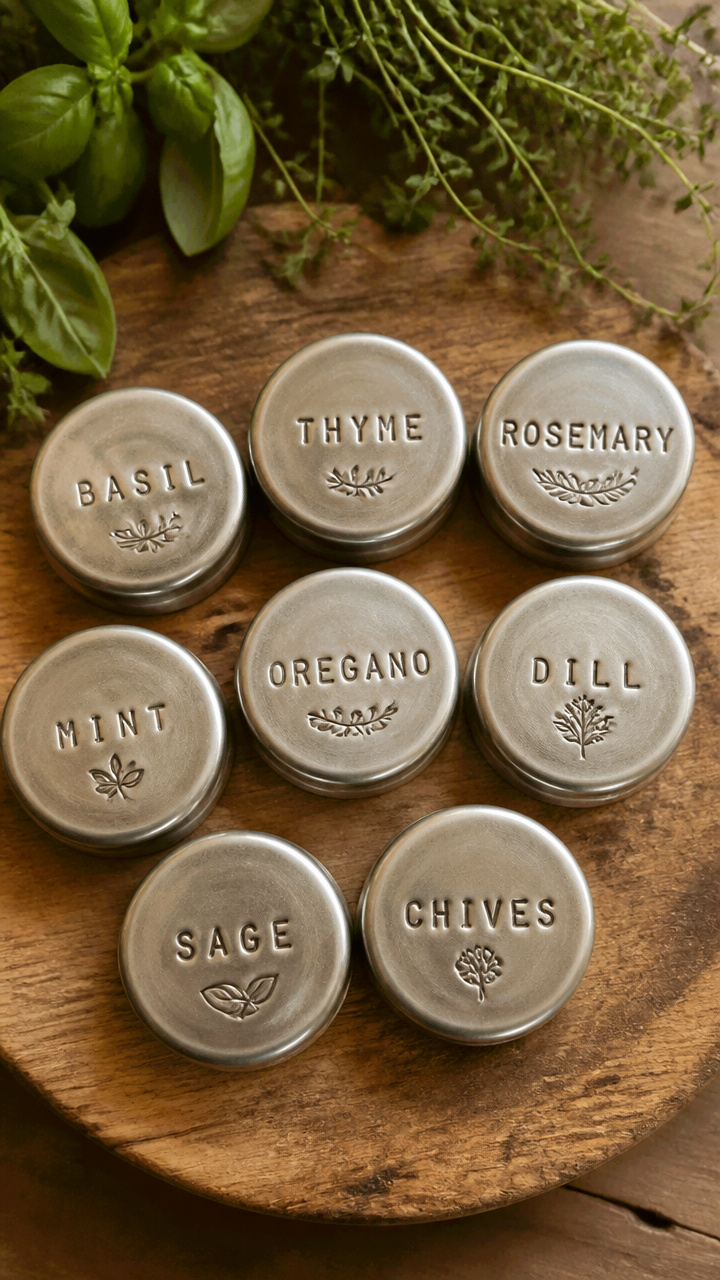
Flipped mason jar lids serve as weather-resistant plant labels stamped with herb names.
Materials Needed
- 8 aluminum mason jar lids
- metal stamp set, letter and number
- ball-peen hammer
- rubber mallet
- vinegar, 1/2 cup
- steel wool pad
- paint pen, black
How to Make It
- Scrub each lid with steel wool dipped in vinegar to remove shine, then dry completely.
- Place a lid on a firm surface and position a metal stamp over the center.
- Tap the stamp firmly with the ball-peen hammer to imprint one letter at a time.
- Repeat to spell herb names like 'Basil' or 'Dill'.
- Outline letters with the paint pen and let dry for one hour.


10. Snow Globe Jars
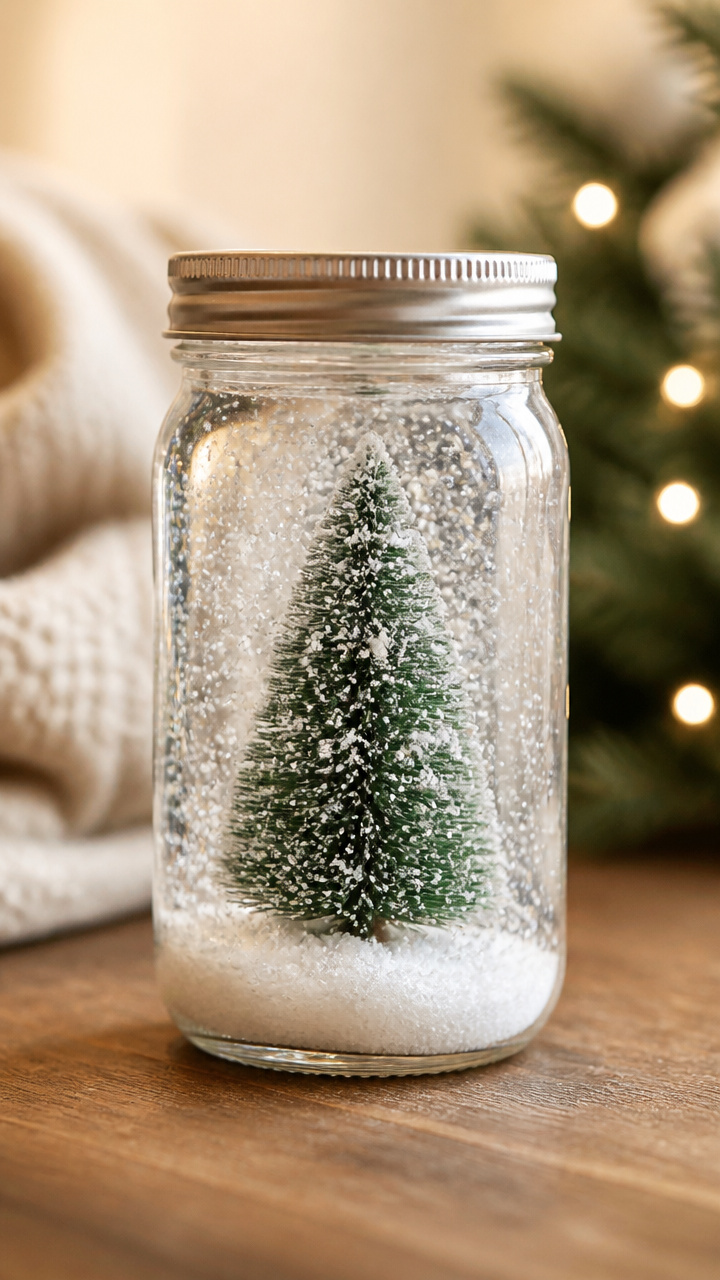
Mini winter scenes sealed in jars with floating glitter create cheerful holiday decor.
Materials Needed
- 1 wide mouth pint mason jar
- small plastic evergreen tree figurine, 2 inches
- glycerin, 1 teaspoon
- distilled water, 1 cup
- white glitter, 1 teaspoon
- hot glue gun
- glue sticks, 2
How to Make It
- Glue the base of the figurine to the inside of the jar lid using hot glue and let cool for ten minutes.
- Fill the jar with distilled water, then add one teaspoon of glycerin and one teaspoon of glitter.
- Screw the lid tightly onto the jar, turning it upside down to test seal.
- Shake gently to swirl glitter and set on a shelf with the lid down.


11. Button Flower Arrangements
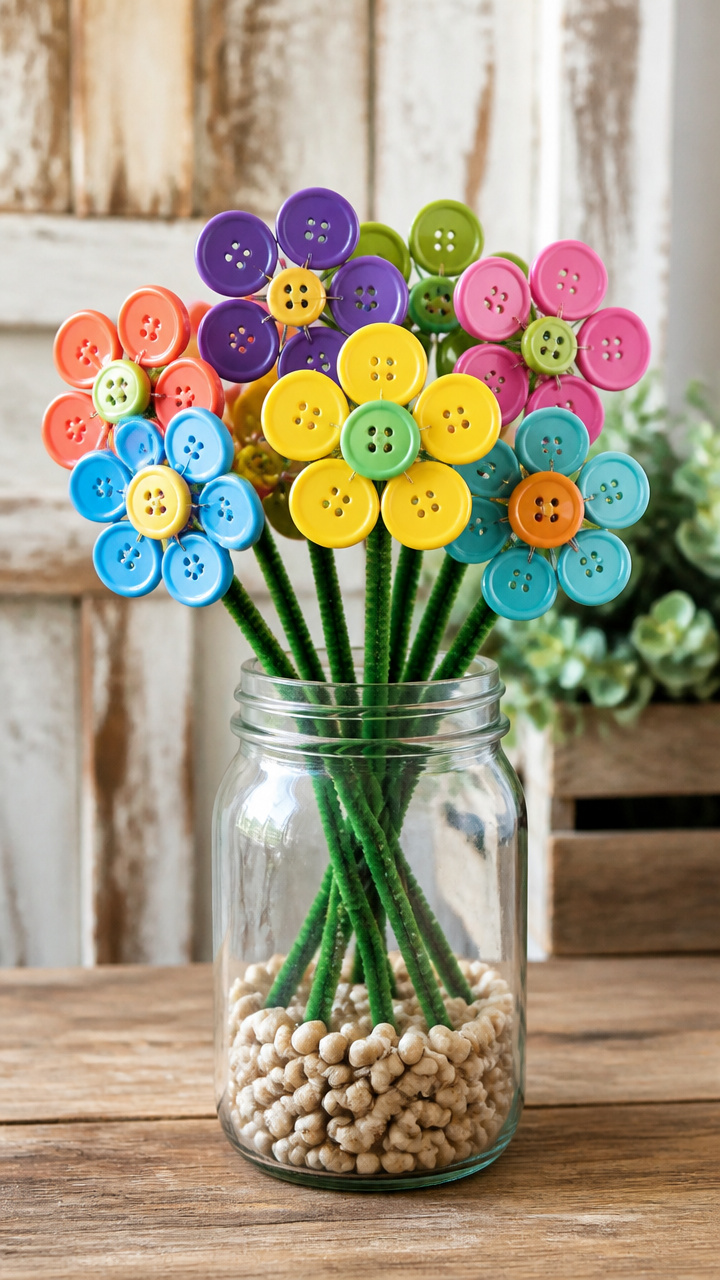
Colorful buttons wired into flower shapes bloom year-round in mason jar vases.
Materials Needed
- 5 assorted colorful buttons, 3/4 inch
- floral wire, 22 gauge, 10 inches
- green pipe cleaner, 1
- hot glue gun
- wide mouth half-pint mason jar
- craft scissors
How to Make It
- Thread three buttons onto a 10 inch piece of floral wire, arranging them in a petal pattern.
- Twist the wire at the back to secure the buttons into a flower shape.
- Cut a 3 inch stem from the pipe cleaner and glue it vertically to the back of the flower with hot glue.
- Repeat to make four more flowers.
- Arrange all five flowers in the mason jar like a bouquet.


12. Vanilla Extract Maker
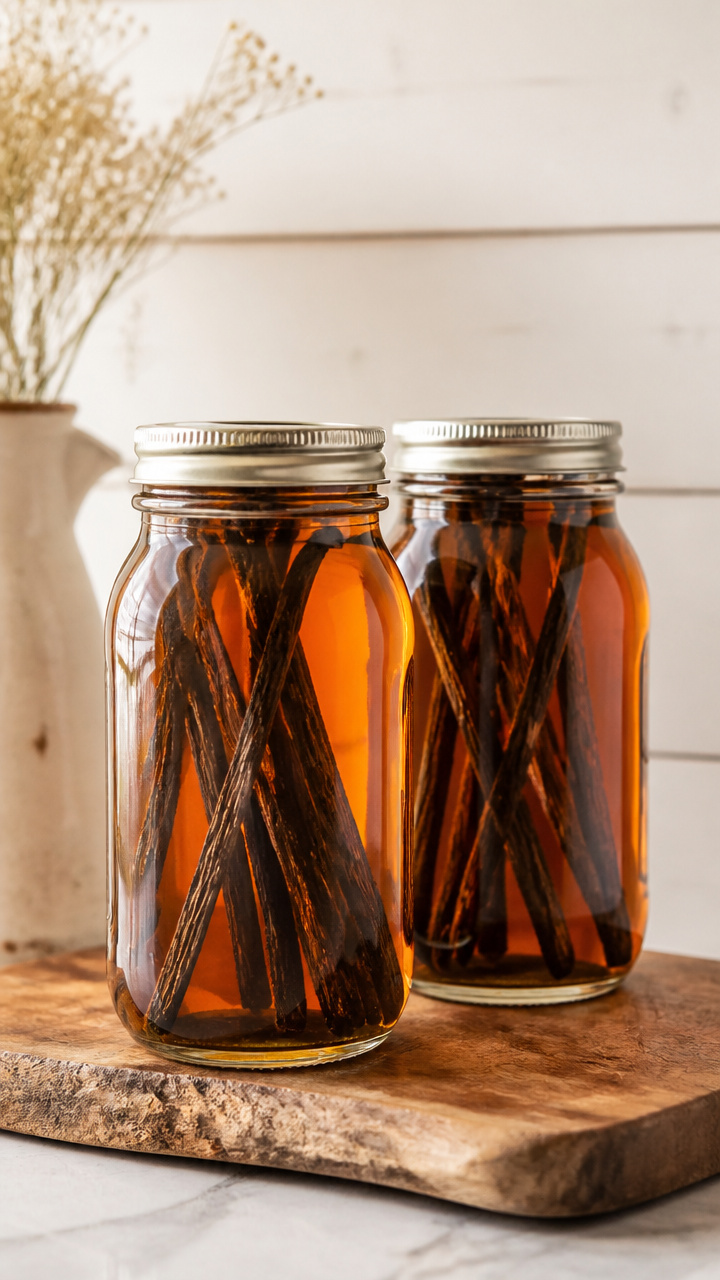
Homemade vanilla extract matures in dark glass jars, giving rich flavor to baked goods.
Materials Needed
- 2 amber wide mouth pint mason jars
- vanilla beans, 6 whole
- vodka, 2 cups
- knife, sharp
- cutting board
- funnel, medium
How to Make It
- Split each vanilla bean lengthwise with a knife on the cutting board.
- Place three split beans into each jar.
- Use the funnel to pour one cup of vodka into each jar.
- Seal jars tightly and store in a dark cabinet for eight weeks, shaking once a week.


13. Painted Ombre Jars
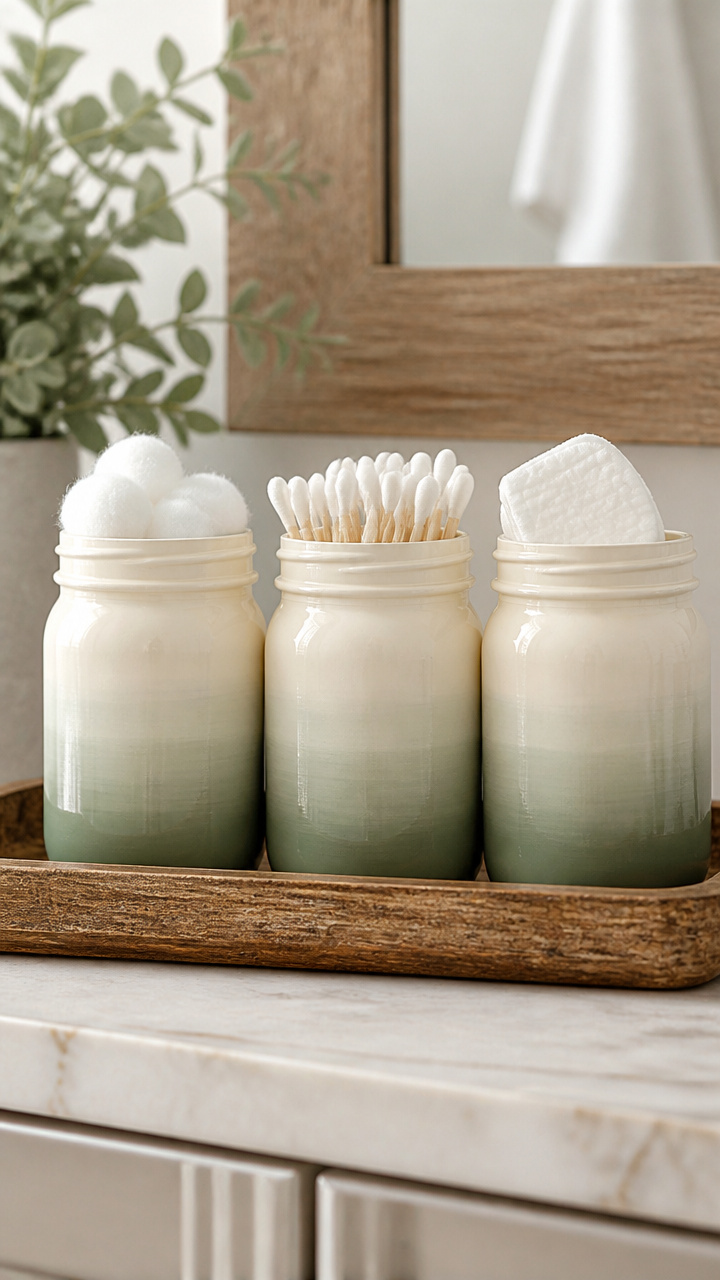
Soft gradient paint fades from cream to sage green, creating serene bathroom storage.
Materials Needed
- 3 regular mouth pint mason jars
- sage green acrylic paint, 2 ounces
- cream acrylic paint, 2 ounces
- foam blending sponge
- paper plate
- water bowl
- paper towel
How to Make It
- Pour a dime-sized amount of cream paint and sage paint onto the paper plate.
- Dip the edge of the sponge into the cream paint and dab it along the bottom third of the jar.
- Wipe the sponge on paper towel, then lightly drag it upward into the wet cream area.
- Dip the sponge into sage paint and blend it where the cream ends, moving upward in light strokes.
- Let dry for three hours, then repeat on remaining jars.


14. Toilet Paper Roll Organizers
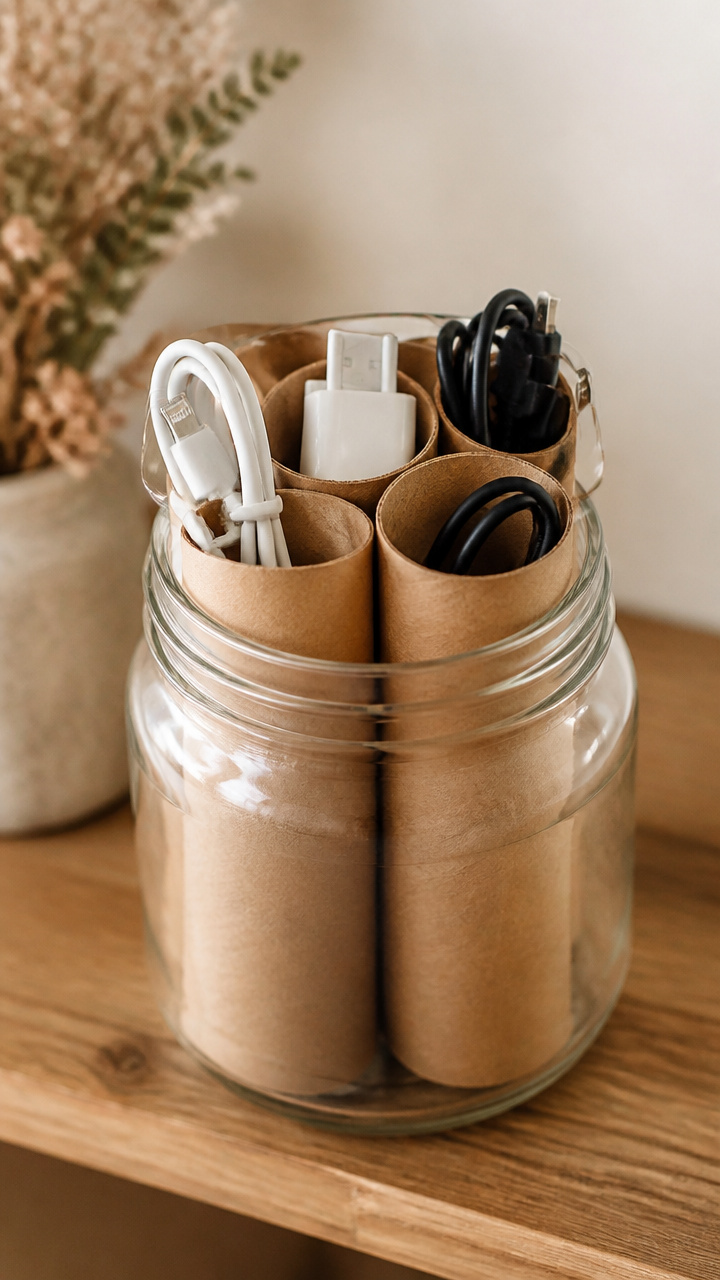
Empty toilet paper rolls stand upright in a mason jar to corral charging cables and cords.
Materials Needed
- 1 wide mouth quart mason jar
- toilet paper rolls, 5
- brown kraft paper, 1 sheet
- mod podge glue, 2 ounces
- foam brush, 1 inch
- scissors
- hair dryer
How to Make It
- Cut kraft paper into five strips, each 2 inches wide and long enough to wrap a roll.
- Brush mod podge onto one side of a strip and wrap it around a toilet paper roll, overlapping slightly.
- Use the hair dryer on low to speed drying for one minute.
- Repeat for all five rolls.
- Stand each decorated roll upright inside the mason jar.

15. Overnight Oats Jars
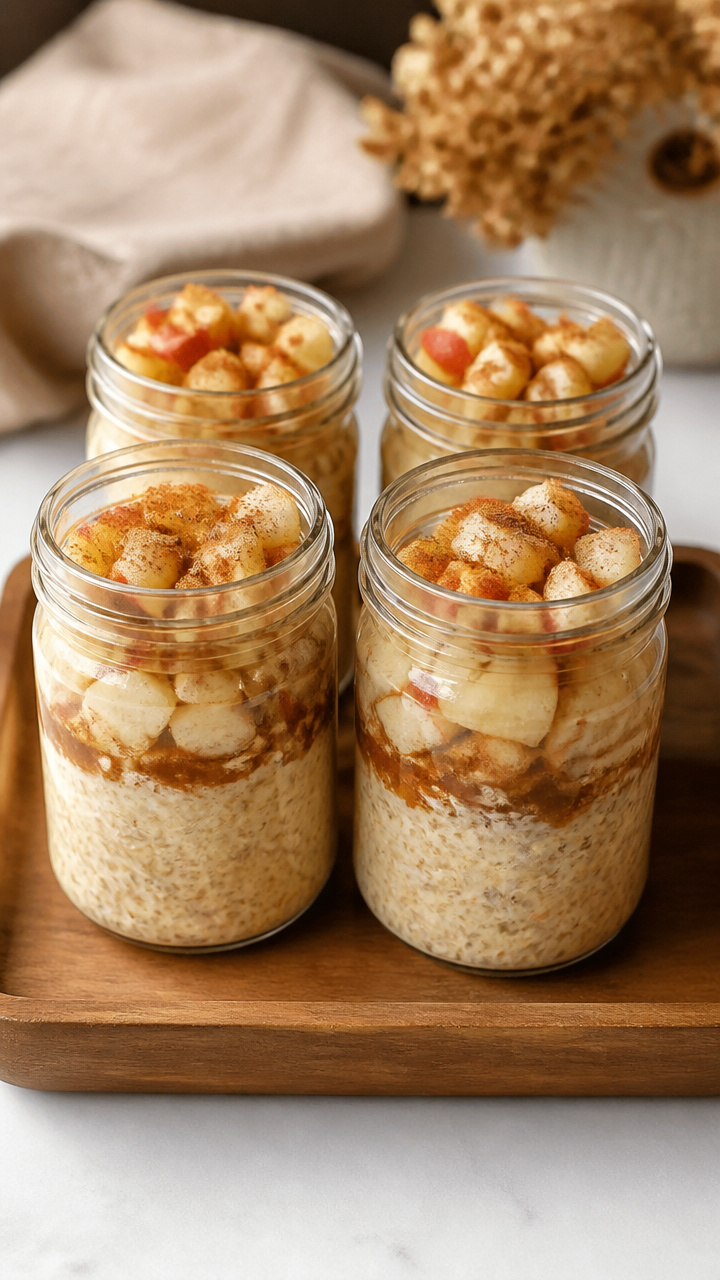
Prepped breakfast jars with oats, fruit, and milk simplify morning routines.
Materials Needed
- 4 regular mouth pint mason jars
- old-fashioned rolled oats, 2 cups
- chopped apple, 1 cup
- cinnamon, 1 teaspoon
- maple syrup, 1/4 cup
- milk, 2 cups
- label stickers, 4
How to Make It
- Add 1/2 cup oats, 1/4 cup chopped apple, 1/4 teaspoon cinnamon, and 1 tablespoon maple syrup to each jar.
- Pour 1/2 cup milk into each jar and screw on the lid.
- Shake each jar for ten seconds to mix.
- Refrigerate overnight and add label: 'Apple Cinnamon Overnight Oats'.


16. Clothespin Clothesline Display
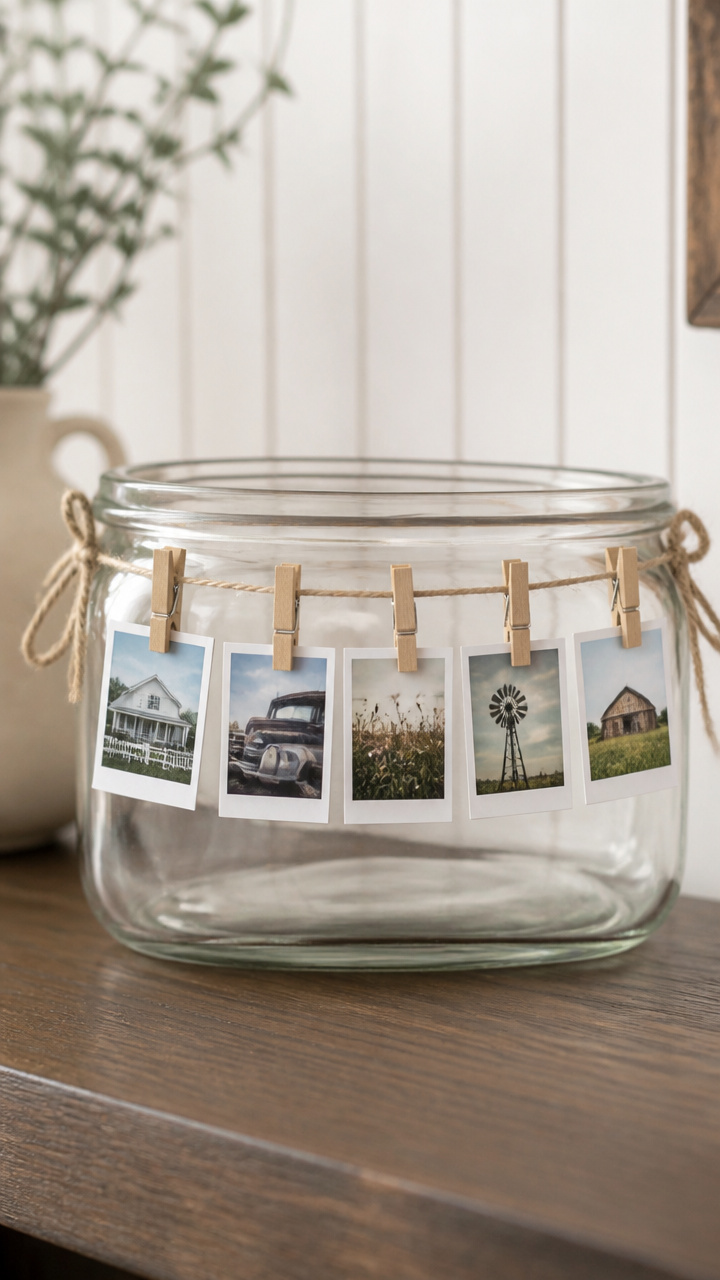
A mini clothesline strung inside a mason jar holds tiny photos with wooden clips.
Materials Needed
- 1 regular mouth pint mason jar
- twine, 12 inches
- mini wooden clothespins, 5
- photo prints, 2×2 inches, 5
- hole punch
- scissors
- hot glue gun
How to Make It
- Punch a hole on each short end of the twine.
- Glue one end of the twine to the inside center of the jar lid, pulling taut.
- Glue the other end directly across to form a tight line.
- Let glue cure for 15 minutes.
- Clip small photos to the twine with wooden clothespins.


17. Lavender Bath Soak Jars
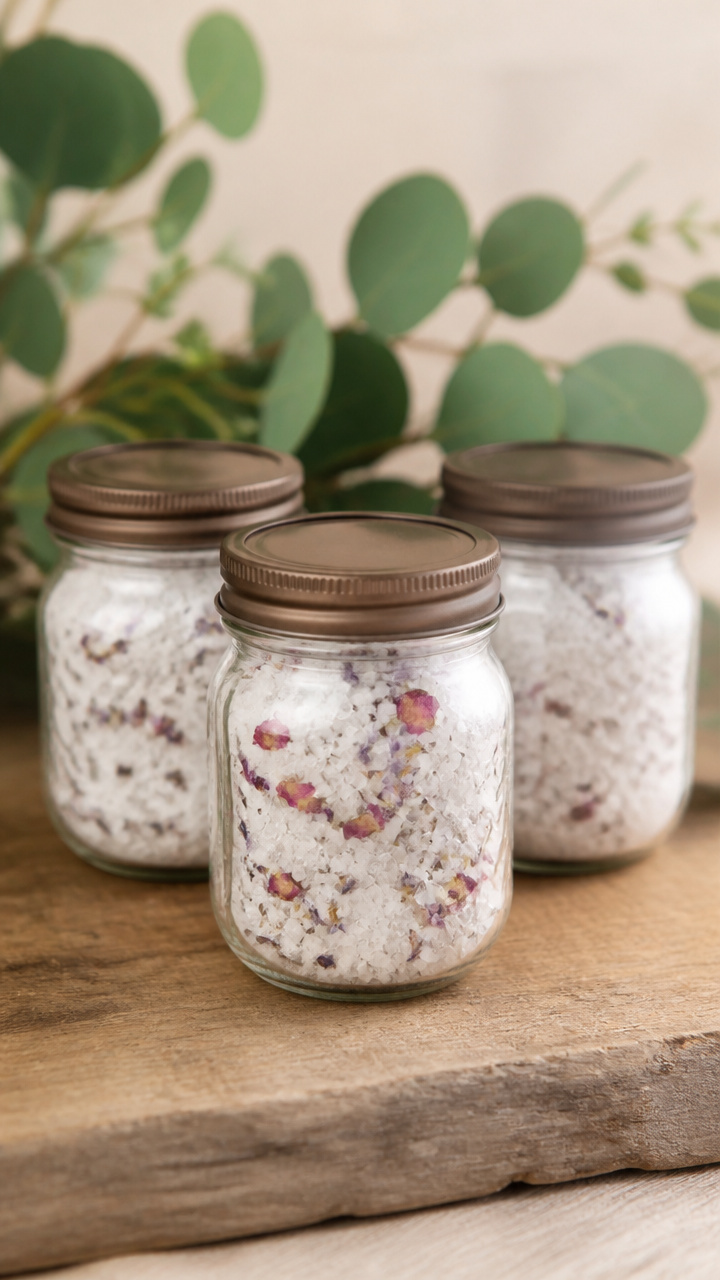
Fragrant bath soak blends with Epsom salts and dried lavender invite slow evenings.
Materials Needed
- 3 wide mouth half-pint mason jars
- Epsom salt, 3 cups
- dried lavender buds, 1/2 cup
- dried rose petals, 1/2 cup
- essential oil, 10 drops eucalyptus
- spoon, tablespoon
- labels, 3
How to Make It
- Combine 1 cup Epsom salt, 2 tablespoons lavender buds, and 2 tablespoons rose petals in a bowl.
- Add 3 drops eucalyptus oil and stir with the spoon for 30 seconds.
- Divide mixture evenly into three jars using the spoon.
- Seal jars and attach labels reading 'Relaxing Lavender Bath Soak'.


18. Mason Jar Lanterns
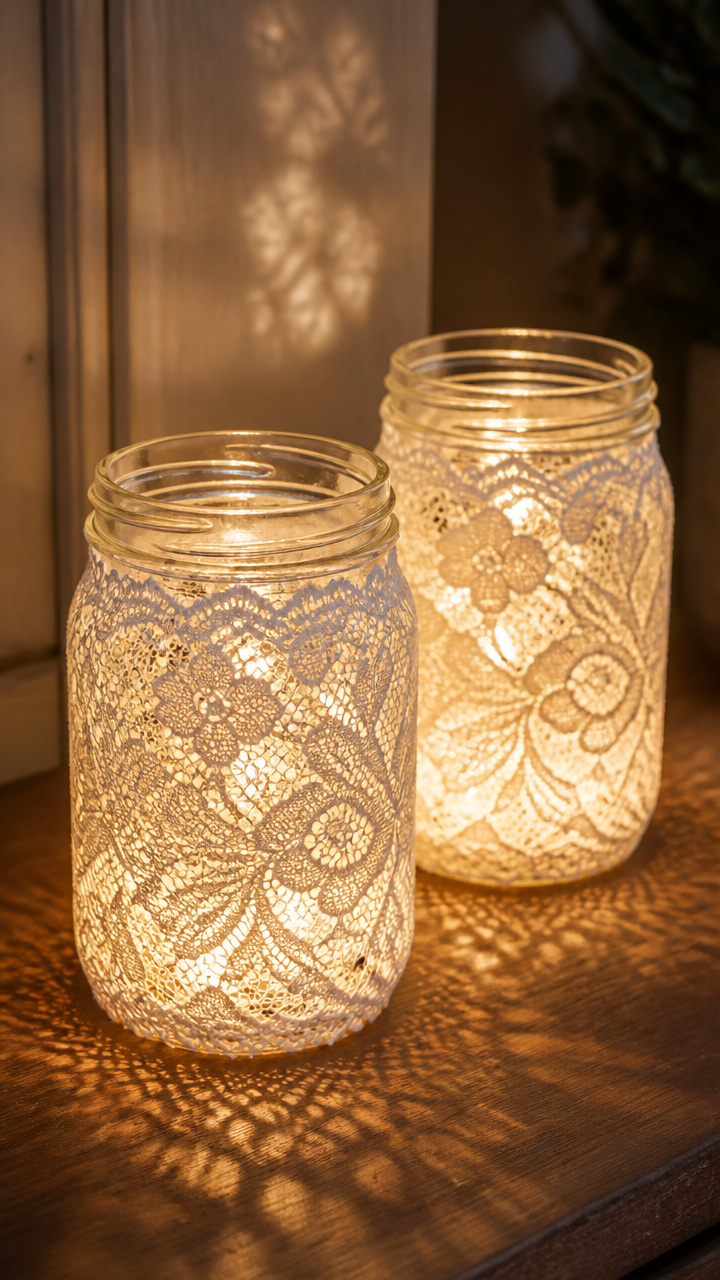
Battery fairy lights glow behind lace-wrapped jars for porch or table ambiance.
Materials Needed
- 2 wide mouth pint mason jars
- lace trim, 1 inch wide, 10 feet
- fabric glue, 1 ounce
- battery fairy lights, 20 LEDs
- scissors
- paintbrush, 1/2 inch
How to Make It
- Cut lace trim into two 5 foot lengths.
- Apply a thin line of fabric glue to the outside of a jar with the paintbrush.
- Wrap lace tightly around the jar, pressing into glue as you go.
- Let dry for two hours.
- Place battery fairy lights inside each jar and turn on.
![24 Pack Fairy Lights Battery Operated [3 Modes] 7ft 20 LED Mini Twinkle String Lights Waterproof Silver Wire Firefly Starry Lights for Wedding Party Mason Jars Christmas Decorations, Warm White](https://m.media-amazon.com/images/I/51NBqNkGaHL._SL500_.jpg)


19. Berry Freezing Jars
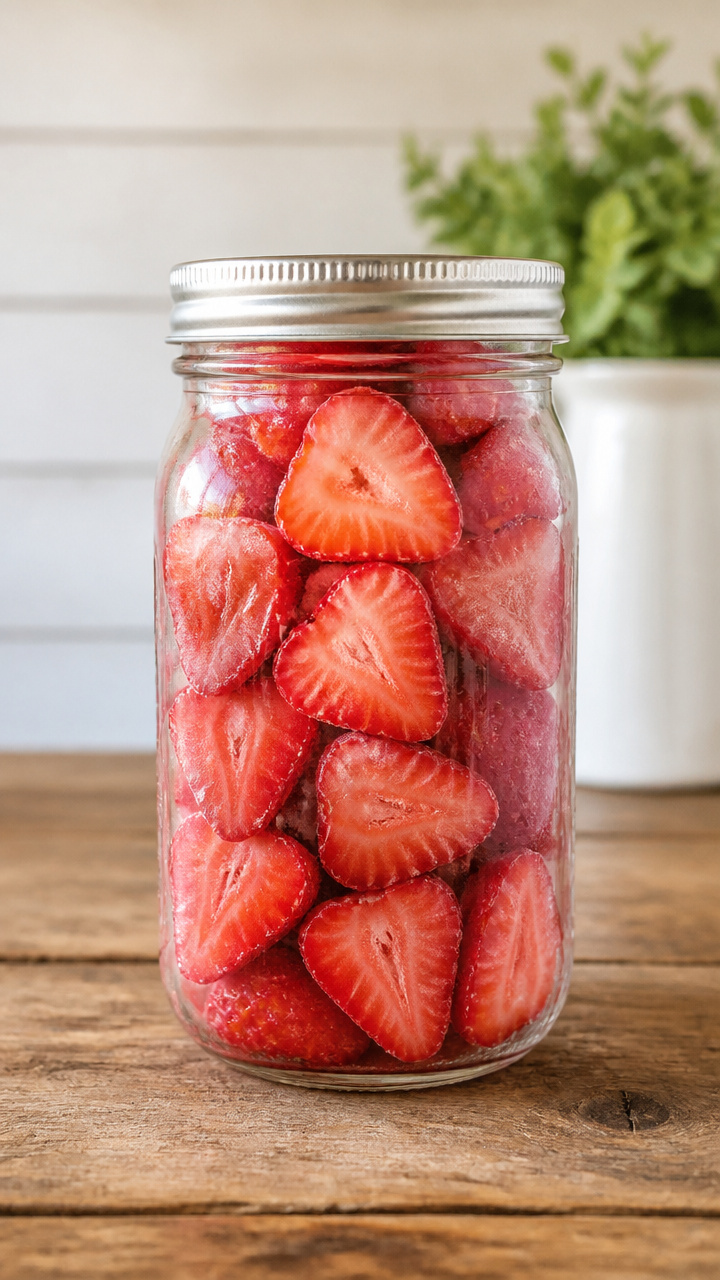
Single-layer frozen berries in pint jars prevent clumping and save space.
Materials Needed
- 4 wide mouth pint mason jars
- fresh strawberries, 2 pints
- strainer
- paper towels
- sharp knife
- cutting board
How to Make It
- Rinse strawberries in a strainer and lay them on paper towels to dry for 15 minutes.
- Hull and slice each strawberry into quarters on the cutting board.
- Spread pieces in a single layer on a tray and freeze for four hours.
- Transfer frozen berries into jars, filling to the shoulder line.
- Seal jars and return to freezer.


20. Yarn-Wrapped Pen Holders
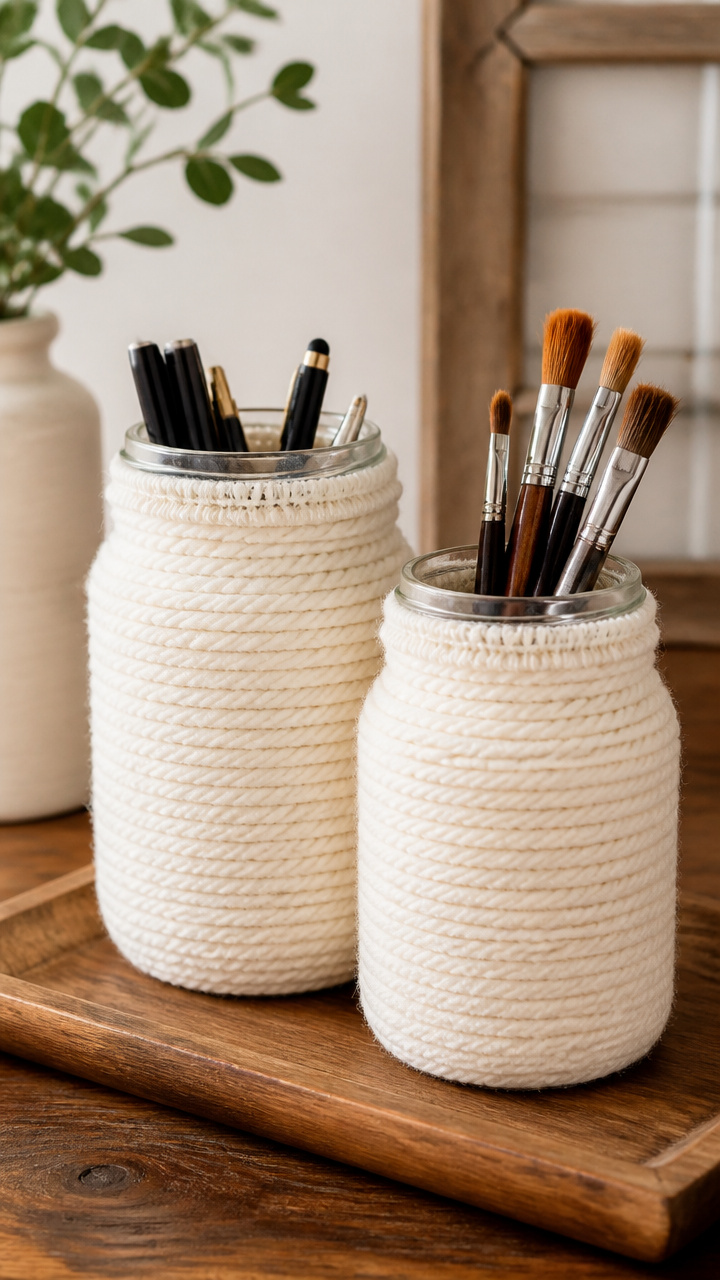
Jars wrapped in soft yarn hold pens and brushes with a homespun touch.
Materials Needed
- 2 regular mouth pint mason jars
- cream cotton yarn, 20 yards
- fabric glue, 1 ounce
- paintbrush, 1/2 inch
- blunt needle
How to Make It
- Apply a small dot of fabric glue to the base of the jar with the paintbrush.
- Press the yarn end onto the glue and wait one minute.
- Wrap yarn tightly around the jar in even rows, adding glue every inch.
- Thread the end through a blunt needle and weave it under nearby wraps to hide.
- Repeat for the second jar.
You now have everything you need to begin crafting with purpose and warmth. Let each jar tell a story of care, one thoughtful project at a time.