15 Mason Jar Lid Pumpkin Crafts for Farmhouse Fall Decor

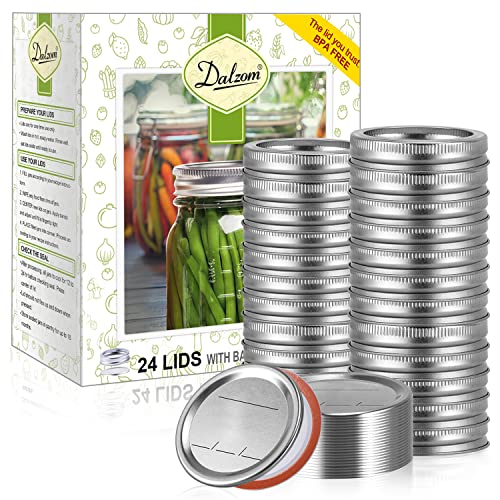
Fall light filters through the trees in golden patches, and your home can echo that warmth with simple handmade touches. Mason jar lids are sturdy, round, and just the right size to become charming pumpkin accents for shelves, wreaths, and tables.
You likely have a few tucked in a kitchen drawer, waiting for a second life. With paint, twine, and a little time, they become rustic centerpieces of your autumn decor.
1. Mini Painted Lid Pumpkins
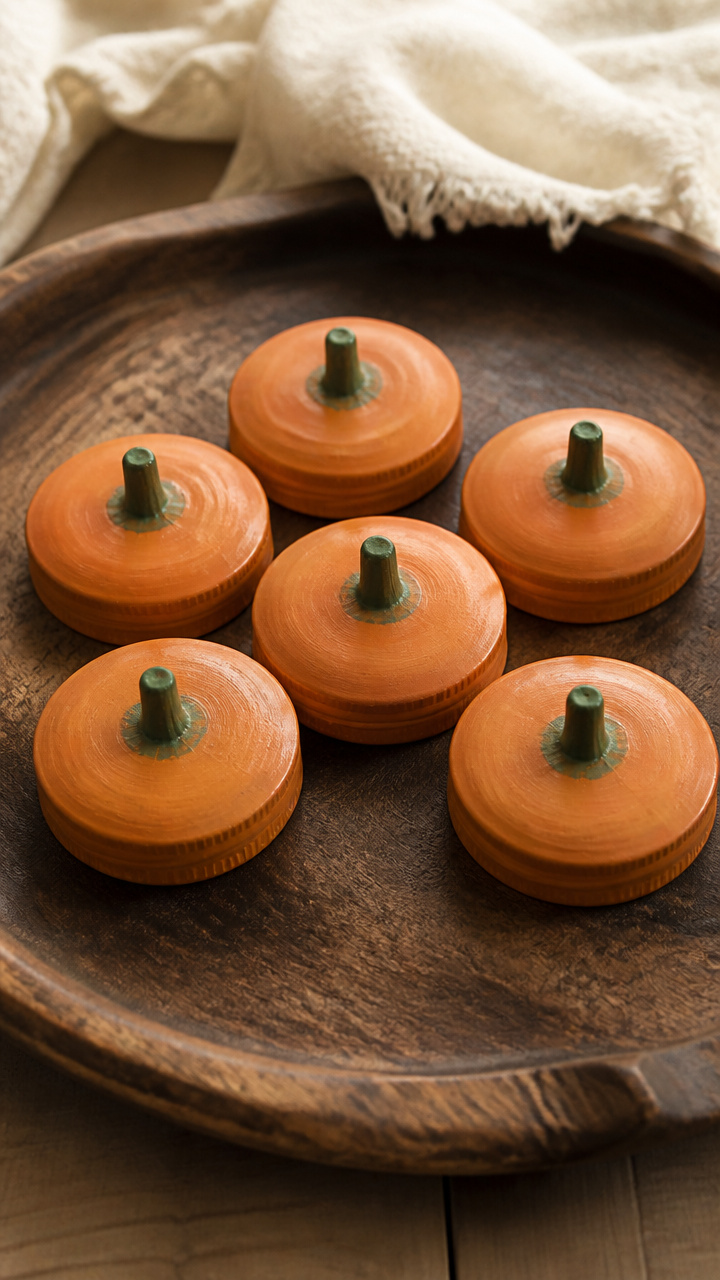
Smooth matte orange lids with hand-brushed details bring soft farmhouse charm to mantels. These tiny pumpkins look best grouped in odd numbers on a wooden tray.
Materials Needed
- 6 mason jar lids, 2.5 inch diameter
- Flat orange acrylic paint
- Flat green acrylic paint
- Small synthetic brush, size 2 round
- Pencil
- Ruler
- Paper plate
How to Make It
- Pour a dime-sized amount of orange paint onto the paper plate. Use the brush to coat the top side of each lid evenly, pressing into the ridges. Let dry for 30 minutes on a flat surface.
- Dip the brush in green paint and draw a 0.5 inch stem on top center of each lid. Add one curved line beside it to suggest a tendril. Let dry completely before display.


2. Burlap Ruffle Pumpkins
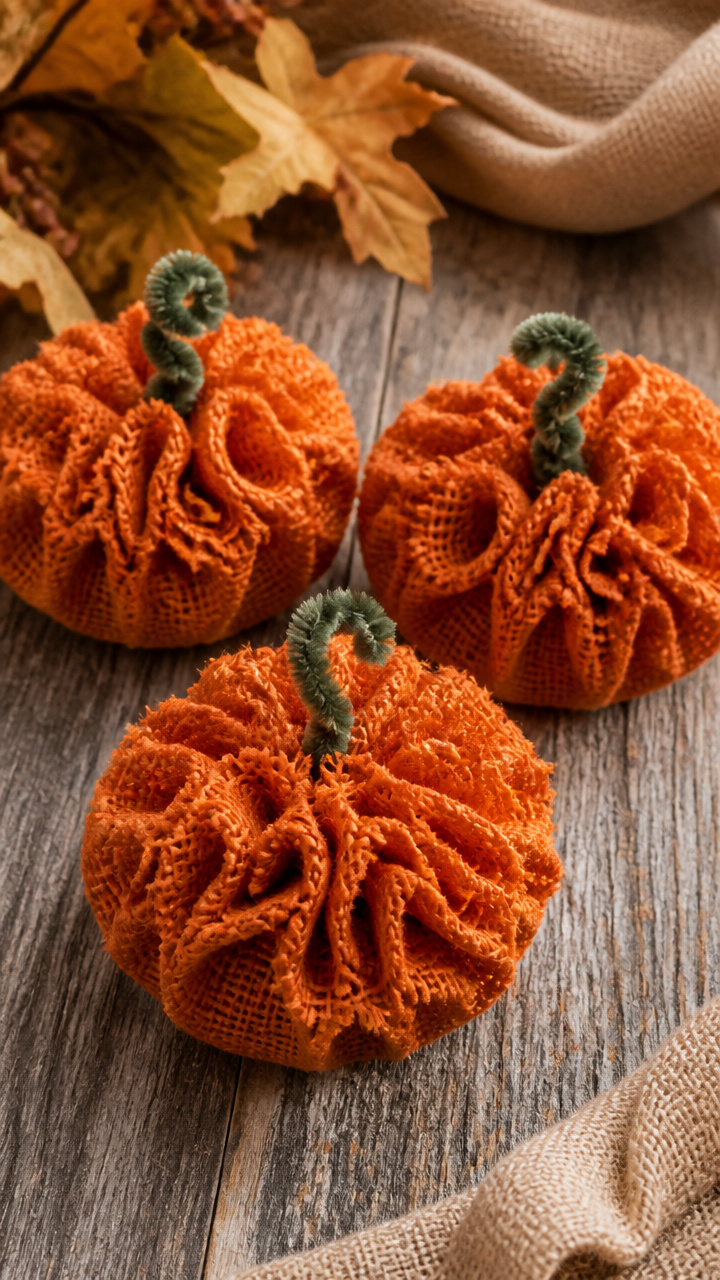
Soft burlap gathers around the lid edge to mimic real pumpkin folds. These textured pieces add cozy depth to a fall centerpiece.
Materials Needed
- 4 mason jar lids, 3 inch diameter
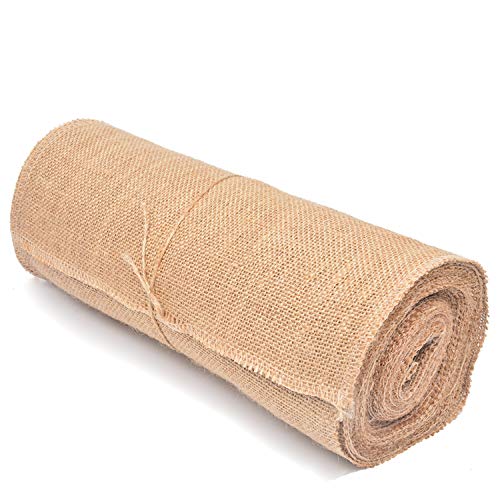
- Burlap fabric strip, 18 inches long by 2 inches wide
- Hot glue gun
- Glue sticks
- Scissors
- Green pipe cleaner
How to Make It
- Cut the burlap strip into four 4.5 inch lengths. Fold each piece in half lengthwise and run a thin line of hot glue along the inside fold. Press the glued edge against the outer rim of a lid, fabric side out.
- Pinch the burlap every 0.75 inch to create ruffles as you glue it all the way around. Trim excess. Twist one end of a green pipe cleaner and press it into the center top as a stem.


3. Twine-Wrapped Mini Pumpkins
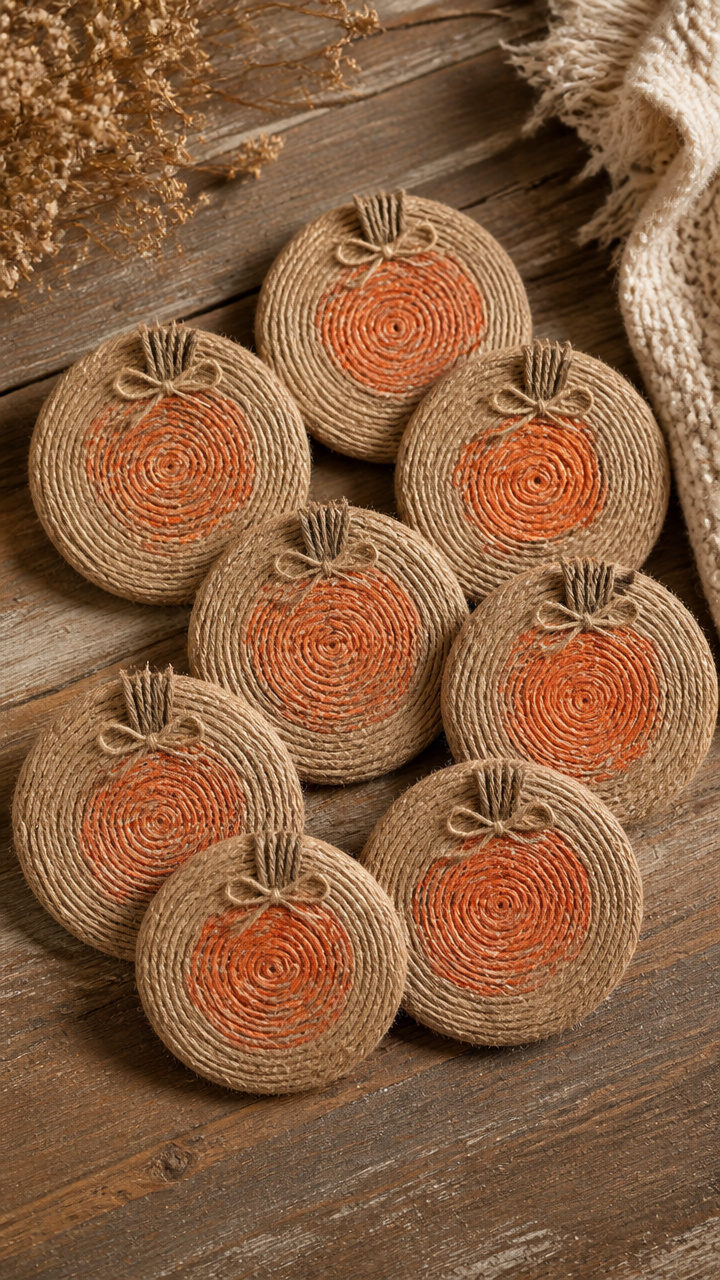
Natural jute twine spirals tightly over painted lids for a farmhouse-neutral tone. These work well clipped to a garland or taped to a chalkboard sign.
Materials Needed
- 8 mason jar lids, 2.5 inch diameter
- Jute twine, 1 mm thickness, 10 feet total
- Hot glue gun
- Glue sticks
- Flat orange acrylic paint
- Small foam brush
How to Make It
- Paint the top side of each lid with orange paint using the foam brush. Let dry for 30 minutes on wax paper.
- Put a dot of hot glue in the center of a lid. Press the end of the twine into it. Wrap the twine tightly in a spiral, adding a dab of glue every inch to secure. Clip the end and glue it down.


4. Lid and Button Stalk Pumpkins
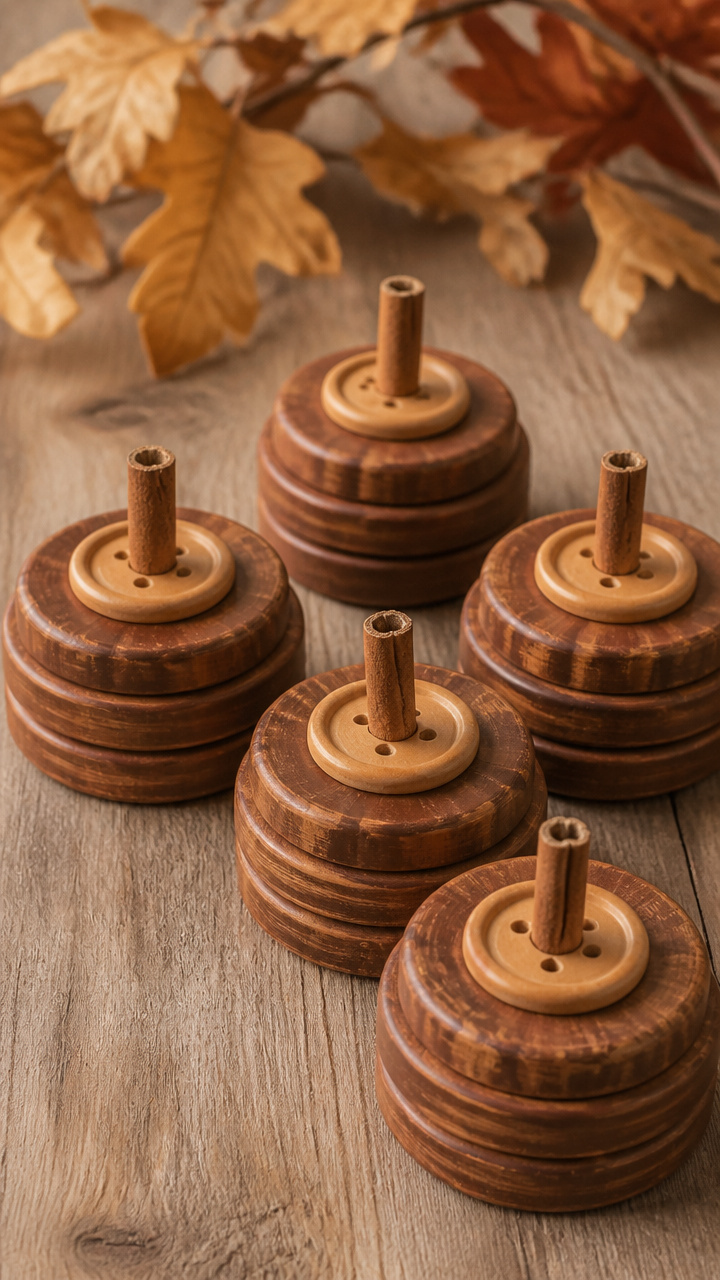
A wooden button stacked on a lid forms a 3D pumpkin with natural height. These stand upright on tables and catch light on their grain.
Materials Needed
- 5 wooden buttons, 1.5 inch diameter, two holes
- 5 mason jar lids, 2.5 inch diameter
- Brown craft paint
- Small flat brush
- Strong craft glue
- Dried mini cinnamon sticks, 1 inch long, 5 pieces
How to Make It
- Paint the top of each lid with brown craft paint. Let dry for 20 minutes. Turn the lid over and apply a thick line of craft glue around the outer ring of the underside.
- Press a wooden button into the glue so it centers on the lid. Hold for 10 seconds. Let cure for 2 hours. Glue one cinnamon stick vertically to the top center of each button for a stem.


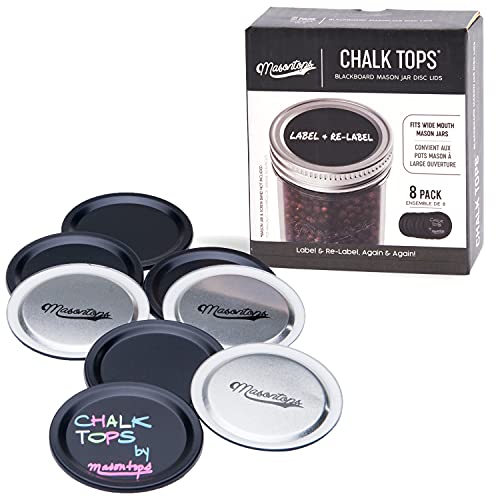
5. Chalkboard Paint Pumpkins
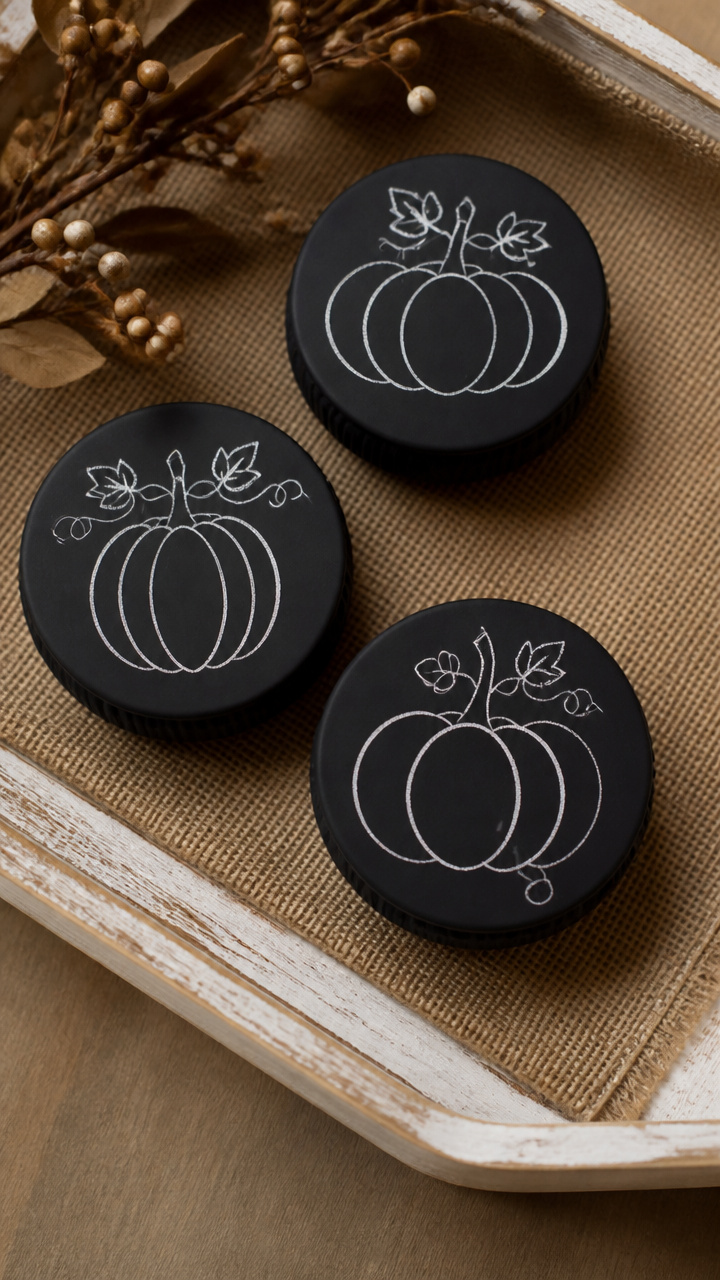
Matte black lids become mini canvases for hand-drawn vines and words. These are perfect for labeling a fall buffet or marking seats at dinner.
Materials Needed
- 6 mason jar lids, 3 inch diameter
- Chalkboard paint, 1 ounce
- Small foam applicator
- White chalk pencil
- Fine sandpaper, 220 grit
- Cotton cloth
How to Make It
- Apply one coat of chalkboard paint to the top of each lid using the foam applicator. Let dry for 1 hour. Lightly sand with sandpaper to smooth, then wipe with a cloth.
- Use the chalk pencil to draw a short vine with two leaves and a curl from the center edge. Write one word like 'Cider' or 'Harvest' beside it. Set aside for 72 hours to cure before erasing.


6. Felt Leaf Accents
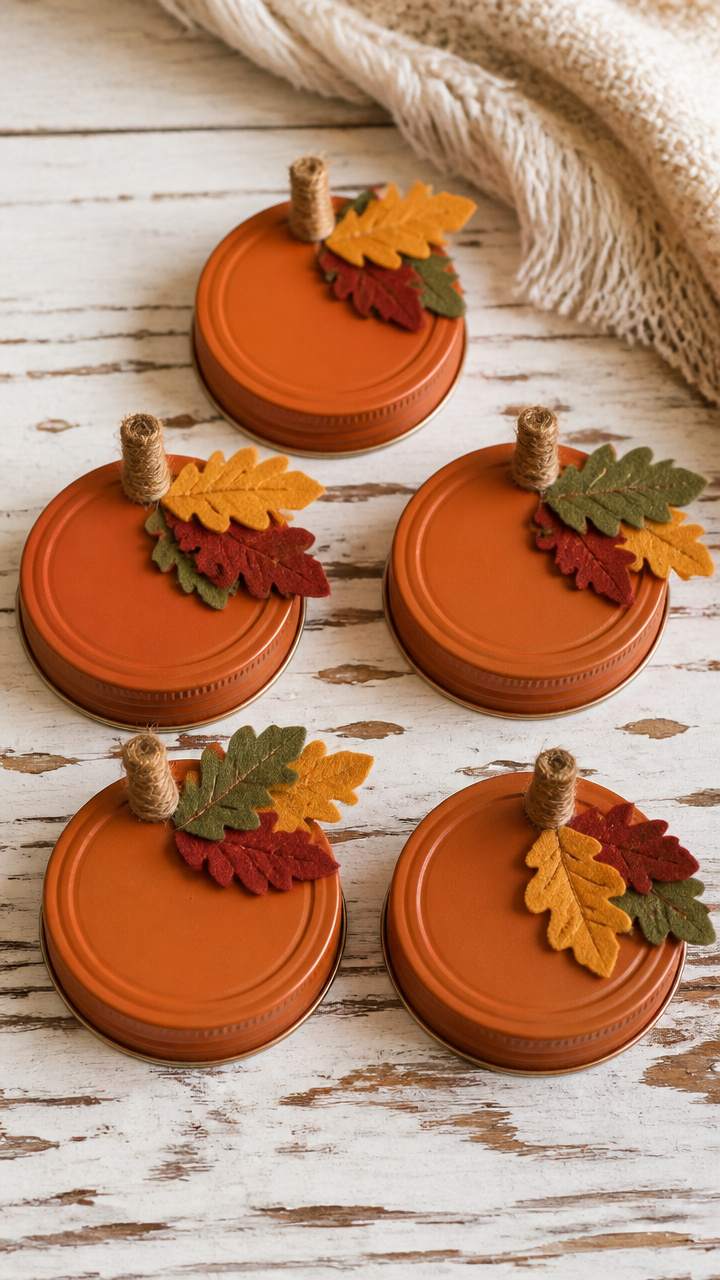
Felt leaves in warm tones peek out from under the lid edge for a seasonal surprise. These look best pinned to a burlap wreath or napkin.
Materials Needed
- 5 mason jar lids, 2.5 inch diameter
- Orange craft paint
- Small brush
- Felt sheets: mustard yellow, rust red, olive green, 6×9 inches each
- Scissors
- Hot glue gun
- 5 wooden beads, 0.3 inch, brown
How to Make It
- Paint the top side of each lid orange and let dry for 30 minutes. Cut three leaf shapes from the felt sheets, each 1 inch tall with jagged edges.
- Arrange one leaf of each color overlapping slightly beneath the rim on one side of a lid. Glue in place with hot glue. Press a brown bead into the center top as a stem.


7. Lid and Clothespin Pumpkins
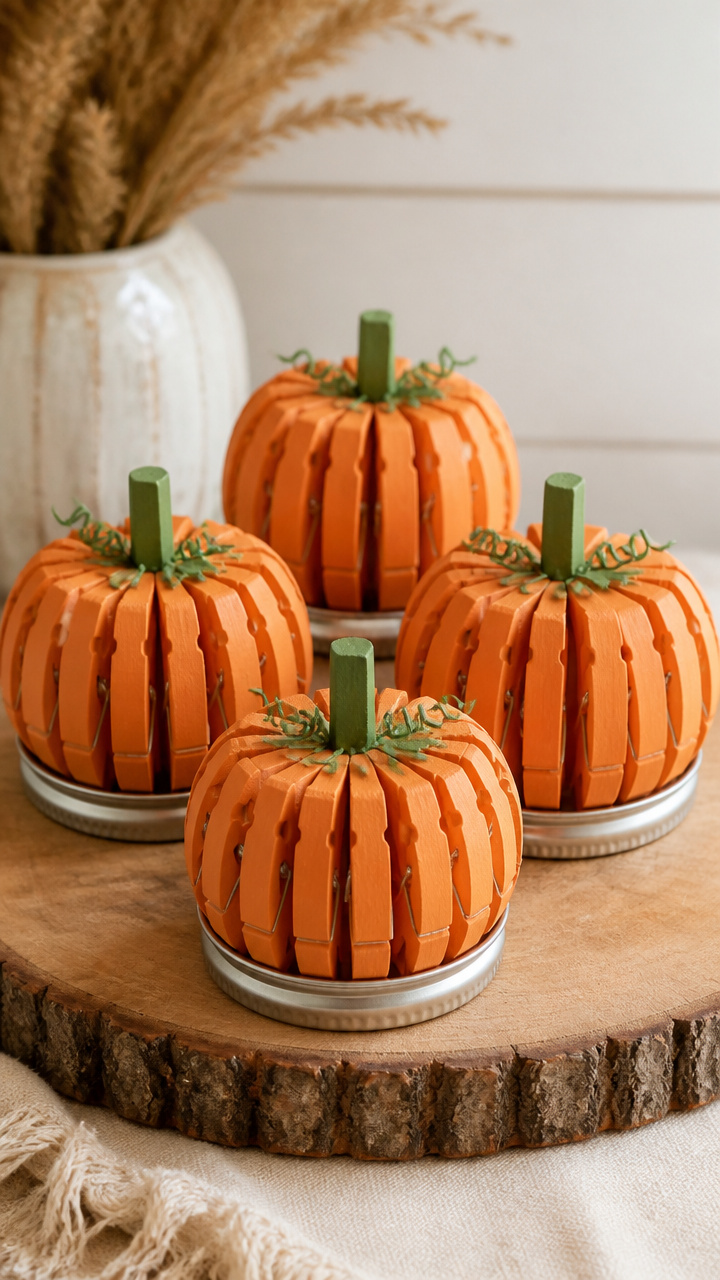
A painted clothespin stands upright on a lid to form a plump little pumpkin. These wobble slightly when touched, adding playful movement.
Materials Needed
- 6 flat wooden clothespins
- 6 mason jar lids, 3 inch diameter
- Orange acrylic paint
- Green acrylic paint
- Small brush
- Strong craft glue
- Toothpick
How to Make It
- Paint the rounded end of each clothespin with orange paint. Let dry for 20 minutes. Paint the flat side of each lid orange and let dry.
- Apply a pea-sized amount of craft glue to the flat base of a clothespin. Press it centered on the lid. Hold for 15 seconds. Use the toothpick to dot green paint on top for a stem.


8. Glitter Rim Pumpkins
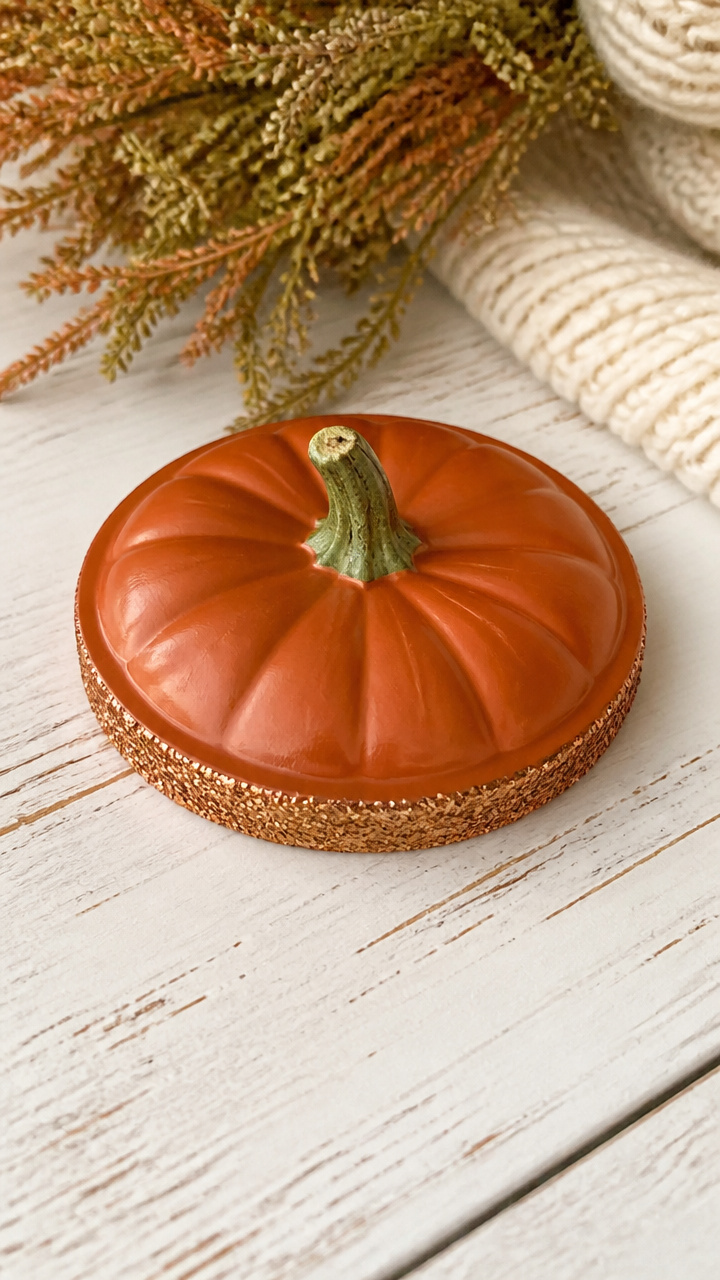
A thin band of copper glitter catches the light on a deep orange lid. These sparkle subtly in candlelight and suit a rustic-chic tablescape.
Materials Needed
- 4 mason jar lids, 3 inch diameter
- Burnt orange acrylic paint
- Foam brush
- Painter's tape, 0.5 inch width
- Tacky glue
- Fine copper glitter
- Small tray
How to Make It
- Paint the top side of each lid with burnt orange paint. Let dry for 30 minutes. Cut four 3 inch strips of painter's tape and press one along the outer edge of each lid, sticky side down.
- Brush a thin line of tacky glue just above the tape edge. Pour copper glitter from the bottle into the tray and sprinkle over the glue. Shake off excess. Let dry 45 minutes, then peel tape and discard.


9. Scrapbook Paper Mosaic
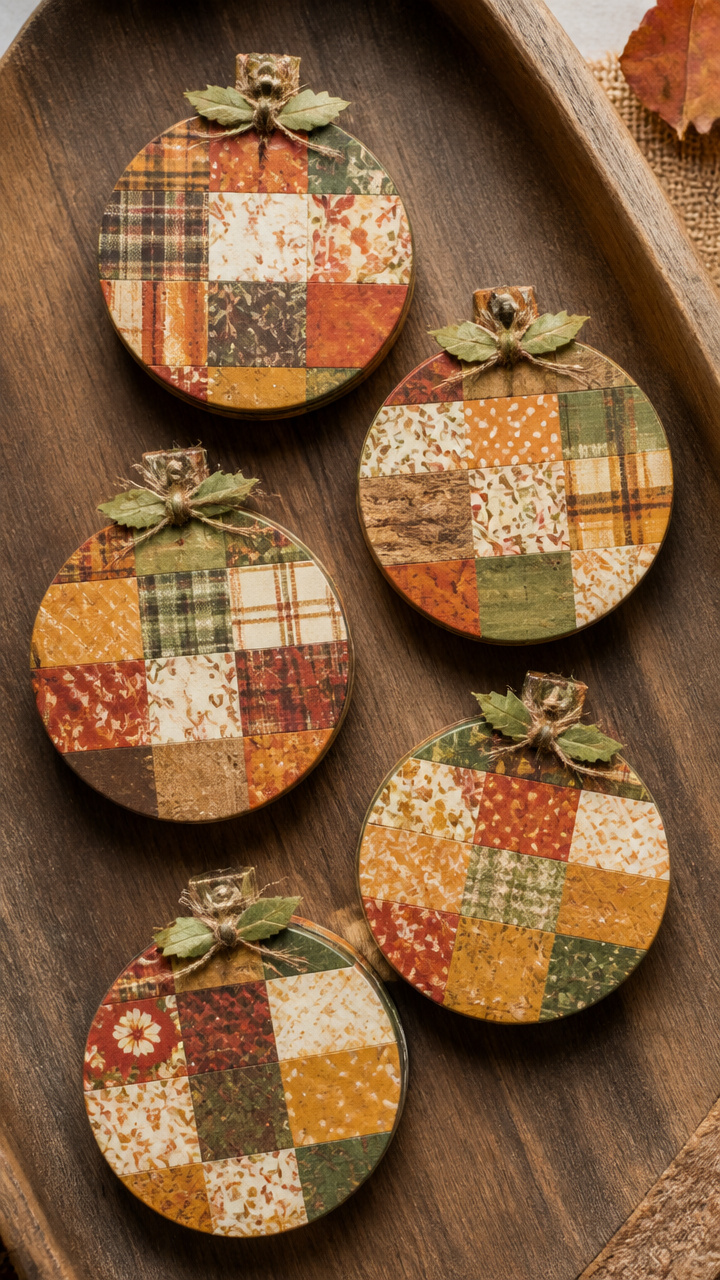
Small squares of patterned paper create a patchwork pumpkin effect. These colorful lids brighten shadow boxes or gift toppers.
Materials Needed
- 5 mason jar lids, 2.5 inch diameter
- Mod Podge matte finish
- Small foam brush
- Fall-themed scrapbook paper, 6×6 inch sheet
- Scissors
- Clear acrylic sealer spray
How to Make It
- Cut the scrapbook paper into 0.5 inch squares using scissors. Apply a thin layer of Mod Podge to the top of a lid with the foam brush.
- Press 12 to 15 paper squares onto the glue in a random pattern, leaving tiny gaps. Let dry for 40 minutes. Seal with two light coats of acrylic spray, waiting 10 minutes between coats.


10. Pumpkin Spice Cotton Ball
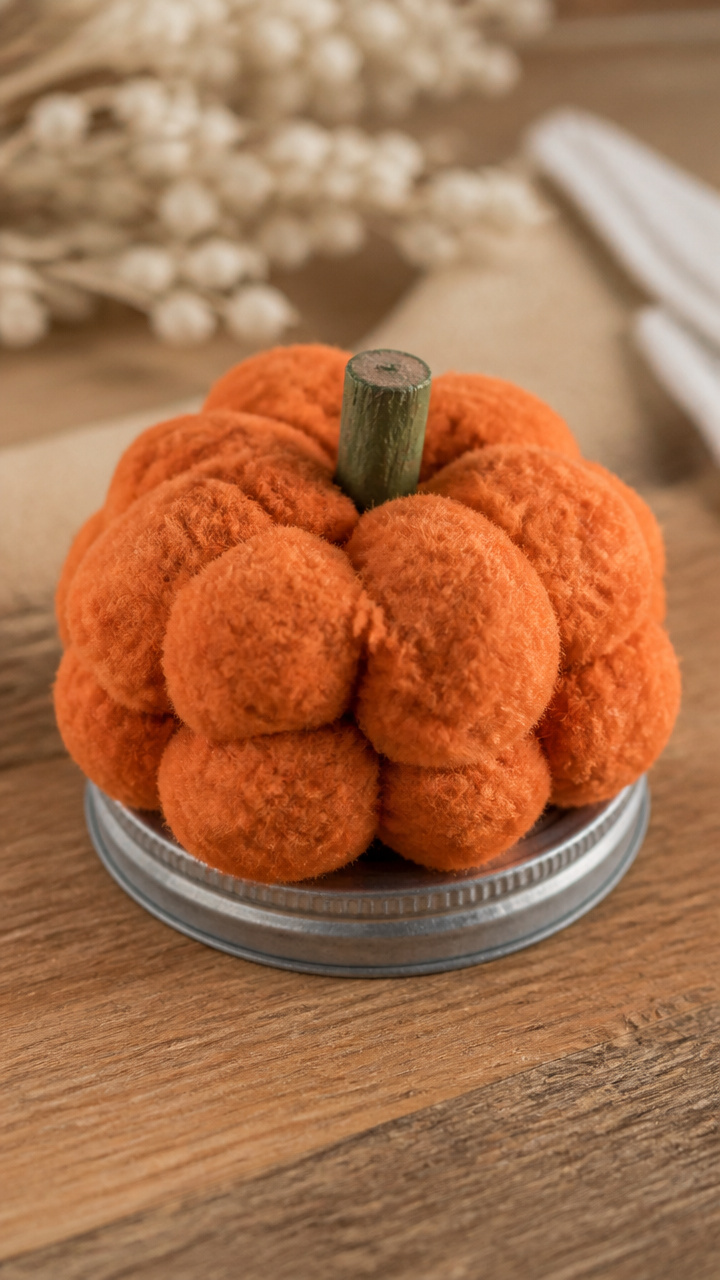
A fluffy cotton ball dipped in paint mimics a textured gourd surface. This method gives a soft, vintage look with zero brushstrokes.
Materials Needed
- 6 mason jar lids, 2.5 inch diameter
- Orange acrylic paint
- Shallow dish
- Cotton balls, 6 large
- Green paint pen
- Tweezers
How to Make It
- Pour a nickel-sized pool of orange paint into the dish. Squeeze a cotton ball to flatten it, then dip the bottom third into the paint. Dab gently onto the top of a lid in a circular motion from center outward.
- Let dry for 25 minutes. Use tweezers to place one clean cotton ball fragment in the center. Draw a short stem with the green paint pen on top.


11. Ribbon Bow Pumpkins
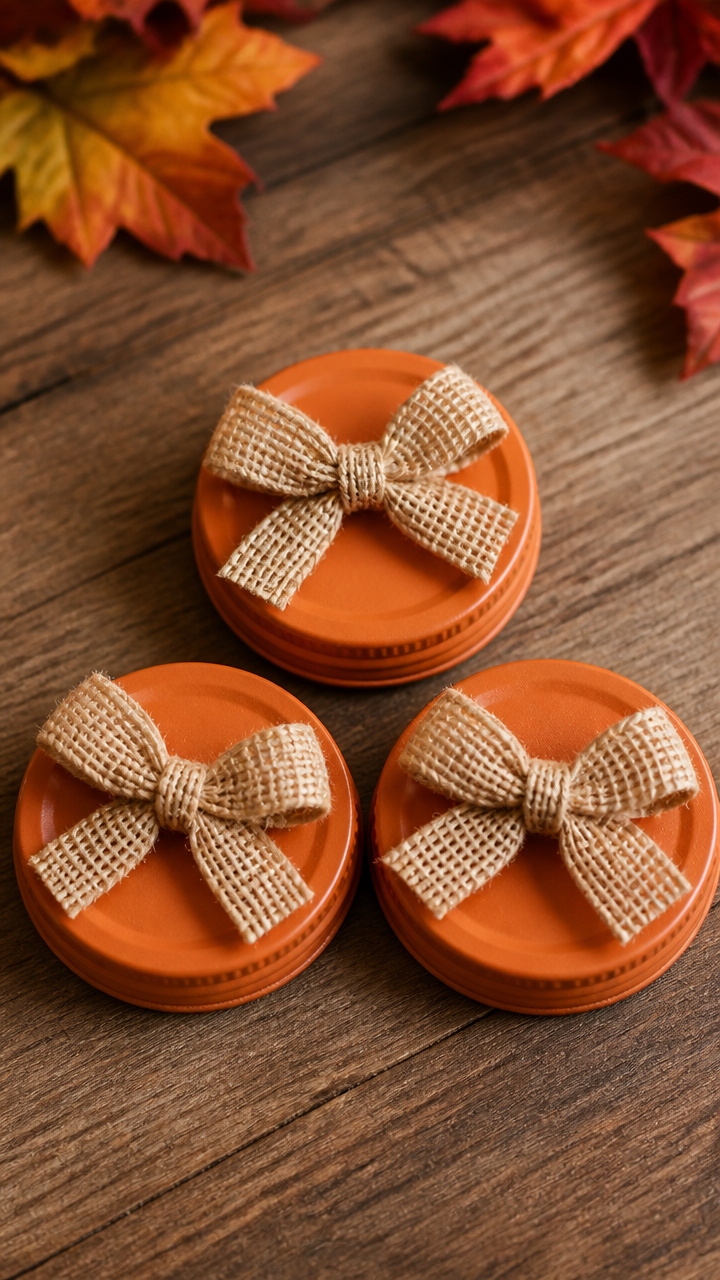
A grosgrain ribbon bow sits snug in the lid center like a stylized stem. These polished pieces suit a formal entryway tray.
Materials Needed
- 5 mason jar lids, 3 inch diameter
- Orange spray paint
- Cardboard box for spraying
- 3/8 inch wide burlap ribbon, 1 yard
- Scissors
- Hot glue gun
- Small wooden disc, 0.5 inch diameter, 5 pieces
How to Make It
- Place lids in the cardboard box and spray with orange paint from 10 inches away. Let dry for 1 hour, then flip and spray the other side. Dry fully for 2 hours.
- Cut five 10 inch ribbon lengths. Tie each into a bow with 2 inch loops. Trim ends at 45 degree angles. Glue one wooden disc to the center of each lid, then glue the bow on top.


12. Cinnamon Stick Base
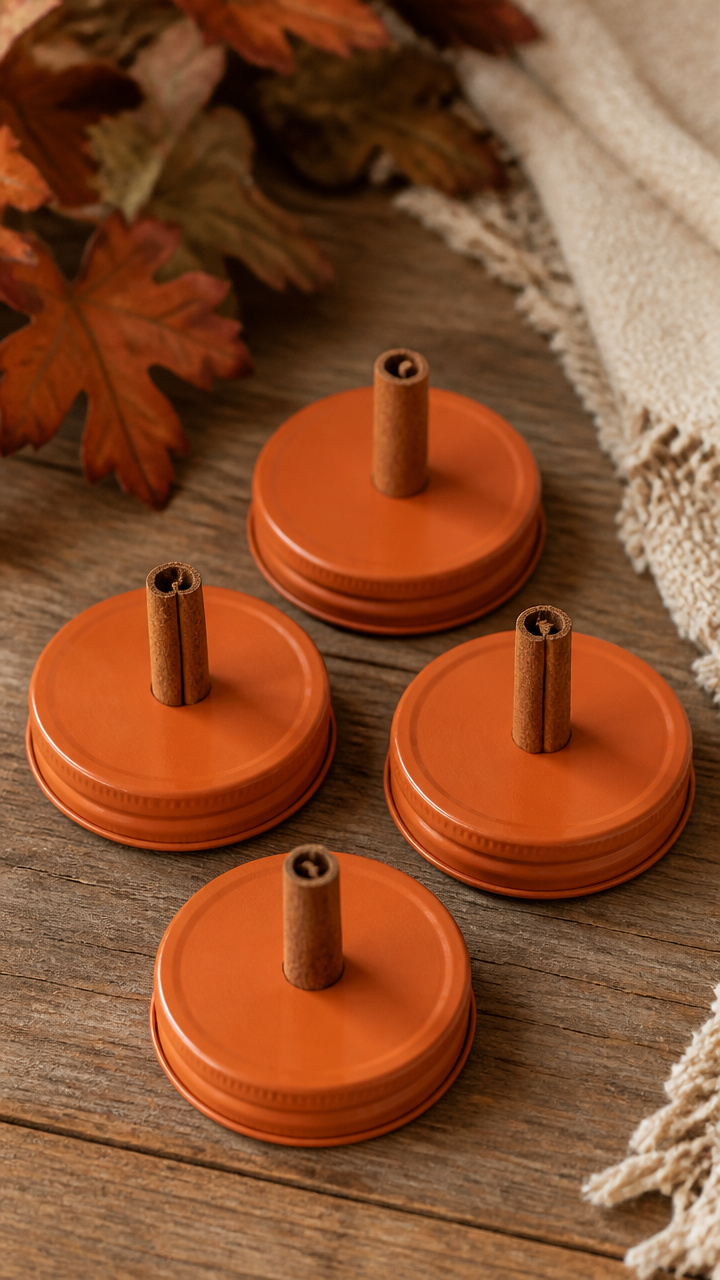
A short cinnamon stick lifts the lid to form a rustic pedestal pumpkin. The scent lingers lightly and invites close inspection.
Materials Needed
- 4 mason jar lids, 2.5 inch diameter
- Flat orange paint
- Small brush
- Dried cinnamon sticks, 1.5 inch long, 4 pieces
- Strong craft glue
- Clear-drying glue pen
How to Make It
- Paint the top side of each lid orange and let dry for 30 minutes. Apply a thick ring of craft glue to the bottom side, staying 0.25 inch from the edge.
- Press the flat end of a cinnamon stick into the glue. Hold for 20 seconds. Let cure for 3 hours. Use the glue pen to draw three short lines from center outward on the lid top.


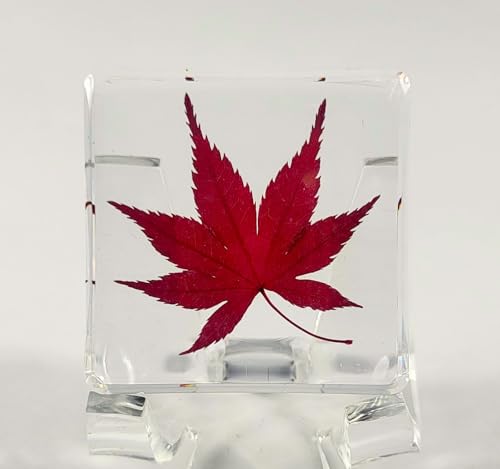
13. Pressed Leaf Topper
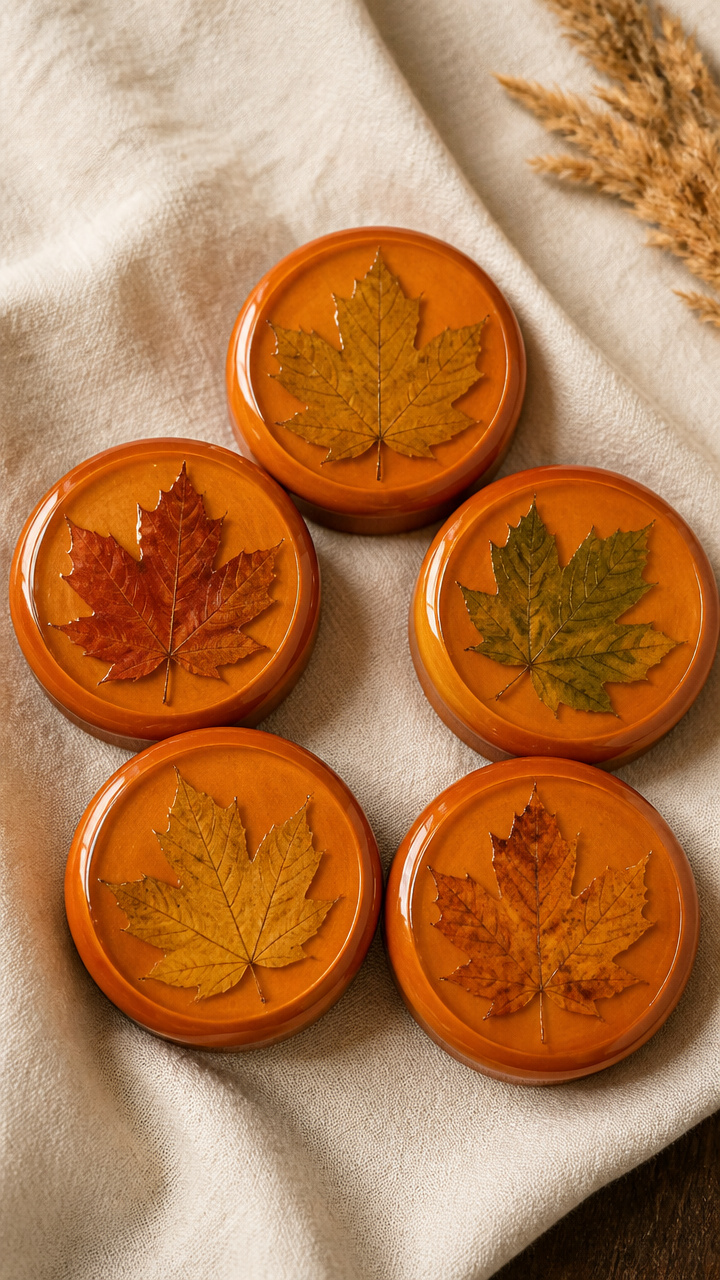
A real pressed leaf rests under a dome of glue on each lid. These capture the delicate veins and colors of autumn foliage.
Materials Needed
- 5 mason jar lids, 3 inch diameter
- Orange acrylic paint
- Small brush
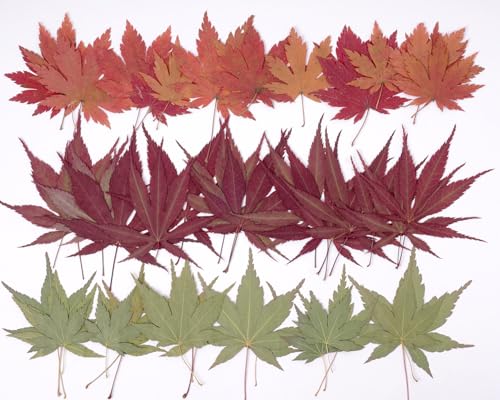
- Pressed maple leaves, 1.5 inch wide, 5 pieces
- Clear school glue
- Popsicle stick
How to Make It
- Paint the top of each lid orange and let dry for 25 minutes. Place one pressed leaf near the edge of a lid, angled outward.
- Use the popsicle stick to spread a thick layer of glue over the entire leaf and surrounding lid surface. Let dry completely for 4 hours. The glue will form a smooth dome.

14. Yarn Wrapped Stems
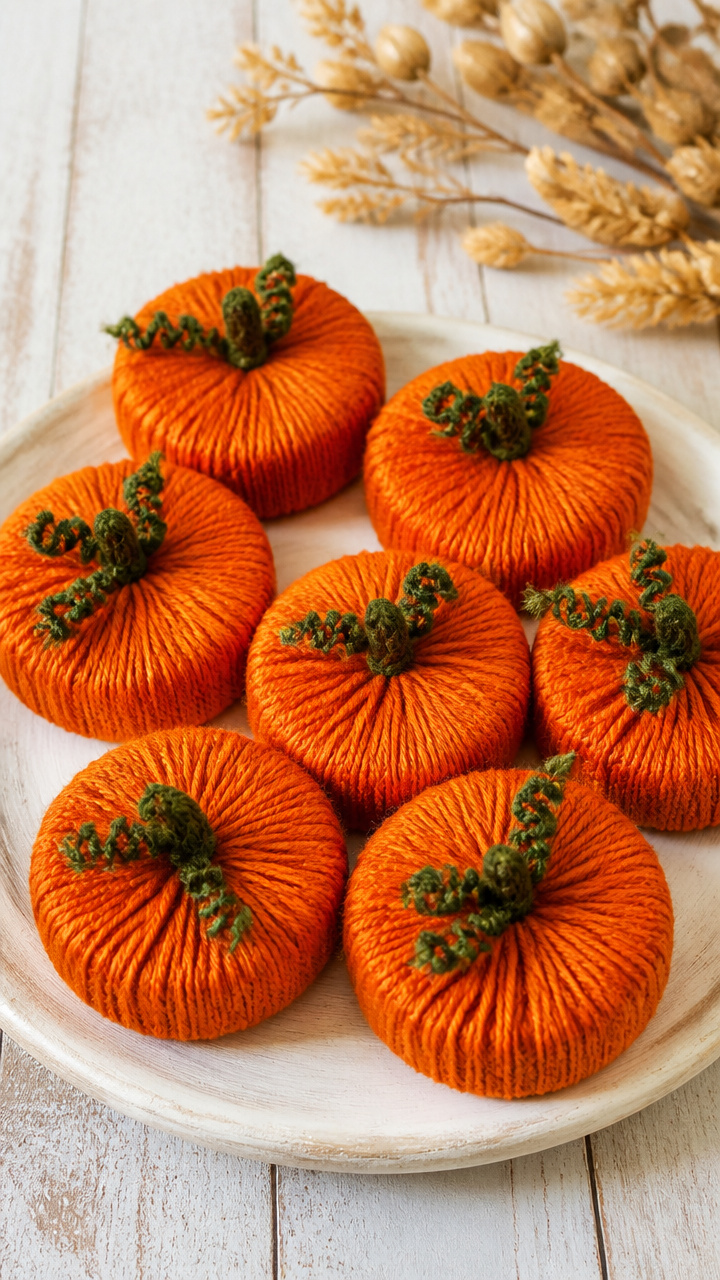
Bright orange yarn wraps tightly around the lid to suggest a tiny pumpkin. A loop of green yarn forms a curling vine at the top.
Materials Needed
- 6 mason jar lids, 2.5 inch diameter
- Orange yarn, size 4, 6 feet total
- Green yarn, size 4, 1 foot
- Hot glue gun
- Scissors
How to Make It
- Put a dot of hot glue in the center of a lid. Press the end of the orange yarn into it. Wrap the yarn tightly in a spiral, adding glue every inch. Cut and glue the end.
- Cut a 6 inch piece of green yarn. Fold in half and glue the looped end to the center top. Spread the two ends down like a V to form a vine.


15. Mini Chalkboard Labels
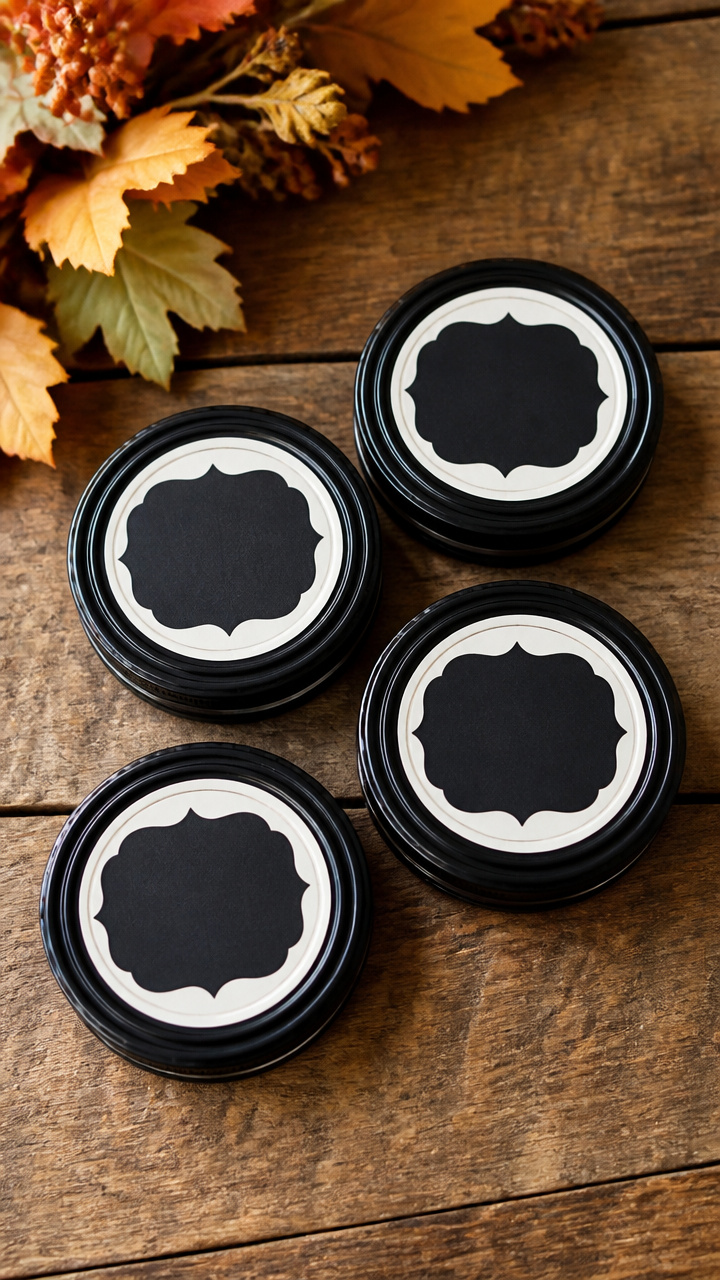
A painted lid holds a tiny chalkboard tag for naming pies or drinks. These are both decorative and useful at gatherings.
Materials Needed
- 5 mason jar lids, 3 inch diameter
- Black acrylic paint
- Small brush
- White cardstock, 3×5 inch sheet
- Circle punch, 1.25 inch diameter
- Chalk pencil
- Hole punch, 1/16 inch
- Jute string, 10 inch lengths, 5 pieces
How to Make It
- Paint the top of each lid with black paint. Let dry for 30 minutes. Use the circle punch to cut five discs from the cardstock.
- Write one word like 'Pumpkin' or 'Spice' on each disc with the chalk pencil. Punch a hole at the top. Thread a jute string through and tie. Lay the tag in the center of each lid.


Your kitchen drawer holds the start of something warm and handmade. Pick one idea and let it lead you to the next.