20 Farmhouse Door Decor Ideas

Your front door sets the tone for your home, and a farmhouse style welcomes with warmth and charm. Simple handmade touches bring character without fuss or clutter.
These ideas use everyday materials and clear techniques to help you create something special. Each one feels personal, lasting, and perfectly suited to country living.
1. Rustic Wreath with Dried Lavender
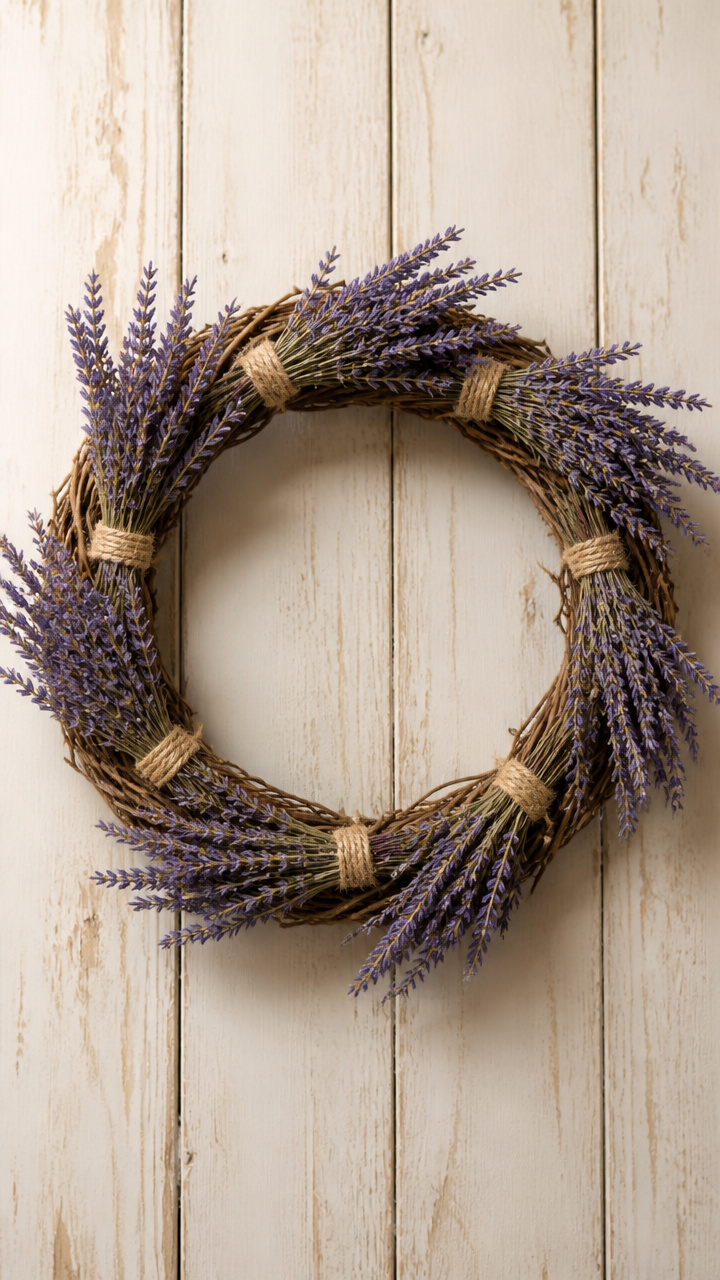
Natural lavender bundles add soft color and calming scent to a woven grapevine base. This wreath lasts months with no maintenance.
Materials Needed
- 16-inch grapevine wreath base
- 12 sprigs dried lavender, 6 inches long
- Jute twine, 3 feet
- Floral wire, 22 gauge, 18 inches
- Scissors
How to Make It
- Trim lavender stems to 4 inches using scissors.
- Bundle 3 sprigs together and secure at the stem with floral wire.
- Attach each bundle to the grapevine base by wrapping jute twine around the stem and weaving it into the vines.
- Space bundles evenly around the entire wreath, overlapping slightly for fullness.


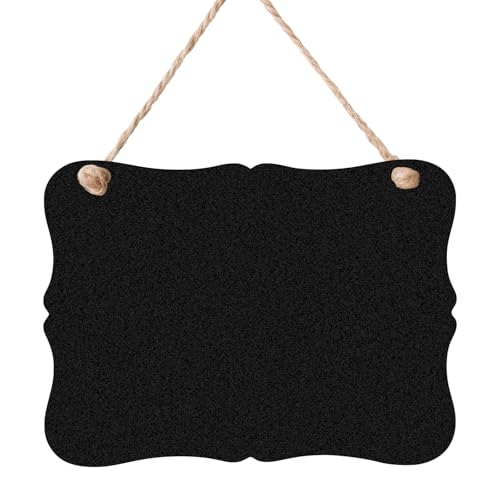
2. Chalkboard Painted Sign with Copper Accents
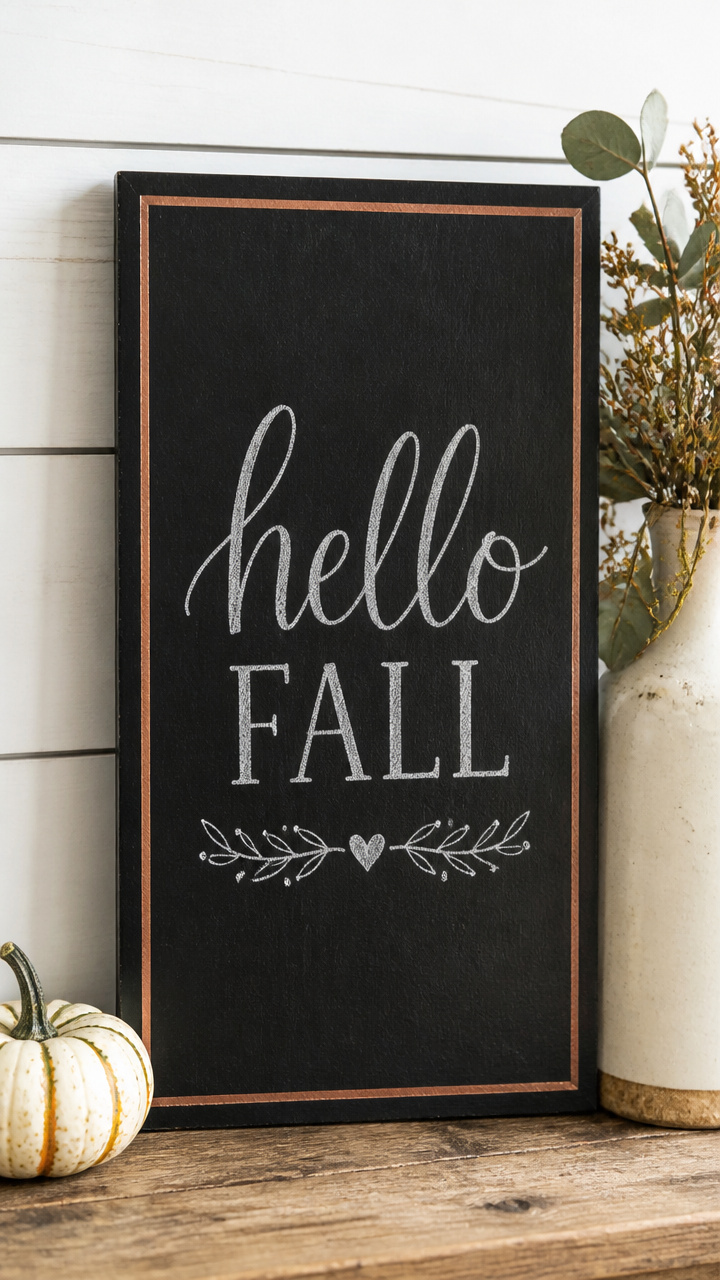
A smooth sign with hand-lettered greetings changes with the season. Copper tape gives it a subtle shine.
Materials Needed
- Pine board, 12 x 6 inches, sanded smooth
- Black chalkboard paint, 2 oz
- Foam brush, 1 inch
- Copper adhesive tape, 1/4 inch wide, 10 feet
- White chalk pencil
How to Make It
- Apply one coat of black chalkboard paint with the foam brush, let dry 2 hours.
- Add a second coat and wait 4 hours before using.
- Press copper tape along both long edges of the board, trimming corners neatly.
- Write your message with the white chalk pencil, erasing and reworking as needed.


3. Burlap Bow with Twig Tie
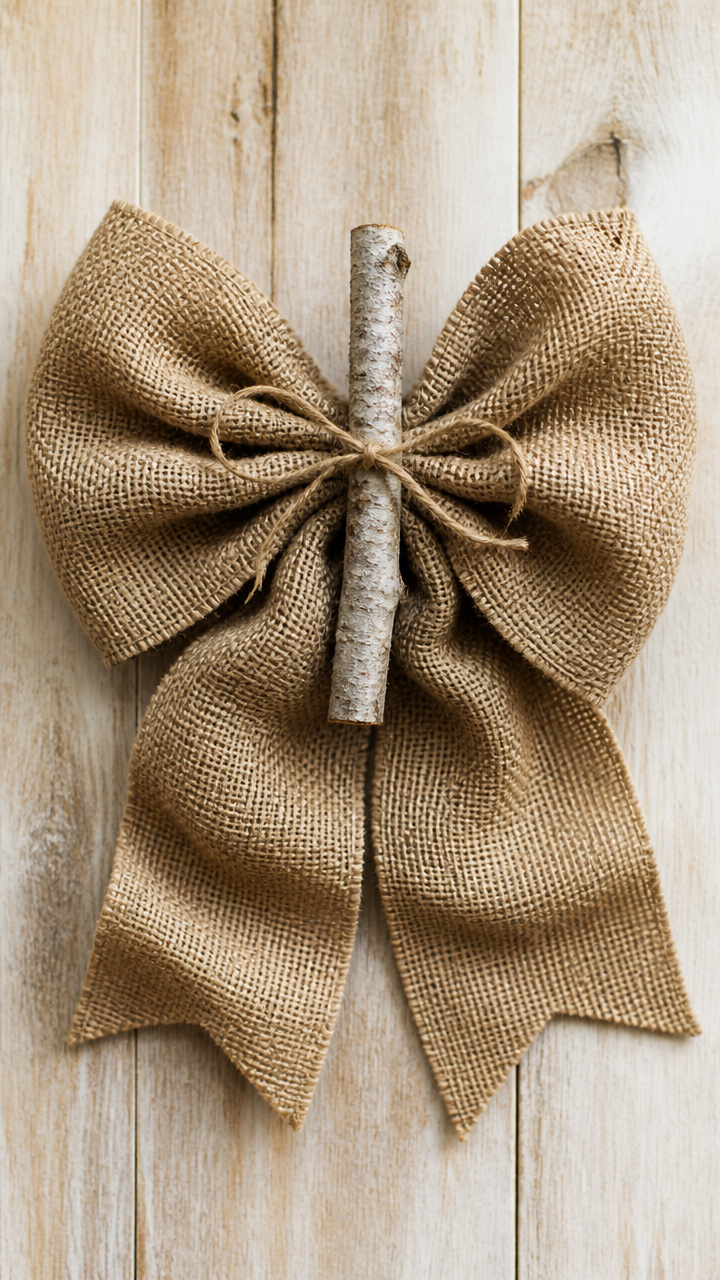
A textured bow made from natural burlap stays fresh-looking year-round. A real twig adds earthy contrast.
Materials Needed
- Burlap ribbon, 4 inches wide, 2 yards
- Small birch twig, 5 inches long
- Hot glue gun and glue sticks
- Scissors
- Jute string, 8 inches
How to Make It
- Cut two 18-inch lengths of burlap ribbon.
- Fold one length in half and gather the center tightly, securing with hot glue on the back.
- Wrap jute string around the glued center and knot once.
- Glue the twig over the knot, then attach the second bow layer at an angle for dimension.


4. Mini Mason Jar Herb Holder
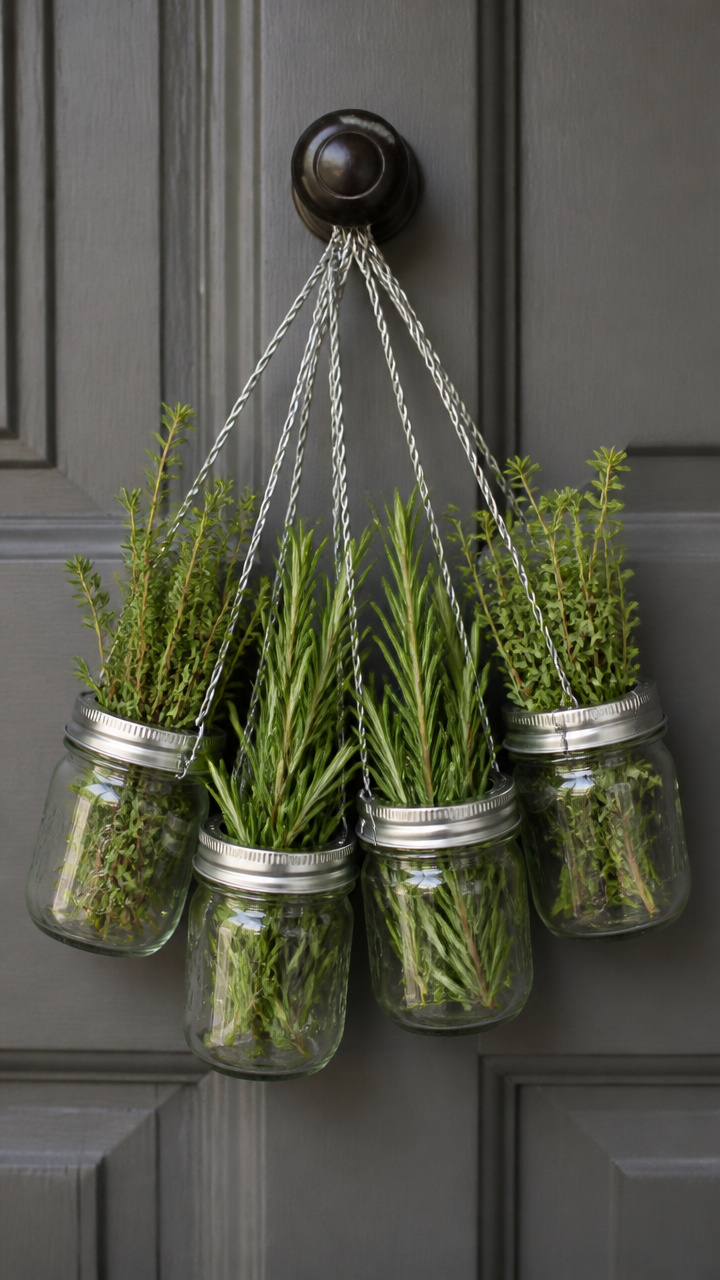
Tiny jars hold fresh herbs and hang right on the knob. They bring green life within easy reach.
Materials Needed
- 4 mini mason jars, 2-ounce size
- Galvanized wire, 16 gauge, 32 inches total
- Wire cutters
- Pliers
- Fresh thyme or rosemary sprigs
How to Make It
- Cut four 8-inch lengths of galvanized wire.
- Use pliers to bend each piece into a U-shape and twist the ends together to form a hanger.
- Slide one jar into each hanger and tighten the wire snugly around the rim.
- Fill jars with water and add one herb sprig to each before hanging on the door knob.


5. Stenciled Monogram with Linen Texture
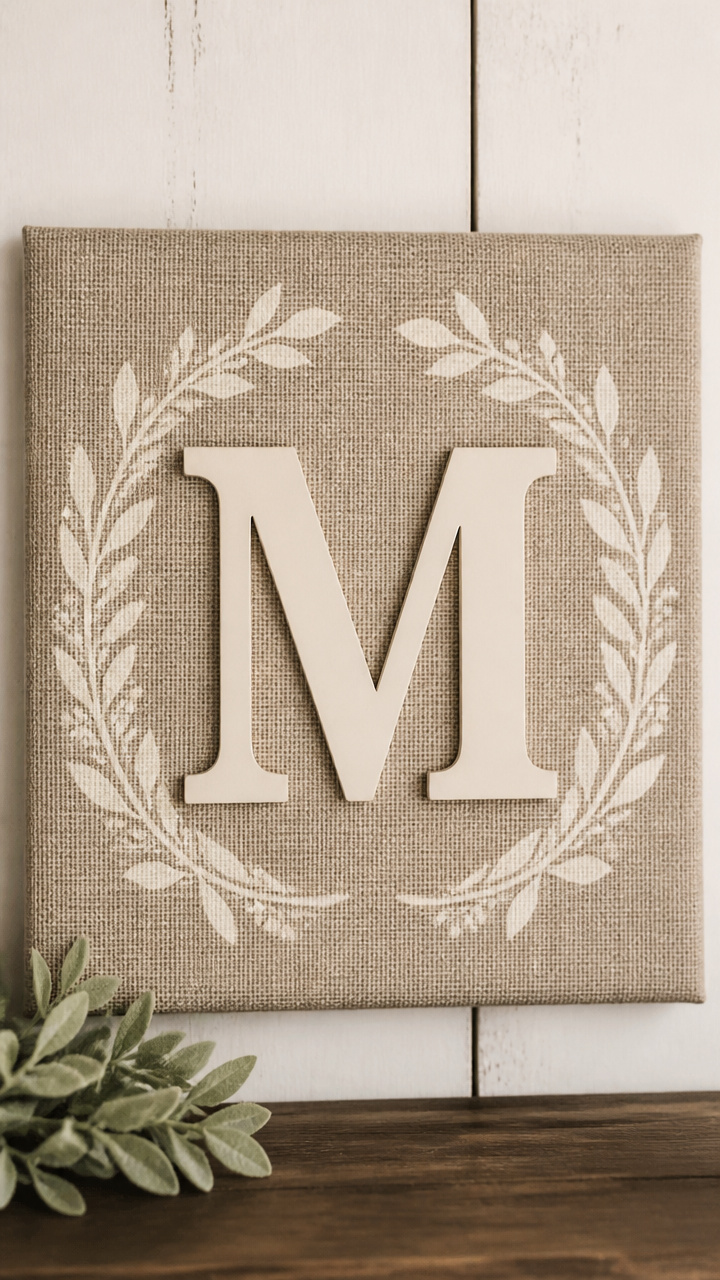
A large letter stands out clearly against a linen-textured background. The fabric adds depth without weight.
Materials Needed
- Linen fabric square, 10 x 10 inches
- Wood letter, 8 inches tall, unfinished pine
- Fabric glue, 2 oz
- Stencil brush, 1 inch
- Cream acrylic paint, 1 oz
How to Make It
- Cut the linen to fit the face of the wood letter, leaving a 1/4 inch border.
- Brush fabric glue onto the wood surface and press the linen square firmly in place, smoothing out wrinkles.
- Dip the stencil brush lightly in cream paint and dab it over the linen to tint it evenly.
- Let dry completely before attaching a sawtooth hanger to the back with strong glue.



6. Woven Cotton Rope Mat
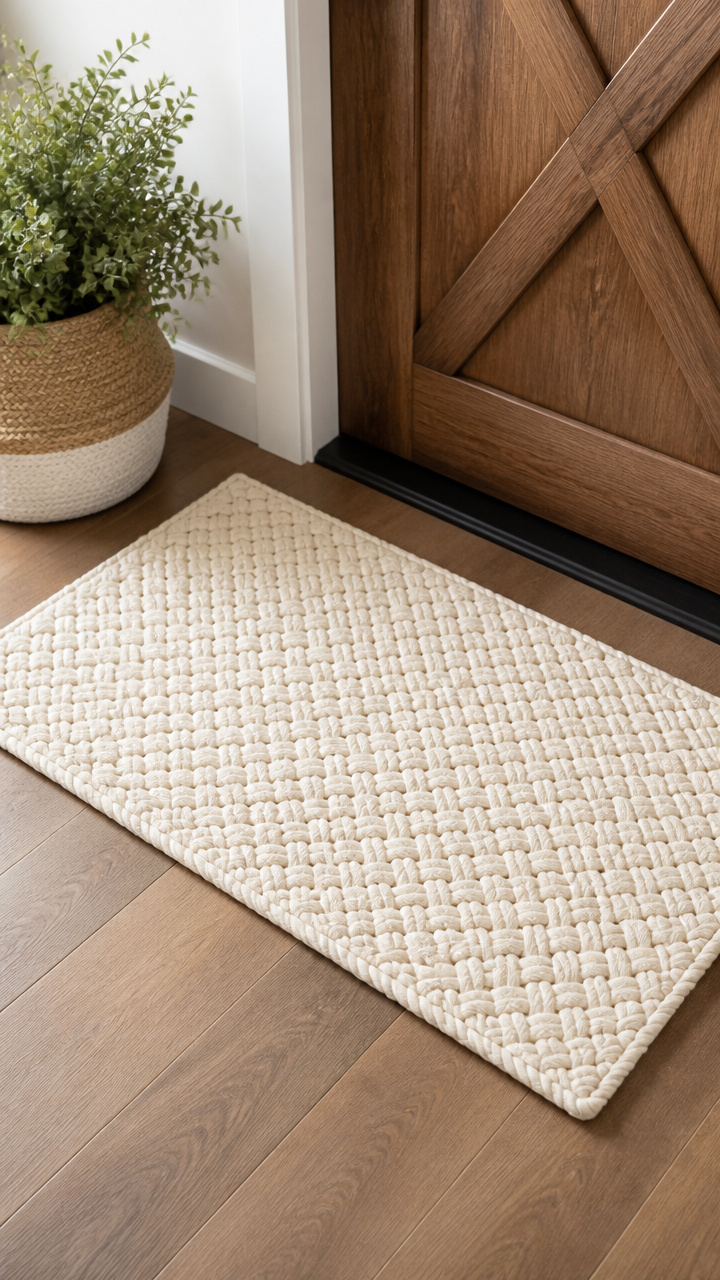
Three strands of rope braid into a flat mat that withstands weather. It looks tidy and feels substantial underfoot.
Materials Needed
- Cotton clothesline rope, 3/8 inch diameter, 15 feet
- Scissors
- Clothespins
- Non-slip rug pad, 18 x 30 inches
How to Make It
- Cut the rope into three equal 5-foot lengths.
- Tie the ends together in a knot and secure the knot with clothespins to a table edge.
- Braid the three strands tightly, keeping even tension, until 1 inch remains.
- Knot the end, trim excess, and place the braid on the rug pad, securing with double-sided tape.


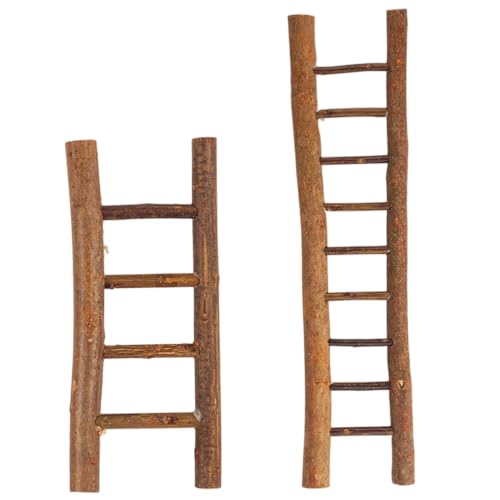
7. Repurposed Ladder Hanging Rack
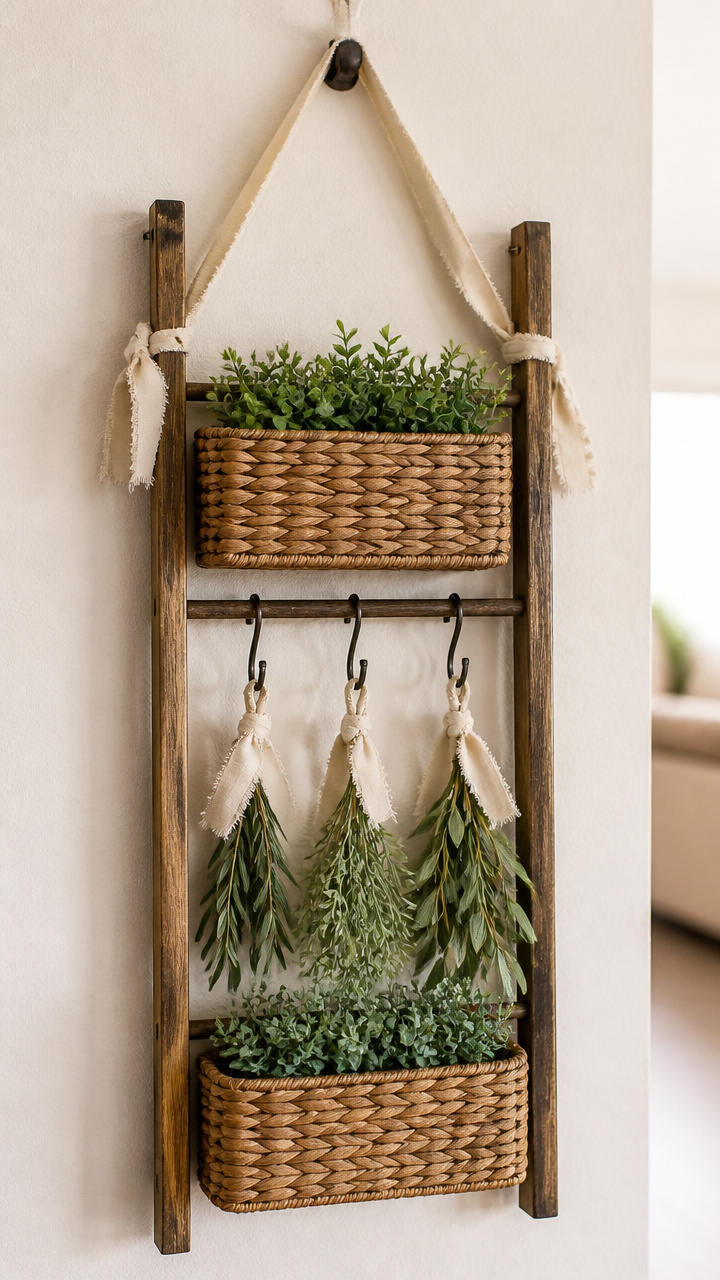
A small wooden ladder holds baskets and greenery at varying heights. It turns blank wall space into display room.
Materials Needed
- Mini wooden ladder, 24 inches tall
- Two wicker baskets, 5 inch diameter
- S-hook set, 3 sizes
- Frayed cotton tape, 1 yard
- Wall hook rated for 10 lbs
How to Make It
- Sand any rough spots on the ladder rungs and wipe clean.
- Tie one basket to the middle rung using frayed cotton tape knotted at both ends.
- Hang the second basket from a lower rung with an S-hook.
- Mount the wall hook and lean the ladder against it, adjusting baskets as needed.


8. Pressed Fern Frame Display
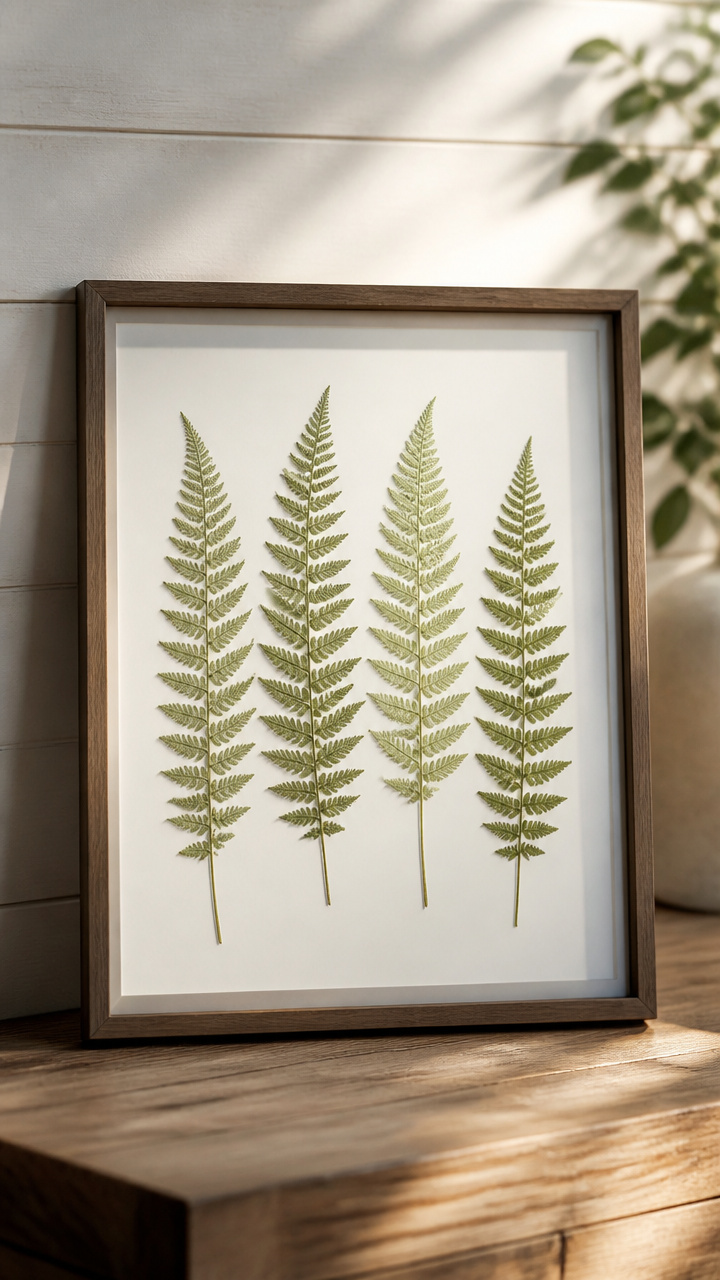
Delicate ferns preserved between glass make a quiet statement. The frame catches light like a window to the woods.
Materials Needed
- Real fern fronds, 4 pieces, 5 inches long
- Heavy book for pressing
- Glass photo frame, 8 x 10 inches
- White cardstock, 8 x 10 inches
- Clear glue dots, 4 count
How to Make It
- Place ferns between two sheets of paper and press inside the book for 3 days.
- Remove fronds carefully and arrange them on the cardstock in a loose diagonal line.
- Secure each tip with a glue dot, avoiding visible smears.
- Insert the sheet into the frame and hang near natural light.


9. Hand-Carved Wooden Plaque
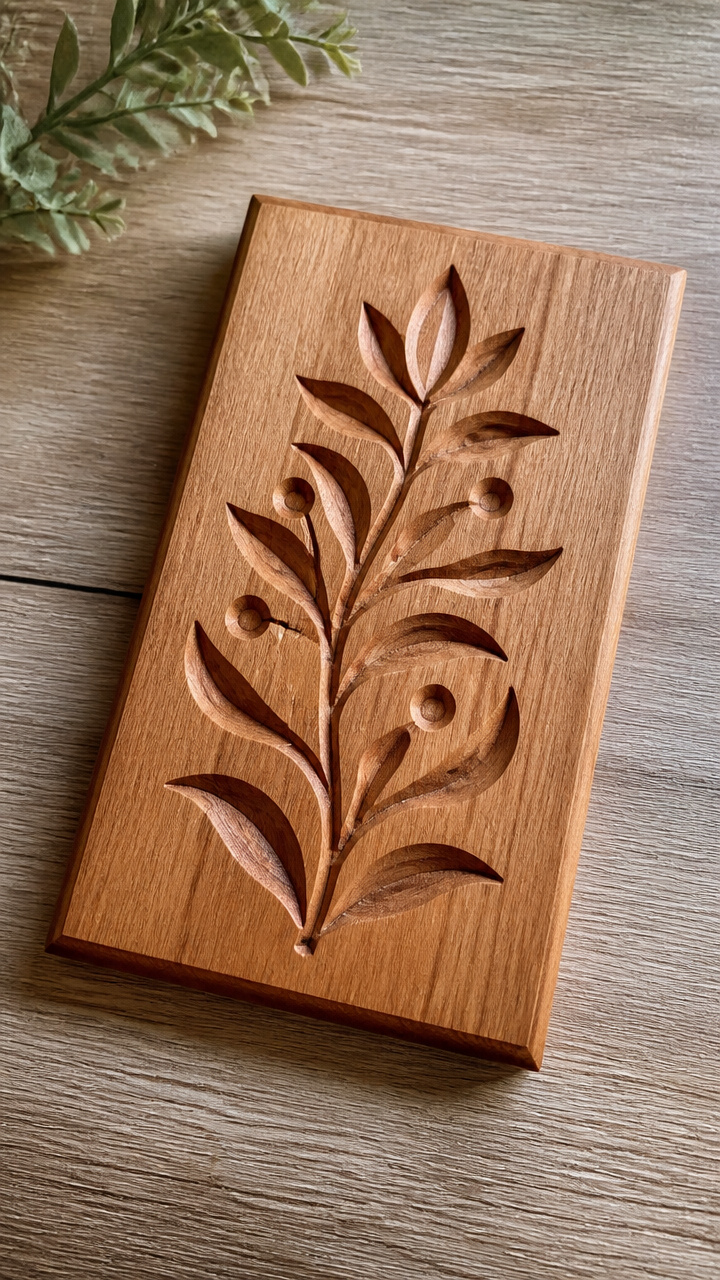
A deeply cut phrase stands out in solid alder wood. The carving gives it heirloom presence.
Materials Needed
- Alder wood plaque, 9 x 5 inches, unfinished
- Linoleum cutter with #1 and #3 blades
- Pencil
- Steel ruler
- Mineral spirits, 1 oz
How to Make It
- Sketch the word 'Welcome' lightly in pencil across the center of the plaque.
- Use the #1 blade to outline each letter with firm, steady strokes.
- Switch to the #3 blade to remove wood inside each letter, cutting away from your hand.
- Wipe the surface with mineral spirits to reveal grain and remove dust.


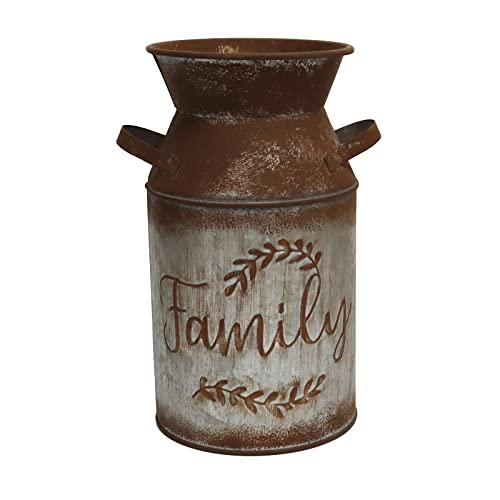
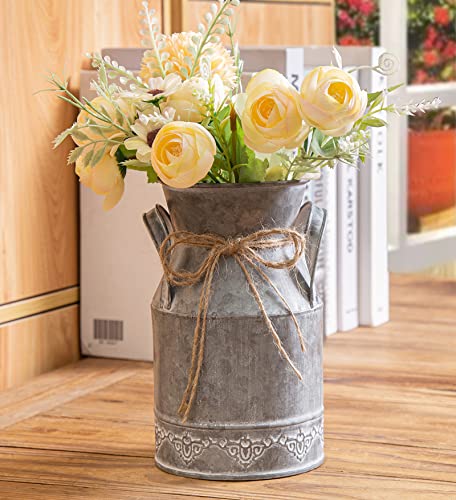
10. Vintage Milk Can Planter
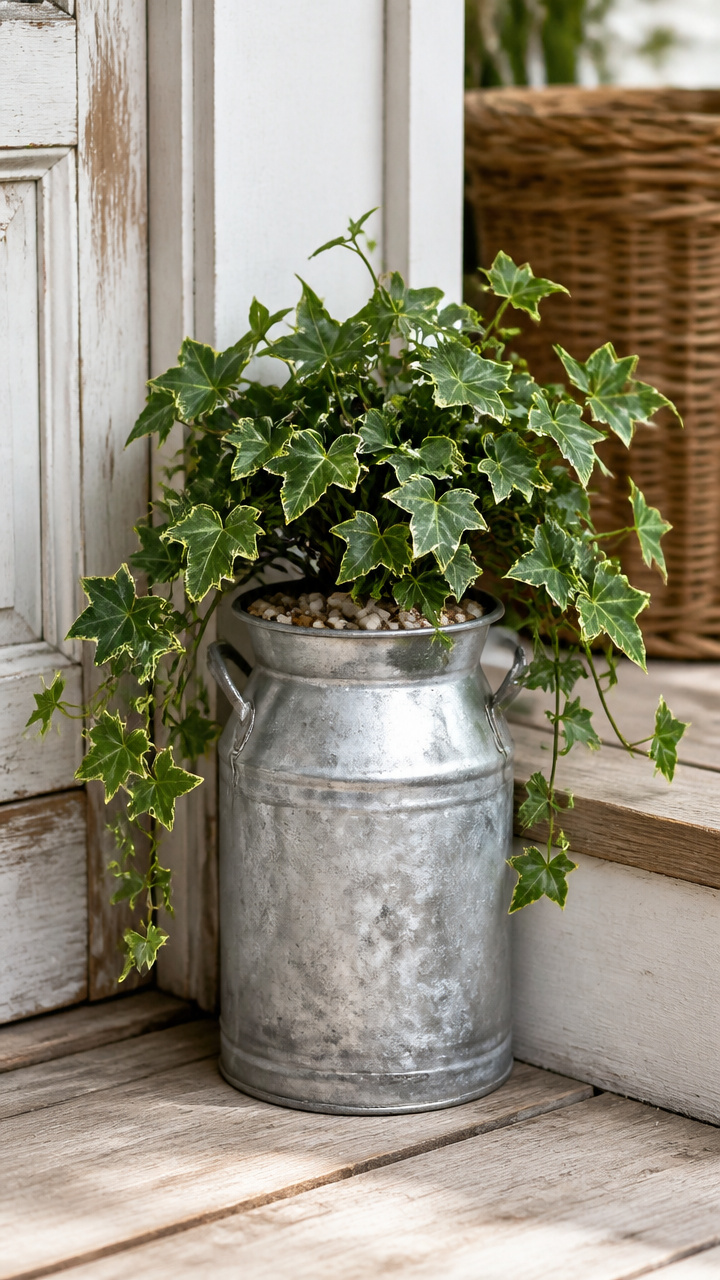
A dented metal can holds trailing ivy and leans beside the step. Its worn look fits naturally into rustic settings.
Materials Needed
- Antique-style galvanized milk can, 6 inch height
- Trailing English ivy plant in 3 inch pot
- Gravel, 1 cup
- Trowel
- Watering can
How to Make It
- Add gravel to the bottom inch of the milk can for drainage.
- Gently loosen the ivy roots with your fingers and place it in the can.
- Fill around the root ball with potting mix using the trowel, pressing lightly.
- Water slowly until moisture appears at the base, then set it beside your door.

11. Cross-Stitch Quote Hanger
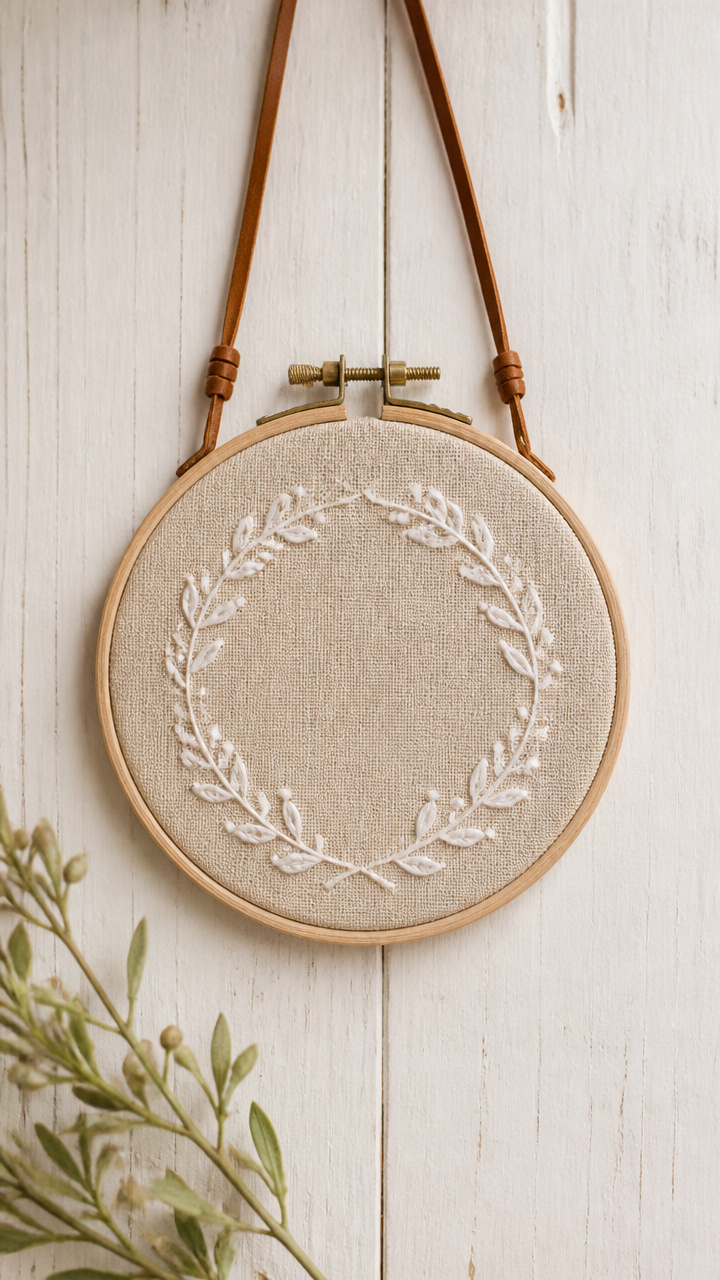
Tiny cross-stitched words float in a hoop and hang from leather. The handwork shows care in every stitch.
Materials Needed
- Embroidery hoop, 4 inches
- Linen embroidery cloth, 6 x 6 inches
- Crewel needle
- Ecru embroidery floss, 3 strands
- Leather cord, 12 inches
How to Make It
- Center the cloth in the hoop and tighten the screw to stretch it taut.
- Thread the crewel needle with 3 strands of floss and knot the end.
- Stitch the word 'Hello' in lowercase using half-cross stitches, following a grid drawn in pencil.
- Tie the leather cord to the top of the hoop and trim ends at a diagonal.


12. Beeswax-Dipped Citrus Garland
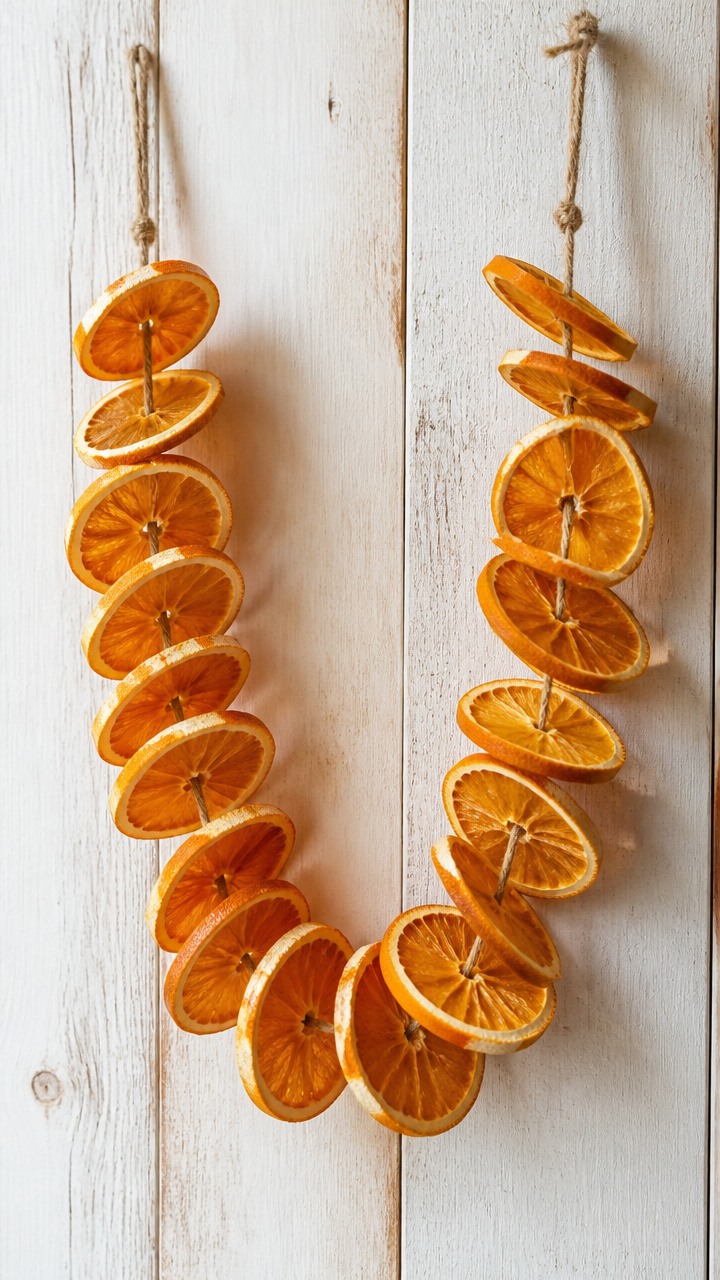
Thin orange slices coated in beeswax stay bright and flexible. Strung together, they smell faintly sweet.
Materials Needed
- 3 oranges, sliced 1/4 inch thick
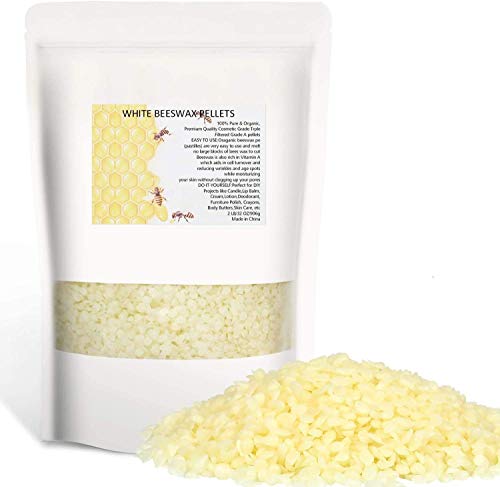
- Beeswax pellets, 4 oz
- Double boiler setup
- Metal skewer
- Jute string, 3 feet
How to Make It
- Dry orange slices on a rack for 6 hours until firm but not brittle.
- Melt beeswax pellets in the top of a double boiler over simmering water.
- Skewer each slice and dip it fully into the wax, letting excess drip off.
- Thread jute string through each slice and hang the garland in a loose loop.


13. Ladder-Back Chair Shelf
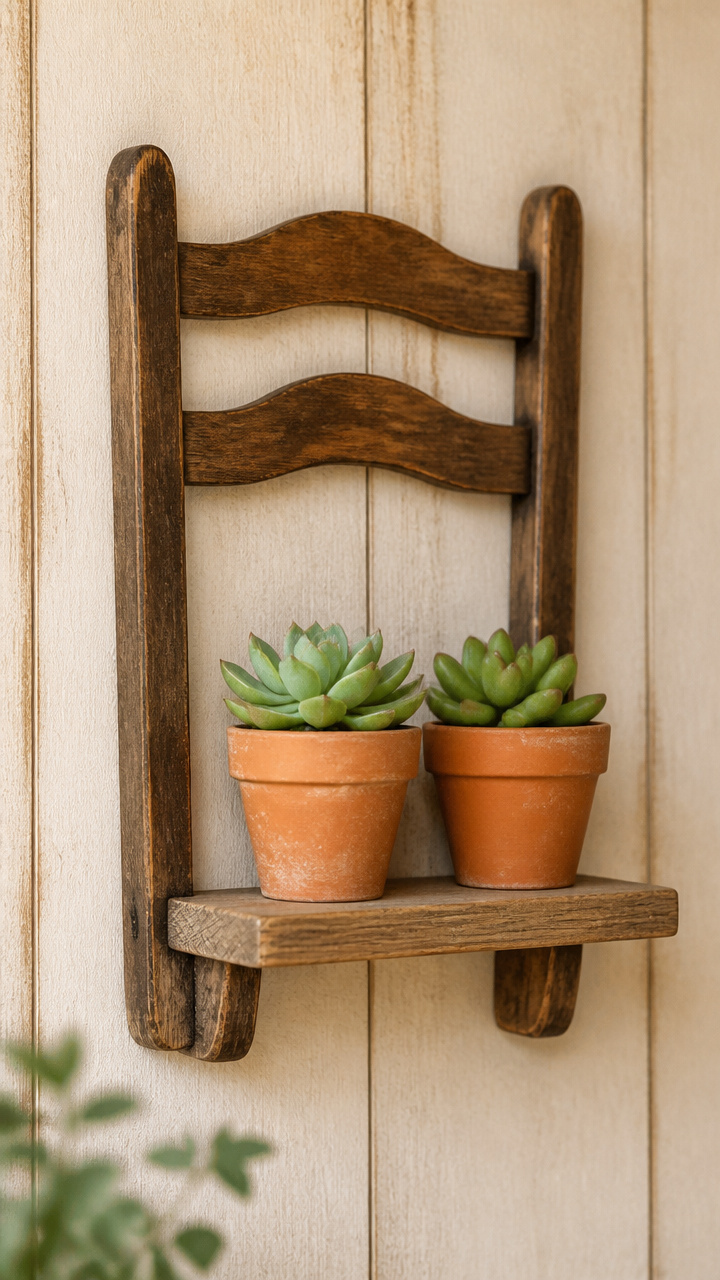
An old chair's back becomes a ledge for small potted succulents. The curved slats cradle each pot securely.
Materials Needed
- Wooden ladder-back child's chair
- Saw
- Sandpaper, 120 grit
- Two terracotta pots, 3 inch diameter
- Succulent soil and plants
How to Make It
- Measure 10 inches up from the seat and mark a straight line across both side legs.
- Cut through both legs at the mark using the saw.
- Sand all cut edges until smooth.
- Fill pots with soil and plant succulents, then rest each pot between two slats on the upright back.


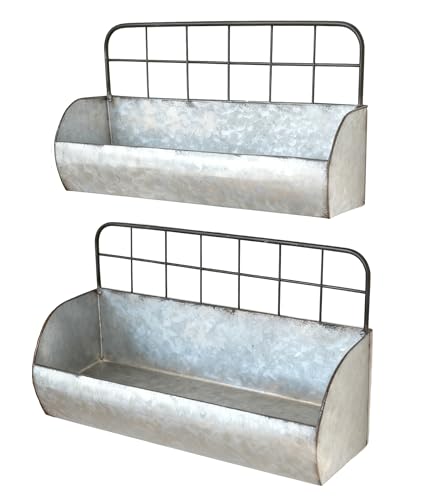
14. Galvanized Bucket Wall Pocket
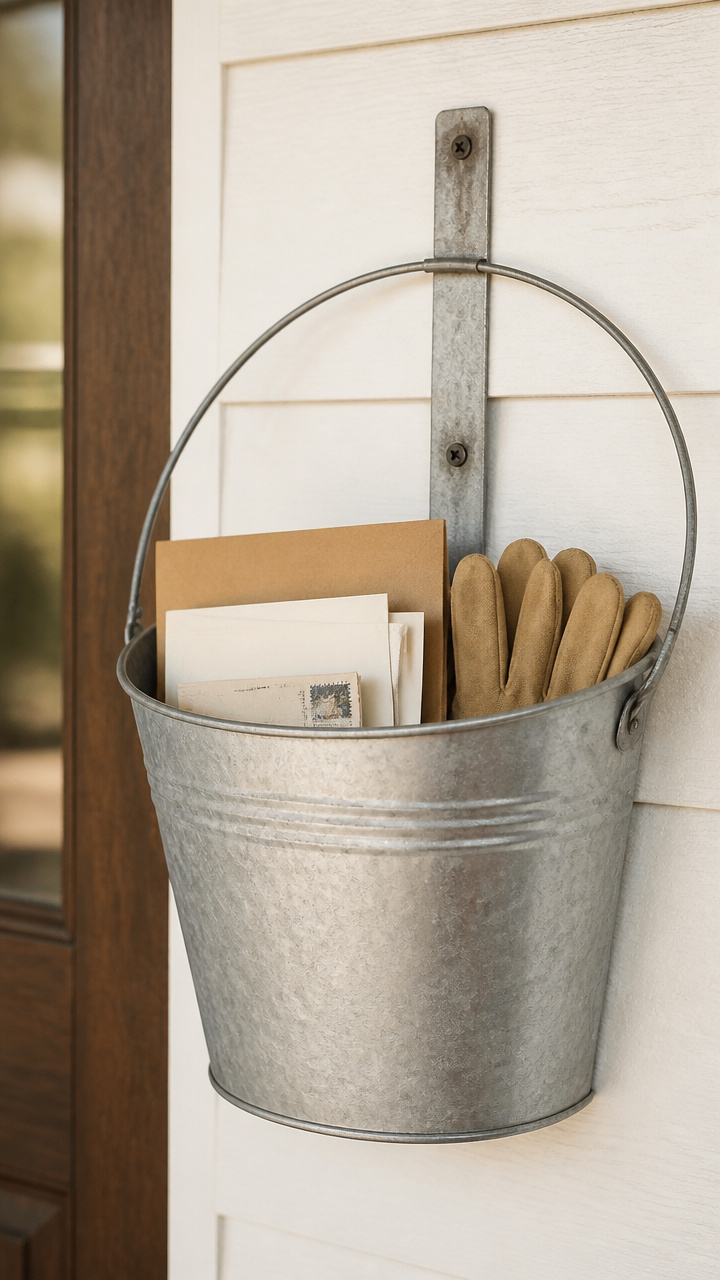
A shallow metal bucket holds mail and gloves without covering the door. Its handle mounts flush with screws.
Materials Needed
- Galvanized metal bucket, 4 inch height, 5 inch diameter
- Outdoor mounting bracket, 2 inch width
- #8 wood screws, 1 inch, 2 count
- Drill with 1/8 inch bit
- Level
How to Make It
- Position the bracket centered on the door at shoulder height and mark screw holes with a pencil.
- Drill pilot holes at the marks using the 1/8 inch bit.
- Hold the bracket in place and drive one screw into each hole with a screwdriver.
- Hook the bucket handle over the bracket and check it sits level.


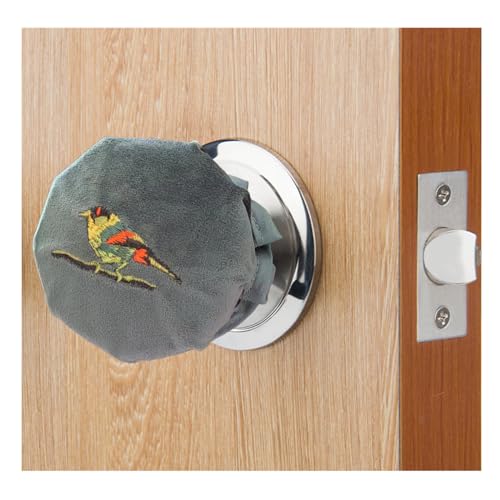
15. Felted Wool Doorknob Cover
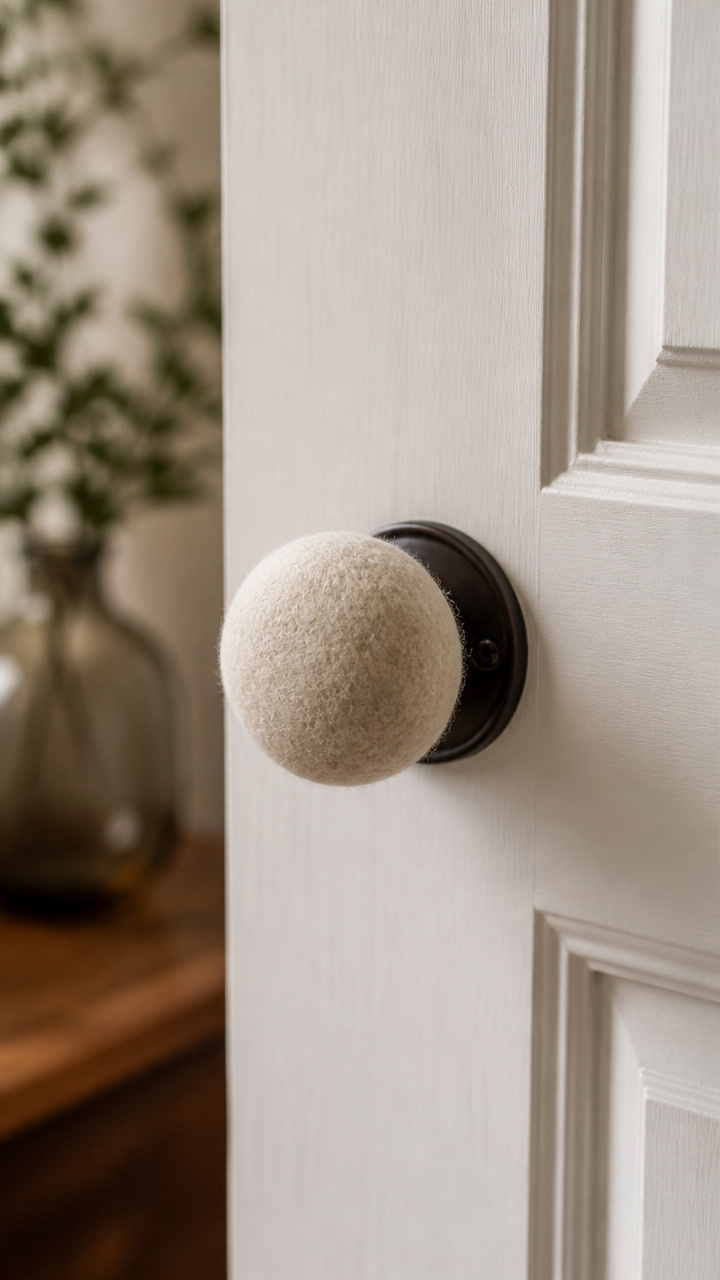
Soft wool wraps the knob and changes with the seasons. Needle felting binds layers without sewing.
Materials Needed
- Raw merino wool roving, 1 oz, oatmeal color
- Felting needle, size 38
- Foam pad, 6 x 6 inches
- Scissors
- Measuring tape
How to Make It
- Pull off a 6-inch length of roving and roll it into a tight cylinder.
- Wrap it around the doorknob to measure, then cut 1 inch longer than needed.
- Layer the ends on the foam pad and stab repeatedly with the felting needle until fused.
- Slide the cover onto the knob, joining the felted seam with a few final stabs.


16. Clay Imprint House Number

Numbers shaped from air-dry clay show fingerprints and texture. Baking gives them strength for outdoor use.
Materials Needed
- Air-dry clay, white, 1/2 lb block
- Number 5 cookie cutter
- Plastic rolling pin
- Craft knife
- Clear outdoor sealant spray, 4 oz
How to Make It
- Roll the clay to 1/4 inch thickness using the rolling pin on a flat surface.
- Press the number 5 cutter into the clay and lift away cleanly.
- Use the craft knife to trim any ragged edges and carve a small heart below the number.
- Let dry 24 hours, then spray both sides with sealant and wait 6 hours before mounting.



17. Hessian Welcome Banner
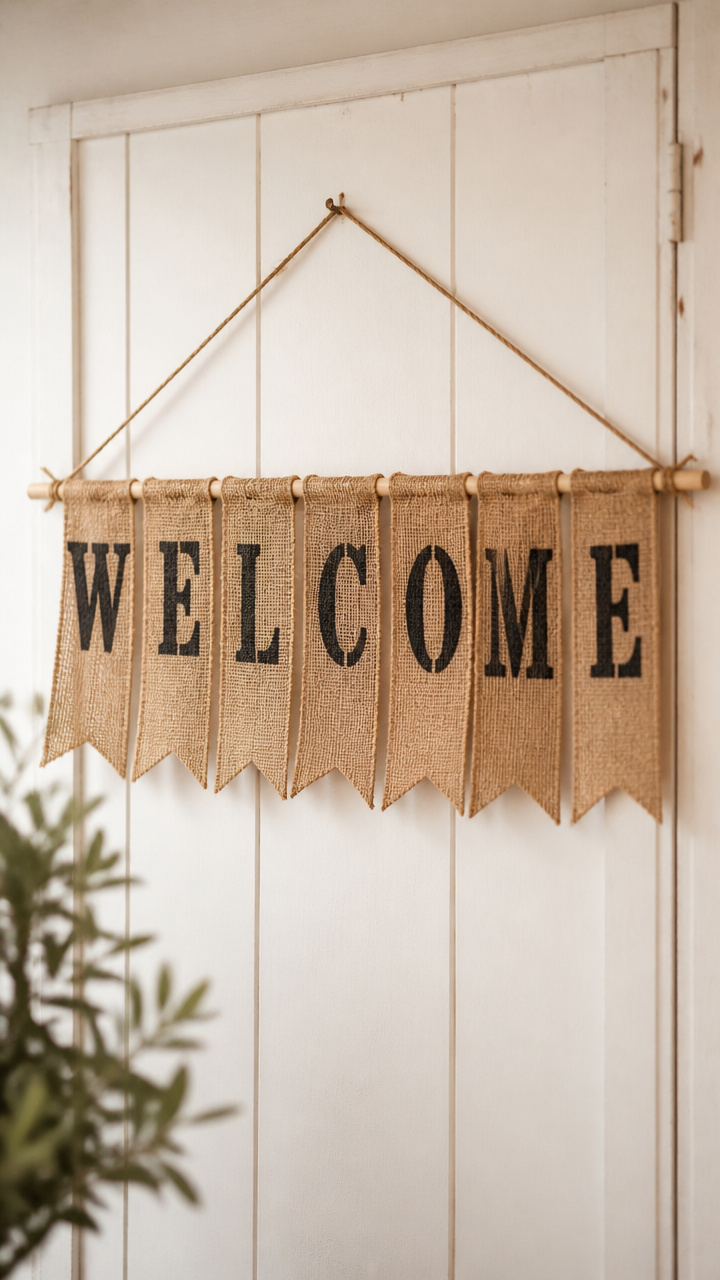
Bold black letters stand out on natural hessian strips. The fluttering flags catch every breeze.
Materials Needed
- Hessian fabric, 12 x 36 inches
- Acrylic paint marker, black, fine tip
- Scissors
- Dowel rod, 1/4 inch diameter, 14 inches
- Twine, 24 inches
How to Make It
- Cut the hessian into six 6 x 6 inch squares.
- Write one letter of 'WELCOME' on each square using the paint marker, letting caps fill the space.
- Let paint dry 1 hour before handling.
- Thread the dowel through the top corner of each flag and tie twine to both ends for hanging.


18. Copper Pipe Towel Hook
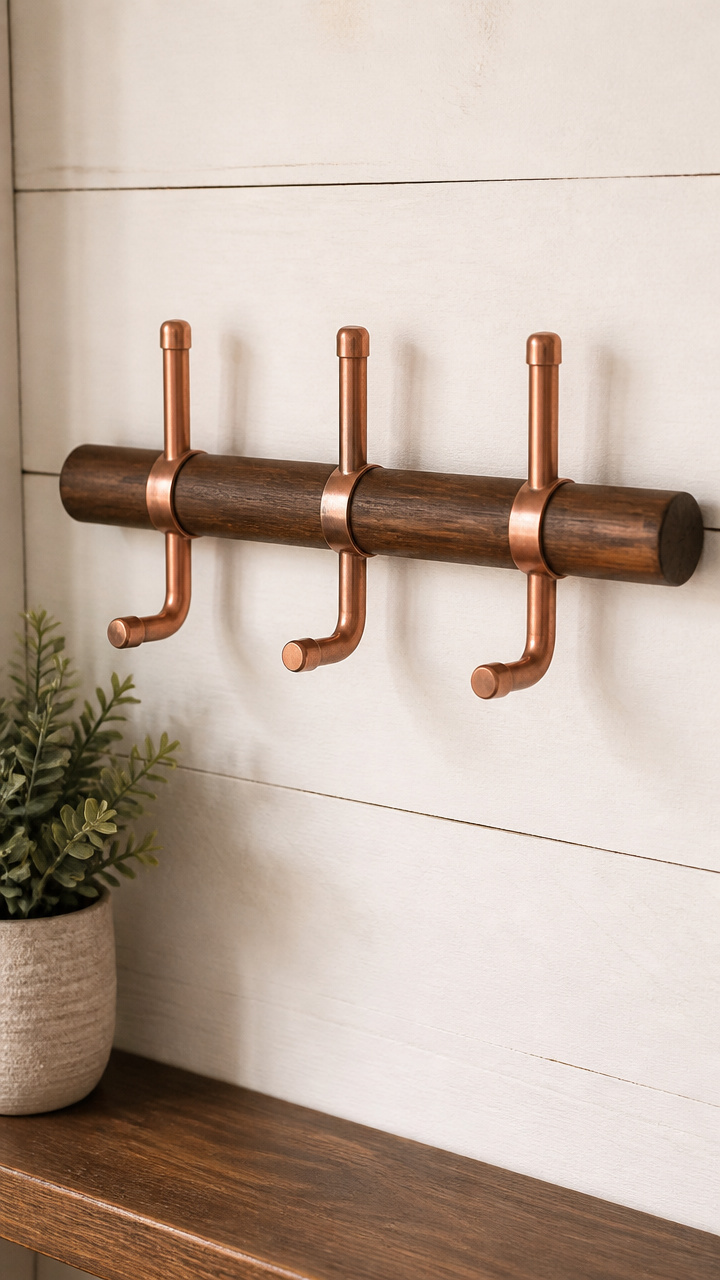
Short copper pipes slide onto a wooden bar to hold towels or bags. The metal gleams softly over time.
Materials Needed
- Copper pipe, 1/2 inch diameter, 3 inch length, 3 pieces
- Wooden dowel, 1/2 inch diameter, 12 inches
- Wood stain, walnut, 1 oz
- Cloth rag
- Epoxy glue, 2-part, 1 oz total
How to Make It
- Wipe each copper pipe with a dry cloth to remove residue.
- Stain the wooden dowel with walnut stain using the rag, let sit 5 minutes, then wipe off excess.
- Mix epoxy and apply a dab inside one end of each pipe.
- Slide each pipe onto the dowel at staggered points and let cure 6 hours before mounting.


19. Cinnamon Stick Bundle Ornament
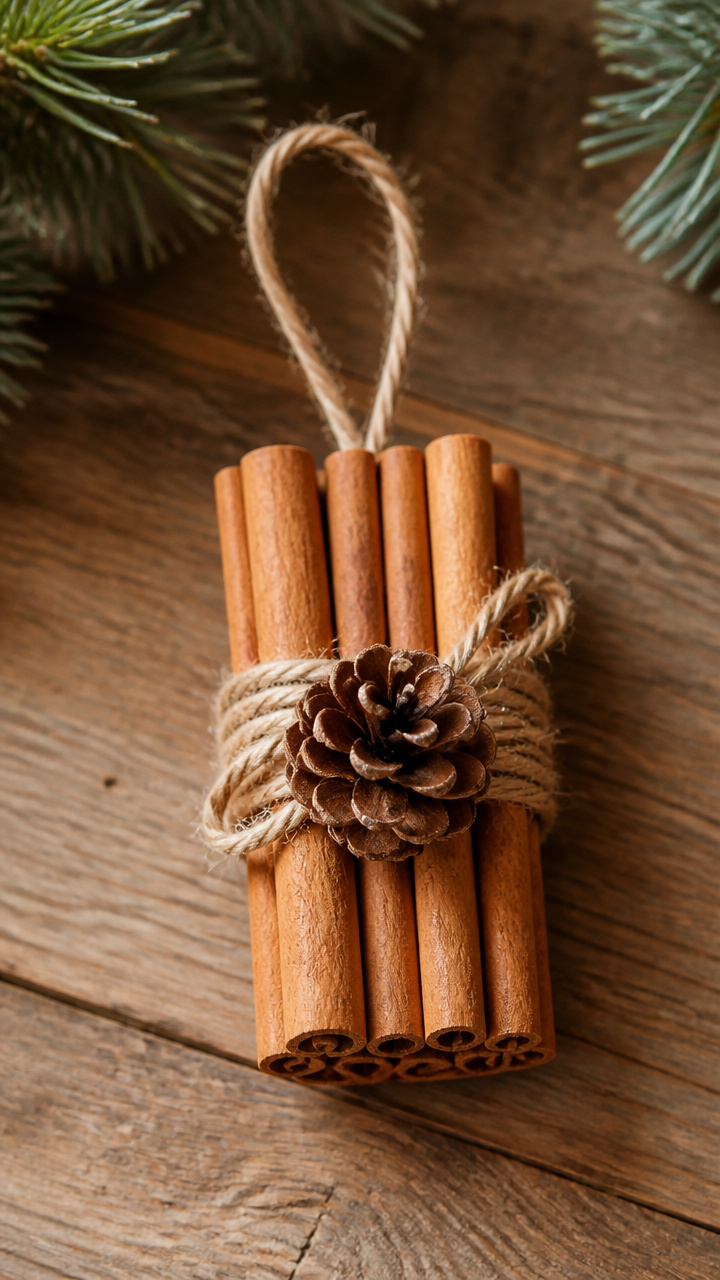
Tightly bound cinnamon sticks release a warm spice scent. Twine wrapping keeps the bundle neat and ready to hang.
Materials Needed
- Cinnamon sticks, 3 inches long, 8 count
- Jute baker's twine, 18 inches
- Hot glue gun
- Scissors
- Small pine cone, 1 inch
How to Make It
- Lay seven sticks in a row and place the eighth across the center to form a T.
- Wrap twine tightly around the crossing point five times.
- Knot the twine on the back and trim ends at an angle.
- Glue the pine cone to the knot and let set 10 minutes before hanging.



20. Salvaged Wood Crate Shelf
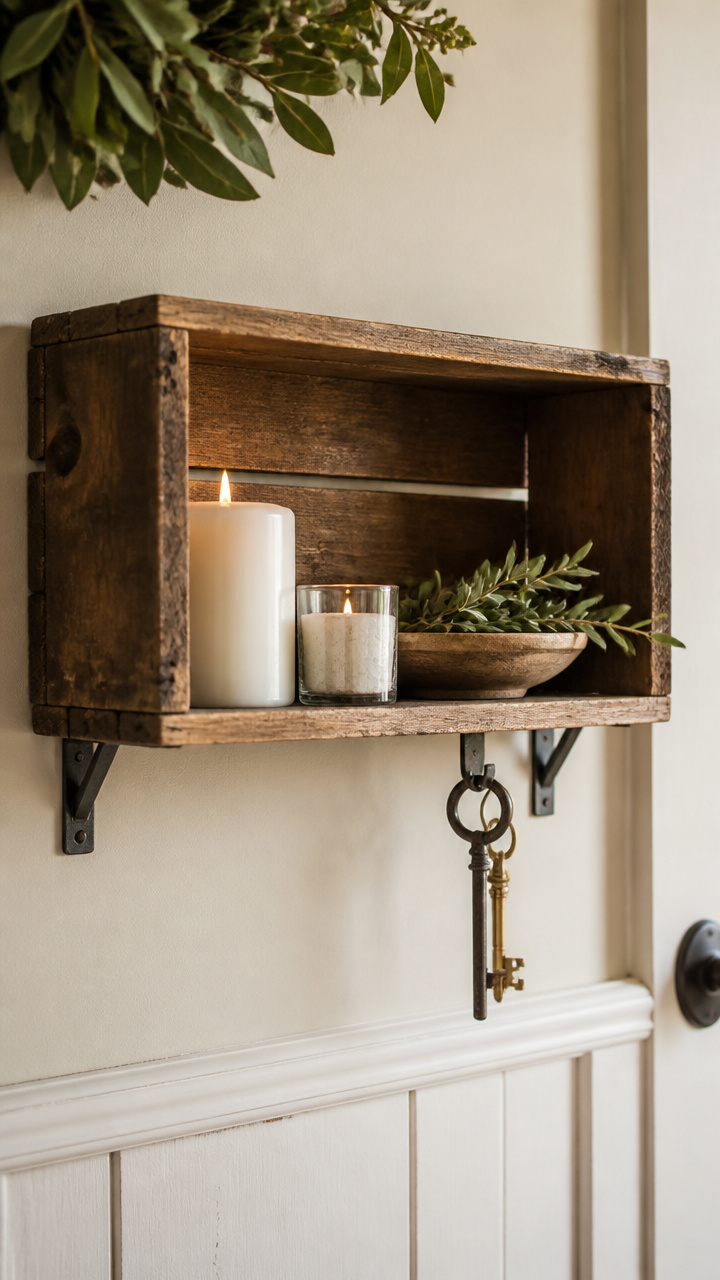
A broken crate becomes a ledge for candles and keys. Chisel marks and old nails add history.
Materials Needed
- Wood wine crate, 12 x 6 inches, with open sides
- Wood chisel, 1 inch
- Mallet
- Two L-brackets, 3 inch arm
- #8 wood screws, 1.5 inch, 4 count
- Drill
How to Make It
- Use the chisel and mallet to remove one long side slat from the crate.
- Sand sharp edges lightly.
- Position the crate against the door at waist height and mark bracket locations.
- Attach brackets inside the crate with screws, then mount the assembly to the door using the drill.


Each of these ideas brings something true and simple to your doorway. Pick one that speaks to you and start today with what you have on hand.