15 Wooden Door Hanger DIYs

Wooden door hangers bring a quiet charm to any home. They greet guests with warmth and reflect your personal touch in shape, color, and detail.
Each of these projects uses simple tools and clear techniques. You’ll find one that fits your style and skill, whether you love paint, carvings, or natural wood.
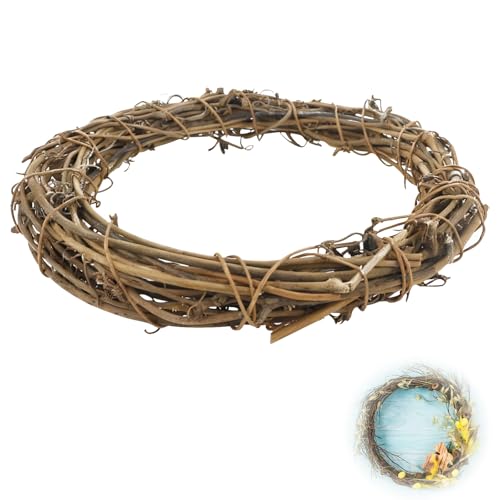
1. Rustic Twig Circle Hanger
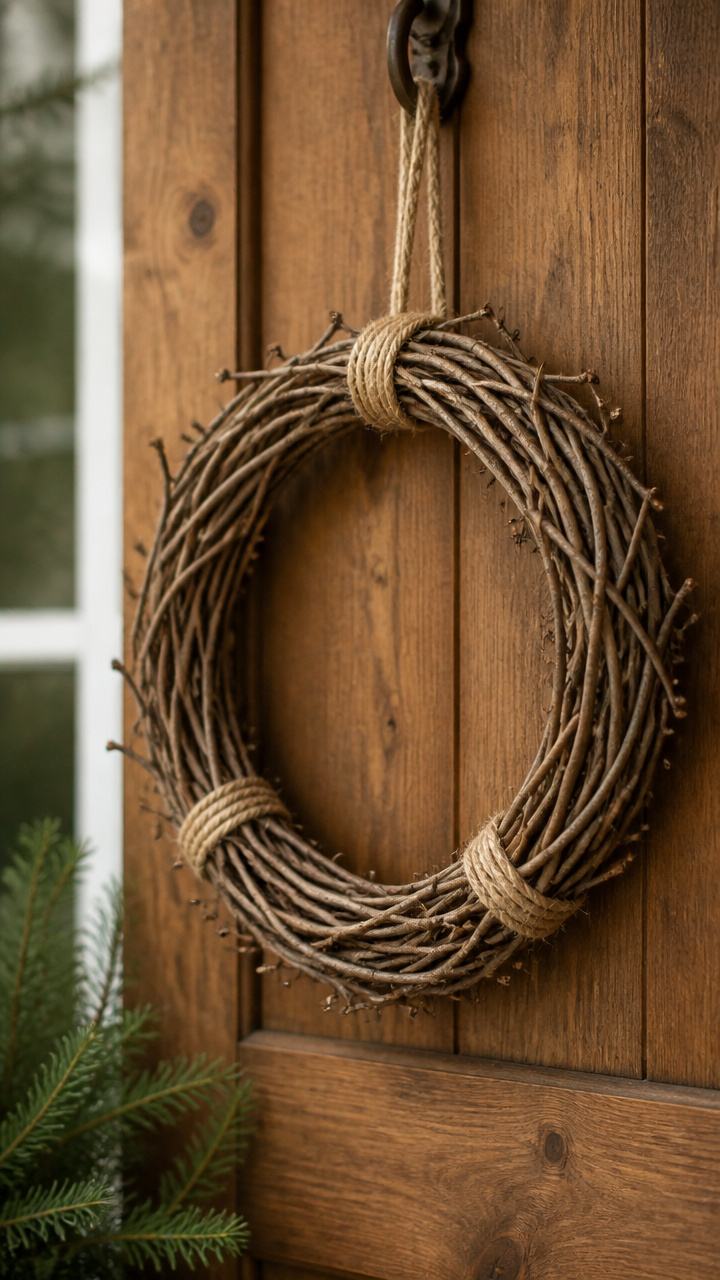
Twisted grapevine twigs form a loose circle that sways gently on the door. This hanger celebrates raw texture and woodland simplicity.
Materials Needed
- 12 grapevine twigs, each 10 inches long
- Natural jute cord, 18 inches
- Hot glue gun with glue sticks
- Scissors
- Small clothespin
How to Make It
- Lay six twigs side by side and secure them together at the center with a clothespin.
- Place the remaining six twigs around the bundle, fanning them outward like a sunburst, then glue where they cross at the center.
- Tie the jute cord into a loop and glue both ends securely to the back of the center knot.
- Let the glue dry for 15 minutes before removing the clothespin.

2. Chalkboard Initial Plaque
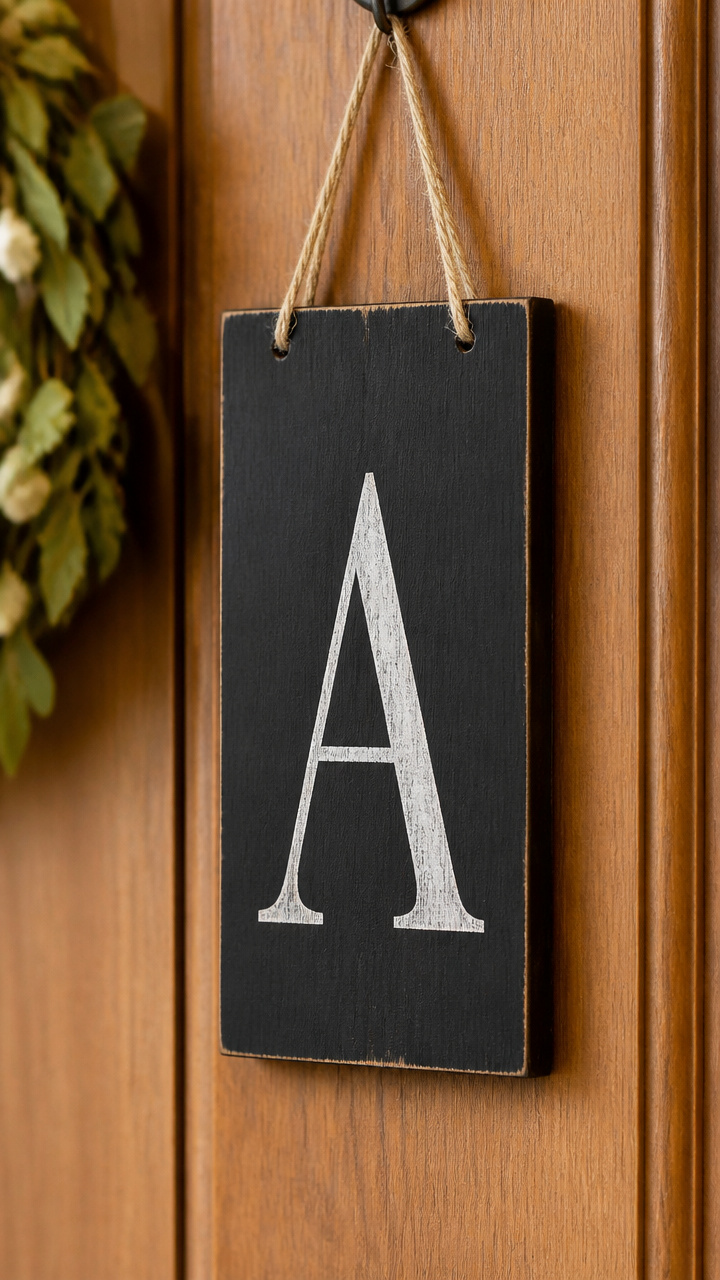
A smooth sanded pine rectangle holds your family’s initial in bold white chalk. It’s easy to update for seasons or moods.
Materials Needed
- 1 unfinished pine plaque, 6 x 4 inches
- Black chalkboard paint, 2 ounces
- Foam brush, 1 inch wide
- White sidewalk chalk
- Sandpaper, 220 grit
- Drill with 1/8-inch bit
How to Make It
- Sand the front and edges of the plaque until smooth, then wipe away dust with a dry cloth.
- Apply one even coat of chalkboard paint using the foam brush and let dry for 4 hours.
- Drill a small hole 1 inch from the top edge and center it horizontally.
- Rub chalk over the surface, then wipe it clean with a soft cloth to season the board before use.


3. Carved Cedar Leaf Silhouette
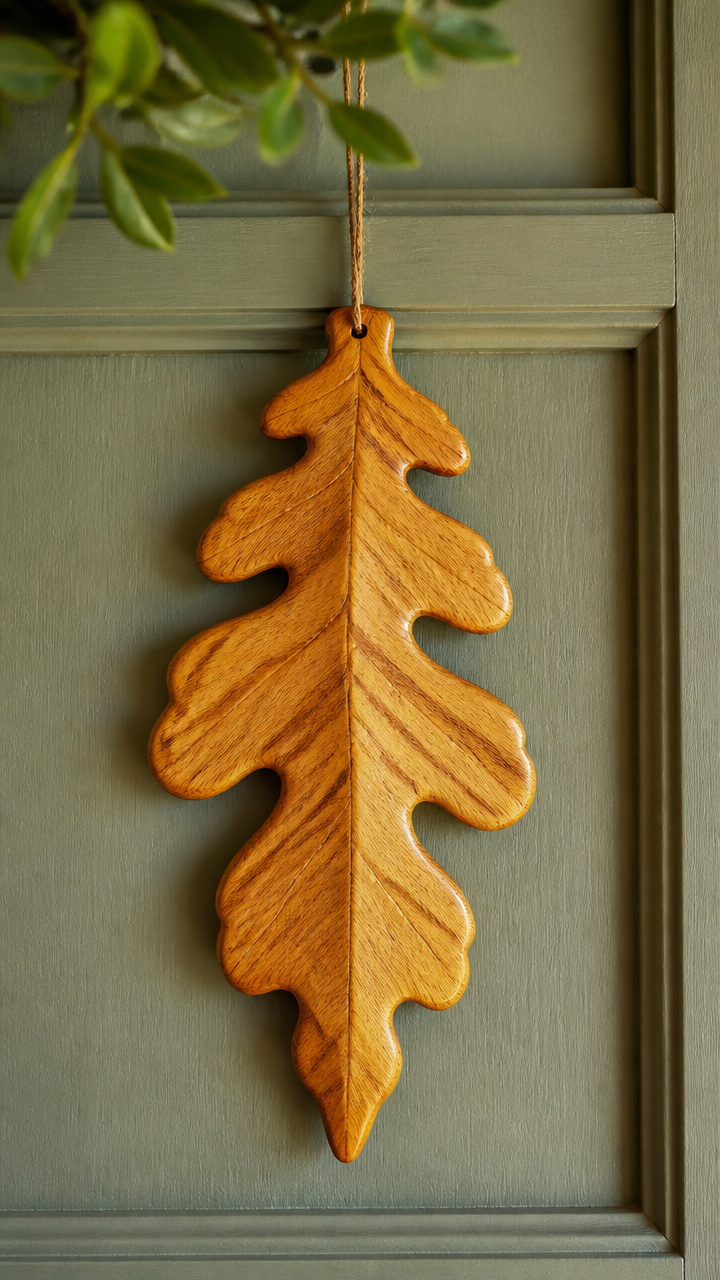
A hand-carved leaf shape from fragrant cedar wood casts delicate shadows when hung in sunlight. The natural grain adds depth.
Materials Needed
- Cedar plank, 1/4 inch thick, 7 x 5 inches
- Pencil
- Scroll saw
- Fine file, 6 inches
- Linseed oil, 1 ounce
- Soft cotton cloth
How to Make It
- Draw a maple leaf shape onto the cedar plank using the pencil, filling most of the space.
- Cut out the leaf carefully with the scroll saw, following the line as closely as possible.
- Smooth all edges with the fine file, removing any rough spots or splinters.
- Wipe the entire piece with linseed oil using the cloth and let it soak in for 30 minutes.


4. Mini Painted Windmill
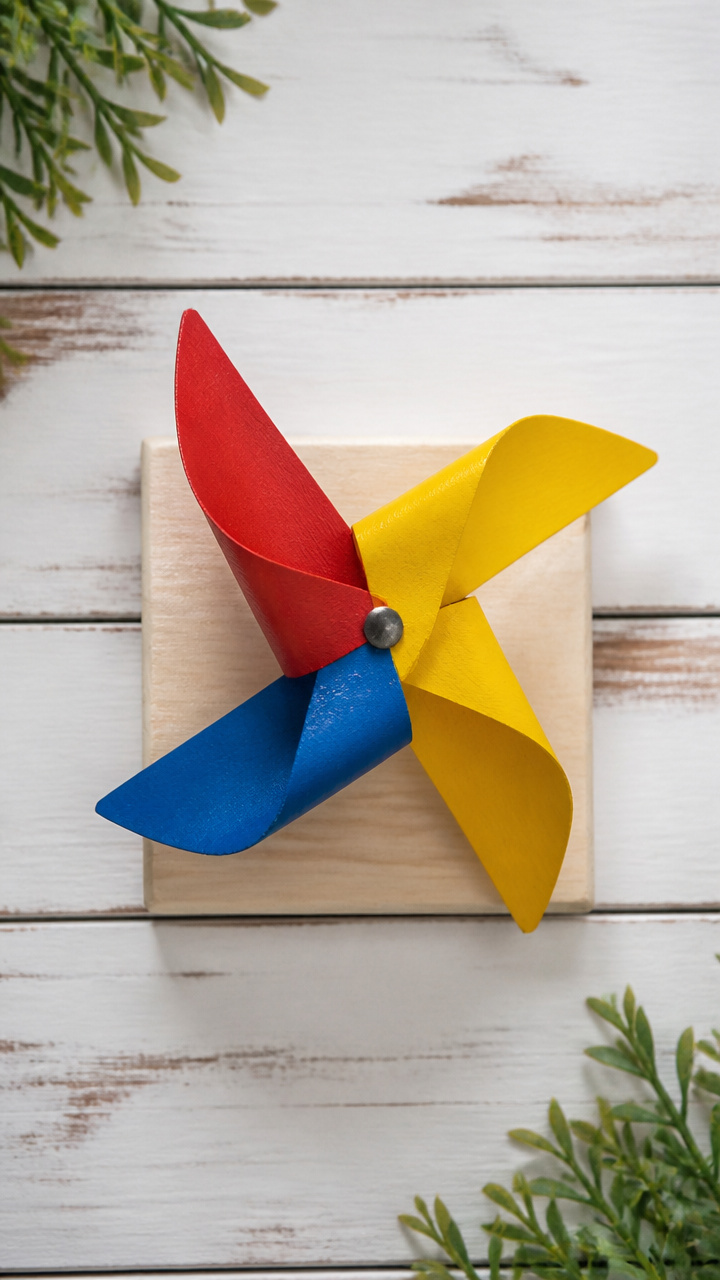
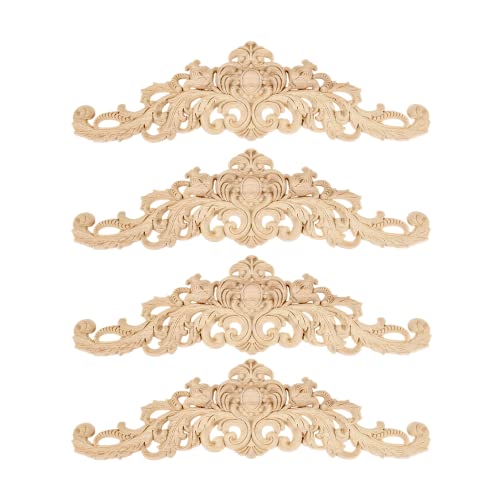
Four bright blades spin slowly on a central nail, painted in cheerful primary colors. It catches breezes near open doors.
Materials Needed
- Basswood square, 5 x 5 inches
- Red, yellow, and blue acrylic paint
- Paintbrush, 1/2 inch flat
- 1-1/2 inch finishing nail
- Hammer
- Protractor
- Pencil
How to Make It
- Divide the square into four equal 90-degree sections using the protractor and pencil.
- Paint each triangle a different color, alternating red, yellow, blue, and red again, and let dry for 1 hour.
- At the center point, hammer the nail straight through the wood and leave 1/2 inch protruding from the back.
- Bend the nail tip slightly on the backside to secure it while allowing the front to spin freely.


5. Stained Geometric Pattern
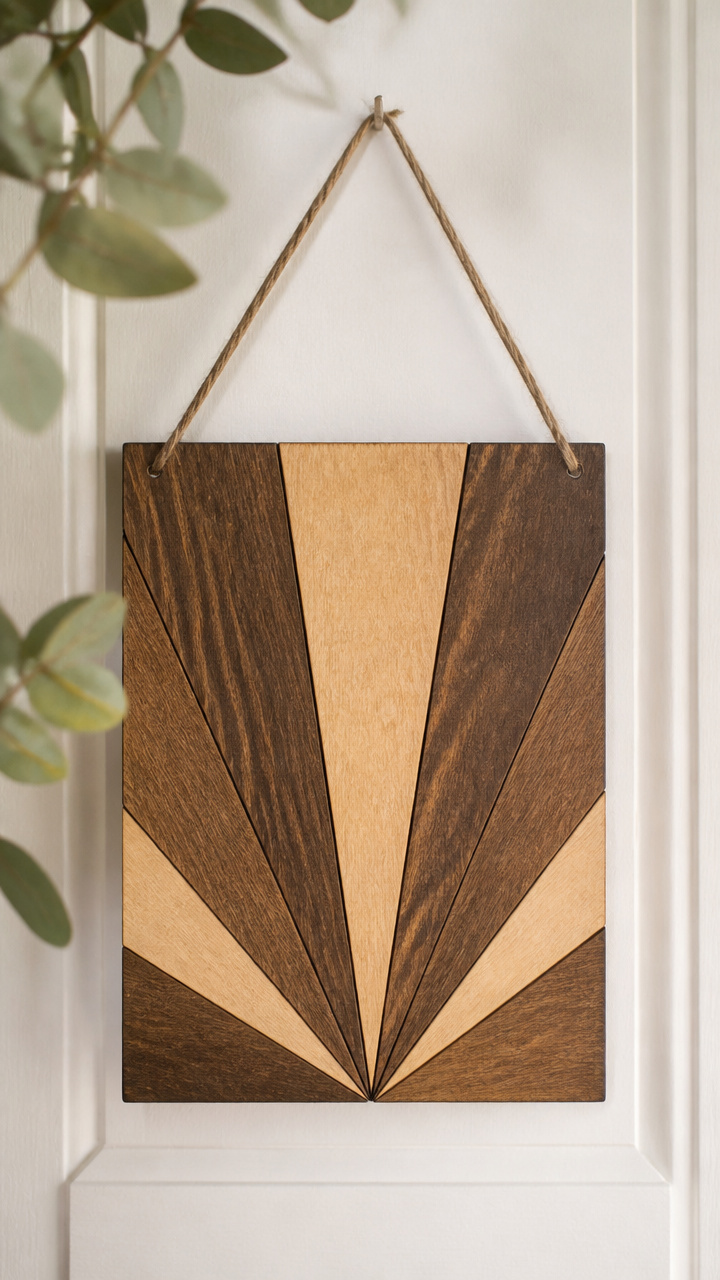
Sharp triangles meet in a modern fan design stained walnut brown. Light and dark wood create contrast without paint.
Materials Needed
- Birch plywood, 1/8 inch thick, 8 x 6 inches
- Walnut wood stain, 3 ounces
- Foam applicator pad
- Painter’s tape, 1/2 inch wide
- Ruler
- Utility knife
How to Make It
- Use the ruler and pencil to draw five parallel diagonal lines from the top left to bottom right corner, spaced 1 inch apart.
- Apply painter’s tape along every other triangle, pressing edges firmly to prevent bleed.
- Brush walnut stain over exposed wood areas and let sit for 5 minutes before wiping excess with a clean cloth.
- Remove tape after 10 minutes and let the piece dry completely for 2 hours.


6. Felt Flower Accent Hanger
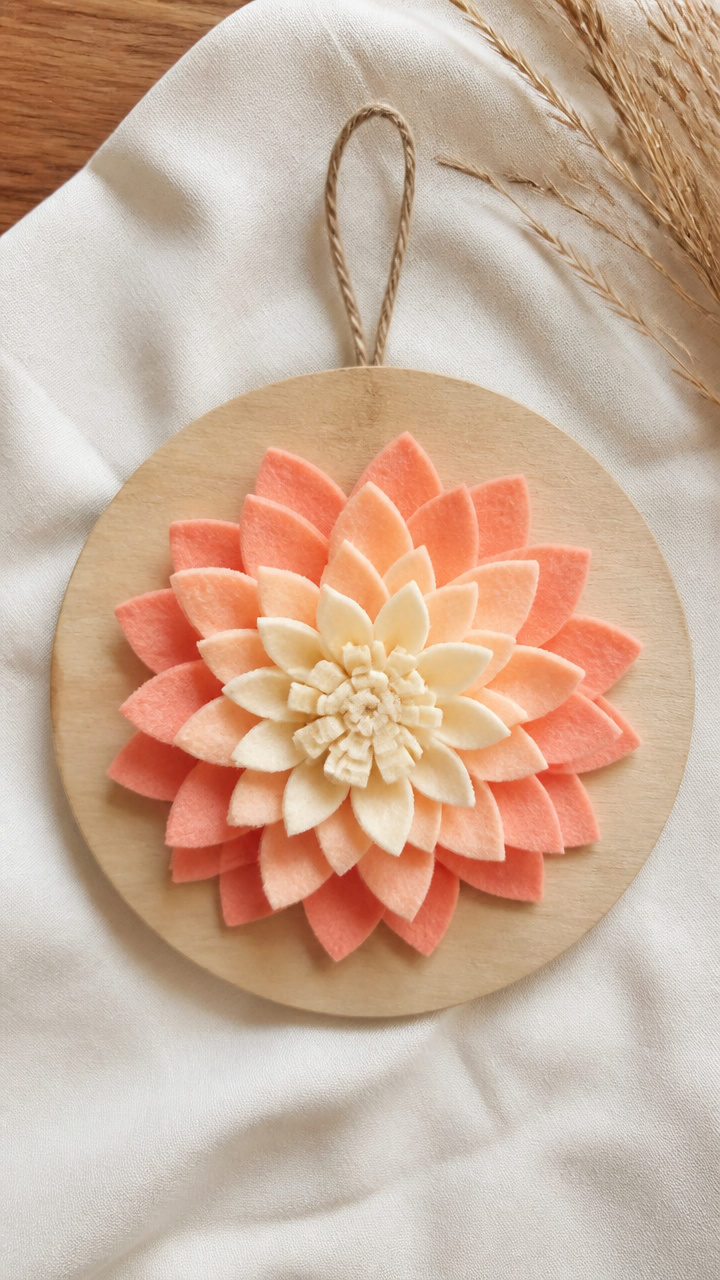
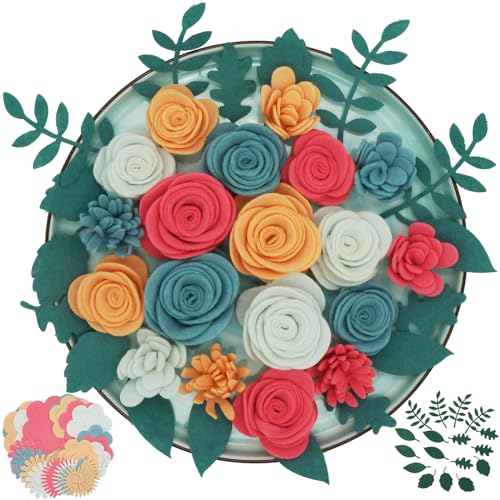
A cluster of wool-blend felt petals blooms from the base of a smooth wooden disc. Soft color meets solid wood.
Materials Needed
- Round poplar disc, 5 inches diameter, 1/2 inch thick
- Wool-blend felt sheets: coral, peach, cream (one 9 x 12 sheet each)
- Craft scissors
- Hot glue gun with glue sticks
- Drill with 3/16-inch bit
How to Make It
- Cut three petal shapes per color, each 2 inches long, using the craft scissors.
- Layer petals from largest to smallest, gluing them slightly offset at the base to form a full flower.
- Glue the flower cluster to the bottom edge of the wooden disc with hot glue.
- Drill a hole at the top center of the disc and thread a 10-inch ribbon through for hanging.


7. Burned Quote Rectangle
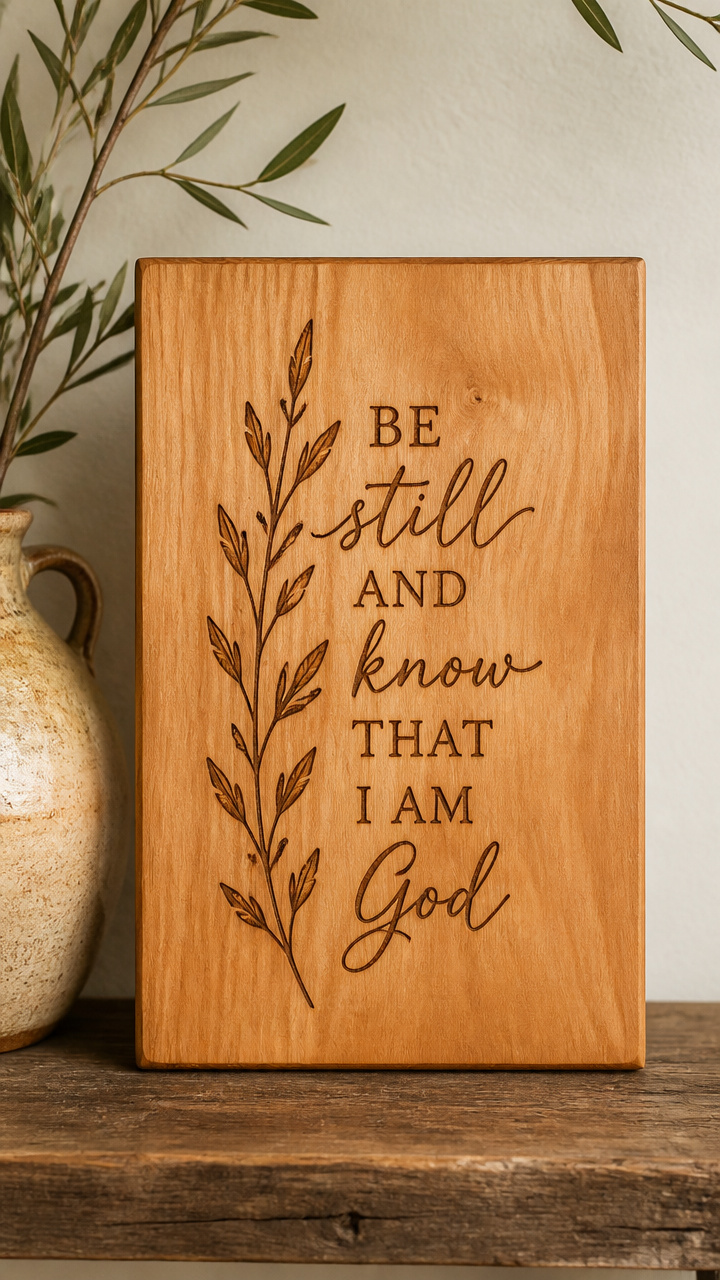
Warm wood tones frame a hand-pyrographed message about home. The scent of burned wood lingers faintly.
Materials Needed
- Sanded alder board, 7 x 3 inches
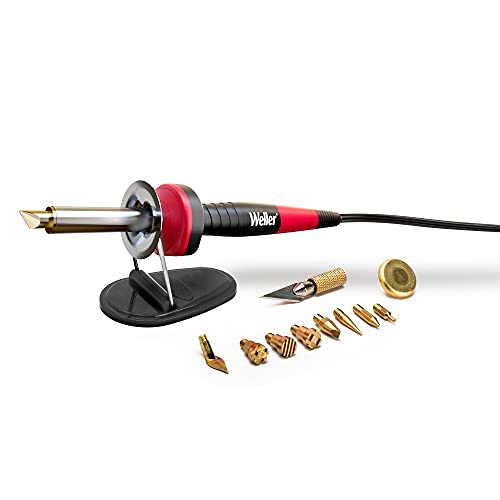
- Wood-burning tool with fine tip
- Pencil
- Eraser
- Beeswax polish, 1 ounce
- Lint-free cloth
How to Make It
- Lightly sketch the word 'Welcome' in cursive across the center using the pencil.
- Trace over each line slowly with the wood-burning tool, keeping the tip steady and pressure light.
- Erase any remaining pencil marks once the burning is complete.
- Rub beeswax polish over the surface with the cloth and buff to a soft shine.


8. Driftwood Whale Shape
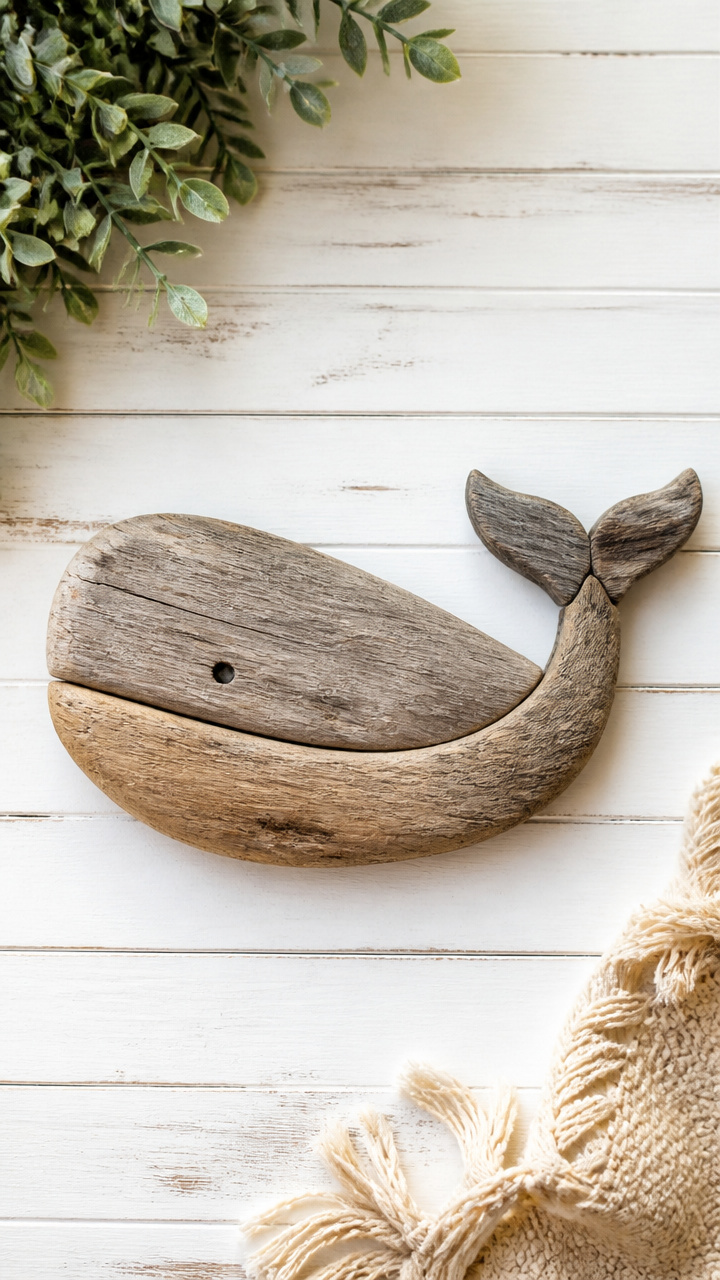
Found driftwood pieces fuse into a gentle whale outline, sealed to preserve salt-worn texture. It tells a seaside story.
Materials Needed
- Three pieces of driftwood: one 6 inches long, two 3 inches long
- Waterproof PVA glue, 2 ounces
- Clamp, 2-inch jaw
- Clear matte sealant spray, 6 oz can
- Cardboard sheet
How to Make It
- Arrange the longest piece horizontally and attach the shorter ones at an angle below to form a tail and fin using glue.
- Hold the joints in place for 30 seconds, then clamp lightly for 2 hours until fully set.
- Place the piece on cardboard and spray evenly with sealant from 10 inches away.
- Let dry for 1 hour before adding a second coat and drying overnight.


9. Stenciled Polka Dot Disc
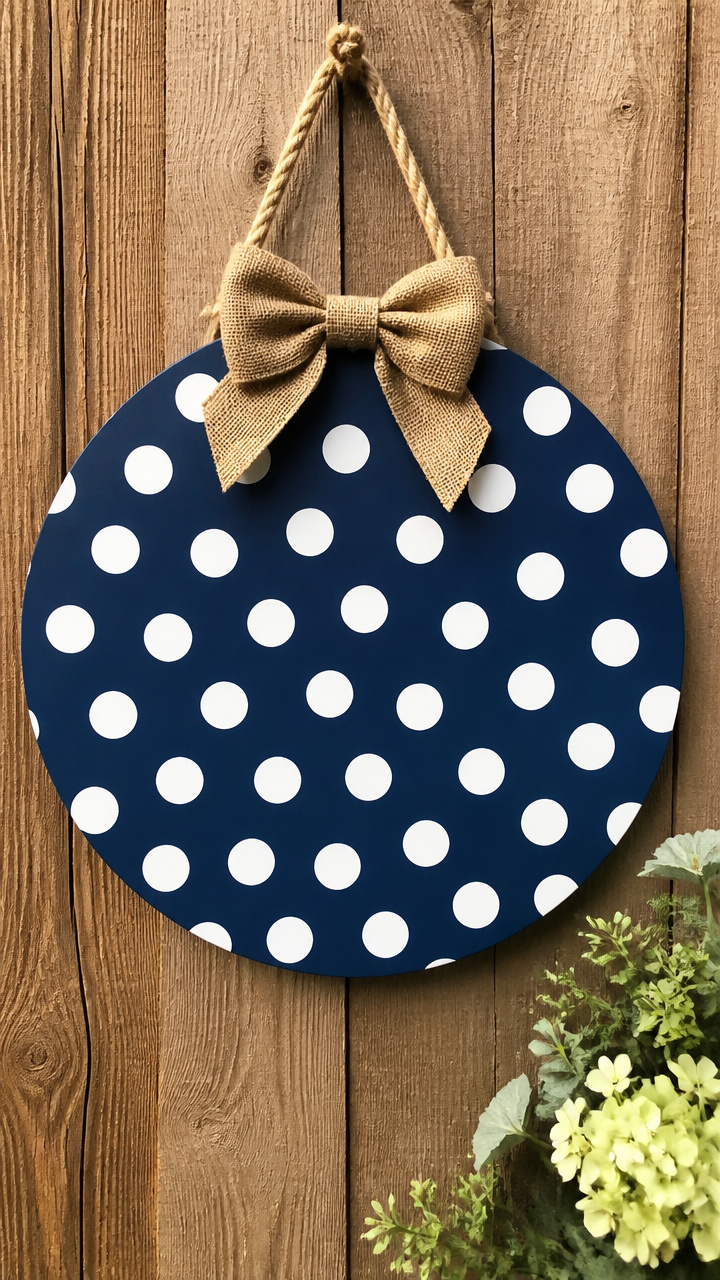
Even white dots march across a deep navy background on a birch round. Crisp and playful, it suits any season.
Materials Needed
- Birch plywood disc, 6 inches diameter
- Navy blue acrylic paint, 2 ounces
- Foam roller, 3 inches wide
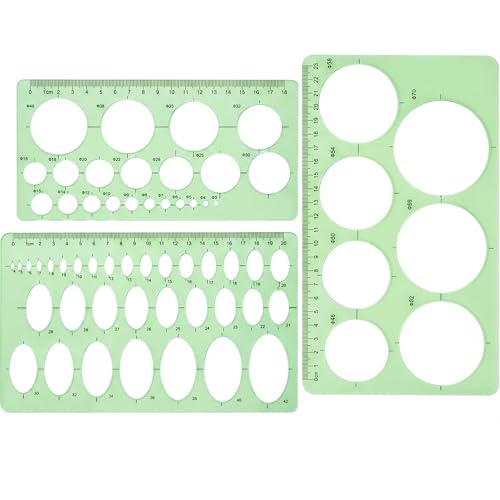
- Plastic stencil with 3/4-inch circles
- Painter’s tape
- White acrylic paint pen
How to Make It
- Tape the stencil to the disc and press edges down firmly with your fingers.
- Roll navy paint over the entire surface and let dry for 1 hour.
- Remove the stencil carefully to reveal clean white circles.
- Outline each dot with the white paint pen for extra definition.


10. Mini Ladder with Tiny Pots
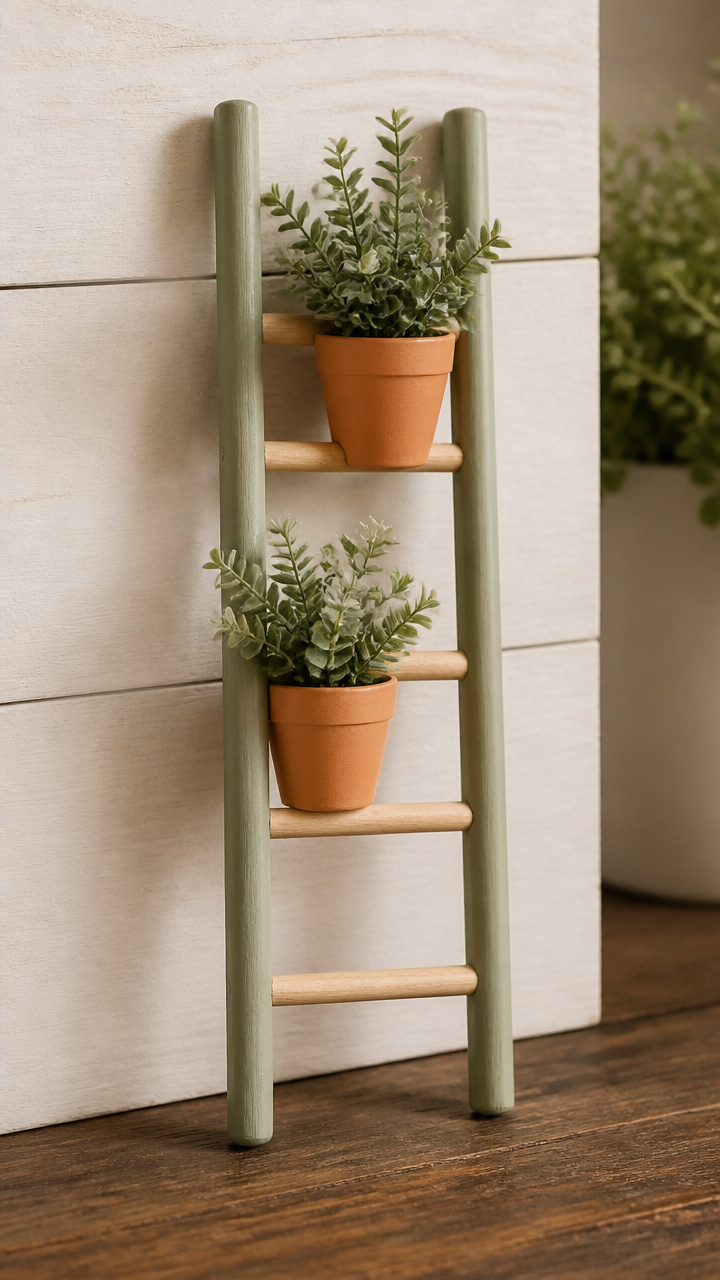
A working miniature ladder made of dowels holds two clay pots painted sage green. It stands ready for small joys.
Materials Needed
- Two 6-inch hardwood dowels, 1/4 inch diameter
- Three 1-inch maple spools
- Wood glue, 1 ounce
- Sage green acrylic paint, 1 ounce
- Paintbrush, 1/4 inch
- Awl
How to Make It
- Mark three evenly spaced points on each dowel, 1 inch apart, starting 1 inch from the bottom.
- Dip the ends of each spool in wood glue and press them between the dowels at the marks to form rungs.
- Hold each joint for 15 seconds and let the ladder dry undisturbed for 3 hours.
- Paint the tiny pots with sage green and let dry before placing them on the middle and top rungs.


11. Pressed Fern Resin Pendant
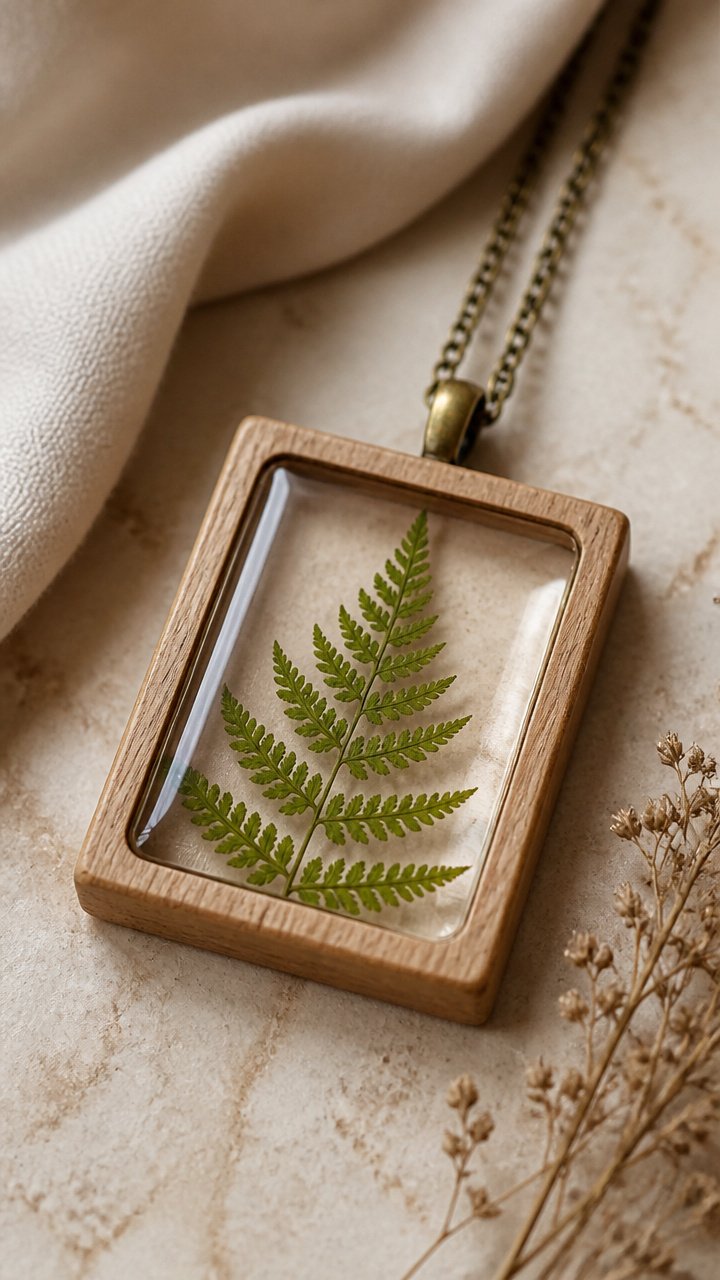
A real fern frond floats in crystal-clear resin inside a wooden frame. It captures a moment from the forest floor.
Materials Needed
- Balsa wood frame blank, 3 inches square, 1/2 inch deep
- Fresh fern frond, 2 inches long
- Resin kit for molds, 4 ounces total mix
- Disposable plastic cup
- Stir stick
- Level surface
How to Make It
- Place the fern gently into the center of the frame, tucking the stem flat against the base.
- Mix resin according to package directions and pour slowly into the frame until level with the top.
- Set the frame on a level surface and cover with a bowl to keep dust off.
- Let cure for 24 hours until hard and glossy before hanging with thin wire.


12. Whittled Bird Perch
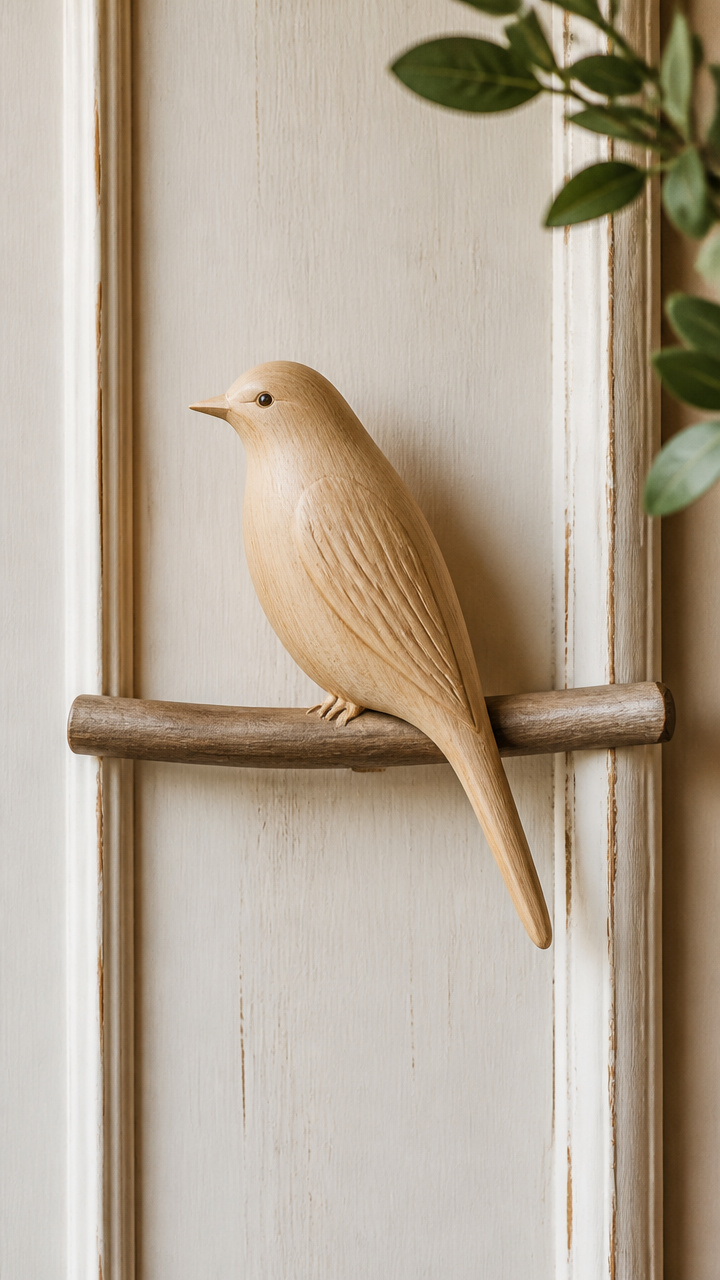
A slender bird carved from a single block balances on a thin dowel rod. Wood grain becomes feathers.
Materials Needed
- Basswood carving block, 4 x 1.5 x 1.5 inches
- Pocket knife with fine blade
- 1/8-inch hardwood dowel, 4 inches long
- Wood glue
- Steel wool, grade 0000
How to Make It
- Sketch a side profile of a songbird on the block with pencil, focusing on rounded breast and pointed beak.
- Carve the shape slowly with the pocket knife, removing wood in small slices to define wings and head.
- Drill a 1/8-inch hole into the base and insert the dowel with a dab of glue.
- Smooth all surfaces with steel wool to remove knife marks and prepare for display.


13. Cross-Stitch Wood Panel
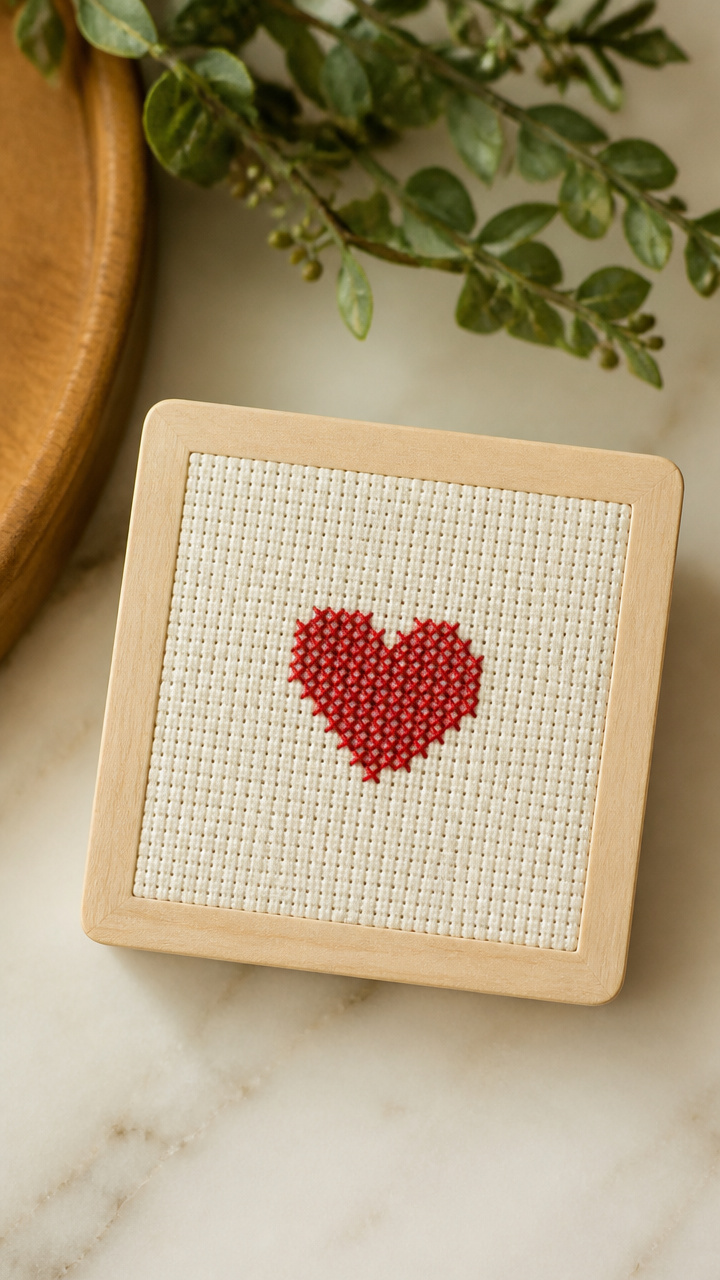
Cotton embroidery floss forms a tiny heart stitched through pre-punched holes. The wood frame stays bare to highlight the thread.
Materials Needed
- Pre-perforated wooden panel, 4 x 4 inches, 1/4 inch thick
- Red embroidery floss, 1 yard
- Tapestry needle, size 24
- Scissors
- Iron-on adhesive patch
How to Make It
- Thread the needle with 18 inches of floss and tie a knot at the end.
- Begin from the back and stitch a simple X pattern in the center to form a heart shape over 10 holes wide.
- Secure the end on the back with a double stitch and trim excess.
- Fuse the adhesive patch to the back with a warm iron to cover stitching and protect threads.


14. Painted Ombre Wave
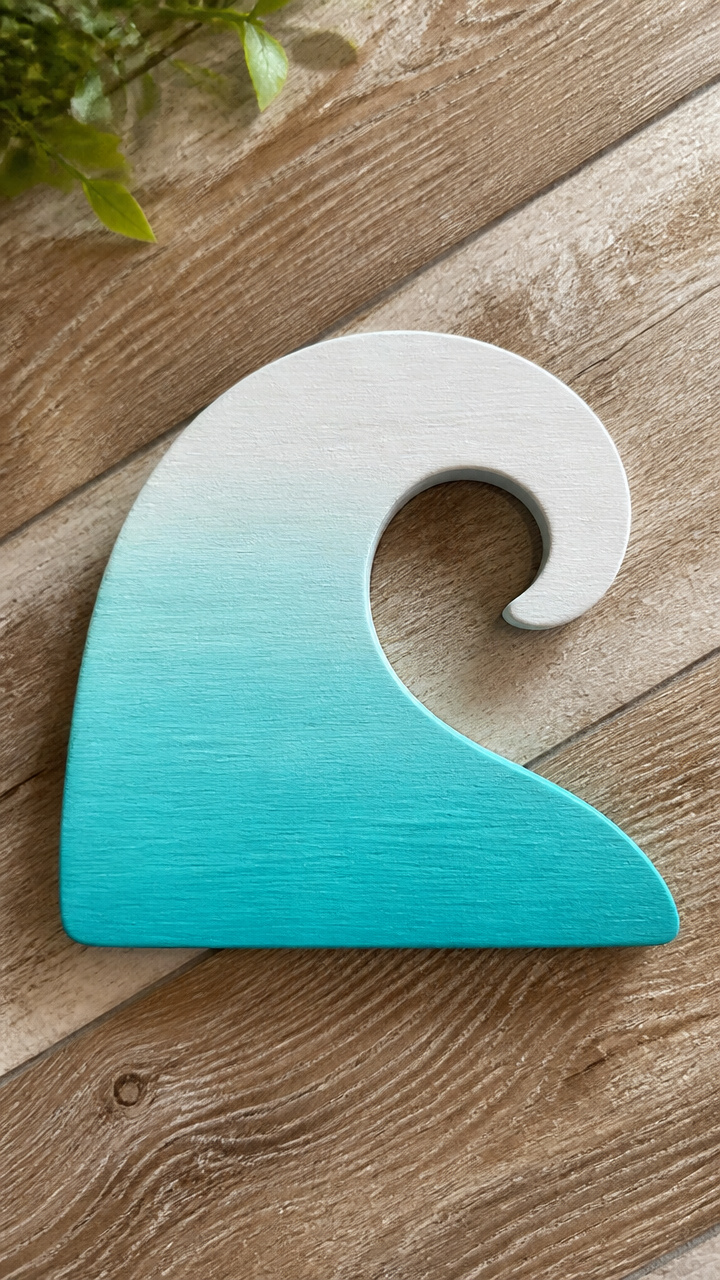
Soft blue fades into white across a curved wooden wave. The shape echoes ocean motion in stillness.
Materials Needed
- Sanded pine cutout, wave shape, 7 inches tall
- Turquoise and white acrylic paint, 1 ounce each
- Sponge dauber
- Paper plate
- Drill with 1/8-inch bit
How to Make It
- Pour equal parts turquoise and white paint onto the paper plate and blend slightly without fully mixing.
- Starting at the bottom, dab the darker side of the sponge onto the wood and move upward, lifting as you go.
- Repeat with clean areas of the sponge until the fade looks smooth and natural.
- Drill a hole at the top curve and let the piece dry for 2 hours before hanging.
15. Mosaic Tile Sunburst
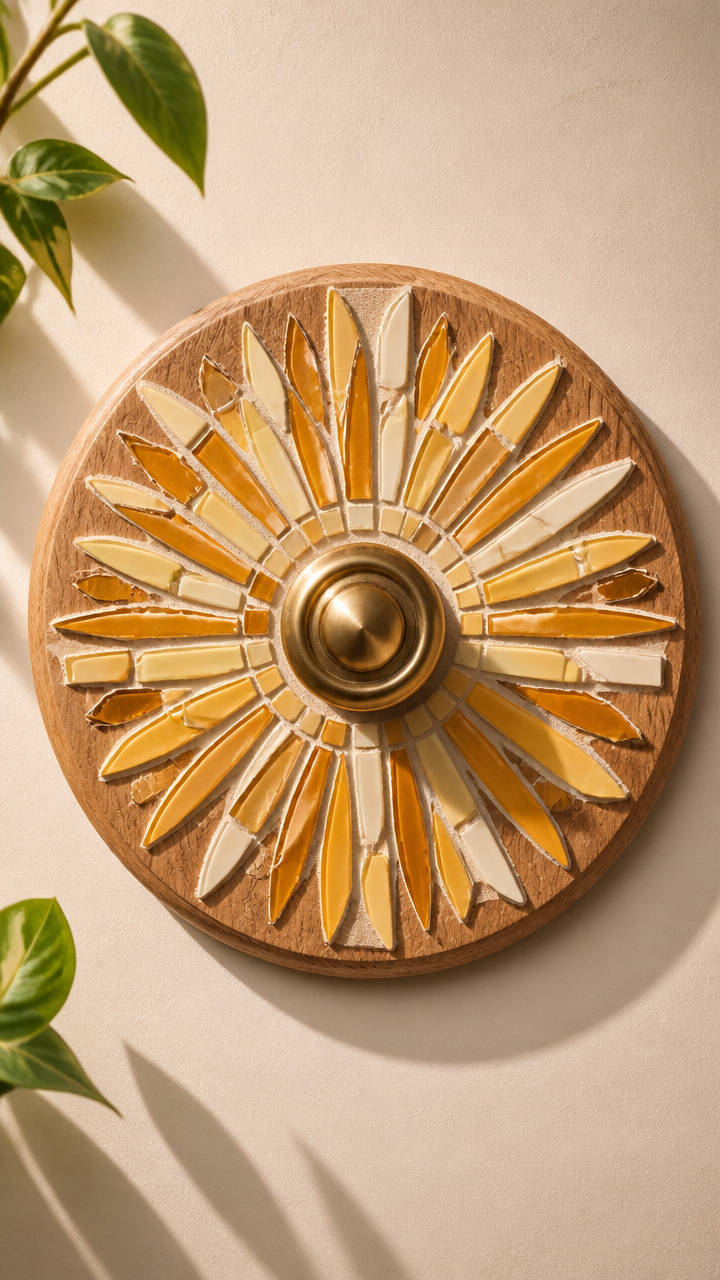
Tiny ceramic tiles radiate from a central knob like morning light. Each shard reflects color in shifting light.
Materials Needed
- Round oak board, 6 inches diameter
- Ceramic tile scraps in gold, yellow, cream (total 20 pieces)
- Tile nippers
- Clear waterproof grout, 4 ounces
- Grout float
- Brass drawer knob, 1 inch diameter
How to Make It
- Use tile nippers to break scraps into small shards no larger than 1 inch.
- Glue the brass knob to the center of the board and arrange tiles around it in a sunburst pattern.
- Press each piece into place with slight overlap and let adhesive dry for 1 hour.
- Spread grout over tiles with the float, forcing it into gaps, then wipe excess with a damp sponge after 15 minutes.


You’ve got everything you need to begin right now. Pick one design that makes your hands want to move and your heart light.