15 Creative Letter V Crafts for Preschoolers

Introducing the letter V can be joyful and hands-on with these playful crafts designed just for little learners. Each project uses simple materials you likely already have and encourages fine motor development, creativity, and letter recognition.
These ideas focus on texture, color, and movement to help preschoolers connect with the shape and sound of V in memorable ways. From painting to gluing to stamping, every craft offers a unique experience that keeps young minds engaged.
1. Velvet Letter V Sensory Art
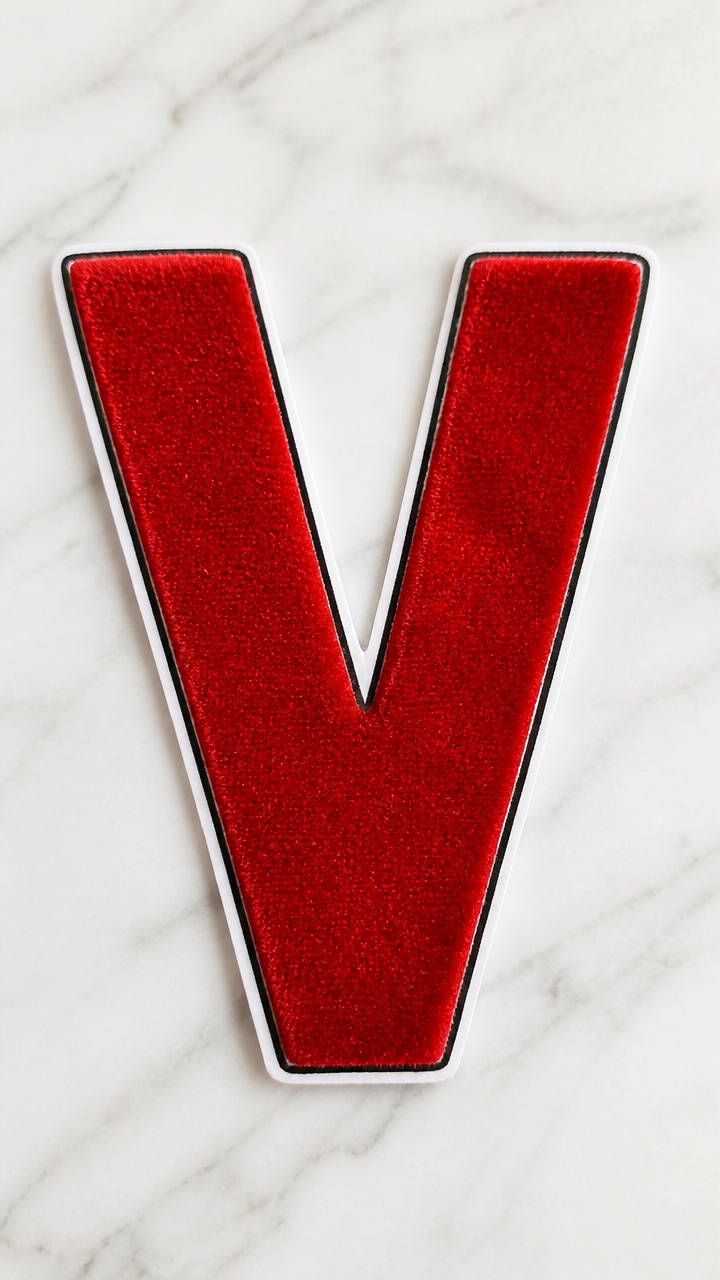
Soft velvet strips give this letter V a rich texture that invites touching and exploring. The contrast between smooth paper and fuzzy fabric helps reinforce letter shape through touch.
Materials Needed
- One sheet of A4 white cardstock
- Scissors
- Glue stick
- Red velvet fabric strip, 2 inches wide by 10 inches long
- Black marker
How to Make It
- Cut the red velvet strip into two 5-inch pieces using scissors.
- Fold each piece at a sharp angle to form a V shape, then press flat.
- Apply glue along the back edges of the folded velvet and stick it firmly onto the cardstock.
- Draw the outline of a larger V around the velvet with the black marker to emphasize the shape.


2. Vanilla-Scented Alphabet Stamps
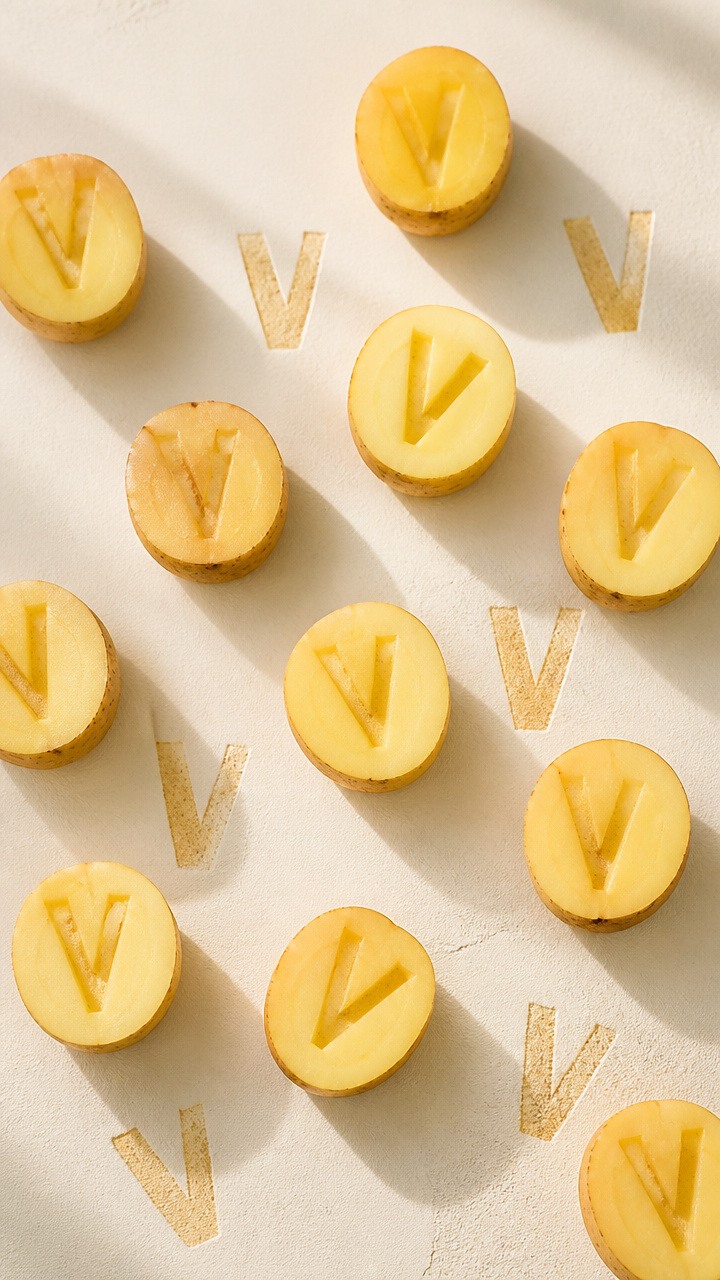
Scented stamps let children press the letter V into dough while engaging smell and touch. The vanilla extract adds a familiar, comforting aroma that enhances sensory learning.
Materials Needed
- One medium-sized potato
- Table knife
- Vanilla extract
- Small bowl
- Craft knife (for adult use only)
- Wax paper
- Brown tempera paint
How to Make It
- An adult cuts the potato in half and carves a capital V into one flat side using the craft knife.
- Soak the stamped side in vanilla extract for 30 seconds, then place on wax paper to dry slightly.
- Dip the carved V into brown tempera paint.
- Press firmly onto paper to leave a clear, scented print.


3. Veggie Print V Patterns
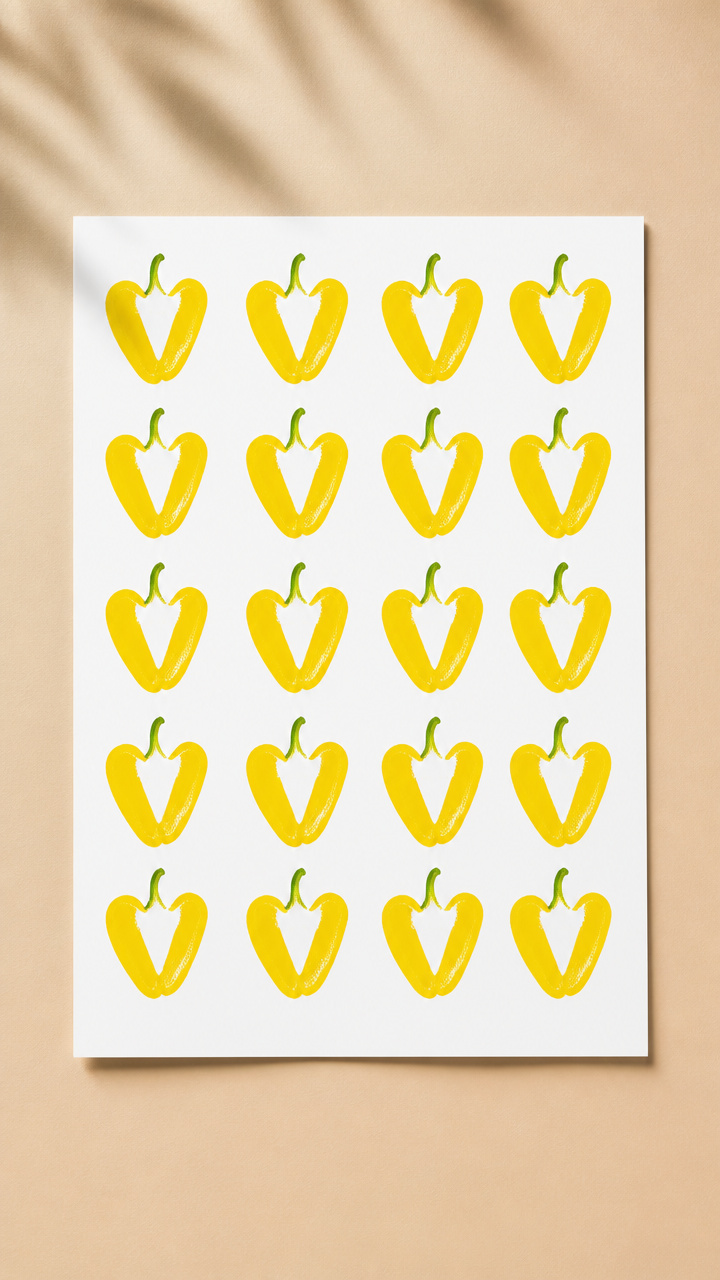
Fresh bell peppers become stamping tools when sliced across the middle. Their natural V-shaped core creates crisp prints that children can repeat in rows.
Materials Needed
- One green bell pepper
- Kitchen knife (adult use)
- Plastic tray
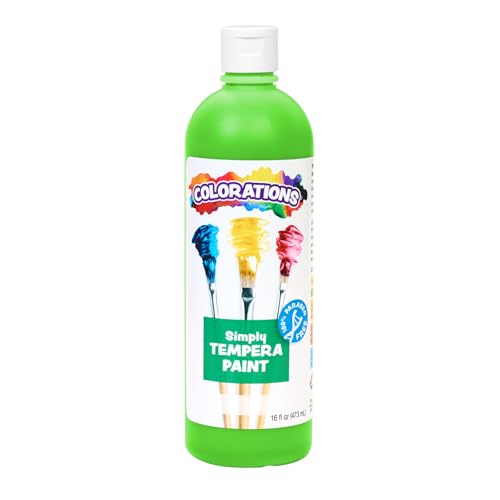
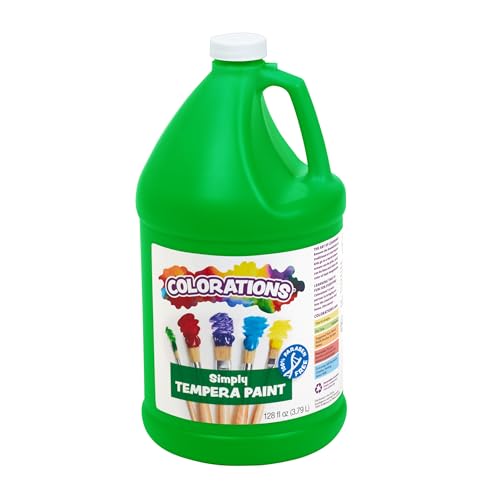
- Yellow tempera paint
- Paintbrush
- A4 white drawing paper
How to Make It
- An adult cuts the bell pepper in half crosswise to expose the V-shaped seed core.
- Place the cut side down in yellow paint on the tray.
- Lift the pepper and press it firmly onto the drawing paper to make one print.
- Repeat four times in a row to create a patterned line of Vs.

4. V is for Violin Paper Craft
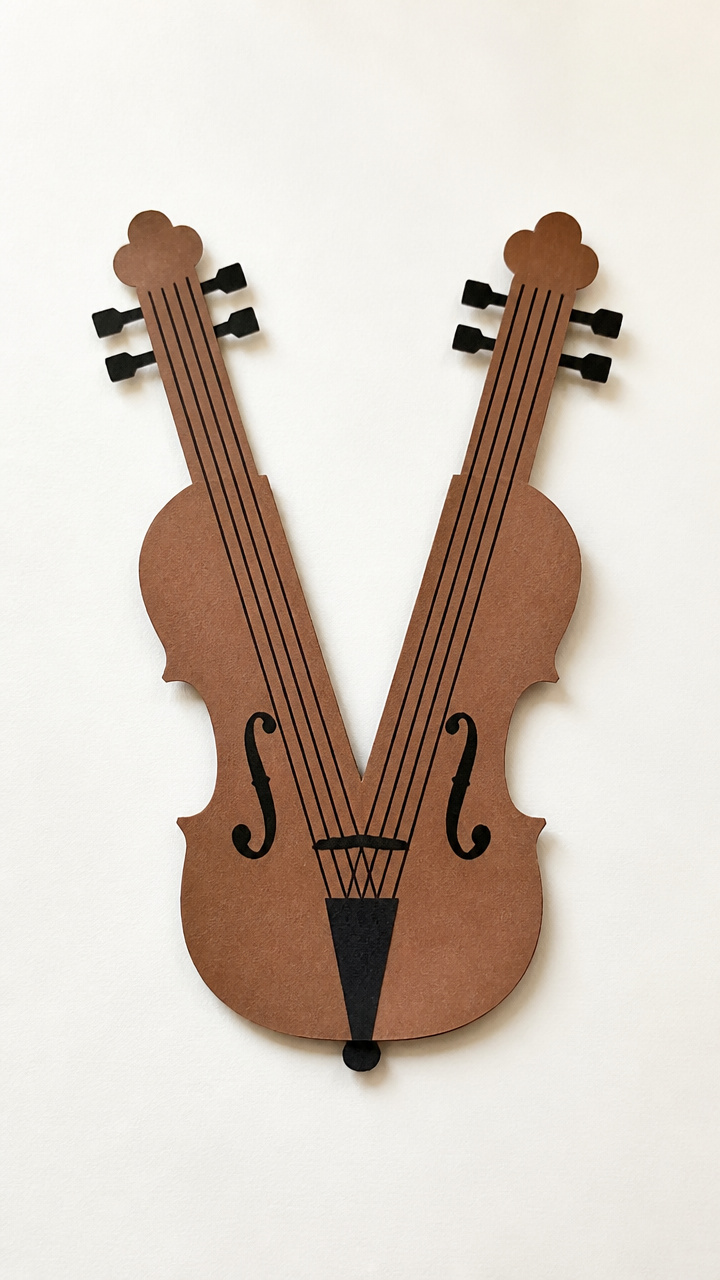
A simple paper violin introduces music and letter shape together. Curved construction helps develop hand-eye coordination while celebrating sound and art.
Materials Needed
- Brown construction paper, 9×12 inch sheet
- Scissors
- White school glue
- Ruler
- Pencil
- Black crayon
How to Make It
- Draw a violin outline using ruler and pencil on the brown paper, making sure the waist forms a narrow V.
- Cut out the violin carefully with scissors.
- Glue the violin flat onto another sheet of paper to stabilize it.
- Draw strings and scroll details with the black crayon.


5. Valentine’s Heart V Garland
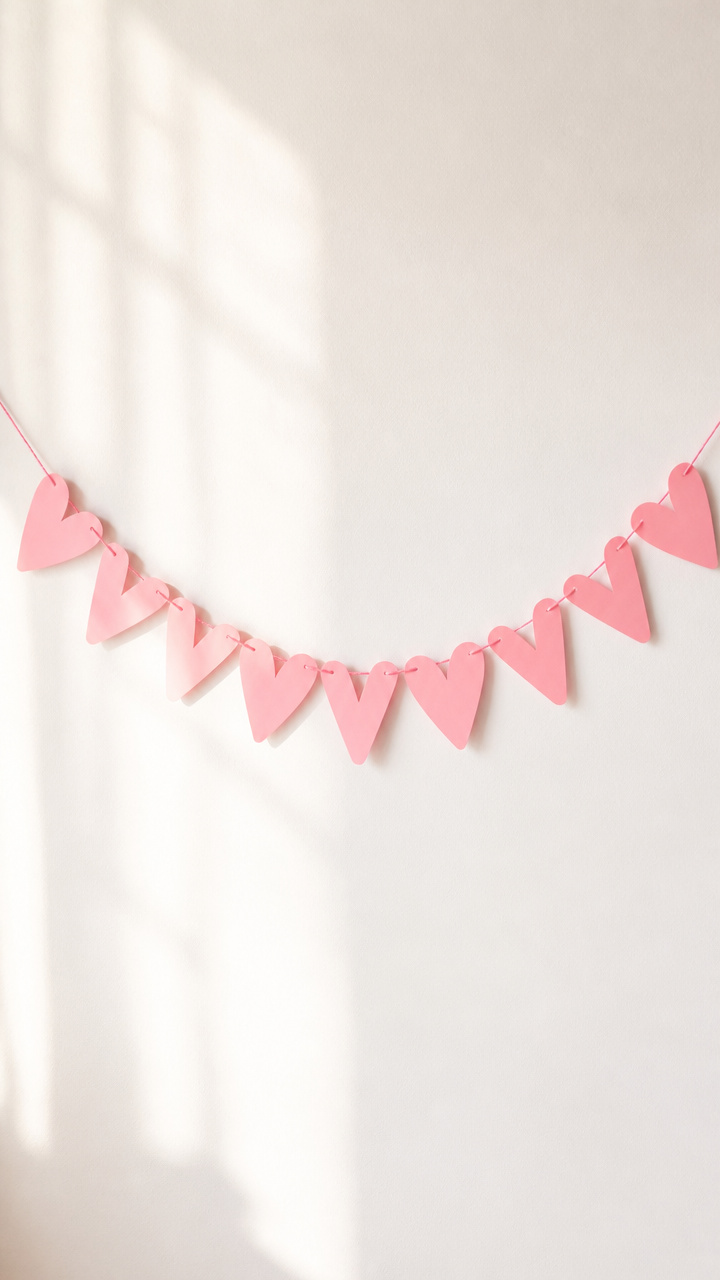
Tiny heart chains form the arms of a large hanging V. This craft combines holiday fun with letter learning using soft colors and simple folding.
Materials Needed
- Pink construction paper, 9×12 inch sheet
- Scissors
- White glue
- Yarn, 24 inches long
- Hole punch
How to Make It
- Fold the pink paper into quarters lengthwise, then cut small half-hearts along the folded edge.
- Unfold to reveal a chain of four hearts connected at the top.
- Shape the chain into one arm of a V and glue it to yarn at a 45-degree angle.
- Repeat on the other side and hang the garland.


6. Vinegar and Baking Soda V Painting
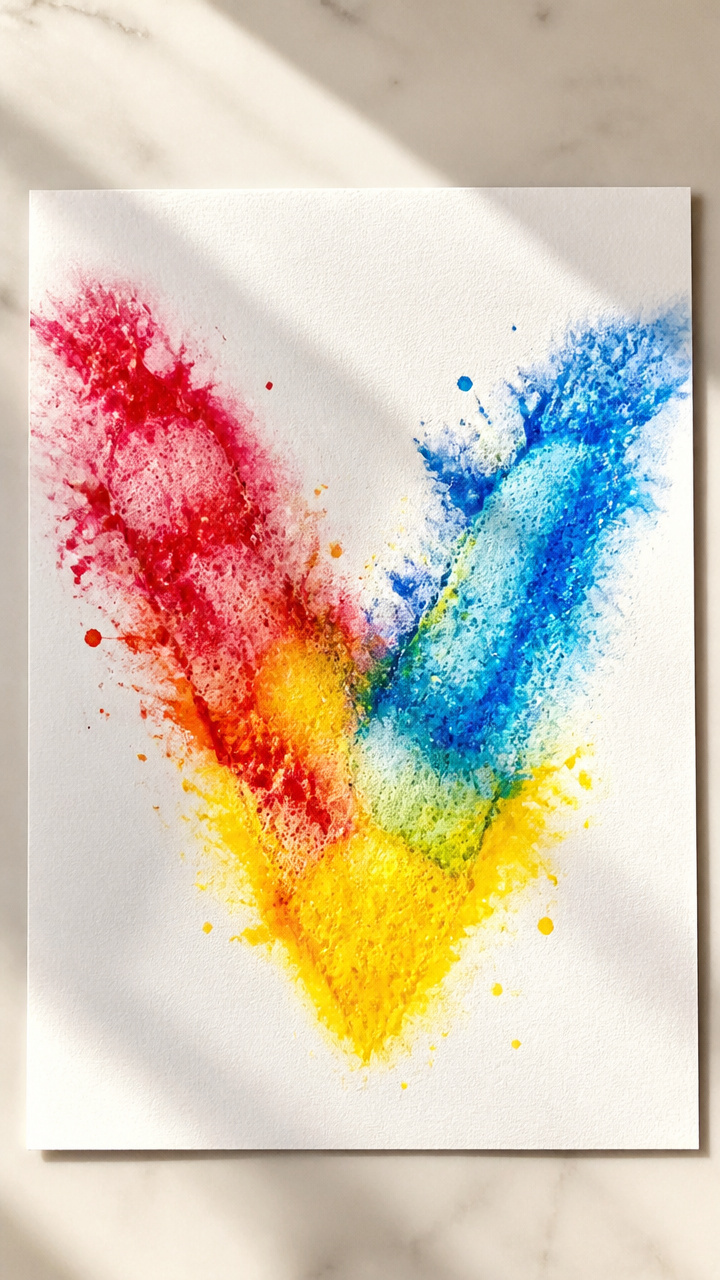
Fizzy chemical reactions turn letter painting into science play. Children use droppers to mix colored solutions directly on the page.
Materials Needed
- A4 white cardstock
- White vinegar, 1/4 cup
- Baking soda, 2 tablespoons
- Three small cups
- Red, blue, and yellow food coloring
- Pipette
- Spill-proof tray
How to Make It
- Mix baking soda with 1 tablespoon of vinegar in a cup and add 3 drops of red food coloring.
- Pour the fizzing mixture quickly onto the cardstock shaped like a V.
- Use the pipette to drip blue and yellow mixtures from other cups into different parts of the V.
- Let dry flat on the tray for 20 minutes.
7. Vulture Feather Wings Craft
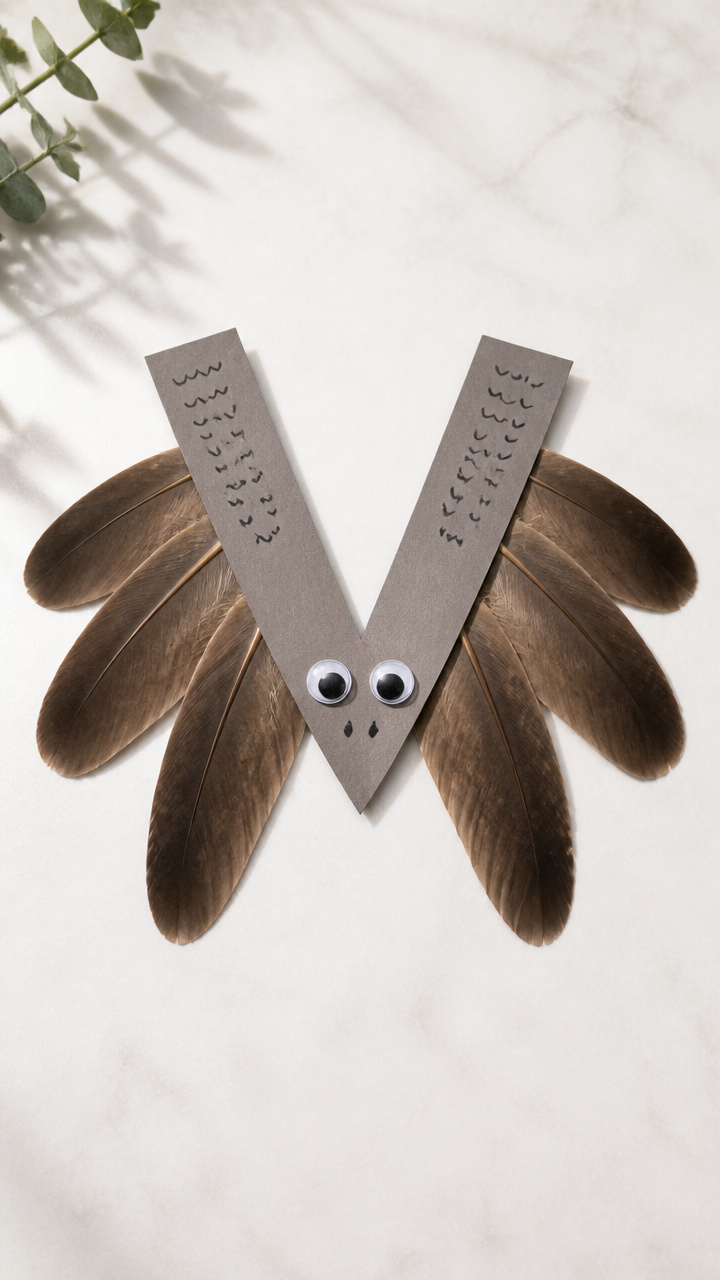
Feathers glued in a V formation mimic bird wings in flight. This craft teaches symmetry and animal themes while practicing glue control.
Materials Needed
- Five brown craft feathers, 4 inches long
- Glue stick
- Large V cut from gray cardstock
- Googly eyes, 2
- Black fine-tip marker
How to Make It
- Line up three feathers pointing downward from the top left corner of the V.
- Glue each feather at the base so they overlap slightly.
- Repeat on the right side with two feathers to mirror the left.
- Add googly eyes near the point and draw a beak with the marker.


8. Vinyl Tile Letter Rubbing
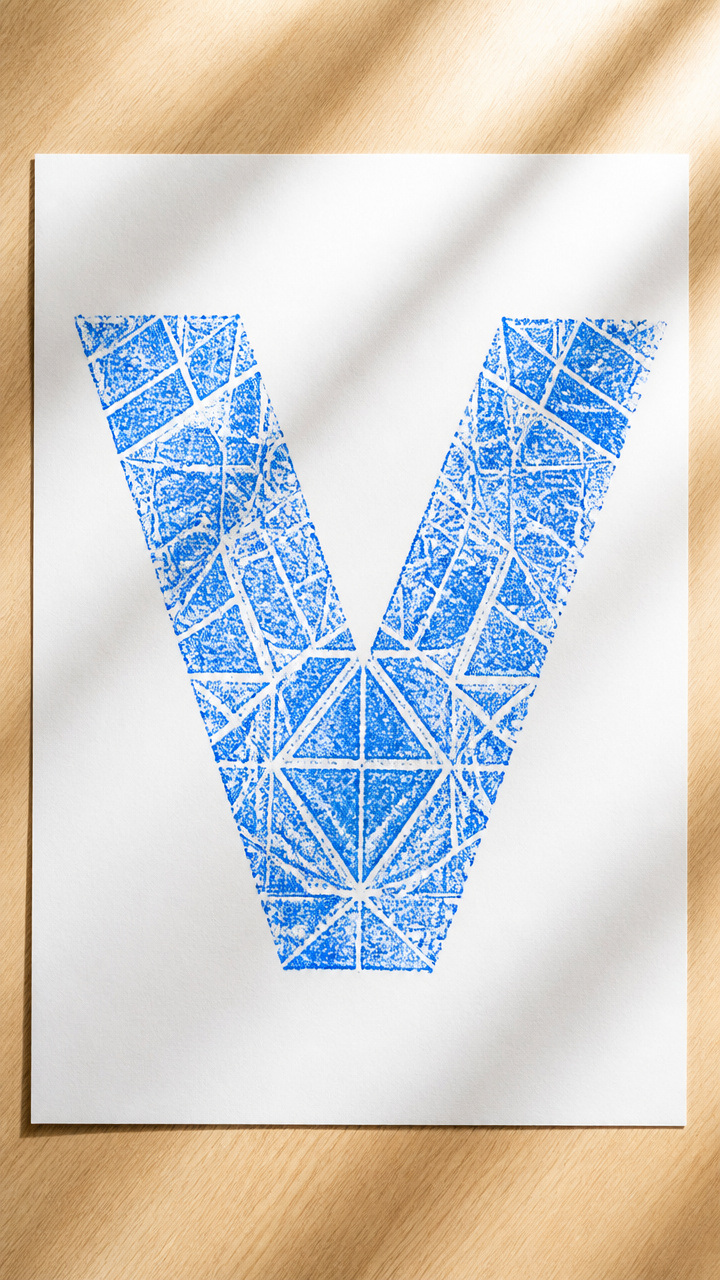
Textured floor tiles become printing blocks when covered in paint and pressed under paper. Kids discover hidden patterns through crayon rubbings.
Materials Needed
- One vinyl floor tile with geometric pattern
- Blue acrylic paint
- Paint roller, small
- A4 white paper
- Crayon, any color
How to Make It
- Roll blue paint evenly over the surface of the vinyl tile.
- Place the paper gently on top and press down with palms for 10 seconds.
- Lift slowly to reveal the printed texture.
- Use a crayon to trace a large V over the print.

9. Volcano Eruption Letter Display
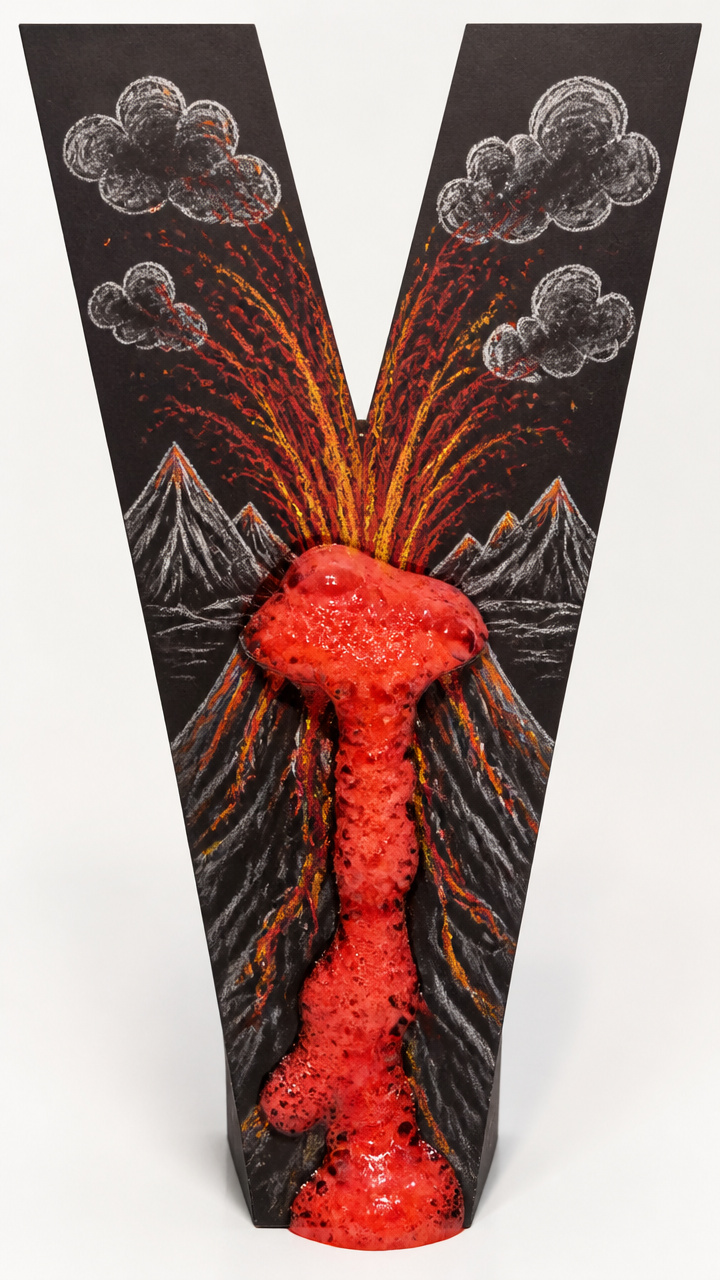
A rising foam eruption fills a drawn V with bubbly excitement. Safe kitchen ingredients create real movement kids love to watch.
Materials Needed
- A4 black cardstock
- White chalk
- Baking soda, 3 tablespoons
- White vinegar, 1/3 cup
- Red food coloring, 5 drops
- Small funnel
- Measuring spoon
How to Make It
- Draw a wide V shape in the center of the cardstock with chalk.
- Sprinkle 1 tablespoon of baking soda inside each arm of the V.
- Mix vinegar and food coloring in a cup.
- Use the funnel to pour half the mixture into each arm and watch the foam rise.

10. Vivid V Dot Art
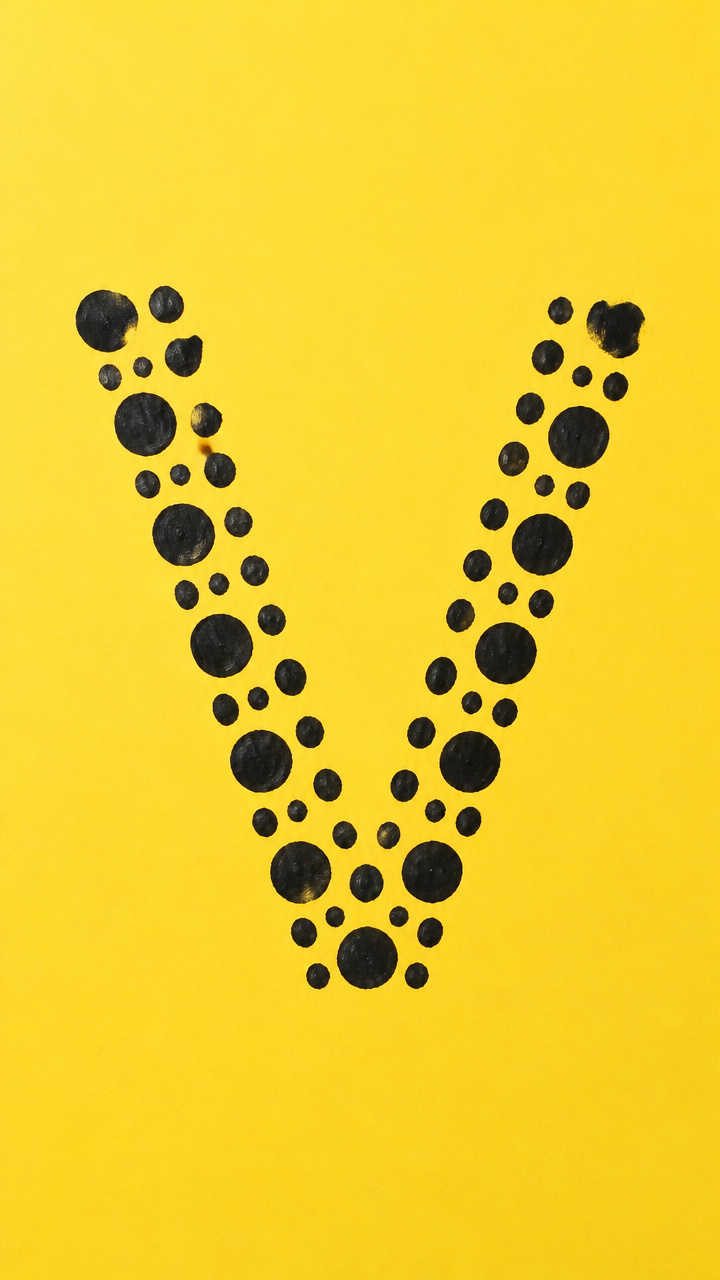
Cotton swabs and bold paint create textured dot patterns inside a traced letter. This strengthens grip and improves precision.
Materials Needed
- A4 yellow construction paper
- Black washable paint
- Two cotton swabs
- Stencil of capital V, 4 inches tall
How to Make It
- Place the V stencil in the center of the paper and trace lightly with finger.
- Dip one end of a cotton swab into black paint.
- Dot paint steadily along the left side of the V, filling the space completely.
- Switch swabs and repeat on the right side.


11. Vacation Postcard from V Island
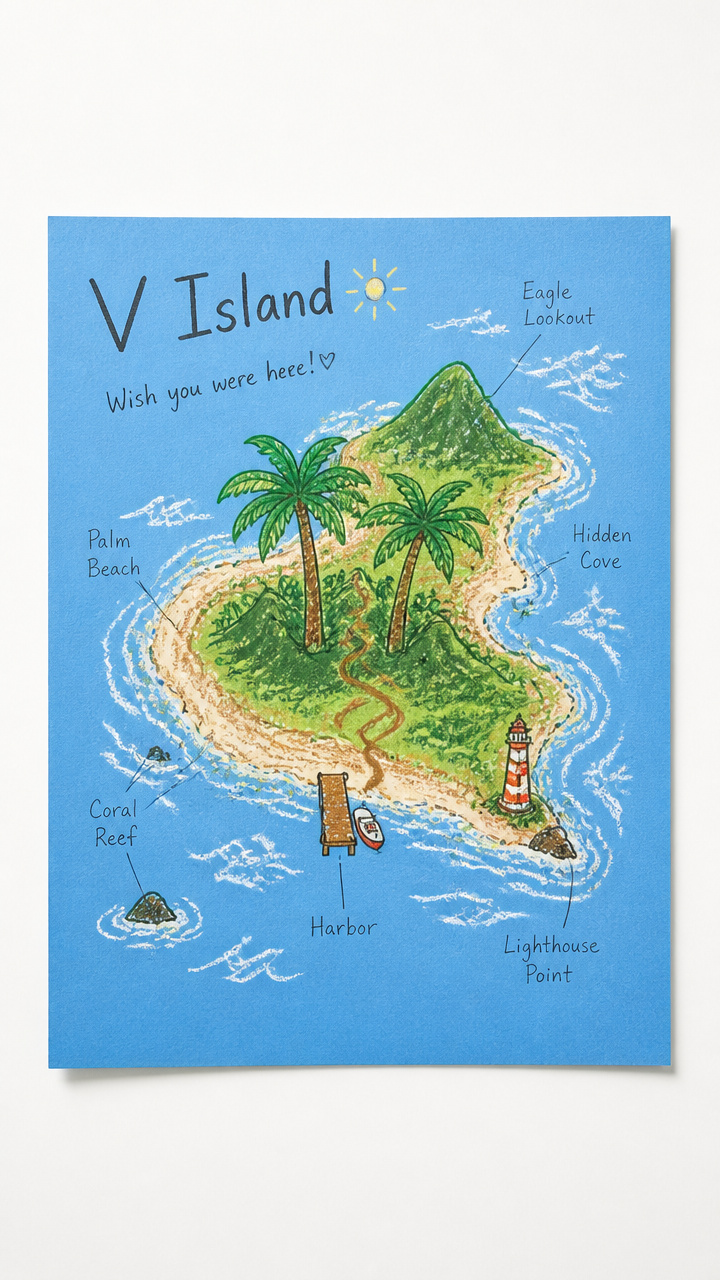
A pretend postcard invites storytelling and drawing within a giant letter border. The blank space inspires imaginative scenes tied to the letter sound.
Materials Needed
- A4 blue cardstock
- White Crayola crayon
- Green and brown markers
- Ruler
- Pencil
How to Make It
- Draw a large V using pencil and ruler, taking up most of the page.
- Trace over it heavily with the white crayon to create a waxy outline.
- Color inside the V with green and brown markers to show trees and land.
- Draw waves outside with the crayon to make a vacation island scene.


12. V is for Vacuum Cleaner Drawing
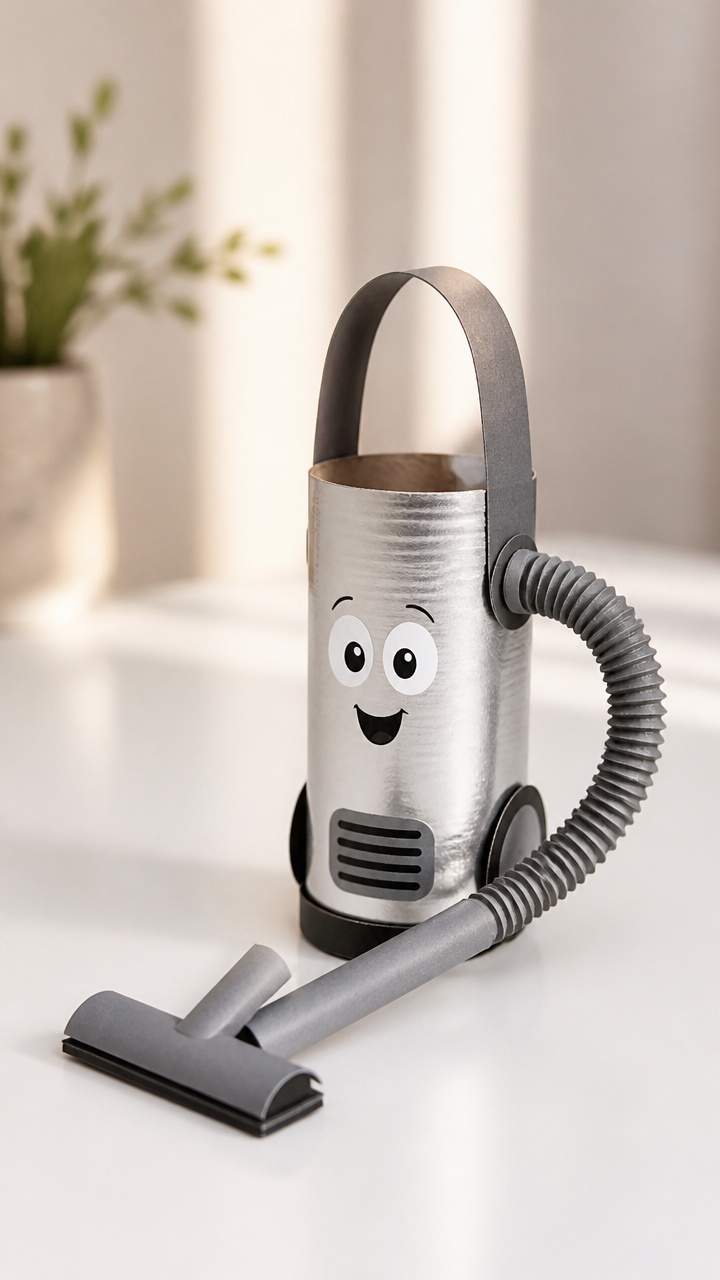
Toy vacuum parts inspire a mechanical letter V made from cardboard tubes. Rolling and taping build spatial awareness.
Materials Needed
- One toilet paper tube
- Silver paint
- Paintbrush
- Scissors
- Tape
- Gray construction paper
How to Make It
- Cut the toilet paper tube diagonally from one edge to the opposite side to form a slanted piece.
- Paint the entire piece silver and let dry for 10 minutes.
- Tape the two ends of the cut tube to gray paper at a 45-degree angle each, forming a V.
- Leave space at the bottom point for wheels drawn in marker.


13. Vanilla Pudding Handprint Art
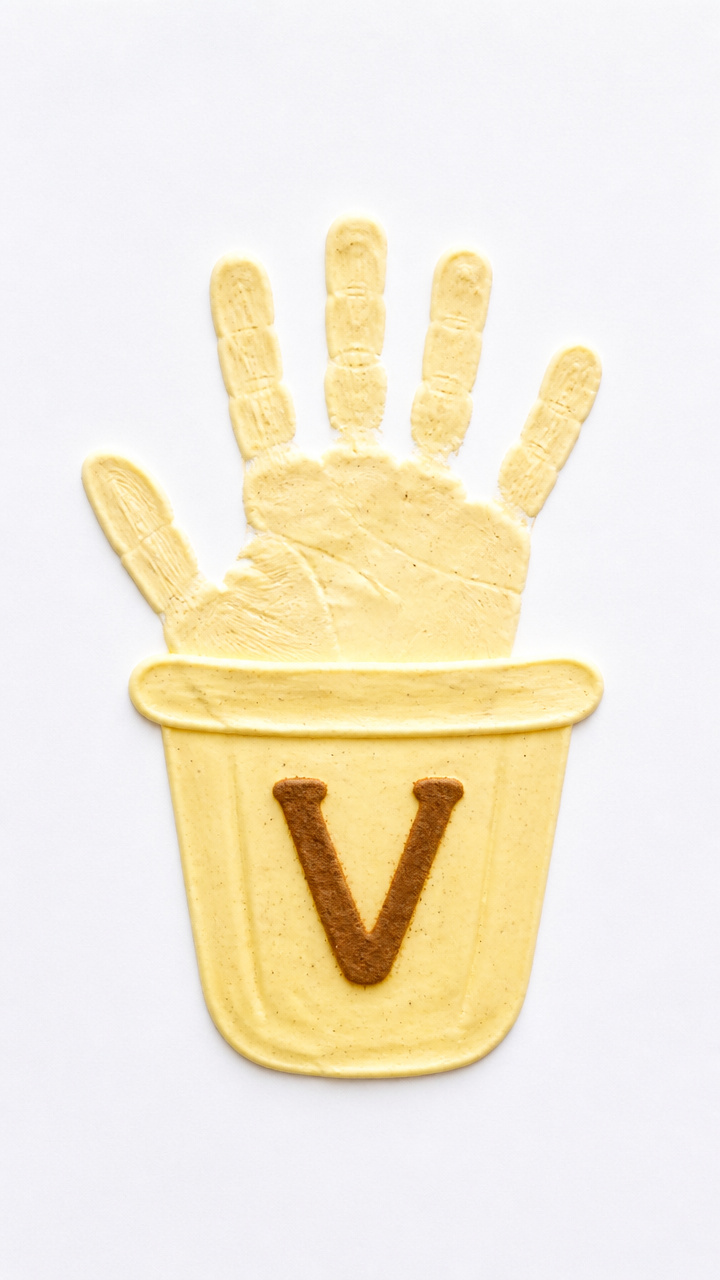
Edible pudding becomes safe paint for tiny hands to explore. The sweet scent and cool texture keep attention focused on forming the letter.
Materials Needed
- Instant vanilla pudding mix, one small box
- Cold milk, 1 cup
- Whisk
- Shallow bowl
- A4 white cardstock
- Paper towels
How to Make It
- Mix pudding and milk in a bowl with the whisk until thickened.
- Spoon a small amount onto the cardstock in a V shape.
- Press your palm and fingers into the pudding mound at each arm of the V.
- Wipe excess off fingers with paper towels and let dry overnight.


14. Viking Helmet Headband
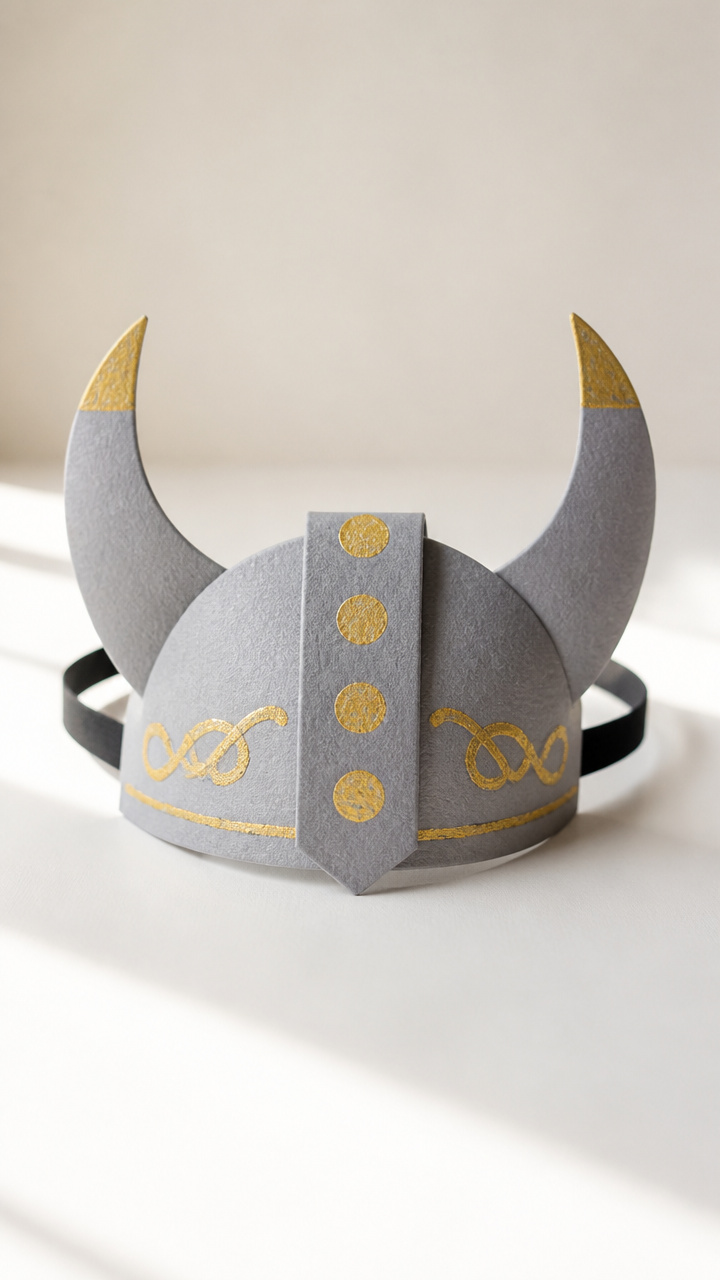
Cardboard horns bent into a V sit atop a wearable headband. Pretend play grows from simple folds and secure taping.
Materials Needed
- Gray construction paper, 8×10 inch sheet
- Scissors
- Elastic band, 14 inches long
- Glue stick
- Gold crayon
How to Make It
- Cut two 6-inch strips from the gray paper and fold each lengthwise.
- Bend each strip into a horn shape and glue the seam closed.
- Attach one end of each horn to a headband cut from the same paper using the glue stick.
- Tape the elastic band to both sides and decorate with gold crayon lines.


15. Vine Growth Window Cling
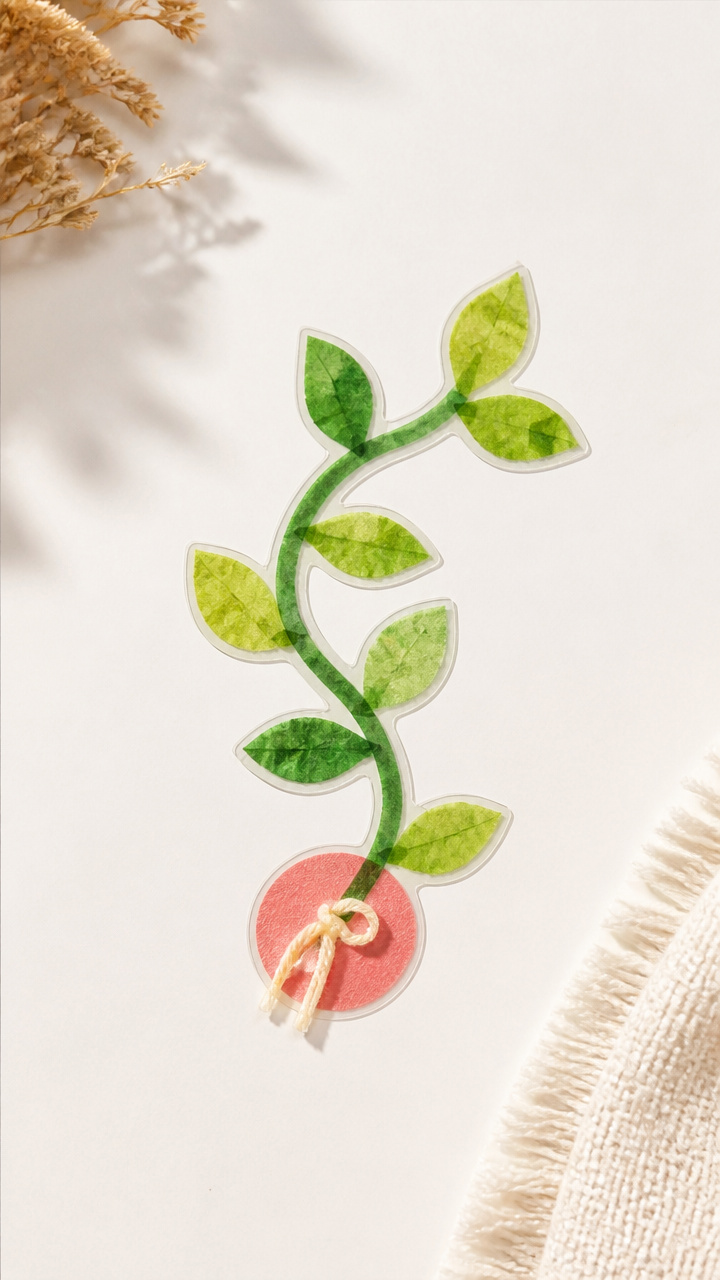
Green tissue paper strips layered over contact paper grow like climbing vines in a V pattern. Light shines through the colorful display.
Materials Needed
- Clear contact paper, 9×12 inch sheet
- Green tissue paper
- Scissors
- Round sticker, 1 inch diameter
- Yarn snippet, 3 inches
How to Make It
- Peel the backing halfway off the contact paper sheet.
- Cut tissue into 1-inch strips and layer them from the bottom corners toward the center in a V shape.
- Place the round sticker at the top point to look like a flower.
- Stick a short yarn piece near the flower as a vine connector.


Each of these crafts brings the letter V to life in a way that's meaningful and fun for preschoolers. Pick one that matches your child's interests and get ready to learn through doing.