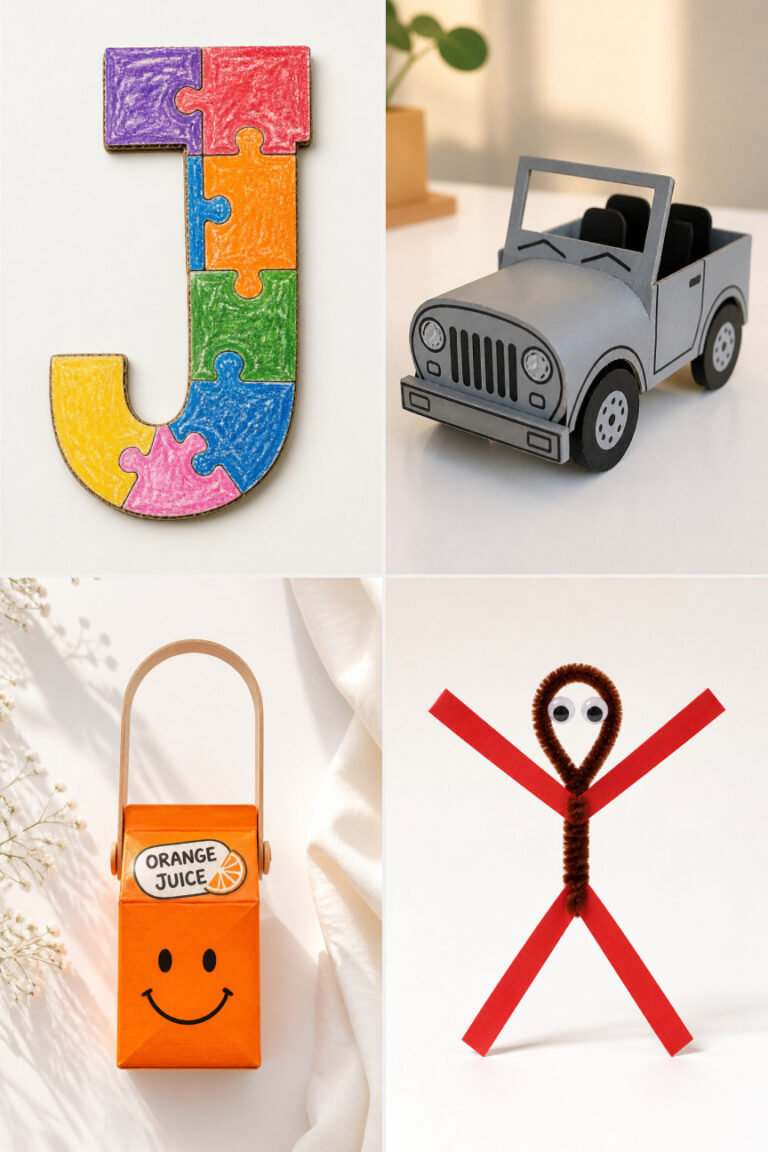
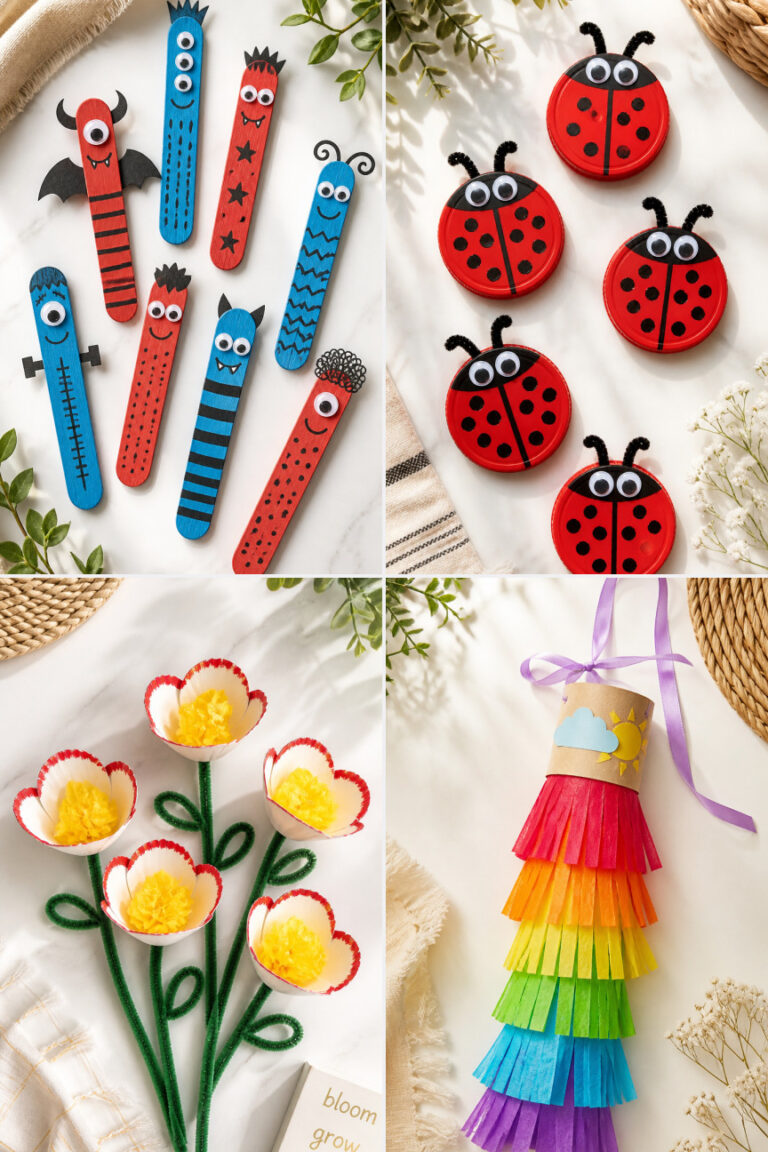
15 Easy Letter W Crafts for Preschoolers

Introducing the letter W through hands-on play gives preschoolers a joyful way to connect with sounds and shapes. These crafts blend simple materials with big moments of discovery, helping little learners build confidence one wiggly, wonderful project at a time.
Each idea uses everyday supplies you likely have at home and focuses on fine motor skills, creativity, and letter recognition without feeling like a lesson. Just open the box, grab a few sheets of paper, and let the playful learning begin.
1. W is for Whale Painting
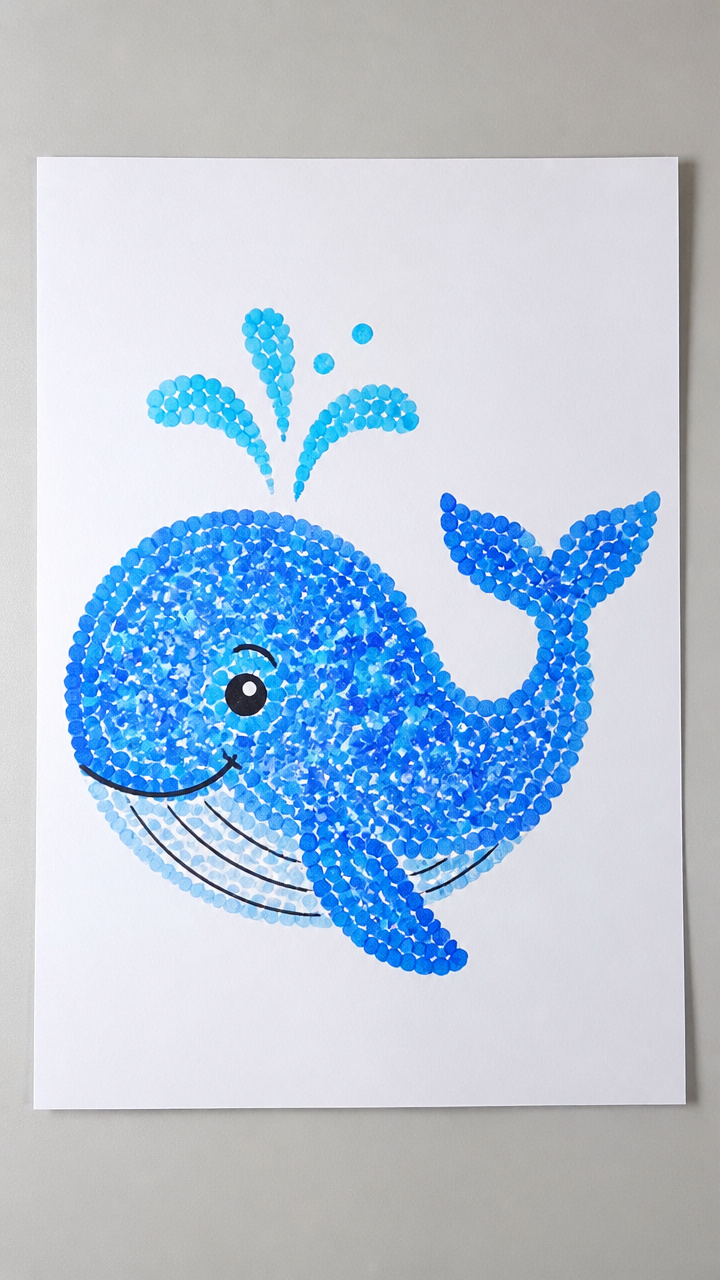
A bold blue whale made with handprints lets children explore shape and sound through movement and paint. The curved tail forms the letter W naturally as they press and lift.
Materials Needed
- White A4 construction paper
- Blue washable tempera paint
- Black fine-tip marker
- Cotton swab
- Paper plate
- Smock or old shirt
How to Make It
- Pour a small amount of blue paint onto the paper plate.
- Press your child’s palm flat into the paint, then guide their hand to stamp it sideways near the bottom right of the paper, fingers pointing left.
- Repeat with the other hand, overlapping slightly at the base to form a V-shape that curves into a W when the tails are drawn.
- Use the black marker to outline the whale’s body and add an eye, and use the cotton swab to dot white paint for a water spout.


2. Waffle Iron Art Prints
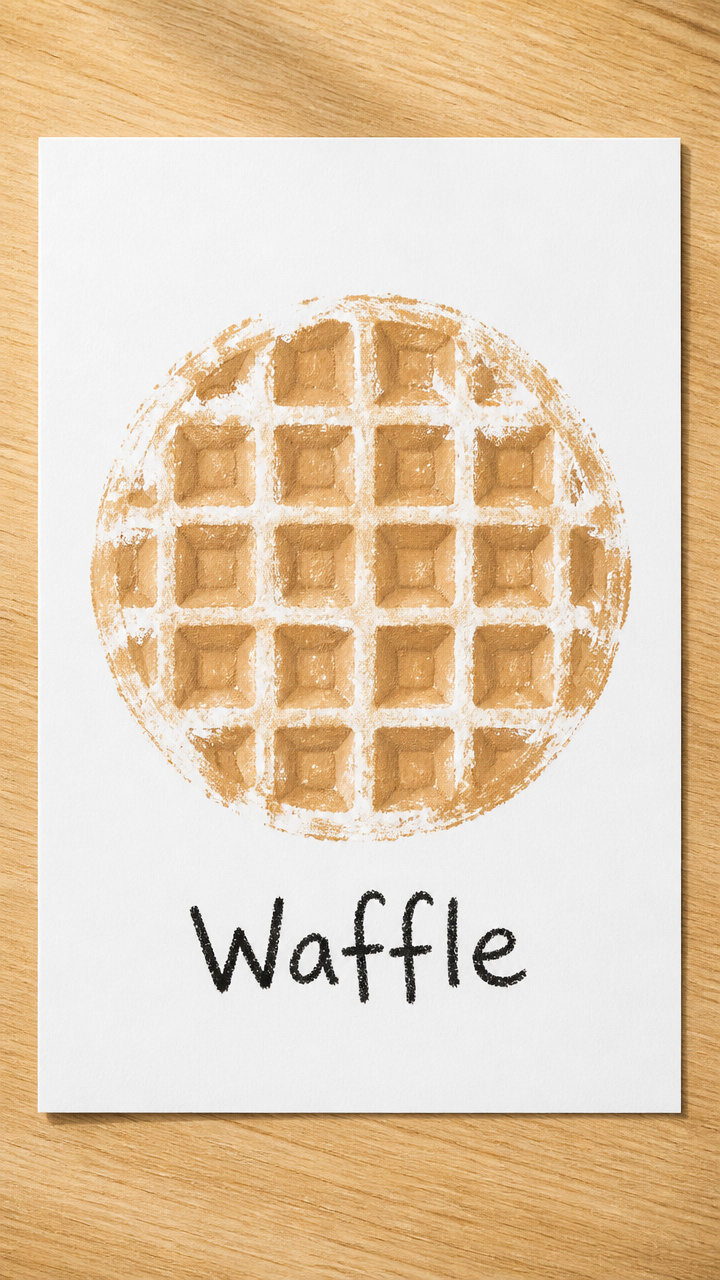
Textured prints from a real waffle iron create a surprising and tactile letter W experience. The grid pattern becomes a fun background for tracing the letter shape.
Materials Needed
- Cold, clean waffle iron
- Light brown acrylic paint
- Paintbrush
- White cardstock
- Black crayon
How to Make It
- Brush a thin layer of light brown paint across the surface of the cold waffle iron squares.
- Place a sheet of cardstock gently over the iron and press down evenly with both hands for three seconds.
- Lift the paper carefully and let it dry flat on a table.
- Use the black crayon to trace a large W over the textured print and label it 'waffle'.

3. Windy Day Pipe Cleaner Weaving
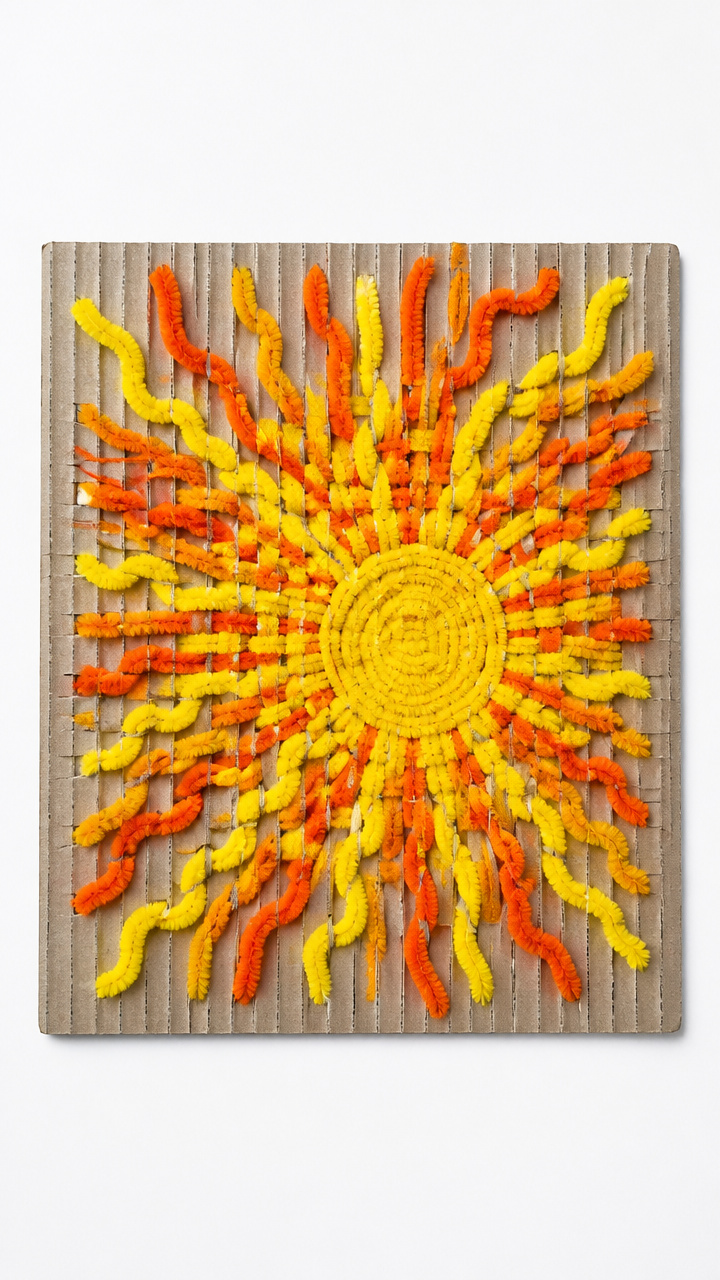
Flexible pipe cleaners woven through cardboard teach hand strength while forming the zigzag shape of W. The finished piece moves lightly in the air.
Materials Needed
- Gray corrugated cardboard, 6×6 inches
- Yellow and orange pipe cleaners (3 each)
- Scissors
- Ruler
- Pencil
How to Make It
- Draw a large W in pencil on the cardboard, about 4 inches tall.
- Cut slits along each upward leg of the W every half inch using scissors.
- Cut one yellow and one orange pipe cleaner in half.
- Weave each short piece over and under through the slits to fill the W shape, pressing gently to secure.
4. Watermelon Seed Counting Cards
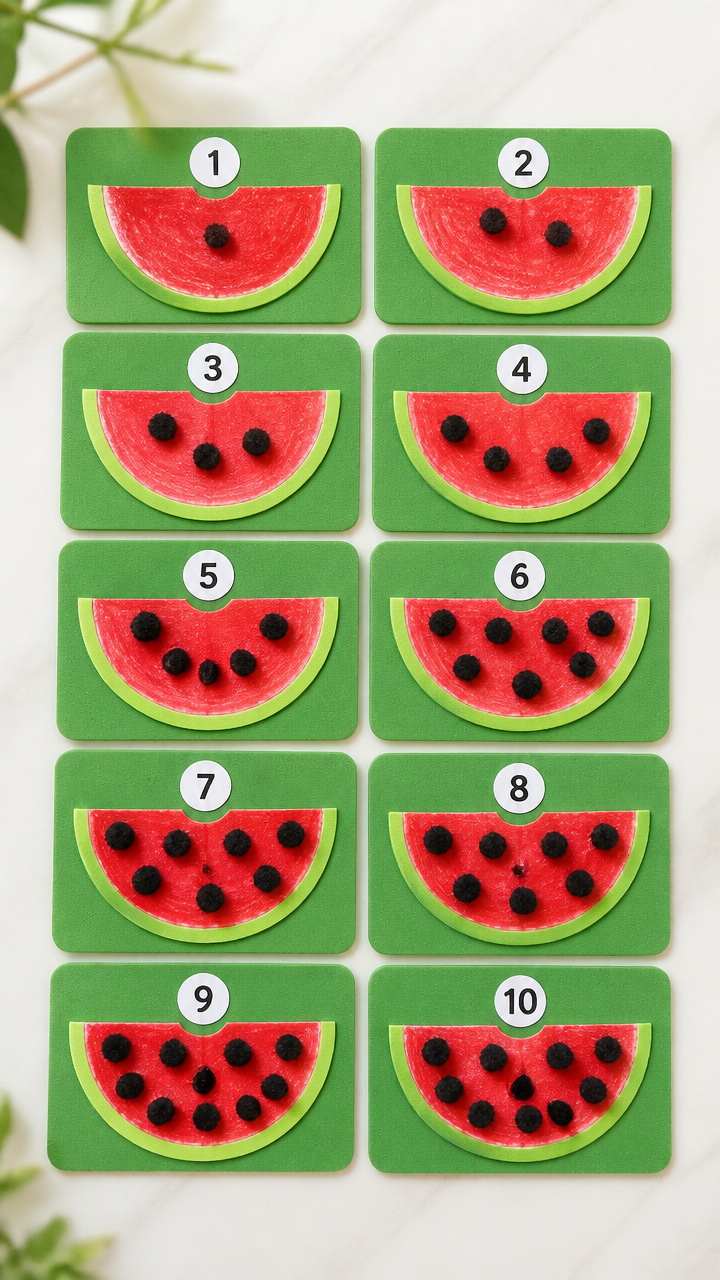
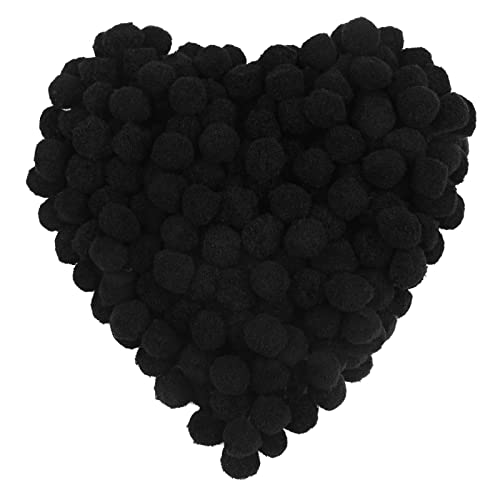
Chunky black seeds placed on green paper circles build counting and fine motor control. Each card ends with a clear W label for word connection.
Materials Needed
- Green craft foam sheets
- Black pom-poms, 6mm (20 pieces)
- Glue dots
- Round hole punch
- Red crayon
- White sticker, 1 inch
How to Make It
- Punch two circles from the green foam with the hole punch.
- Color each circle with red crayon, leaving black centers for seeds.
- Stick a glue dot on the back of each pom-pom.
- Place ten seed-covered pom-poms on each watermelon slice and stick a white W sticker on top.


5. Wiggle Worm from Socks
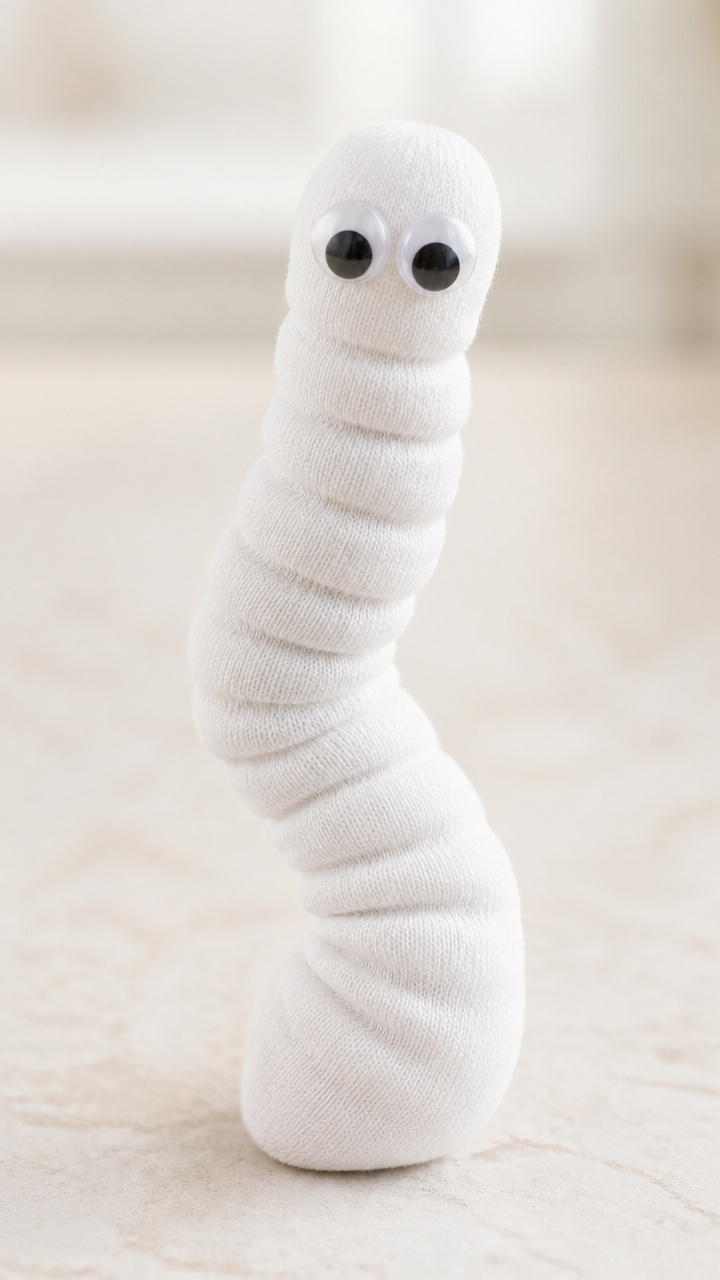
An upcycled sock worm with bendable body segments teaches recycling and letter sound through storytelling. Its wiggly motion reinforces the 'w' sound.
Materials Needed
- One clean baby sock, white
- Uncooked rice, 1/3 cup
- Funnel
- Rubber band
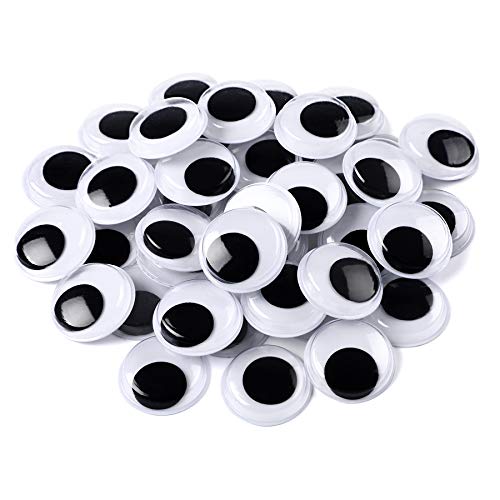
- Googly eyes, 2
- Hot glue gun
- Orange chenille stem
How to Make It
- Use the funnel to pour rice into the sock, filling it halfway.
- Tie the open end with a rubber band to seal.
- Glue on two googly eyes just below the knot.
- Twist the chenille stem into a wavy mouth and attach with hot glue to make it wiggle.


6. Window Cling Alphabet Tiles
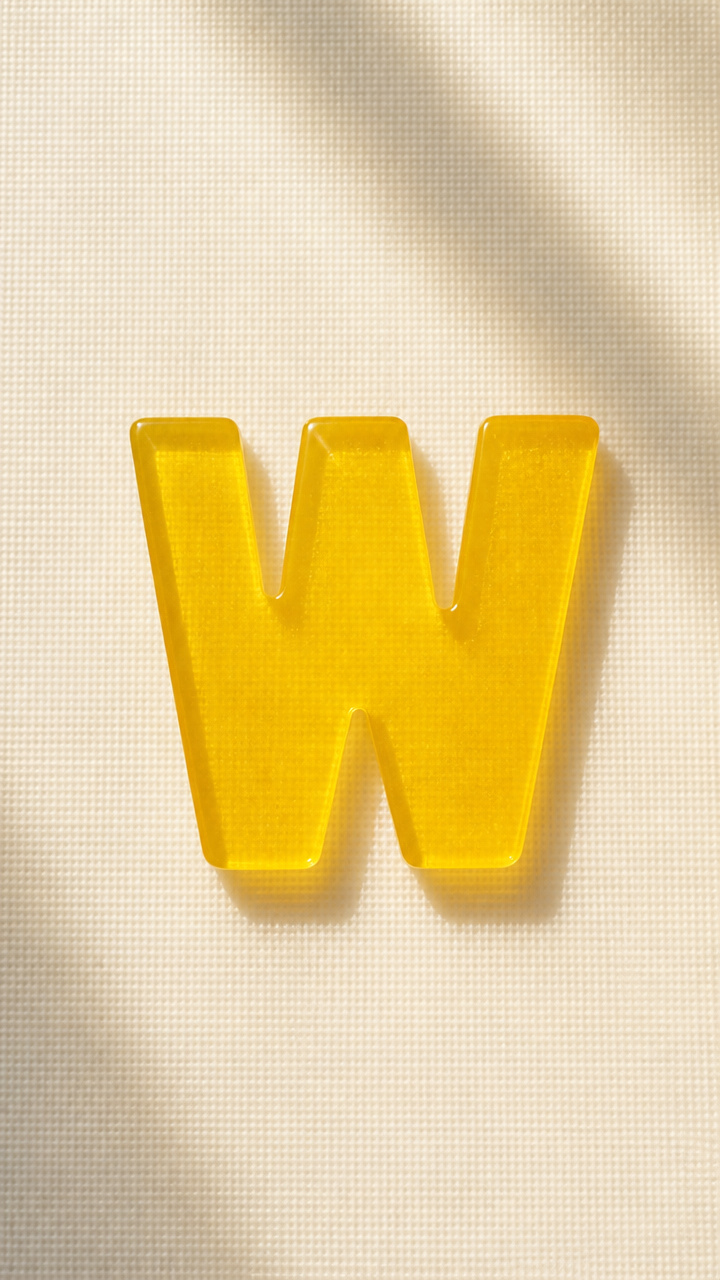
Glossy gelatin-based tiles shaped like W stick to glass and shine in sunlight. Kids mold them with cookie cutters and watch their work glow.
Materials Needed
- Unflavored gelatin, 2 tablespoons
- Boiling water, 1/2 cup
- Liquid watercolor, yellow
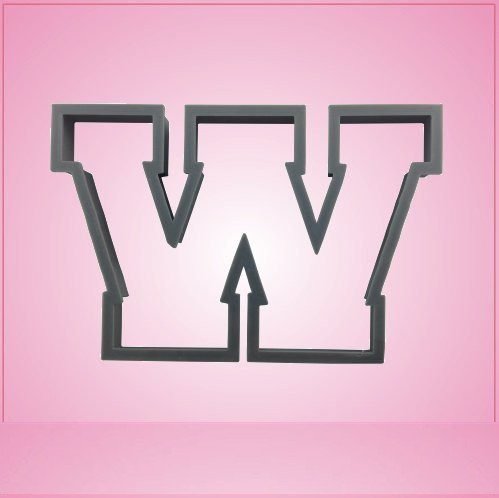
- Plastic letter W cookie cutter
- Silicone baking mat
How to Make It
- Stir gelatin into boiling water until fully dissolved.
- Add three drops of yellow watercolor and mix well.
- Pour into the W-shaped cutter on the silicone mat and let cool for 30 minutes.
- Peel away the cutter and place the tile on a sunny windowpane.


7. Wagon Wheel Pasta Frame
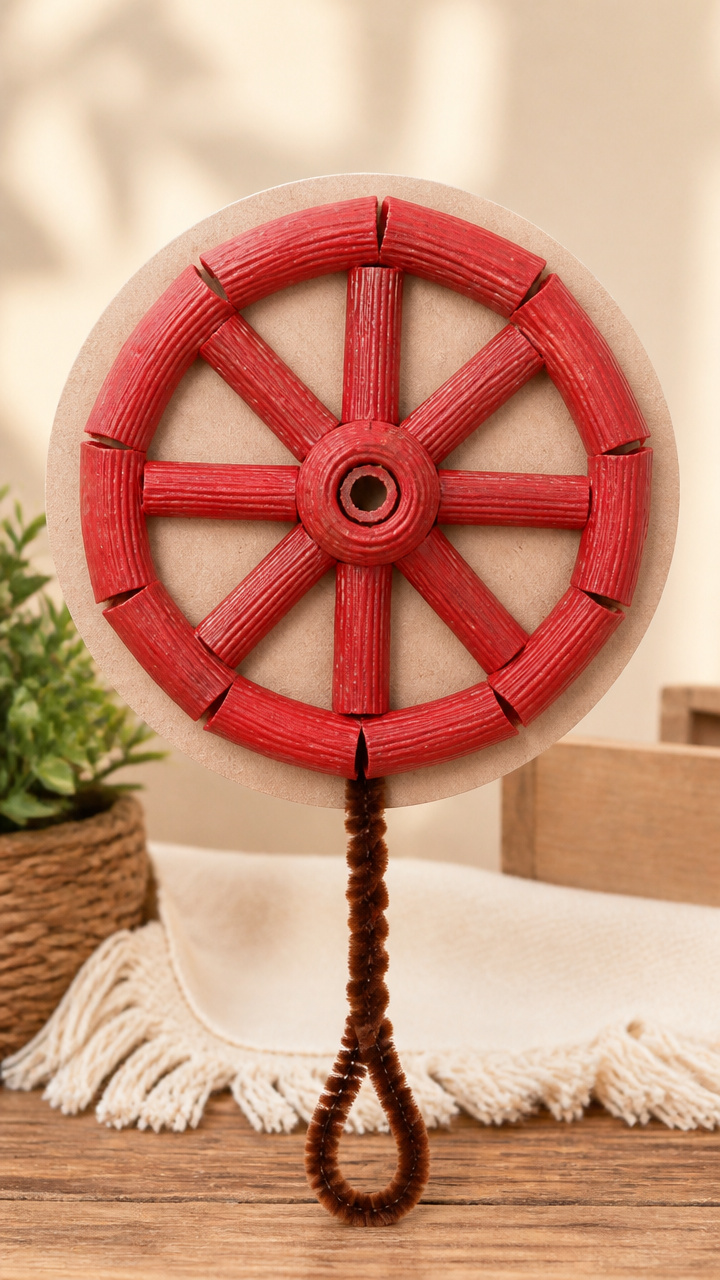
Rigatoni pasta painted and glued in a radial pattern mimics a wagon wheel. The circular build supports grip control and symmetry sense.
Materials Needed
- Rigatoni pasta, 15 pieces
- Red acrylic paint
- Paintbrush
- Cardboard circle, 5 inches diameter
- White school glue
- Brown chenille stem, 6 inches
How to Make It
- Paint each rigatoni piece red and let dry on wax paper for 20 minutes.
- Arrange ten around the edge of the cardboard circle, gluing each in place with a dot of white glue.
- Glue five more standing upright in the center to form spokes.
- Push the chenille stem through the middle to act as an axle.


8. Woolly Sheep Cotton Ball Craft
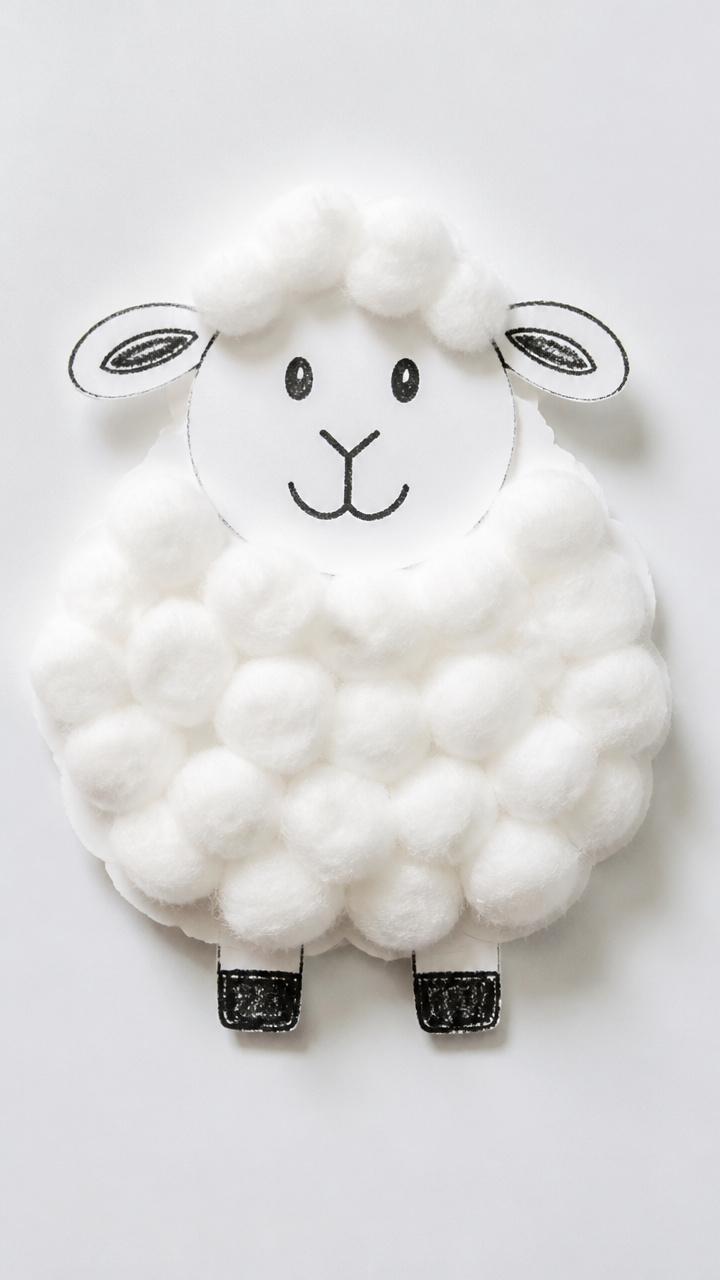
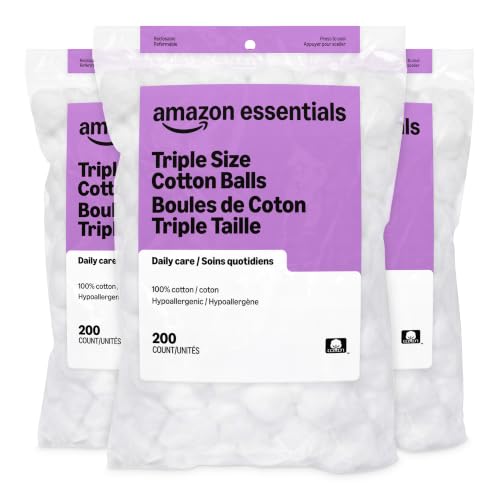
Fluffy cotton balls layered on a sheep outline create softness and volume. The repetitive sticking builds focus and introduces texture words like woolly and warm.
Materials Needed
- Sheep template printed on A4 paper
- White school glue
- Cotton balls, 30 pieces
- Black crayon
- Glue stick
How to Make It
- Apply a glue stick lightly over the sheep's body area to help cotton balls adhere.
- Dab small dabs of white glue on the paper and press cotton balls into each spot.
- Layer balls densely until the body looks full and fluffy.
- Use the black crayon to draw legs, face, and label 'W is for Wool'.


9. Wizard Hat Folding Project
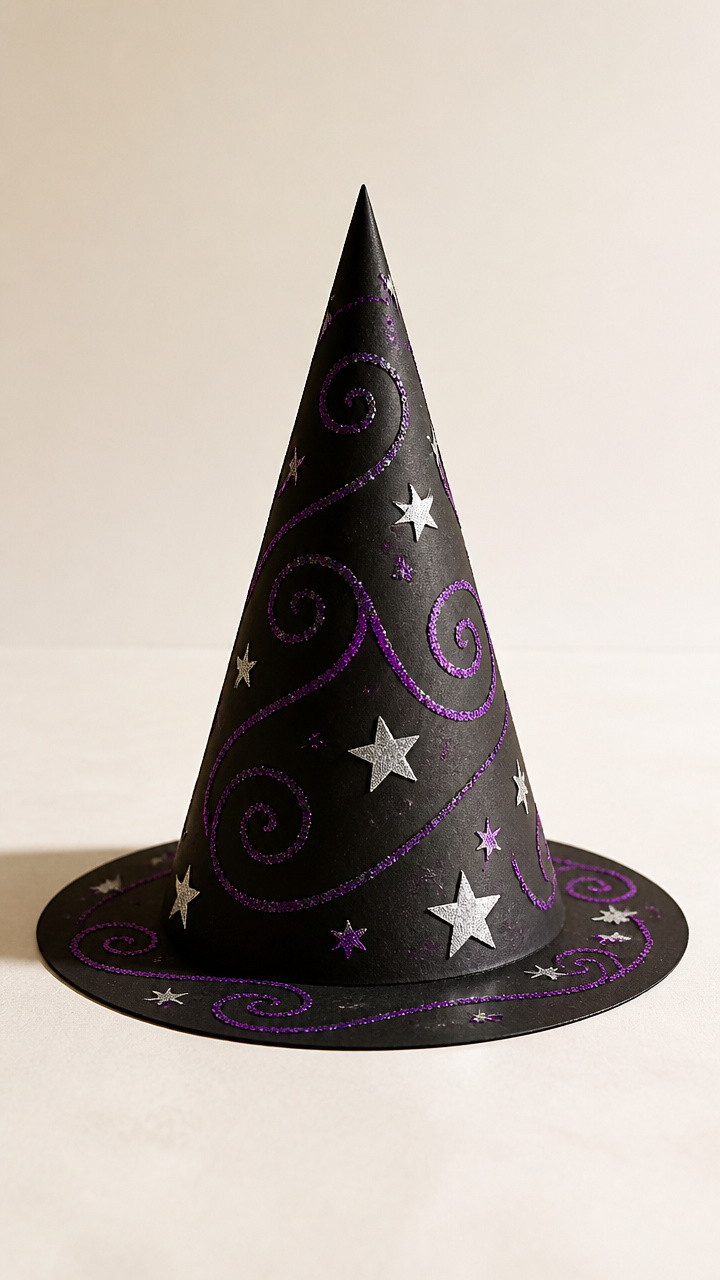
A cone hat folded from black paper teaches spatial reasoning and symmetry. Adding stars turns it into imaginative play gear.
Materials Needed
- Black A4 cardstock
- Purple glitter glue
- Star stickers, silver
- Ruler
- Pencil
- Double-sided tape
How to Make It
- Draw a large triangle on the paper: 8 inches wide at the base, 10 inches tall.
- Cut out the triangle and roll it into a cone, securing with double-sided tape.
- Squeeze zigzags of purple glitter glue near the base and let dry for 25 minutes.
- Place three star stickers above the band and write 'W is for Wizard' inside the rim.


10. Woodland Acorn Stamp Prints
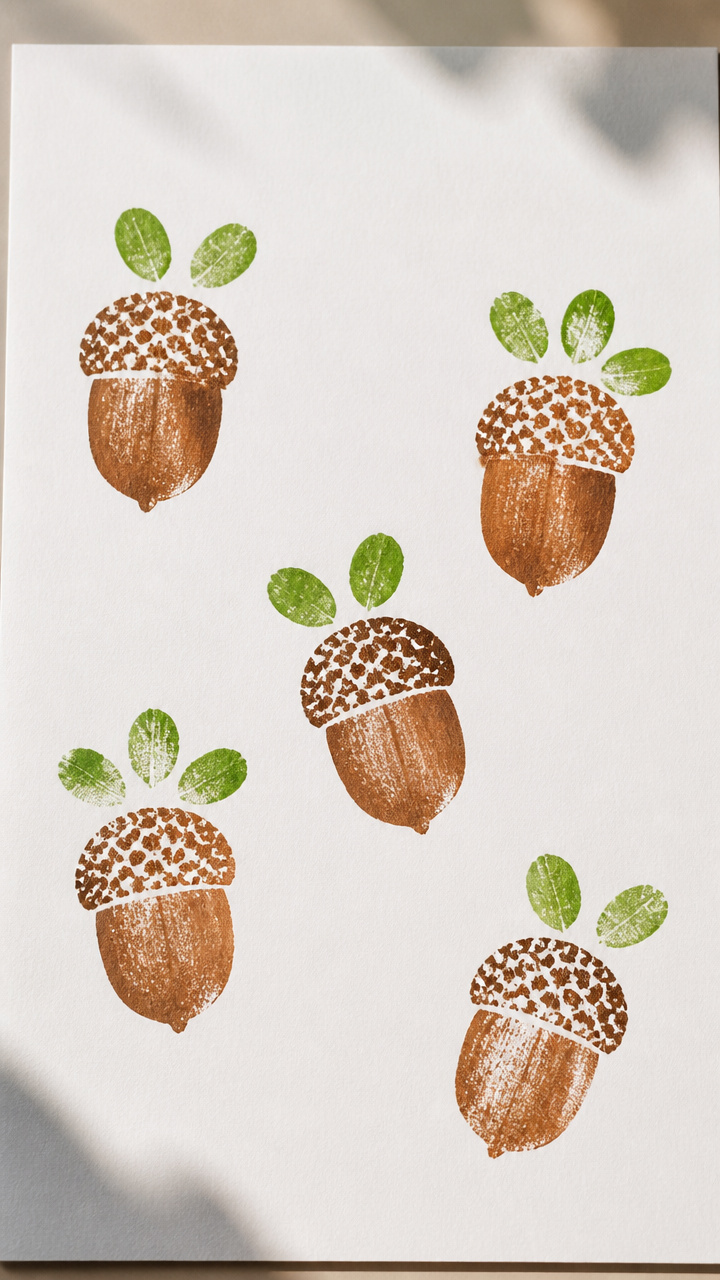
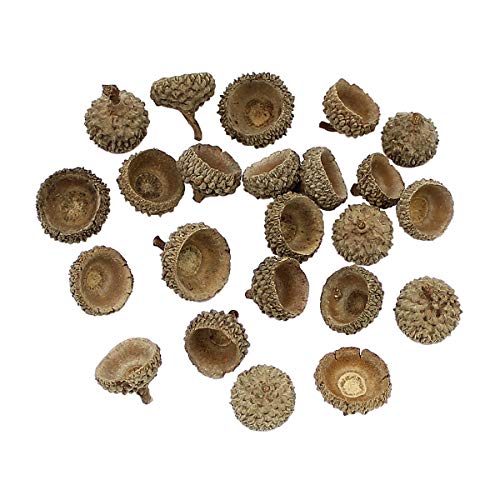
Real acorn caps dipped in paint make earthy prints that cluster into a W shape. Nature meets letter form in this outdoor-inspired activity.
Materials Needed
- Collected acorn caps, 5 pieces
- Brown washable paint
- Shallow plastic tray
- A4 white drawing paper
- Green finger paint
How to Make It
- Pour brown paint into the tray and dip the flat side of each acorn cap into it.
- Press the cap firmly onto the paper in a zigzag line to form a W, re-dipping as needed.
- Use green finger paint to dab leaves at the top of each acorn.
- Let dry completely before displaying on a shelf.


11. Wiggly Eyed Walrus
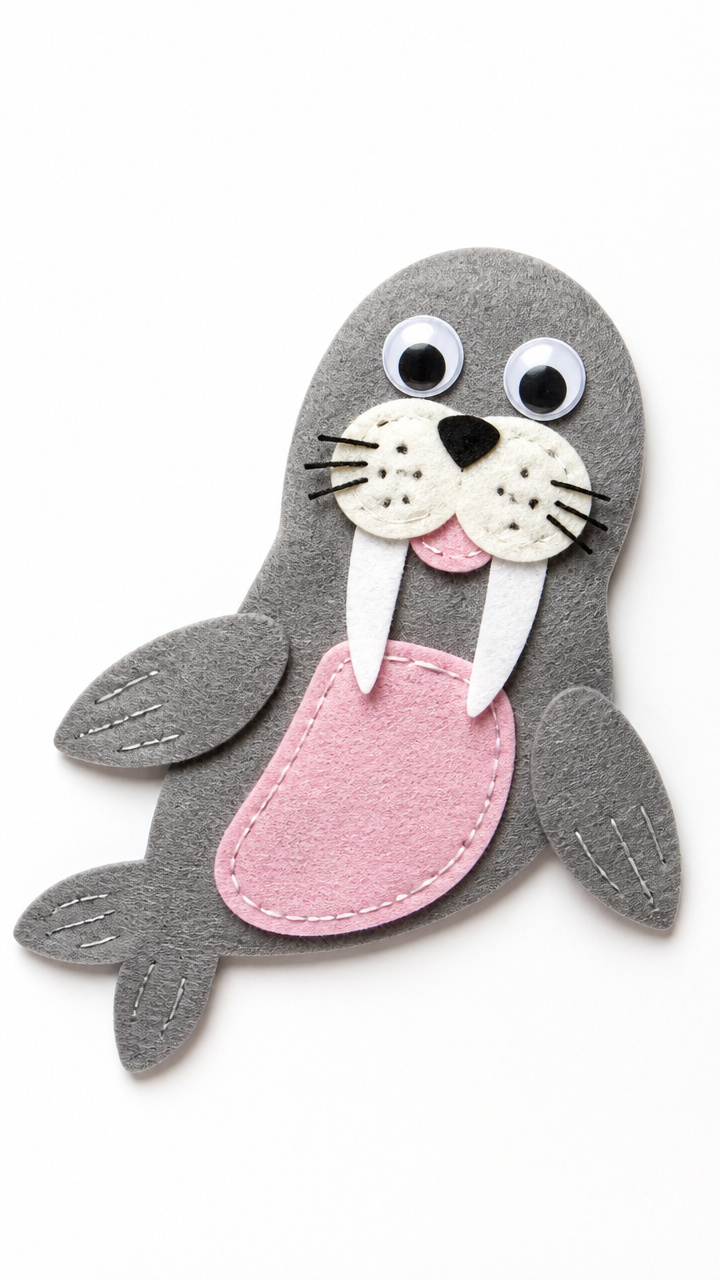
A walrus with long tooth and flippers made from felt sticks together with safe adhesive. The silly eyes invite laughter and language.
Materials Needed
- Gray felt sheet
- White and pink felt scraps
- Self-adhesive googly eyes, 2
- Felt-safe glue
- Scissors
- Pencil
How to Make It
- Draw a rounded oval body on gray felt and cut it out.
- Cut two flipper shapes from gray felt and two small ovals from pink for ears.
- Glue the pink ears near the top and the gray flippers at the bottom.
- Attach googly eyes and use white felt to cut a long tusk, gluing it between the eyes.

12. Wheat Stalks with Popsicle Sticks
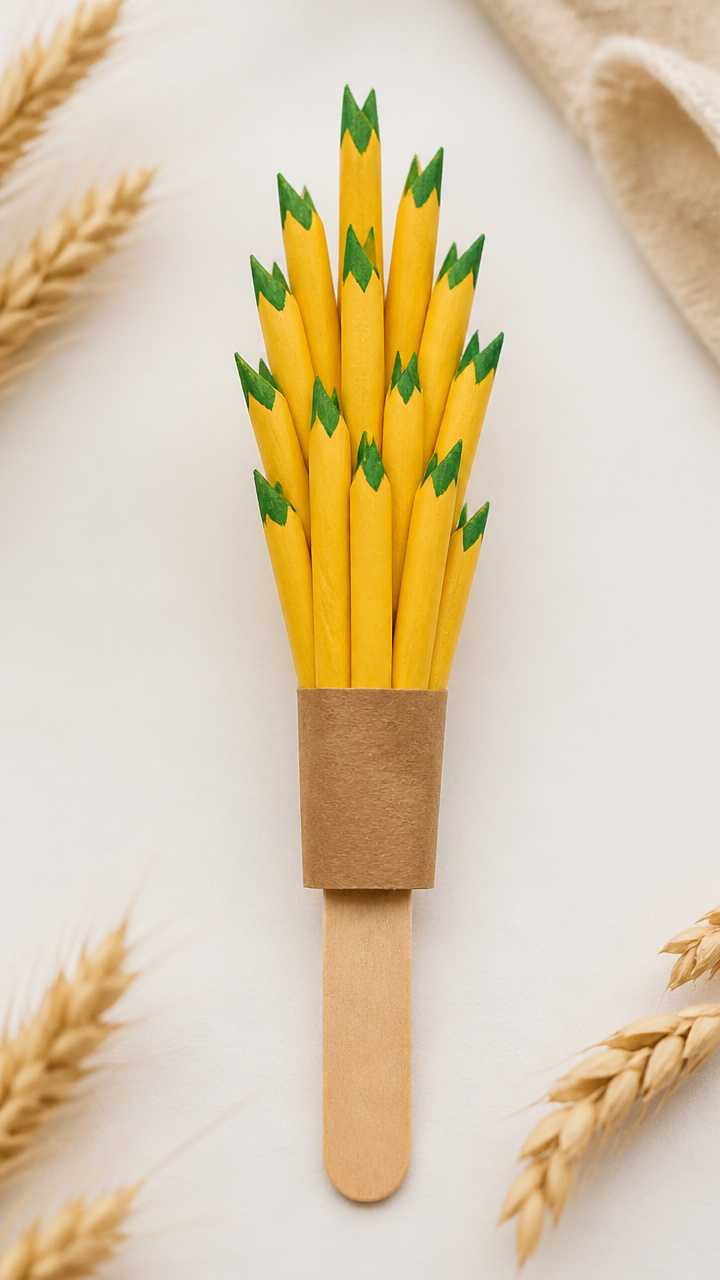
Golden strands of wheat rise from a field strip, teaching vertical placement and grain color. The bundle effect shows how small parts make a whole.
Materials Needed
- Yellow straws, 8 pieces
- Brown construction paper strip, 2×8 inches
- Green tempera paint
- Paintbrush
- School glue
- Popsicle stick
How to Make It
- Cut each straw into three equal lengths.
- Paint the popsicle stick green and lay it flat to dry for 15 minutes.
- Glue the straw pieces upright along the top edge of the brown strip.
- Glue the dry popsicle stick vertically behind the stalks to bind them like a bundle.


13. Windmill Spin Art

A spinning windmill blade made with pinwheel folding catches air and spells W in motion. Bright colors keep eyes tracking the rotation.
Materials Needed
- Square red and yellow craft paper, 6×6 inches each
- Brass fastener
- Pencil
- Ruler
- Scissors
- Straw, 6 inches
How to Make It
- Fold each square corner to corner both ways to make creases.
- Cut along each fold from corner to within one inch of center.
- Lift every other tip to the middle and secure with the brass fastener.
- Push the fastener through the straw and spin gently to watch the W flash by.
14. Wet Watercolor Wax Resist
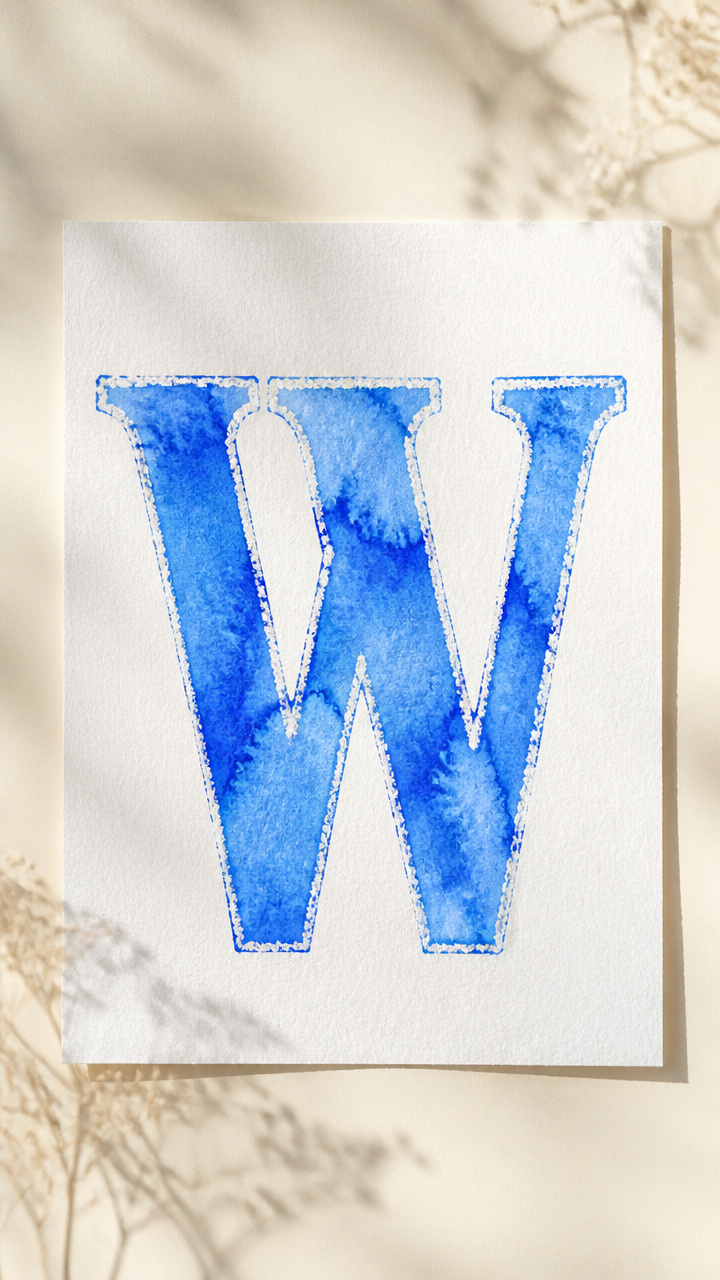
Crayon-drawn W shapes reveal themselves when painted over with watercolor. The magic of resistance keeps kids experimenting with layers.
Materials Needed
- White watercolor paper
- Blue watercolor paint
- Paintbrush
- White crayon
- Spray bottle with water
How to Make It
- Use the white crayon to draw a large W on the dry paper, pressing hard.
- Wet the brush in blue paint and sweep it over the entire page.
- Mist lightly with the spray bottle to blur edges and enhance the resist effect.
- Set flat to dry, watching the hidden W emerge clearly.
15. Waffle Cone Ice Cream Collage
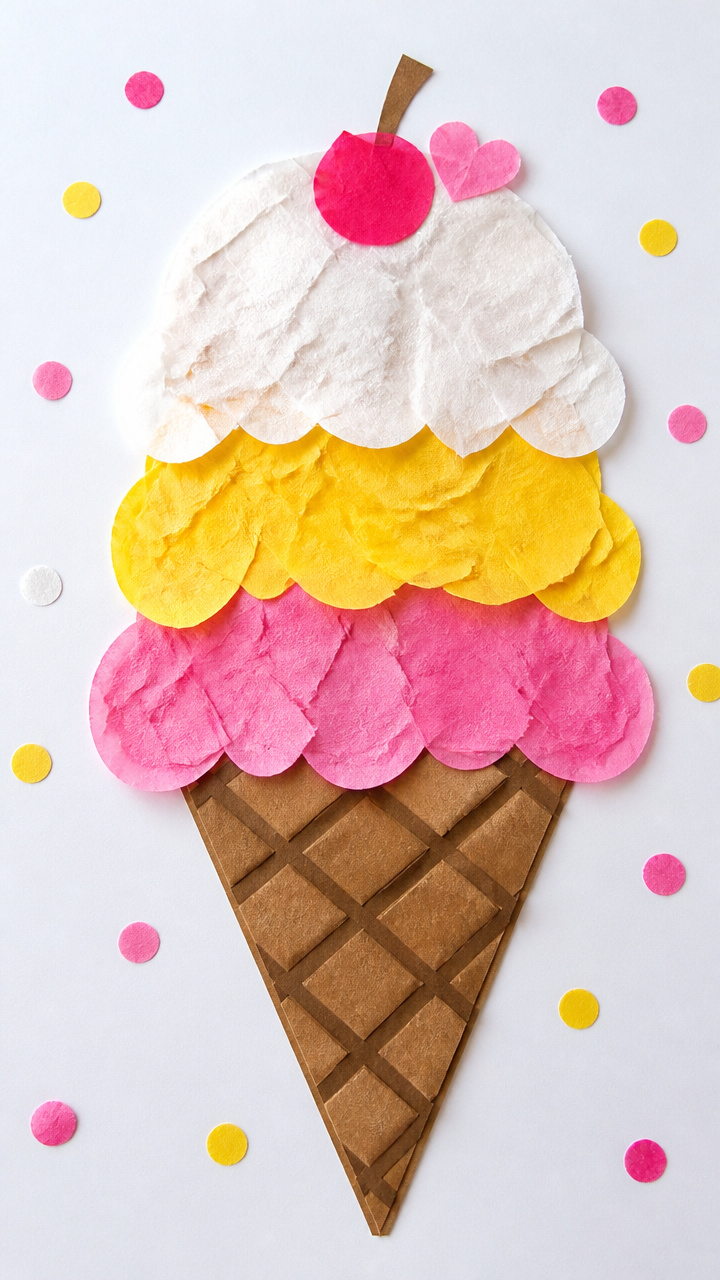
Construction paper ice cream scoops stacked on a waffle cone shape build sequencing and color sorting. The sugary theme delights picky crafters.
Materials Needed
- Brown construction paper
- Pink, yellow, and white tissue paper
- Scissors
- Glue stick
- Black marker
- Pencil
How to Make It
- Cut a waffle cone shape from brown paper using pencil lines as a guide.
- Tear tissue paper into 1-inch squares of each color.
- Glue the squares in overlapping scoops on top of the cone: pink first, then yellow, then white.
- Draw waffle lines on the cone with the black marker and label 'W is for Waffle'.

You’ve got everything you need to start today, right there in your craft drawer or kitchen cabinet. Pick one that makes you smile and let your preschooler’s hands do the talking.