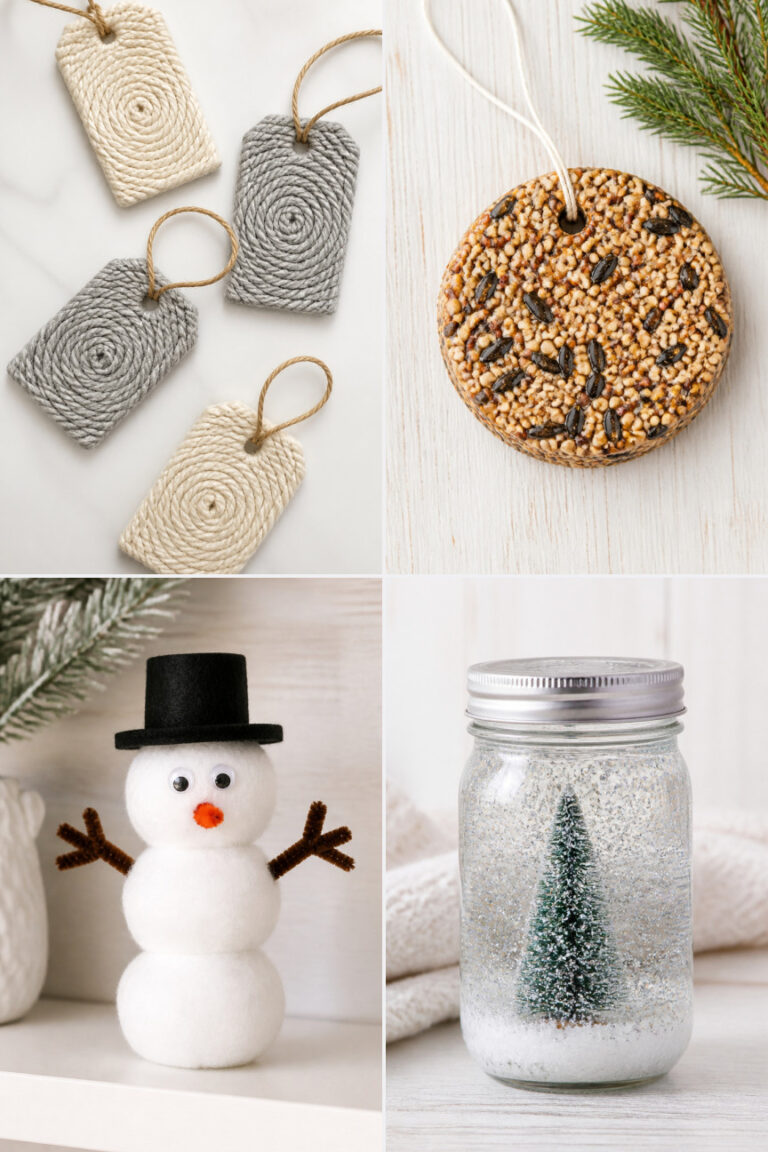
17 Winter Crafts for Seniors in Care Centers and Activity Groups

Soft mittens drying by a radiator, the scent of cinnamon from a nearby mug, laughter rising above the rustle of craft paper—these moments live in the quiet joy of making something with your hands. Winter brings longer days indoors, and crafting fills the hours with warmth, purpose, and connection.
Simple tools and familiar materials become pathways to creativity, conversation, and accomplishment. These 17 crafts are chosen for their accessibility, sensory appeal, and ability to spark pride in a job well done.
1. Felt Mitten Ornaments
Easy

Velvety red and green mittens dangle from golden cord, catching the light like holiday baubles. These soft ornaments bring cozy charm to any tree or window display.
Materials Needed
- 2 sheets red craft felt
- 2 sheets green craft felt
- gold embroidery floss, 1 skein
- white craft glue
- scissors
- mitten template (4 inches tall)
- needle
- ruler
How to Make It
- Place the mitten template on red felt and trace two mittens. Cut them out.
- Glue a green felt rectangle (1.5 x 3 inches) to the top of one mitten for the cuff. Let dry for 10 minutes.
- Place the second red mitten on top and sew around the edge with a whipstitch using gold embroidery floss.
- Thread a 6-inch piece of floss through the top and knot to create a hanger.
2. Pinecone Bird Feeders
Easy
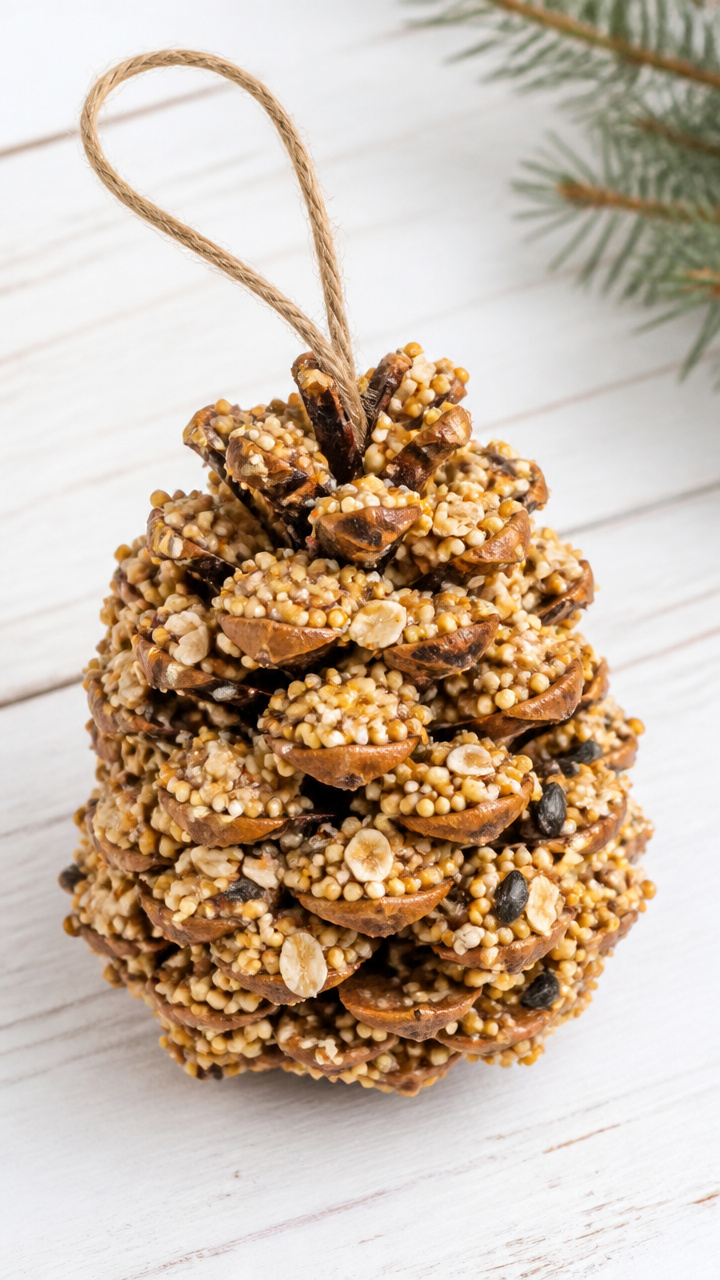
Golden clusters of oats and seeds cling to rough pinecones, ready to hang from bare branches. These feeders invite cardinals and chickadees close to the window for easy viewing.
Materials Needed
- 10 clean pinecones
- 1 cup creamy peanut butter
- 2 cups birdseed
- 1 cup old-fashioned oats
- mixing bowl
- spoon
- 10 pieces yarn (12 inches each)
How to Make It
- Tie a piece of yarn around the top of each pinecone to make a hanger.
- In a bowl, mix peanut butter, birdseed, and oats until fully combined.
- Press the mixture all over a pinecone using the spoon.
- Let dry for 1 hour on wax paper before hanging outside.
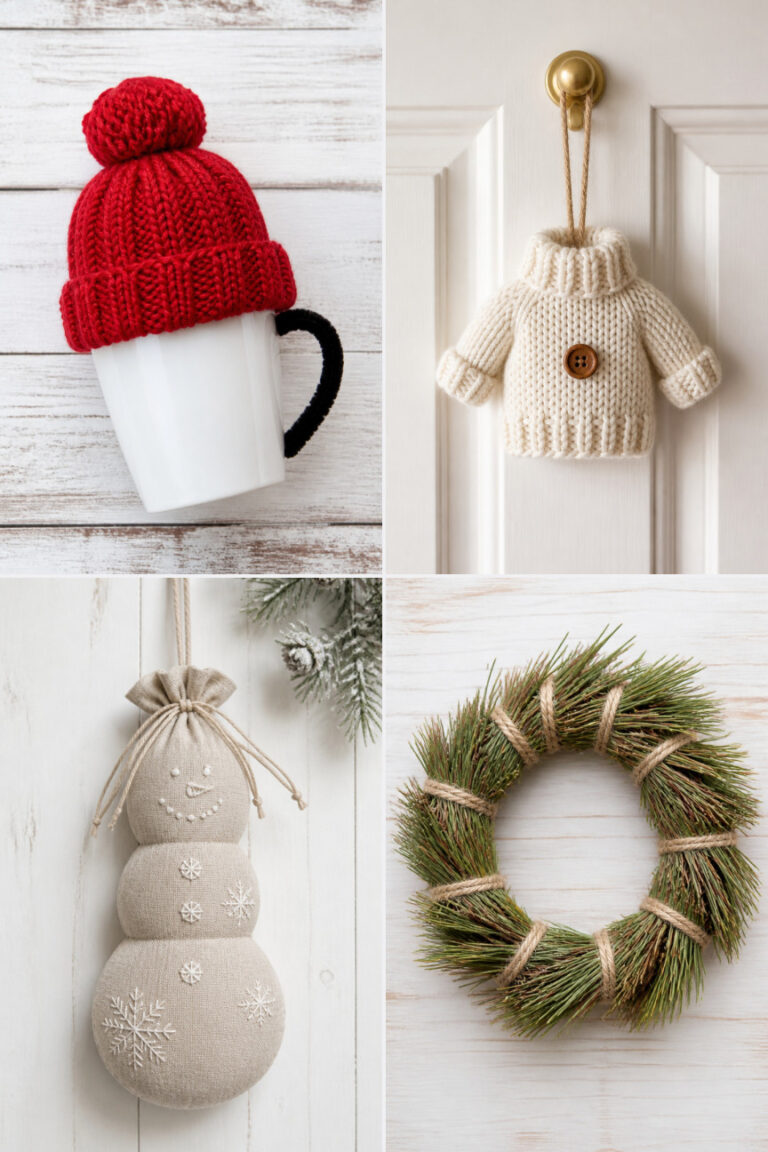
3. Knit-In Mug Cozies
Moderate
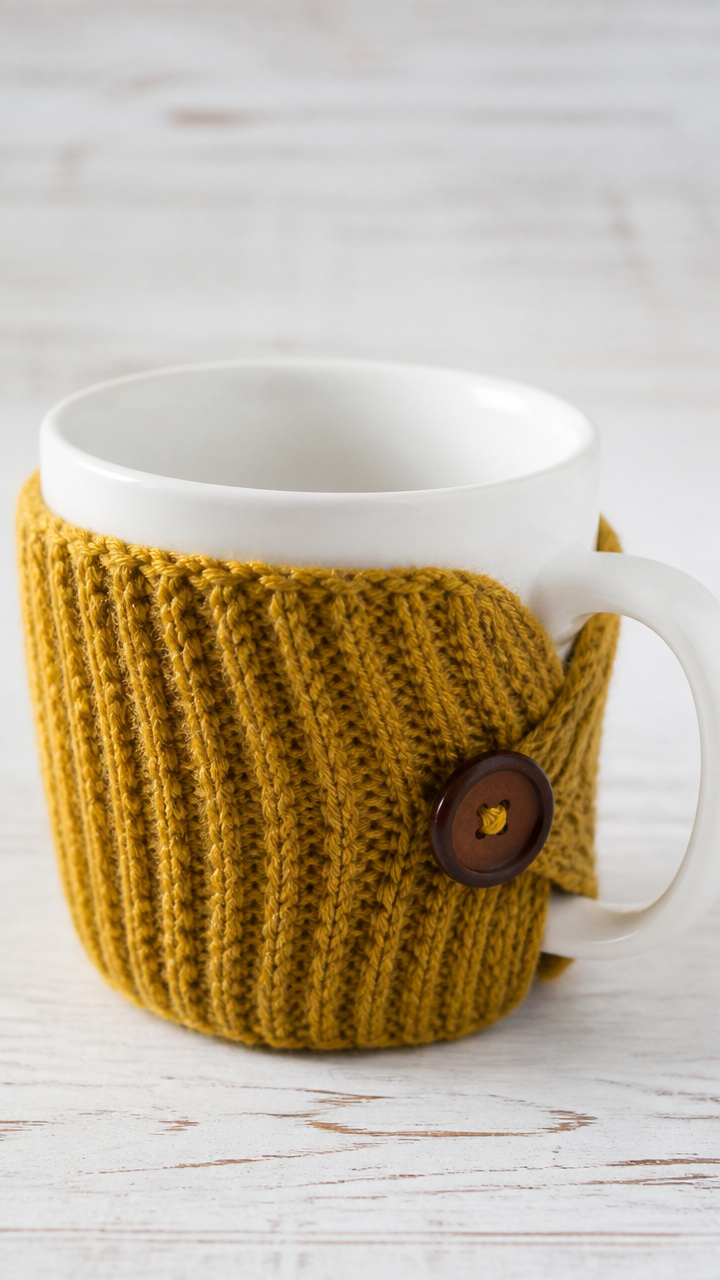
Thick ribbing hugs a ceramic mug, keeping tea warm between sips. These textured sleeves are knitted flat and sewn with cozy wool blend yarn.
Materials Needed
- worsted weight wool blend yarn, 1 skein (color of choice)
- pair of size 7 knitting needles
- tapestry needle
- scissors
- ruler
- button, 3/4 inch
How to Make It
- Cast on 20 stitches. Knit every row in garter stitch for 7 inches.
- Bind off all stitches. Weave in loose ends with the tapestry needle.
- Fold the piece in half lengthwise and sew the side seam with matching yarn.
- Sew a button on one end. Make 3 small buttonholes on the other end with yarn.
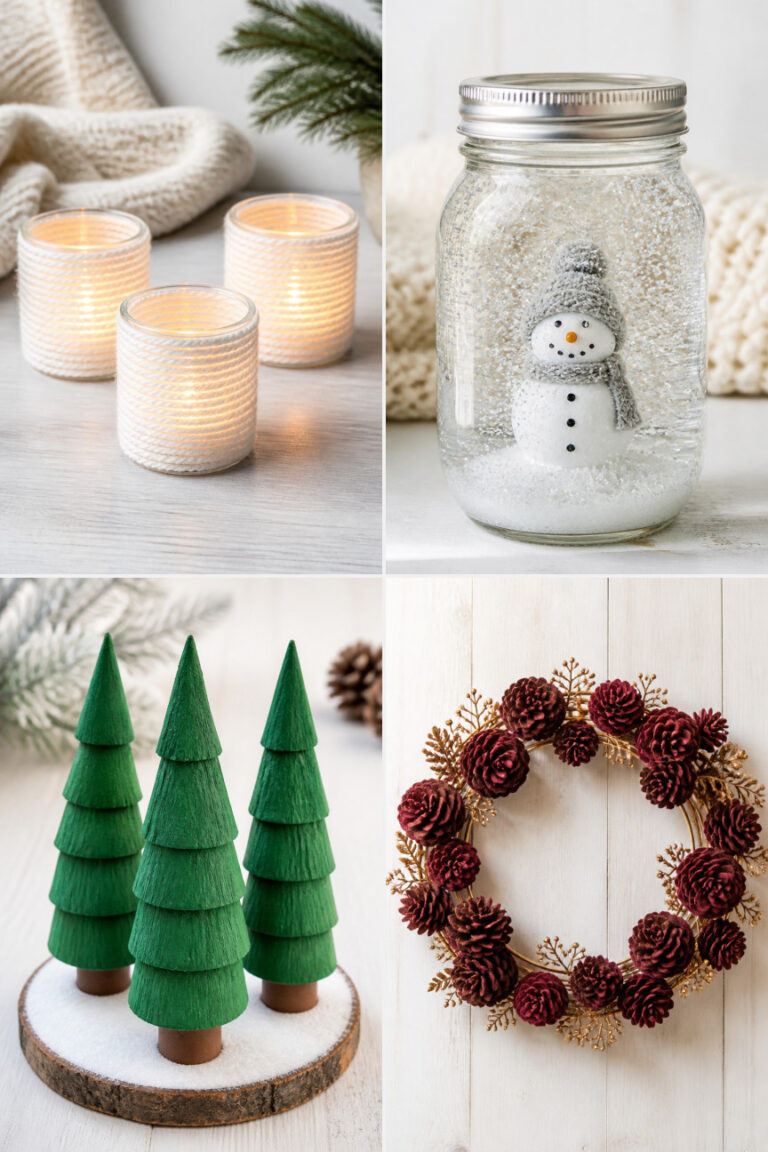
4. Pressed Flower Snow Globes
Moderate
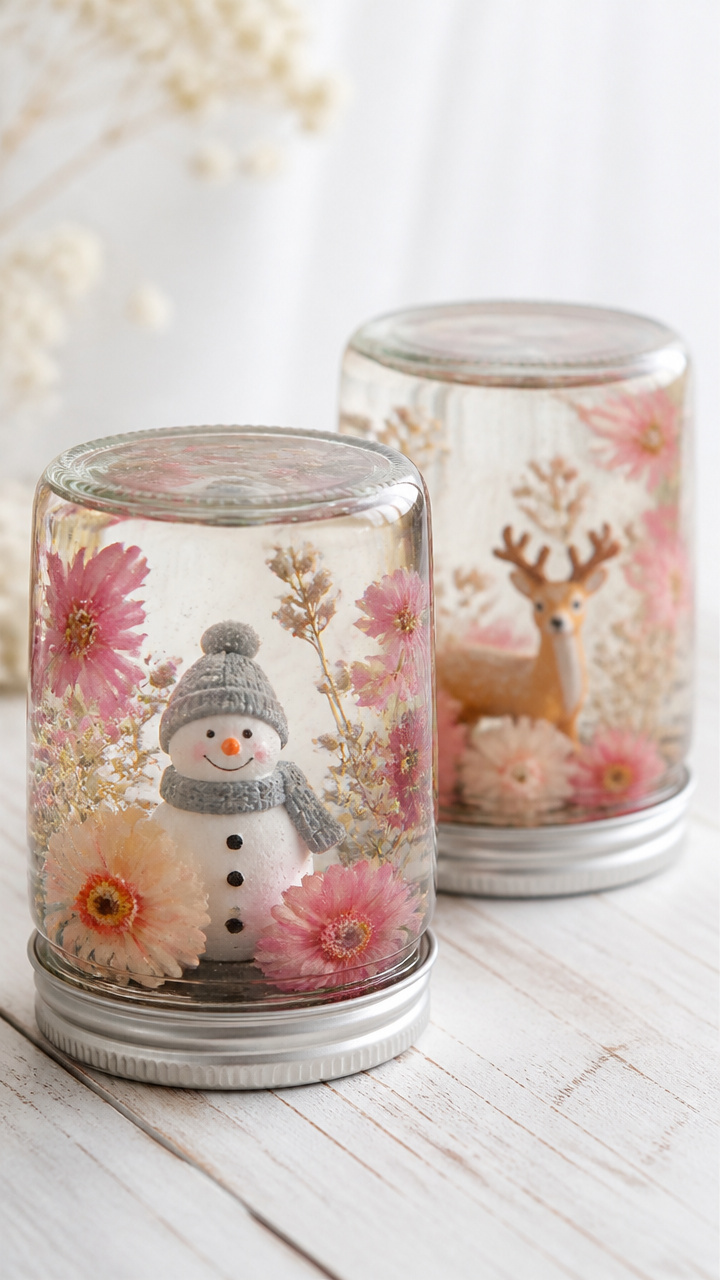
Delicate pink and white petals float in clear liquid when the jar is tipped. These miniature globes capture winter’s quiet beauty in glass.
Materials Needed
- 10 small glass jars with lids (3 oz)
- 10 plastic figurines (snowman or deer)
- 20 drops glycerin
- distilled water
- pressed flowers (small, flat types)
- E6000 glue
- funnel
How to Make It
- Glue a figurine to the inside of each jar lid. Let cure for 2 hours.
- Place 2-3 pressed flowers in each jar.
- Fill the jar with distilled water, leaving 1/4 inch space. Add 2 drops glycerin.
- Screw the lid on tightly. Shake gently to see the 'snow' effect.
5. Yarn-Wrapped Snowflakes
Easy
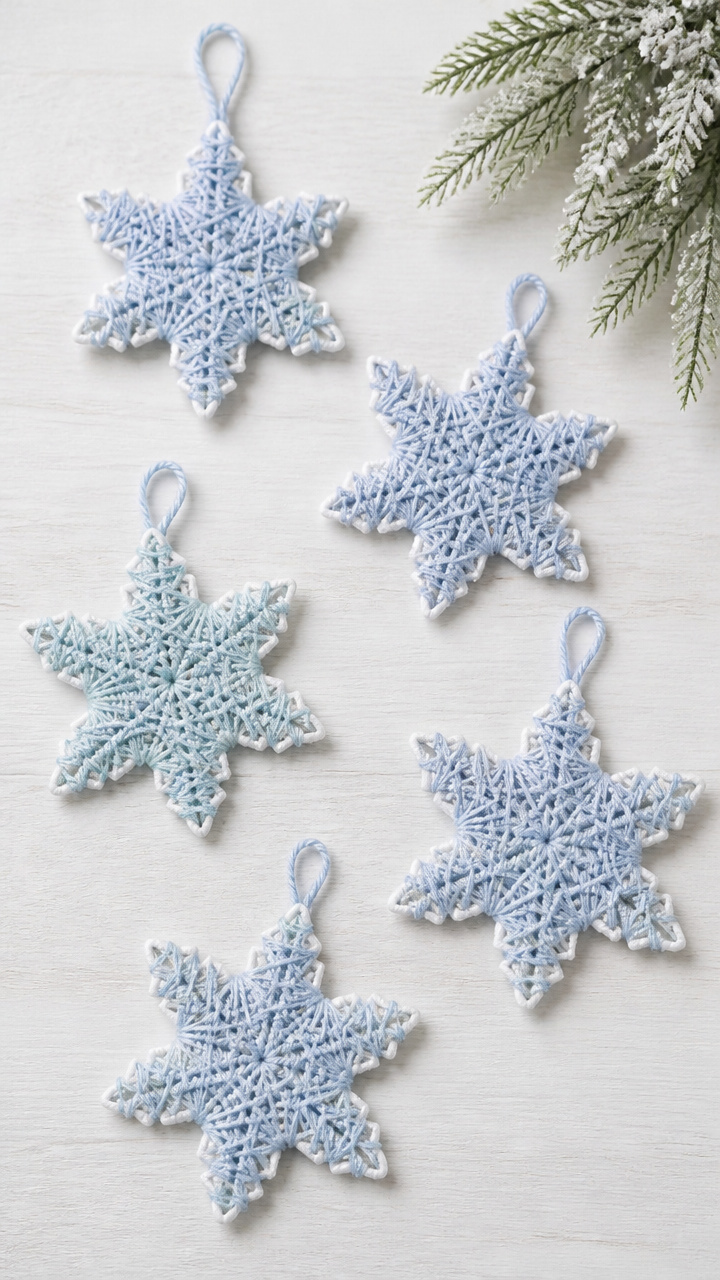
Six arms of cardboard twist into lace-like stars wrapped in icy blue yarn. These delicate snowflakes hang from ceilings or windows, catching winter light.
Materials Needed
- white cardboard, 8×8 inches
- scissors
- ruler
- pencil
- clear school glue
- light blue yarn
- hole punch
- fishing line
How to Make It
- Cut a 4-inch square from cardboard. Fold in half diagonally, then into thirds to make a triangle.
- Cut small shapes along the edges. Unfold to reveal a snowflake.
- Apply a thin line of glue along one arm and wrap yarn tightly around it.
- Repeat for all arms. Punch a hole at one tip and thread fishing line for hanging.
6. Cinnamon-Scented Pomanders
Easy

Oranges studded with cloves release a spicy, long-lasting fragrance. These pomanders sit in bowls or hang in closets, scenting rooms with warmth.
Materials Needed
- 10 oranges
- 500 whole cloves
- cinnamon sticks, 10
- 10 pieces ribbon (10 inches)
- toothpicks
How to Make It
- Use a toothpick to mark a spiral pattern on each orange.
- Push cloves into the marks, close together, following the spiral.
- Insert a cinnamon stick into the top of each orange.
- Tie a ribbon around the cinnamon stick to make a hanger. Let dry for 1 week.
7. Quilled Paper Snowflakes
Moderate
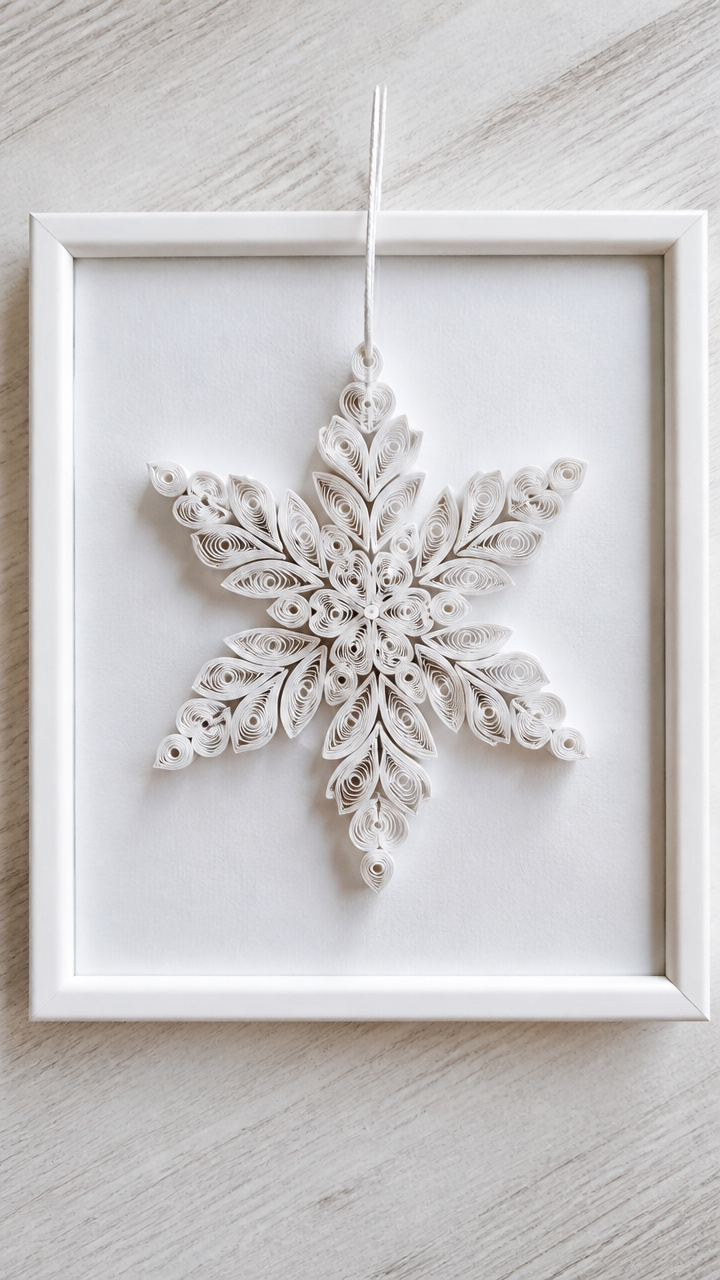
Tight coils and loose scrolls of white paper form symmetrical snowflakes. These intricate designs are framed under glass or hung with thread.
Materials Needed
- white quilling paper strips, 1/4 inch wide, 12 inches long (30 pieces)
- quilling tool
- white glue
- tweezers
- snowflake template (6-point)
- cardboard base (5×5 inches)
How to Make It
- Roll 6 loose coils using the quilling tool. Let each sit for 10 seconds before gluing the end.
- Pinch each coil into teardrop shapes. Arrange six around the center point of the template.
- Add 6 tighter 'marquise' coils between them. Glue each piece to the cardboard base.
- Let dry for 30 minutes. Carefully lift and display on a windowsill.
8. Fabric Scrap Wreath
Easy
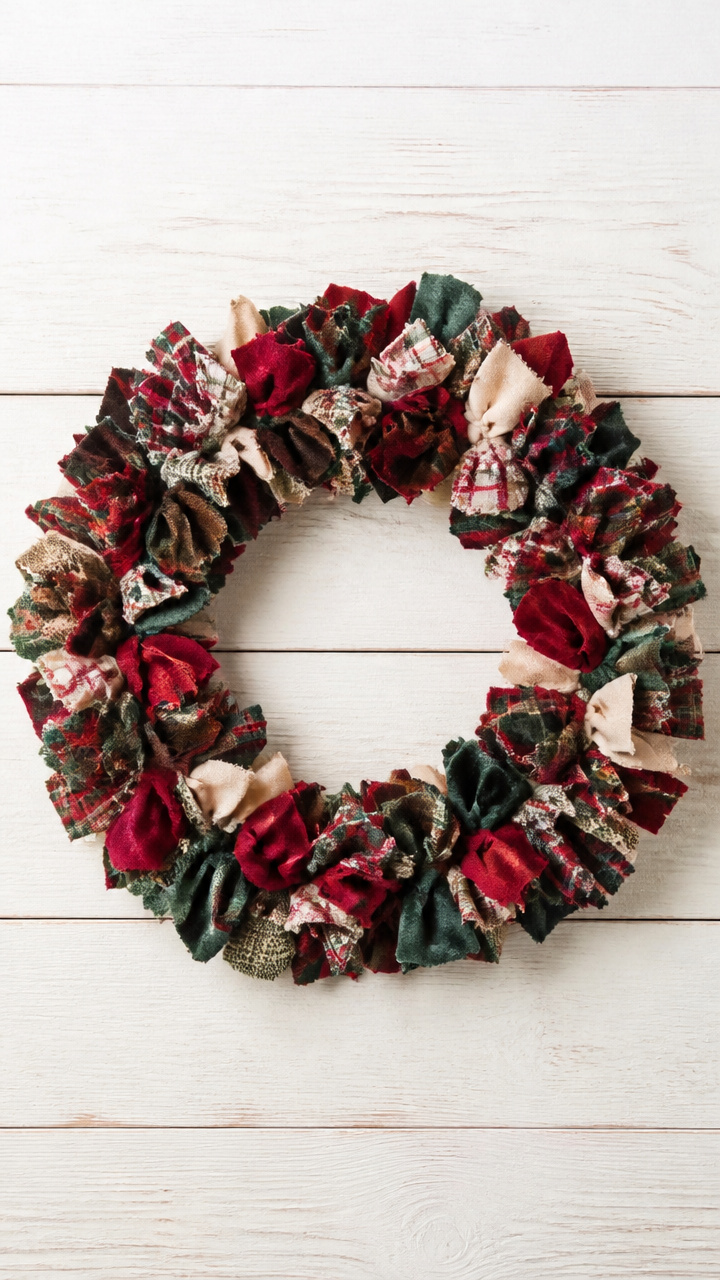
Bits of plaid, flannel, and velvet form a fluffy ring on the door. This no-sew wreath celebrates cozy winter textures in a rainbow of scraps.
Materials Needed
- 18-inch wire wreath frame
- fabric scraps (cotton, flannel, wool blend), 20 pieces (3×6 inches)
- scissors
- glue gun
- hot glue sticks
How to Make It
- Cut each fabric scrap into a 3×12 inch strip.
- Fold a strip in half and loop it over a wire section. Pull ends through the loop to knot.
- Continue knotting strips close together around the entire frame.
- Use hot glue to secure any loose ends. Let cool for 5 minutes.
9. Salt Dough Ornaments
Easy
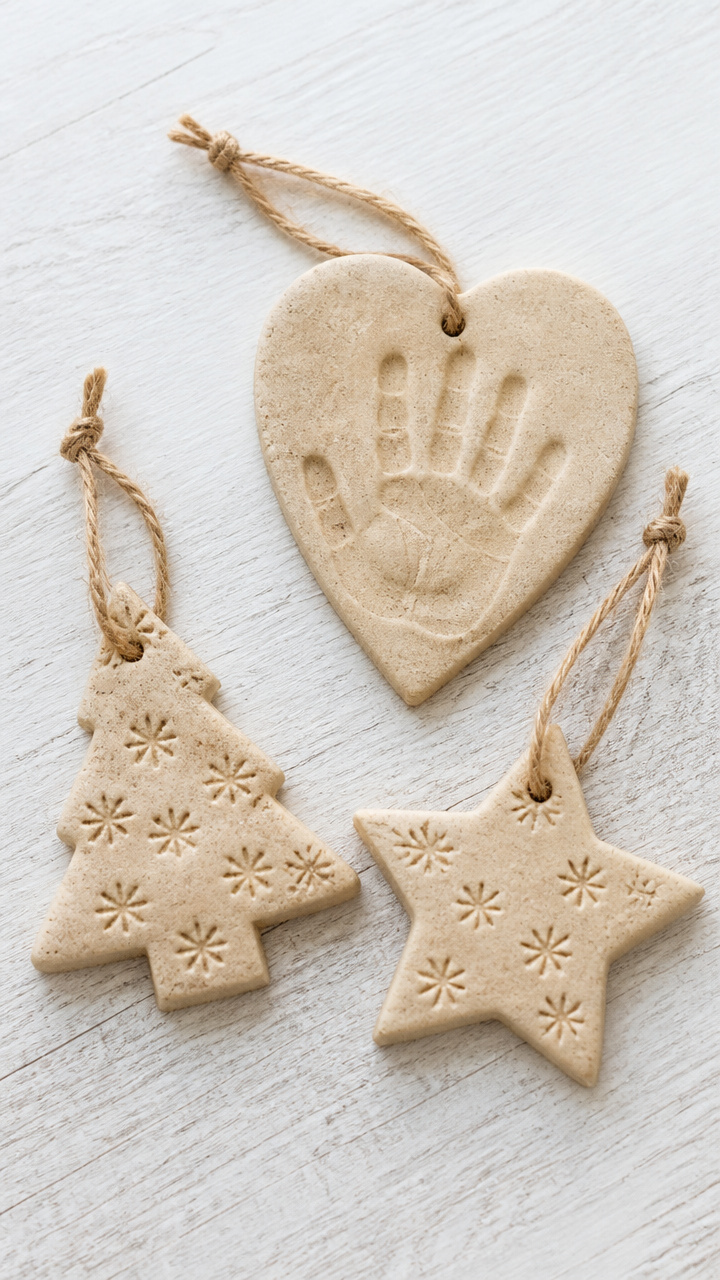
Handprints and stamped shapes bake into keepsake decorations. These rustic ornaments carry personal meaning and last for years when sealed.
Materials Needed
- 2 cups all-purpose flour
- 1 cup table salt
- 3/4 cup warm water
- rolling pin
- cookie cutters (star, tree, heart)
- straw
- baking sheet
- parchment paper
- clear acrylic sealer spray
How to Make It
- Mix flour, salt, and water in a bowl until a smooth dough forms.
- Roll dough to 1/4 inch thick. Cut shapes with cookie cutters.
- Use a straw to poke a hole near the top of each ornament.
- Bake on a parchment-lined sheet at 200°F for 3 hours. Cool, then spray with sealer.
10. Fleece Tie Blankets
Easy
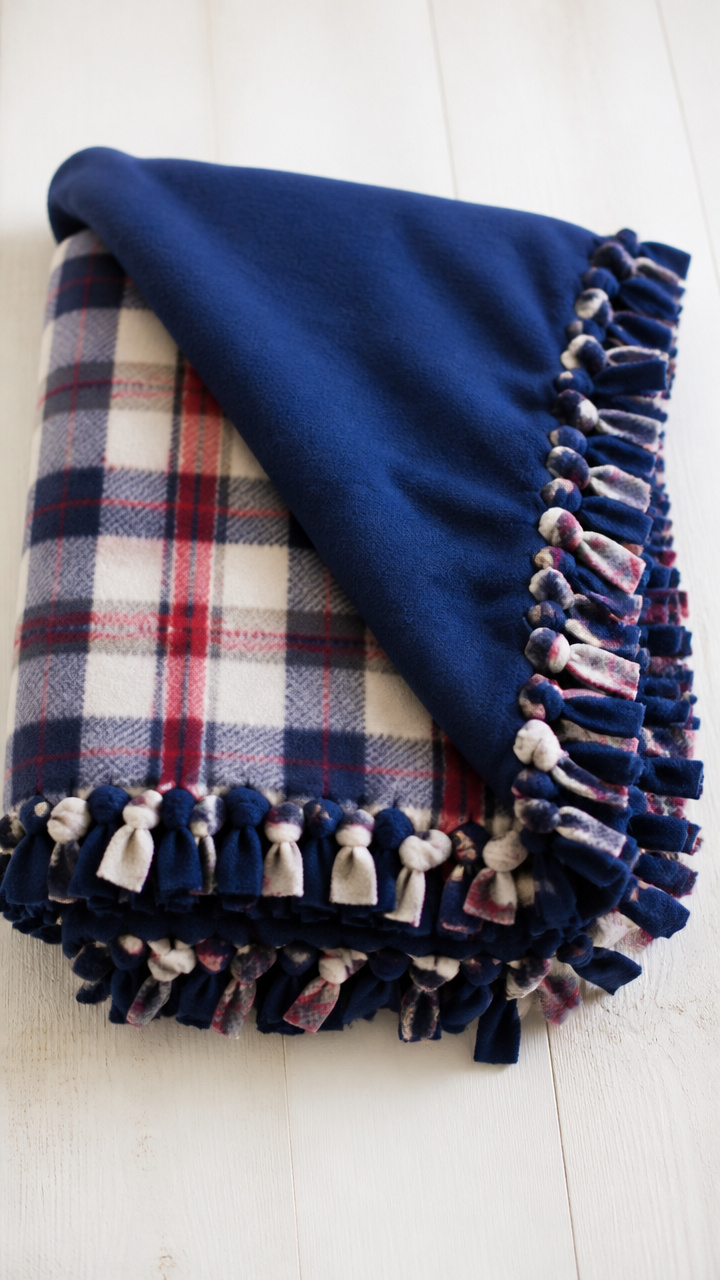
Bold plaid and soft solid fleece tuck into snug layers on a lap. These no-sew blankets finish in under an hour and provide real warmth.
Materials Needed
- 2 yards fleece fabric (one plaid, one solid)
- scissors
- ruler
- fabric marker
- cutting mat (optional)
How to Make It
- Lay both fleece pieces together. Trim to 50×60 inches using the ruler and fabric marker.
- Cut out 4-inch squares from each corner. Cut 1-inch wide, 6-inch long fringe along all edges.
- Tie matching fringe knots around the perimeter, pulling tight.
- Trim any uneven ends. Shake out the blanket to fluff the ties.
11. Candle-Dipped Tapers
Moderate

Long white tapers emerge from a pot of molten wax, layer by layer. The slow dip creates smooth, traditional candles for centerpieces.
Materials Needed
- 10 cotton wicking (12 inches, pre-waxed)
- paraffin wax block, 2 pounds
- double boiler
- candy thermometer
- 2 glass jars (8 oz)
- chopstick
- oven mitt
How to Make It
- Melt wax in the double boiler. Heat to 160°F, monitored with the thermometer.
- Tie one end of each wick to a chopstick. Suspend it across a jar.
- Dip each wick into the wax for 10 seconds. Let dry for 2 minutes.
- Repeat dipping 8 times. Let cure for 4 hours before use.
12. Button Mitten Art
Easy
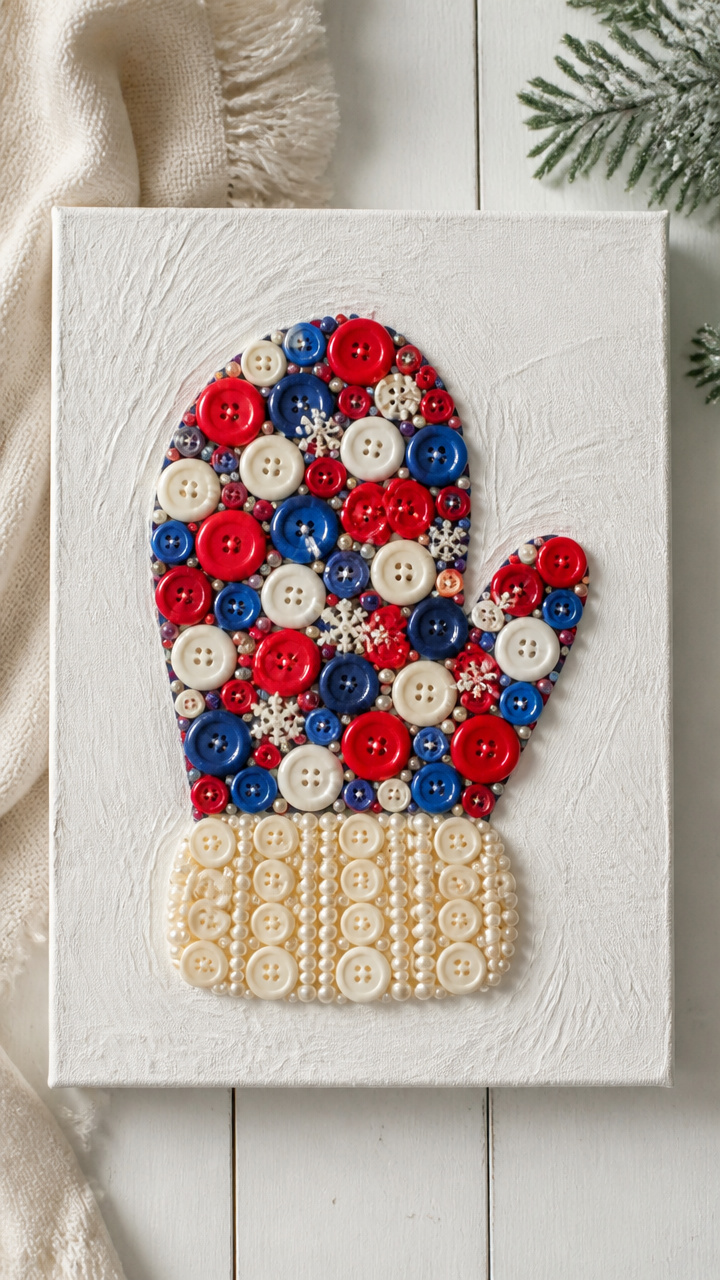
Tiny buttons in reds, blues, and creams form the shape of mittens on canvas. This textured wall piece adds color and tactile interest to a room.
Materials Needed
- 8×10 inch canvas board
- acrylic paint (white), 2 oz
- paintbrush (1/2 inch flat)
- 100 assorted buttons (3/8 to 1/2 inch)
- fabric glue
- pencil
- button thread (optional)
How to Make It
- Paint the canvas white. Let dry for 20 minutes.
- Sketch a mitten shape lightly in pencil on the canvas.
- Glue buttons inside the shape, starting from the bottom and working up.
- Let dry for 1 hour. Optional: sew some buttons for added texture.
13. Knotted Rope Coasters
Moderate
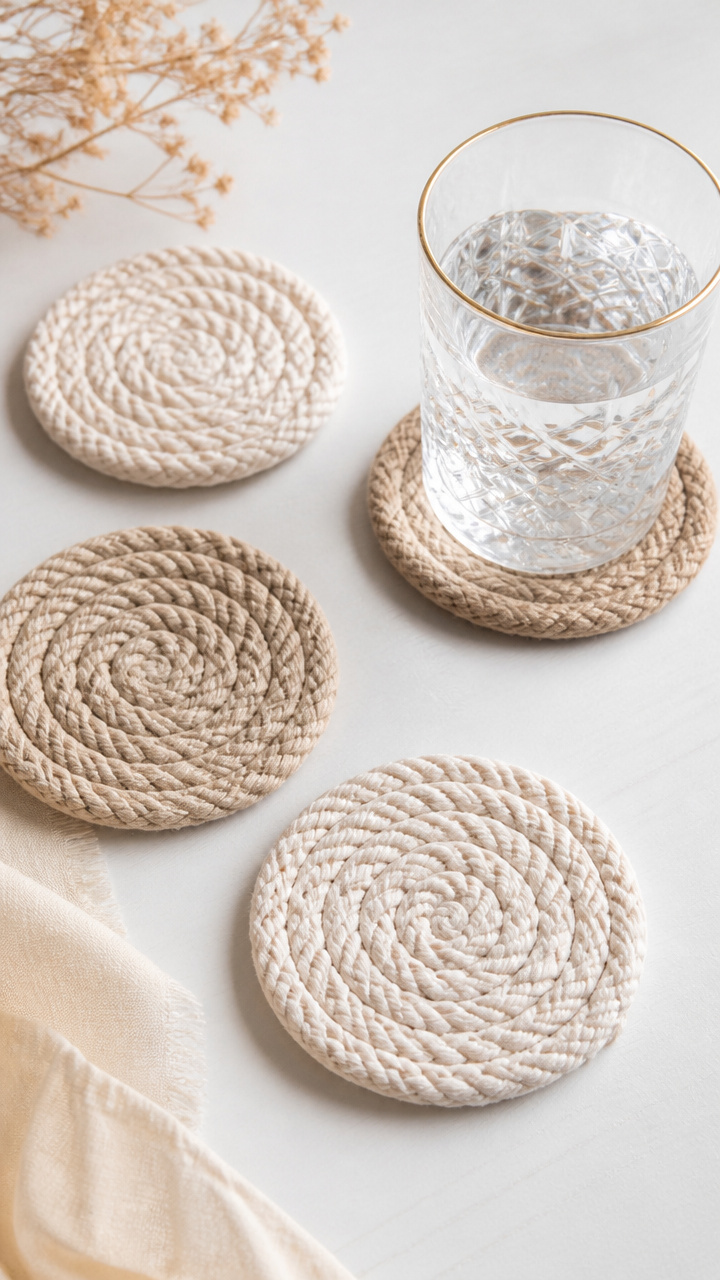
Braided cotton rope coils into round, sturdy coasters. These natural-toned mats protect tables and add rustic charm to any room.
Materials Needed
- cotton clothesline rope, 36 inches per coaster
- fabric glue
- scissors
- cardboard circle template (4 inches)
- clips
How to Make It
- Coil one end of the rope tightly into the center of the template.
- Glue the end down. Continue coiling, adding glue between each loop.
- Clip the coil in place every 2 inches as you work outward.
- When the coaster reaches 4 inches, cut the rope and glue the end. Let dry 2 hours.
14. Glittered Mason Jar Lamps
Easy
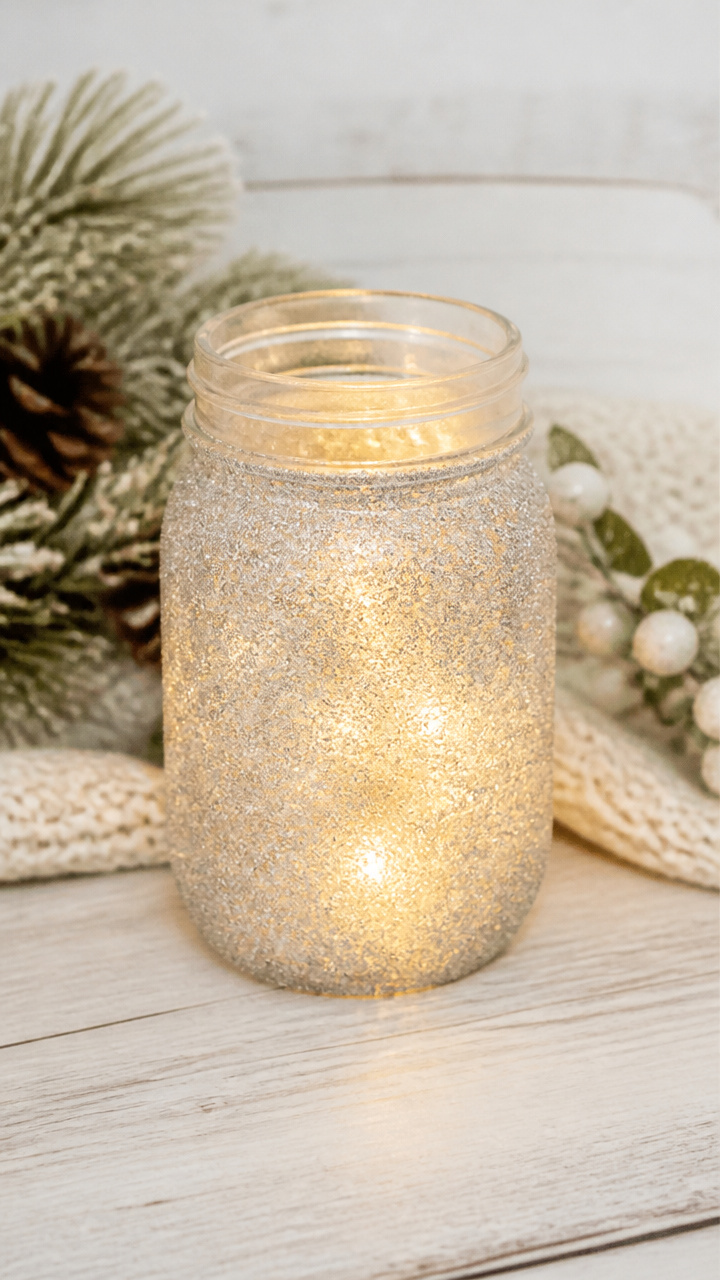
Frosted glass jars shimmer with silver glitter and hold flickering LED lights. These luminous jars make safe, glowing centerpieces.
Materials Needed
- 10 mason jars (half-pint)
- white glue
- silver glitter
- paintbrush (1 inch)
- mixing bowl
- LED tea lights (10)
- paper plate
How to Make It
- Mix equal parts glue and glitter in a bowl to make a paste.
- Use the brush to apply the mixture in swirling patterns on the jar.
- Let dry for 1 hour on a paper plate.
- Place an LED tea light inside. Turn off the lights to enjoy the glow.
15. Crocheted Granny Squares
Moderate
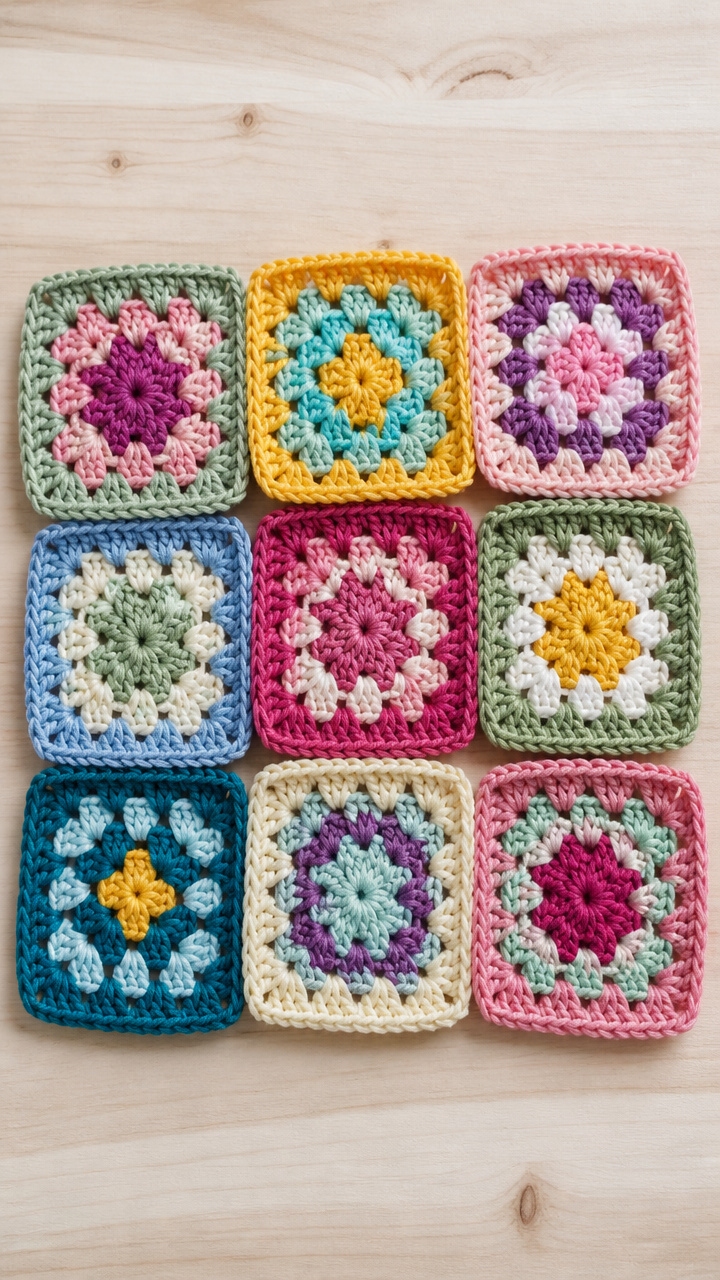
Bright squares of yarn bloom in classic color combinations. These small projects build confidence and can be joined later into larger blankets.
Materials Needed
- worsted weight yarn in 3 colors (1 skein each)
- size I-9 crochet hook
- scissors
- tapestry needle
How to Make It
- Chain 4 and join with a slip stitch to form a ring.
- Round 1: Chain 3 (counts as first double crochet), 2 more double crochets in ring. Chain 2. Repeat 3 times. Join with slip stitch to top of chain 3.
- Round 2: In each chain-2 space, work 3 double crochets, chain 2, 3 double crochets.
- Join with slip stitch. Fasten off and weave in ends with the needle.
16. Pine Twig Ornaments
Easy
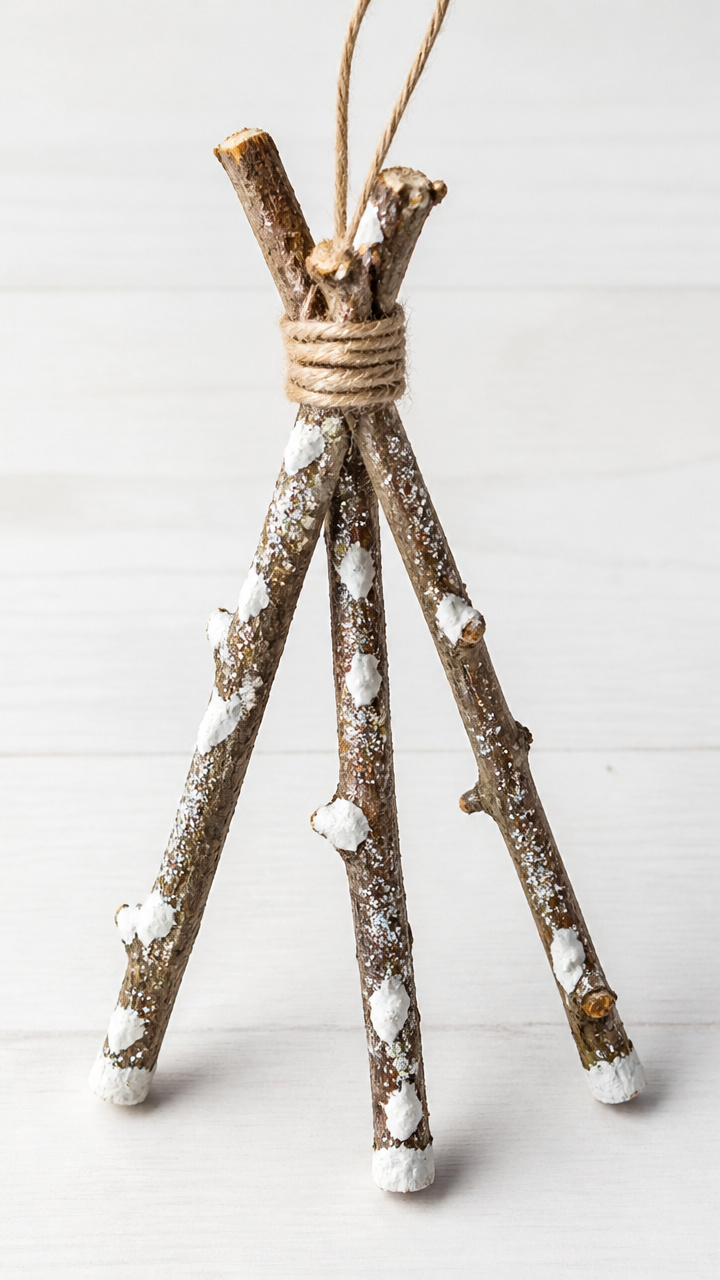
Slender twigs bundled with twine form tiny teepees dusted with faux snow. These rustic ornaments bring woodland charm to the tree.
Materials Needed
- 30 pine twigs (6 inches long, pencil thickness)
- jute twine
- scissors
- white puffy paint
- glitter (optional)
How to Make It
- Gather 5 twigs and tie them together at the top with twine.
- Fan the ends out to make a teepee shape. Tie another knot 1 inch below the first.
- Squeeze puffy paint in zigzags down the twigs. Sprinkle glitter if desired.
- Let dry for 2 hours. Tie a twine loop to the top for hanging.
17. Framed Nature Collage
Moderate
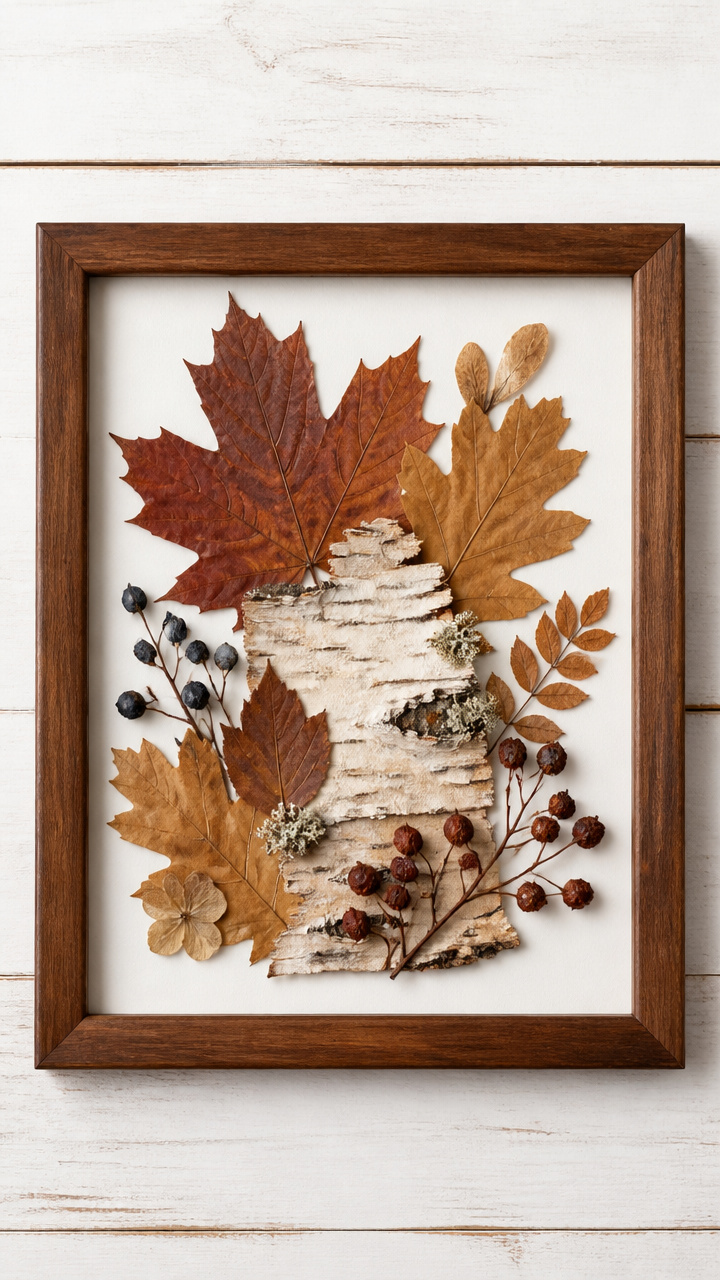
Pressed leaves, bark, and dried berries form a woodland scene under glass. This quiet collage celebrates winter’s subtle beauty in earthy tones.
Materials Needed
- 8×10 inch picture frame with glass
- cardboard backing (8×10 inches)
- white glue
- pressed maple and oak leaves
- small pieces of birch bark
- dried berries (juniper or holly)
- tweezers
- pencil
How to Make It
- Lay the glass from the frame on a flat surface.
- Arrange leaves, bark, and berries into a forest scene using tweezers.
- Lift each piece and apply a dot of glue. Replace carefully.
- Let dry for 3 hours. Place the glass back into the frame with the backing.
Each of these crafts holds the chance to spark a smile, stir a memory, or start a conversation. Pick one that calls to you and gather your supplies—something beautiful is ready to be made.