15 Cozy Winter Crafts for Seniors to Make with Grandkids

Soft yarn, warm glue guns, and the sound of little hands sorting buttons—these are the quiet joys of winter crafting with grandchildren. There’s something special about sitting side by side, making things that keep you both warm in more ways than one.
You don’t need fancy supplies or perfect skills. Just a few simple materials, a bit of patience, and room on the table for shared laughter. These projects are made for connection, not perfection.
1. Fleece Tie Blanket
Easy
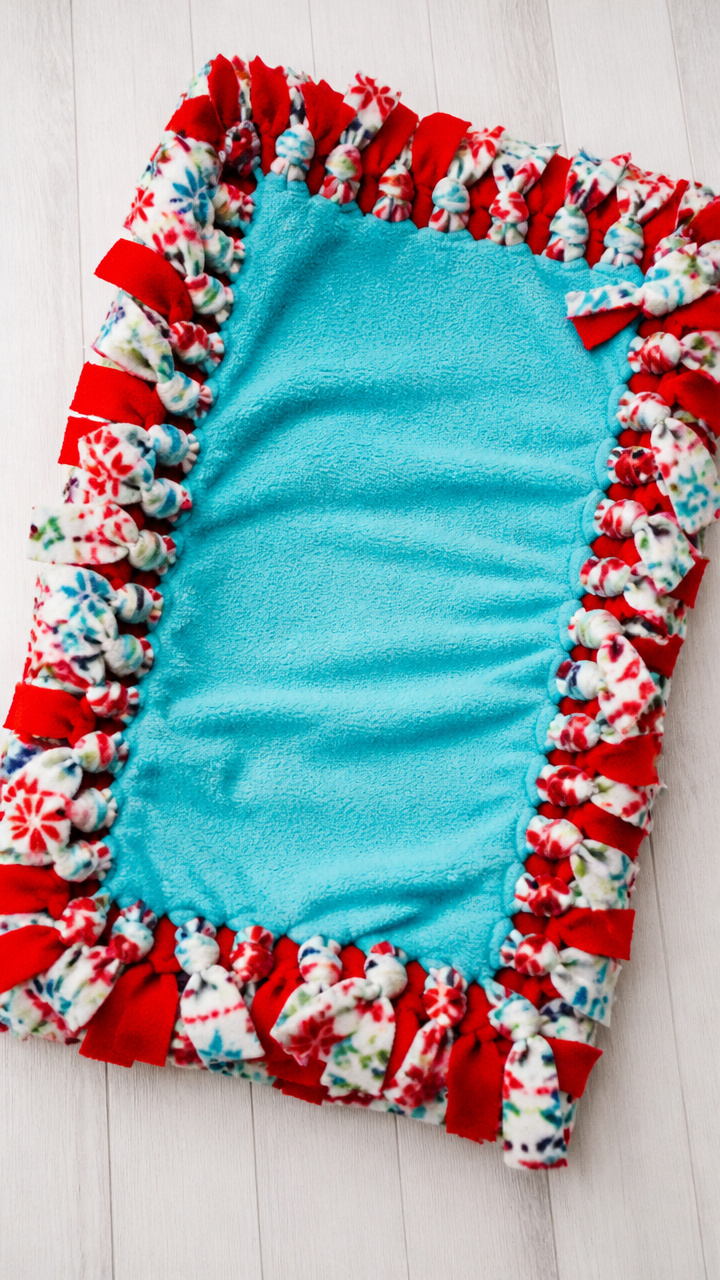
A soft, no-sew blanket that wraps a child in warmth and pride. This project finishes quickly and delivers lasting comfort.
Materials Needed
- 2 yards of fleece fabric (one solid color, one patterned)
- Scissors
- Ruler
- Fabric marker or chalk
How to Make It
- Lay both pieces of fleece flat, patterned sides down, aligning edges neatly.
- Trim excess so both pieces are exactly the same size, 60 inches by 60 inches.
- Cut 3-inch squares from each corner to remove bulk when tying.
- Along all four edges, make 1-inch wide by 3-inch deep fringe every 2 inches using ruler and fabric marker.
- Tie matching top and bottom fringe pieces together in double knots all around the edge.


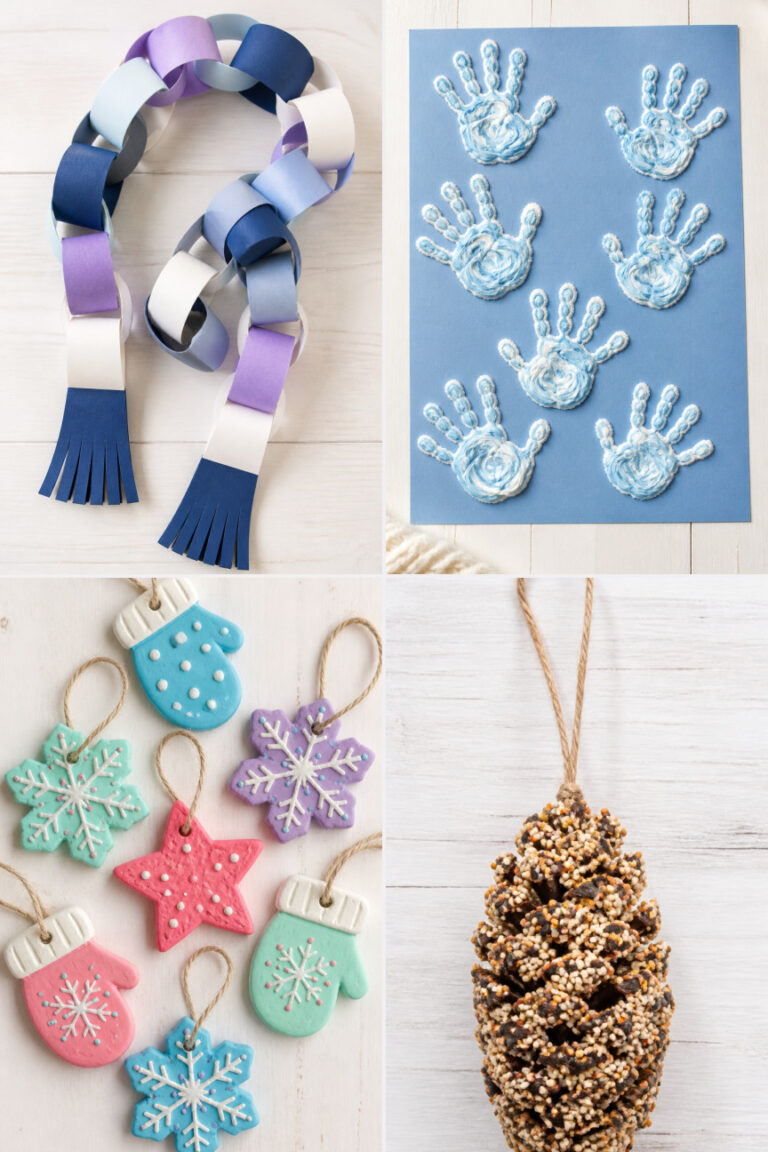
2. Salt Dough Ornaments
Moderate
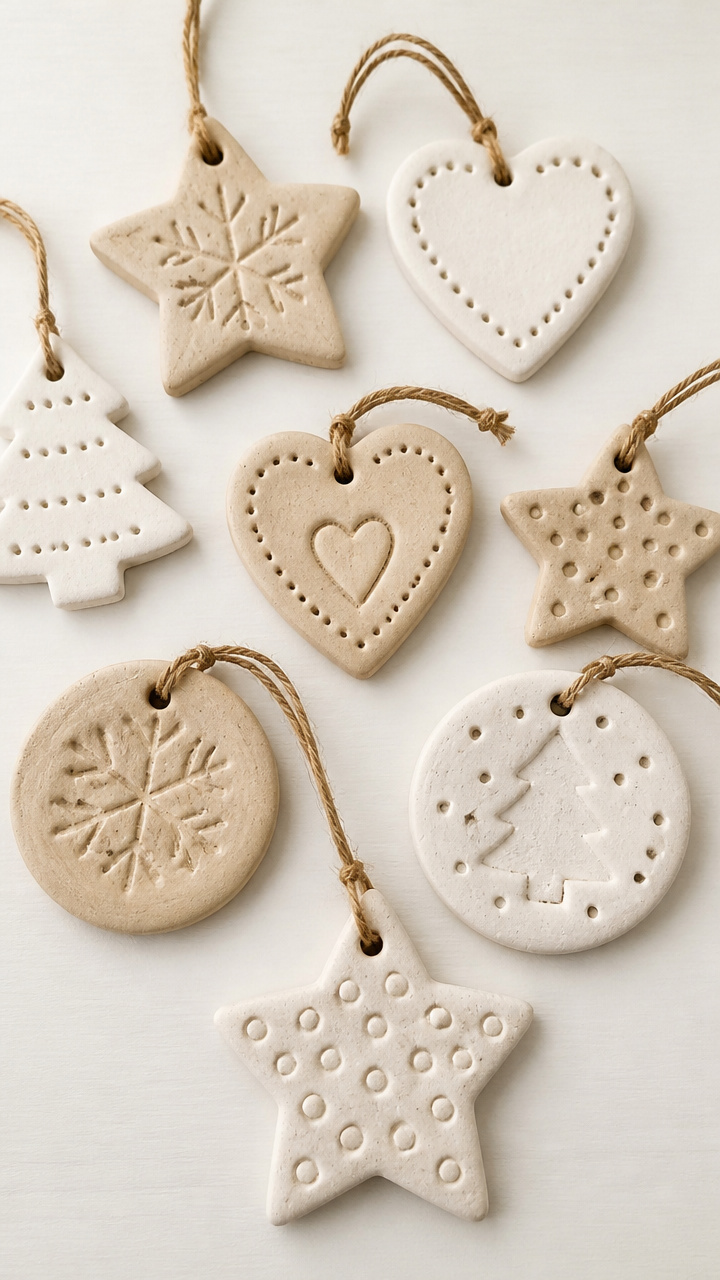
Hand-shaped keepsakes that smell like childhood and last for years. Each one holds tiny fingerprints and big memories.
Materials Needed
- 2 cups all-purpose flour
- 1 cup table salt
- 1 cup warm water
- Mixing bowl
- Rolling pin
- Straw
- Cookie cutters (snowflake, star, tree shapes)
- Baking sheet
- Parchment paper
- Acrylic paint (red, green, gold)
- Fine paintbrush
- Red satin ribbon (1/8 inch wide, 12 inches per ornament)
How to Make It
- Mix flour, salt, and warm water in a bowl until a smooth dough forms, kneading by hand for 3 minutes.
- Roll dough to 1/4-inch thickness on a floured surface.
- Cut shapes using cookie cutters, then press a straw through the top edge to make a hanging hole.
- Place ornaments on a parchment-lined baking sheet and bake at 200°F for 3 hours until hard.
- Let cool completely, then paint with acrylics and let dry for 1 hour.
- Thread ribbon through the hole and tie into a loop for hanging.


3. Knitted Scarf Snips
Easy
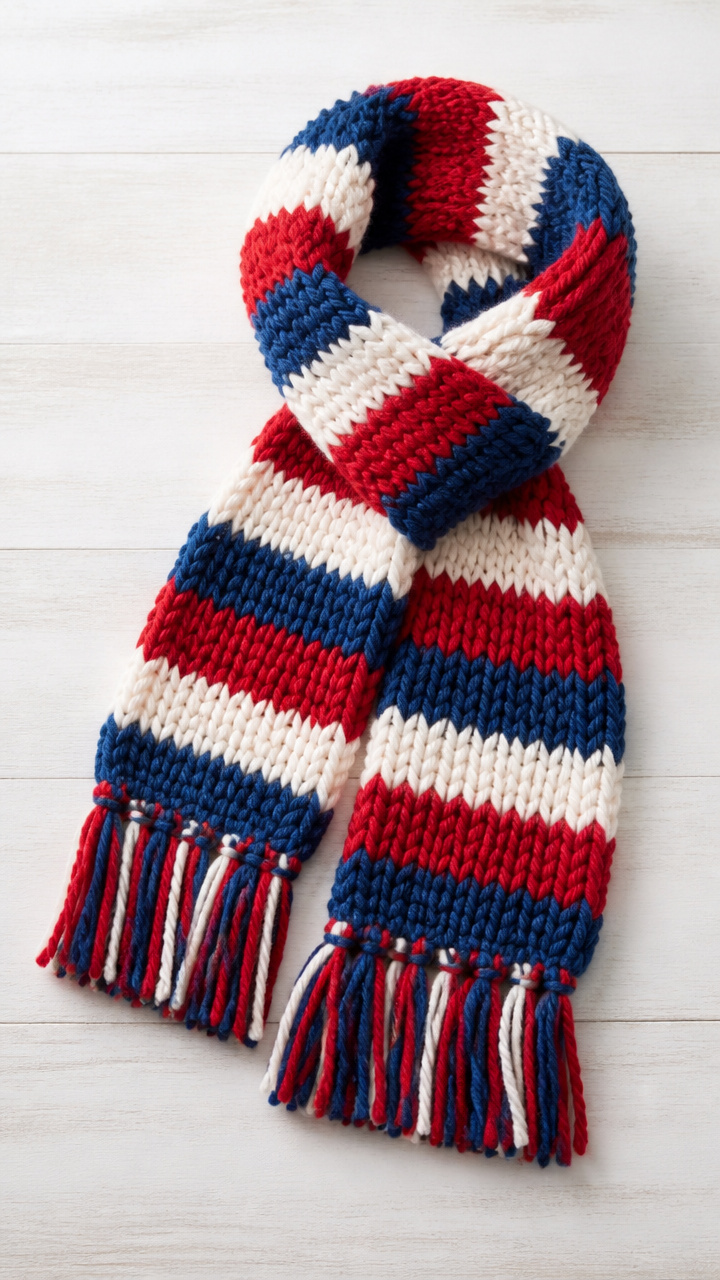
Short lengths of colorful yarn turned into easy starter scarves. Perfect for small fingers learning rhythm and pattern.
Materials Needed
- Chunky acrylic yarn (3 skeins: red, white, blue)
- Plastic knitting loom (12 pegs)
- Loom hook
- Scissors
How to Make It
- Tie yarn end to the anchor peg and wrap around the first peg counterclockwise.
- Continue wrapping each peg in order until the row is complete.
- Use the loom hook to lift the bottom loop over the top loop on each peg.
- Repeat wrapping and lifting for 40 rows or until scarf reaches 30 inches.
- Cut yarn, thread through last loops, pull tight, and tie off securely.


4. Mitten String Art
Moderate
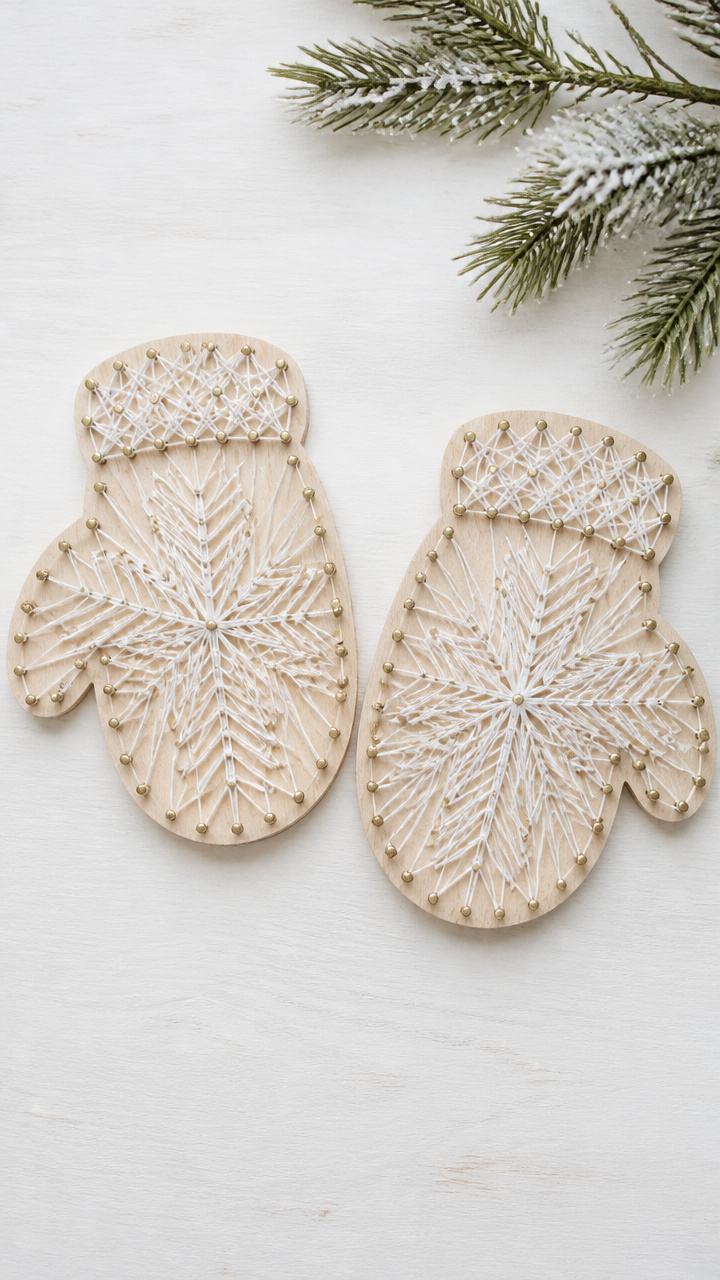
Wooden mittens outlined with hammered nails and wrapped thread. A rustic decoration that catches the light and attention.
Materials Needed
- Two 6-inch wooden mitten cutouts (unfinished birch plywood)
- Small hammer
- 32 miniature brass nails (1/2 inch long)
- White embroidery floss (8 yards)
- Needle-nose pliers
- Black permanent marker
How to Make It
- Draw a continuous mitten outline on each wood piece using the black marker.
- Evenly space and gently tap nails along the outline, leaving 1/4 inch above the surface.
- Tie floss to one nail and begin crisscrossing between nails in a random but dense pattern.
- Use pliers to bend nail tips inward slightly if ends feel sharp.
- Secure the final end with a knot and trim excess.


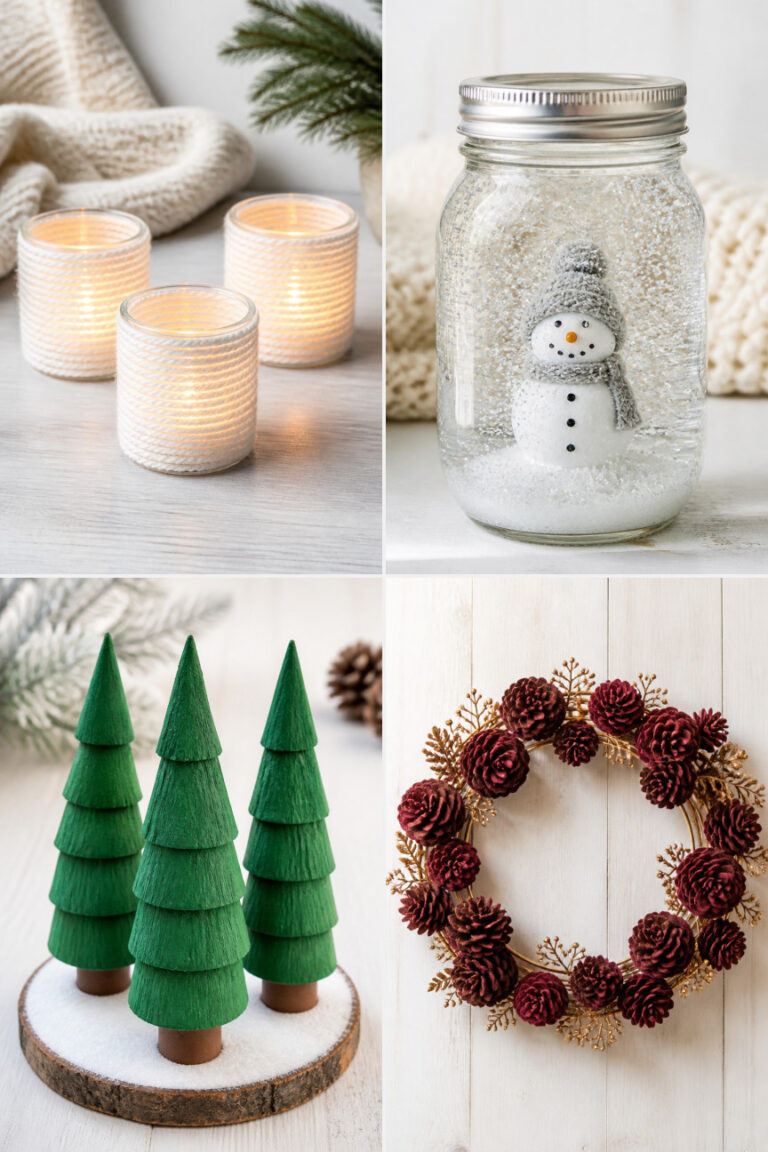
5. Cinnamon Stick Candle Holder
Moderate

A spiced-scented centerpiece built around real cinnamon sticks. It glows warmly and smells like holiday baking.
Materials Needed
- 4 whole cinnamon sticks (6 inches long)
- Hot glue gun
- Hot glue sticks
- Glass tea light holder (3 inches wide, 2 inches tall)
- Jute twine (12 inches)
How to Make It
- Apply hot glue to one flat side of a cinnamon stick and press it vertically against the glass holder.
- Hold 10 seconds until set, then repeat with three more sticks spaced evenly around the glass.
- Wrap jute twine once around the middle of the bundle and tie a square knot to secure.
- Let sit 10 minutes before placing a battery-operated tea light inside.
6. Button Snowman
Easy
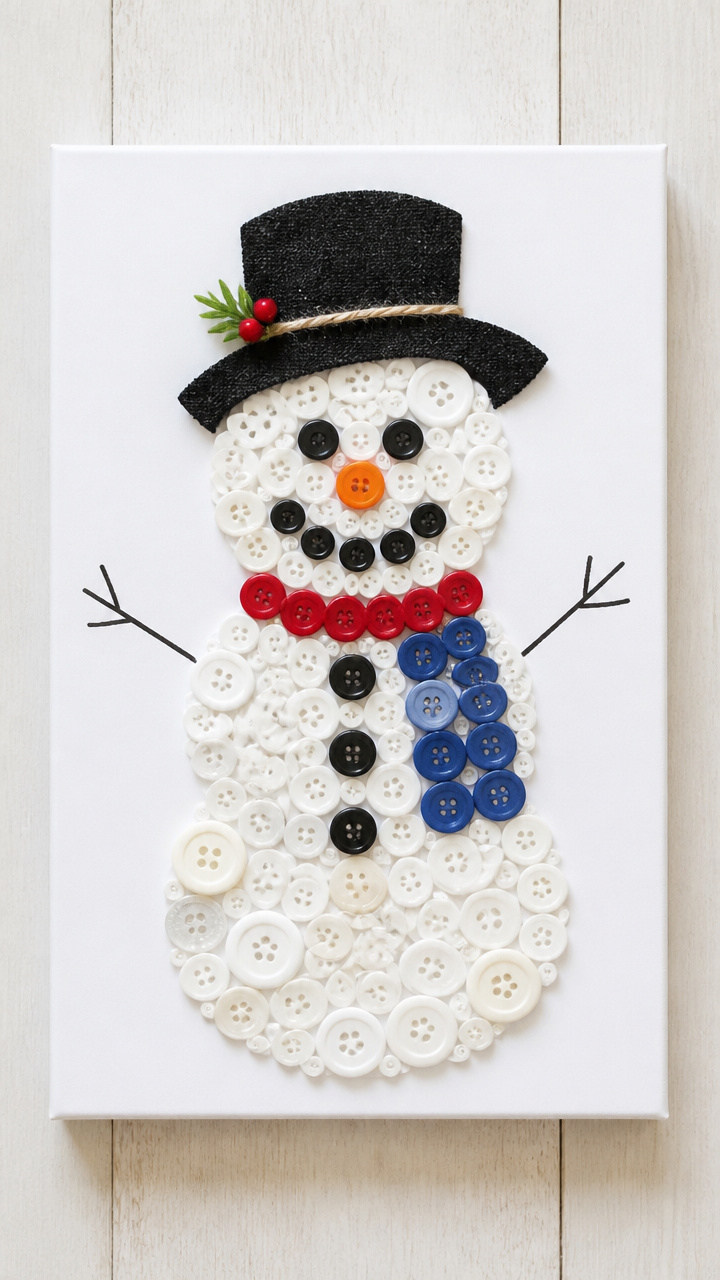
A cheerful snowman built from mismatched buttons and mounted on cardstock. A bright reminder of snowy days even without frost.
Materials Needed
- A4 white cardstock (1 sheet)
- Assorted buttons (1 large black, 2 medium black, 1 orange, 5 red, 5 blue)
- Tacky glue
- Black fine-tip marker
- Scissors
- Craft foam scraps (red, blue, black)
- Glue stick
How to Make It
- Cut a carrot nose shape from orange button and glue it near the center of the cardstock.
- Arrange large black button below as the body, medium black buttons above as eyes, and glue in place with tacky glue.
- Cut two short lines from black craft foam and glue as arms extending from the body button.
- Glue red buttons in a curve below the body as buttons on the snowman's coat.
- Use glue stick to attach blue craft foam triangle as a hat above the head.
- Draw a smile under the nose using the black marker and let dry 20 minutes.


7. Yarn-Wrapped Picture Frame
Easy
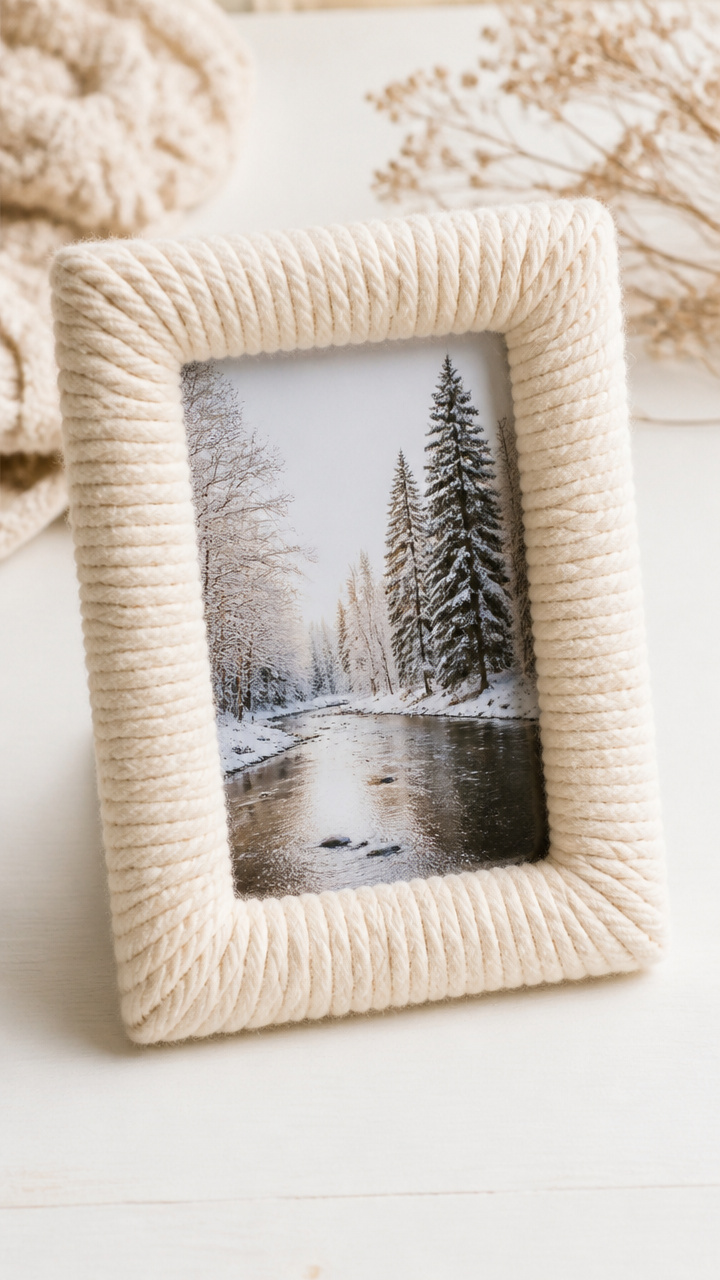
A plain wooden frame transformed with soft spirals of wool. It holds a photo and a moment worth revisiting.
Materials Needed
- Unfinished wooden picture frame (5×7 inches)
- Cream-colored bulky yarn (10 yards)
- White school glue
- Small foam brush
- Scissors
- Family photo (3.5×5 inches)
How to Make It
- Brush a thin layer of glue onto the front outer edge of the wooden frame using the foam brush.
- Press the yarn end onto the glued spot and begin wrapping tightly around the frame widthwise.
- Overlap each wrap slightly and reapply glue every 2 inches to secure the yarn.
- Continue wrapping until the entire front face is covered, then cut yarn and glue the end down.
- Insert the photo and close the back.


8. Pinecone Bird Feeder
Easy
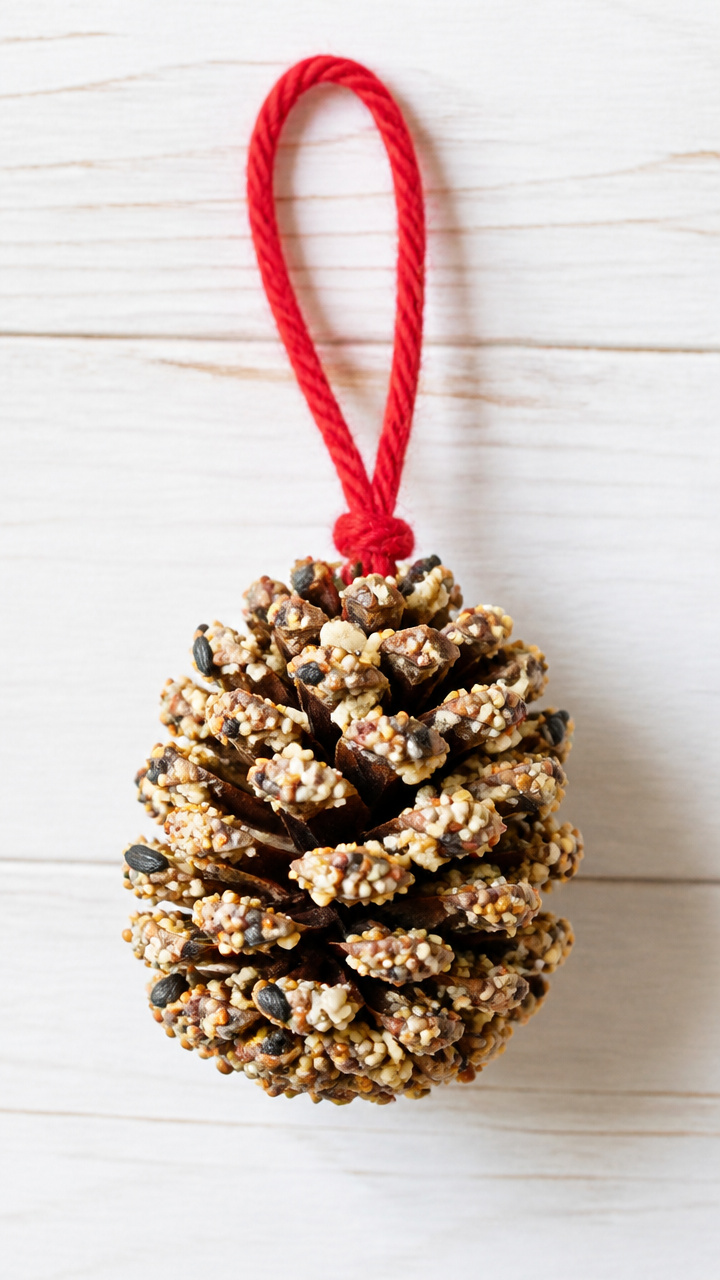
A crunchy peanut butter-coated pinecone rolled in birdseed. Hang it outside and watch the winter visitors come calling.
Materials Needed
- Large dried pinecone
- 1/4 cup creamy peanut butter
- 1/2 cup mixed birdseed
- Butter knife
- 18-inch length of red yarn
- Shallow dish
How to Make It
- Tie yarn securely around the pinecone base for hanging.
- Spread peanut butter into the crevices using the butter knife.
- Pour birdseed into the shallow dish and roll the coated pinecone in it firmly.
- Let dry on wax paper for 1 hour before hanging from a tree branch.


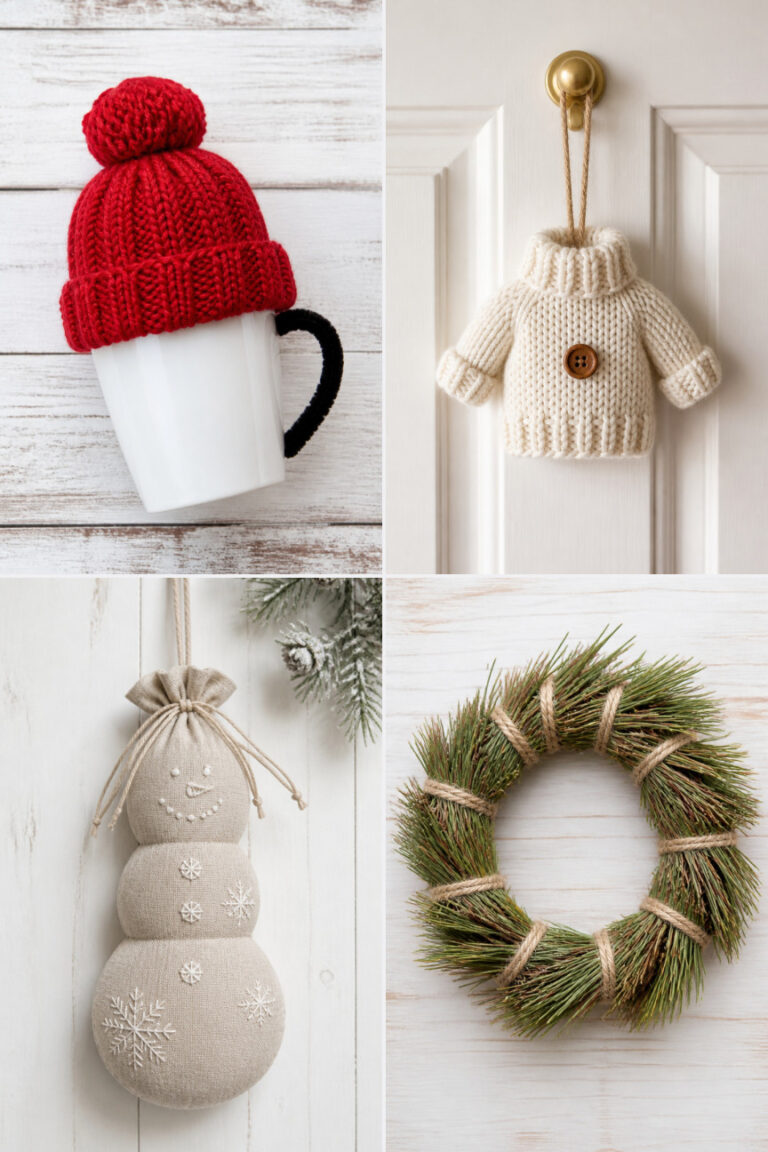
9. Felt Hot Cocoa Mug
Moderate
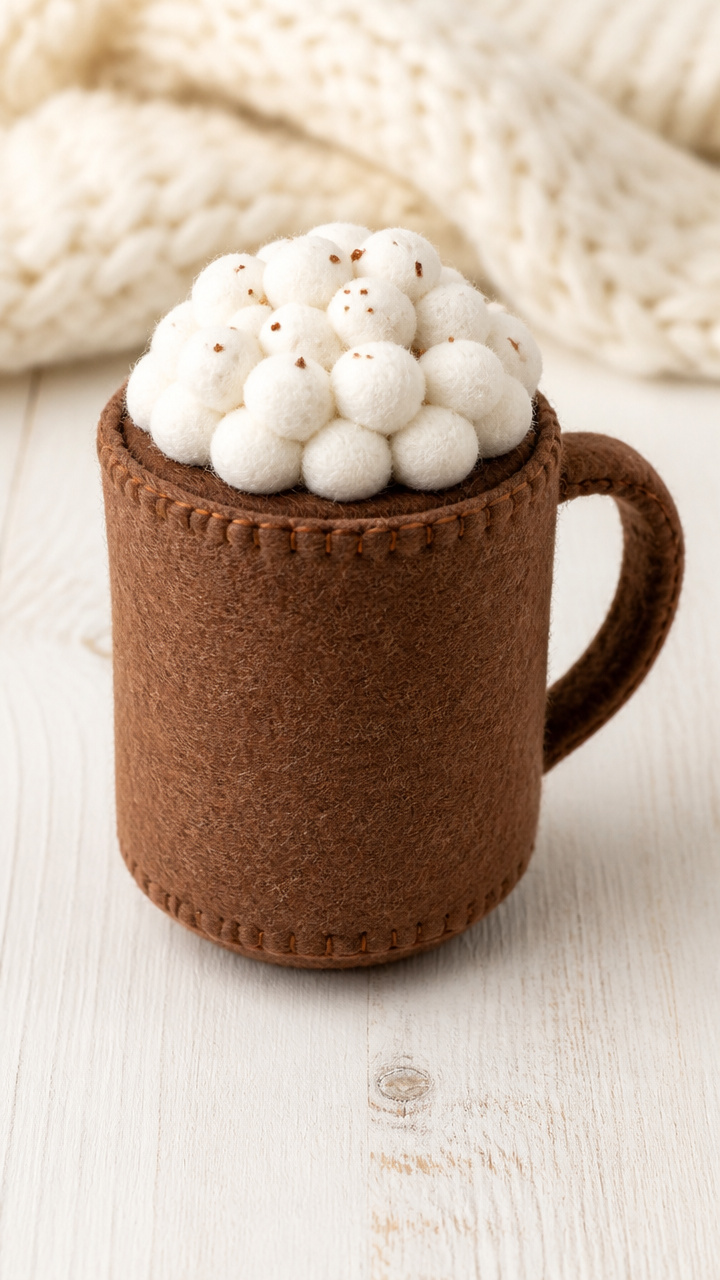
A plush mug filled with pom-poms that look like whipped cream. A pretend-play favorite that never gets cold.
Materials Needed
- Brown felt sheet (9×12 inches)
- White felt sheet (9×12 inches)
- Fabric scissors
- Embroidery needle
- Dark brown embroidery floss
- Straight pins
- Polyester stuffing
- White wool pom-pom (1.5 inches diameter)
- Fabric glue
How to Make It
- Cut two identical mug shapes from brown felt, each 6 inches tall with a handle on one side.
- Pin the pieces together and stitch around the edge with a backstitch using dark brown floss, leaving the top open.
- Turn right side out and fill halfway with polyester stuffing.
- Place pom-pom inside as whipped cream and add a little more stuffing to hold it up.
- Fold top edge inward 1/2 inch and sew shut with hidden stitches.
- Glue a small oval of white felt to the front as a marshmallow.
10. Paper Quilled Snowflake
Moderate
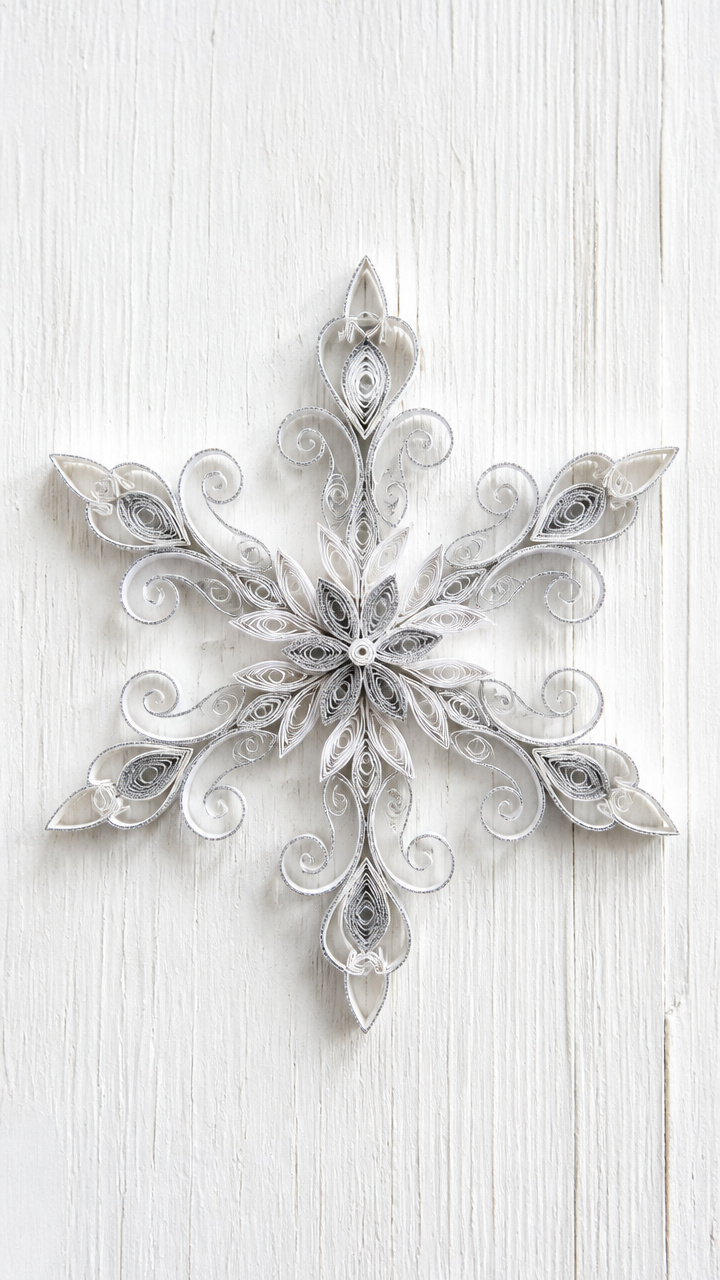
Delicate swirls of rolled paper shaped into a symmetrical winter design. Light enough to float, strong enough to last.
Materials Needed
- Quilling paper strips (1/4 inch wide, 12 inches long: 6 white, 6 silver)
- Quilling tool
- White glue
- Tweezers
- Clear plastic template (six-point snowflake)
- Glue brush
- Cardstock background (5×5 inches)
How to Make It
- Roll one paper strip tightly around the quilling tool and slide off, letting it loosen slightly.
- Shape the coil into a teardrop by pinching one end and glue the tail down.
- Repeat to make 12 teardrop shapes, alternating white and silver.
- Arrange six teardrops around the template points, tips outward, and glue to cardstock.
- Fill gaps with remaining teardrops, tips pointing inward, gluing each at the base.
- Let dry 30 minutes before displaying.


11. Wax Paper Suncatcher
Easy
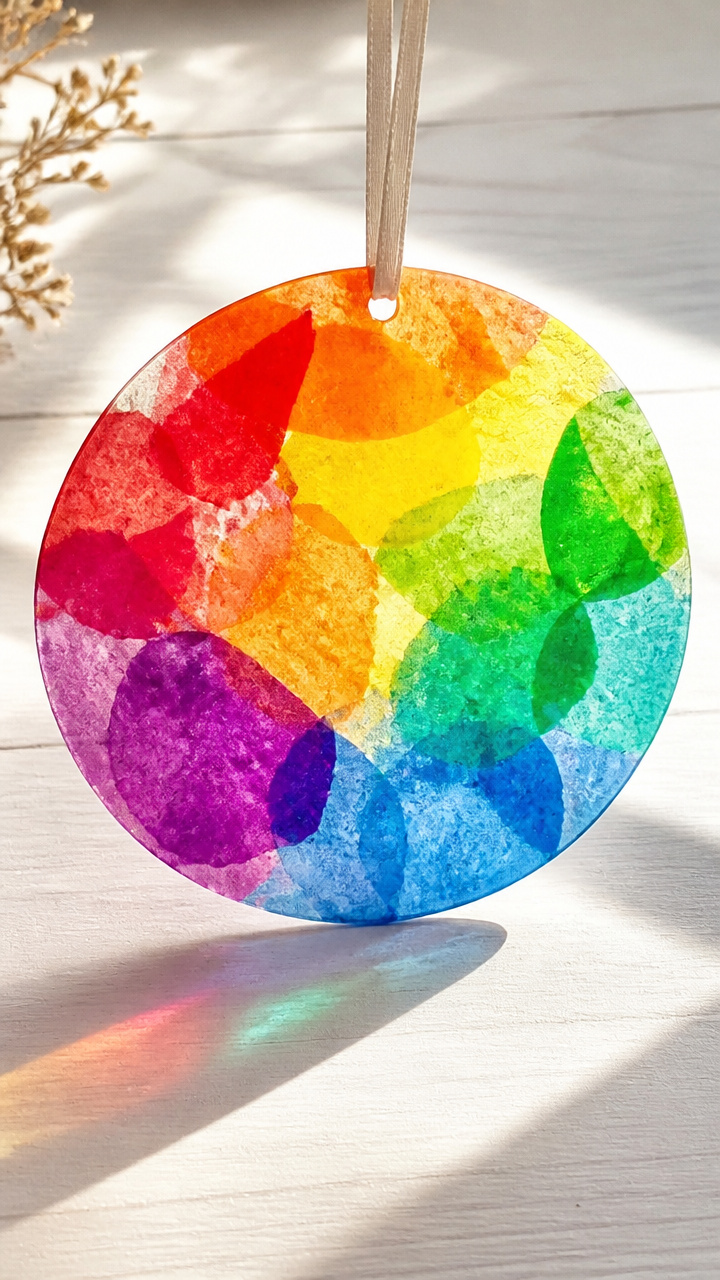
A burst of colored light made with crayon shavings and sunlight. Hang it in a window and watch the colors dance.
Materials Needed
- White crayons (peeled)
- Vegetable peeler
- Two sheets of 8.5×11-inch wax paper
- Iron
- Parchment paper (two sheets)
- Scissors
- Hole punch
- Red ribbon (6 inches)
How to Make It
- Use the vegetable peeler to create shavings from the white crayons onto one sheet of wax paper in a 6-inch circle.
- Cover with the second wax paper sheet.
- Place a parchment sheet on top and iron on low heat for 2 minutes, moving gently until wax melts.
- Let cool 10 minutes, then trim into a circle and punch a hole at the top.
- Thread ribbon through and tie for hanging.


12. Knit Hat Doll
Advanced
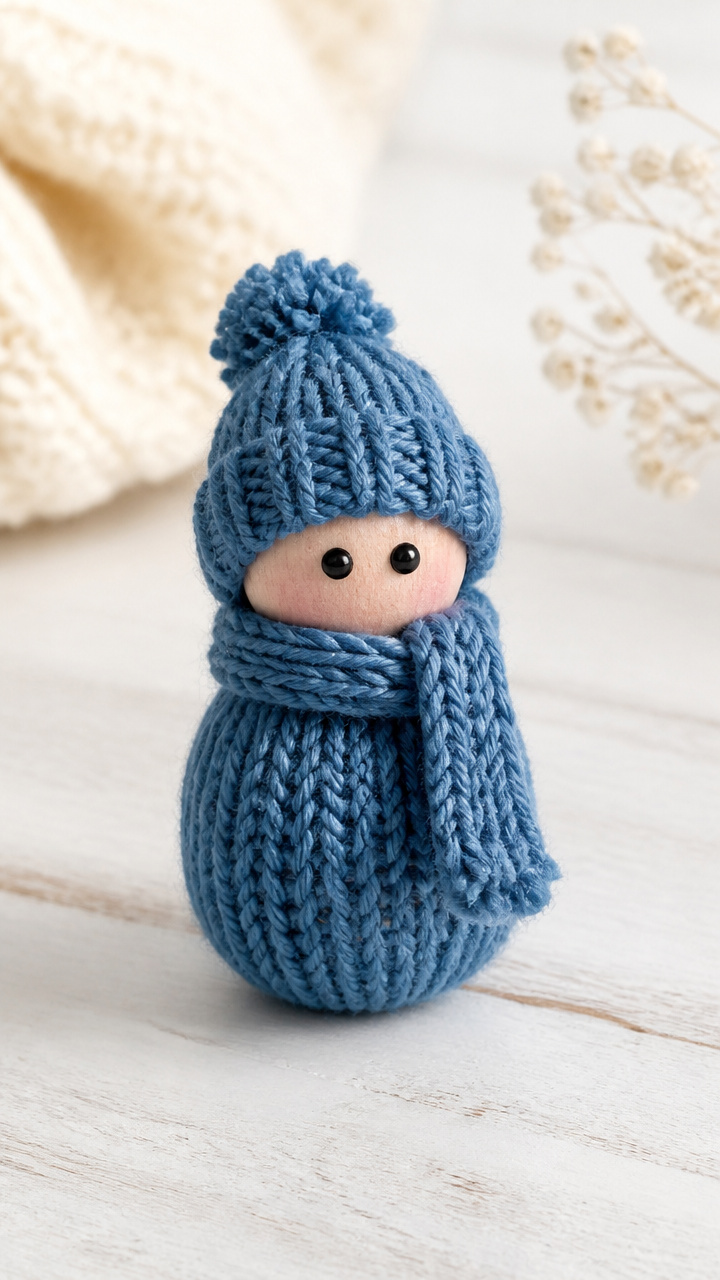
A tiny person dressed in a real knitted cap and scarf. A pocket-sized friend made with love and yarn scraps.
Materials Needed
- Oval wooden bead (1 inch long)
- Small black beads (2, 3mm)
- Tacky glue
- Fabric paint (pink)
- Paintbrush
- Leftover chunky yarn (blue, 1 yard)
- Plastic knitting loom (8 peg)
- Loom hook
- Felt scrap (red)
- Scissors
How to Make It
- Glue two black beads onto the wooden bead for eyes and let dry 15 minutes.
- Use pink fabric paint to add rosy cheeks and let dry 20 minutes.
- Knit a 2-inch tube on the loom using blue yarn, then bind off and slide off.
- Stretch the knitted piece over the bead as a hat, tucking ends underneath.
- Cut a 4-inch strip of red felt and tie around the neck as a scarf.
13. Glitter Mason Jar
Easy
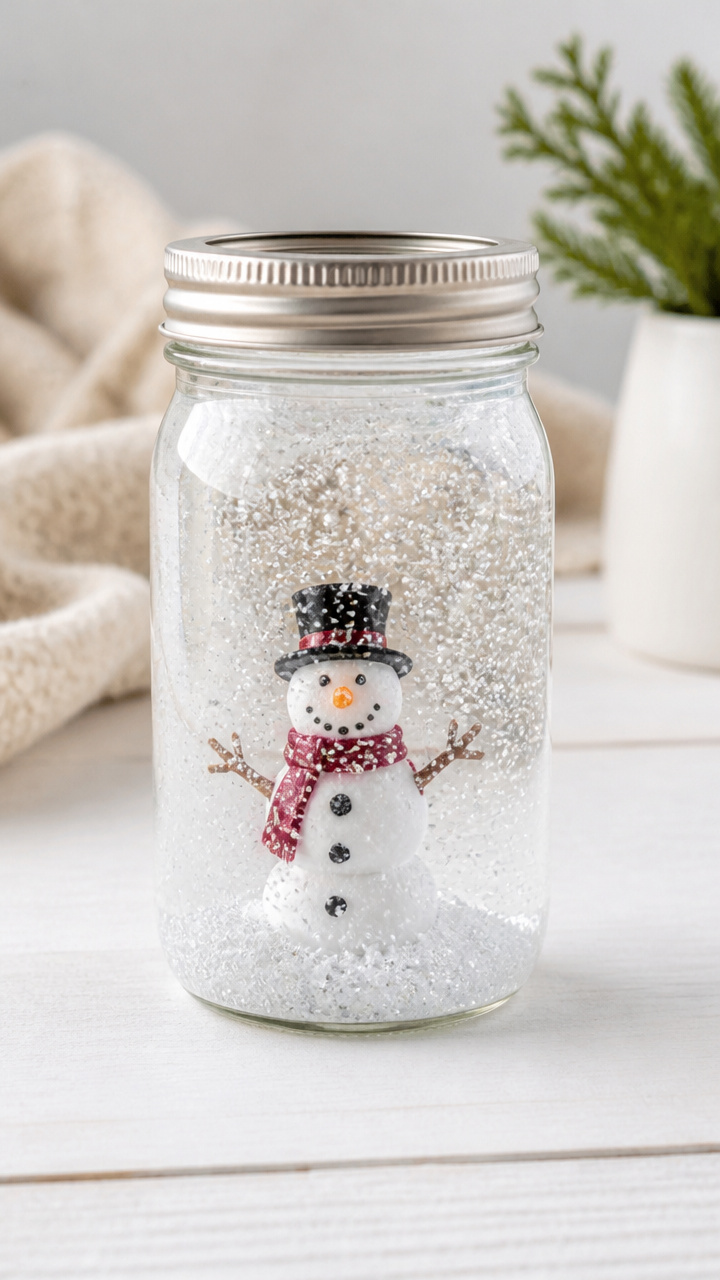
A clear jar shimmering with swirling snow-like glitter. Shake it and imagine a blizzard in your hands.
Materials Needed
- 8-ounce mason jar with lid
- White school glue (2 tablespoons)
- Distilled water (1/2 cup)
- Fine white glitter (3 tablespoons)
- Mini plastic snowman figure
- Hot glue gun
How to Make It
- Pour glue, water, and glitter into the jar and shake well for 30 seconds.
- Drop the snowman figure inside.
- Seal the lid tightly and use hot glue to secure it closed around the rim.
- Let the glue cure 1 hour before shaking to swirl the glitter.


14. Popsicle Log Cabin
Moderate
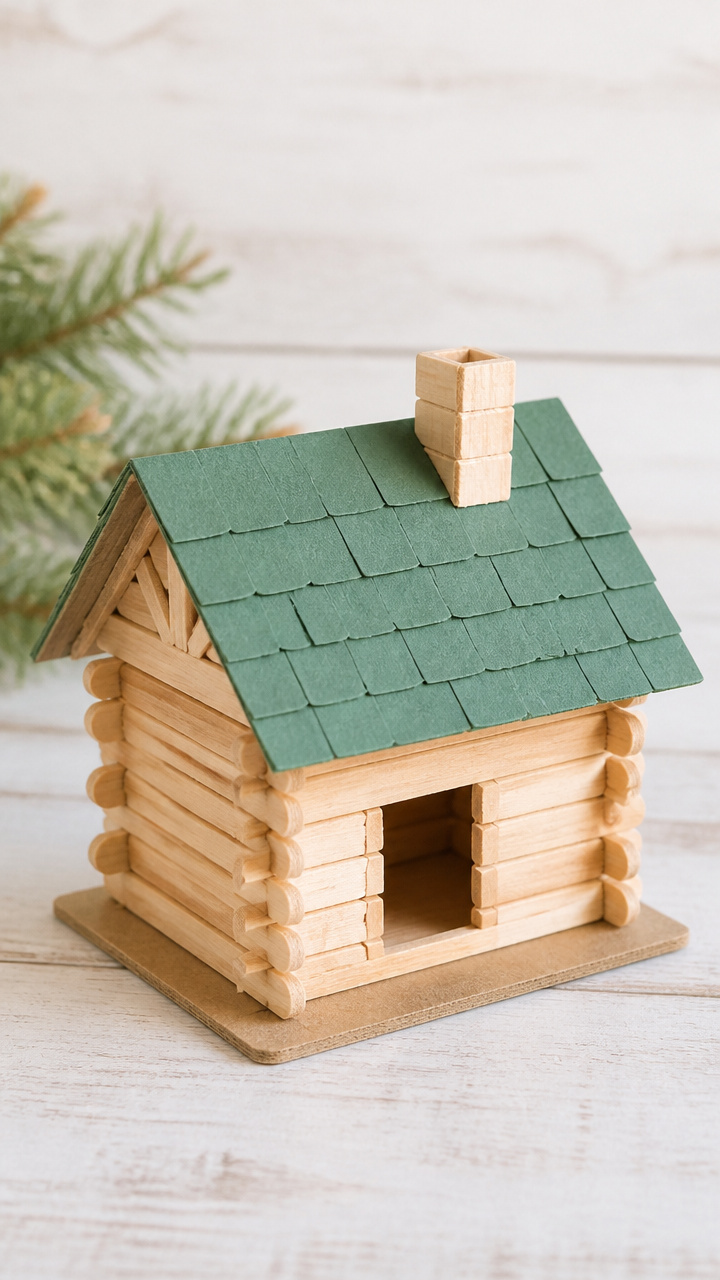
A miniature cabin built from unpainted craft sticks. Sturdy walls rise with glue and careful stacking.
Materials Needed
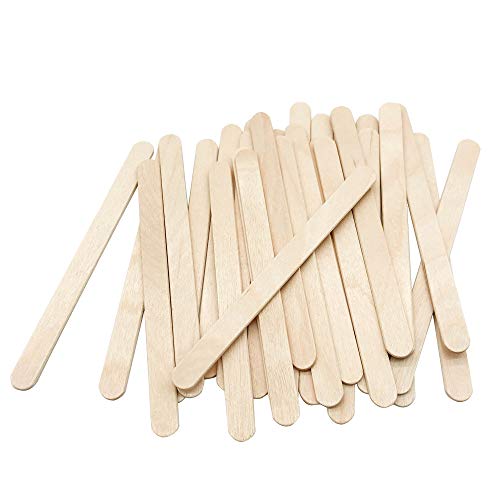
- Flat wooden craft sticks (50 count)
- White school glue
- Small paintbrush
- Cardboard base (6×6 inches)
- Green tissue paper (6×6 inches)
- Scissors
How to Make It
- Glue 10 craft sticks side by side horizontally onto the cardboard base to form the floor.
- Stack craft sticks vertically along the edges to create four walls, gluing each at the corners.
- Alternate horizontal layers with vertical overlap for stability, letting each layer dry 10 minutes.
- Cut a peaked roof shape from extra sticks and glue across the top.
- Crumple green tissue paper and glue around the base as winter grass.


15. Scented Sachet Pouch
Easy
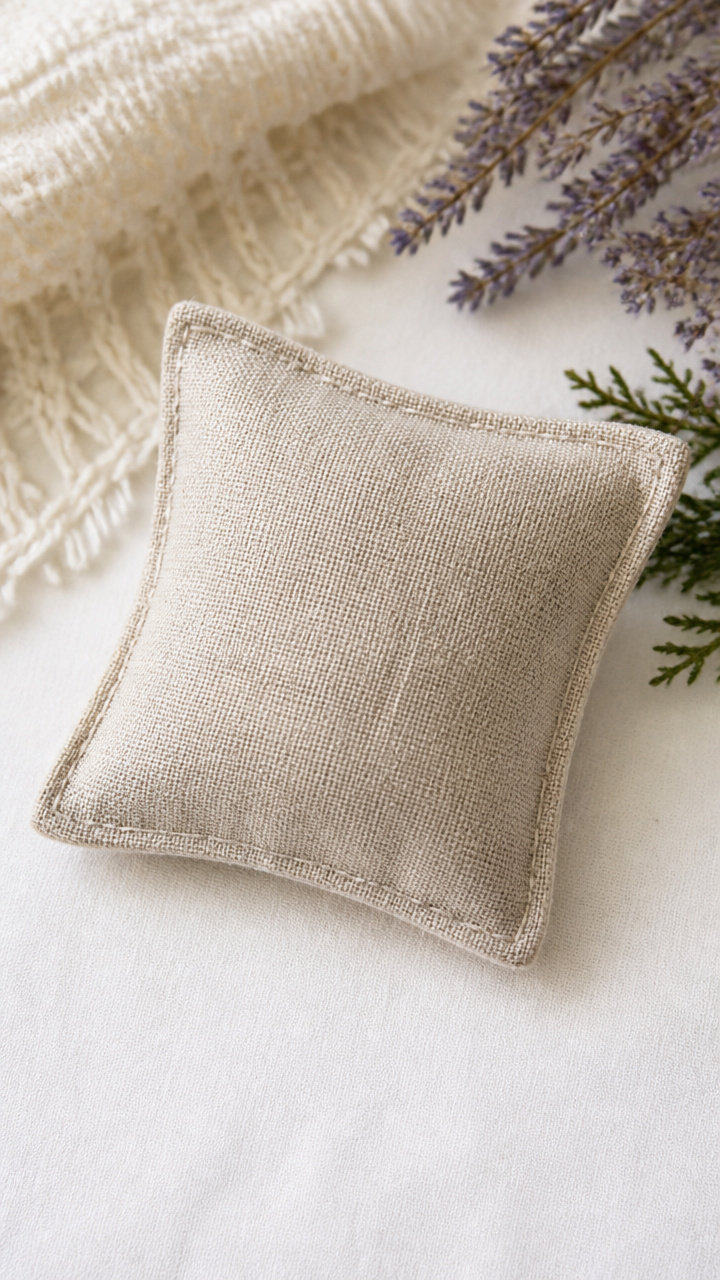
A small linen bag filled with dried lavender and cedar shavings. Tuck it in a drawer and breathe in calm.
Materials Needed
- Linen fabric scrap (6×6 inches)
- Dried lavender buds (2 tablespoons)
- Cedar shavings (1 tablespoon)
- Needle
- White thread
- Scissors
- Ruler
- Straight pins
How to Make It
- Cut two 4×4 inch squares from the linen fabric.
- Pin the squares together with edges aligned.
- Thread the needle and sew around three sides with a running stitch, 1/4 inch from the edge.
- Turn right side out and fill with lavender and cedar mixture.
- Fold seam allowance inward on the open edge and sew shut with invisible stitches.


Grab your yarn basket, find those old buttons, and call a grandchild over. The best memories start with simple things done together.