18 Skiing Crafts for Preschoolers and Kids

Snowflakes stick to mittens, rosy cheeks glow under beanies, and laughter echoes down the slopes — even if your family isn’t hitting the mountains this season, you can bring that winter adventure spirit into your home with hands-on crafts. These skiing-themed projects spark creativity while building fine motor skills and seasonal excitement.
Each craft uses real materials in thoughtful ways, from cotton balls that become snowbanks to popsicle sticks shaped into tiny skis. You’ll find ideas perfect for snowy afternoons, classroom centers, or holiday prep, all designed so kids can do most of the work with a little guidance.
1. Mini Ski Boot Paper Plate Craft
Easy
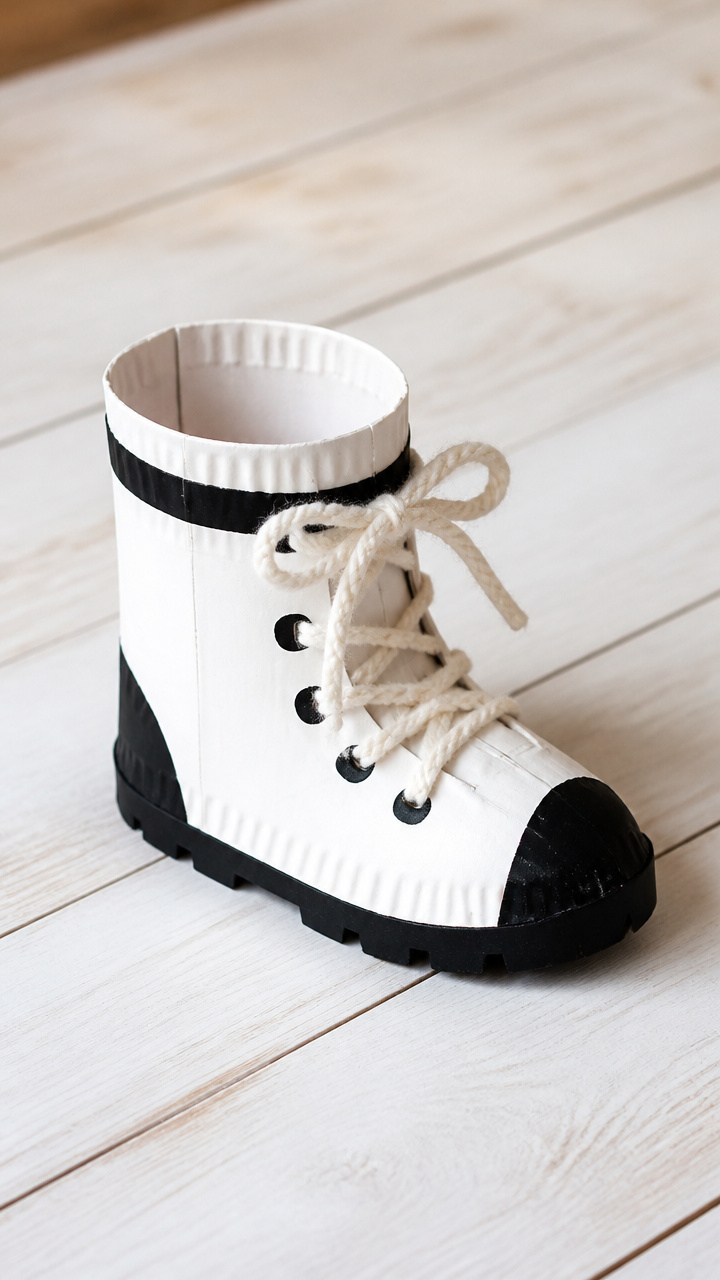
Sturdy cardboard boots with laces you can actually tie, made from paper plates and yarn. This craft builds pretend play and fine motor coordination through realistic details.
Materials Needed
- 1 white paper plate per child
- black acrylic paint
- paintbrush size 6
- 24-inch black yarn per boot
- glue stick
- scissors
- black construction paper
- hole punch
How to Make It
- Cut the paper plate in half using scissors, keeping the curved edge as the front of the boot.
- Paint the entire outside of the half-plate black using the paintbrush and black acrylic paint. Let dry for 15 minutes.
- Cut two oval shapes from black construction paper for boot buckles and glue them near the top edge of the boot.
- Punch two holes just below each buckle, spacing them evenly across the boot shaft.
- Thread one 24-inch piece of black yarn through the holes, weaving it like real ski boot laces.


2. Popsicle Stick Skis with Mini Goggles
Easy
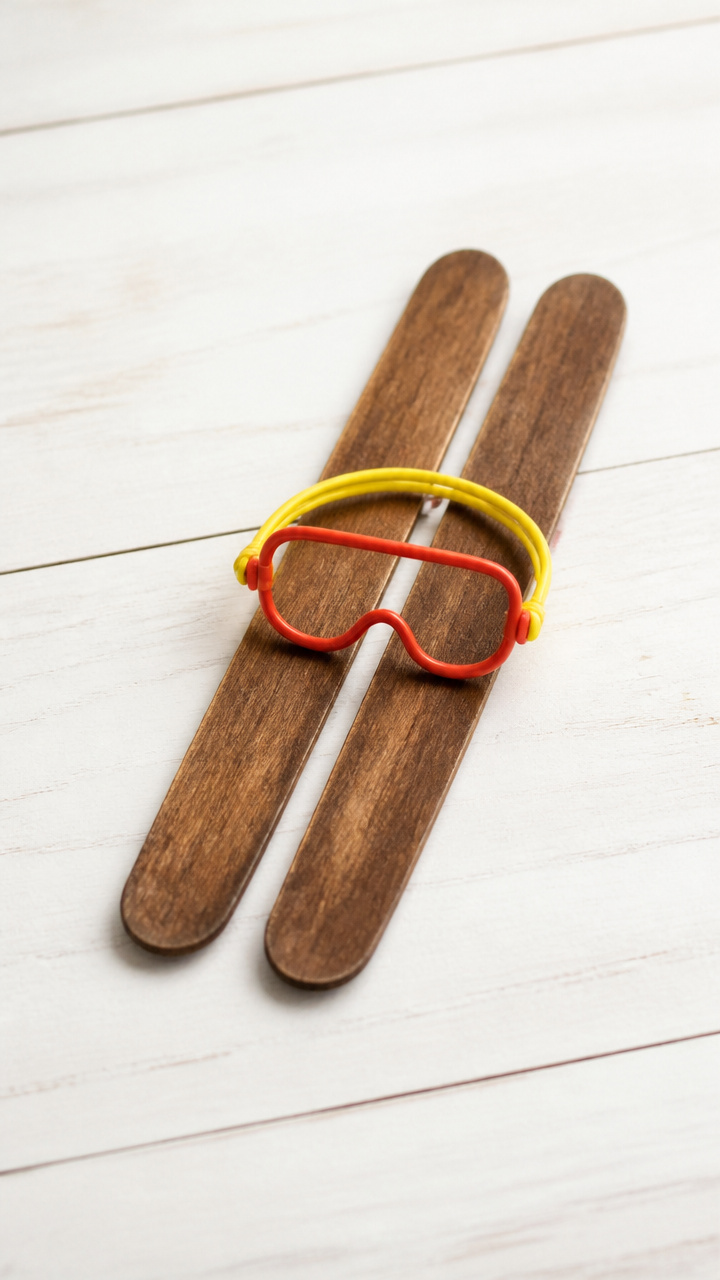
Tiny wooden skis strapped with bendable wire goggles, crafted from repurposed craft sticks and pipe cleaners. The goggles actually sit on the skis like real gear.
Materials Needed
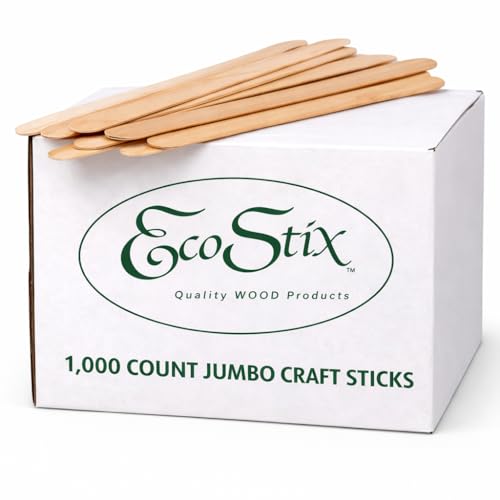
- 2 jumbo popsicle sticks per set
- brown acrylic paint
- paintbrush size 4
- 1 red chenille stem per goggle
- 1 yellow chenille stem per goggle
- white school glue
- googly eyes, 6mm, 2 per goggle
How to Make It
- Paint both popsicle sticks brown using the paintbrush and brown acrylic paint. Let dry for 10 minutes.
- Bend the red chenille stem in half to form a headband shape, then twist the ends together at the back.
- Wrap the yellow chenille stem around each end of the red stem to create circular goggle lenses.
- Glue one 6mm googly eye inside each yellow loop, pressing gently to secure.
- Lay the goggles across the center of the painted popsicle sticks and dab glue underneath to hold in place.


3. Cotton Ball Snow Slope Diorama
Moderate
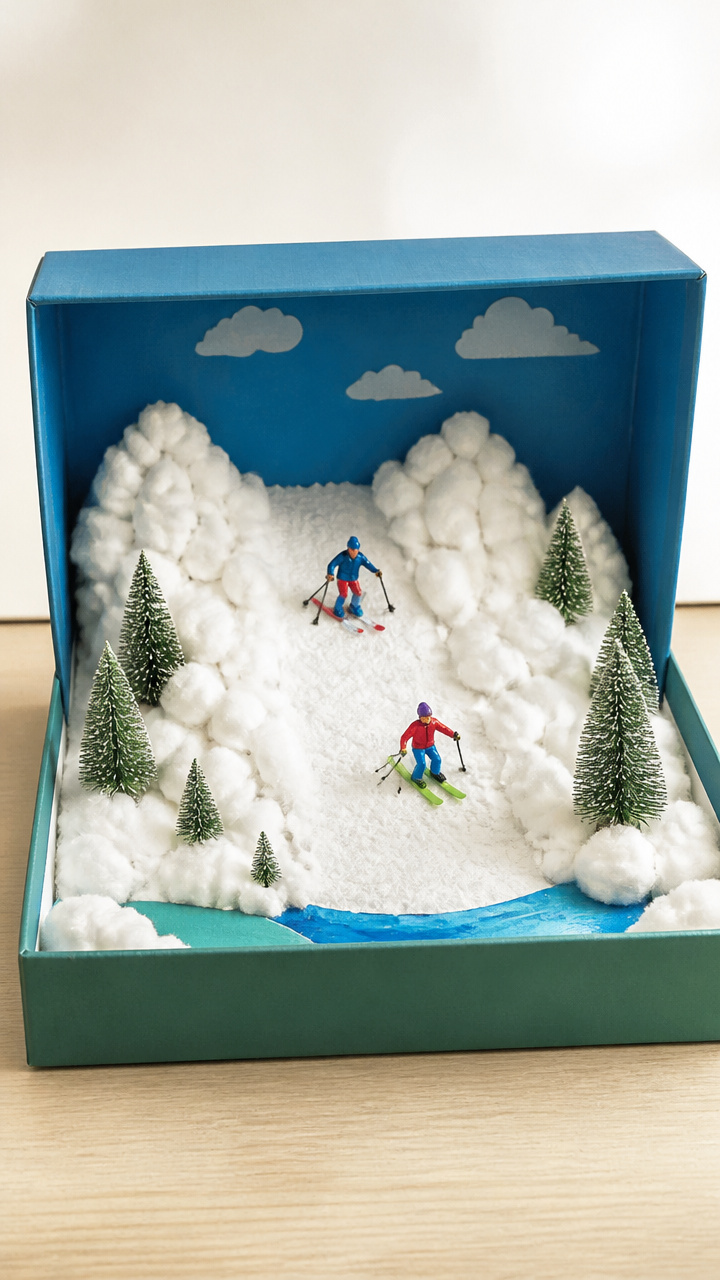
A fluffy 3D mountain scene in a shoebox, layered with cotton balls and miniature skiers. This tactile landscape invites storytelling and sensory exploration.
Materials Needed
- empty shoebox with lid
- white school glue
- cotton balls, 1 cup
- blue construction paper
- green construction paper
- scissors
- glue stick
- miniature plastic skier toys, 2 per diorama
How to Make It
- Stand the shoebox upright so the long side opens toward you, forming the diorama stage.
- Cut blue construction paper to fit the back interior wall and glue it in place with a glue stick.
- Shape mounds from handfuls of cotton balls, flattening slightly, and glue them along the bottom third using white school glue.
- Cut evergreen trees from green construction paper in triangle shapes and glue them onto the cotton ball hillsides.
- Place two miniature plastic skier toys on the slope, adjusting their positions to look like they’re gliding downhill.

4. Felt Ski Goggle Headband
Moderate
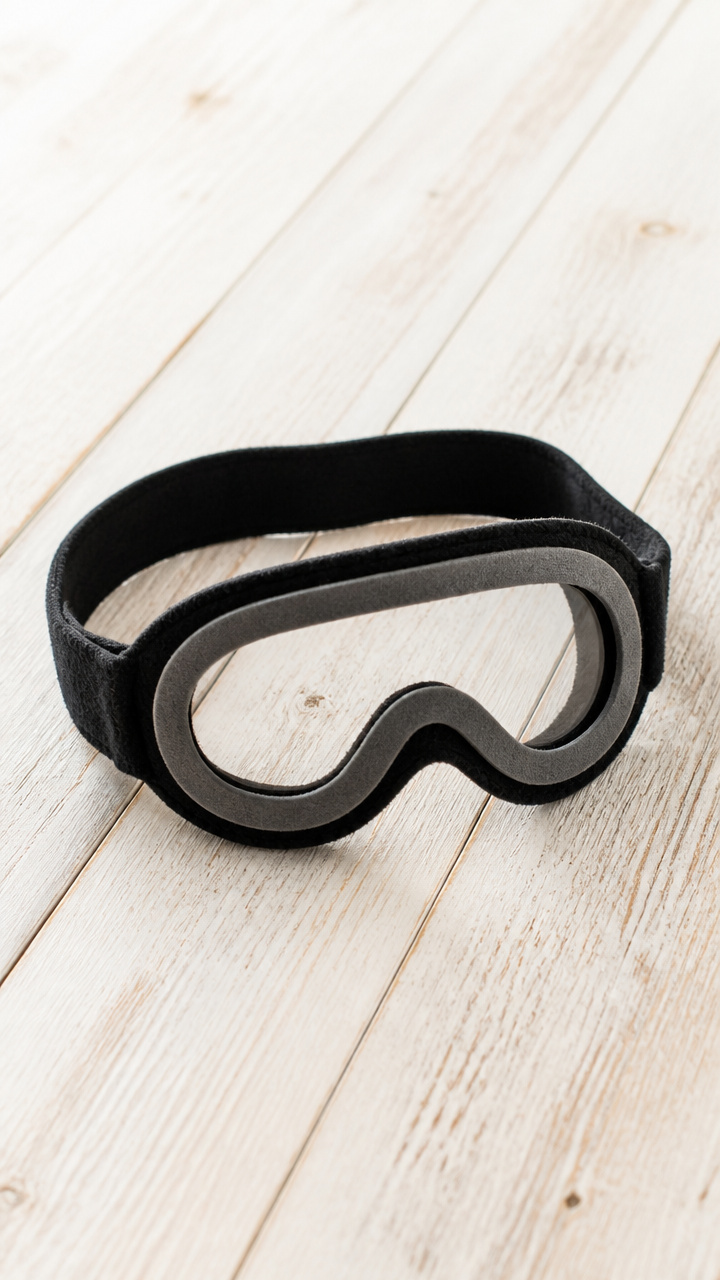
Soft fleece headband with foam-rimmed goggles you can see through, perfect for indoor play. Kids wear these proudly during snowy story time or active play.
Materials Needed
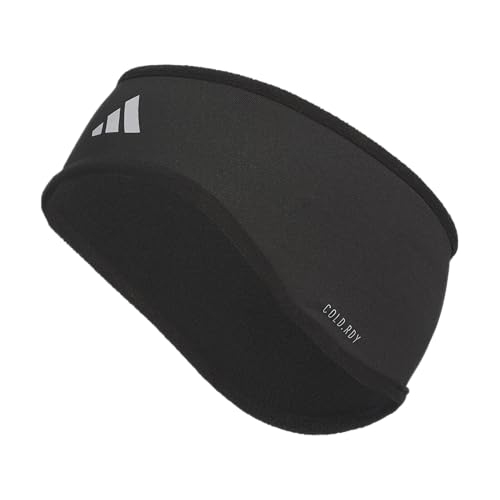
- 12-inch stretchy fleece headband strip
- black craft foam sheet
- clear vinyl sheet 6×6 inches
- fabric glue
- scissors
- ruler
- pencil
- hole punch
- 12-inch gray elastic cord
How to Make It
- Measure and cut two oval shapes from black craft foam, each 3 inches tall by 2 inches wide, for goggle frames.
- Cut two matching ovals from clear vinyl, tracing the foam pieces to ensure alignment.
- Glue each vinyl piece inside a foam oval, pressing firmly and letting dry for 10 minutes.
- Punch a hole on each outer side of the foam frame and thread a 6-inch piece of gray elastic through, knotting the ends securely.
- Tie each elastic end to the ends of the fleece headband, making sure the goggles sit centered when worn.


5. Toilet Paper Tube Ski Lodge
Moderate
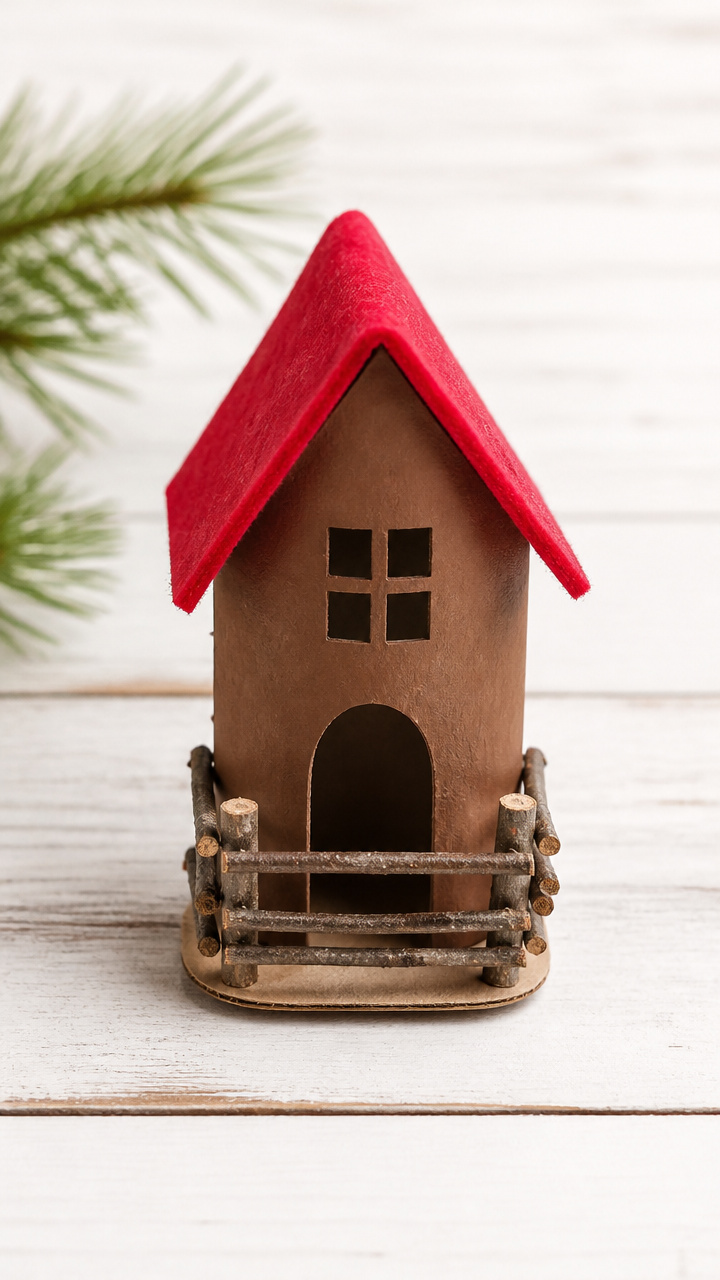
A cozy log cabin built from a single tube, complete with twig railings and a felt roof. This sturdy structure stands on its own for imaginative play.
Materials Needed
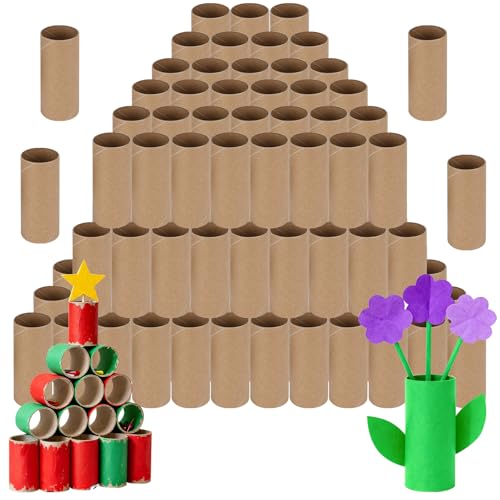
- 1 toilet paper tube per lodge
- brown tempera paint
- paintbrush size 5
- small twigs, 4 inches long, 6 pieces
- white school glue
- red felt sheet
- scissors
- cotton balls, 10 per chimney
How to Make It
- Paint the entire toilet paper tube with brown tempera paint using the paintbrush. Let dry completely for 20 minutes.
- Cut six 4-inch twigs to use as logs, arranging three horizontally on each side of the tube to form a stacked cabin wall effect, gluing each in place with white school glue.
- Cut a triangular roof shape from red felt, 5 inches wide at base and 3 inches high, and glue it over the top of the tube.
- Glue two vertical twigs on the front to act as porch railings.
- Place 10 cotton balls at the top rear of the roof to mimic smoke rising from a chimney.


6. Waxed Crayon Ski Scene Art
Easy
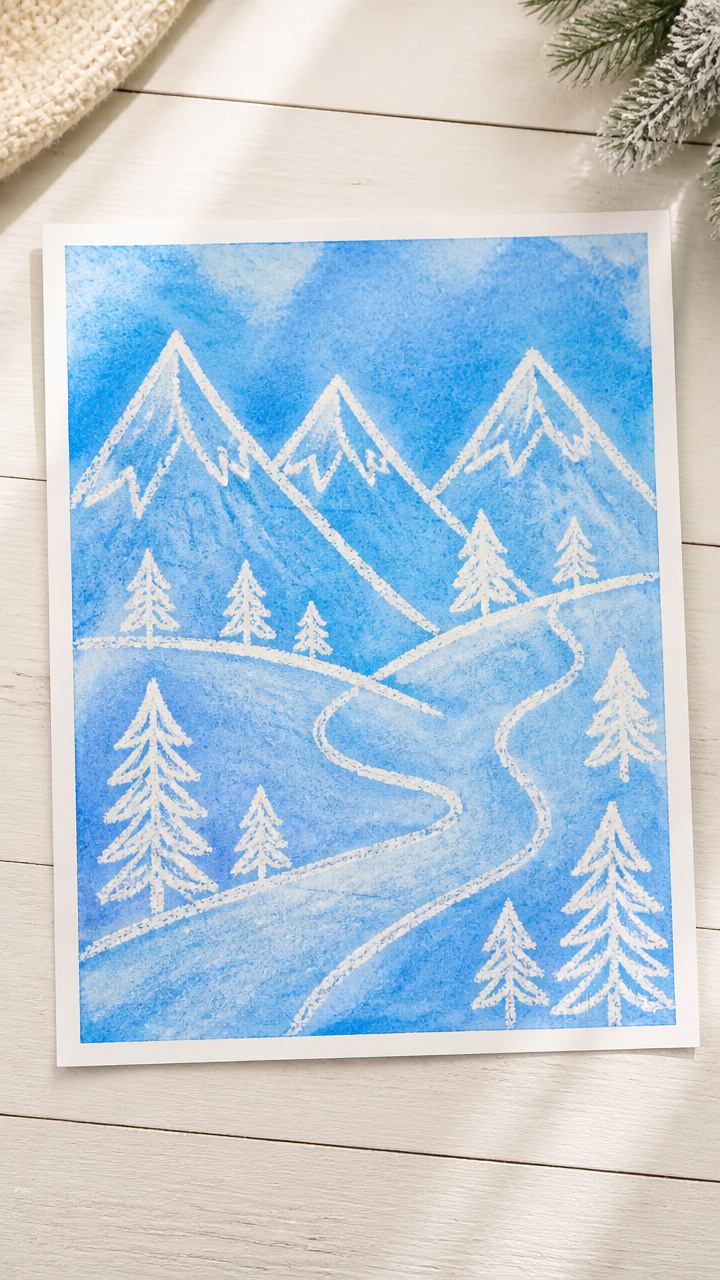
Layered winter mountains made with resist technique, revealing bright skies beneath snowy peaks. The waxy texture mimics real snow glare.
Materials Needed
- white drawing paper, 9×12 inches
- white crayon
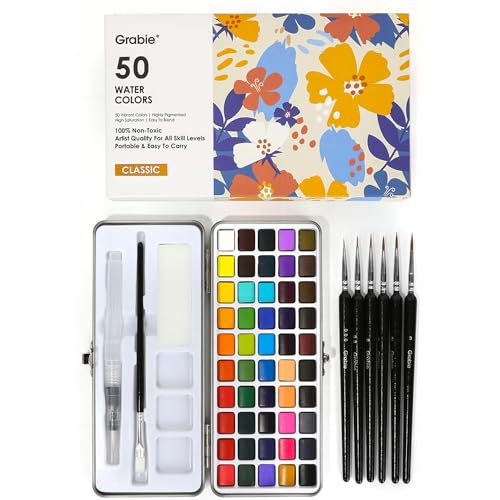
- blue watercolor paint
- watercolor brush size 8
- small bowl of water
- paper towel
How to Make It
- Draw jagged mountain peaks across the lower half of the paper using the white crayon, pressing firmly to lay down thick wax.
- Dip the watercolor brush in blue paint mixed with water, then wash it evenly over the entire paper surface.
- Watch how the blue paint resists the wax, leaving the mountain shapes bright and white against the sky.
- Blot excess moisture with a paper towel and let the artwork dry flat for 15 minutes.


7. Button Lift Ticket Badges
Easy
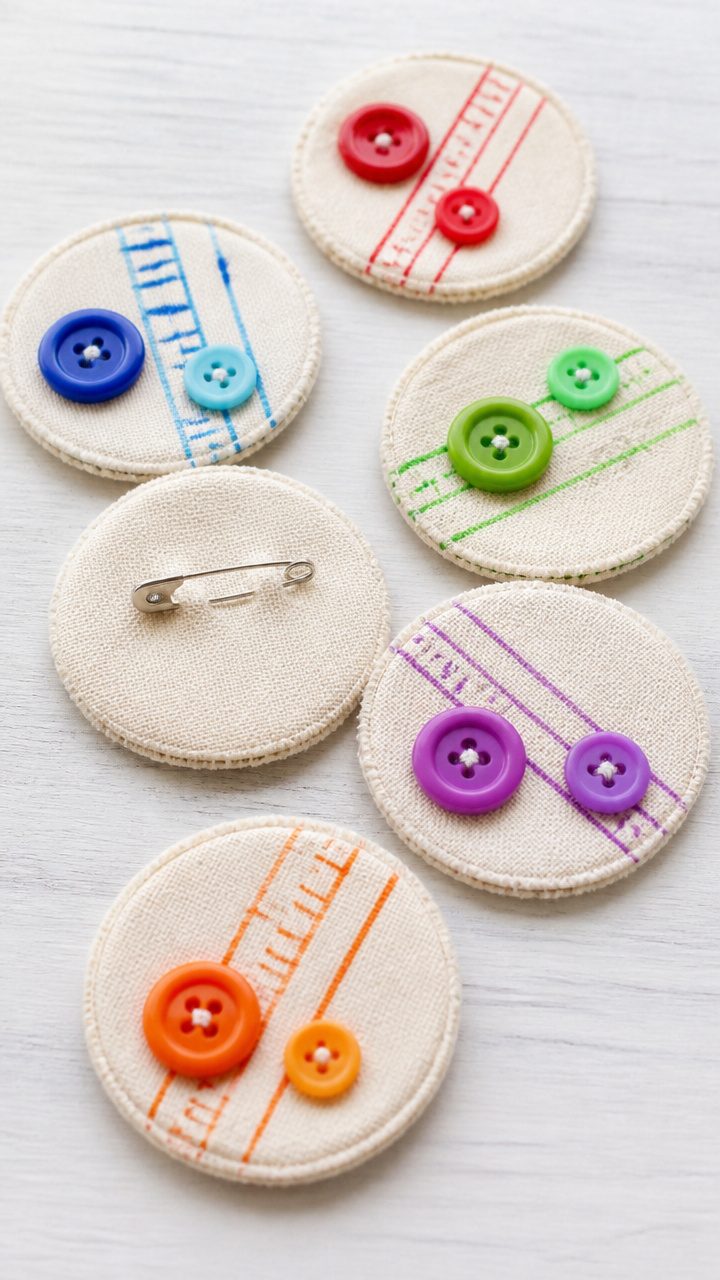
Round fabric badges with colorful buttons that look like real lift tickets. Clip them to jackets for outdoor play or dress-up.
Materials Needed
- round fabric badge blanks, 2 inches, 1 per ticket
- assorted round buttons, 3 per badge
- fabric glue
- black permanent marker
- safety pin backs, 1 per badge
How to Make It
- Arrange three different colored buttons on the front of each fabric badge, grouping them near the top edge.
- Glue each button in place with fabric glue, pressing down for 10 seconds to secure.
- Use the black permanent marker to draw a barcode and a fake price like 'Ski Pass $45' below the buttons.
- Attach a safety pin back to the rear of the badge using the included clutch.


8. Pipe Cleaner Ski Jump Figure
Moderate
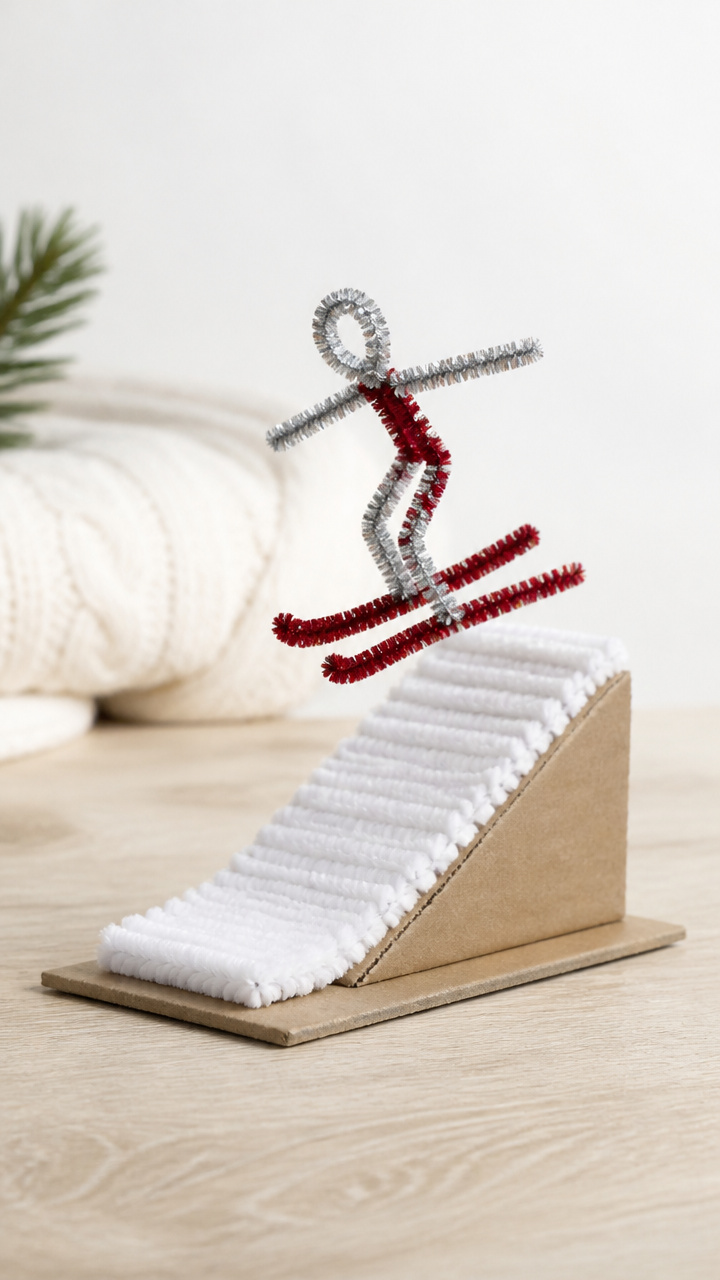
Twisted wire skier mid-air, balanced on a cardboard ramp. This kinetic figure captures motion and encourages balance experiments.
Materials Needed
- 1 silver chenille stem
- 1 red chenille stem
- cardboard, 3×5 inches
- scissors
- hot glue gun and glue sticks
- ruler
- pencil
How to Make It
- Bend the silver chenille stem into a V-shape to form skis, then twist the top ends together to make bindings.
- Wrap the red chenille stem around the ski binding area to form the skier’s body and arms, twisting at the waist to secure.
- Draw a ski jump ramp on cardboard using the ruler and pencil, measuring 5 inches long with a curved takeoff end.
- Cut out the ramp shape with scissors and apply hot glue to the base.
- Press the ski tips into the hot glue at the ramp’s edge, holding for 10 seconds until stable.


9. Salt Dough Ski Medal Ornaments
Advanced
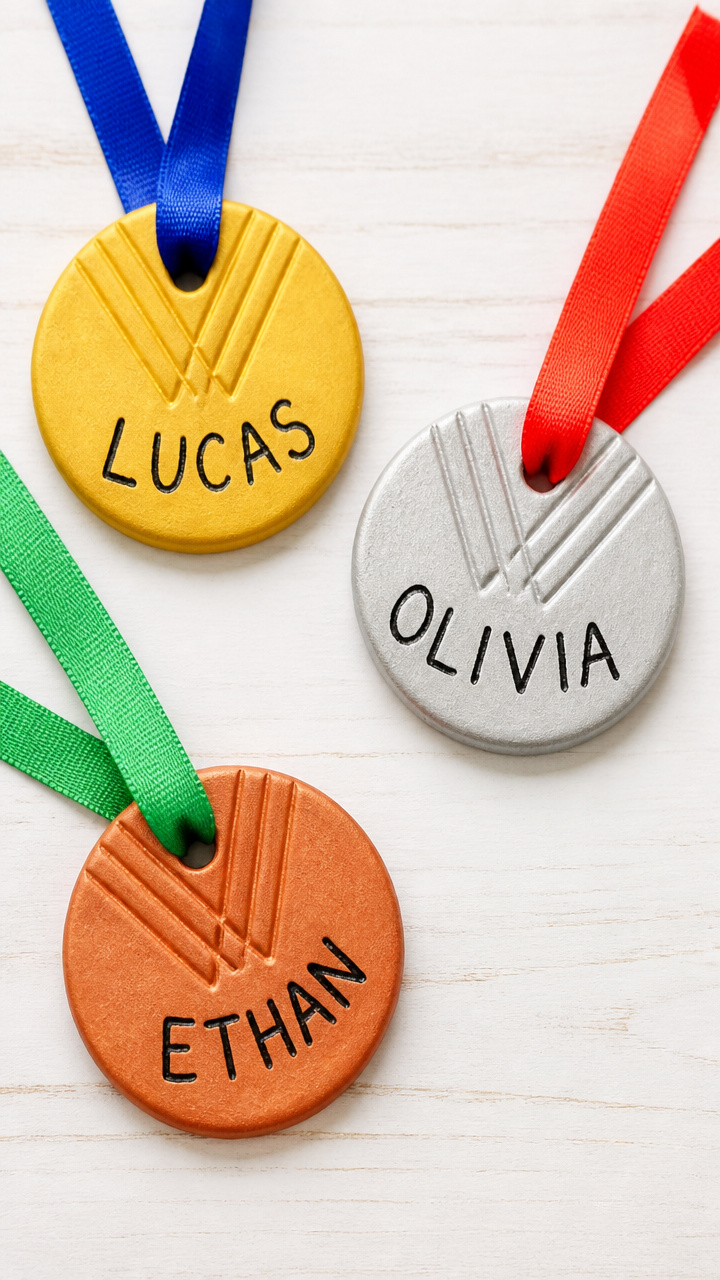
Hand-shaped medals with indented ribbons, baked and painted for keepsake display. Each child can write their name in the clay.
Materials Needed
- 2 cups all-purpose flour
- 1/2 cup table salt
- 3/4 cup warm water
- rolling pin
- circular cookie cutter, 3 inches
- plastic straw
- baking sheet
- parchment paper
- gold acrylic paint
- paintbrush size 3
- red ribbon, 12 inches
How to Make It
- Mix flour, salt, and warm water in a bowl until a smooth dough forms, kneading by hand for 3 minutes.
- Roll the dough to 1/4 inch thickness using a rolling pin on a floured surface.
- Cut out circles using the 3-inch cookie cutter and press a plastic straw near the top to make a hanging hole.
- Let children press their initials into the front of each medal with a fingertip.
- Place shapes on a parchment-lined baking sheet and bake at 200°F for 3 hours until hard.
- Paint each medal with gold acrylic paint using the paintbrush and let dry 20 minutes.
- Thread a 12-inch red ribbon through the hole for hanging.


10. Tissue Paper Mosaic Slopes
Easy
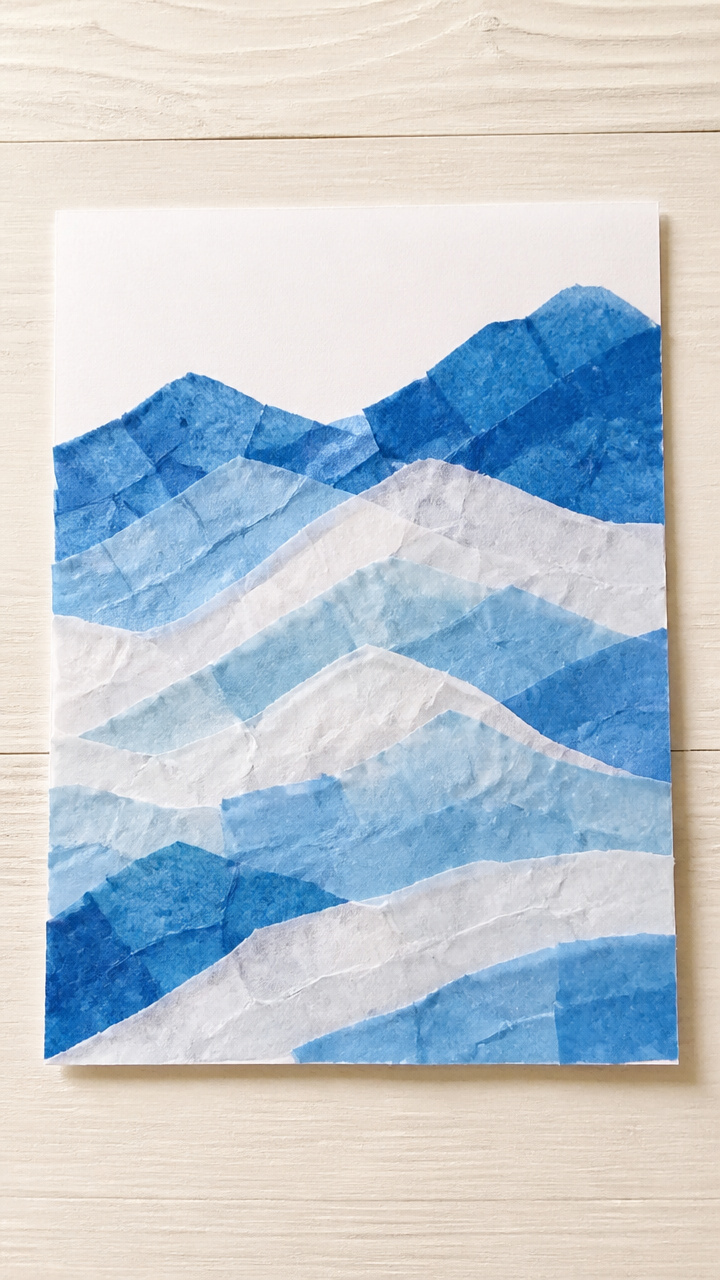
Colorful hillside collages made from torn squares of tissue paper. The layered textures mimic changing light on snowfields.
Materials Needed
- blue and white tissue paper sheets, 4 each
- A4 white cardstock
- white school glue
- paintbrush size 6
- scissors
How to Make It
- Cut tissue paper into 1-inch squares using scissors, mixing blue and white pieces in a pile.
- Draw a mountain range across the lower half of the cardstock with a pencil, leaving open sky above.
- Use the paintbrush to spread a thin layer of white school glue within the mountain outline.
- Press tissue paper squares onto the glued area, overlapping slightly to create a mosaic effect.
- Let dry completely for 25 minutes before displaying.


11. Yarn-Wrapped Ski Pole Puppets
Easy
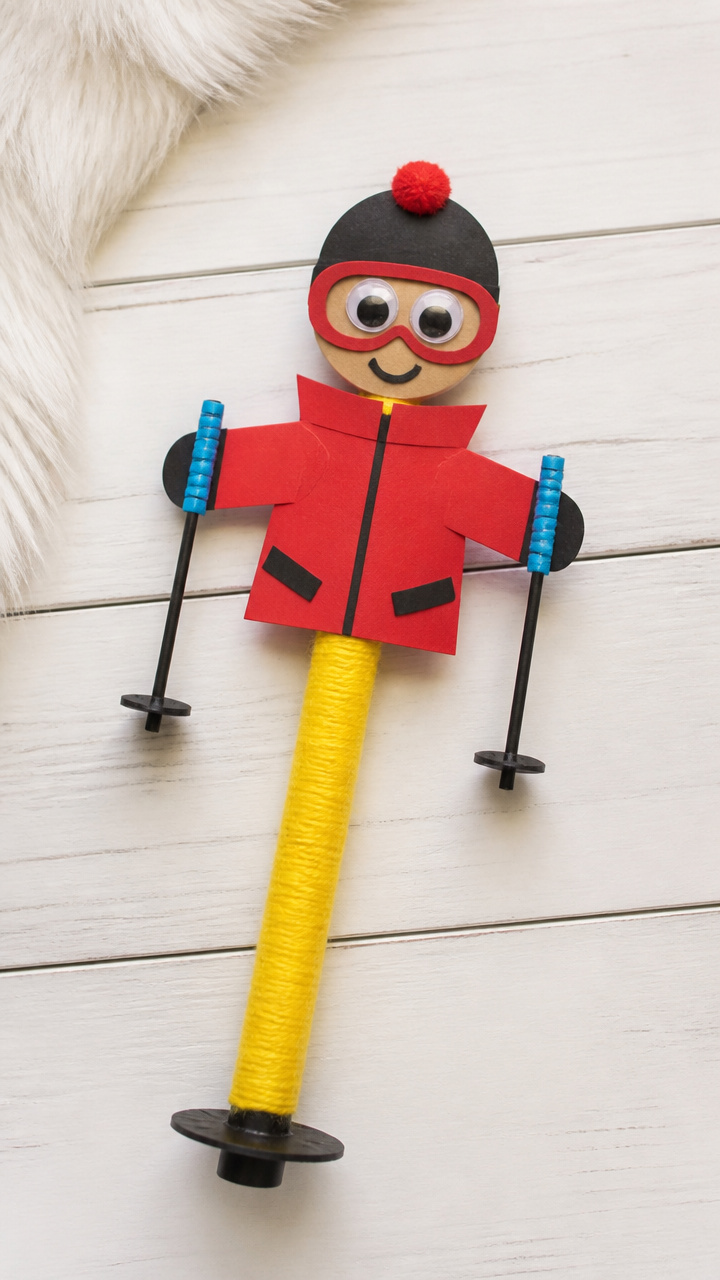
Stick puppets with textured poles wrapped in colorful yarn. Kids animate their own downhill runs with simple hand movements.
Materials Needed
- 1 craft stick per puppet
- yellow yarn
- white school glue
- googly eyes, 8mm, 2 per puppet
- construction paper in red, black, and blue
- scissors
- glue stick
How to Make It
- Wrap yellow yarn tightly around the lower half of the craft stick, starting at the bottom and moving up, securing the end with a dab of white school glue.
- Cut small shapes from construction paper: a triangle hat from red, a scarf strip from blue, and gloves from black.
- Glue the hat to the top of the stick, add the scarf just below, and place gloves on either side for arms.
- Glue two 8mm googly eyes just under the hat brim to finish the face.


12. Cardboard Box Chairlift Ride
Advanced
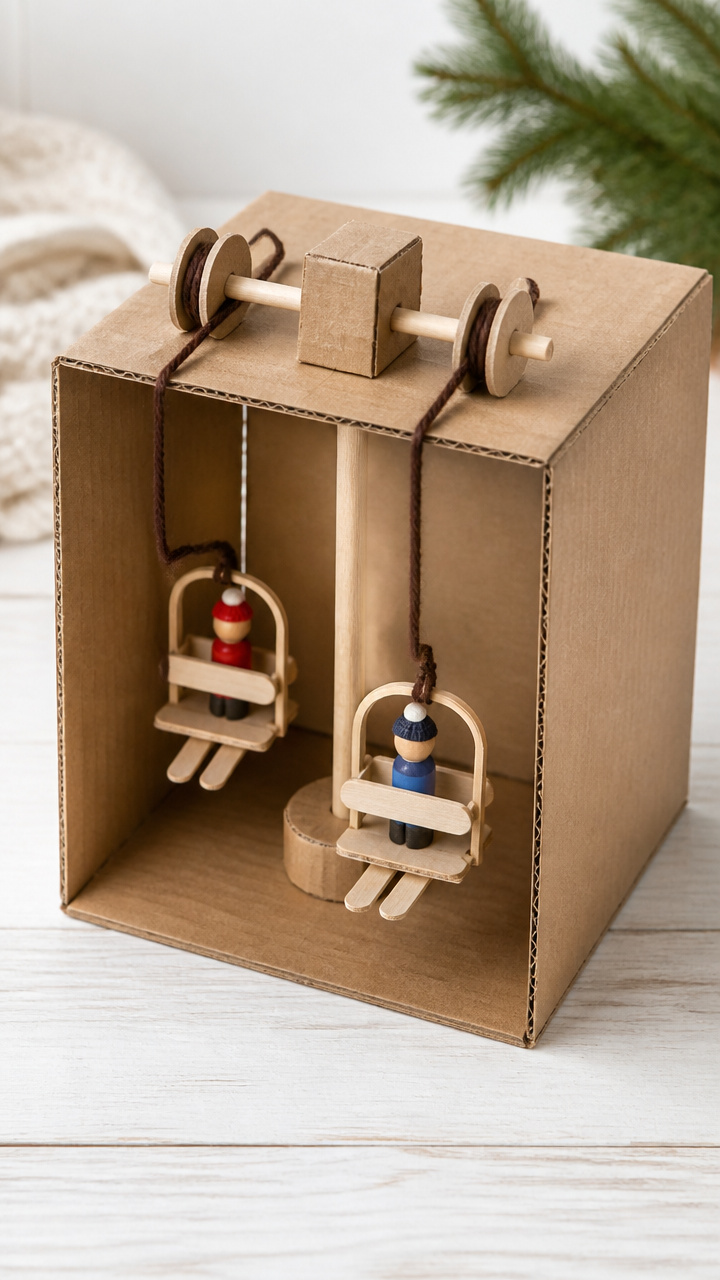
A working pulley system with dangling skier figures, built from a shoebox tunnel. This interactive model demonstrates real chairlift motion.
Materials Needed
- large cardboard box, 18x12x12 inches
- dowel rod, 12 inches, 1/4 inch diameter
- jumbo craft sticks, 4
- brown yarn, 3 feet
- hot glue gun and glue sticks
- scissors
- ruler
- pencil
- miniature skier stickers, 4
How to Make It
- Cut both short ends off the cardboard box to create a tunnel, then stand it upright on a table.
- Mark two points 1 inch from the top on opposite sides and push the dowel rod through to form a rotating axle.
- Tie a 3-foot length of brown yarn into a loop and drape it over the dowel rod to form a continuous belt.
- Glue four jumbo craft sticks vertically to the yarn at equal intervals to serve as chairlift seats.
- Attach one miniature skier sticker to each seat using the adhesive backing.
- Rotate the dowel rod by hand to move the chairs in a circle, simulating a real lift ride.
13. Shaving Cream Snow Paint
Easy
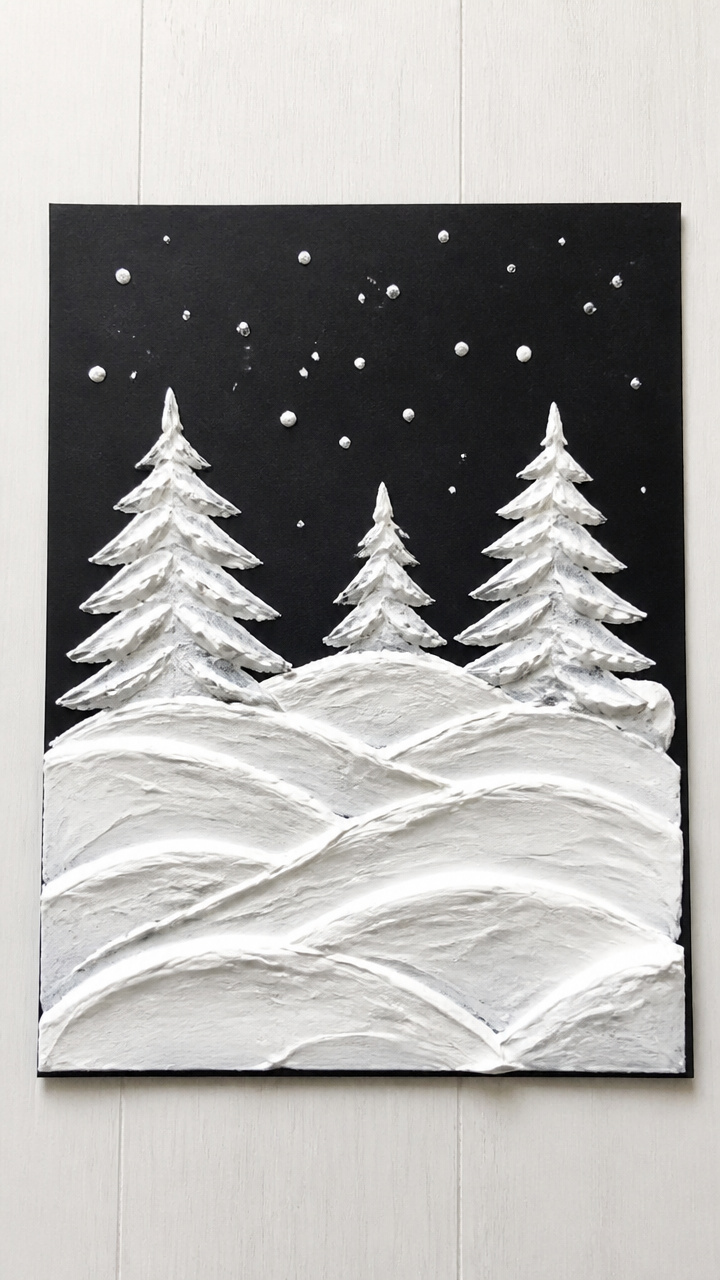
Fluffy white paint made from shaving cream and glue, spread thickly on paper. It dries with a soft, puffy texture like fresh powder.
Materials Needed
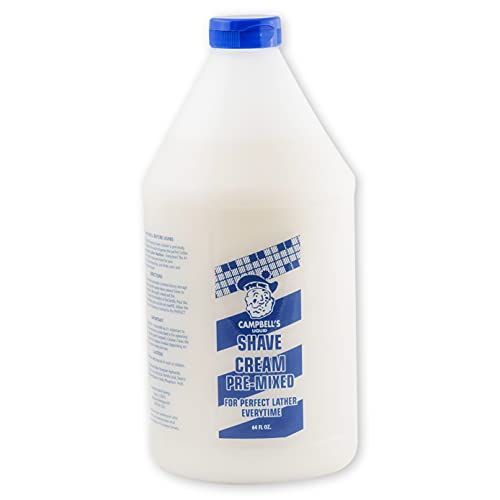
- 1 cup white shaving cream
- 1/2 cup white school glue
- mixing bowl
- spoon
- A4 black cardstock
- plastic spoon
- optional blue food coloring, 2 drops
How to Make It
- Mix 1 cup shaving cream and 1/2 cup white school glue in a bowl using a spoon until smooth and fluffy.
- Add 2 drops of blue food coloring if desired, stirring gently to create a pale icy tint.
- Use a plastic spoon to scoop and spread the mixture onto black cardstock in swooshes to mimic snow drifts.
- Let the artwork dry flat overnight until the paint is firm and no longer cool to the touch.


14. Clothespin Skier Ornaments
Easy
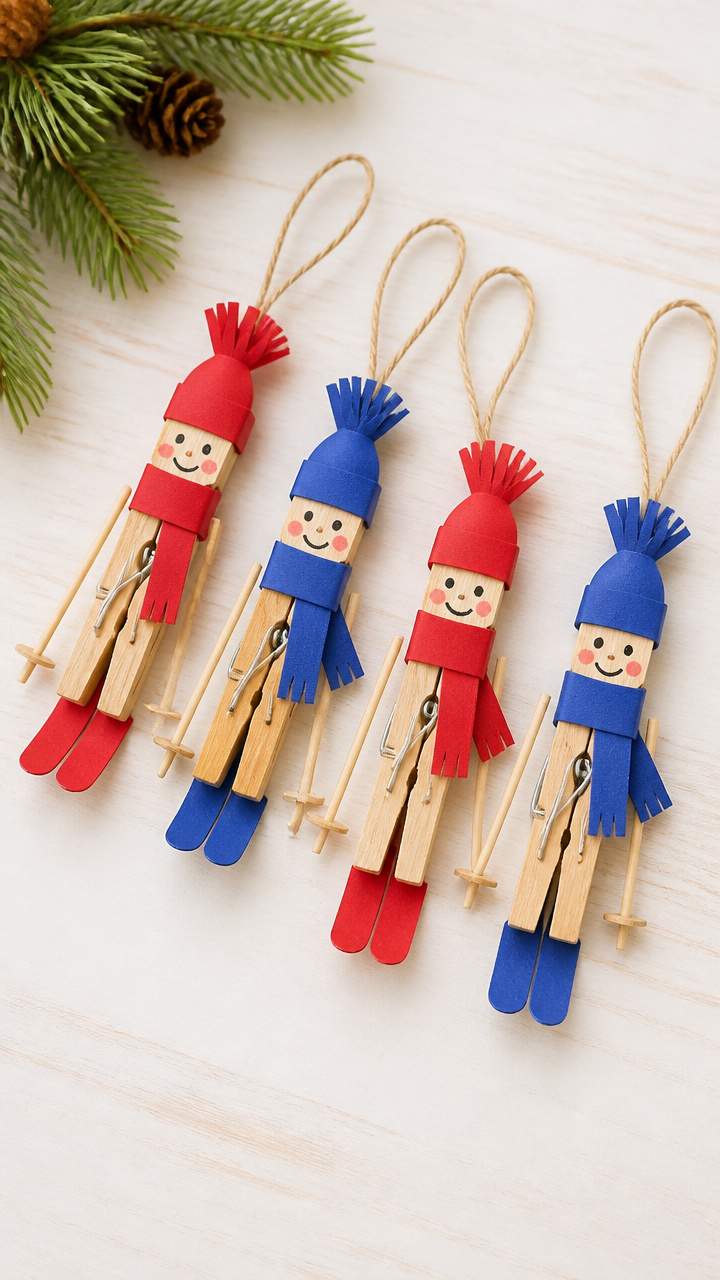
Wooden clothespins dressed as skiers with tiny hats and scarves. Hang them on trees or string them into a winter garland.
Materials Needed
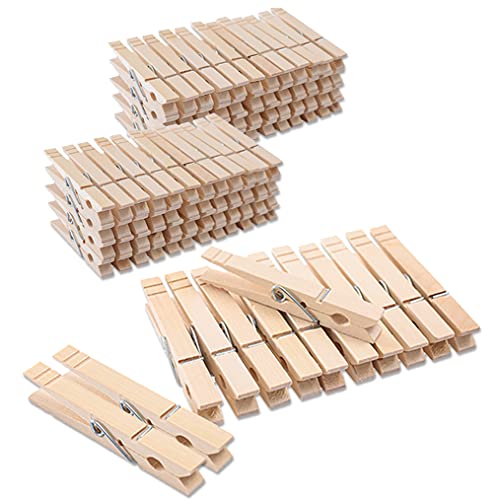
- wooden clothespins, 1 per ornament
- acrylic paints in red, black, and white
- paintbrush size 2
- construction paper in red and blue
- scissors
- glue stick
- black marker
- ribbon, 6 inches, per ornament
How to Make It
- Paint the clothespin head red for a hat and the body black for a jacket using the size 2 brush. Let dry 10 minutes.
- Cut a tiny blue rectangle from construction paper and glue it around the neck area for a scarf.
- Use the black marker to draw a smile and eyes on the front of the head.
- Cut a small red triangle and glue it to the top of the head to extend the hat.
- Tie a 6-inch ribbon to the pin’s base for hanging.


15. Ice Melting Rescue Experiment
Moderate
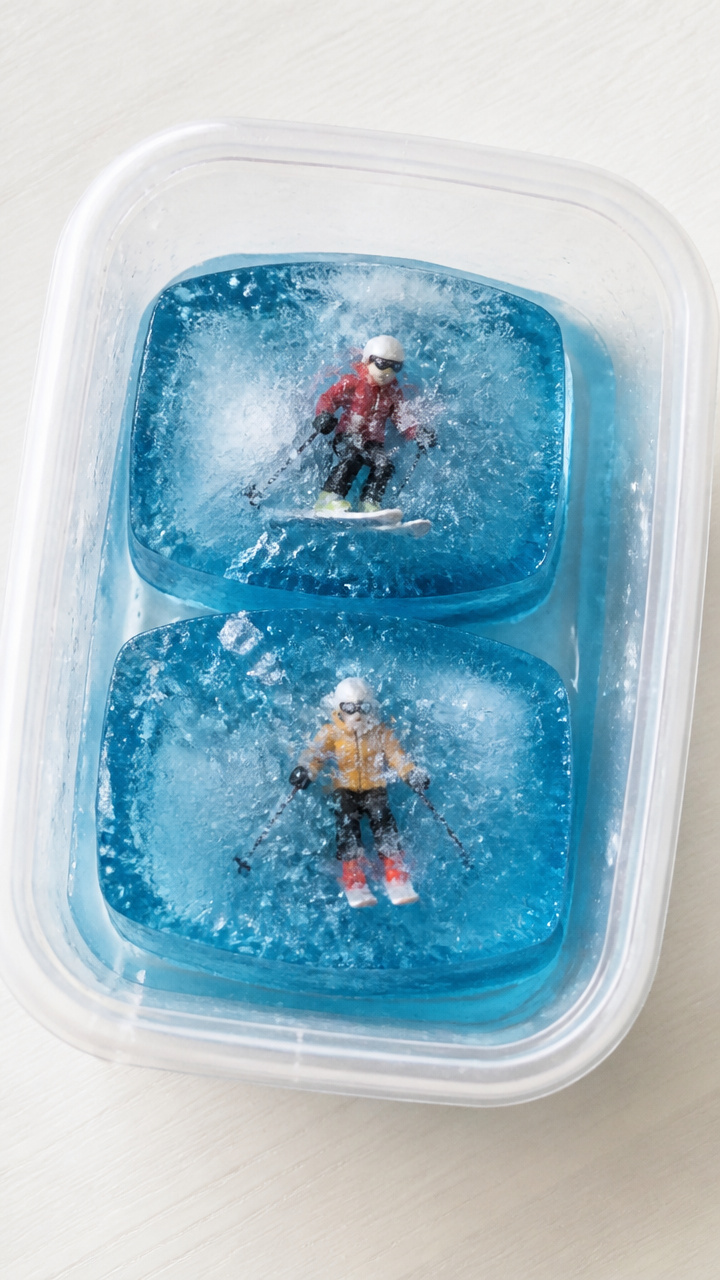
Frozen blocks with trapped toy skiers, melted with salt and warm water. This science-infused craft teaches temperature change through play.
Materials Needed
- plastic container, 6×4 inches
- toy skier figures, 1 per block
- water
- freezer
- table salt
- spray bottle
- warm water
- food coloring, blue, 3 drops
- pipette
How to Make It
- Place one toy skier figure in the plastic container and fill with water, adding 3 drops of blue food coloring.
- Freeze the container overnight until solid.
- Remove the ice block and place it on a tray outdoors or in a sink.
- Sprinkle table salt over the surface where the skier is trapped.
- Fill a spray bottle with warm water and mist the salted areas, watching how the ice melts faster.
- Use a pipette to target narrow spots and free the skier completely.


16. Fingerprint Ski Trail Map
Easy
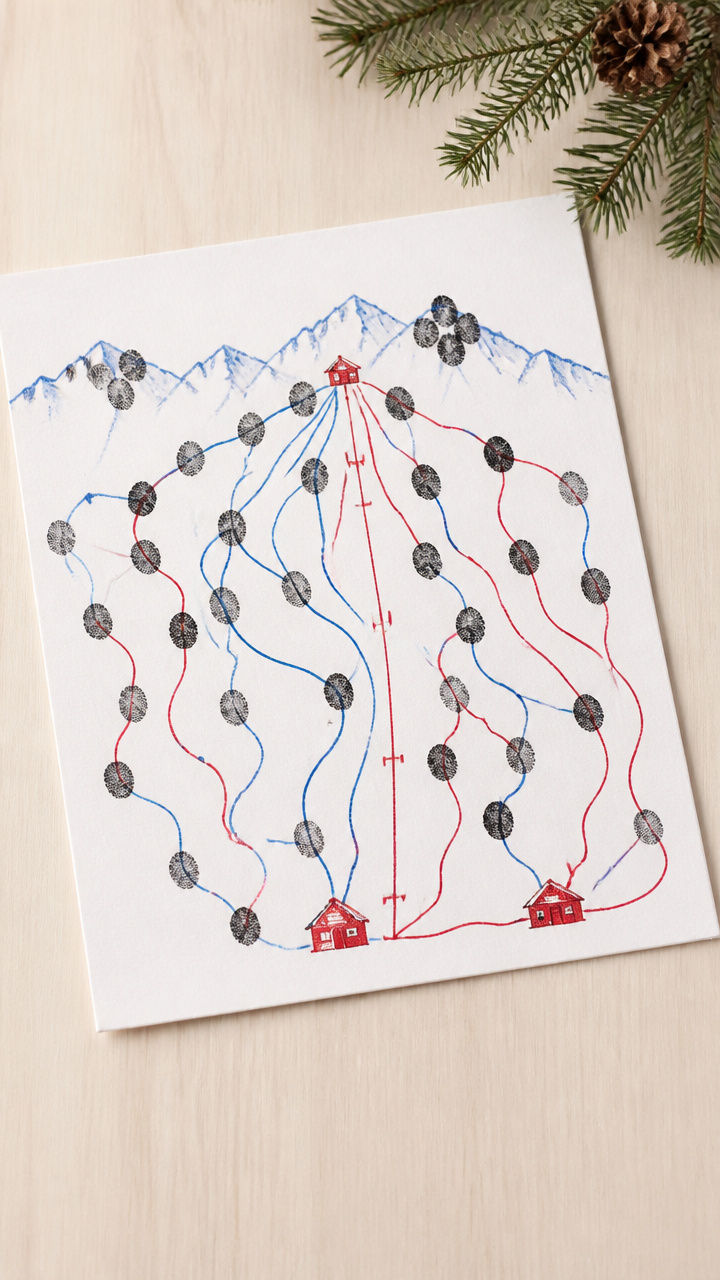
Personalized trail maps made from inked fingerprints on paper. Each dot becomes a lift, lodge, or run marker.
Materials Needed
- washable black ink pad
- A4 white printer paper
- fine-tip blue and red markers
- ruler
- pencil
How to Make It
- Use the pencil to lightly draw a mountain outline and path lines on the paper.
- Press your fingertip onto the ink pad, then stamp fingerprints along the paths to represent people or stations.
- Let the ink dry for 5 minutes.
- Trace the pencil trails with blue marker for beginner runs and red for expert runs.
- Label key spots like 'Lift', 'Chalet', and 'Summit' near clusters of fingerprints using the fine-tip markers.


17. Straw Skeletal Tree Forest
Moderate
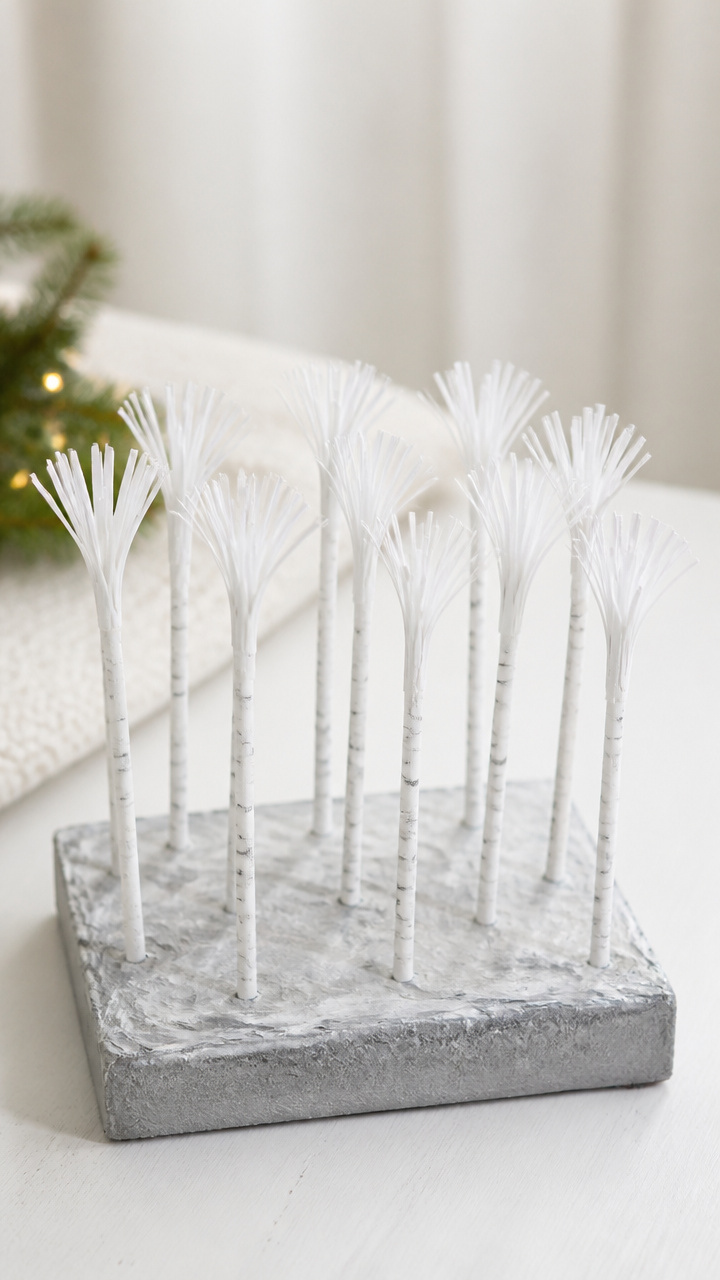
Delicate birch-like trees made from taped straws, fanning out into snowy woods. These stand upright in a shared base for group displays.
Materials Needed
- white drinking straws, 10 per tree
- clear tape
- scissors
- gray paint
- paintbrush size 3
- foam board, 6×6 inches
- white school glue
How to Make It
- Cut nine straws to 4 inches and leave one full length for the trunk.
- Lay the long straw vertically and tape the shorter straws horizontally across it at staggered heights, like branches.
- Paint each branch joint with gray paint to resemble bark, using the size 3 brush. Let dry 15 minutes.
- Cut the foam board into a 6×6 inch base and mark planting spots with pencil dots.
- Dab white school glue on the bottom of each trunk and press into place on the foam board, spacing trees apart.


18. Glitter Ski Run Slime
Advanced
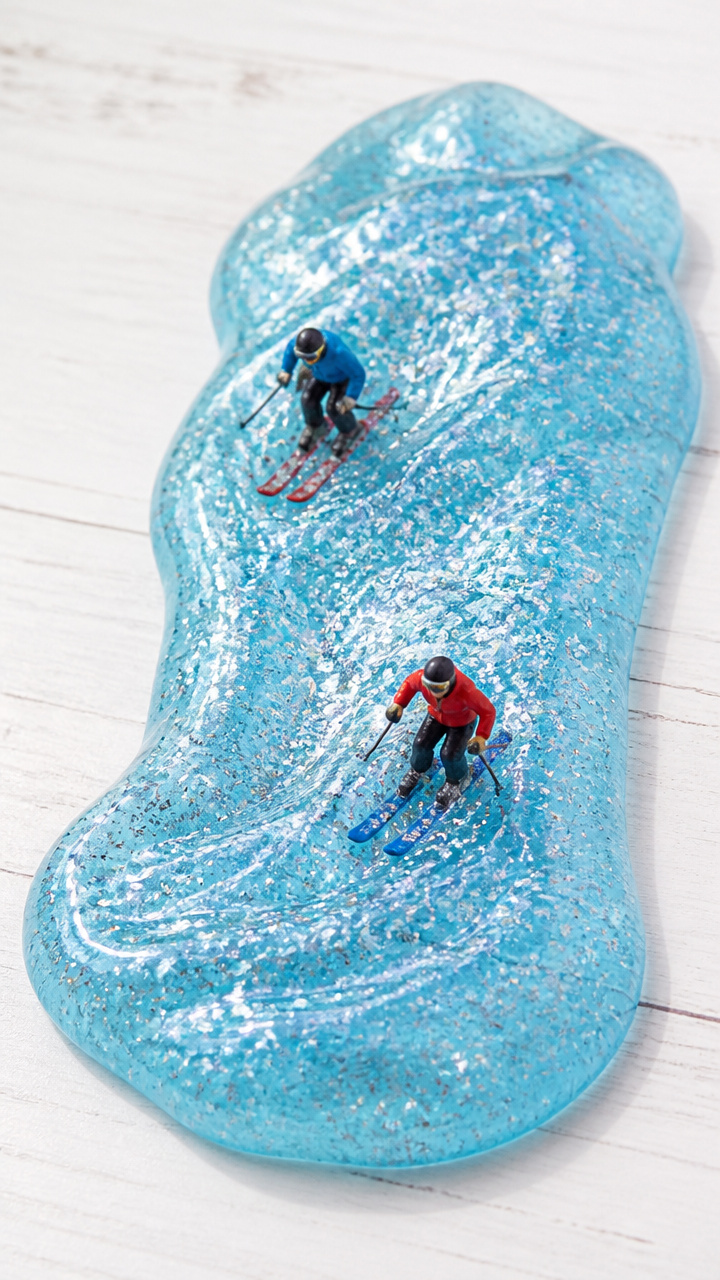
Stretchy blue slime embedded with silver glitter and mini skiers. This sensory material flows like snow on a steep descent.
Materials Needed
- 1/2 cup clear school glue
- 1/2 cup liquid starch
- 1/4 cup water
- blue food coloring, 5 drops
- silver cosmetic glitter, 1 tablespoon
- miniature skier toys, 2
- mixing bowl
- spoon
How to Make It
- Pour 1/2 cup clear school glue into a mixing bowl and add 1/4 cup water, stirring with a spoon until blended.
- Add 5 drops of blue food coloring and 1 tablespoon of silver glitter, mixing thoroughly.
- Slowly pour in 1/2 cup liquid starch while stirring, continuing until the mixture pulls away from the bowl sides.
- Knead the slime with clean hands for 2 minutes until smooth and stretchy.
- Press two miniature skier toys into the slime so they appear to be skiing through it.


Grab a few supplies and pick one that matches your child’s mood today — busy hands lead to joyful hearts. These skiing crafts are ready whenever you are.