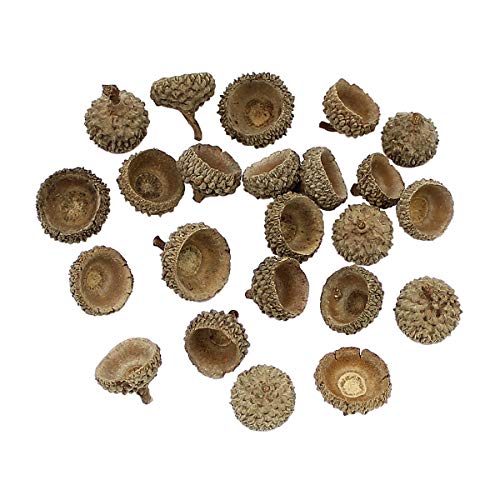
20 Cute Acorn Craft Ideas

Acorns are small but full of creative potential. Their natural shape and texture make them perfect for handmade decorations, gifts, and playful projects that bring a touch of the forest indoors.
You don’t need fancy tools or rare supplies to get started. With just a few common craft materials and your imagination, you can turn simple acorns into charming keepsakes that feel personal and heartfelt.
1. Acorn Cap Ladybugs
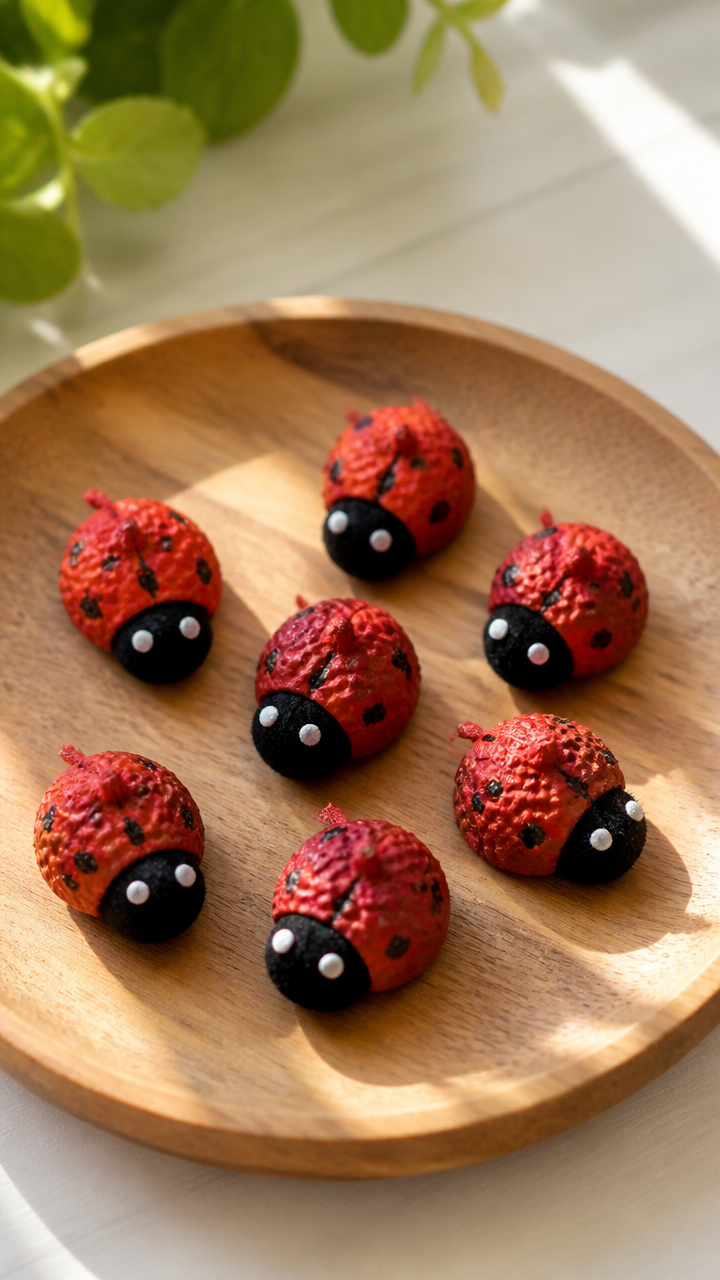
Tiny ladybugs with spotted wings made from upturned acorn caps. These little bugs sit flat and look sweet on shelves or in handmade cards.
Materials Needed
- 12 acorn caps
- Red acrylic paint
- Black acrylic paint
- White glue
- Small black pom poms, 6mm, 12 needed
- Fine black marker
- Paintbrush, size 2 round
How to Make It
- Paint the inside of each acorn cap with red acrylic paint. Let dry for 20 minutes on a paper plate.
- Use the fine black marker to draw six dots on each painted cap, three on each side of the center line.
- Put a dab of white glue on the top of each pom pom and press it into the open end of an acorn cap. Let dry for 30 minutes.


2. Mini Acorn Fairy Lanterns

Glowing tiny lanterns using hollowed acorn caps as shades. A battery tea light shines through, casting soft patterns.
Materials Needed
- 8 acorn caps
- Gold metallic paint
- Battery-powered tea light, warm white
- Craft glue
- Tissue paper, yellow, 6×6 inches
- Scissors
How to Make It
- Cut tissue paper into 1 inch squares. Line the inside rim of each acorn cap with craft glue and press a square inside to cover the opening.
- Paint the outside of each cap with gold metallic paint. Let dry for 25 minutes on its side.
- Place one tea light on a flat surface and set the covered acorn cap upside down over the flame area. Light glows through the paper.


3. Acorn Stamp Alphabet
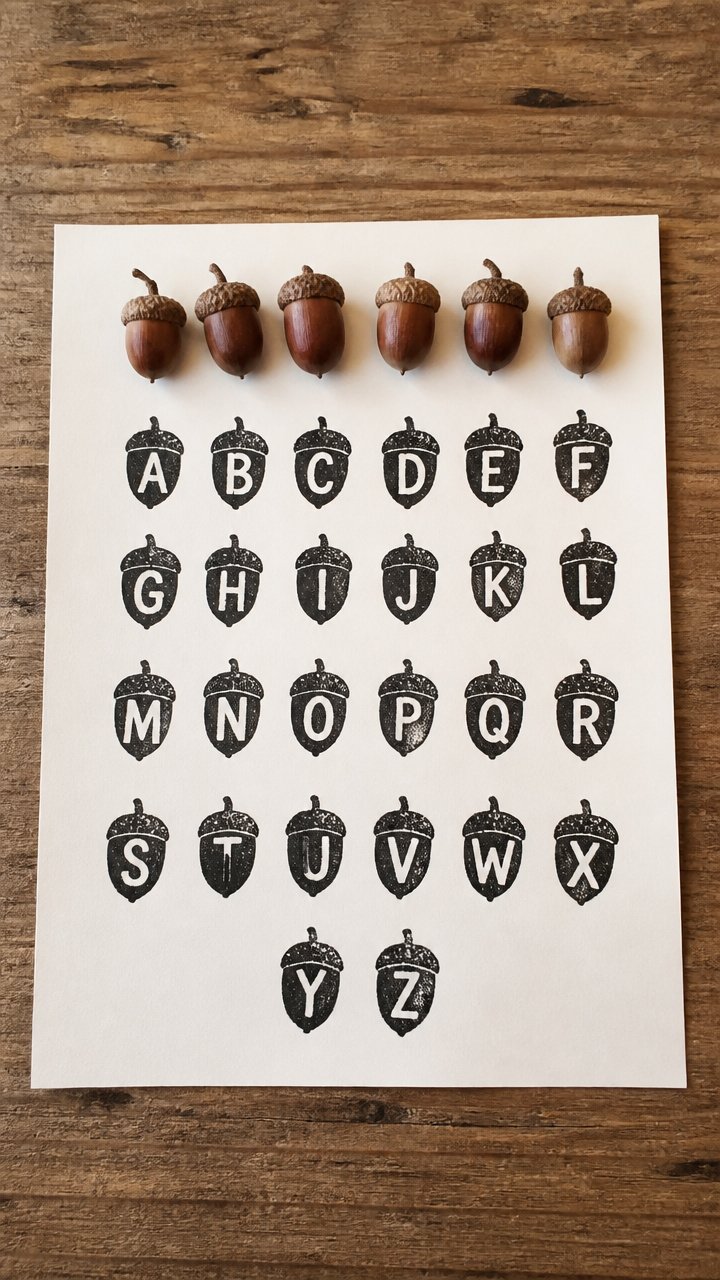
Create custom letter stamps using whole acorns. Dip and print names or messages on gift tags and notebooks.
Materials Needed
- 6 whole acorns with caps attached
- Black fabric paint
- Paint tray
- Paper towels
- Pencil
- Rubber bands, thin, 6 needed
How to Make It
- Use the pencil to write a capital letter lightly on the flat bottom of each acorn. Wrap a rubber band around the cap and stem to hold it steady.
- Dip the stamped side into black fabric paint and press firmly onto paper for 3 seconds. Lift straight up.
- Let prints dry for 15 minutes before touching. Wash hands and tools immediately after use.


4. Acorn Top Spinners
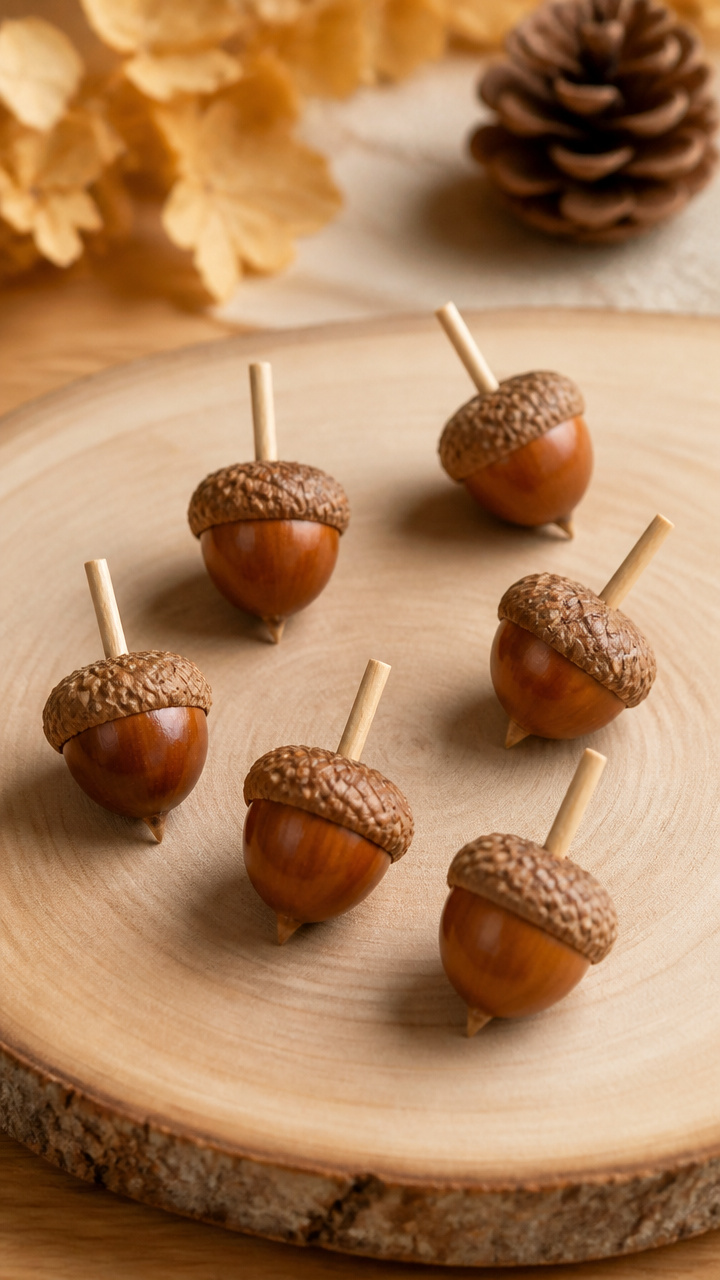
Handheld spinning toys made by balancing acorns on toothpicks. Kids love the wobble and spin action.
Materials Needed
- 6 whole acorns
- Round toothpicks, 2.5 inches, 6 needed
- Craft knife
- Sandpaper, 220 grit
- Wood glue
How to Make It
- Use the craft knife to carve a shallow, centered hole in the flat base of each acorn. Smooth edges with sandpaper.
- Apply a drop of wood glue into the hole and insert the blunt end of a toothpick. Hold for 10 seconds.
- Let glue cure for 1 hour before spinning on a flat tabletop by rolling between palms.

5. Acorn Mosaic Picture Frame
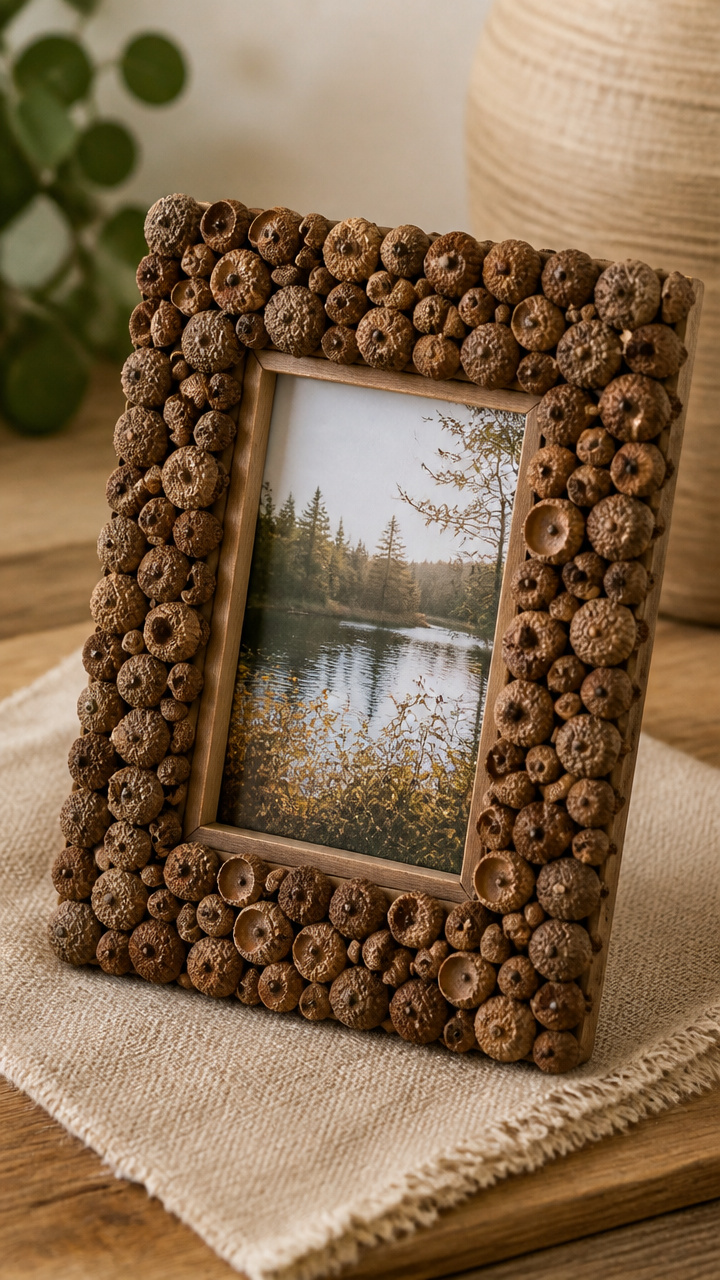
A wooden photo frame edged with a mosaic of tiny acorn caps. Adds earthy charm to any 4×6 photo.
Materials Needed
- Plain wooden picture frame, 4×6 inches
- 25 acorn caps
- Hot glue gun
- Hot glue sticks
- Brown craft paint
- Paintbrush, size 4
How to Make It
- Paint the outer edge of the frame with brown craft paint. Let dry for 20 minutes on a flat surface.
- Arrange acorn caps around the front lip of the frame, placing them close together like tiles.
- Glue each cap in place with hot glue, holding for 5 seconds until set. Let cool completely before inserting photo.
6. Acorn Cap Wind Chime
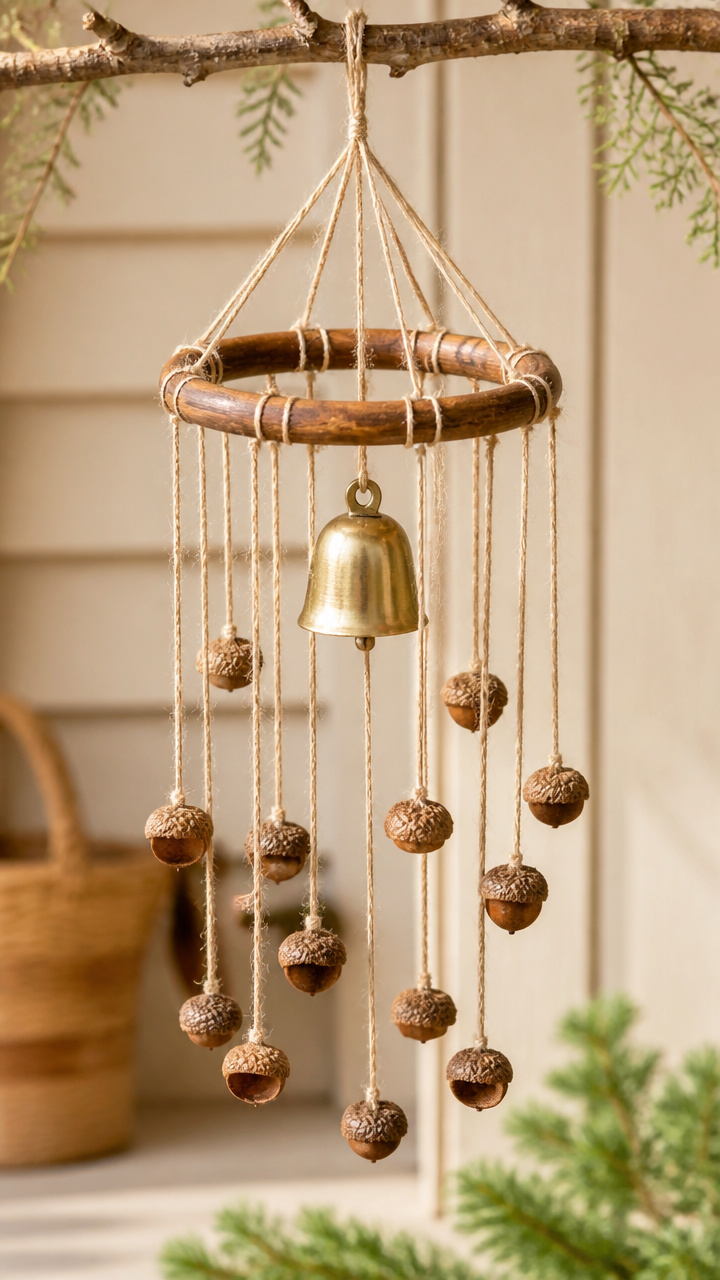
Delicate chimes that tinkle softly when acorn caps swing and hit a central bell. Hang near a window for gentle sound.
Materials Needed
- 18 acorn caps
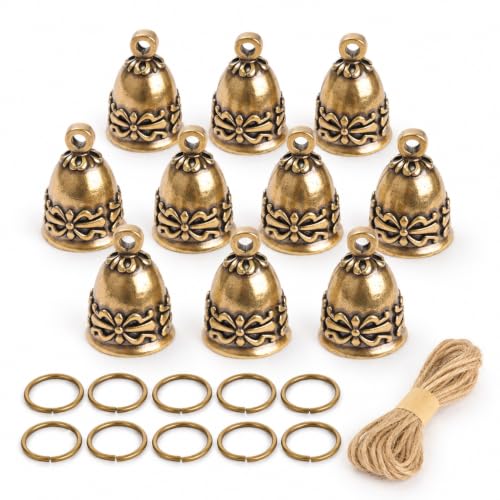
- Small brass bell, 1.5 inch diameter
- Natural jute string, 24 inch lengths, 6 pieces
- Wooden ring, 4 inch diameter
- Scissors
- Needle-nose pliers
How to Make It
- Tie one end of each jute string to the stem of an acorn cap using a double knot. Repeat for all 18 caps.
- Group three caps per strand and tie their free ends to the wooden ring at equal distances apart.
- Tie the brass bell to the center bottom with a separate 12 inch string. Hang and let breeze move the pieces.

7. Acorn Animal Faces
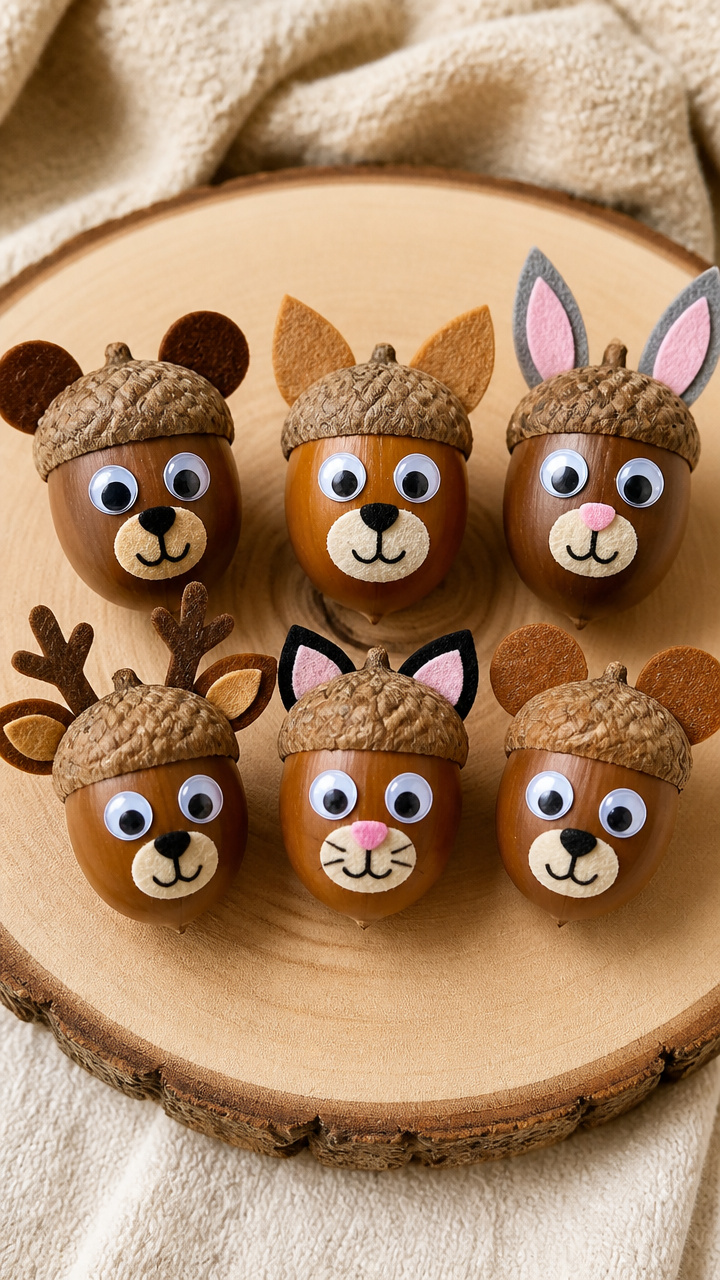
Smiling woodland animals with googly eyes and felt ears. Each one stands on its own with character.
Materials Needed
- 6 whole acorns
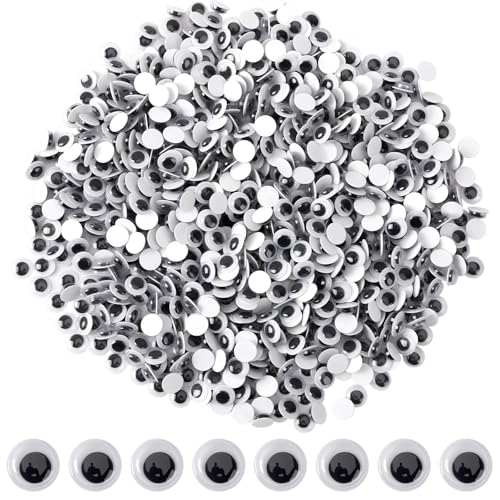
- Googly eyes, 8mm, 12 needed
- Felt sheets, assorted colors, 6×6 inches
- Craft scissors
- White school glue
- Black embroidery floss
- Tapestry needle
How to Make It
- Cut small ear shapes from felt. Use school glue to attach two ears to the top sides of each acorn.
- Glue on two googly eyes just below the cap. Let dry for 15 minutes.
- Thread the tapestry needle with black floss and stitch a tiny smile under each pair of eyes.


8. Acorn Button Tree
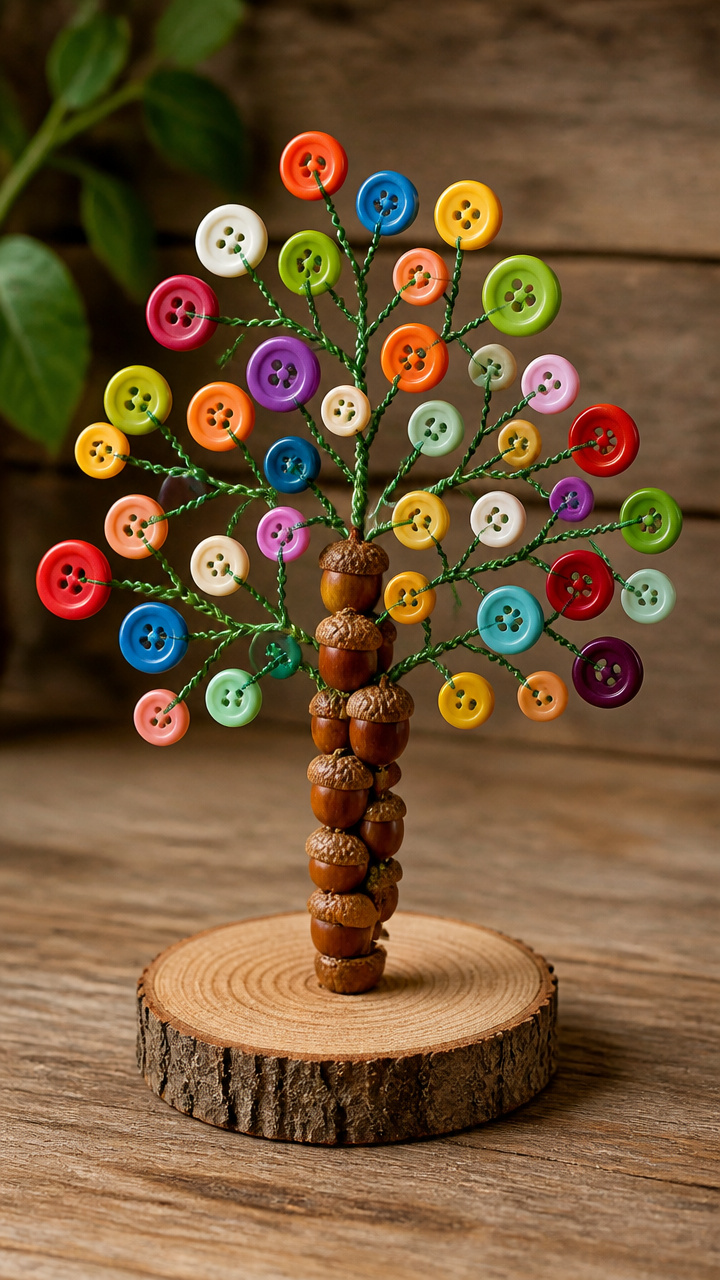
A wire tree sculpture with acorn bodies and colorful buttons as leaves. Sits on a shelf as a cheerful centerpiece.
Materials Needed
- 12 whole acorns
- Green pipe cleaners, 12 inches, 6 needed
- Assorted buttons, 100 count, mixed sizes and colors
- Floral wire, 18 gauge, 12 inch piece
- Wire cutters
- Base block of wood, 3×3 inches
How to Make It
- Twist one end of the floral wire around the base block to form a trunk. Bend the top into branching arms.
- Slide acorns onto each pipe cleaner, cap side facing out. Twist the pipe cleaner end around a branch to secure.
- Thread buttons onto the exposed pipe cleaner ends above each acorn and bend tips inward to hold them in place.


9. Acorn Snowmen

Stacked acorns with scarves and twig arms. Winter-themed figures that stand steady on mantels or desks.
Materials Needed
- 18 whole acorns
- Black acrylic paint
- Orange acrylic paint
- Fabric scraps, 1 inch wide strips
- Toothpicks, round
- White school glue
- Paintbrush, size 1
How to Make It
- Glue three acorns in a vertical stack for each snowman. Let dry for 45 minutes on wax paper.
- Use black paint to dot on two eyes and three body buttons. Let dry 15 minutes.
- Cut 1 inch twig pieces from toothpicks and glue on as arms. Tie a tiny fabric strip around the middle acorn for a scarf.


10. Acorn Cap Rain Catchers
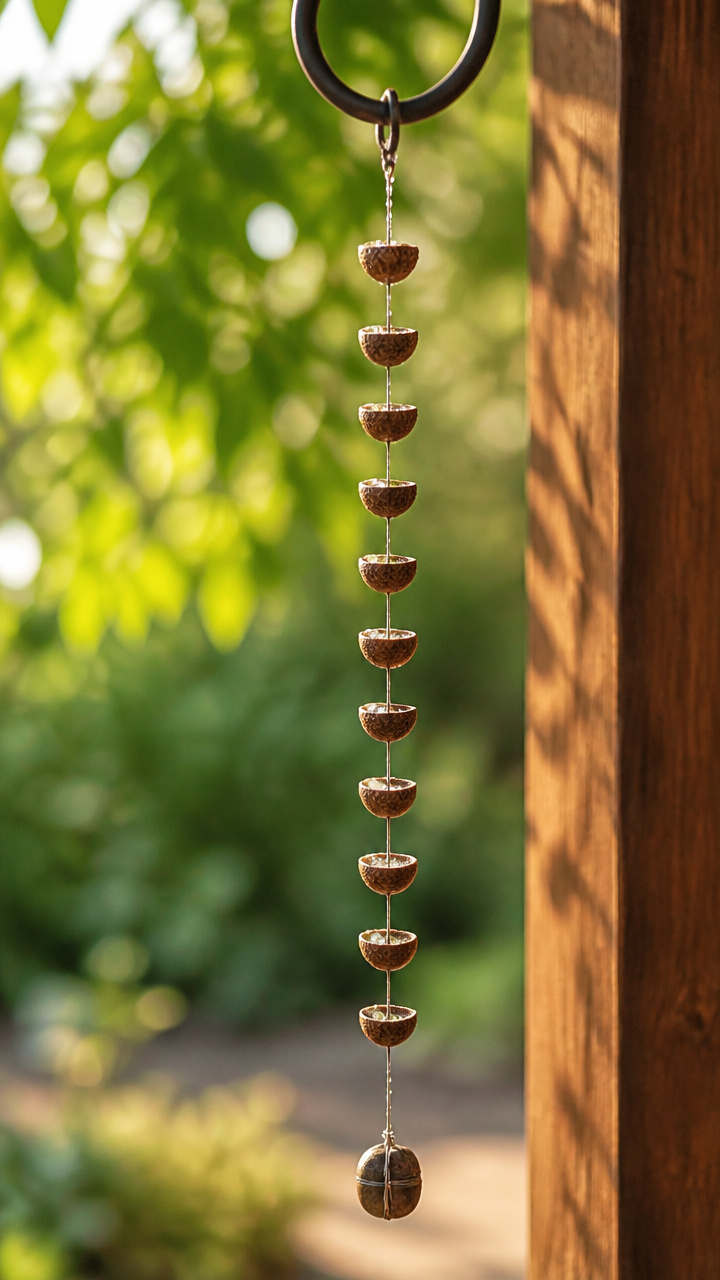
Hanging garden decor that holds dewdrops in acorn cups. Sparkles when sunlight hits the gathered moisture.
Materials Needed
- 10 acorn caps
- Fishing line, 12 inch strands, 10 needed
- Small rock
- Drill with 1/16 inch bit
- Outdoor hook
How to Make It
- Use the drill to make a small hole near the edge of each acorn cap. Widen carefully with the tip of scissors if needed.
- Thread fishing line through each hole and tie a knot underneath to hold the cap upright.
- Tie all lines to a single point on the outdoor hook. Add the rock to the base string to keep it steady in wind.
11. Acorn Magnets
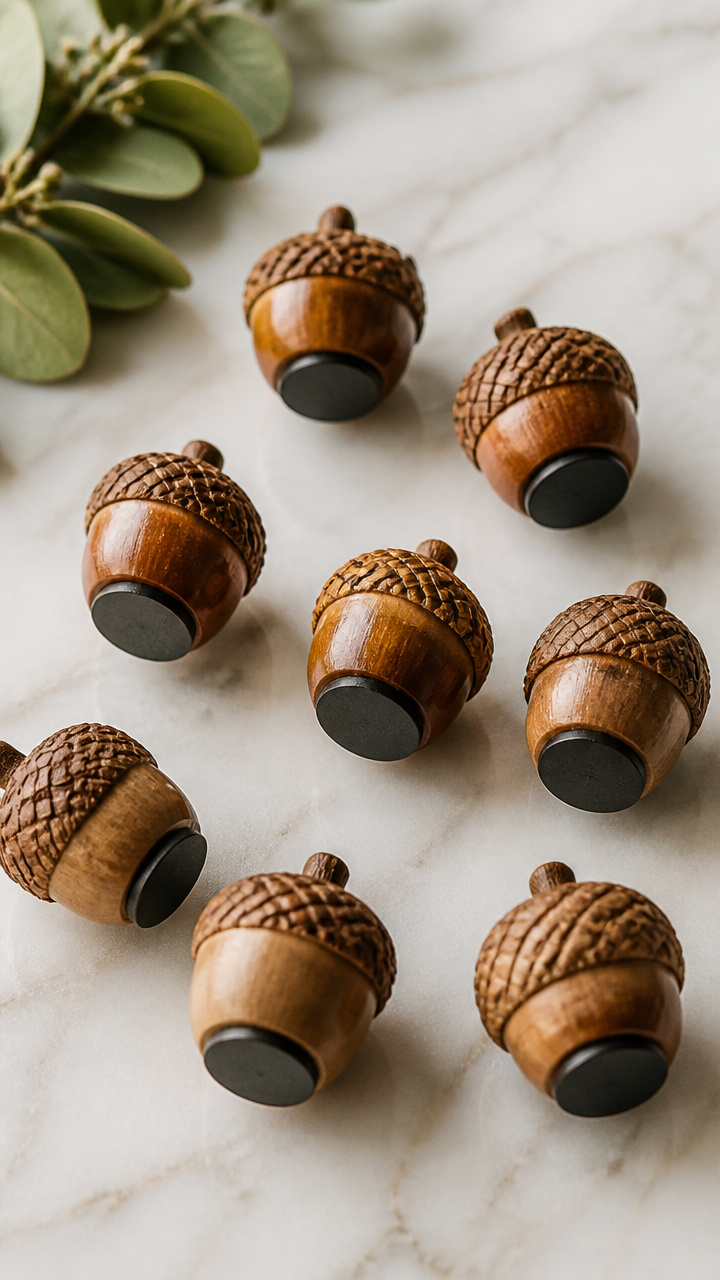
Tiny acorns with flat-backed magnets glued underneath. Perfect for holding notes or photos on the fridge.
Materials Needed
- 10 whole acorns
- Flat ceramic magnets, 0.5 inch diameter, 10 needed
- E6000 craft adhesive
- Cotton swabs
- Paper plate
How to Make It
- Place each magnet on a paper plate. Apply a pea-sized amount of E6000 to the back of a magnet using a cotton swab.
- Press the flat base of an acorn onto the glued magnet. Hold for 10 seconds.
- Let cure undisturbed for 2 hours before use.


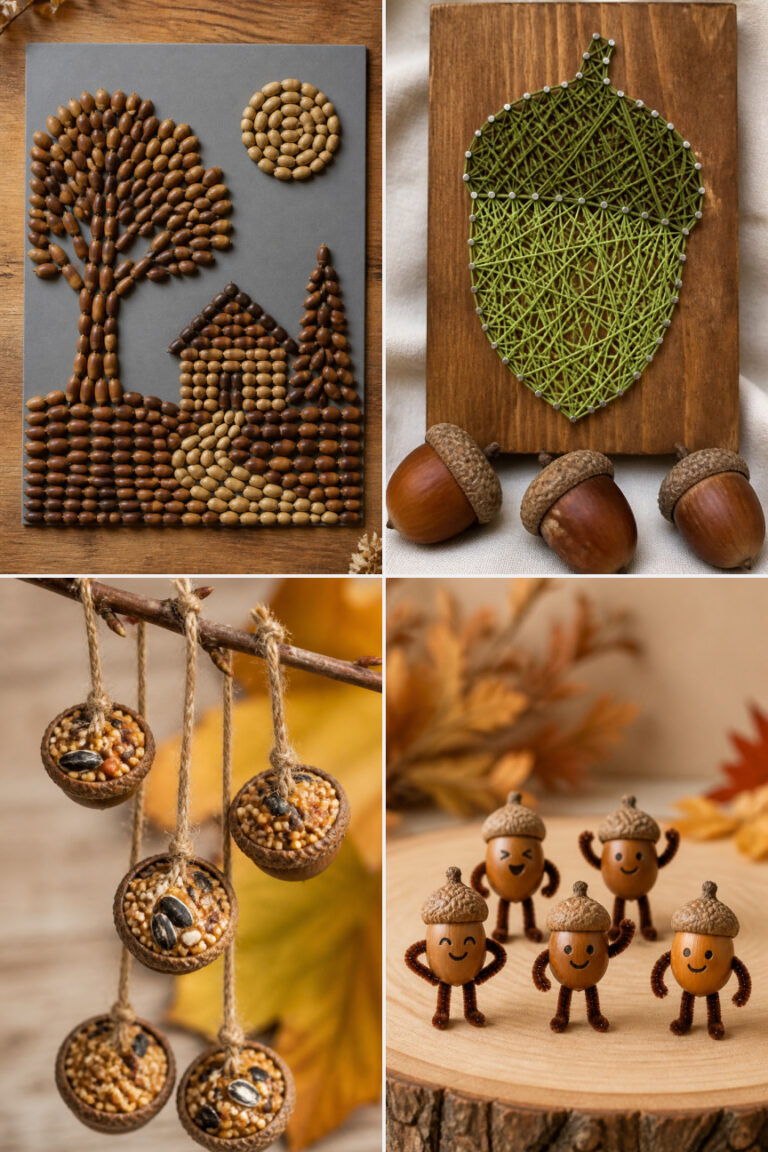
12. Acorn Cap Bird Feeders
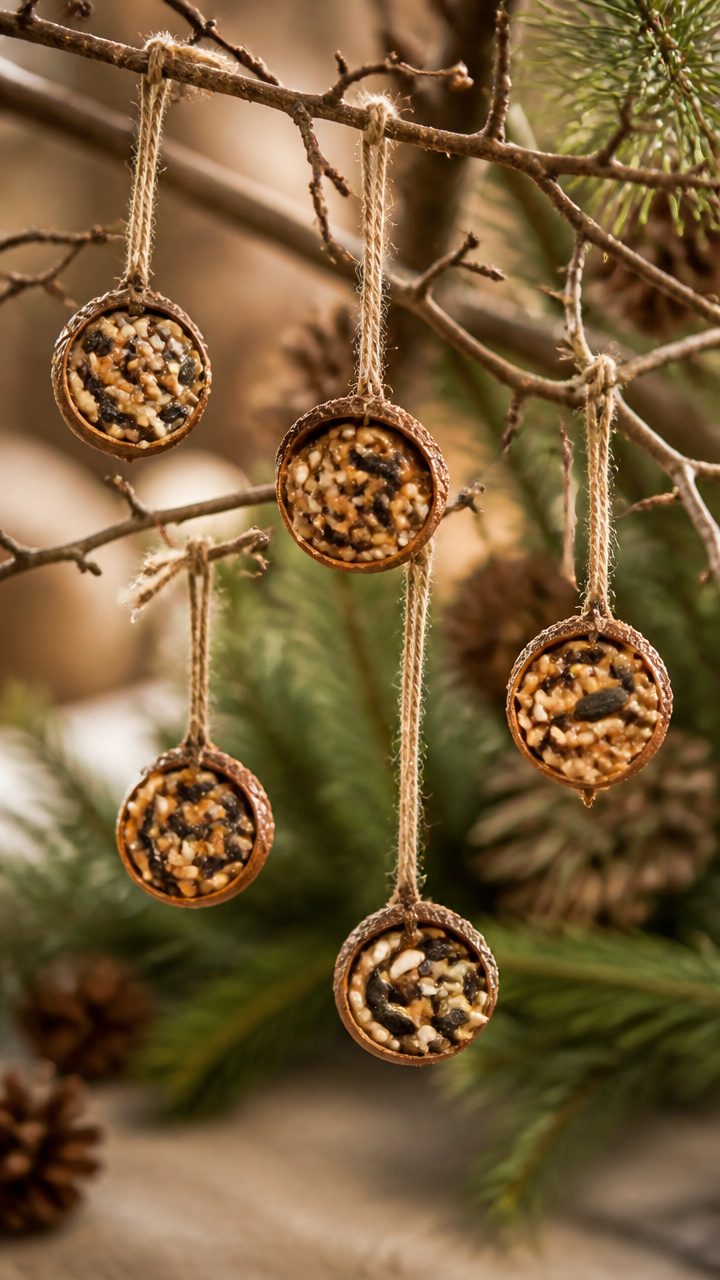
Portable feeders filled with peanut butter and seeds. Hang from low branches for chickadees and nuthatches.
Materials Needed
- 8 acorn caps
- Peanut butter, creamy
- Wild bird seed mix
- Twine, 6 inch lengths, 8 pieces
- Butter knife
- Small bowl
How to Make It
- Spread peanut butter inside each acorn cap using the butter knife. Fill to the brim.
- Pour bird seed into the bowl. Press the sticky side of each cap into the seeds to coat.
- Thread twine through the cap’s stem and knot securely. Hang from a tree limb within view of a window.


13. Acorn Family Puppets
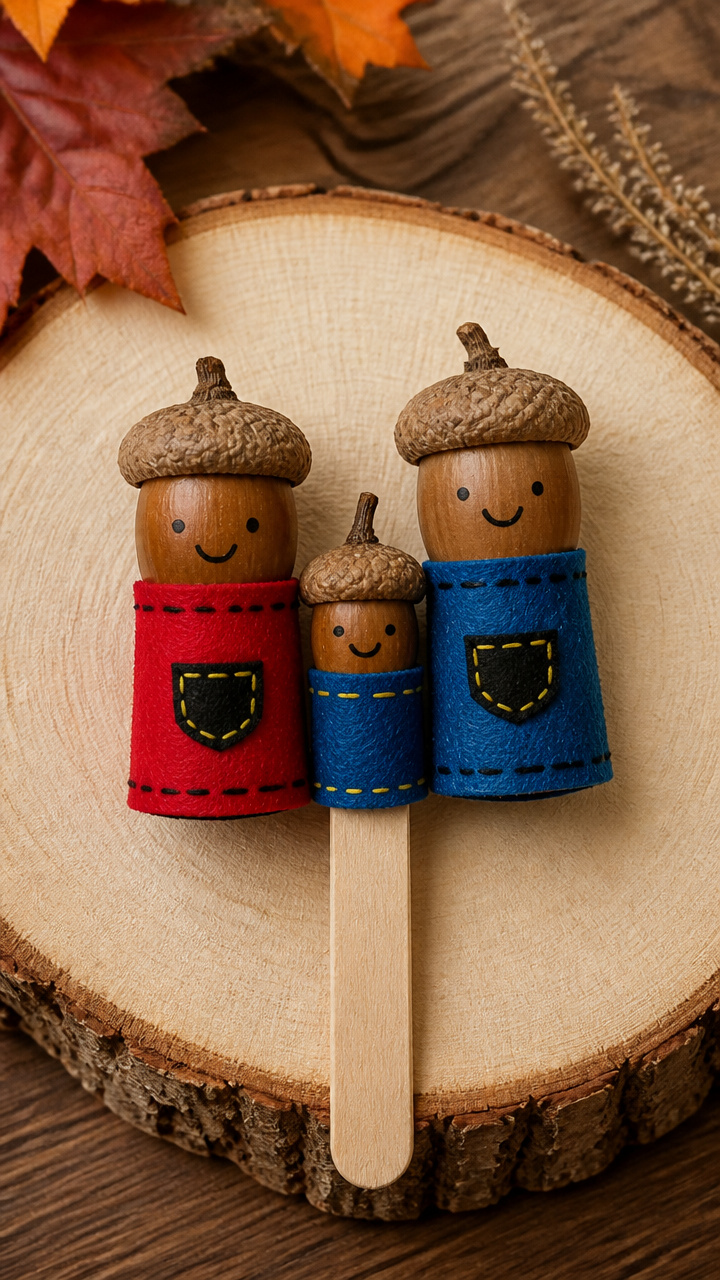
A mom, dad, and baby acorn family with hand-stitched clothes. Slide your fingers behind for storytelling fun.
Materials Needed
- 3 whole acorns
- Felt scraps, red and blue, 2×2 inches each
- Embroidery thread, black and yellow
- Tapestry needle
- School glue
- Craft stick, 6 inch
How to Make It
- Cut tiny hats and vests from felt. Glue a red hat to the cap of one acorn and a blue vest to another.
- Stitch facial features with black thread for eyes and yellow for smiles. Let glue dry 10 minutes.
- Glue the craft stick vertically to the back of each acorn. Wait 1 hour before using as finger puppets.

14. Acorn Cap Salt Shakers
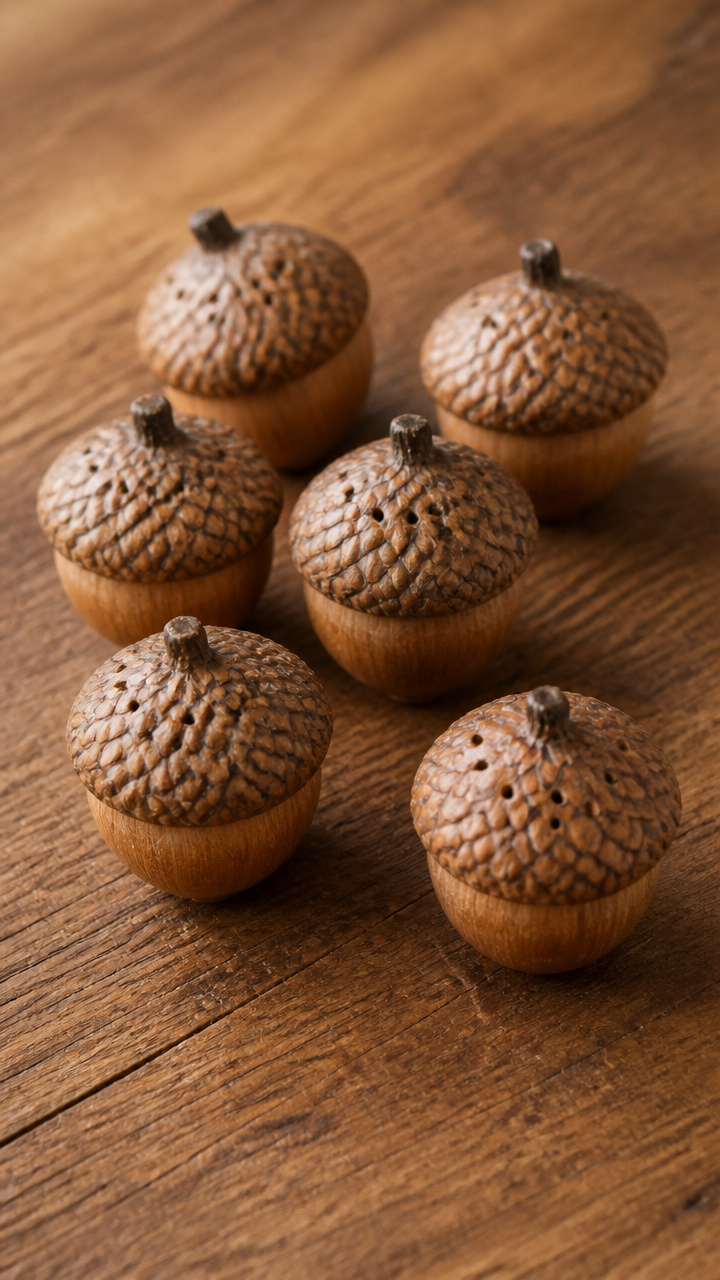
Tiny shakers made by filling caps with salt and tapping with a pin. Ideal for rustic table settings.
Materials Needed
- 6 acorn caps
- Fine sea salt
- Pin
- Small bowl
- Craft glue
- Toothpick
How to Make It
- Fill each cap halfway with fine sea salt. Use the pin to poke three small holes in the closed top of the cap.
- Wipe excess salt away with a dry cloth. Let sit for 10 minutes to dry completely.
- Use a toothpick to apply a dot of glue where the cap meets the stem. Let harden for 40 minutes.


15. Acorn Ring Holders
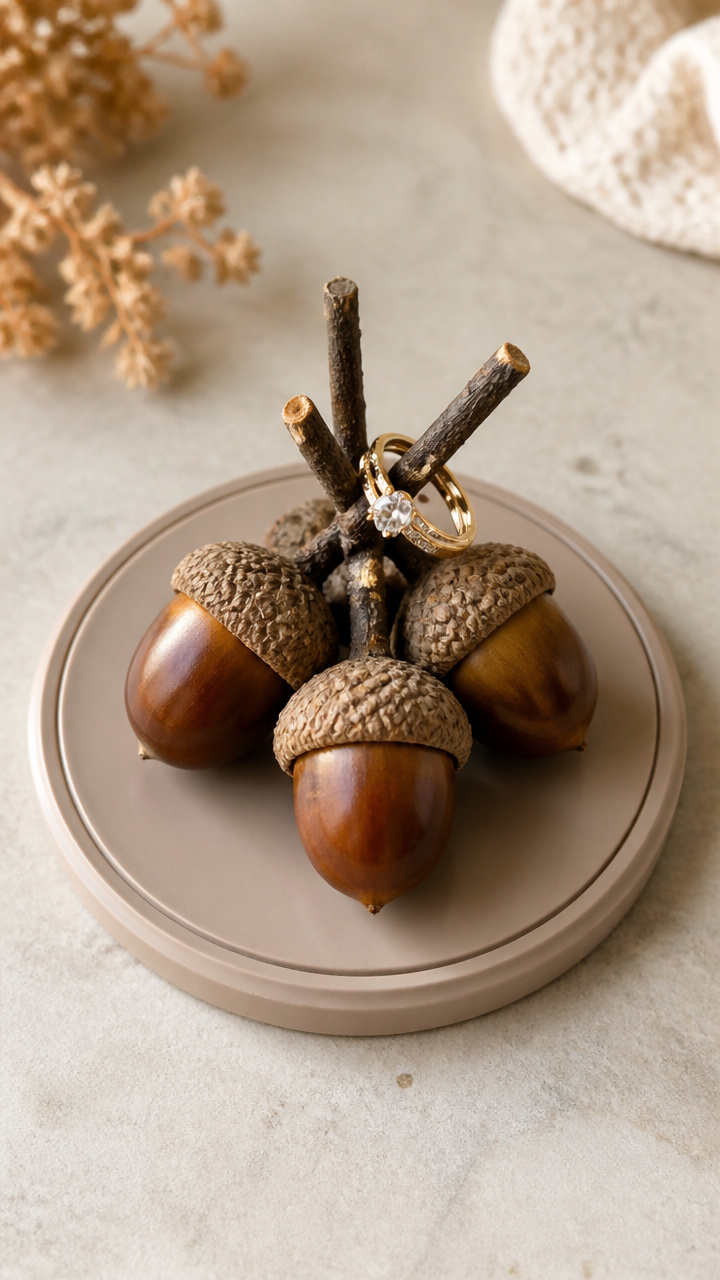
Sturdy little stands that cradle rings and earrings. Keeps jewelry safe on a dresser or vanity.
Materials Needed
- 4 whole acorns
- Plastic lid from yogurt cup, 3 inch diameter
- Strong craft glue
- Scissors
- Sandpaper, 180 grit
How to Make It
- Cut the yogurt lid into a 2.5 inch circle using scissors. Sand the edge smooth.
- Glue the flat base of each acorn to the top edge of the circle, spacing them evenly like clock positions.
- Let the glue dry for 2 hours. Place on a flat surface and rest rings between the acorns.

16. Acorn Cap Boats
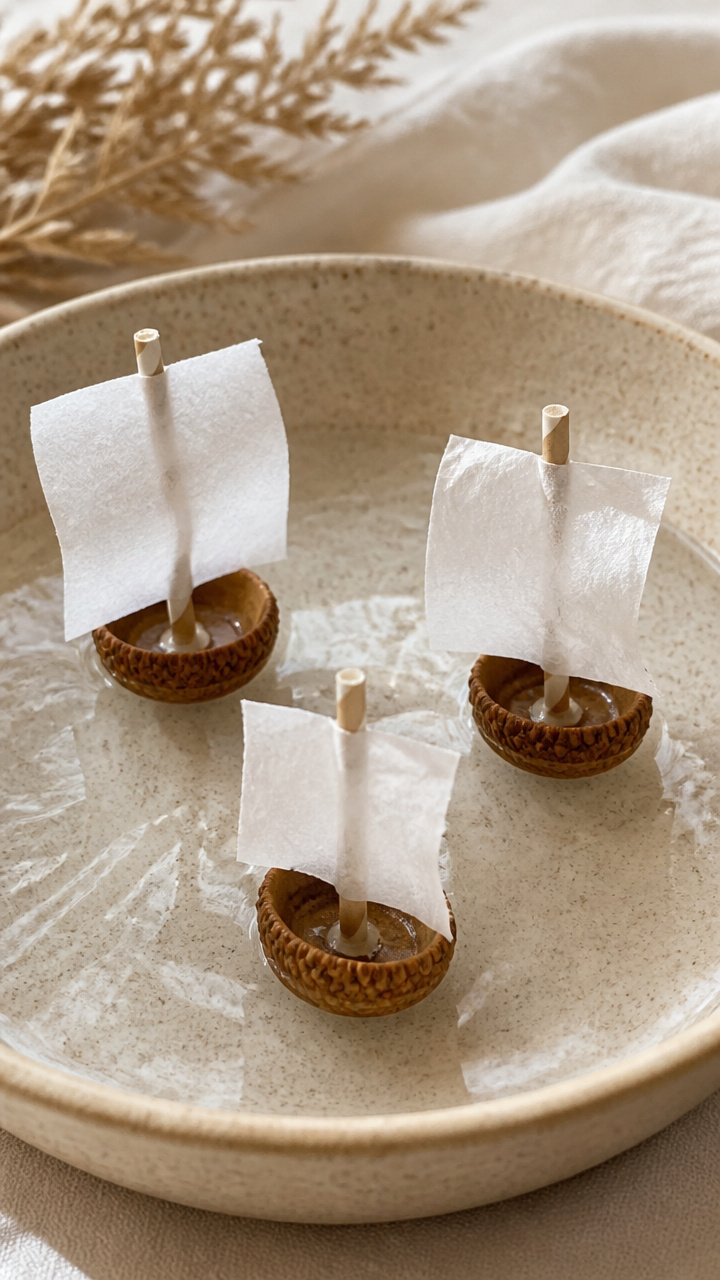
Floating boats with tissue sails. Drift gently in a birdbath or shallow tub.
Materials Needed
- 5 acorn caps
- Straws, 6 inch, 5 needed
- Tissue paper, 4×4 inches per boat
- Scissors
- Tape, clear, 1 inch pieces
- Glue stick
How to Make It
- Cut a triangle sail from tissue paper for each boat. Tape it to one end of a straw using a 1 inch piece of tape.
- Run a glue stick along the flat rim of an acorn cap and press the other end of the straw into place.
- Let dry for 20 minutes. Float in still water with the sail pointing forward.


17. Acorn Garden Markers
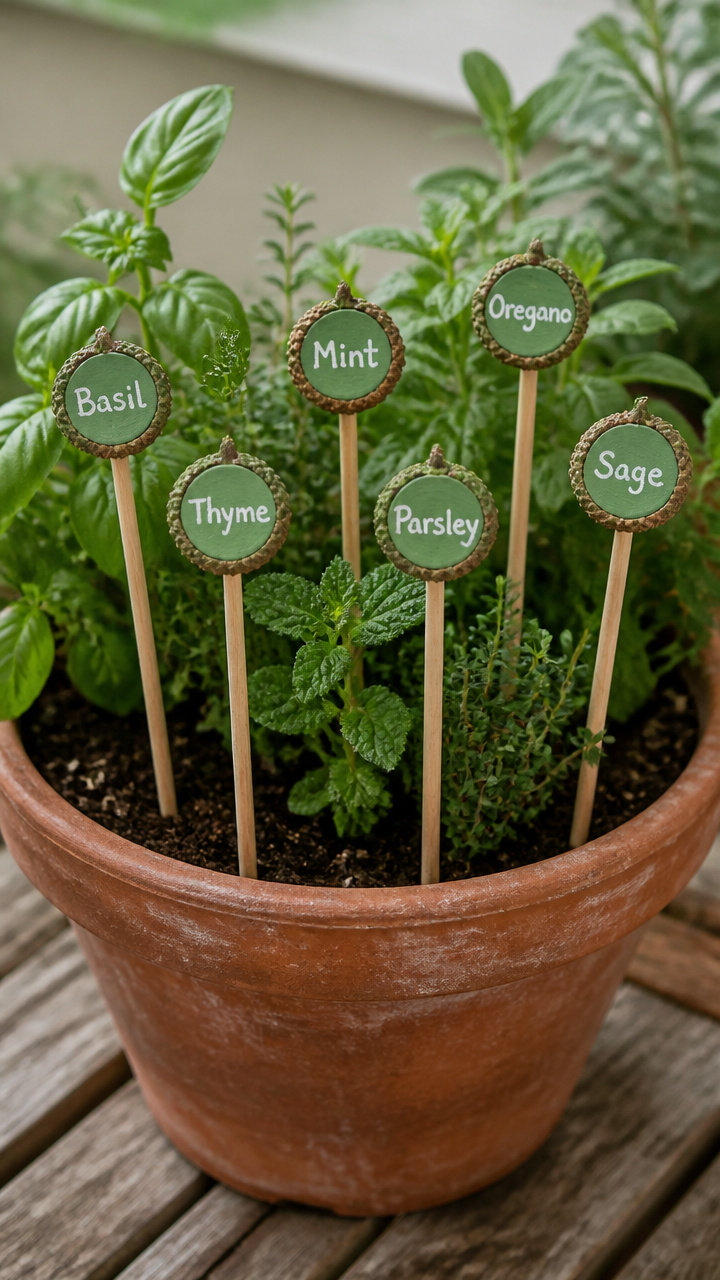
Labels for herb pots with painted caps showing plant names. Weather-resistant and easy to read.
Materials Needed
- 6 acorn caps
- Green acrylic paint
- Fine-tip paint pen, white
- Wooden skewer, 8 inch
- White school glue
- Paintbrush, size 1
How to Make It
- Paint the inside of each cap with green acrylic paint. Let dry for 20 minutes on a plate.
- Use the white paint pen to write one herb name inside each cap, such as 'Basil' or 'Thyme'.
- Glue the flat base of the cap to the top of a wooden skewer. Let dry 1 hour before inserting into soil.


18. Acorn Light Covers
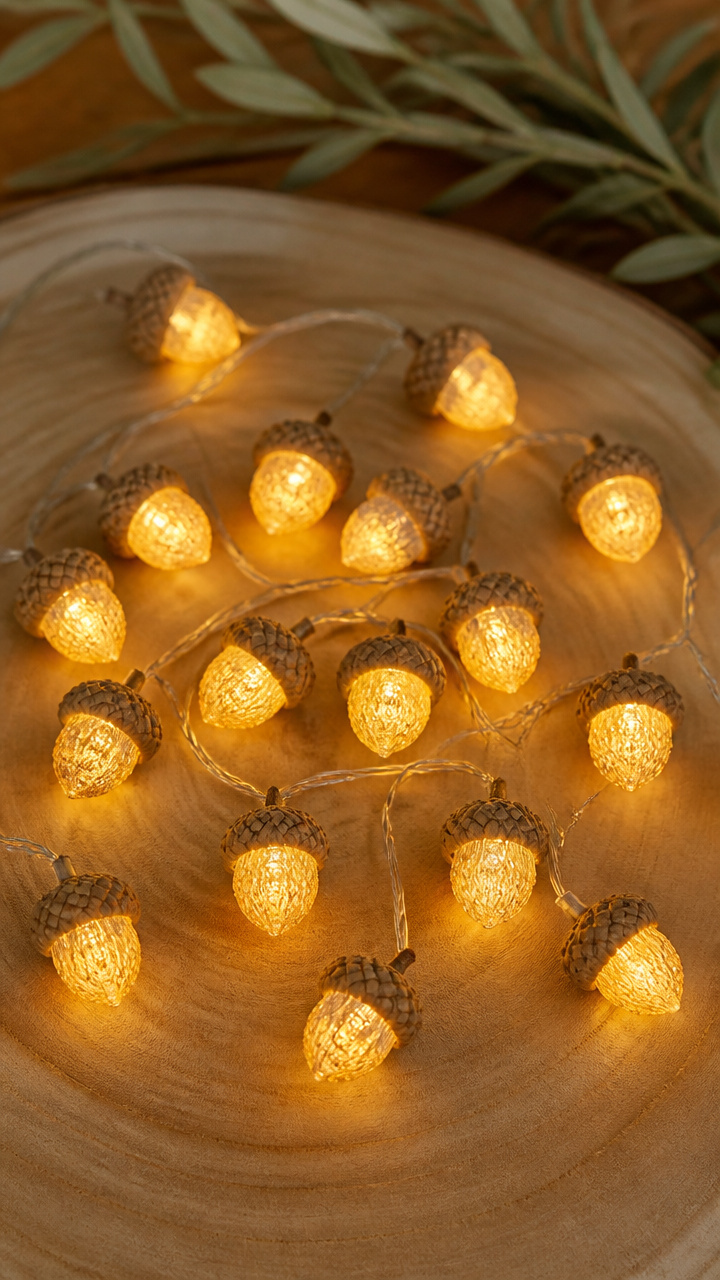
Soft diffusers that fit over LED string lights. Creates warm, dappled glow on walls and ceilings.
Materials Needed
- 15 acorn caps
- LED string lights, warm white, 20 bulbs
- Clear rubber bands, thin, 15 needed
- Scissors
How to Make It
- Test-fit one acorn cap over a lit bulb to ensure it sits snugly without blocking light.
- Stretch a rubber band around the base of the bulb so it grips the wire leads.
- Snap the acorn cap down over the bulb, then loop the rubber band over the cap’s stem to hold it in place.


19. Acorn Cap Candles
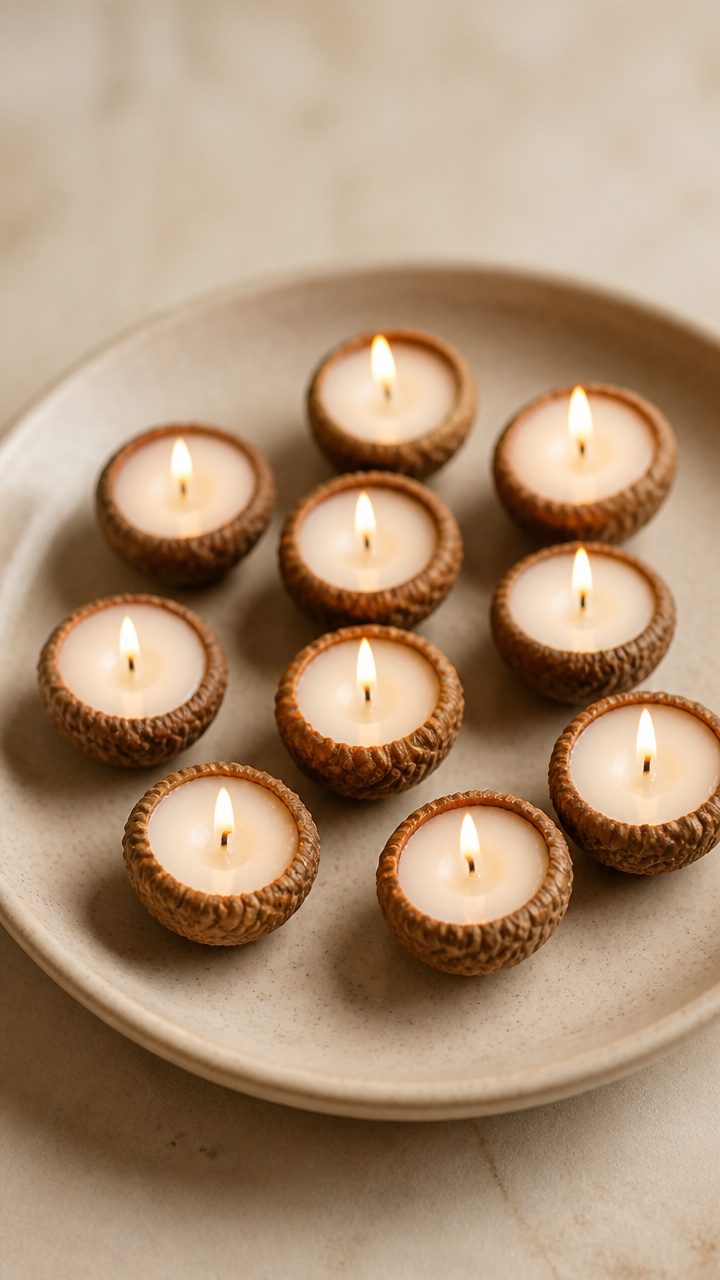
Mini candles with wicks set in acorn caps. Burn safely for short indoor displays.
Materials Needed
- 10 acorn caps
- Soy wax flakes, 1/2 cup
- Wick stickers, 10 needed
- Pre-cut wicks, 2 inch, 10 needed
- Double boiler setup
- Popsicle stick
How to Make It
- Melt soy wax in the top of a double boiler over simmering water. Stir gently with the popsicle stick.
- Stick a wick to the inside base of each cap using a wick sticker.
- Pour melted wax into each cap just below the rim. Let cool for 2 hours before lighting.


20. Acorn Photo Ornaments
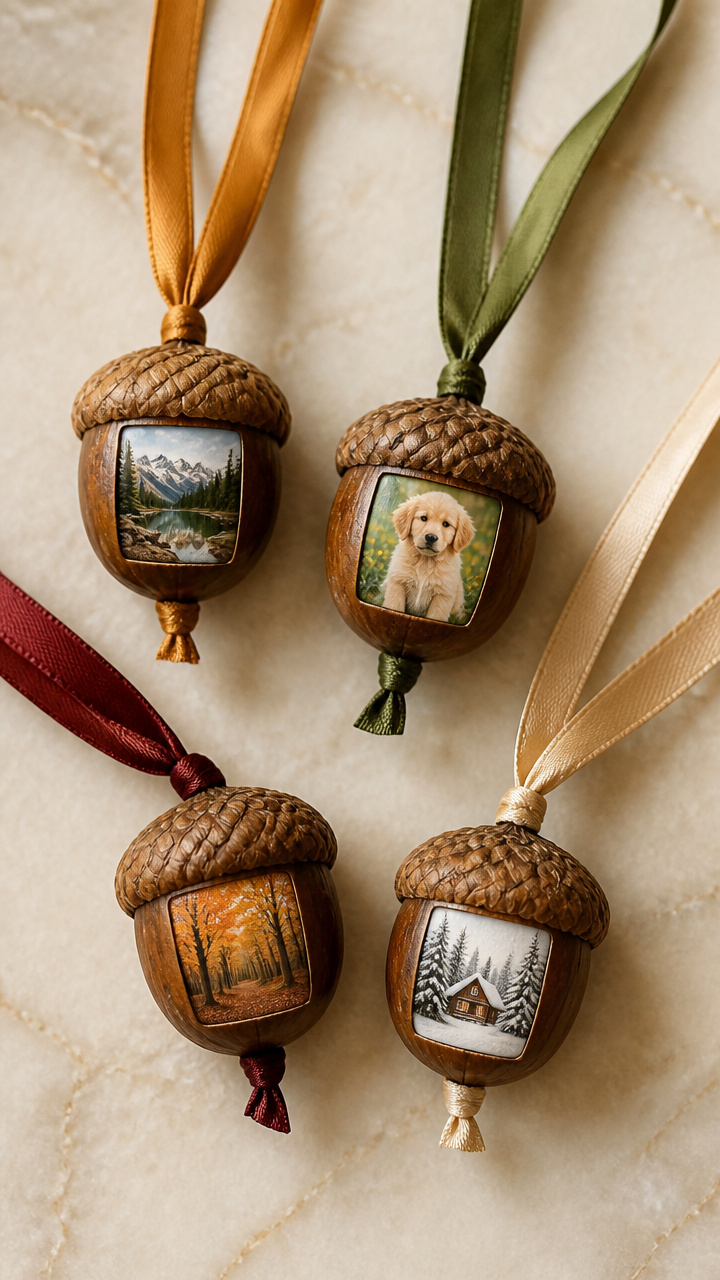
Personalized keepsakes with tiny photos peeking from acorn caps. Lovely gifts with handwritten notes inside.
Materials Needed
- 4 whole acorns
- Photo paper, 1 inch square prints, 4 needed
- Craft glue
- Ribbon, 8 inch length, 4 colors
- Hole punch
- Tweezers
How to Make It
- Use tweezers to push one photo into each acorn so the image faces outward from the cap.
- Glue the edge of the cap to the acorn body, sealing the photo inside. Let dry 30 minutes.
- Punch a hole in the top of each stem and thread ribbon through to hang.

Each of these ideas starts with something simple and grows into a little treasure. Grab a handful of acorns and see what you can create this week.