15 Dollar Store Boredom Buster Crafts for Kids Ages 6–10
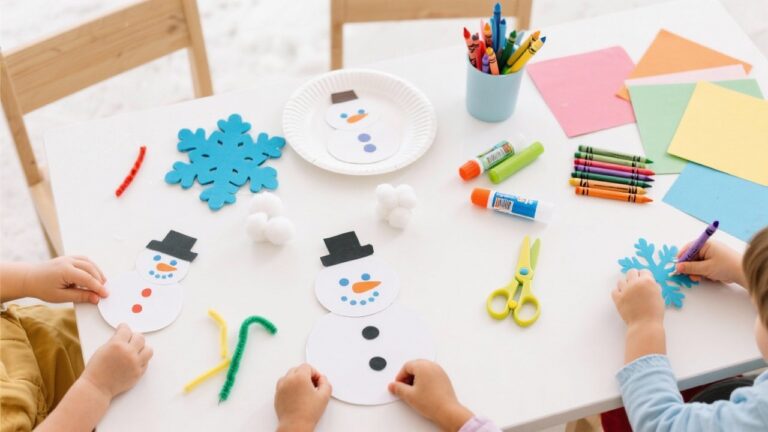
Rainy days and long afternoons call for simple, joyful projects that spark creativity without draining your wallet. With just a trip to the dollar store, you can gather everything you need for hands-on fun that keeps kids engaged and proud of what they make.
These crafts use basic supplies in clever ways, focusing on tactile play, fine motor skills, and imaginative results. Each one is designed to be doable with minimal adult help, so you can step back and let the ideas flow.
1. Pom-Pom Animal Friends
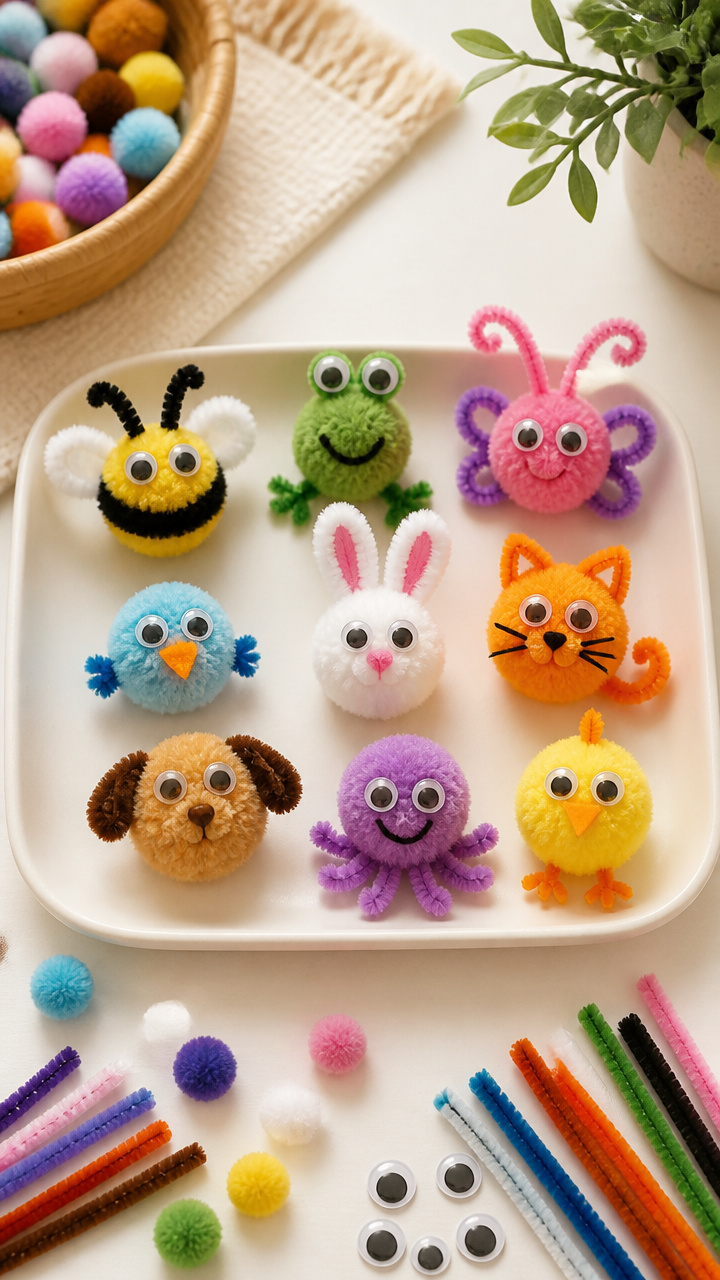
Soft, colorful pom-poms become silly animals with pipe cleaner arms and googly eyes. This craft builds fine motor control while encouraging storytelling and character design.
Materials Needed
- 20 assorted color pom-poms (1 inch diameter)
- 10 black plastic googly eyes (1/2 inch)
- 10 chenille stems (pipe cleaners), assorted colors
- Strong glue stick or tacky glue (1 small bottle)
- Small plastic tray or plate (for drying)
How to Make It
- Lay out two matching pom-poms for the body and head of your animal. Squeeze a small dot of glue where they will touch and press them together firmly for 10 seconds.
- Cut one chenille stem into four equal pieces. Bend two pieces into legs and glue them to the bottom of the body pom-pom. Repeat for arms if desired.
- Glue on two googly eyes near the top of the head pom-pom. Let each animal dry flat on the tray for at least 30 minutes before playing with it.
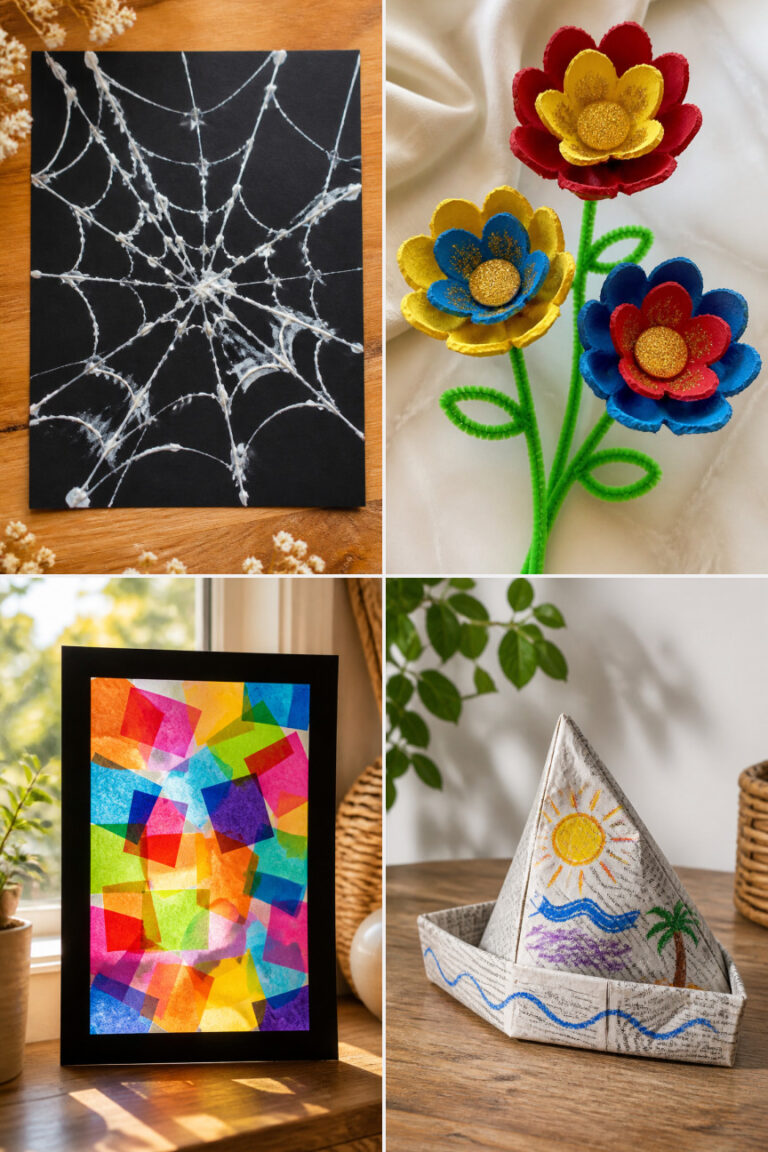
2. Paper Plate Sailboats
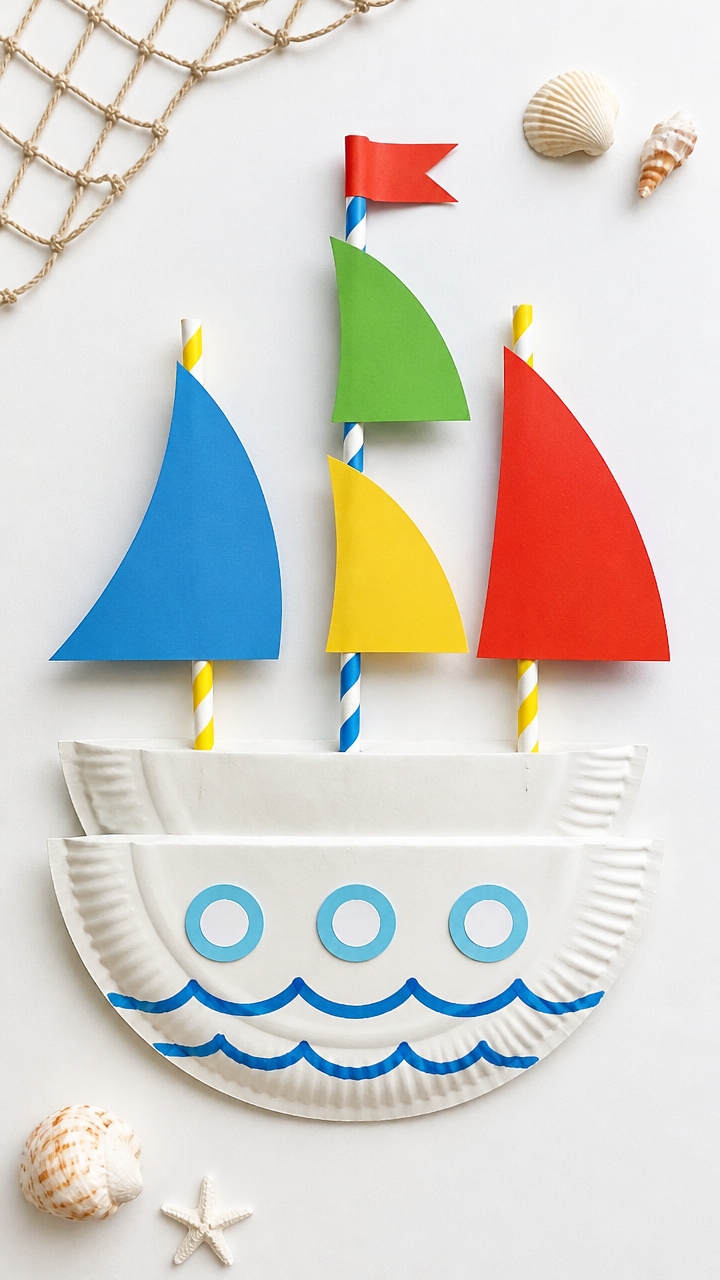
Sturdy paper plates turn into floating sailboats using straws and construction paper sails. These boats can even race in the bathtub or a water table.
Materials Needed
- 3 round white paper plates (9 inch)
- 6 plastic drinking straws
- 6 x 6 inch squares of colored construction paper
- Double-sided tape (small roll)
- Scissors (blunt tip, child-safe)
How to Make It
- Cut a straight slit from the edge to the center of one paper plate. Slide another plate halfway into the slit to form an X-shaped base.
- Cut one straw in half. Tape one half vertically to the center where the plates cross, standing upright.
- Fold a square of construction paper in half diagonally to make a triangle sail. Slide the open end over the straw and secure with double-sided tape. Test float in shallow water.
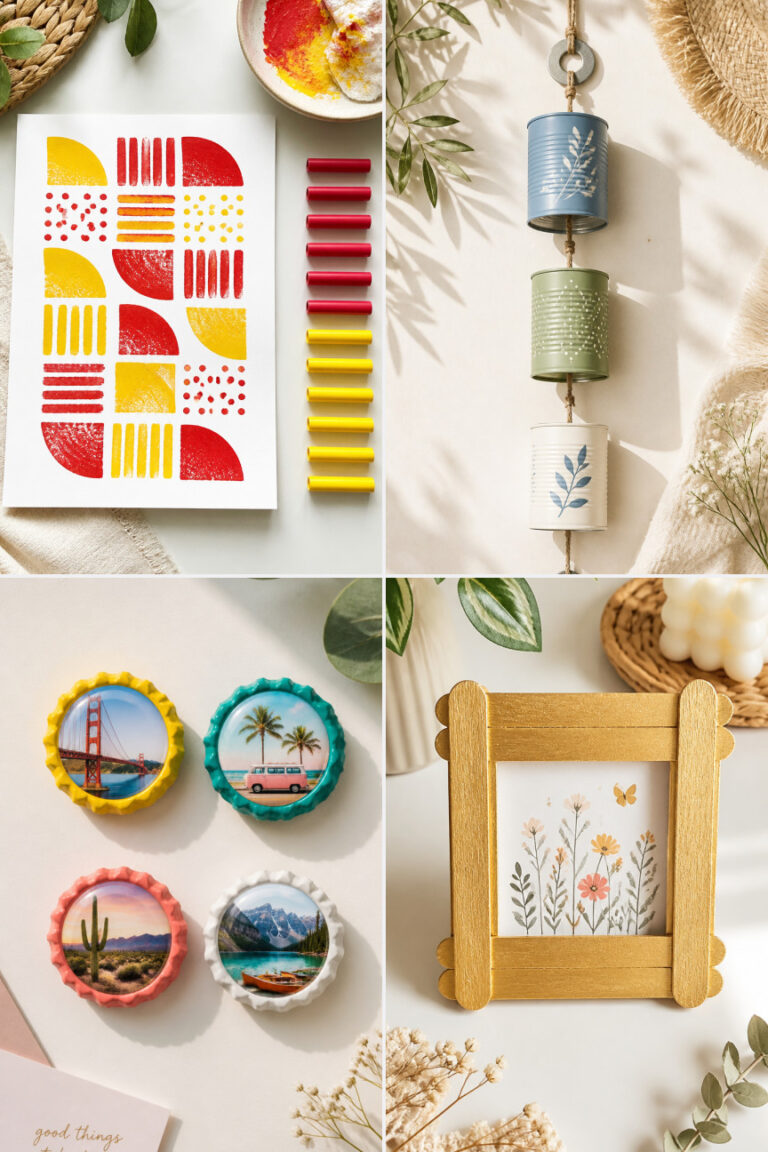
3. Yarn-Wrapped Picture Frames
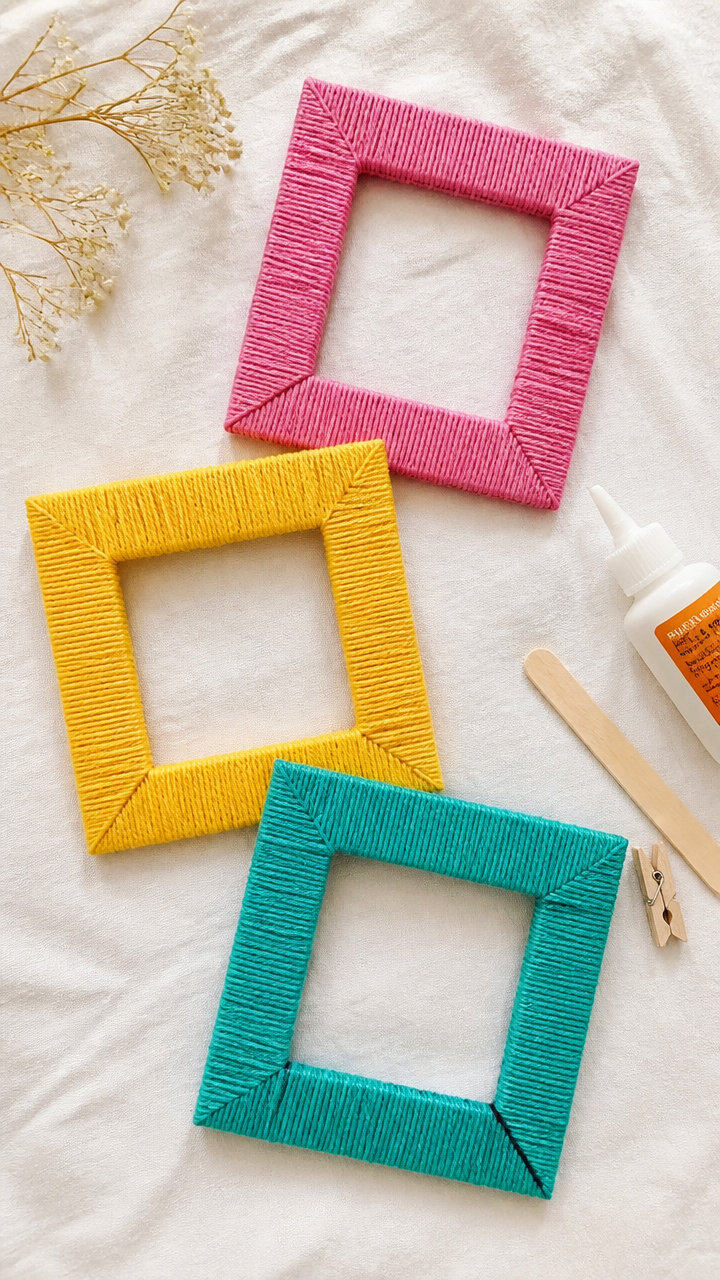
Plain cardboard frames gain texture and color with tightly wrapped yarn. The result is a personalized display piece ready for a favorite drawing or photo.
Materials Needed
- 3 plain white cardboard picture frames (4×6 inch, no glass)
- 3 different color yarns (2 yards each, medium weight)
- White school glue (1 small bottle)
- Craft stick (1)
- Small clothespin (1)
How to Make It
- Place a drop of glue on the outer corner of the frame and press the yarn end onto it. Hold for 10 seconds until set.
- Wrap the yarn tightly around the width of the frame, adding a dab of glue every inch to keep it from slipping. Overlap slightly as you go.
- When you reach the starting point, glue the end down and clip it with the clothespin to hold it while drying. Let sit 20 minutes before inserting artwork.
4. Button Mosaic Butterflies
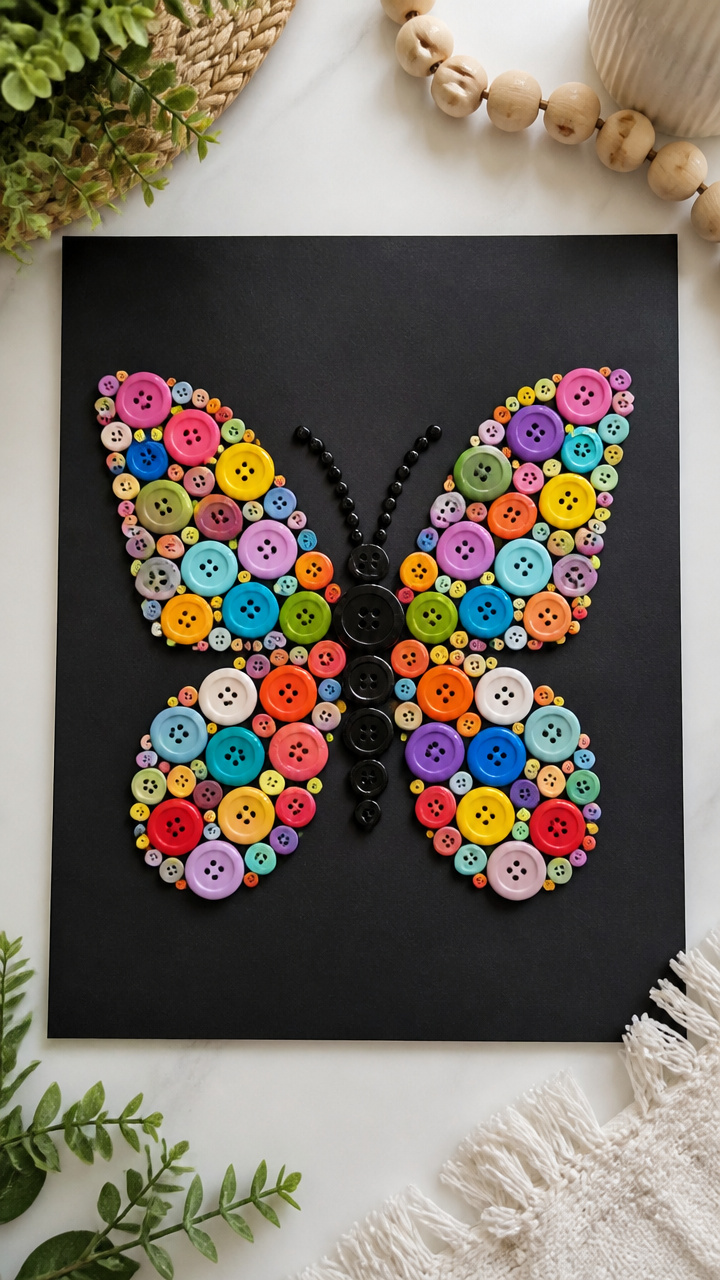
Colorful buttons glued in symmetrical patterns create bold butterfly art. This project teaches balance and pattern-making with satisfying tactile feedback.
Materials Needed
- 1 sheet black construction paper (9×12 inch)
- 30 assorted buttons (various sizes, 1/2 to 1 inch)
- White school glue (1 small bottle)
- Pencil (1)
- Ruler (6 inch)
How to Make It
- Fold the black paper in half lengthwise and draw half a butterfly wing shape from the fold, using the ruler to keep lines straight. Cut along the line while folded.
- Open the butterfly shape and draw a center line down the fold. Arrange buttons in mirrored designs on each side of the line.
- Glue each button in place one at a time, pressing down for three seconds each. Let dry flat for 45 minutes before hanging.
5. Plastic Spoon Dragonflies
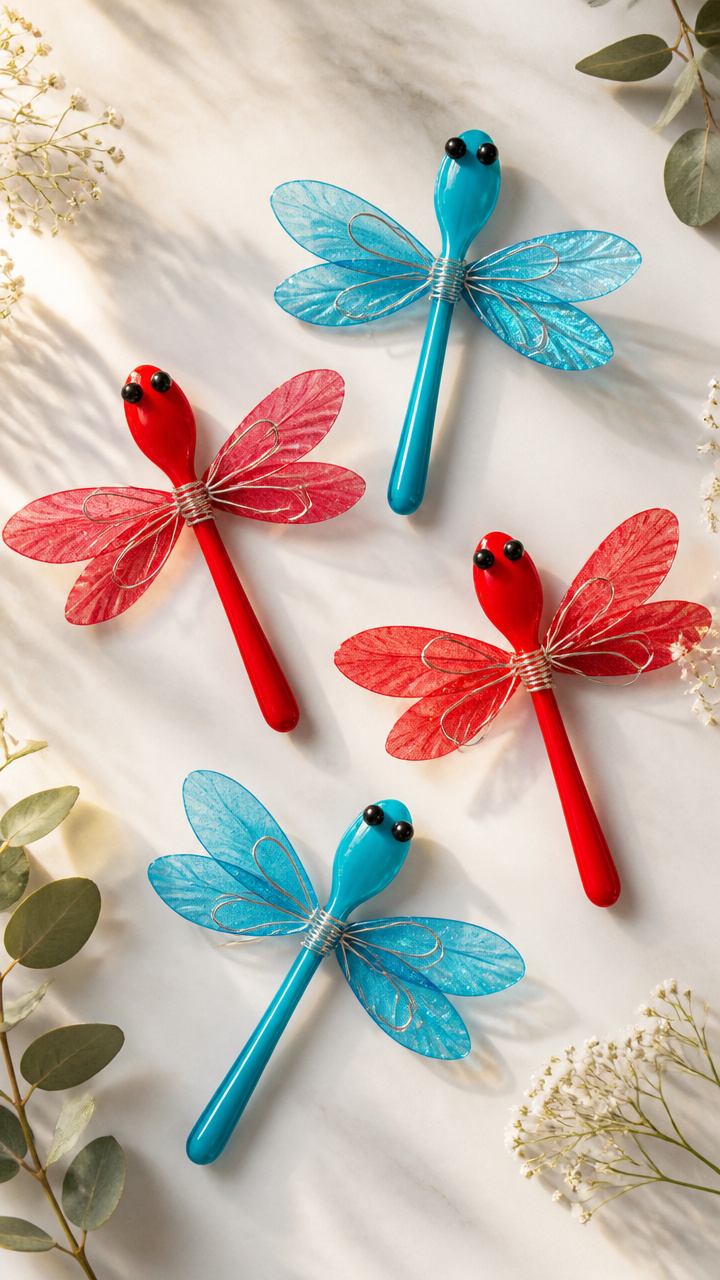
Clear plastic spoons become translucent dragonfly bodies with wire wings and painted details. These catch the light when hung by a window.
Materials Needed
- 5 clear plastic spoons
- 5 feet thin silver craft wire (20 gauge)
- Red and blue acrylic paint (small bottles)
- Paintbrush (size 2 round)
- Hole punch (single hole, office style)
How to Make It
- Use the hole punch to make two holes near the handle end of each spoon, side by side. Thread one 10-inch wire through both holes and twist at the top to form antennae.
- Bend the remaining wire into two looped wings and twist the ends together at the spoon’s neck to secure. Wrap tightly so wings don’t wobble.
- Dip the spoon bowl into red paint for the body. Set aside to dry on wax paper for 20 minutes. Add blue dots with the brush once dry.
6. Tissue Paper Lanterns
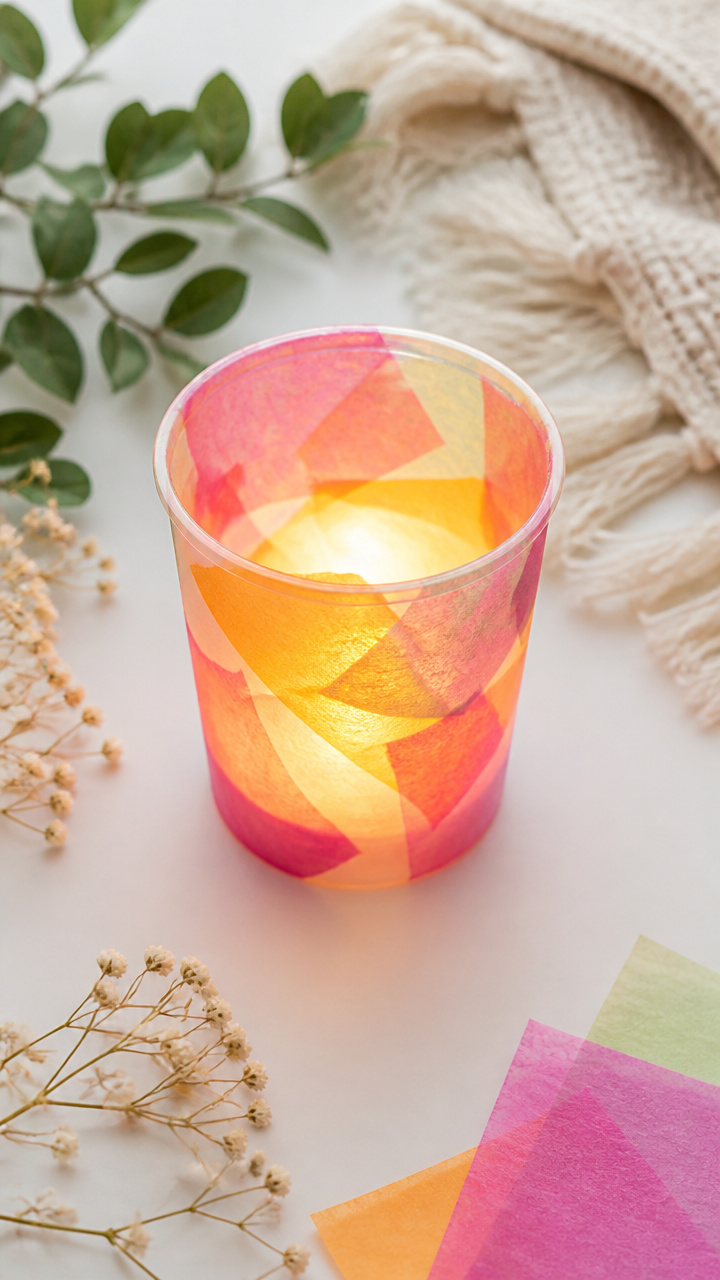
Layered tissue paper cups glow like stained glass when lit by a battery tea light. The soft light reveals rich color blends kids can design themselves.
Materials Needed
- 5 sheets of tissue paper (8.5×11 inch, assorted colors)
- 5 clear plastic cups (9 ounce)
- Glue stick (1)
- Scissors (sharp tip)
- Battery-powered tea light (1)
How to Make It
- Cut each tissue sheet to match the height of the cup. Apply glue down one edge of the cup and wrap the tissue snugly around it.
- Overlap a second color of tissue on top at a 45-degree angle, gluing as you go. Continue until the cup is fully covered with layered color.
- Let dry for 10 minutes, then place the tea light inside. Turn off the lights to see the glowing effect.
7. Cotton Ball Cloud Creatures
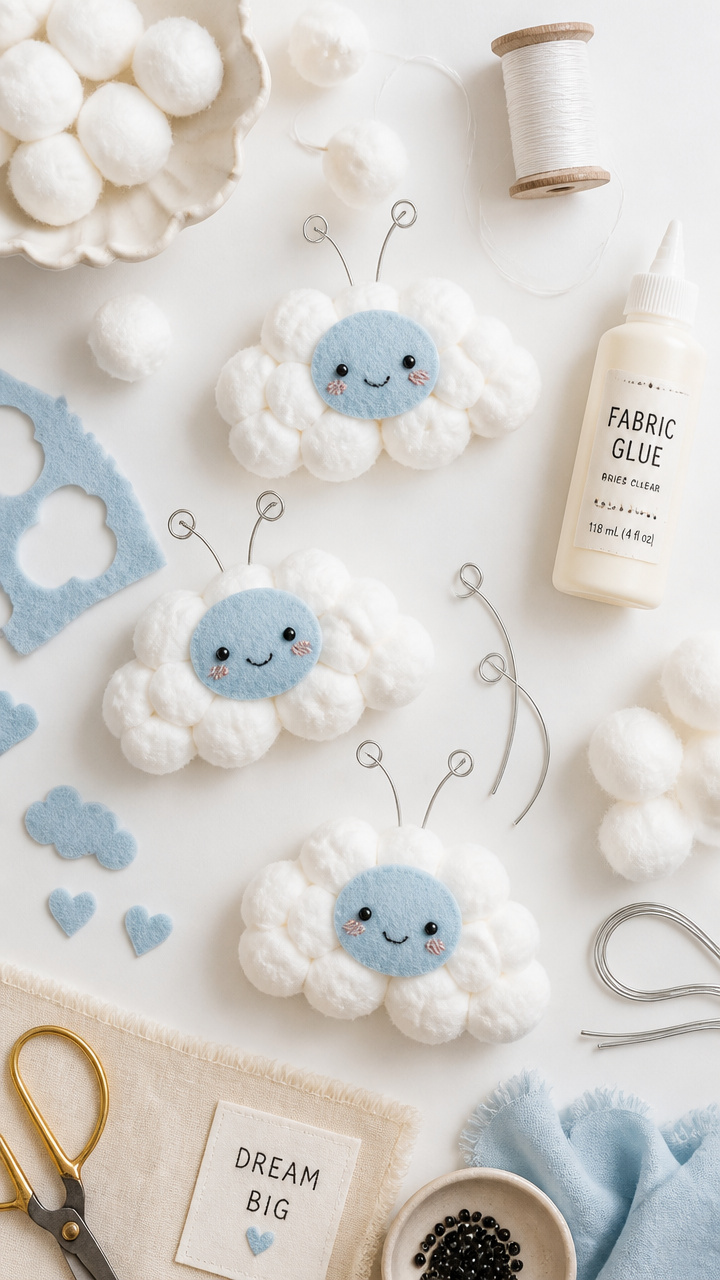
Fluffy cotton balls pile up into whimsical cloud animals with felt faces and wire poses. These soft sculptures hang from strings or sit on shelves.
Materials Needed
- 1 large bag white cotton balls
- 1 sheet light blue felt
- 10 feet thin bendable wire (18 gauge)
- Tacky glue (1 bottle)
- Clear thread (1 spool)
How to Make It
- Shape a 6-inch wire into a simple animal outline like a cat or bird. Twist the ends to close the shape securely.
- Glue cotton balls one by one over the wire frame, completely covering it. Use tweezers or fingers to pack them tightly.
- Cut eyes and mouth from blue felt and glue on. Tie thread to the top for hanging. Let dry 1 hour before display.
8. Egg Carton Caterpillars
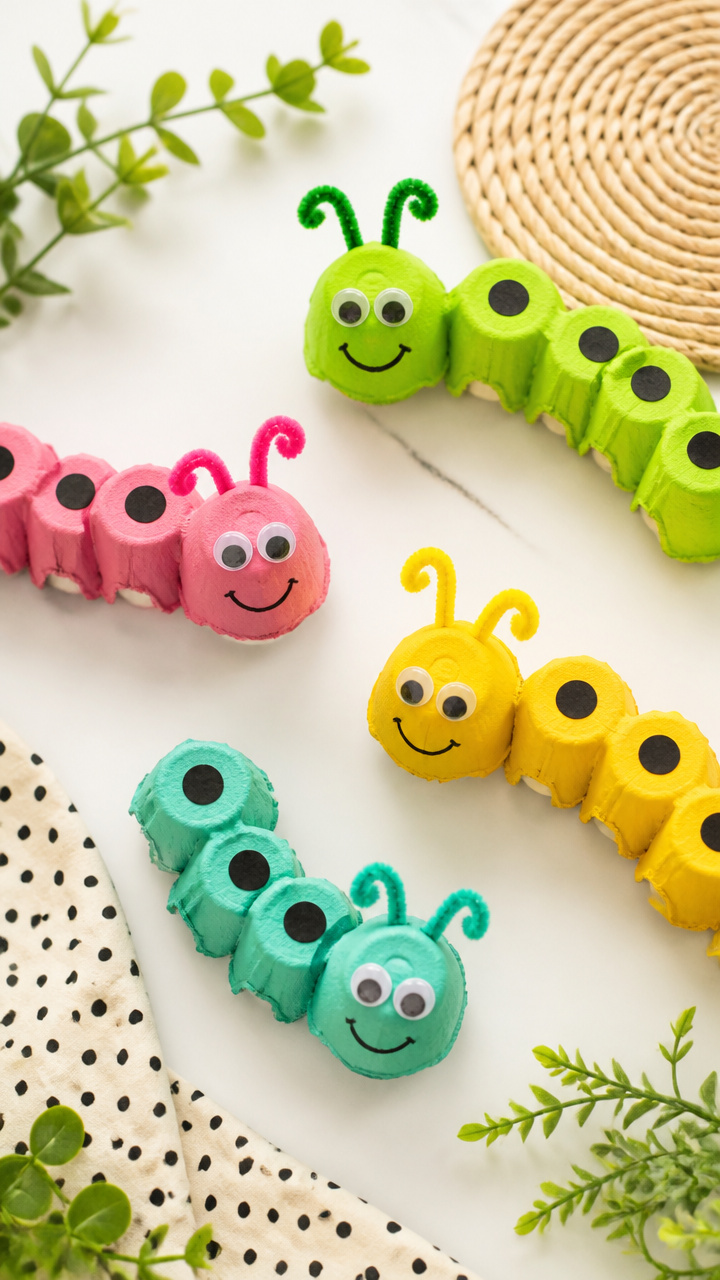
Cut egg carton cups link together to form bumpy caterpillar bodies with pipe cleaner antennae. These wiggle across tables and encourage counting practice.
Materials Needed
- 2 cardboard egg cartons (12 cup)
- 6 chenille stems (green or black)
- Googly eyes (1/2 inch, 10 count)
- White school glue (1 bottle)
- Scissors (sharp)
How to Make It
- Cut out six egg cups from the carton. Trim any jagged edges with scissors for smooth sides.
- Glue the bottom of one cup to the top of the next, forming a chain of six. Press gently and hold for 10 seconds per joint.
- Twist a chenille stem in half for antennae and glue to the head cup. Add two googly eyes above. Dry flat for 40 minutes.
9. Straw Wind Spinners
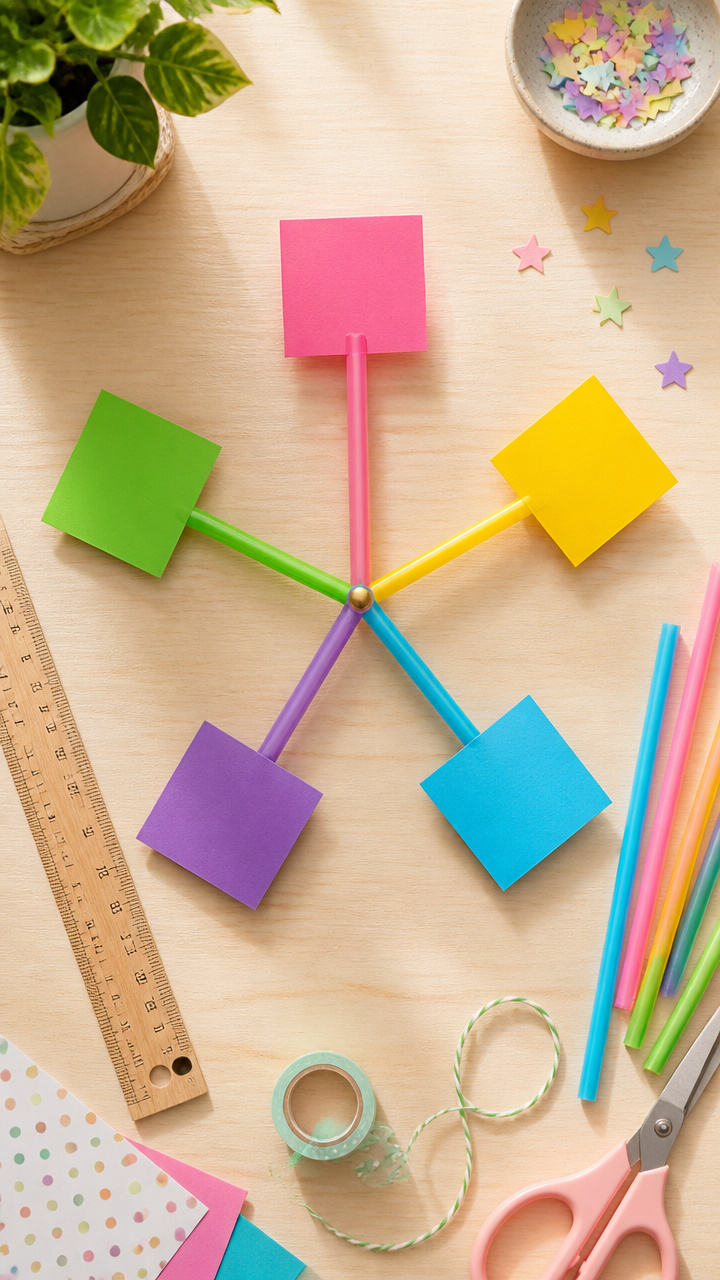
Pinwheels made from straws and cardstock spin fast in the breeze. Kids test how design changes affect movement and speed.
Materials Needed
- 5 flexible plastic straws
- 5 x 5 inch squares of stiff cardstock (assorted colors)
- Brass fasteners (1 inch, 5 count)
- Pencil with eraser (1)
- Ruler (6 inch)
How to Make It
- Draw diagonal lines from each corner of the cardstock square to the center with pencil. Cut along each line, stopping 1 inch from the middle.
- Fold every other corner to the center and pin all layers together with a brass fastener through the eraser end of the pencil.
- Slide the fastener through the top of the straw and bend the tabs wide. Blow into the side to watch it spin.
10. Foam Sticker Puzzles
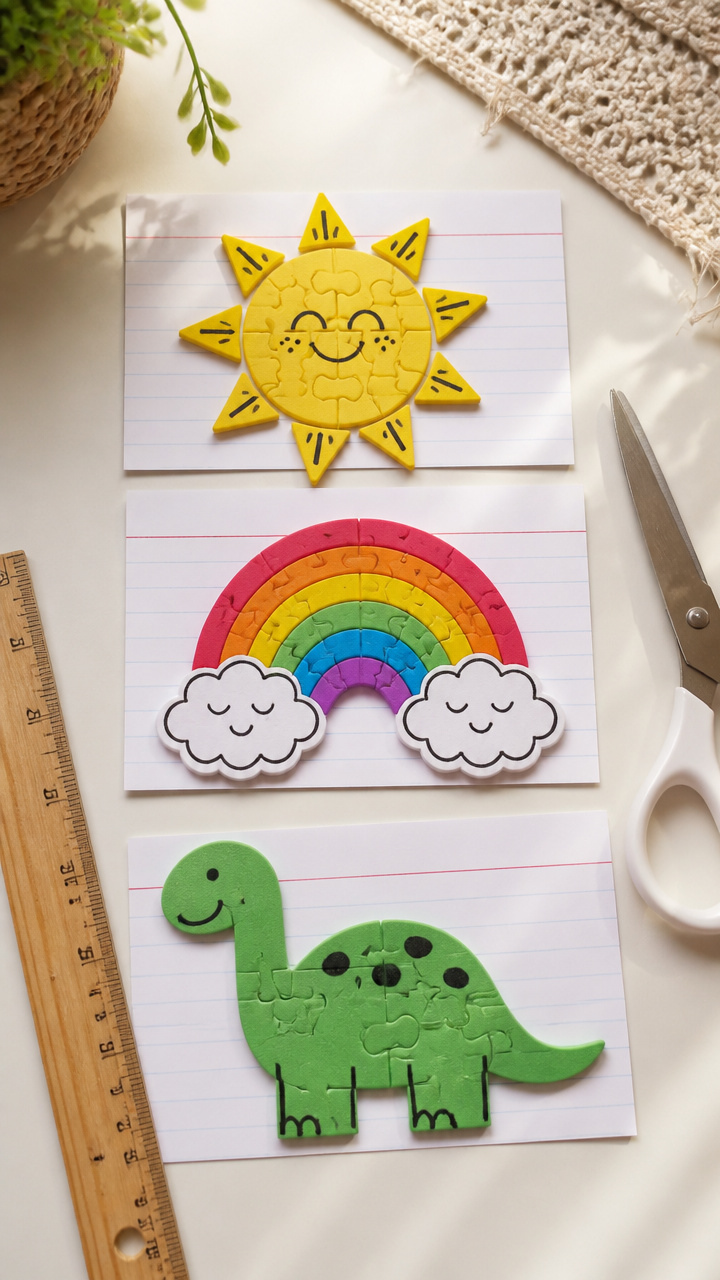
Self-adhesive foam stickers are cut into puzzle pieces on index cards. Each completed puzzle reveals a bright, chunky image perfect for little hands.
Materials Needed
- 1 sheet adhesive foam stickers (3×3 inch shapes, assorted)
- 3 white index cards (3×5 inch)
- Black marker (permanent)
- Blunt-tip scissors (1 pair)
- Ruler (6 inch)
How to Make It
- Peel one foam sticker and center it on an index card. Press firmly to attach completely.
- Use the ruler and marker to draw a simple 3-piece puzzle pattern over the sticker and card, such as a zigzag line.
- Cut along the marked lines with scissors. Mix the pieces and reassemble. Make two more puzzles with different stickers.
11. Popsicle Stick Masks
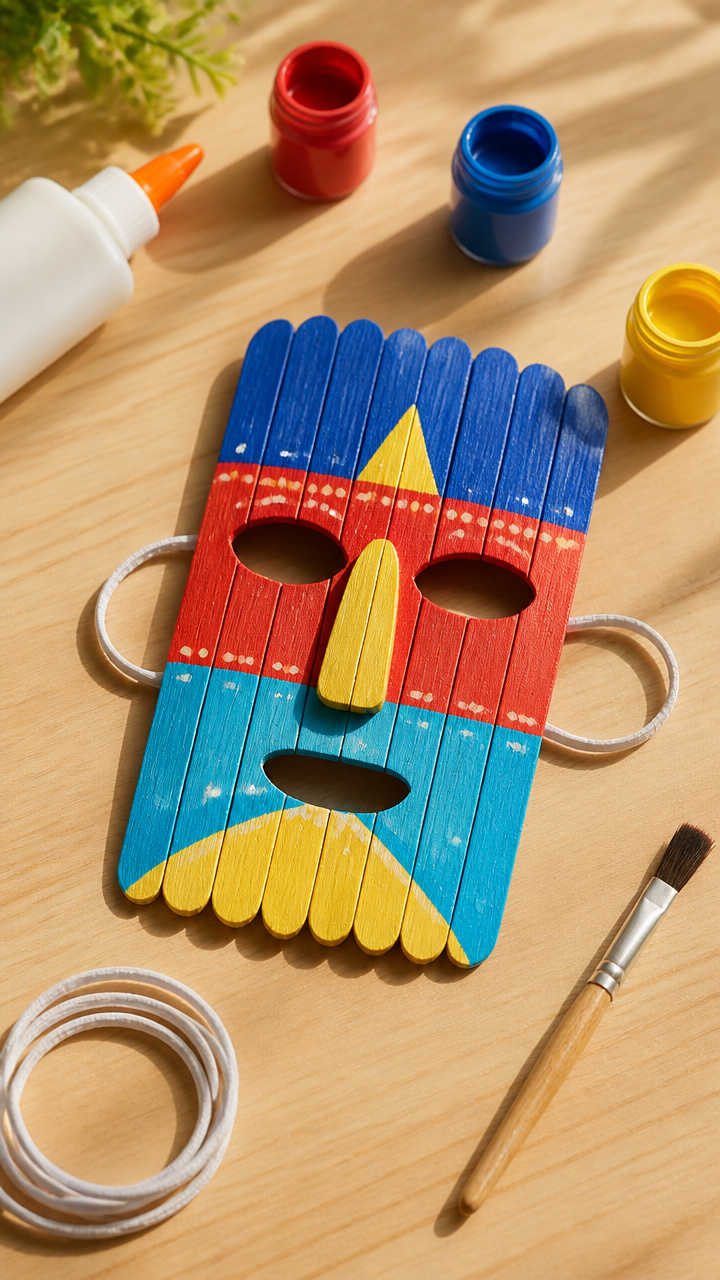
Flat wooden craft sticks form a curved mask base shaped like an animal face. Kids decorate with paint and yarn hair for pretend play.
Materials Needed
- 10 flat wooden craft sticks (4.5 inch)
- White school glue (1 bottle)
- Elastic string (12 inches, 1/8 inch wide)
- Acrylic paint (red, yellow, blue, small bottles)
- Paintbrush (1, size 4)
How to Make It
- Lay seven craft sticks side by side. Glue two sticks vertically across the ends to form a grid. Let dry 20 minutes.
- Gently bend the grid into a shallow curve. Glue the elastic ends to each side of the mask, trimming excess.
- Paint the front like an animal face. Add yarn tufts for ears or hair by gluing short strands along the top edge. Dry overnight.
12. Pipe Cleaner Bracelets
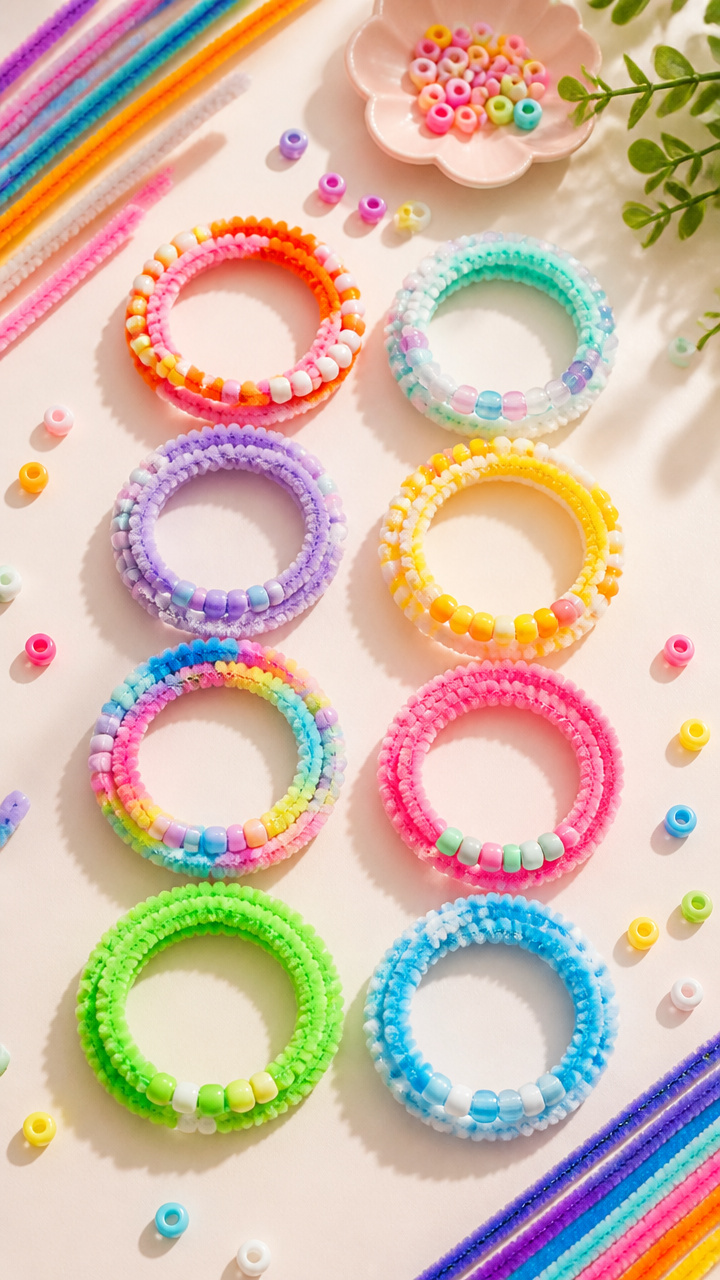
Bendable chenille stems twist into snug bracelets with bead accents. These stretch to fit and come in colors kids choose themselves.
Materials Needed
- 8 chenille stems (assorted colors)
- 40 plastic pony beads (1/4 inch, assorted colors)
- Scissors (sharp)
How to Make It
- Choose one chenille stem and thread five beads onto it, spacing them evenly. Fold the stem in half and twist the ends together 3 times.
- Wrap the twisted end around the bracelet base to hide sharp tips. Adjust beads by sliding them along the wire.
- Try a second bracelet using two stems twisted together at the center for a thicker band. Cut excess wire with scissors.
13. Paper Cup Telephones
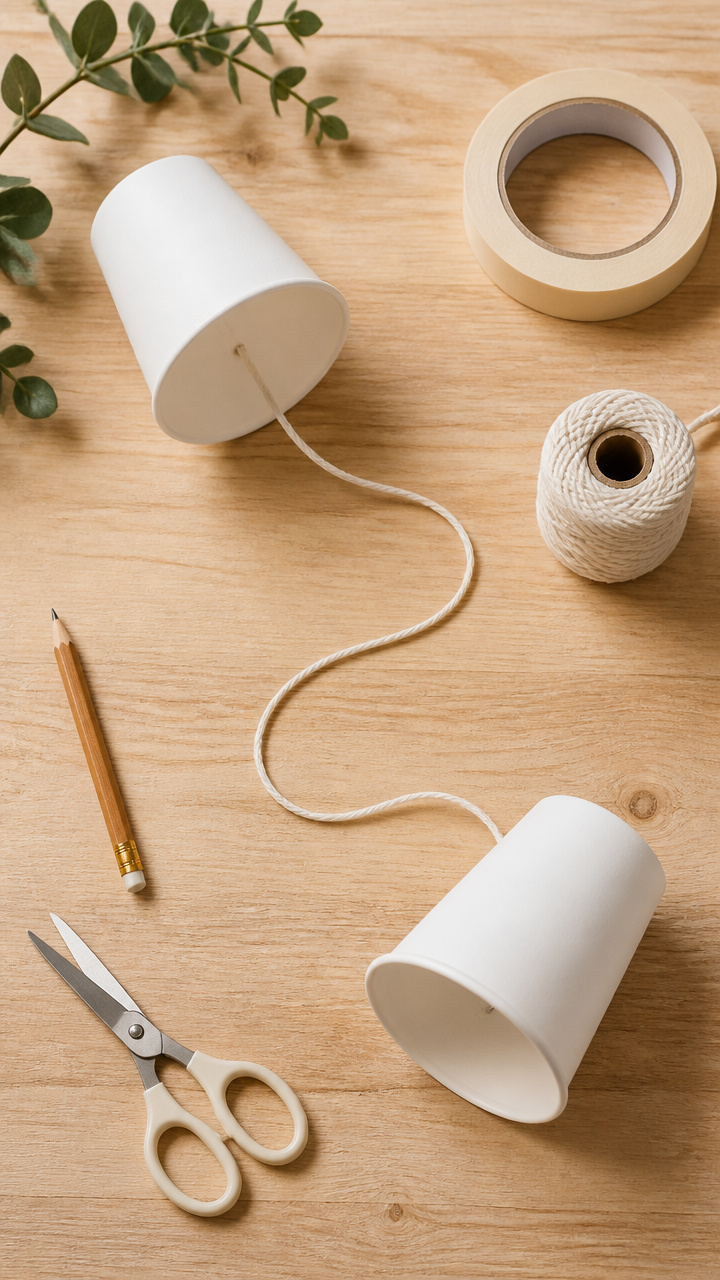
Two paper cups connected by string carry whispered messages across the room. This classic toy demonstrates sound vibration in a playful way.
Materials Needed
- 2 white paper cups (8 ounce)
- 50 feet cotton string (lightweight)
- Pencil (with sharp point)
- Scissors (1 pair)
- Masking tape (small roll)
How to Make It
- Use the pencil to poke a small hole in the center of the bottom of each cup. Push the string through from the inside and tie a knot under the cup to secure.
- Pull the string taut between two players holding a cup each. One person whispers into the cup while the other listens.
- If the sound is faint, wrap loose string ends around a finger and use tape to keep them tight. Do not pull too hard or the cup may tear.
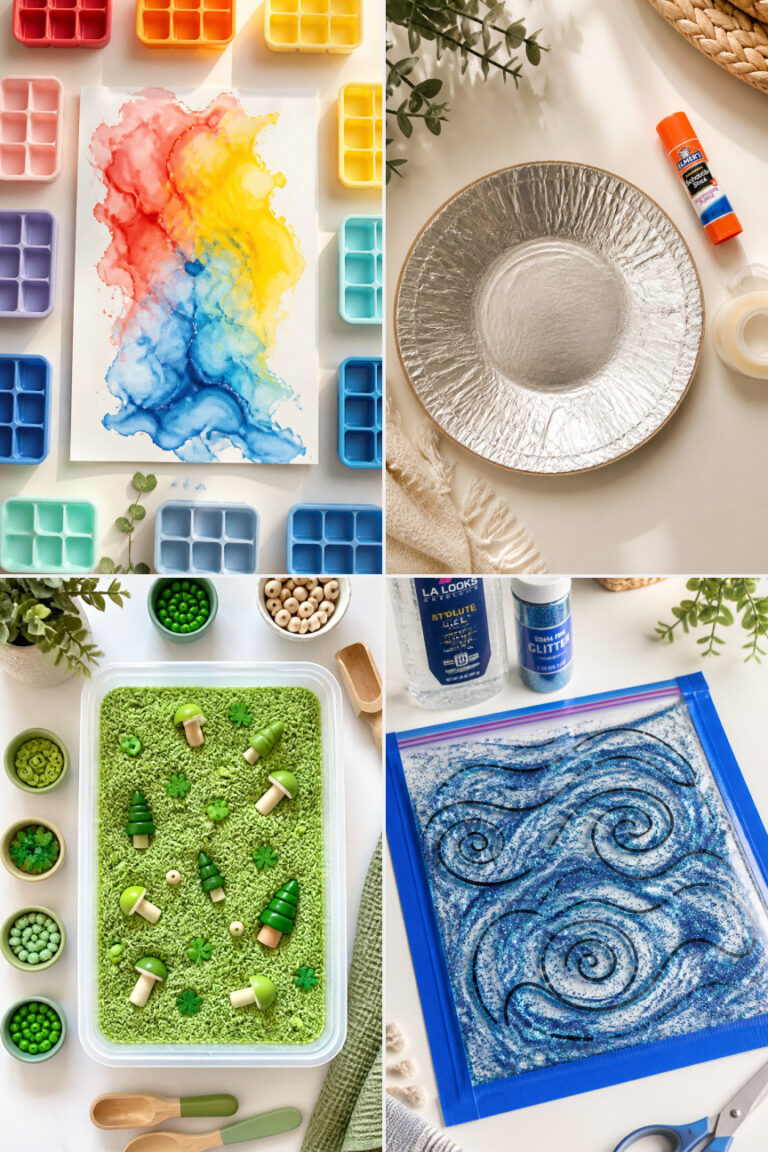
14. Glitter Slime Jars

Stretchy slime packed with glitter swirls inside clear jars for sensory play. The smooth texture holds shapes briefly before melting.
Materials Needed
- 2 bottles clear washable school glue (4 oz each)
- 1 bottle liquid starch (8 oz)
- 2 tablespoons fine glitter (color of choice)
- 3 small mason-style jars (4 oz, with lids)
- Plastic spoon (1)
How to Make It
- Pour one glue bottle into a jar. Add one tablespoon of glitter and stir slowly with the spoon for 30 seconds.
- Add 4 ounces of liquid starch and stir continuously for 2 minutes until the mixture pulls away from the jar sides.
- Pull the slime out and knead it in your hands for 1 minute. Return to the jar and repeat with remaining materials.
15. Cardboard Tube Binoculars
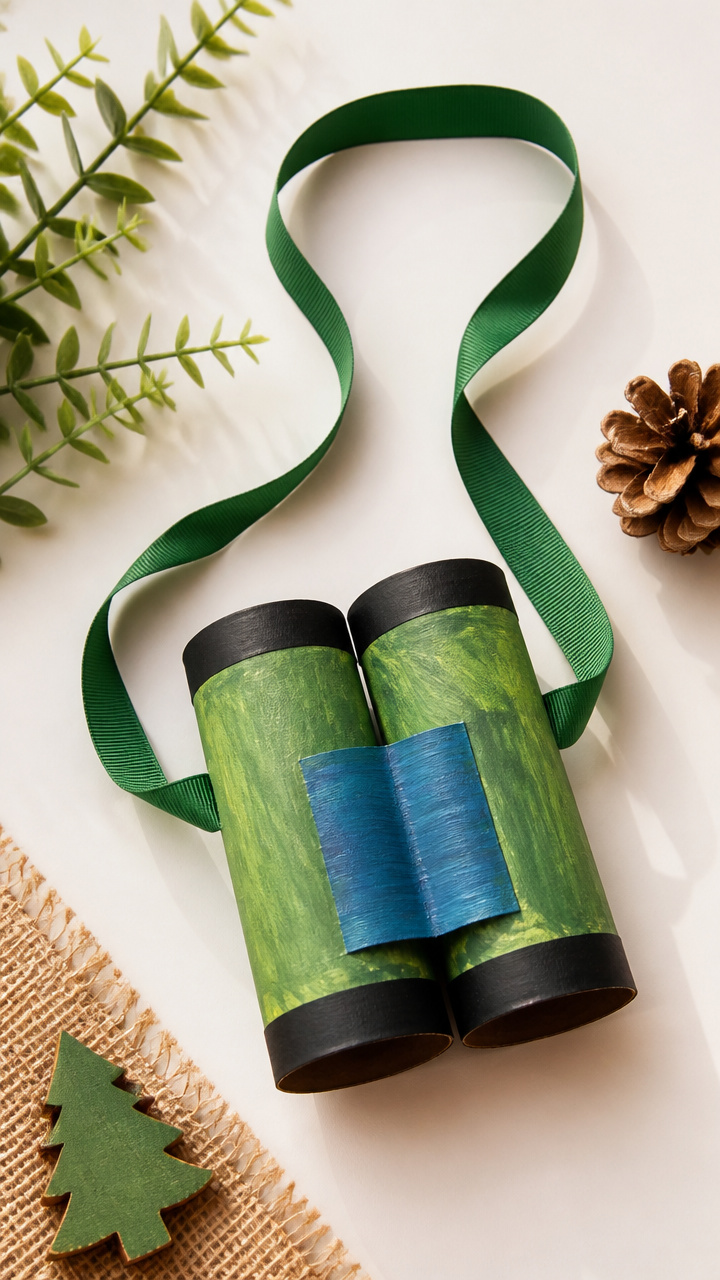
Toilet paper tubes join side by side with string to make explorer binoculars. Painted details turn them into safari or space gear.
Materials Needed
- 2 cardboard toilet paper tubes
- 12 inches grosgrain ribbon (1/2 inch wide)
- White school glue (1 bottle)
- Acrylic paint (green, blue, or black)
- Paintbrush (1, size 3)
How to Make It
- Lay both tubes side by side and apply glue along their shared edge. Press together and hold for 15 seconds. Let dry flat for 30 minutes.
- Cut two 6-inch lengths of ribbon. Punch one hole near the end of each tube on opposite sides. Thread and knot the ribbon to form a strap.
- Paint the outside of the binoculars one solid color. Add stars or leaves with the brush tip. Dry upright for 1 hour before use.
Each of these crafts turns ordinary dollar store finds into something special that kids will love to make and play with. Grab a basket and start collecting the supplies today — the next big idea is waiting on the shelf.