15 Pumpkin Gnome Crafts for Cozy Seasonal Charm

Pumpkin gnomes bring a touch of whimsy and warmth to fall decor. Their soft shapes and earthy colors make them perfect for porches, mantels, or quiet corners that need a little cheer.
Each of these handmade gnomes carries its own personality. You’ll use simple tools and everyday materials to create something truly one of a kind.
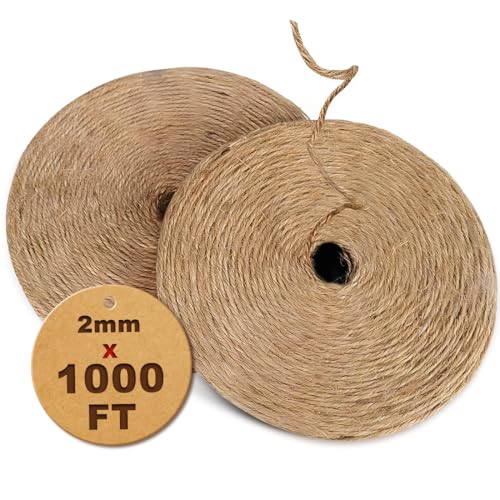
1. Felt Pumpkin Gnome with Twine Beard
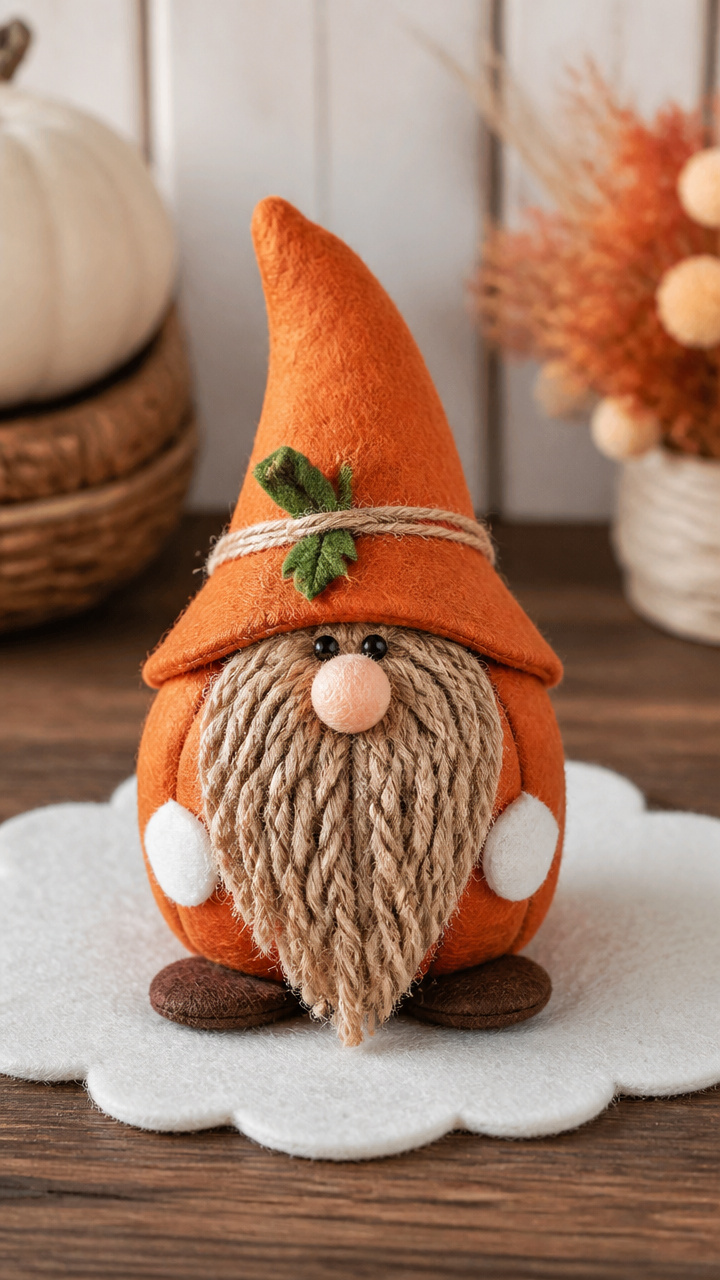
Soft orange felt forms a plump pumpkin body topped with a pointed hat and a neatly braided beard. This gnome stands steady on its own and adds gentle charm to a windowsill.
Materials Needed
- Orange felt sheet, 9 x 12 inches
- White felt sheet, 9 x 12 inches
- Brown craft foam, 6 x 6 inches
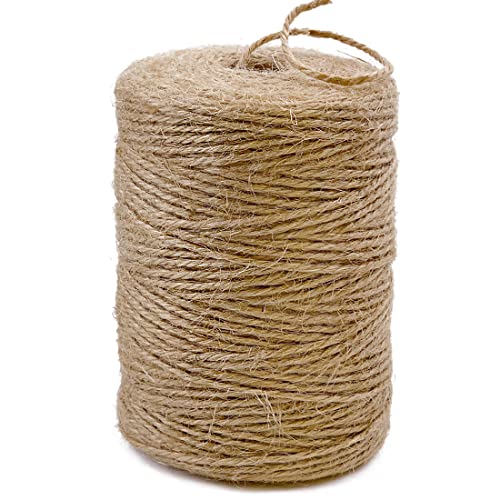
- Jute twine, 10 feet
- Black embroidery floss
- Fabric glue
- Scissors
- Needle
- Cardboard circle, 3 inches diameter
How to Make It
- Cut the orange felt into a 6-inch tall teardrop shape for the body. Cut a matching piece for the back.
- Glue the brown craft foam into a cone hat, then attach it to the top edge of one felt piece.
- Braid three 3-foot lengths of jute twine into a beard and glue it below the hat opening.
- Place the cardboard circle inside the bottom of the teardrop to stiffen the base.
- Sew the two felt pieces together around the edges using a whip stitch with black floss, leaving the bottom open.

2. Clay Pot Pumpkin Gnome
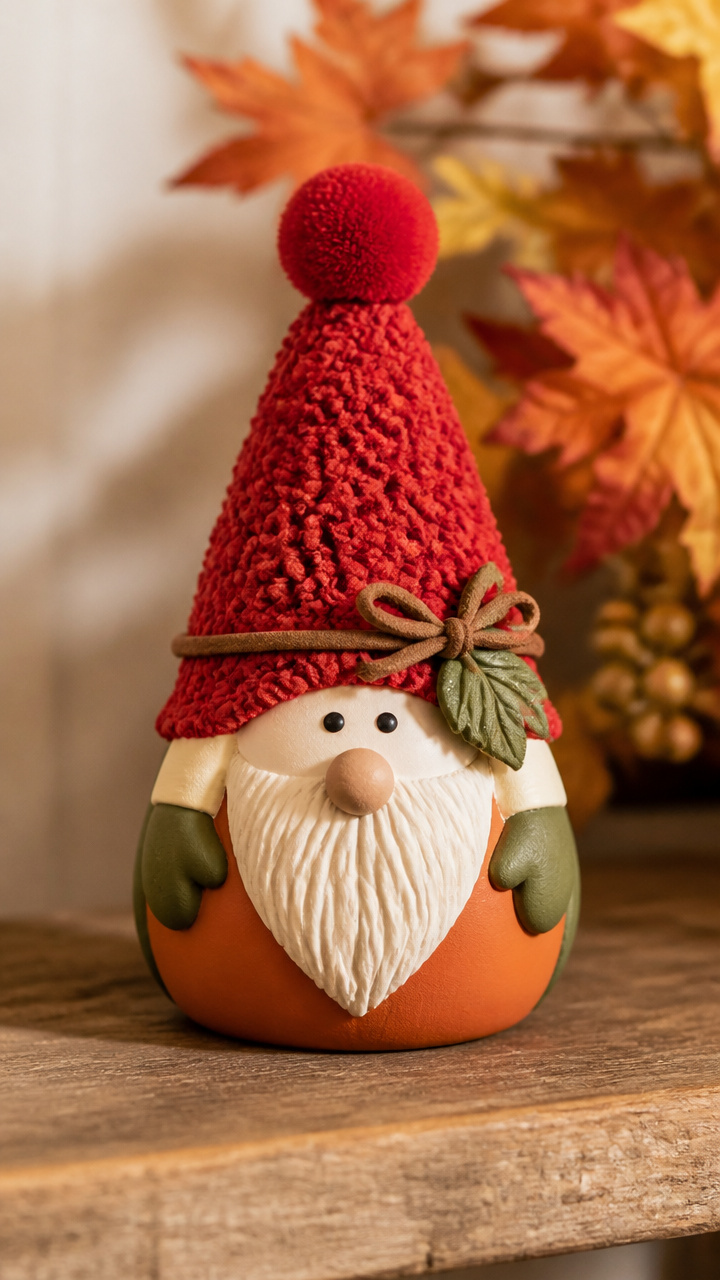
A terracotta pot becomes the rounded base of this sturdy gnome, painted in warm autumn tones and topped with a fabric hat. It’s ideal for outdoor steps or garden shelves.
Materials Needed
- 4-inch terracotta pot
- Acrylic paint: burnt orange, olive green, cream
- Paintbrush set, sizes 1 and 4
- Hot glue gun with glue sticks
- Faux suede cord, 12 inches
- Mini pom-pom, 1 inch, red
- Raffia bundle, 3 inches wide
- Googly eyes, 1/2 inch, pair
How to Make It
- Paint the outside of the pot with two coats of burnt orange, letting each dry for 20 minutes between coats.
- Glue raffia around the rim to form a textured beard, trimming ends evenly.
- Glue googly eyes just above the beard line.
- Tie the suede cord into a bow and glue it below the eyes.
- Glue the red pom-pom to the tip of a folded triangle of olive fabric to make a hat, then secure it to the top.


3. Yarn-Wrapped Toilet Paper Roll Gnome
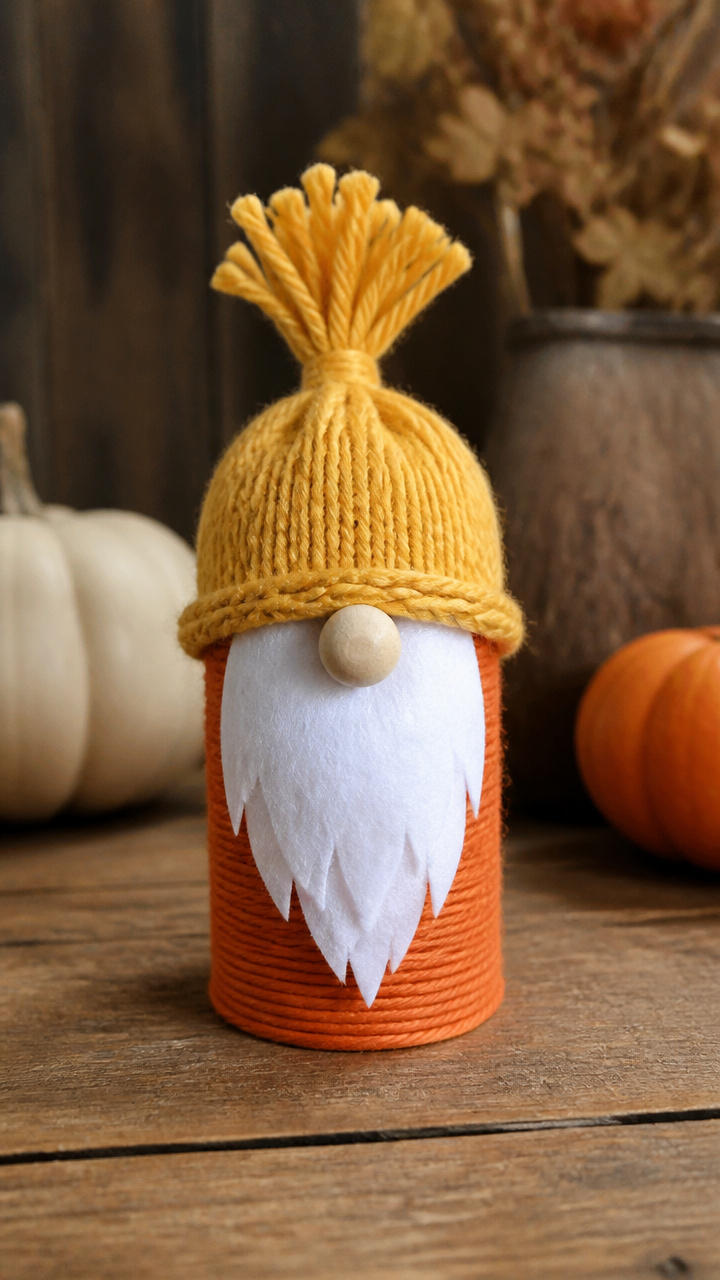
Empty toilet paper rolls wrapped tightly in orange yarn become lightweight pumpkin bodies. These gnomes hang easily or sit in clusters on small trays.
Materials Needed
- Empty toilet paper roll
- Orange yarn, worsted weight, 50 yards
- Yellow yarn, 20 yards
- White fleece scrap, 4 x 4 inches
- Craft glue
- Scissors
- Popsicle stick
- Embroidery needle
How to Make It
- Wrap the toilet paper roll tightly with orange yarn, securing the start and end with dabs of glue.
- Cut ten 6-inch strands of yellow yarn and tie them side by side at the top to form hair.
- Glue a small tuft of white fleece to the front for a beard.
- Cut two 1-inch circles from the fleece and glue them as cheeks.
- Push the popsicle stick through the bottom of the roll to make a stand and write a name or phrase on it.


4. Mini Pinecone Pumpkin Gnome
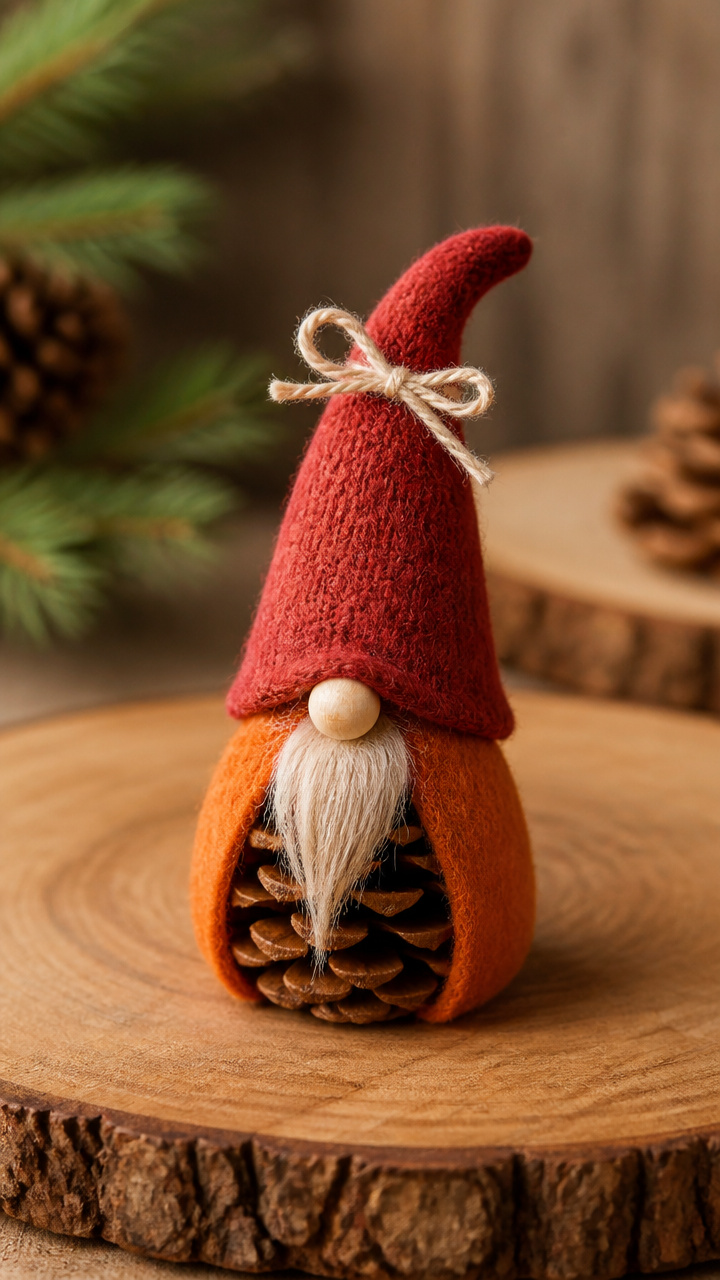
Tiny pinecones wear hand-sewn orange sleeves and wool hats. These forest-inspired gnomes fit in the palm of your hand and look sweet on a coffee table.
Materials Needed
- Small pinecone, 2 inches tall
- Orange wool blend felt, 4 x 4 inches
- Cream cotton thread
- Red embroidery floss
- Needle
- Scissors
- Wood bead, 1/2 inch, unpainted
- Hot glue gun
How to Make It
- Cut a rectangle of felt 2 inches wide and 3 inches tall, then sew it into a tube and slide it over the pinecone base.
- Sew a running stitch along the top edge of the felt and gather it slightly to mimic a pumpkin shape.
- Glue the wood bead to the top of the pinecone for the head.
- Stitch two small eyes and a mouth onto the bead using cream thread and red floss.
- Cut a triangle from red felt, fold into a cone, and glue it over the bead as a hat.


5. Pumpkin Gnome Mason Jar Lid
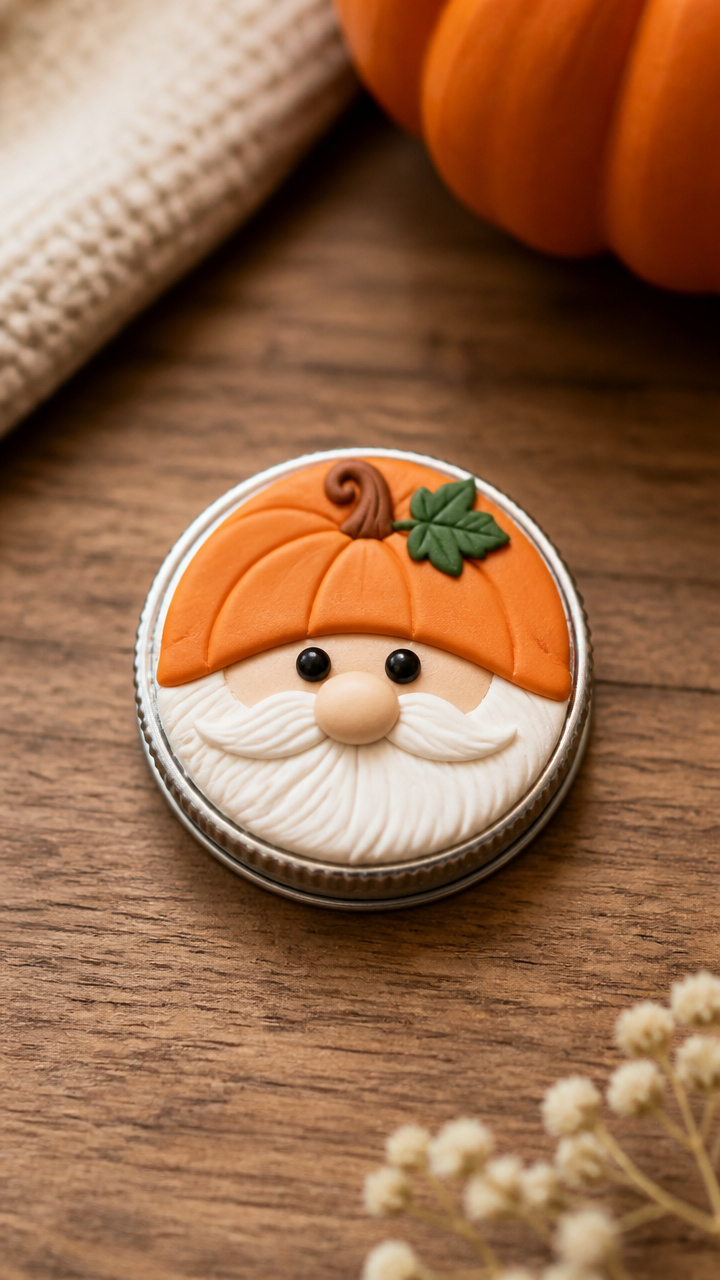
A mason jar lid holds a tiny gnome face surrounded by a raised pumpkin collar. Use it as a magnet, ornament, or gift tag accent.
Materials Needed
- Mason jar lid, 2.5 inches
- Orange air-dry clay, 1/4 cup
- Rolling pin
- Circular cookie cutter, 2.5 inches
- Plastic straw
- Acrylic paint: white and black
- Small paintbrush
- Magnet disc, 1 inch
- Glue dots
How to Make It
- Roll the clay to 1/8 inch thickness and cut a circle using the cookie cutter.
- Press the circle into the lid so it fits snugly and trim excess with a knife.
- Use the straw to punch two eye holes near the top and a small mouth hole below.
- Let the clay dry for 24 hours, then paint eyes and mouth with black and add white highlights.
- Attach the magnet to the back using a glue dot.


6. No-Sew Fleece Pumpkin Gnome
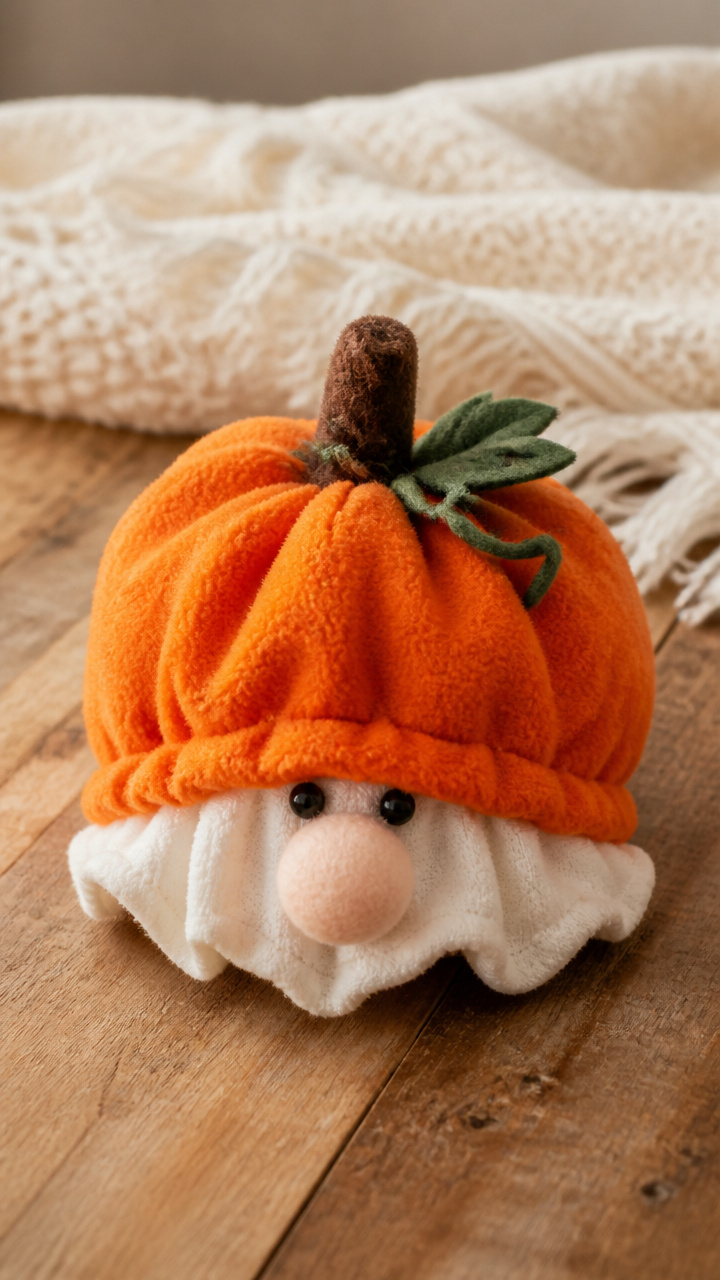
Stretchy orange fleece forms a plush pumpkin body without any stitching. This quick project is great for last-minute gifts or kid helpers.
Materials Needed
- Orange fleece fabric, 8 x 10 inches
- White fleece, 4 x 4 inches
- Scissors
- Rubber band, 1/4 inch wide
- Hot glue gun
- Black marker
- Cardstock circle, 3 inches
How to Make It
- Lay the orange fleece flat and place the cardstock circle in the center.
- Pull all four corners of the fleece up over the circle and gather them tightly at the top.
- Secure the gathered fabric with the rubber band.
- Glue white fleece strips around the base to form a beard.
- Draw simple eyes and a smile on the front with a permanent black marker.


7. Twig-Legged Pumpkin Gnome
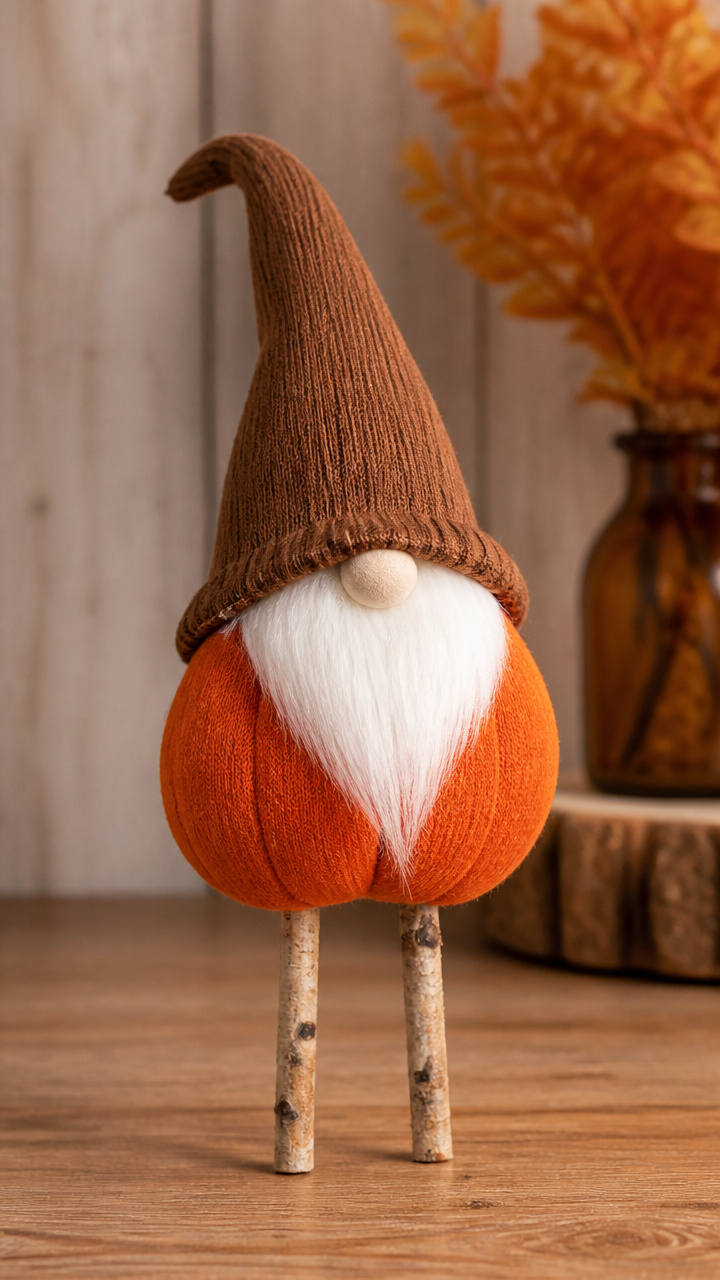
Real birch twigs serve as legs under a soft pumpkin torso. This gnome stands tall on a shelf and brings woodland texture indoors.
Materials Needed
- Two straight birch twigs, 6 inches long, 1/4 inch thick
- Orange knit fabric scrap, 6 x 8 inches
- Polyester stuffing, 1/2 cup
- Sewing needle
- Thread, green
- Hot glue gun
- Brown suede cord, 8 inches
- Fabric scissors
How to Make It
- Sew the knit fabric into a 4-inch cylinder, leaving both ends open.
- Fill the tube with stuffing and gather one end closed with a running stitch.
- Glue the open bottom end around the tops of the two twigs, spacing them apart for balance.
- Tie the suede cord around the upper third of the body to resemble a belt.
- Leave the gathered top as a natural hat or add a fabric scrap cap with glue.

8. Pumpkin Gnome Wreath Accent
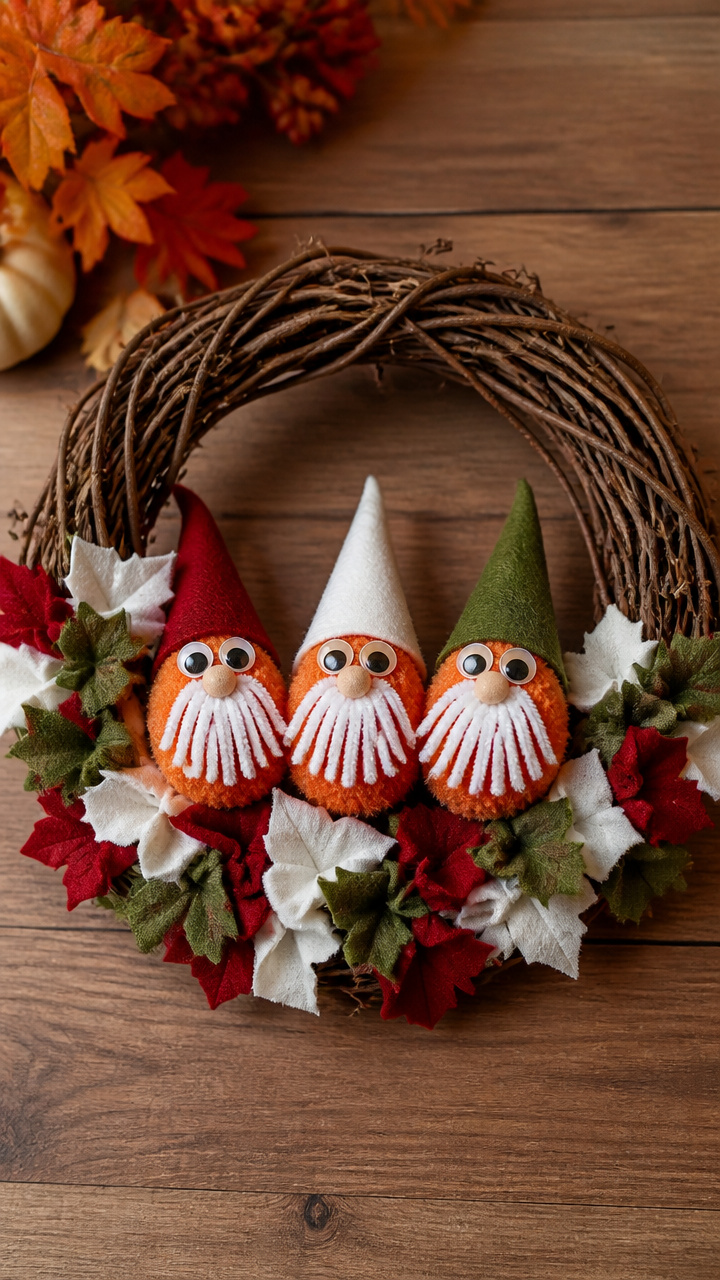
A cluster of three mini gnomes nestles into a grapevine wreath. Their pumpkin-like bodies peek through vines, adding playful depth to fall entryways.
Materials Needed
- Grapevine wreath, 10 inches
- Three 2-inch orange pom-poms
- White pipe cleaners, 3
- Hot glue gun
- Felt scraps: red, white, green
- Googly eyes, 3/8 inch, three pairs
- Wire cutters
How to Make It
- Bend each pipe cleaner into a loop at one end to form a hook, then twist the other end into a spiral beard.
- Glue a googly eye pair to the front of each pom-pom.
- Cut small triangles from red felt and glue them as hats on top of the pom-poms.
- Add a dab of glue under each hat and press the hook end of a pipe cleaner into place.
- Weave the hooked gnomes into the wreath at different points, letting their beards face outward.

9. Pumpkin Gnome Book Page Craft
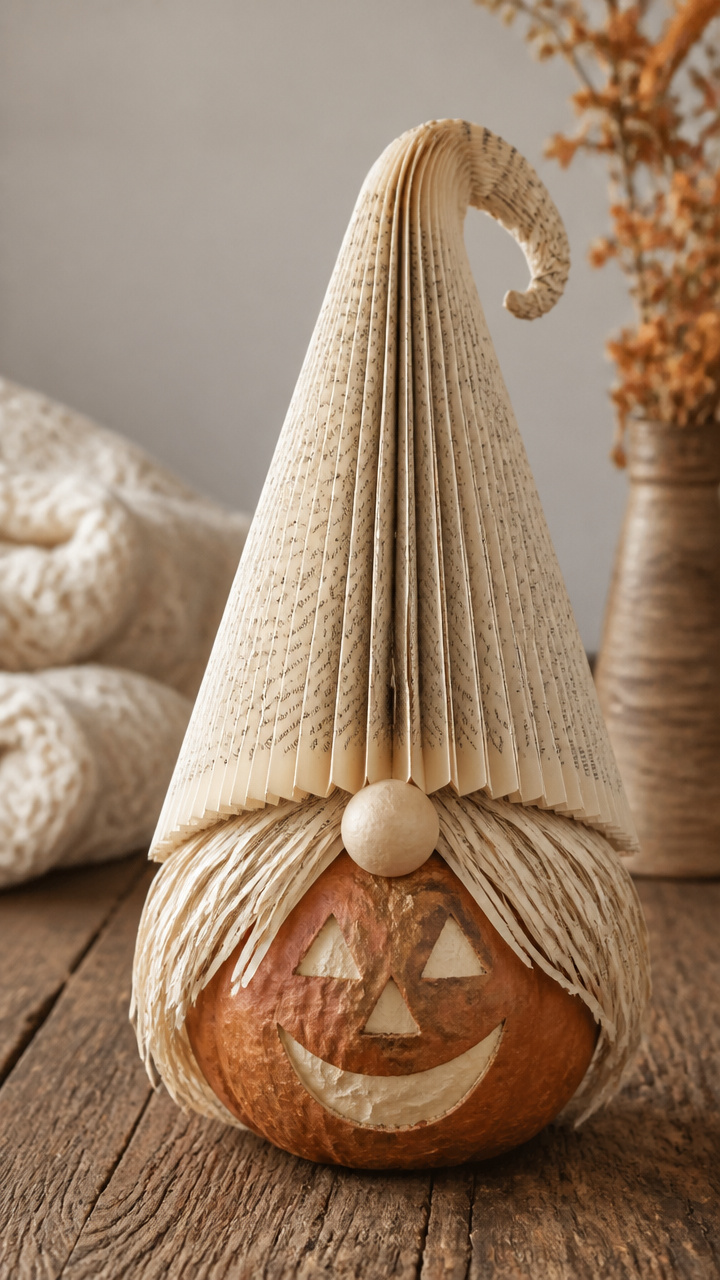
Pages from an old book roll into a cone hat and support a papier-mâché pumpkin face. This literary gnome suits cozy reading nooks.
Materials Needed
- Used book pages, 5 sheets
- White glue
- Water, 1/4 cup
- Balloon, 4 inches
- Paintbrush
- Brown acrylic paint
- Orange tissue paper, 6 x 6 inches
- Scissors
How to Make It
- Mix glue and water to make a paste. Tear book pages into 1-inch strips.
- Cover half a balloon with two layers of paper strips, letting it dry 12 hours.
- Pop and remove the balloon, then cut the round base flat.
- Glue orange tissue paper over the dome to mimic a pumpkin.
- Roll a book page into a cone, glue the seam, and attach it to the top as a hat.


10. Button-Faced Pumpkin Gnome
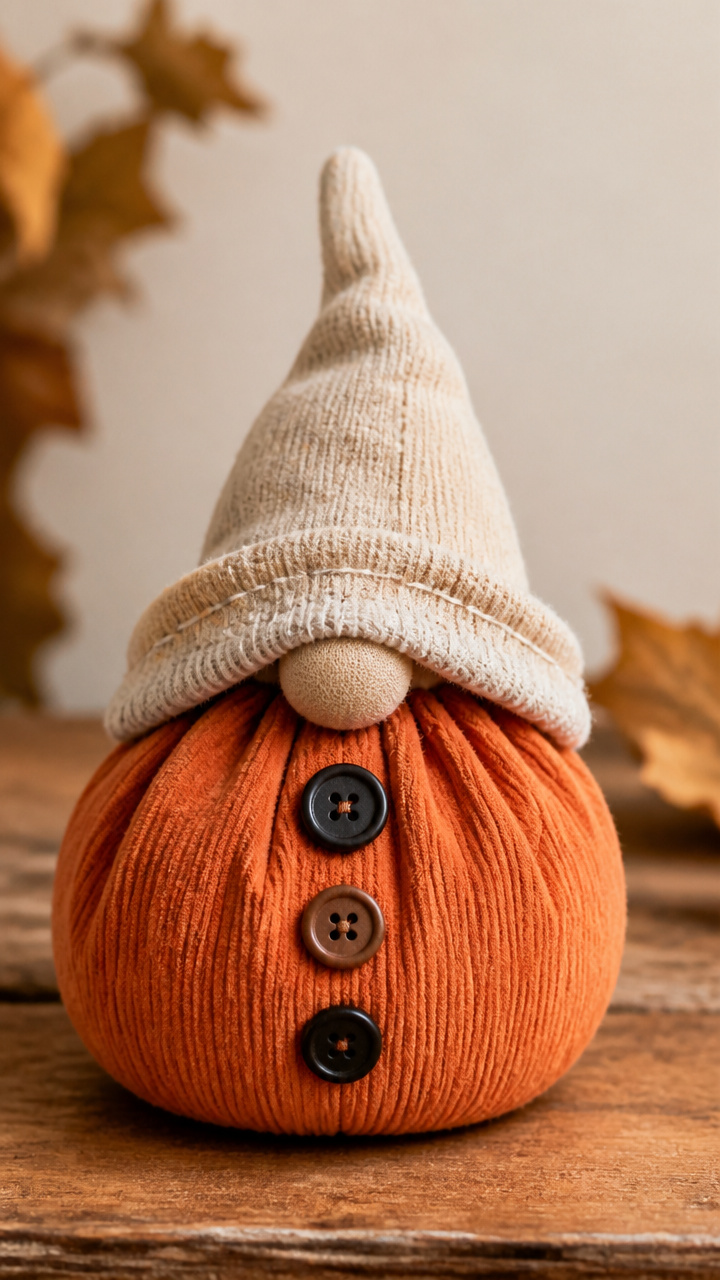
Three vintage-style buttons form the face of this gnome, stitched onto a stuffed orange sleeve. It’s a nostalgic piece with tactile detail.
Materials Needed
- Orange corduroy scrap, 7 x 9 inches
- Buttons: one 3/4 inch black, two 1/2 inch brown
- Embroidery floss, cream
- Needle
- Polyfill stuffing, 3/4 cup
- Scissors
- Ribbon, green, 12 inches
How to Make It
- Sew the corduroy into a 5-inch tall tube, leaving both ends open.
- Turn right side out and fill with polyfill.
- Sew the bottom closed with a whip stitch.
- Arrange the black button at the bottom for a mouth, and the brown ones above for eyes.
- Stitch each button in place securely, then tie the ribbon around the neck like a scarf.



11. Pumpkin Gnome Clothespin Figure
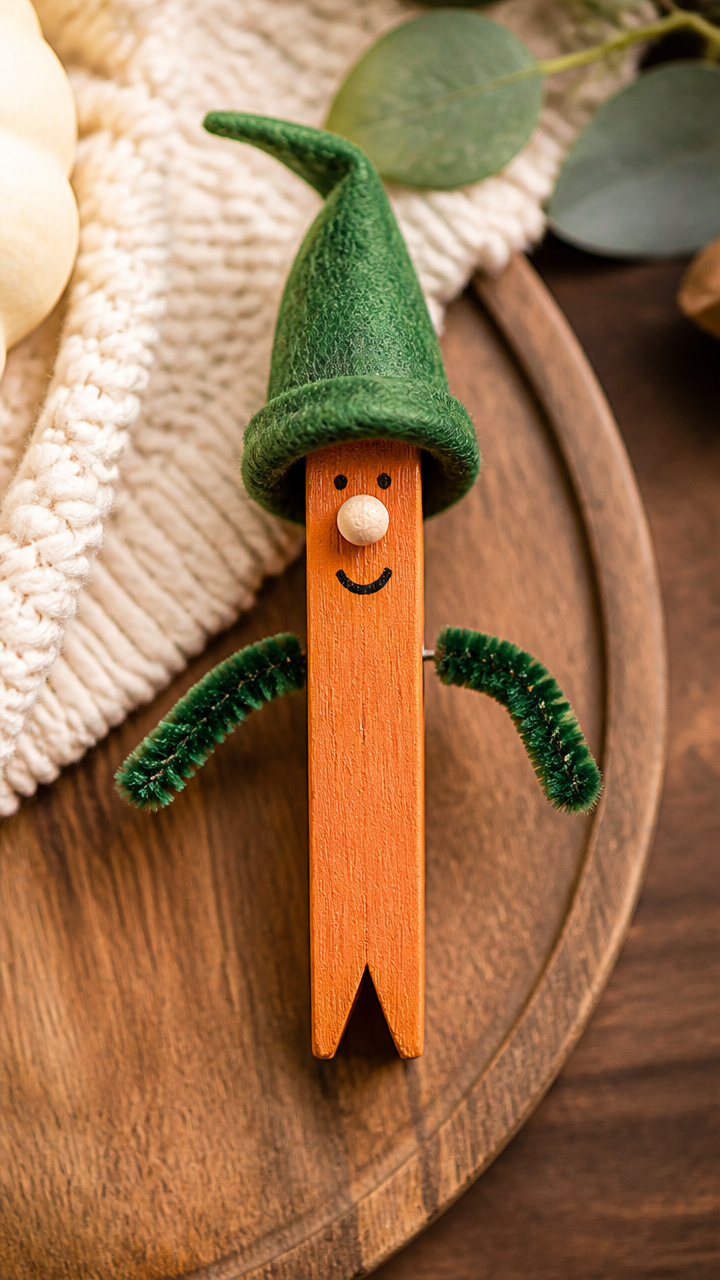
A wooden clothespin becomes the body base, painted and dressed to resemble a plump pumpkin gnome. Hang it from a banner or place it on a ledge.
Materials Needed
- Oval wooden clothespin
- Orange acrylic paint
- Paintbrush, size 2
- Green chenille stem, 12 inches
- Hot glue gun
- Mini felt hat, 1.5 inches
- Black fine-tip pen
- White craft paint
How to Make It
- Paint the entire clothespin with two coats of orange paint, drying 15 minutes between coats.
- Twist the chenille stem into a spiral beard and glue it below the clasp.
- Draw two small eyes and a curved smile with the black pen.
- Dab white paint above each eye for highlights.
- Glue the felt hat to the top of the clothespin head.


12. Salt Dough Pumpkin Ornament
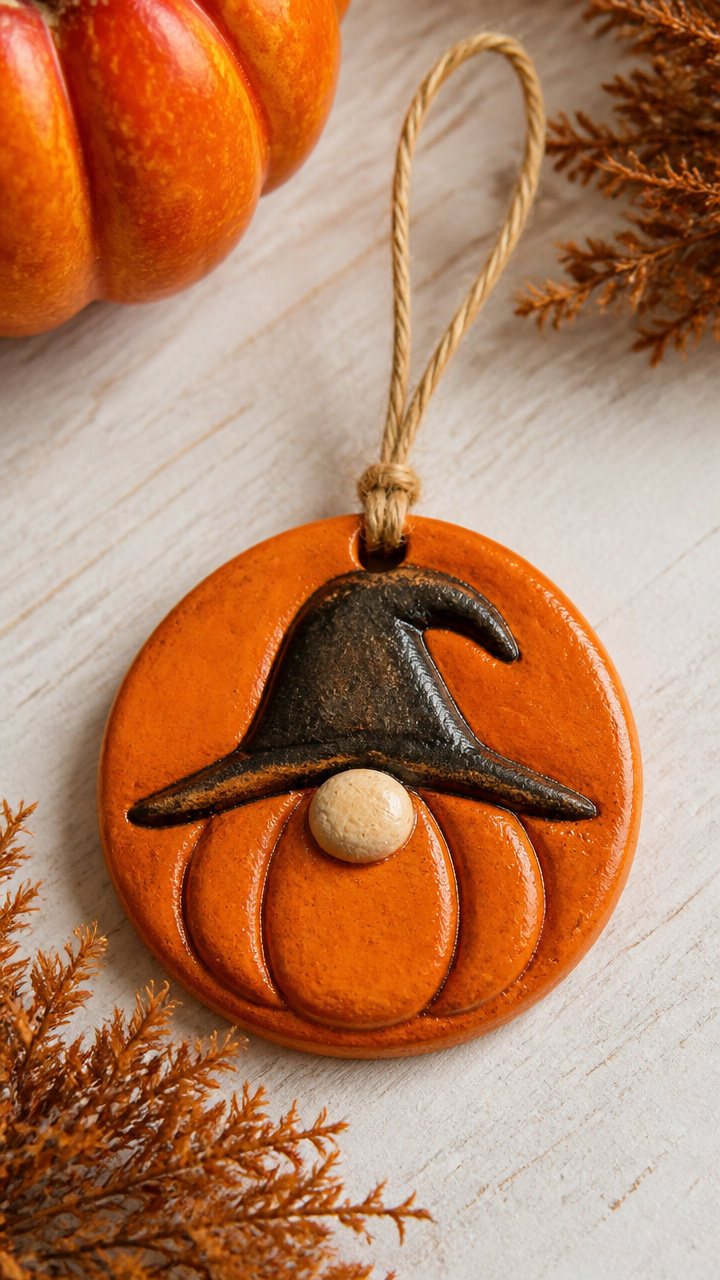
Homemade salt dough molds into a thick disc with a carved pumpkin face. Baked and painted, it becomes a keepsake tree decoration.
Materials Needed
- Flour, 1 cup
- Salt, 1/2 cup
- Water, 1/2 cup
- Mixing bowl
- Rolling pin
- Circular biscuit cutter, 3 inches
- Straw
- Oven
- Acrylic paint: orange, black, white
How to Make It
- Mix flour, salt, and water in a bowl until a smooth dough forms.
- Roll the dough to 1/4 inch thickness and cut a circle with the cutter.
- Use the straw to poke two eyes, a nose, and a mouth into the dough.
- Bake at 200°F for 3 hours until hard, then cool completely.
- Paint the front orange, add facial features with black and white paint, and let dry overnight.


13. Pumpkin Gnome Tea Bag Holder
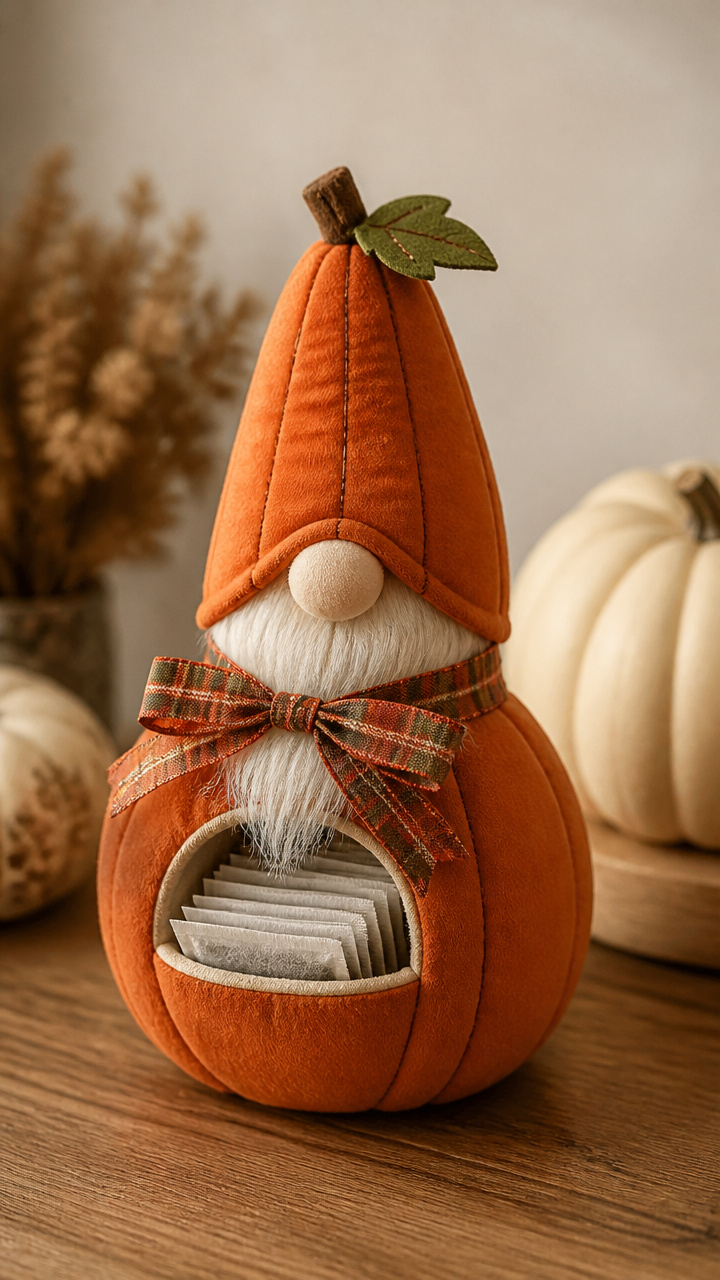
A small fabric gnome holds tea bags in its hollow base. Place it in the kitchen for both function and seasonal flair.
Materials Needed
- Orange cotton fabric, 6 x 8 inches
- Contrasting thread
- Sewing machine
- Scissors
- Polyester stuffing, 1/3 cup
- Ribbon, 1 inch wide, 10 inches
- Tea bags, 3
How to Make It
- Cut two identical pumpkin-shaped pieces from the fabric.
- Sew around the edge with a 1/4 inch seam, leaving a 2-inch gap.
- Turn right side out and stuff firmly with polyester filling.
- Topstitch the opening closed.
- Slide three tea bags under the gnome’s base and tie the ribbon around its middle to hold them in place.


14. Pumpkin Gnome Rock Painting
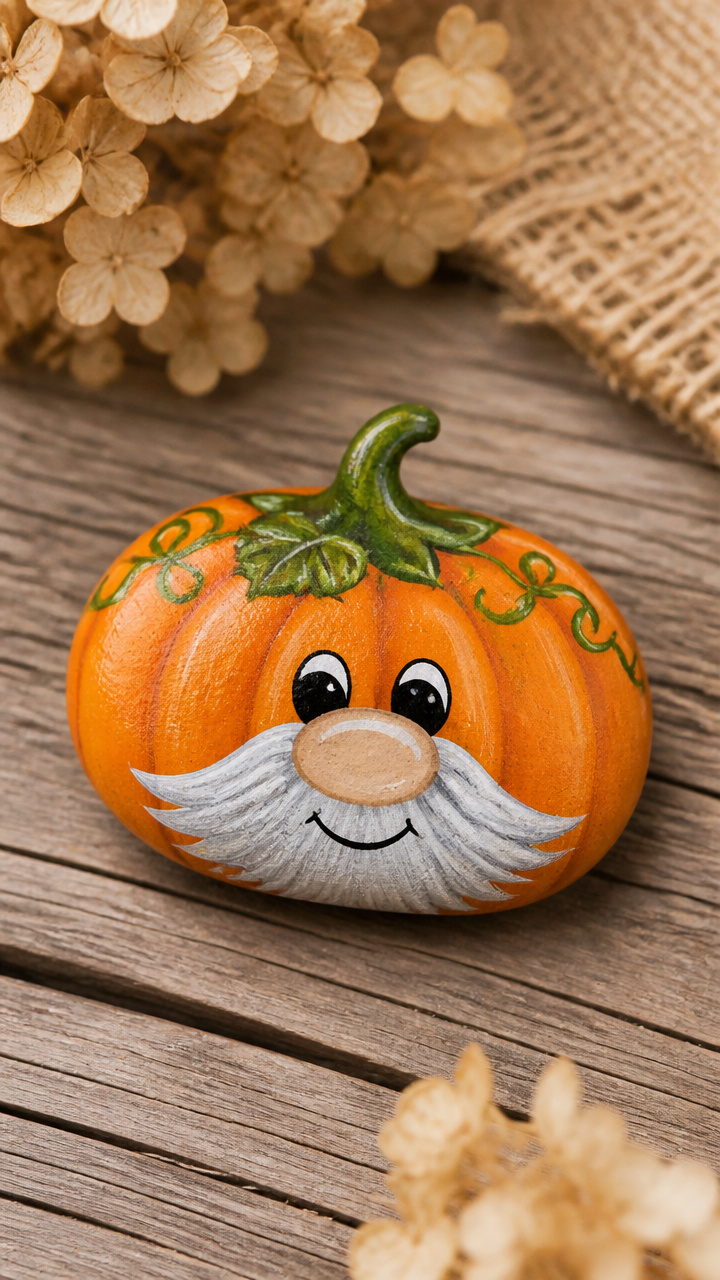
A smooth river rock becomes a gnome’s head with a hand-painted pumpkin design. Set it among plants or use it as a paperweight.
Materials Needed
- River rock, 3 x 2 inches, flat side
- Acrylic paint: orange, green, black, white
- Fine paintbrush
- Clear sealant spray
- Paper plate
- Pencil
How to Make It
- Sketch a simple face lightly on the rock with pencil.
- Paint the entire front surface with two coats of orange, drying 15 minutes between coats.
- Paint a green stem at the top and let dry 10 minutes.
- Use black paint to outline eyes, nose, and a smiling mouth.
- Add small white dots inside the eyes for shine, then spray with sealant and dry 1 hour.


15. Pumpkin Gnome Candle Base
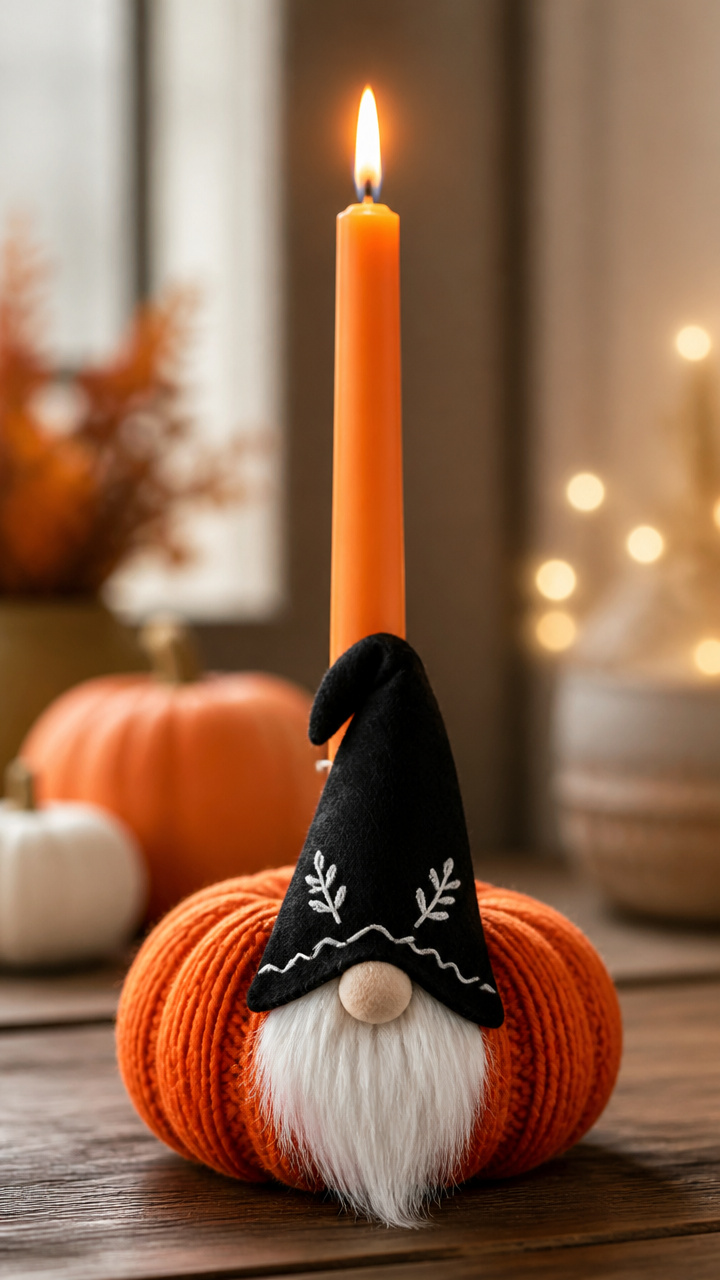
A taper candle stands inside a knitted pumpkin sleeve with a gnome face. Light it at dusk for a glowing centerpiece.
Materials Needed
- Orange knitted cuff, 3 inches tall, stretchable
- White chalk marker
- Taper candle, 10 inches
- Felt scrap, black
- Fabric glue
- Scissors
- Candle holder
How to Make It
- Slide the knitted cuff down to the middle of the candle.
- Use the chalk marker to draw two eyes and a friendly smile on the fabric.
- Cut two small ovals from black felt and glue them as pupils.
- Let the ink dry for 5 minutes before lighting.
- Place the candle in a holder to keep it upright while burning.


Each of these gnomes carries a bit of autumn magic you made with your own hands. Gather your supplies and let the season inspire your next creation.