18 Pumpkin Door Hanger Crafts

Pumpkin door hangers bring a cozy touch to your front porch or indoor spaces during the season. You can make them with paint, fabric, wood, or paper, and each one reflects your personal style. These handmade pieces welcome guests with warmth and a bit of handmade charm.
We’ve gathered 18 unique pumpkin door hangers, each using different materials and methods. No two are alike, so you can choose one that fits your skill level and supplies on hand. These are projects you’ll enjoy making and displaying year after year.
1. Painted Wood Slice Pumpkin
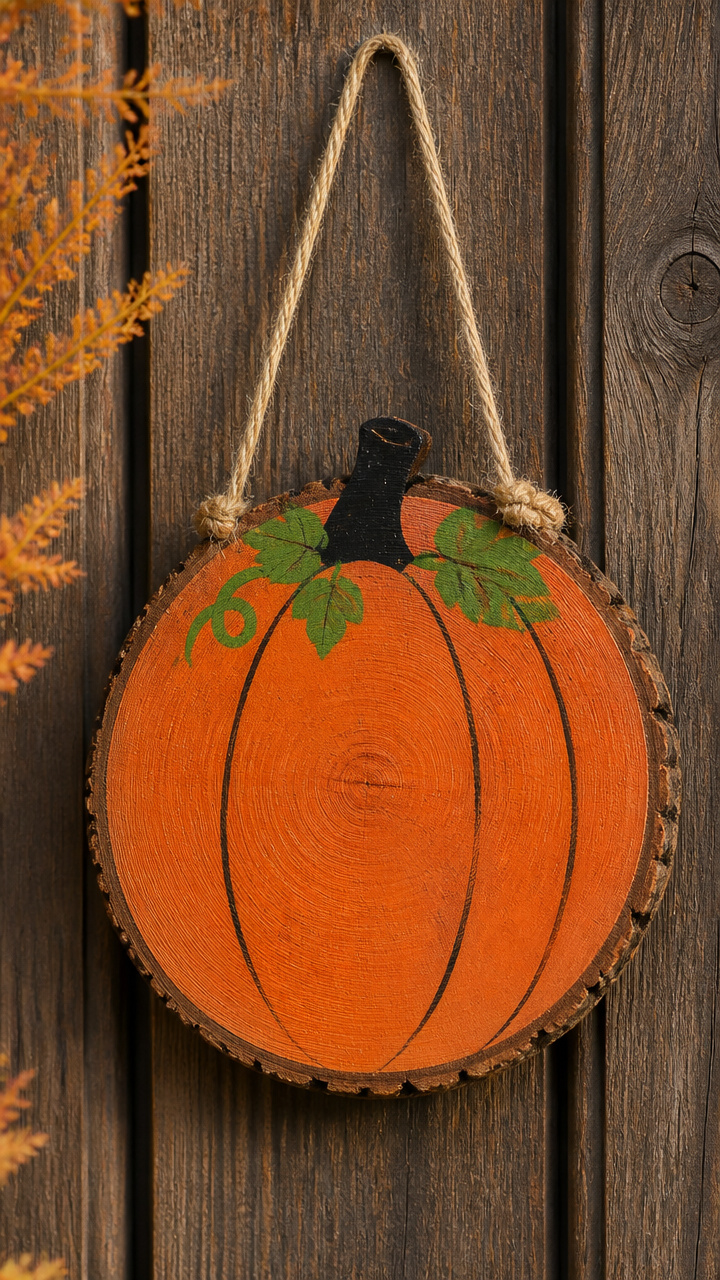
Rough wood grain forms the base of this rustic pumpkin hanger. Natural texture pairs with soft paint for a warm, earthy look.
Materials Needed
- One 6-inch wood slice with bark edge
- Sandpaper (120 grit)
- Flat acrylic paint (orange, black, green)
- Paintbrush set (small flat and liner)
- Clear matte sealant spray
- Jute twine, 12 inches
- Hole punch tool for wood
How to Make It
- Lightly sand the wood slice surface until smooth, keeping the bark edge intact.
- Paint the top surface orange using the flat brush, applying two thin coats with 20 minutes drying time between coats.
- Use the liner brush to paint black triangle eyes and a jagged mouth, then a short green stem at the top center.
- Spray the entire surface with matte sealant in a well-ventilated area, holding 10 inches away.
- Punch a hole just above the stem using the hole punch, then thread jute twine through and knot securely.


2. Felt Layered Pumpkin
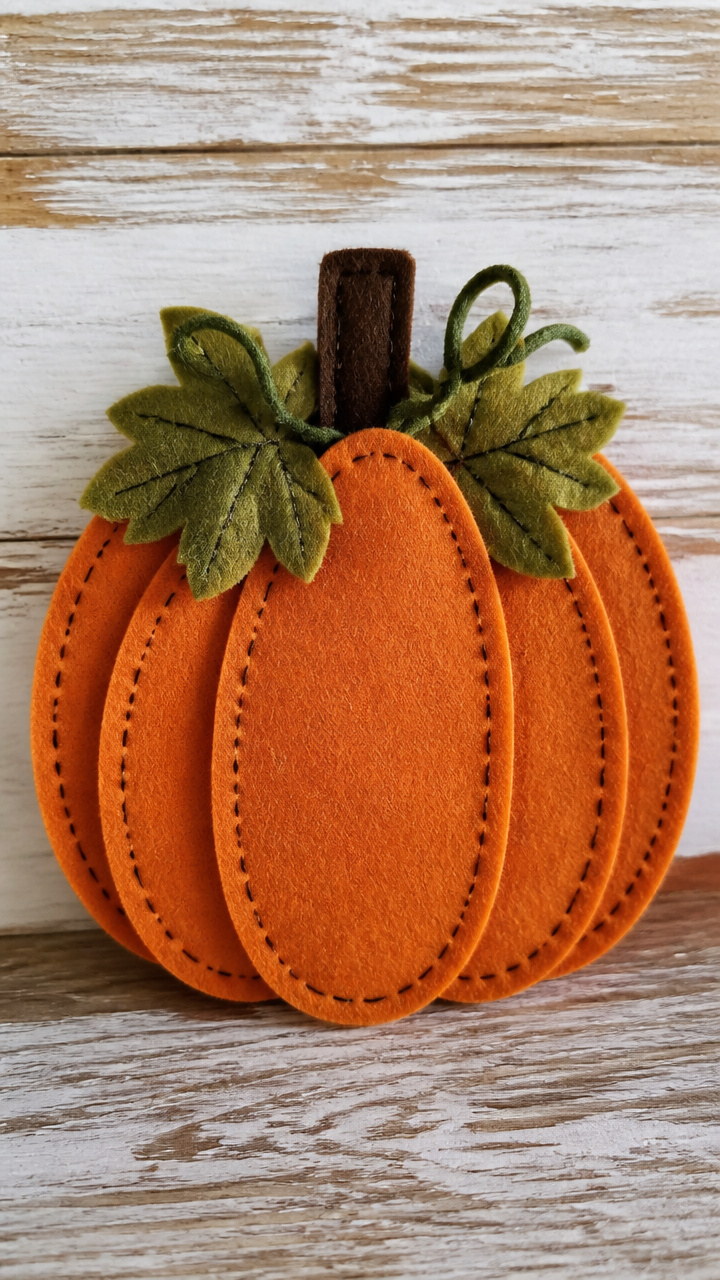
Soft orange and green felt stack to create a dimensional pumpkin with stitched details. This lightweight version hangs easily on any door.
Materials Needed
- Orange wool blend felt sheet, 9×12 inches
- Green wool blend felt sheet, 9×12 inches
- Scissors
- Fabric glue
- Embroidery floss (black, green)
- Embroidery needle
- Cardboard pumpkin template (5 inches tall)
- Ribbon, 10 inches, 1/4 inch wide
How to Make It
- Trace the pumpkin template onto the orange felt and cut out two identical shapes.
- Glue the two orange pieces together, leaving a 1/4 inch border unglued at the top for stuffing.
- Cut a green oval stem and a curly vine from green felt, then glue them to the front piece before joining both sides.
- Use backstitch with black floss to outline vertical pumpkin ridges from top to bottom.
- Thread ribbon through the top opening, knot the ends, and seal the gap with a dot of glue.


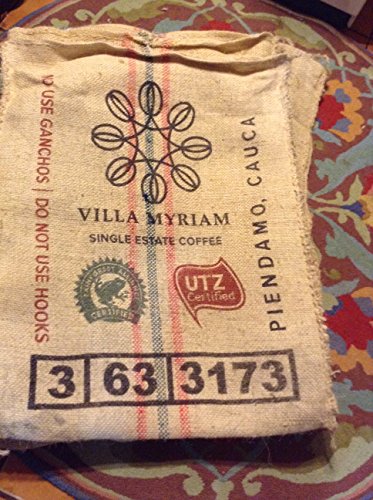
3. Burlap Coffee Bag Pumpkin
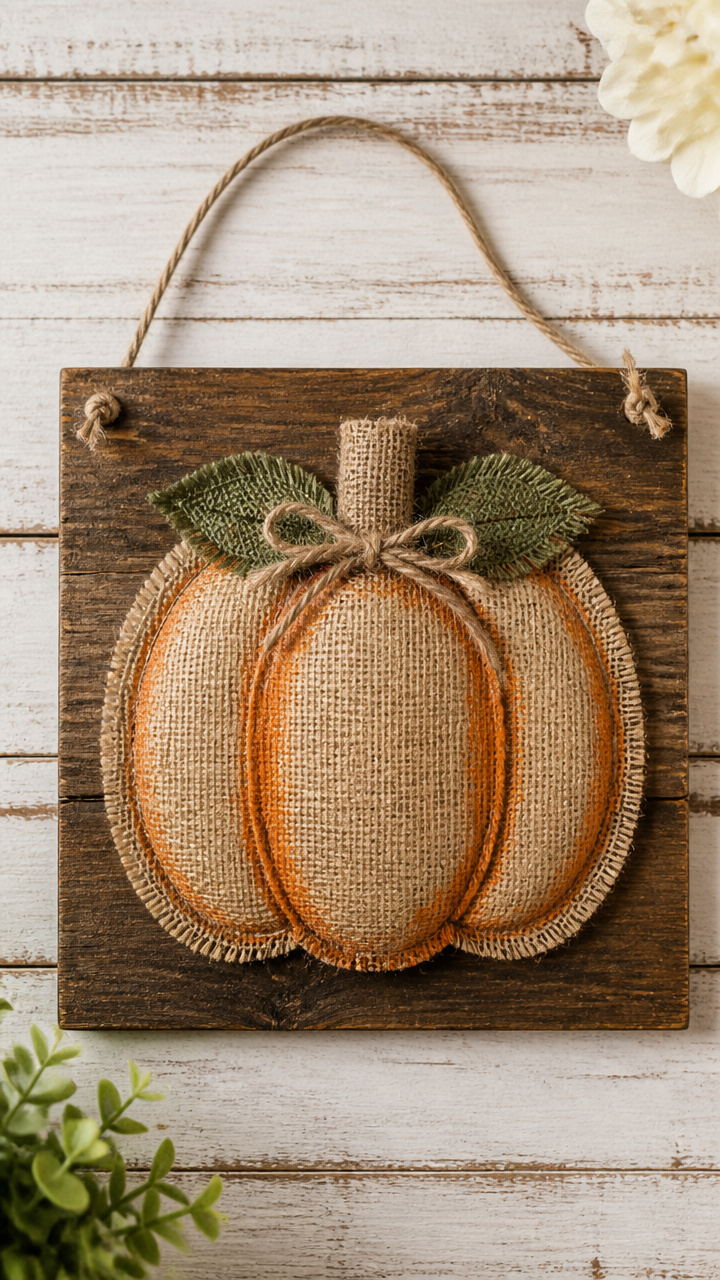
Upcycled burlap from a coffee sack gives this pumpkin a textured, eco-friendly surface. The natural tan background adds rustic contrast.
Materials Needed
- Clean flat panel from a burlap coffee bag, 8×8 inches
- Scissors
- Pencil
- Orange fabric paint
- Foam stencil brush
- Twine, 12 inches
- Hot glue gun and glue sticks
- Plastic stencil of a pumpkin shape (5 inches)
How to Make It
- Lay the burlap flat and place the pumpkin stencil in the center, securing corners with tape.
- Dip the foam brush lightly in orange fabric paint and dab inside the stencil, using circular motions to avoid bleeding.
- Let the paint dry for 30 minutes, then carefully remove the stencil.
- Cut a 3-inch length of twine and hot glue each end to the back top corners of the burlap square.
- Tie the loose ends together to form a hanging loop.


4. Pumpkin Paper Quilt Hanger
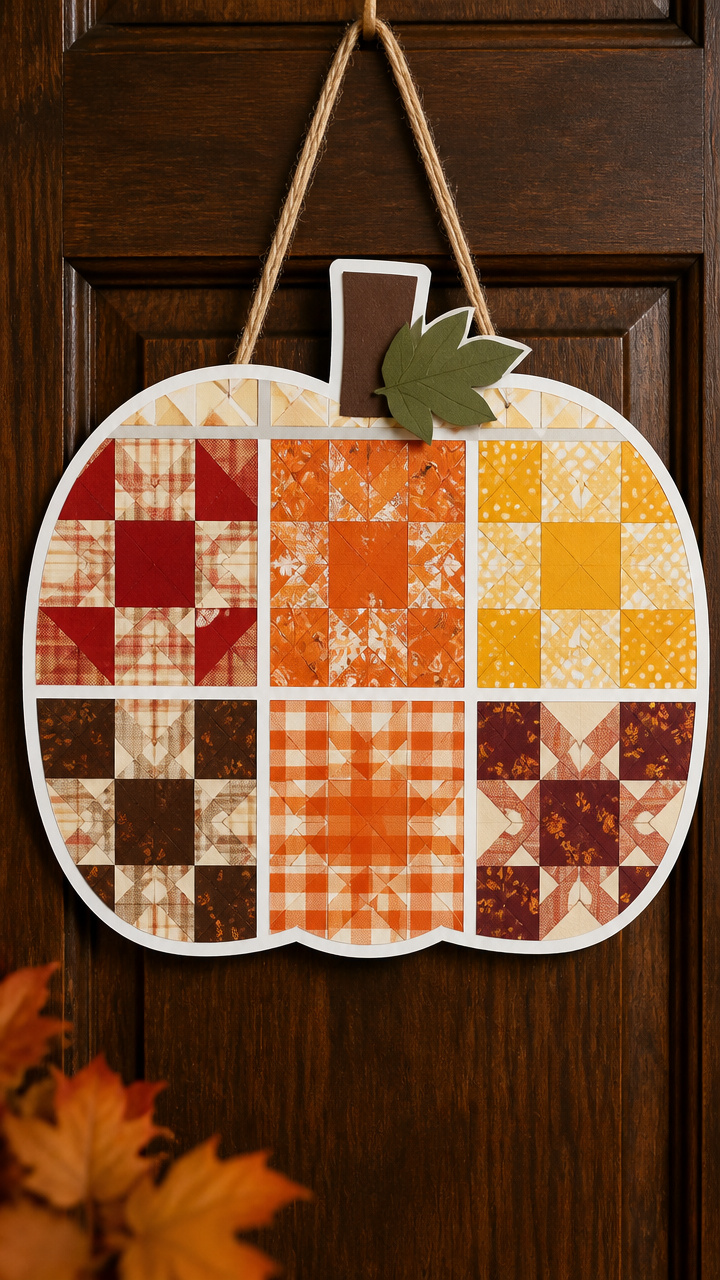
Colorful strips of patterned paper mimic a quilt design on a sturdy base. This version bursts with cheerful autumn prints.
Materials Needed
- A4 white cardstock
- Scissors
- Ruler
- Pencil
- Glue stick
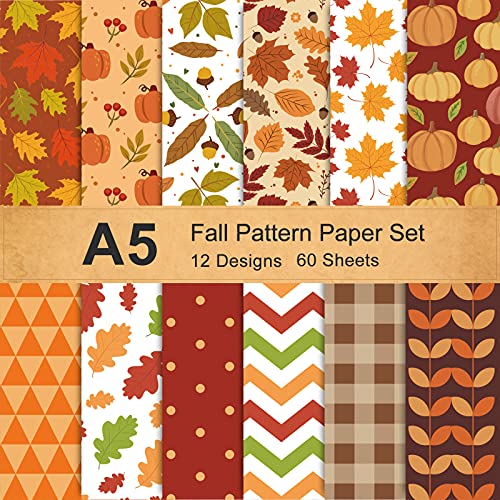
- Patterned scrapbook paper in fall colors (red, orange, yellow, brown), 6 different 6×6 inch squares
- Clear contact paper, 9×12 inches
- Hole punch
- Ribbon, 10 inches
How to Make It
- Cut the cardstock into a 6-inch circle using the ruler and pencil to mark the shape before cutting.
- Cut each 6×6 inch paper square into four 3×3 inch pieces, creating 24 small squares.
- Arrange the small squares in a checkerboard pattern on the cardstock circle, gluing each in place with the glue stick.
- Cover the front completely with contact paper, smoothing out bubbles with your palm.
- Punch a hole at the top and thread the ribbon through, tying a secure knot.


5. Yarn-Wrapped Pumpkin
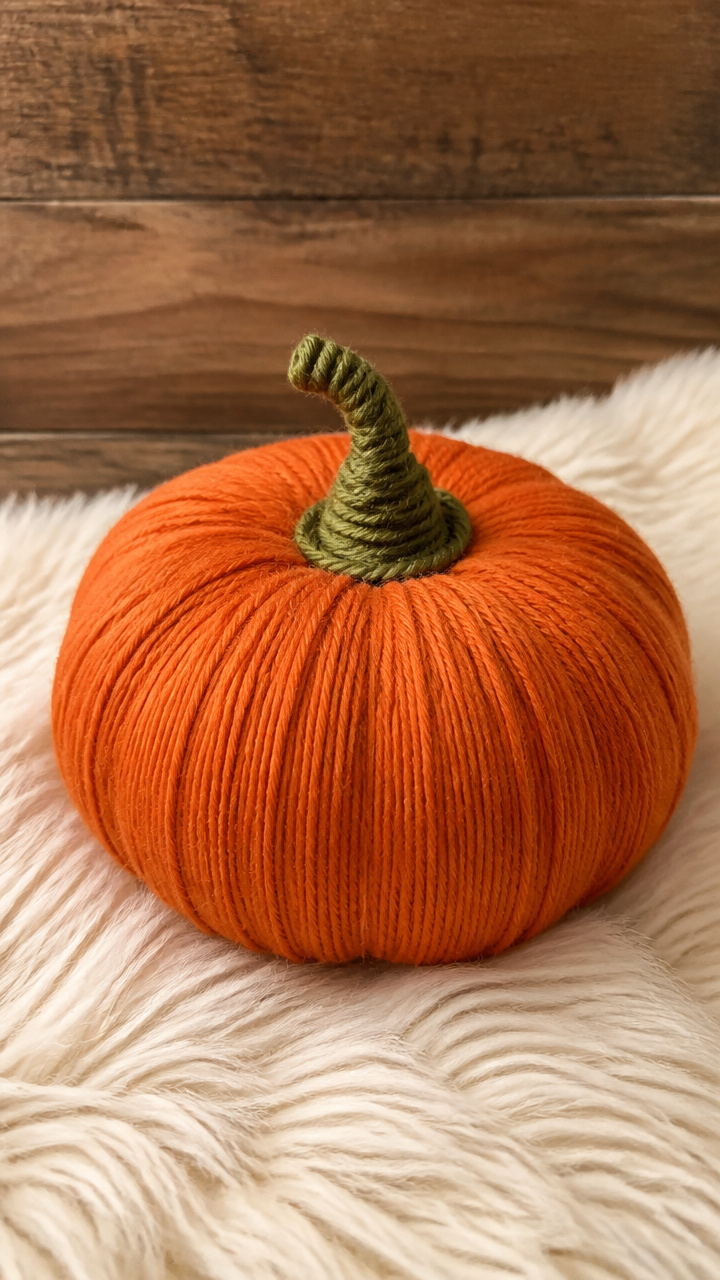
Tightly wound orange yarn builds a plush, round pumpkin with a twist of green at the top. The texture feels inviting and handmade.
Materials Needed
- Cardboard, 6×6 inches
- Pencil
- Scissors
- Orange yarn, size 4, 50 yards
- Green yarn, size 4, 10 yards
- White glue
- Ruler
- Doweling stick, 6 inches long, 1/4 inch thick
How to Make It
- Draw a 5-inch pumpkin shape on cardboard and cut it out to use as a base.
- Apply a thin line of white glue along the outer edge and begin wrapping orange yarn tightly around the perimeter.
- Continue wrapping, adding glue every inch to secure the yarn, until the entire shape is covered and firm.
- Switch to green yarn and wrap the top 1 inch to form a stem, securing the end with glue.
- Glue the dowel vertically to the back center, letting it extend above the top to act as a hanger.


6. Pressed Leaf Pumpkin Silhouette
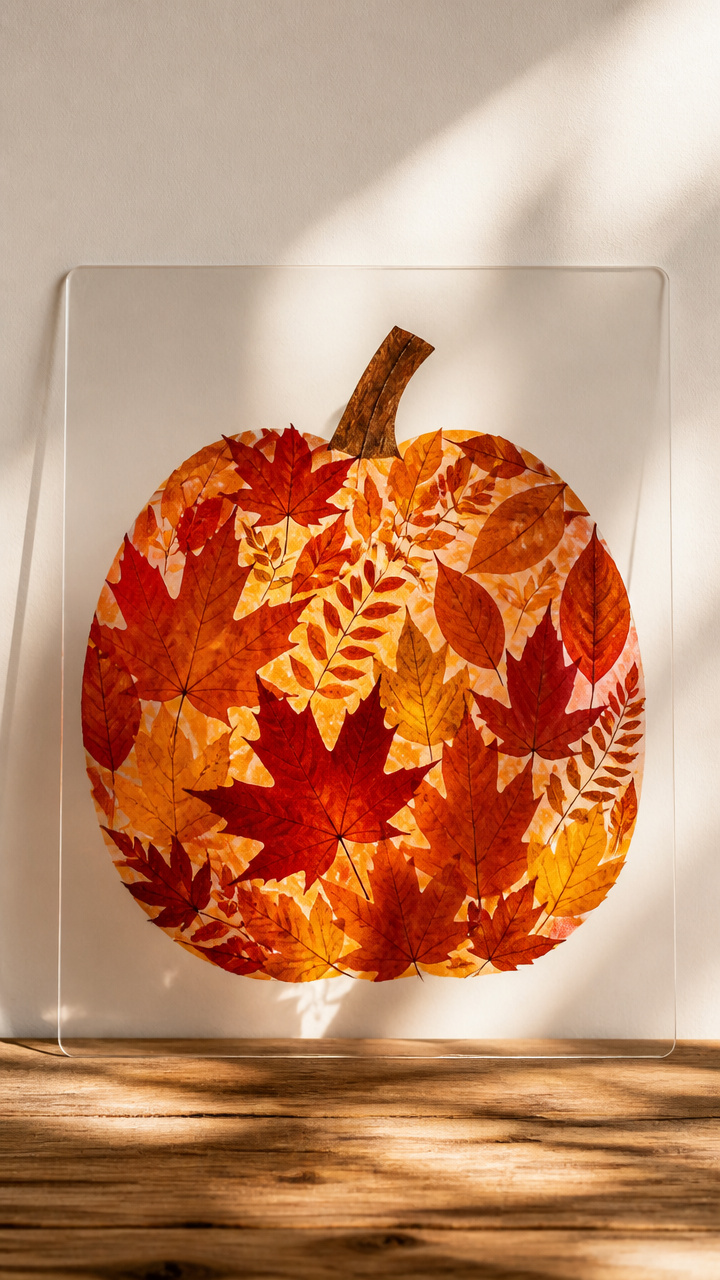
Real autumn leaves form a glowing pumpkin shape on a clear background. Natural pigments shine when backlit by daylight.
Materials Needed
- Clear plastic report cover, 8.5×11 inches
- Assorted pressed leaves (red, orange, yellow), 15 total
- Craft knife
- Cutting mat
- Pencil
- Double-sided tape
- Ribbon, 12 inches
How to Make It
- Draw a 6-inch pumpkin shape lightly on the plastic with a pencil.
- Use the craft knife on the cutting mat to cut along the line, creating a pumpkin-shaped frame.
- Select smaller leaves and arrange them inside the frame opening, overlapping slightly to fill gaps.
- Press double-sided tape around the inner edge of the plastic frame and carefully place the leaves on it.
- Tape one end of the ribbon to the back top edge, wrap it around the top, and tape the other end to make a loop.


7. Chalkboard Paint Pumpkin
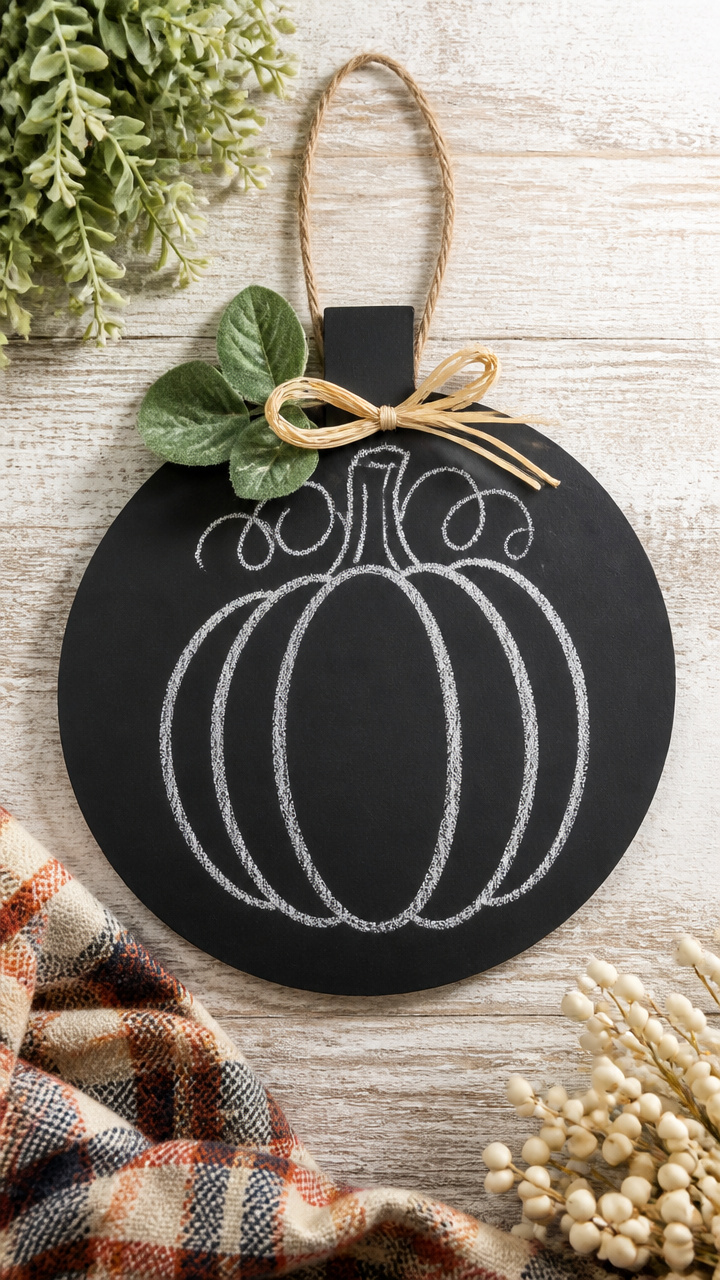
A dark pumpkin surface becomes a tiny canvas for seasonal messages. Change the words anytime with a damp cloth.
Materials Needed
- MDF round plaque, 6 inches
- Chalkboard paint, black, 2 oz
- Foam brush
- Painter’s tape
- Chalk, white
- Clear acrylic sealer
- Satin ribbon, 10 inches
How to Make It
- Tape the back edge of the plaque with painter’s tape to keep it clean.
- Apply a thin coat of chalkboard paint with the foam brush, let dry 20 minutes, then add a second coat.
- Wait 2 hours, then rub a chalk side over the entire surface and wipe off with a dry cloth to season it.
- Use white chalk to write “Hello Fall” or draw a simple face on the surface.
- Spray with acrylic sealer, let dry, then tie the ribbon through a hole in the top for hanging.
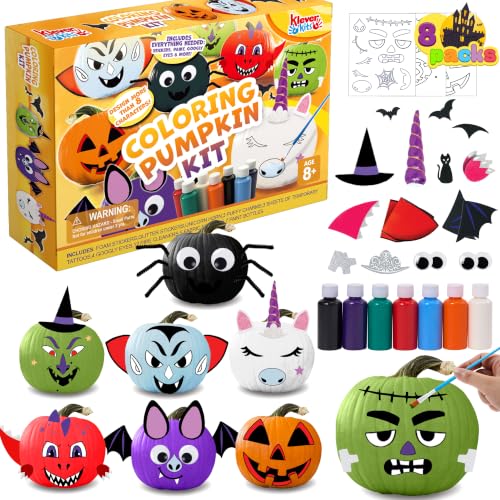

8. Pumpkin Button Mosaic
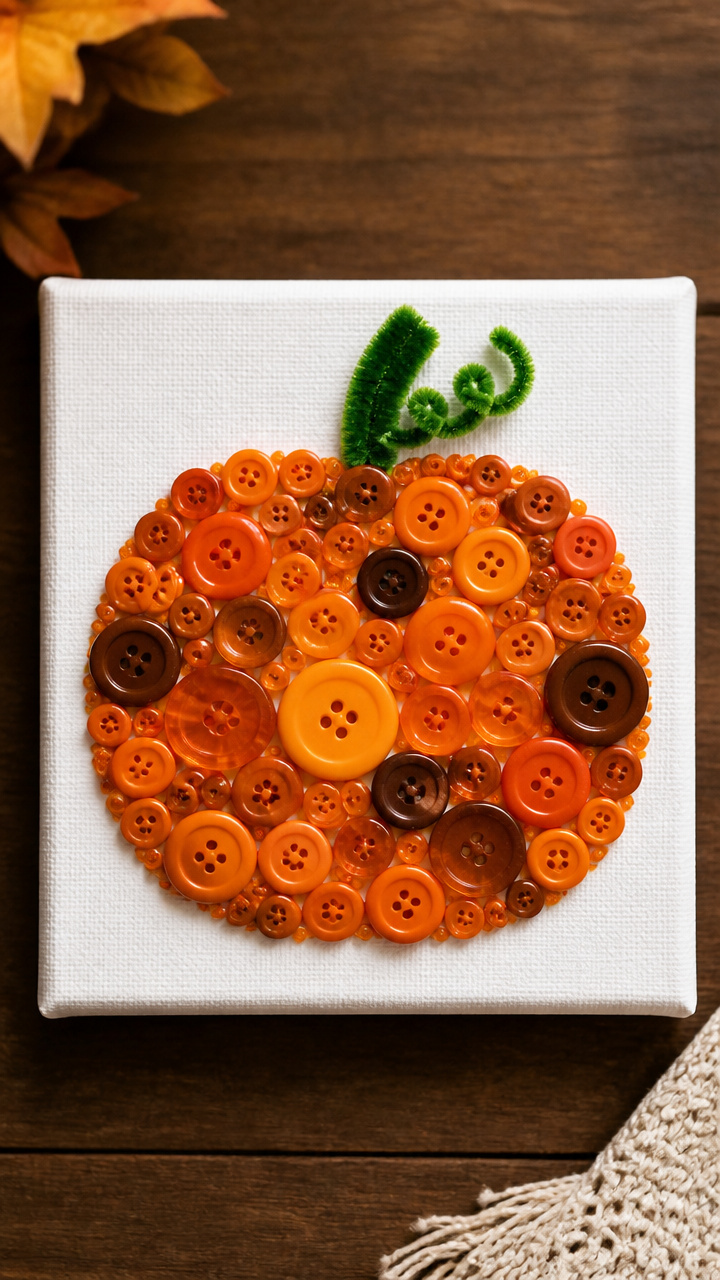
Dozens of orange and brown buttons cluster into a bumpy pumpkin shape. The random shine of each button catches the light.
Materials Needed
- Canvas board, 6×6 inches
- Pencil
- Hot glue gun and glue sticks
- Orange and brown buttons, various sizes, 45 total
- Green pipe cleaner
- Scissors
- Twine, 10 inches
How to Make It
- Sketch a pumpkin shape in the center of the canvas with a pencil.
- Apply a small dot of hot glue to the back of each button and press it onto the canvas within the outline.
- Fill the shape completely, mixing button sizes and shades, leaving no gaps.
- Twist the green pipe cleaner into a stem shape and glue it to the top center.
- Glue the ends of the twine to the back corners and tie them together at the top for hanging.


9. Cinnamon Stick Pumpkin
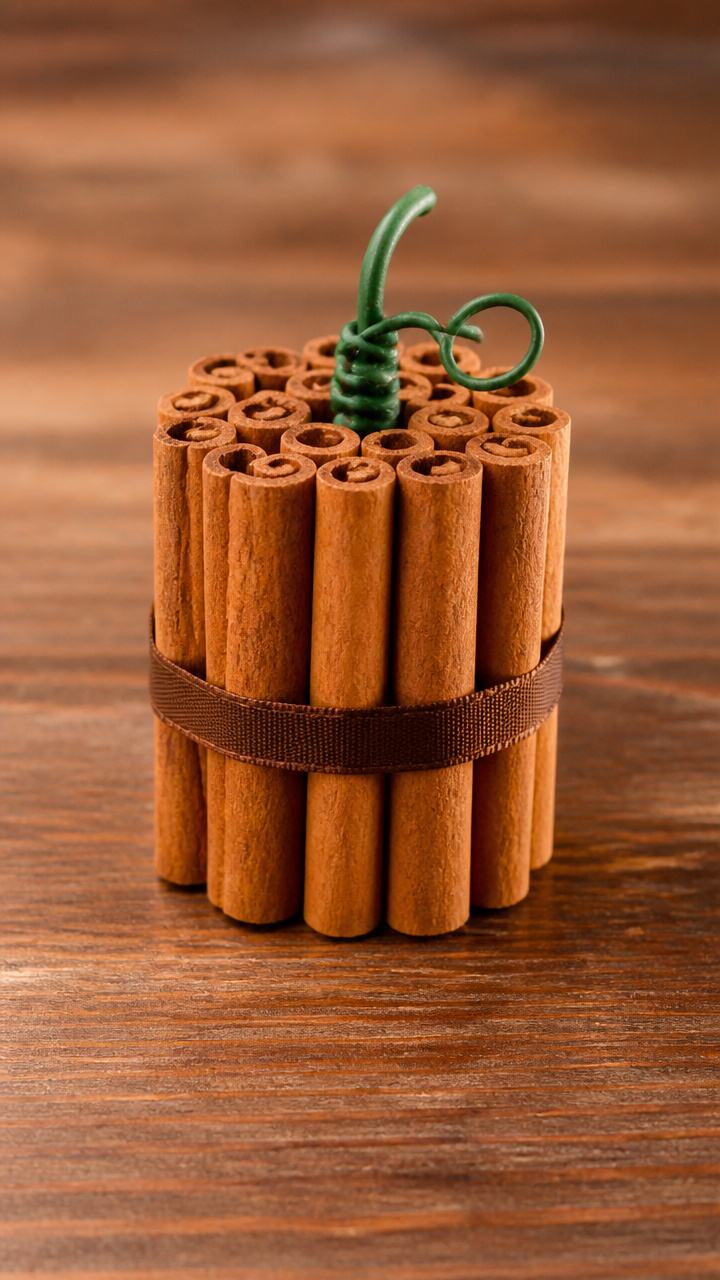
Real cinnamon sticks bundle into a spicy-scented pumpkin shape. The warm aroma fills the air near your door.
Materials Needed
- Cinnamon sticks, 4 inches long, 12 pieces
- Hot glue gun and glue sticks
- Cardboard circle, 5 inches
- Brown ribbon, 1 inch wide, 12 inches
- Green floral wire, 6 inches
- Wire cutters
How to Make It
- Glue cinnamon sticks vertically around the edge of the cardboard circle, pressing each into place with firm pressure.
- Continue gluing sticks side by side until the circle is fully covered and forms a thick ring.
- Cut a 2-inch piece of green floral wire and twist it into a small curl for the stem, then glue it to the top center.
- Wrap the brown ribbon around the base of the cinnamon ring, covering the cardboard edge, and glue the ends in back.
- Tie the remaining ribbon into a bow and use the tails to hang the pumpkin.


10. Pumpkin Doily Cutout
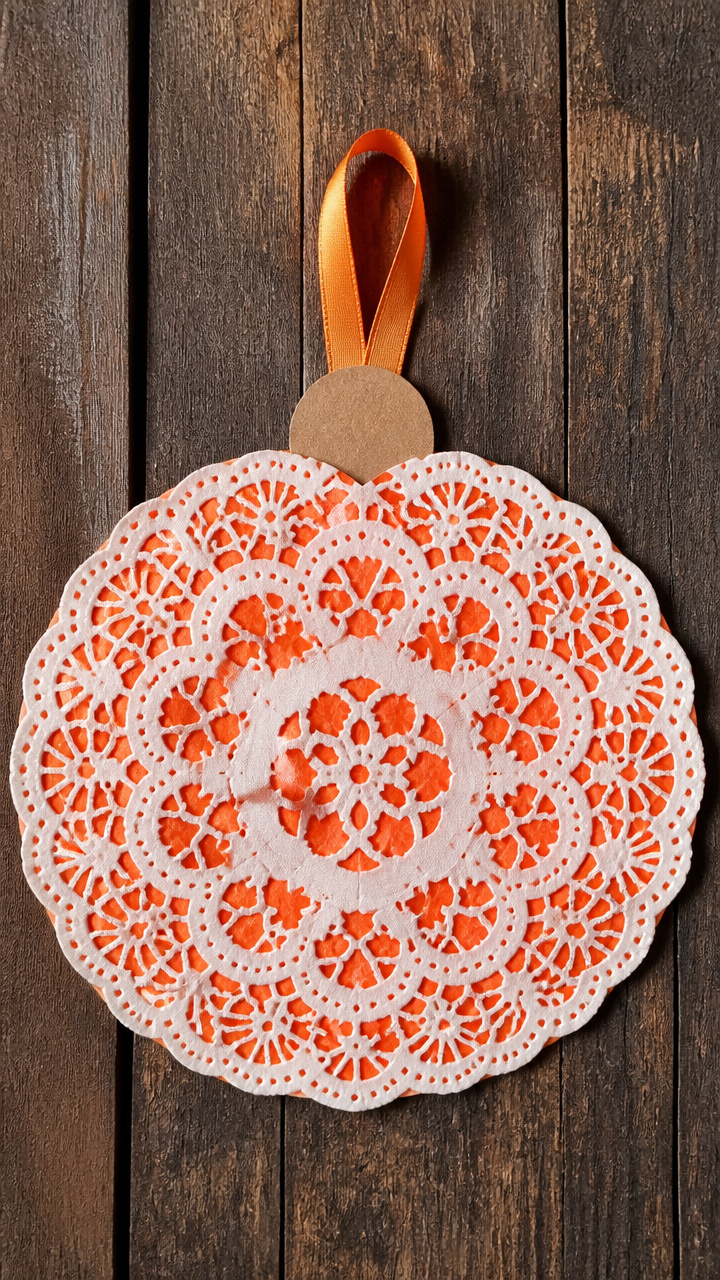
A lacy paper doily becomes a glowing pumpkin when backed with bright orange paper. Light filters through the delicate holes.
Materials Needed
- White paper doily, 7 inches
- Orange tissue paper, 8×8 inches
- Glue stick
- Scissors
- Cardboard circle, 6 inches
- Ribbon, 10 inches
How to Make It
- Cut the tissue paper into a 6-inch circle slightly smaller than the doily.
- Center the orange tissue circle under the doily and glue the edges together with the glue stick.
- Glue the combined layers to the cardboard circle, smoothing gently to avoid wrinkles.
- Trim any excess tissue or doily that extends past the cardboard edge.
- Tie the ribbon into a loop and glue it to the back top edge.


11. Pinecone Mini Pumpkin Patch
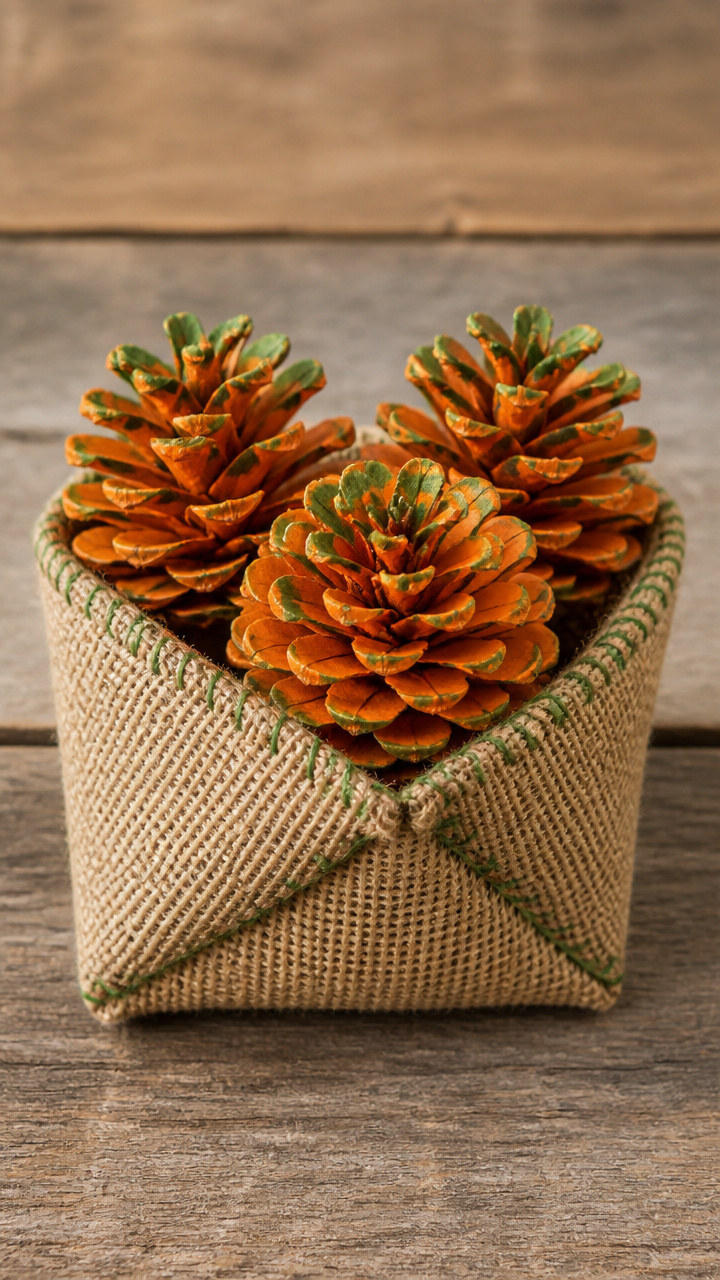
Tiny pinecones stand upright in a small burlap pouch to mimic a pumpkin cluster. Natural cones add forest charm.
Materials Needed
- Three small pinecones, 2 inches tall
- Acrylic paint (orange, green)
- Paintbrush
- Burlap fabric, 6×6 inches
- Needle and green thread
- Scissors
- Ribbon, 12 inches
How to Make It
- Paint each pinecone solid orange, let dry 20 minutes, then add a dab of green at the top for a stem.
- Fold the burlap square in half and sew up the two sides with a running stitch, leaving the top open.
- Place the three pinecones inside the pouch with stems facing up.
- Gather the top edges and tie with the ribbon, leaving long tails for hanging.
- Knot the tails together to form a loop above the pouch.


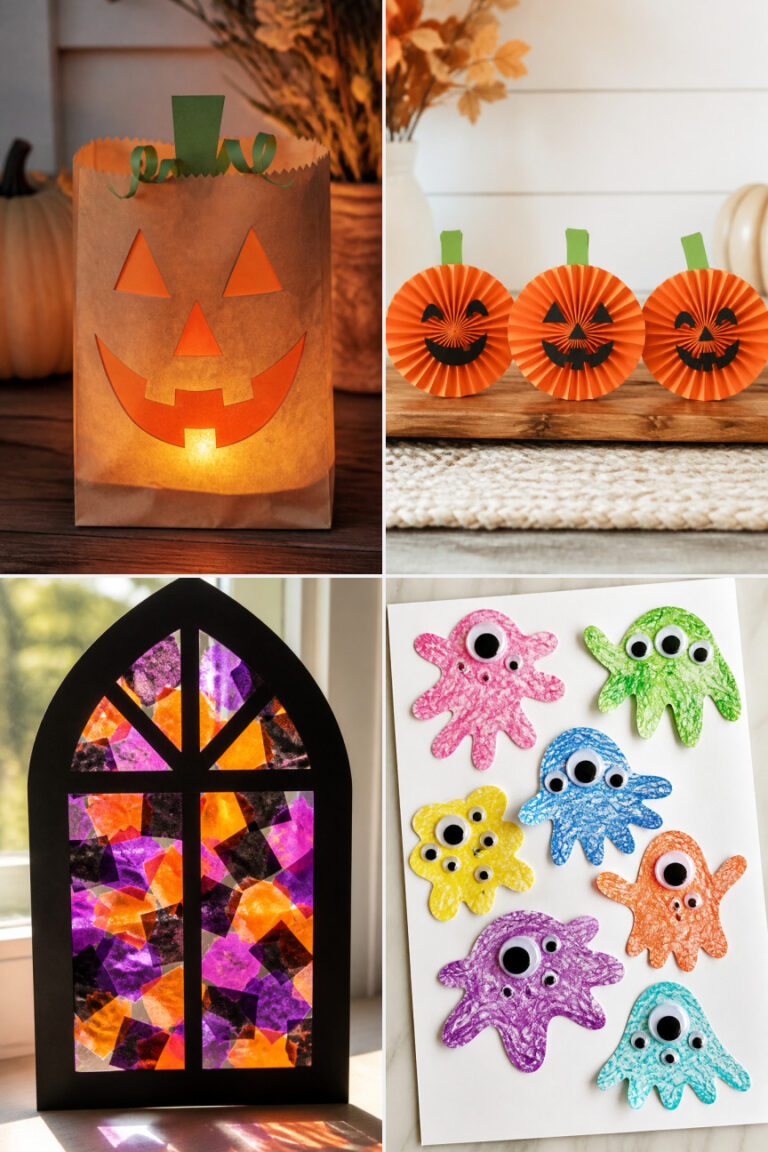
12. Pumpkin Stained Glass Suncatcher
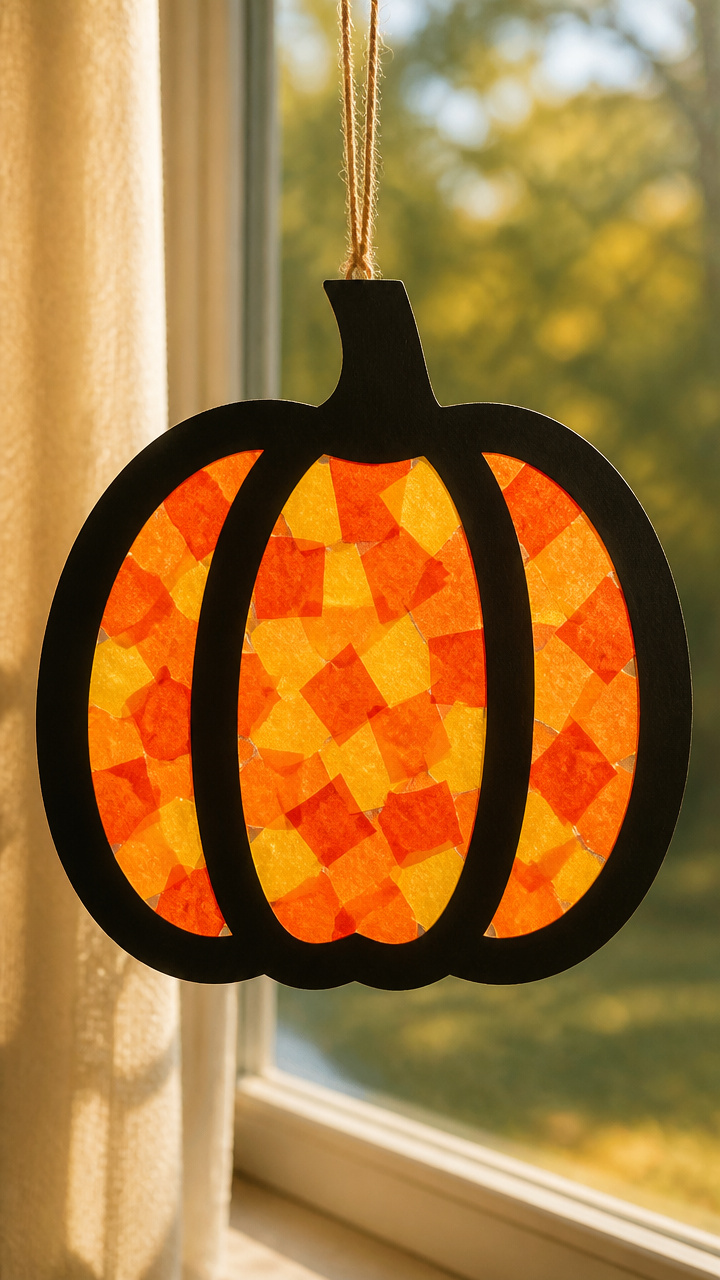
Tissue paper in pumpkin tones fills a black construction paper frame. When hung in a sunny window, it glows like real stained glass.
Materials Needed
- Black construction paper, 8×8 inches
- Scissors
- Pencil
- Ruler
- Orange, yellow, and red tissue paper, 6×6 inches each
- Glue stick
- Clear contact paper, 9×9 inches
- String, 10 inches
How to Make It
- Cut a 6-inch square from the black paper, then cut a 4-inch square out of the center to create a frame.
- Cut the tissue paper into 1-inch squares and fill the frame opening with a mix of colors, gluing each piece in place.
- Smooth the contact paper over the front, pressing out air bubbles with your fingers.
- Trim the excess contact paper to match the frame size.
- Punch two small holes at the top corners and thread the string through to hang.


13. Pumpkin Bead Strand Hanger
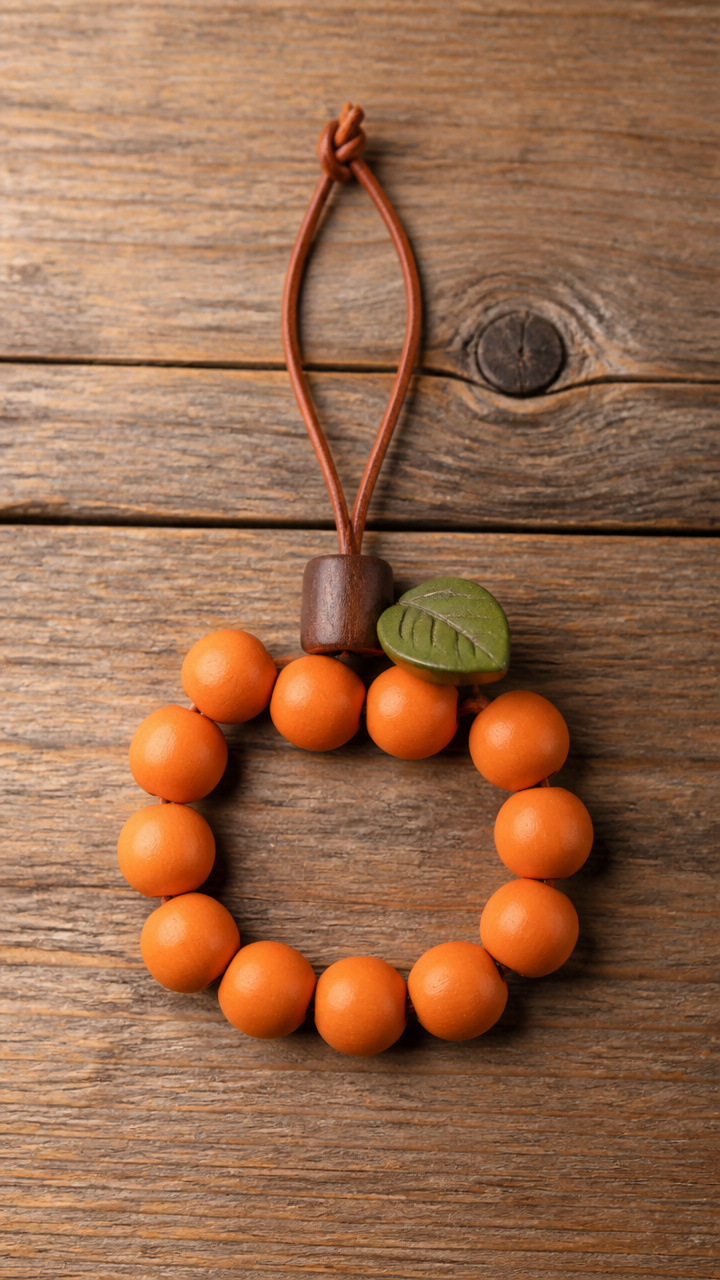
Wooden beads in warm tones string into a plump pumpkin shape. The rounded beads give a satisfying 3D effect.
Materials Needed
- Wooden beads: 12 orange 15mm, 1 green 10mm, 1 brown 20mm
- Leather cord, 2mm thick, 24 inches
- Scissors
- E6000 glue
- Cardboard backing, 5 inches round
How to Make It
- Lay the beads on the cardboard in a pumpkin shape, using the brown bead as the base center.
- Glue each bead in place with a dot of E6000, pressing firmly for 10 seconds.
- Let the glue cure for 1 hour before handling.
- Cut two 6-inch leather cord pieces and glue one to each side of the back, letting them extend above the top.
- Tie the loose ends together to form a hanging loop.


14. Pumpkin Fabric Scrap Wrap
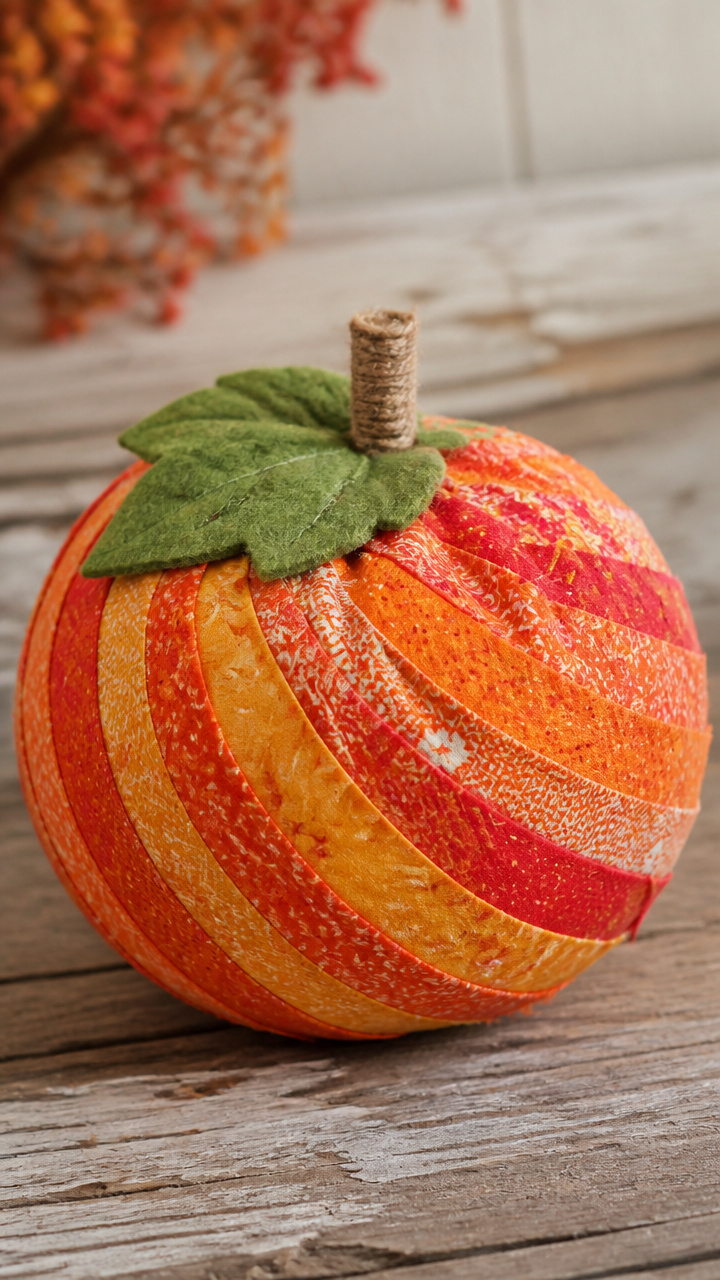
Bits of leftover cotton fabric spiral around a foam base. This uses scraps and creates a patchwork pumpkin.
Materials Needed
- 6-inch foam ball
- Fabric scraps (orange, red, yellow), 2×6 inches each, 6 pieces
- Scissors
- White glue
- Paintbrush
- Green felt leaf, 2 inches
- Pin
- Ribbon, 10 inches
How to Make It
- Cut each fabric strip into a triangle tapering from 2 inches to a point.
- Brush glue onto the foam ball and begin wrapping the wide end of the first triangle around the top.
- Continue gluing and wrapping each strip end to end, covering the entire ball with overlapping fabric.
- Push the pin through the green felt leaf and into the top center of the pumpkin for the stem.
- Tie the ribbon into a loop and attach it to the back of the leaf with the pin.


15. Pumpkin Leaf Collage
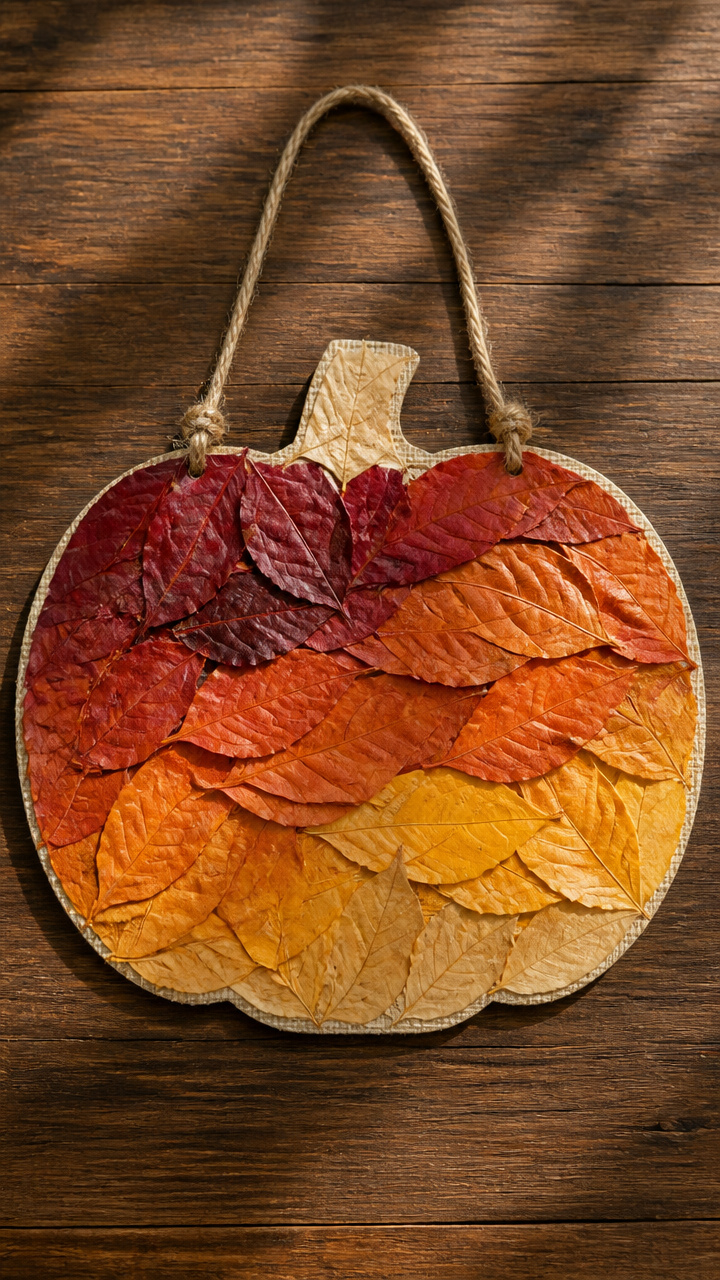
Real dried leaves press into a pumpkin outline on adhesive paper. The natural shapes form organic ridges and curves.
Materials Needed
- Self-adhesive shelf liner, 8×8 inches
- Dried leaves (orange, red, yellow), 10 pieces
- Scissors
- Pencil
- Clear packing tape
- Twine, 12 inches
How to Make It
- Draw a 6-inch pumpkin shape on the paper backing of the shelf liner and peel off the backing inside the line.
- Arrange the dried leaves within the sticky area, overlapping slightly to fill the shape.
- Press each leaf firmly to secure it to the adhesive.
- Cover the entire front with clear packing tape, smoothing as you go.
- Punch a hole at the top and thread the twine through, knotting the ends.


16. Pumpkin Crayon Melt Art
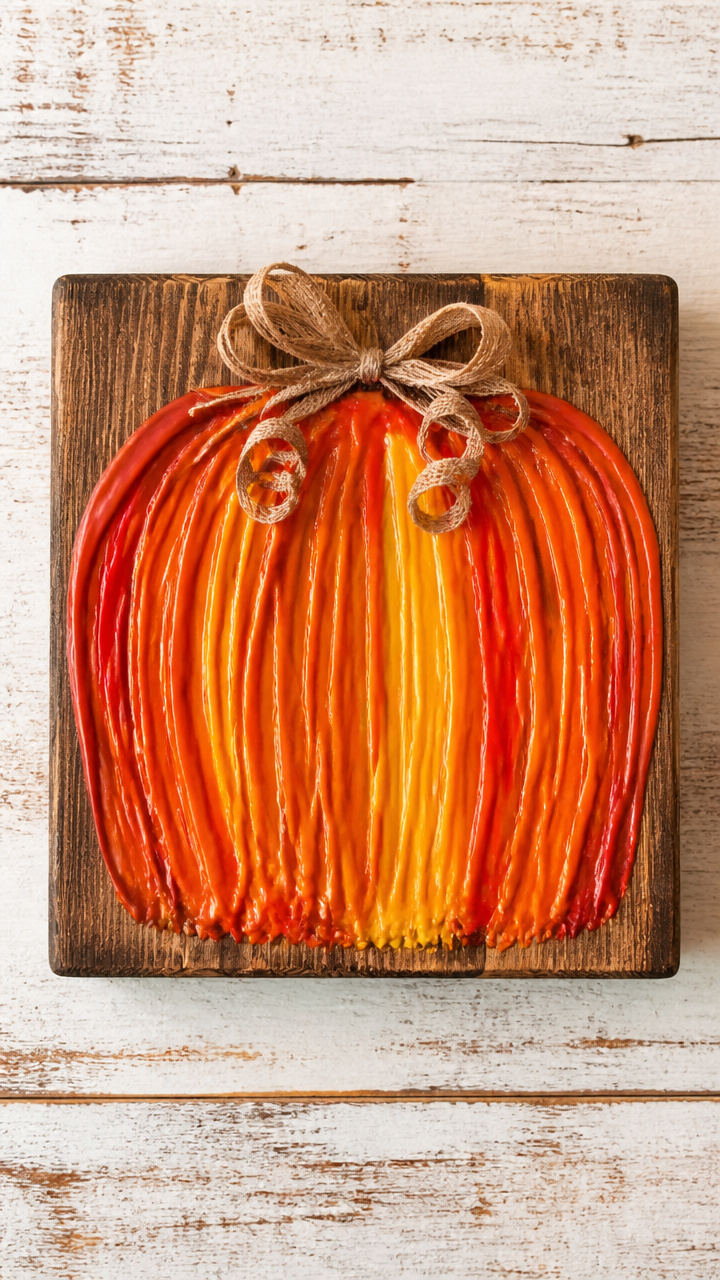
Old crayons drip into ribbons of color on a wooden board. The waxy layers mimic pumpkin curves in bold autumn tones.
Materials Needed
- Wooden plaque, 6×6 inches
- Orange, red, and yellow crayons, peeled, 6 total
- Hot glue gun
- Aluminum foil
- Hairdryer
- Ribbon, 10 inches
How to Make It
- Glue the crayons vertically along the top edge of the plaque, pointing downward.
- Place the plaque on a foil-covered surface with the crayons at the top.
- Use the hairdryer on high heat to melt the crayons slowly, moving the airflow to control the drip direction.
- Let the wax cool completely for 30 minutes.
- Tie the ribbon to the back top corners and knot to form a loop.


17. Pumpkin Paper Bag Lantern
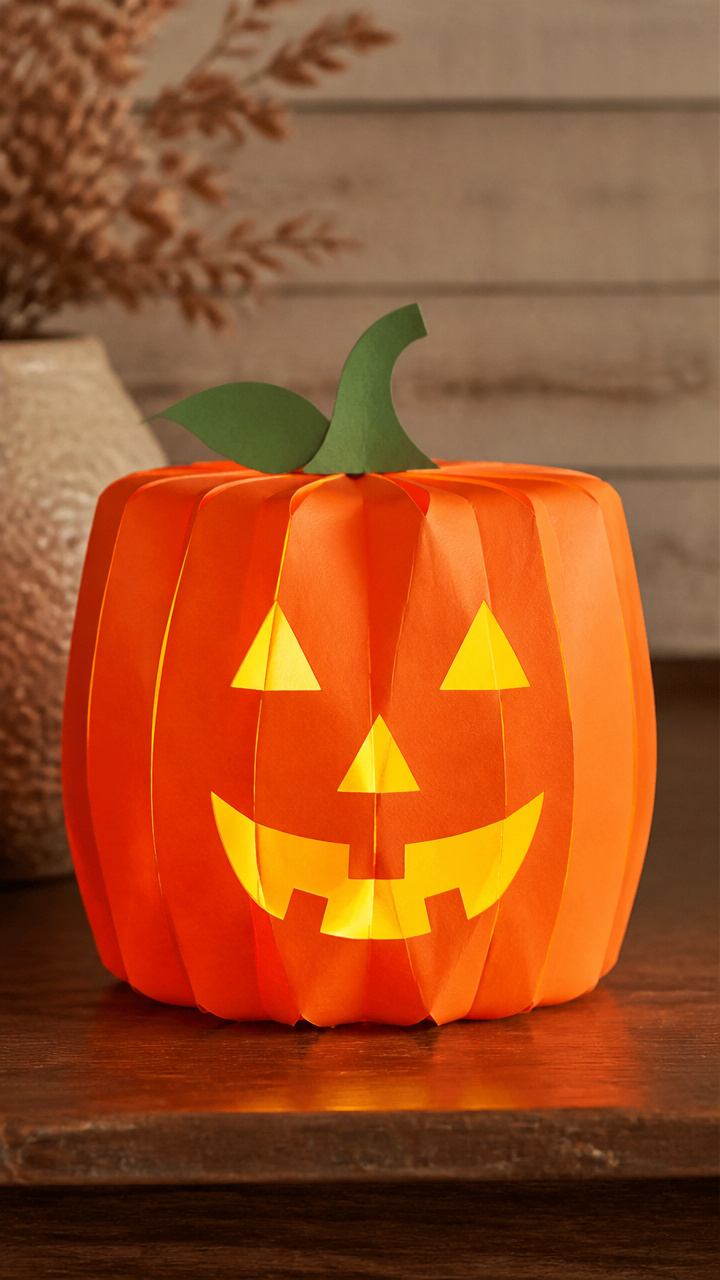
An orange paper lunch bag folds into a puffy pumpkin with a tea light inside. The cut-out face glows warmly at dusk.
Materials Needed
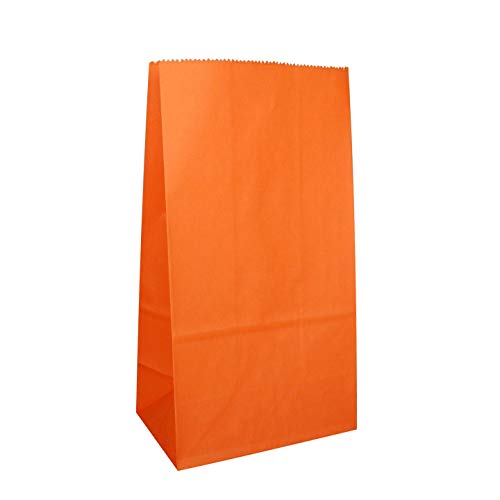
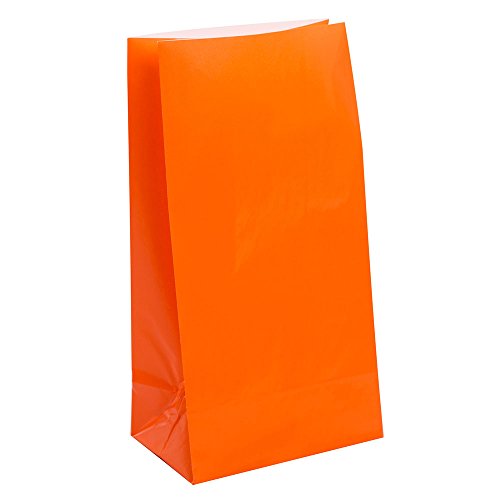
- Orange paper lunch bag
- Scissors
- Battery-operated tea light
- Glue stick
- Green construction paper
- Pencil
- Ribbon, 12 inches
How to Make It
- Fold the top inch of the bag inward to create a rim.
- Cut triangle eyes and a jagged mouth halfway down the front of the bag.
- Cut a 3-inch strip from the green paper and roll it into a stem, gluing the edge closed.
- Glue the stem to the top center of the bag.
- Place the tea light inside, turn it on, and tie the ribbon around the neck for hanging.

18. Pumpkin Ribbon Wreath Style
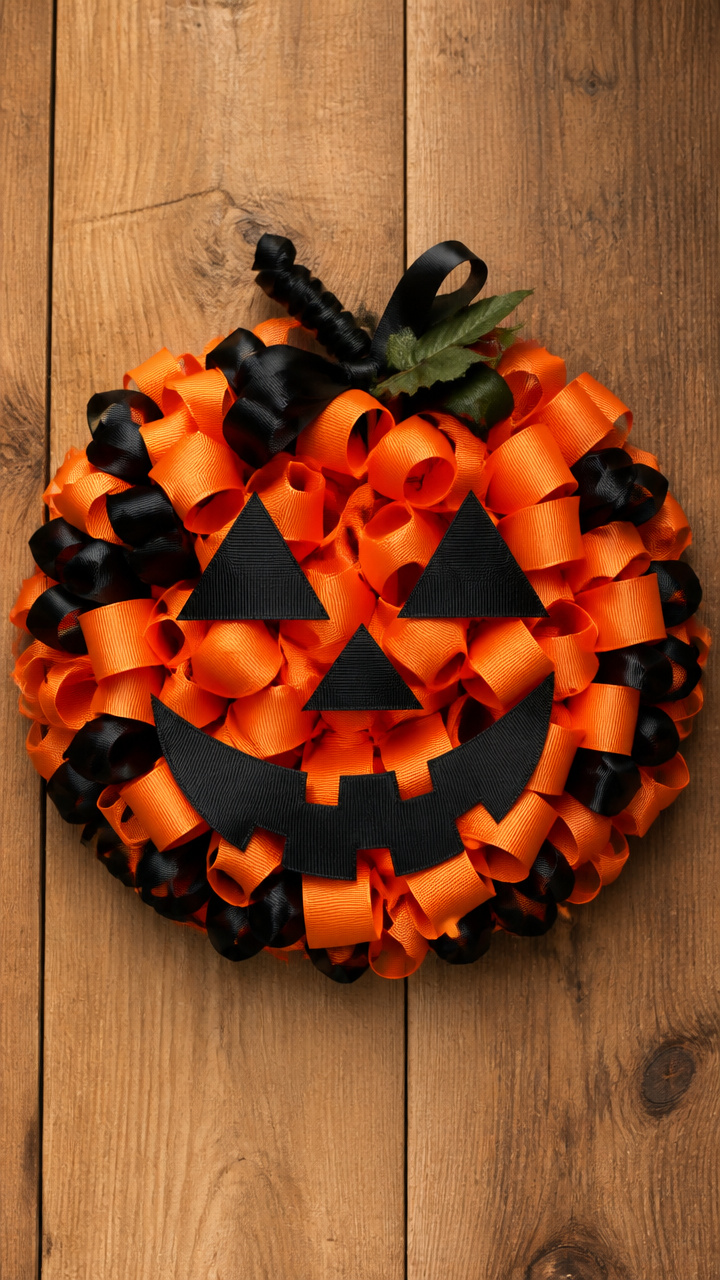
Curled orange and black ribbons twist into a full wreath shape with a pumpkin face. The glossy finish reflects porch light beautifully.
Materials Needed
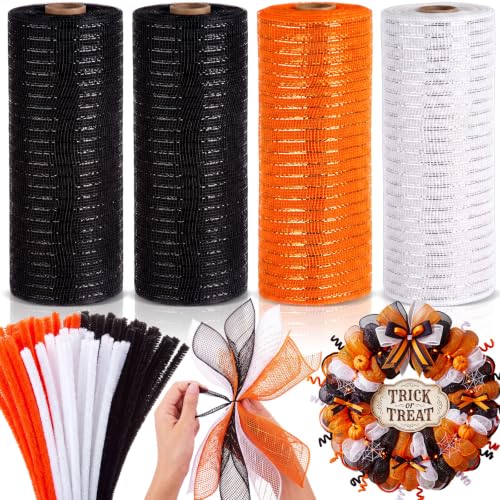
- Orange grosgrain ribbon, 2 inches wide, 2 yards
- Black satin ribbon, 1 inch wide, 1 yard
- Wire wreath frame, 6 inches
- Wire cutters
- Floral wire, 24 gauge
- Scissors
- Ribbon, green, 10 inches
How to Make It
- Cut the orange ribbon into eight 9-inch pieces and the black ribbon into four 6-inch pieces.
- Fold each orange piece in half and attach it to the frame with floral wire, looping both ends outward to form a bow shape.
- Fill the frame completely with orange loops, spacing evenly.
- Cut a small black triangle set and glue them to the front to form eyes and a mouth.
- Tie the green ribbon around the top as a hanger, securing with wire if needed.


Each of these pumpkin door hangers brings its own kind of warmth to your home. You’ve got everything from rustic wood to soft fabric, all easy to make with simple tools. Pick one that speaks to you and start creating today.