22 Winter Wonderland Crafts for Kids to Make Indoors

Frosty windowpanes, the soft glow of string lights, and the quiet joy of creating something with small, eager hands—winter days invite cozy making. These indoor crafts turn ordinary materials into snowy scenes, glittering ornaments, and handmade magic that fills the house with warmth.
Each project is designed to be doable with kids, using clear steps and materials you can find or already have. From paper snowflakes that catch the light to salt dough animals that hold their shape, these are the kinds of crafts that become keepsakes.
1. Glittery Mason Jar Snow Globes
Moderate
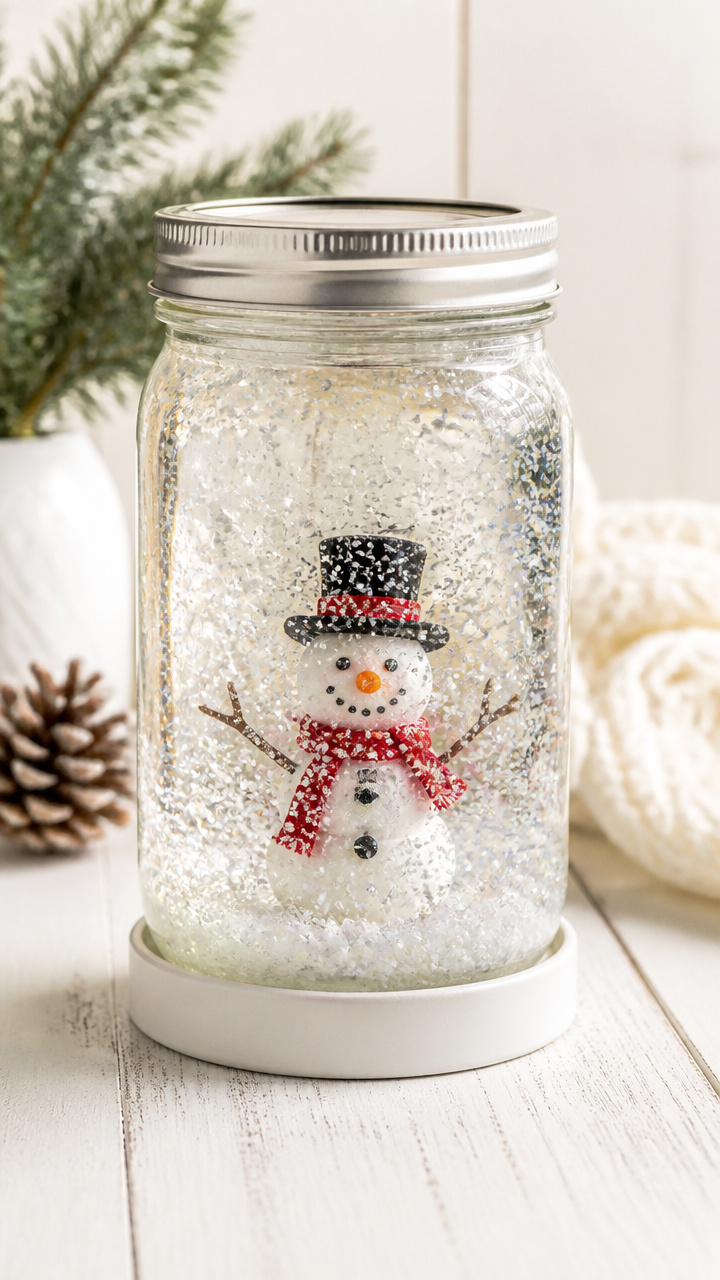
Tiny winter scenes swirl inside sealed jars, glowing on a shelf or windowsill. Shaking them feels like summoning a private snowstorm.
Materials Needed
- 4-ounce clear mason jars with lids, 3
- Distilled water, 1 cup
- Clear school glue, 2 tablespoons
- Glycerin, 1 teaspoon
- Fine white glitter, 1 tablespoon
- Miniature plastic snowmen, 3
- Hot glue gun
- Pipette
How to Make It
- Glue each snowman to the inside of a jar lid using the hot glue gun. Let dry for 10 minutes.
- Pour distilled water into a bowl. Add glue, glycerin, and glitter. Stir gently with a spoon.
- Use the pipette to fill each jar to the top with the liquid mixture.
- Screw the lid on tightly. Wipe the rim with a paper towel if needed to prevent leaks.
2. Cotton Ball Snowmen
Easy
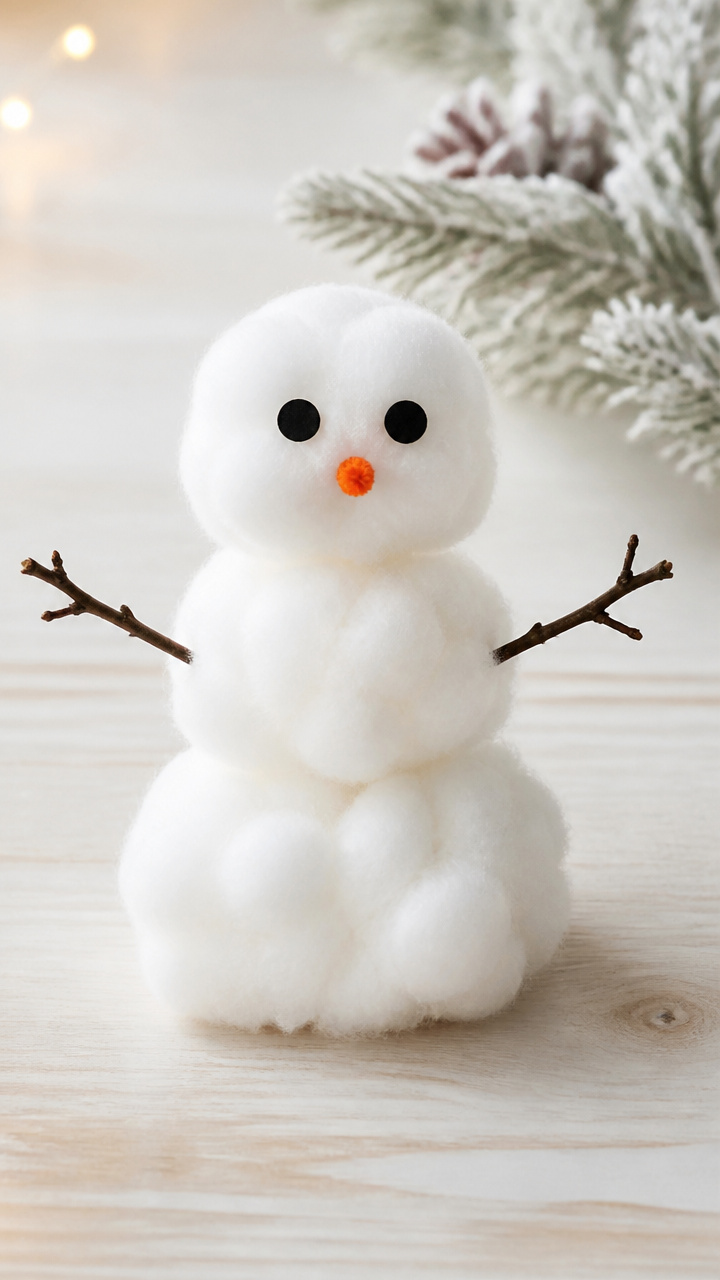
Puffy white cotton balls stack into cheerful snowmen with carrot noses and twig arms. These soft figures sit well on bookshelves or desks.
Materials Needed
- Large white cotton balls, 12
- Black craft foam sheet
- Orange pipe cleaners, 3
- Small twigs, 6
- White school glue, 1 bottle
- Googly eyes, 6
- Popsicle sticks, 3
- Brown marker
How to Make It
- Glue three cotton balls in a stack on a popsicle stick to form a snowman body. Let dry for 15 minutes.
- Cut small circles from black craft foam for eyes and buttons. Glue them in place.
- Cut an orange pipe cleaner in half and glue one piece at an angle for a nose.
- Glue two small twigs to the sides of the middle ball for arms. Draw a mouth with the brown marker.
3. Pipe Cleaner Ice Crystals
Easy
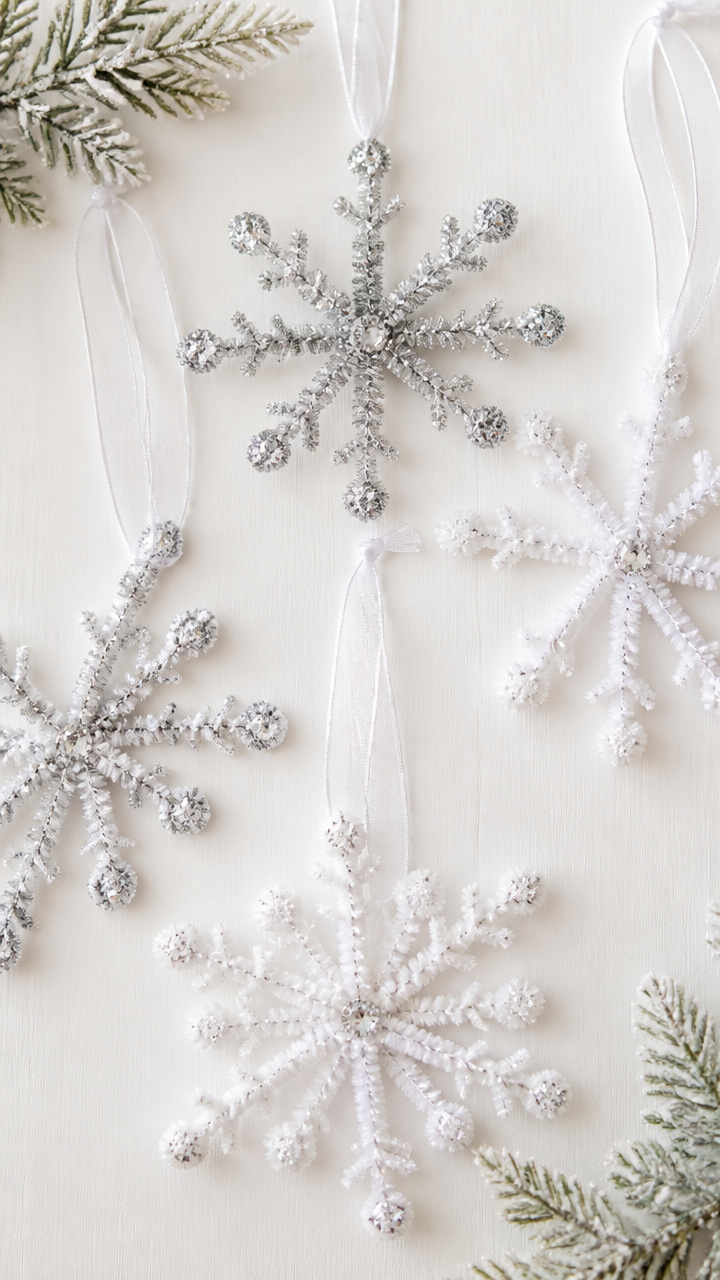
Twisted silver pipe cleaners form delicate snowflake shapes that catch the light. Hang them in windows or from the ceiling.
Materials Needed
- White pipe cleaners, 6
- Silver glitter glue pen, 1
- Scissors
- Ribbon, 12 inches
How to Make It
- Cut each pipe cleaner into three equal pieces. You will have 18 short stems.
- Cross three stems at the center and twist them together to form a six-pointed star.
- Add more stems by twisting them onto the ends to create a lacy pattern.
- Trace the edges with the glitter glue pen. Tie ribbon to one point for hanging.
4. Pinecone Winter Trees
Easy
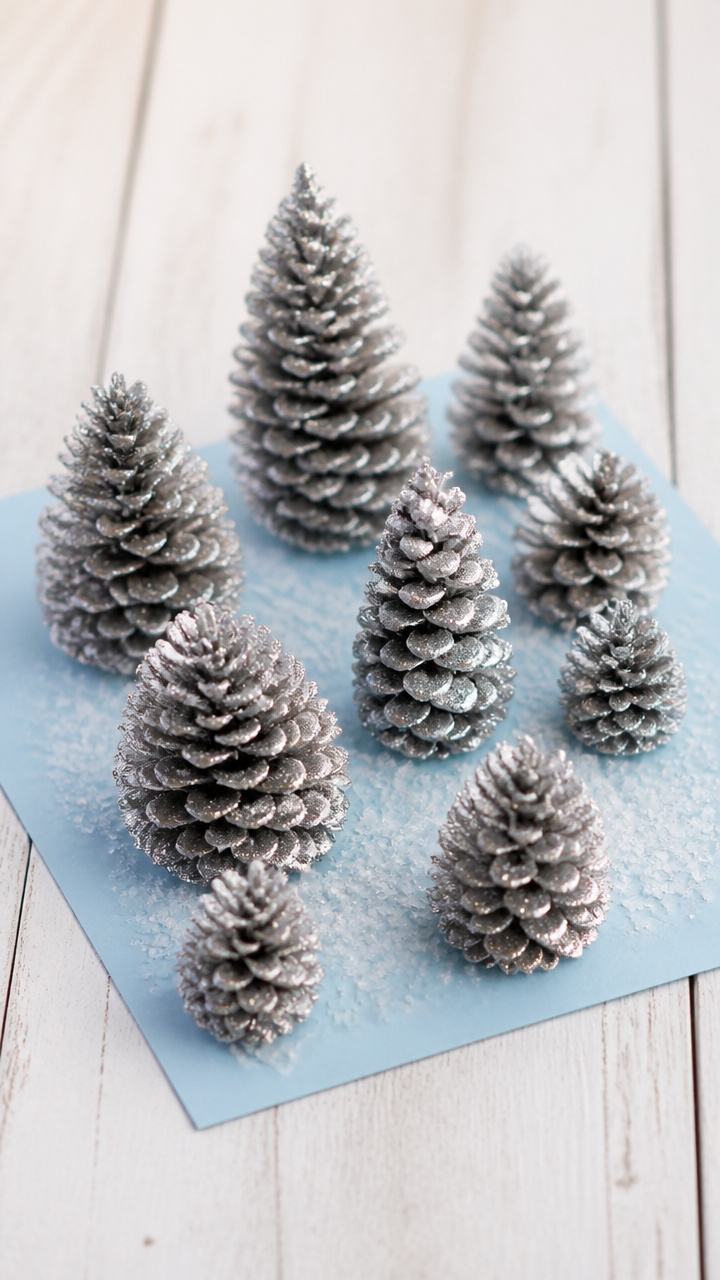
Mini pinecones become frosted evergreens when dipped in glue and glitter. Group them for a woodland scene on a tray.
Materials Needed
- Small pinecones, 5
- White school glue, 1/2 cup
- Fine silver glitter, 1/4 cup
- Light blue cardstock, 1 sheet
- Scissors
- Paintbrush
How to Make It
- Cut the cardstock into a 6×6 inch square to form a snowy base.
- Brush glue evenly over each pinecone, covering all scales.
- Sprinkle glitter over the glued pinecones. Shake off excess onto a paper plate.
- Stand each pinecone on the cardstock base. Let dry for 20 minutes.
5. Tissue Paper Stained Glass
Moderate
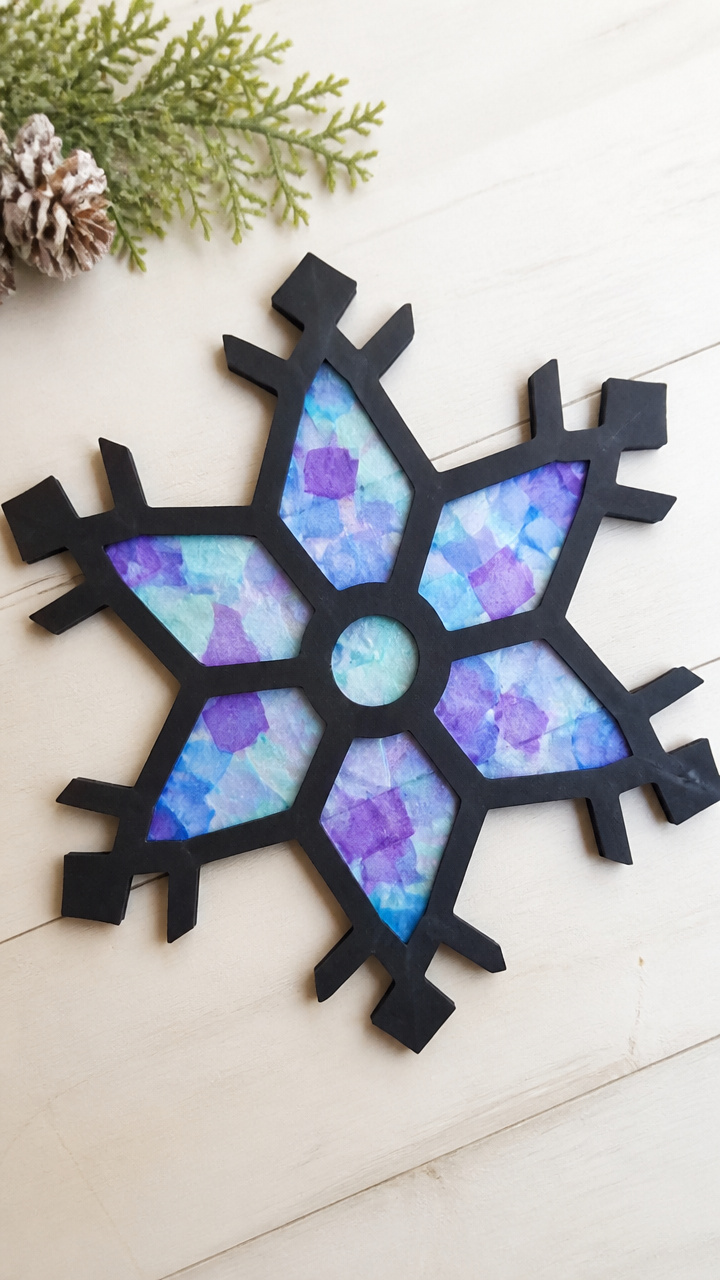
Bright blue and white tissue squares form glowing window panels when layered and framed. Sunlight turns them into icy murals.
Materials Needed
- Blue and white tissue paper, 4 sheets each
- Contact paper, 12×12 inch sheet
- Scissors
- Black construction paper, 1 sheet
- Ruler
How to Make It
- Cut the contact paper into a 10×10 inch square. Peel the backing off.
- Tear tissue paper into 1-inch squares. Alternate blue and white pieces on the sticky side.
- Once covered, place the black construction paper behind the contact paper to create a border.
- Press another 10×10 inch contact paper sheet on top to seal. Trim edges with scissors.
6. Q-Tip Igloos
Moderate
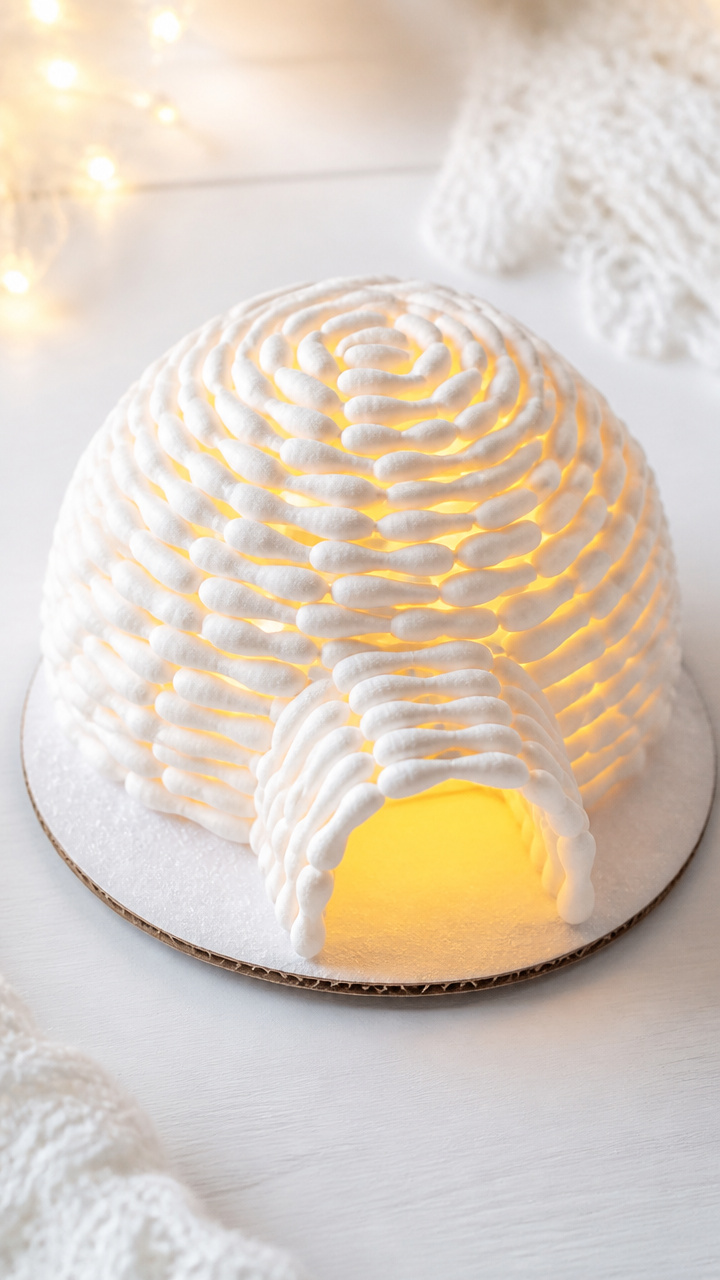
Cotton-tipped sticks glue into a domed shelter that glows when lit from within. It's a miniature Arctic home.
Materials Needed
- Cotton swabs (Q-Tips), 30
- White school glue, 1 bottle
- Small LED tea light, 1
- Cardboard base, 4×4 inch
- Pencil
- Scissors
How to Make It
- Draw a half-circle igloo shape on the cardboard base using the pencil.
- Lay the first row of Q-Tips flat along the pencil line, glue tips touching the cardboard.
- Glue the next row slightly above, letting the cotton ends overlap the row below.
- Continue in a spiral until the dome closes. Insert the tea light inside after 30 minutes of drying.
7. Felt Mittens Garland
Moderate
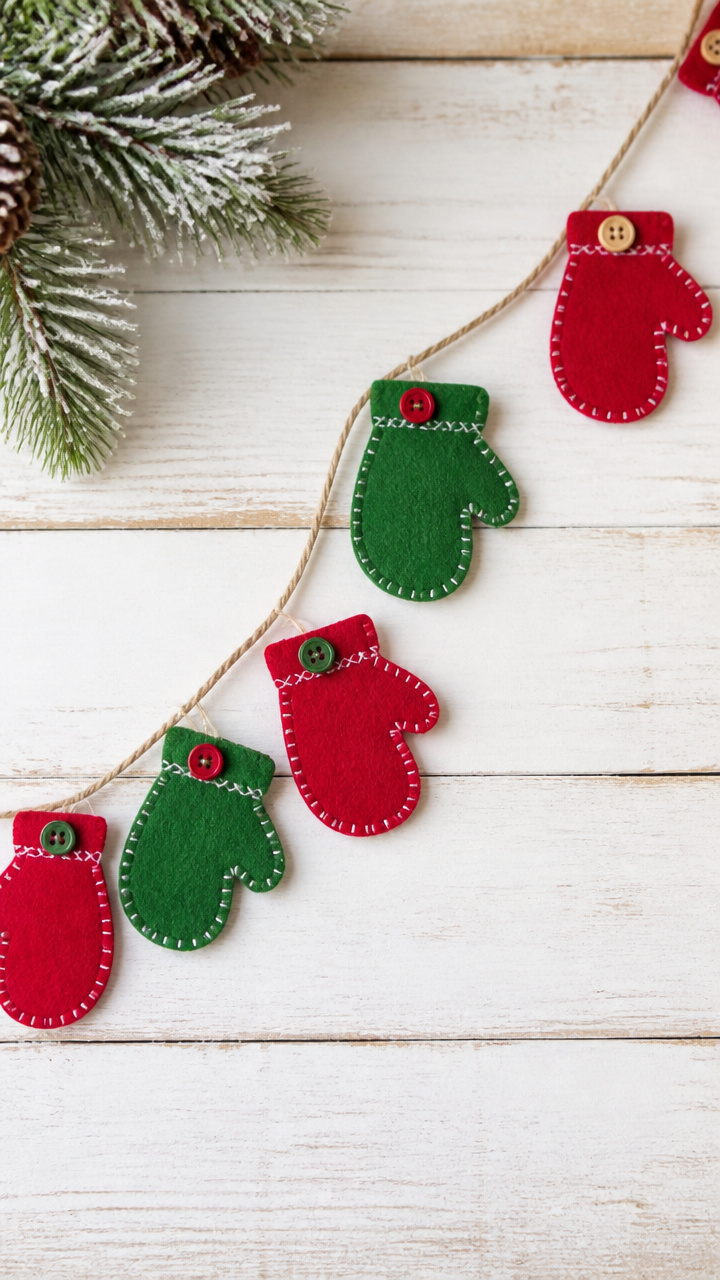
Soft red and green mittens dangle from twine, each with a tiny button and stitched details. This garland warms up any wall.
Materials Needed
- Red felt sheet, 9×12 inch
- Green felt sheet, 9×12 inch
- Yarn needle
- White embroidery floss
- Scissors
- Small buttons, 6
- Twine, 3 feet
- Mitten template (drawn on paper)
How to Make It
- Trace the mitten template onto both felt colors and cut out 6 pairs.
- Stack two matching mittens and sew around the edge with a whipstitch using white floss.
- Leave the top open. Sew a button to the front of each mitten.
- Thread the twine through the tops of each mitten using the yarn needle.
8. Crayon Snowflake Rubbings
Easy
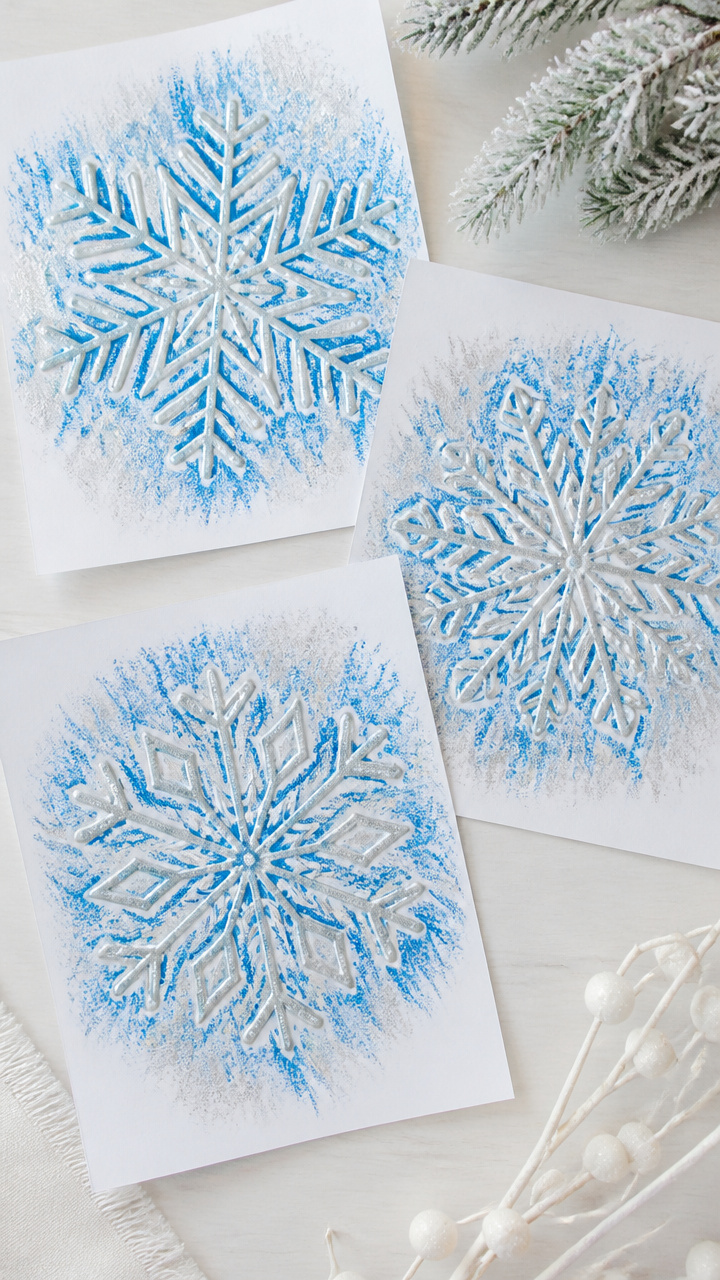
Paper pressed over carved shapes reveals crisp snowflake patterns in colored wax. Each rubbing is a surprise.
Materials Needed
- White drawing paper, 8.5×11 inch, 5 sheets
- Snowflake-shaped craft foam stickers, 3
- Unwrapped crayons (blue, silver, white), 3
- Tape
How to Make It
- Tape a snowflake foam sticker to a table, sticky side up.
- Place a sheet of paper over the sticker. Hold it flat with one hand.
- Rub the side of a crayon over the paper where the snowflake is underneath.
- Lift the paper to see the snowflake design. Repeat with different colors.
9. Popsicle Stick Sleds
Moderate
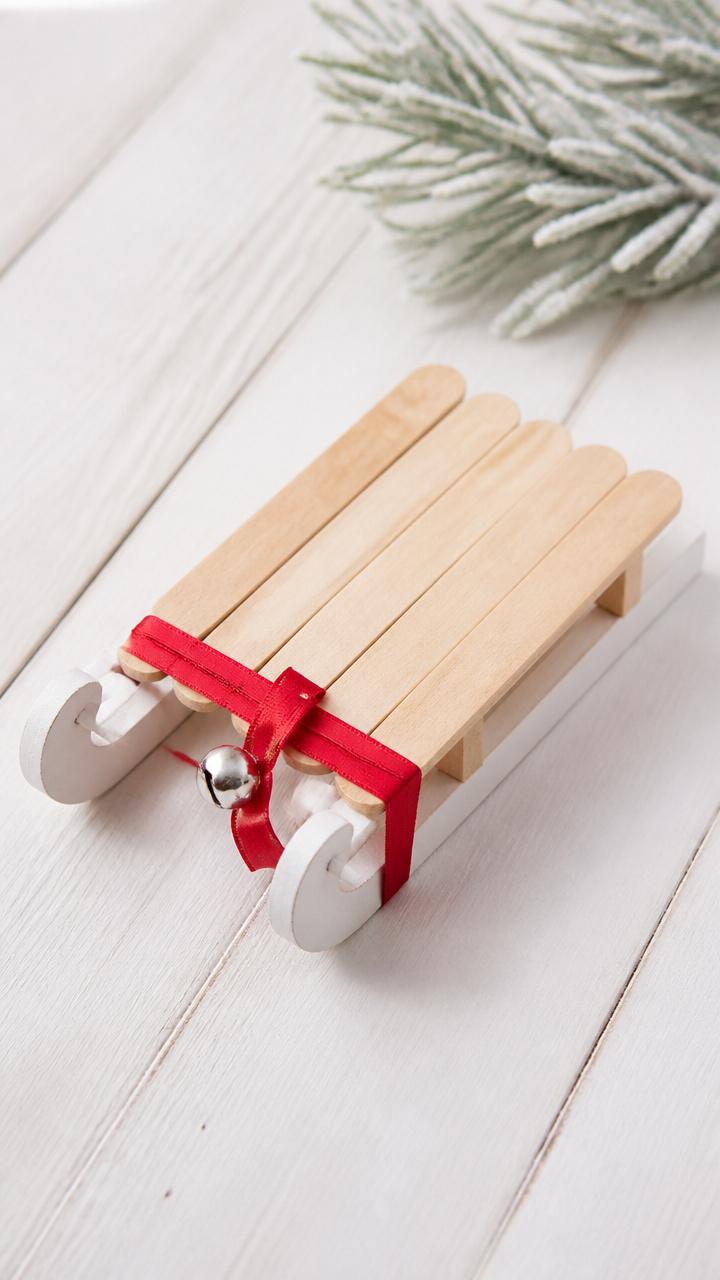
Flat sticks curve into runners and rise into a handle, forming a tiny sled. Kids love pretending it carries gifts.
Materials Needed
- Jumbo popsicle sticks, 6
- White acrylic paint
- Paintbrush
- Red ribbon, 6 inches
- Hot glue gun
- Small jingle bell, 1
How to Make It
- Bend two popsicle sticks slightly to form sled runners. Glue the ends to two flat sticks to make a base.
- Glue a third flat stick upright at one end for the handle.
- Paint the entire sled white. Let dry for 20 minutes.
- Tie the ribbon around the handle and glue the bell to the front.
10. Salt Dough Ornaments
Moderate
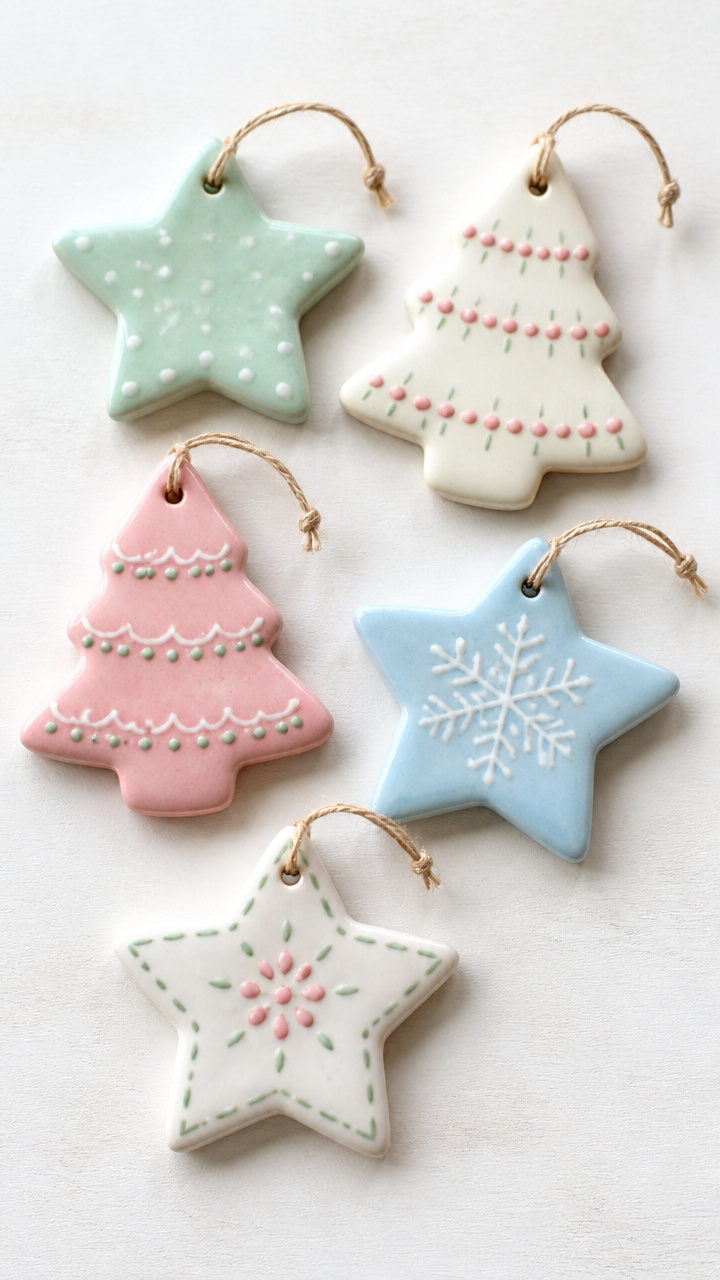
Simple dough shaped into stars and trees bakes hard and holds paint well. These keepsakes last for years.
Materials Needed
- All-purpose flour, 1 cup
- Table salt, 1/2 cup
- Water, 1/2 cup
- Rolling pin
- Star-shaped cookie cutter, 1
- Parchment paper
- Baking sheet
- Acrylic paint (gold, silver), 2 colors
- Ribbon, 6 inches
How to Make It
- Mix flour, salt, and water in a bowl until a smooth dough forms. Knead for 2 minutes.
- Roll the dough to 1/4 inch thick. Cut out shapes with the cookie cutter.
- Place on a parchment-lined baking sheet. Bake at 200°F for 3 hours.
- Paint the cooled ornaments. Thread ribbon through a hole before tying.
11. Button Snowmen
Easy
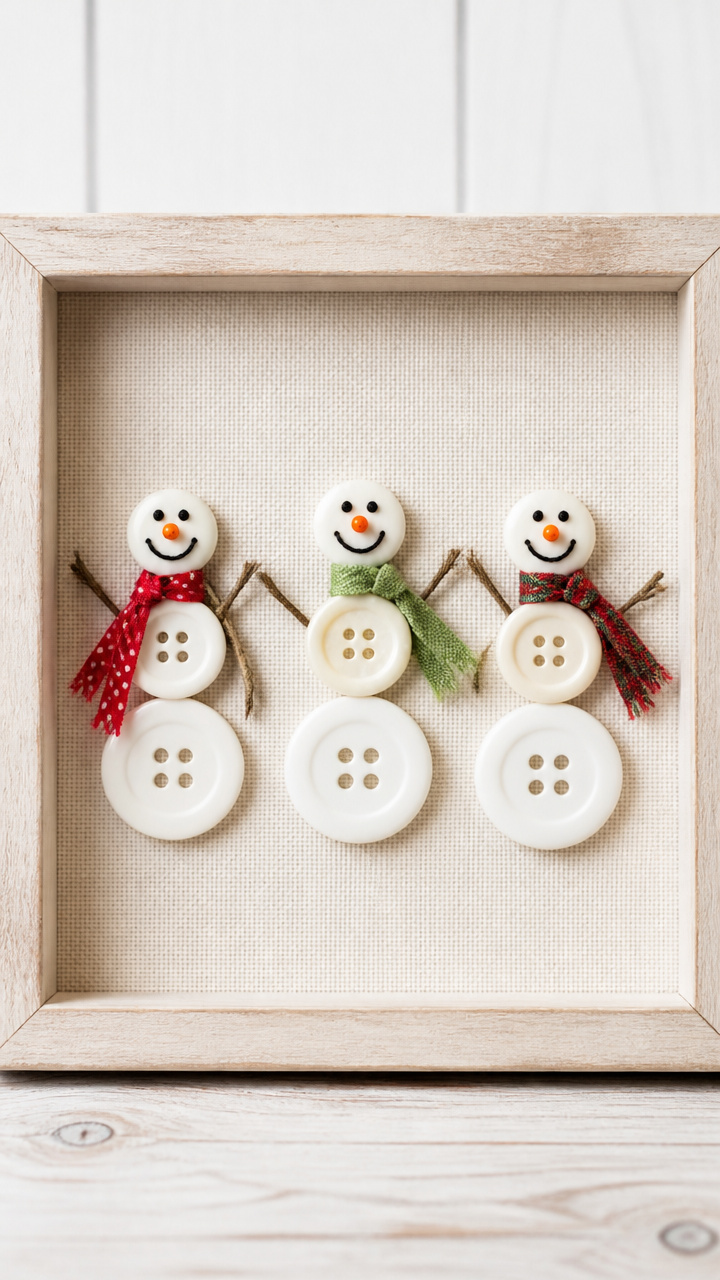
Three mismatched buttons stack into smiling winter figures with twig arms and fabric scarves. They pin neatly to bulletin boards.
Materials Needed
- Assorted buttons (3 per snowman), 9
- Black embroidery floss
- Needle
- Orange seed beads, 3
- Fabric scraps (red and green), 3 small pieces
- Scissors
- Toothpicks, 3
How to Make It
- Thread the needle with floss and tie a knot. Push through the center of the largest button.
- String a medium button, then a small one on top. Tie off at the back.
- Glue an orange bead to the top button for a nose.
- Cut tiny fabric strips and wrap around the middle button. Glue in place. Insert a toothpick into the bottom for a stand.
12. Paper Bag Penguins
Easy
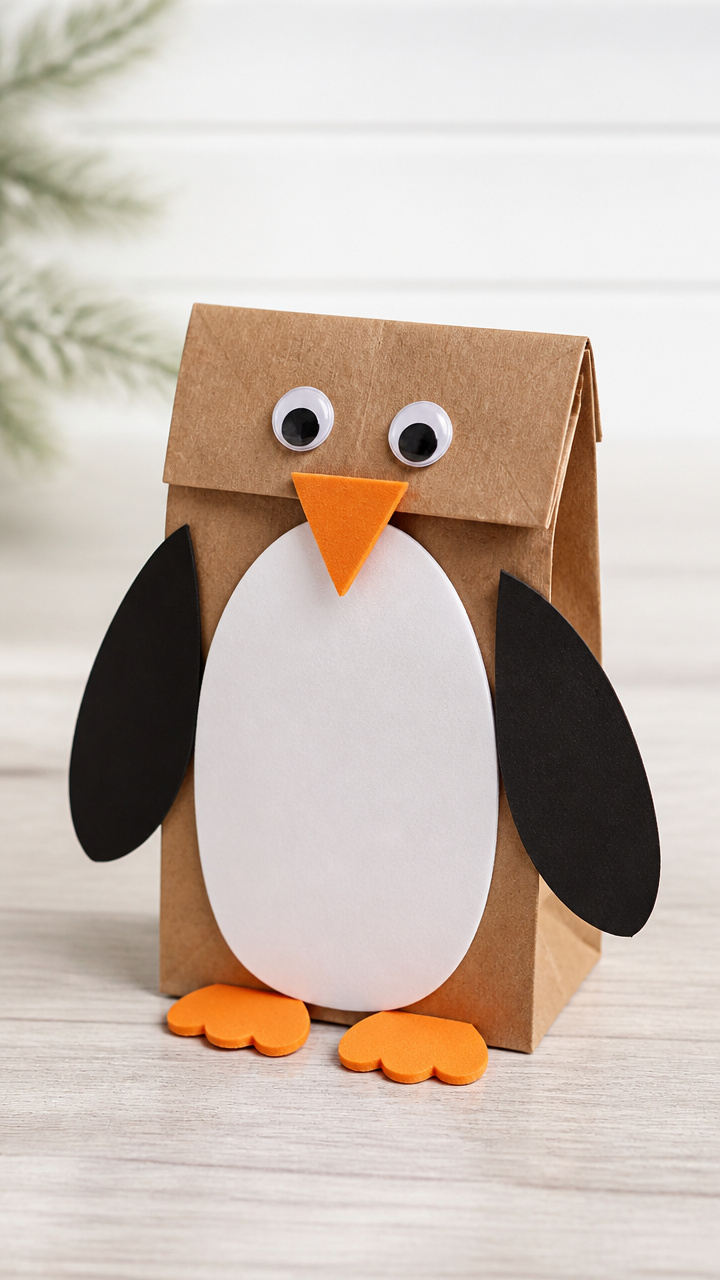
Brown lunch bags fold into waddling birds with flapping wings and wiggly eyes. They stand on their own.
Materials Needed
- Brown paper lunch bags, 3
- White craft foam sheet
- Black craft foam sheet
- Googly eyes, 6
- Orange pipe cleaner, 1
- Glue stick
- Scissors
How to Make It
- Cut white ovals from white foam and glue them to the front of each bag for bellies.
- Cut black wings from black foam and glue them to the sides.
- Glue googly eyes near the top of the bag.
- Cut an orange beak from the pipe cleaner and glue it below the eyes.
13. Yarn-Wrapped Icebergs
Easy
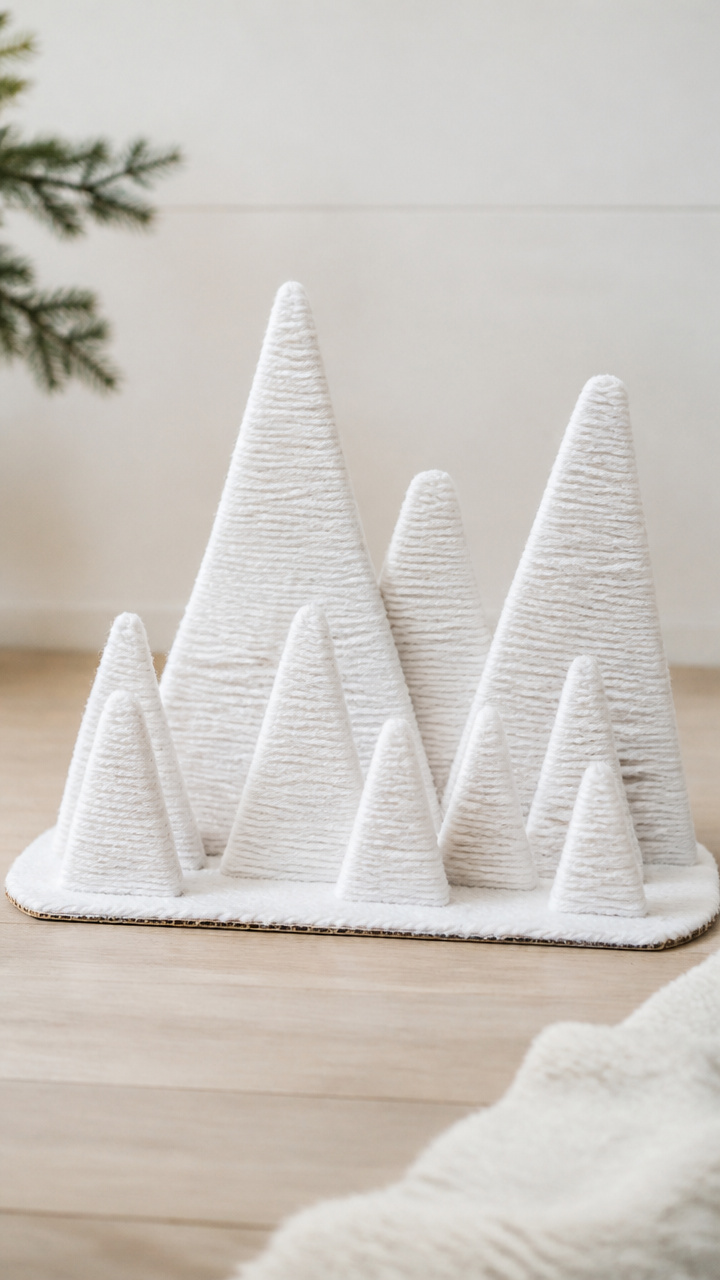
Cardboard shapes become frozen peaks when wrapped tightly in white yarn. Group them for a cold sea display.
Materials Needed
- White yarn, 1 ball
- Cardboard, 8×8 inch sheet
- Scissors
- Pencil
- White school glue
- Paintbrush
How to Make It
- Draw iceberg shapes on cardboard with the pencil. Cut out 4 pieces.
- Brush a thin layer of glue on one side of an iceberg.
- Wrap yarn tightly around the shape, covering the glue. Overlap slightly.
- Let dry for 15 minutes. Repeat on the other side.
14. Candy Cane Reindeer
Easy
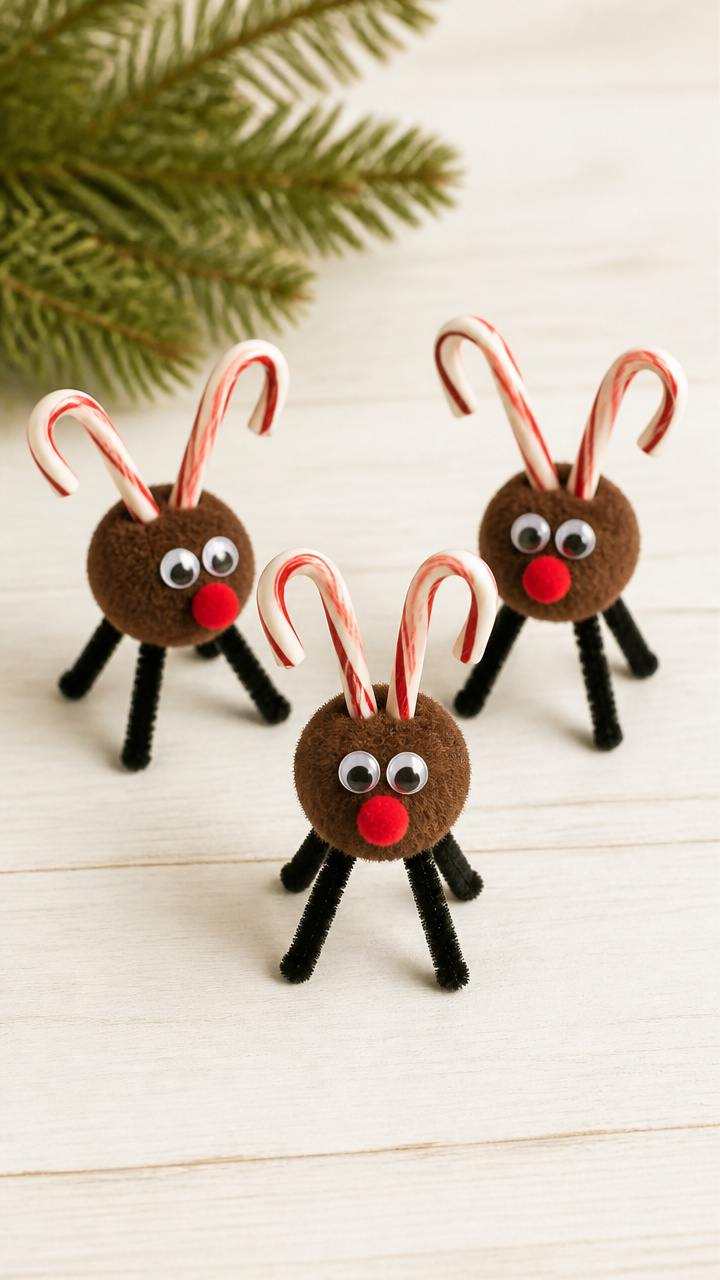
Peppermint candies bend into antlers on reindeer faces made from pom-poms and pipe cleaners. Sweet and silly.
Materials Needed
- Red and white striped candy canes, 3
- Brown pom-poms (1 inch), 3
- Googly eyes, 6
- Black pipe cleaners, 3
- Glue dots, 6
- Small red pom-poms, 3
How to Make It
- Bend the hook of each candy cane outward to form antlers.
- Press a glue dot on the front of each pom-pom. Attach two googly eyes.
- Press a small red pom-pom below the eyes for a nose.
- Twist a black pipe cleaner into a U-shape and glue to the sides for antlers.
15. Puffy Paint Snow Scenes
Easy
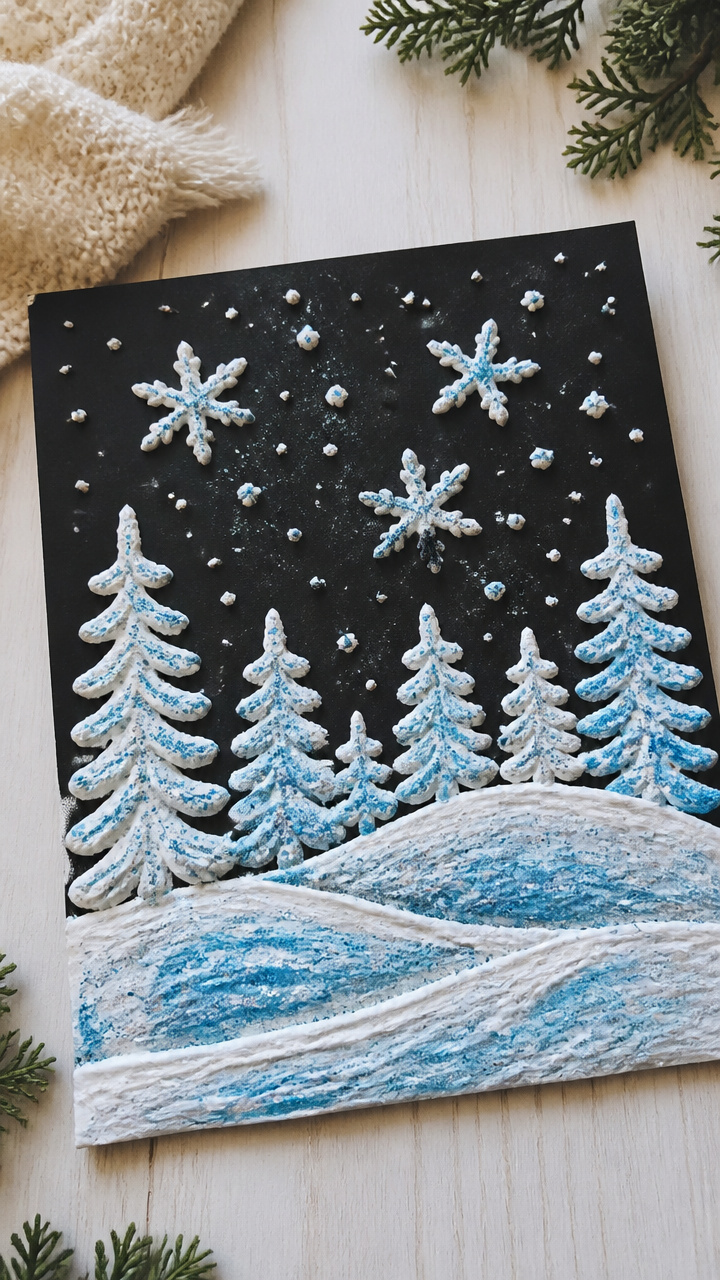
Thick, foamy paint tubes let kids draw snowy hills and trees that rise off the paper. The texture feels like real frost.
Materials Needed
- Black construction paper, 8.5×11 inch, 3 sheets
- White puffy paint, 1 bottle
- Blue puffy paint, 1 bottle
- Cotton swabs
- Glitter, 1 tablespoon
How to Make It
- Squeeze white puffy paint in wavy lines across the bottom of the paper for snowdrifts.
- Draw trees with blue puffy paint using short zigzag lines.
- Dot swabs in the sky area to make snowflakes.
- Sprinkle glitter lightly over wet paint. Let dry for 2 hours.
16. Cardboard Tube Snowmen
Easy
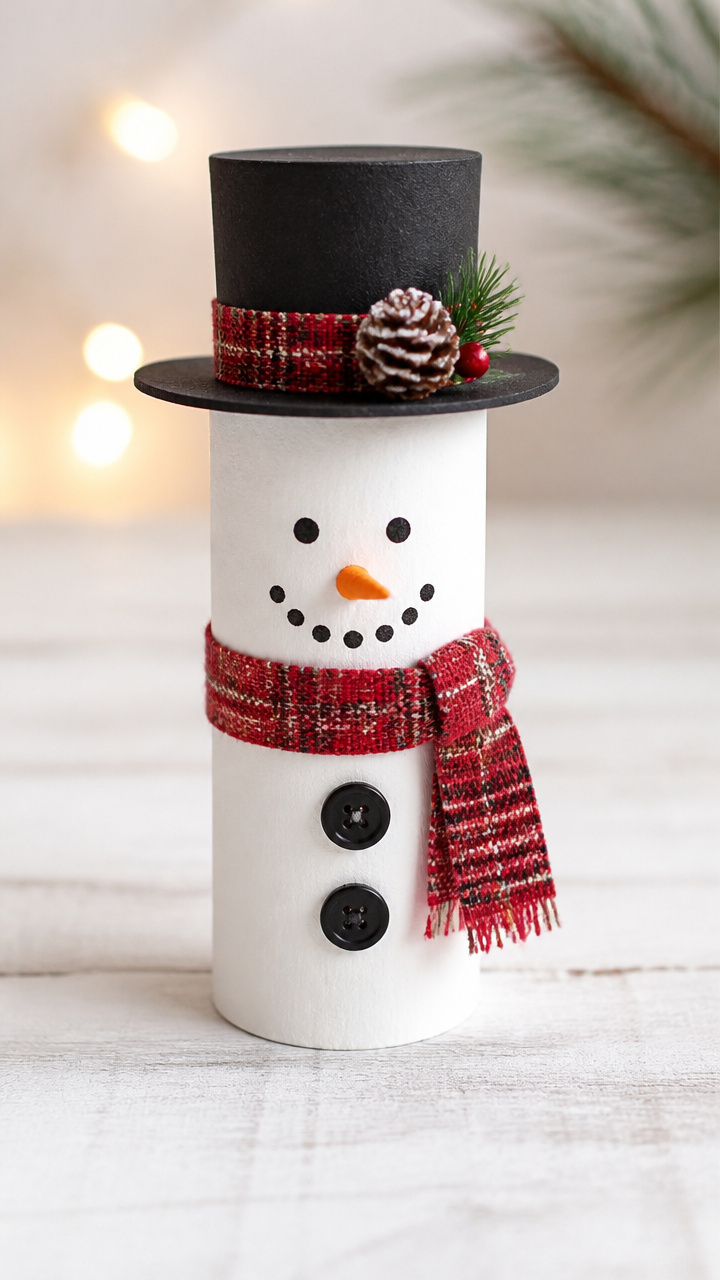
Toilet paper rolls wear painted faces and fabric scarves, standing tall in winter coats. They fit in the palm of a hand.
Materials Needed
- Toilet paper rolls, 3
- White acrylic paint
- Paintbrush
- Black craft foam
- Fabric scraps, 3 pieces
- Glue stick
- Scissors
- Googly eyes, 6
How to Make It
- Paint each roll white. Let dry for 15 minutes.
- Cut small circles from black foam for eyes and buttons. Glue them on.
- Glue googly eyes above the foam eyes.
- Cut fabric into 1×4 inch strips and wrap around the middle for scarves. Glue ends.
17. Wax Paper Snow Windows
Moderate
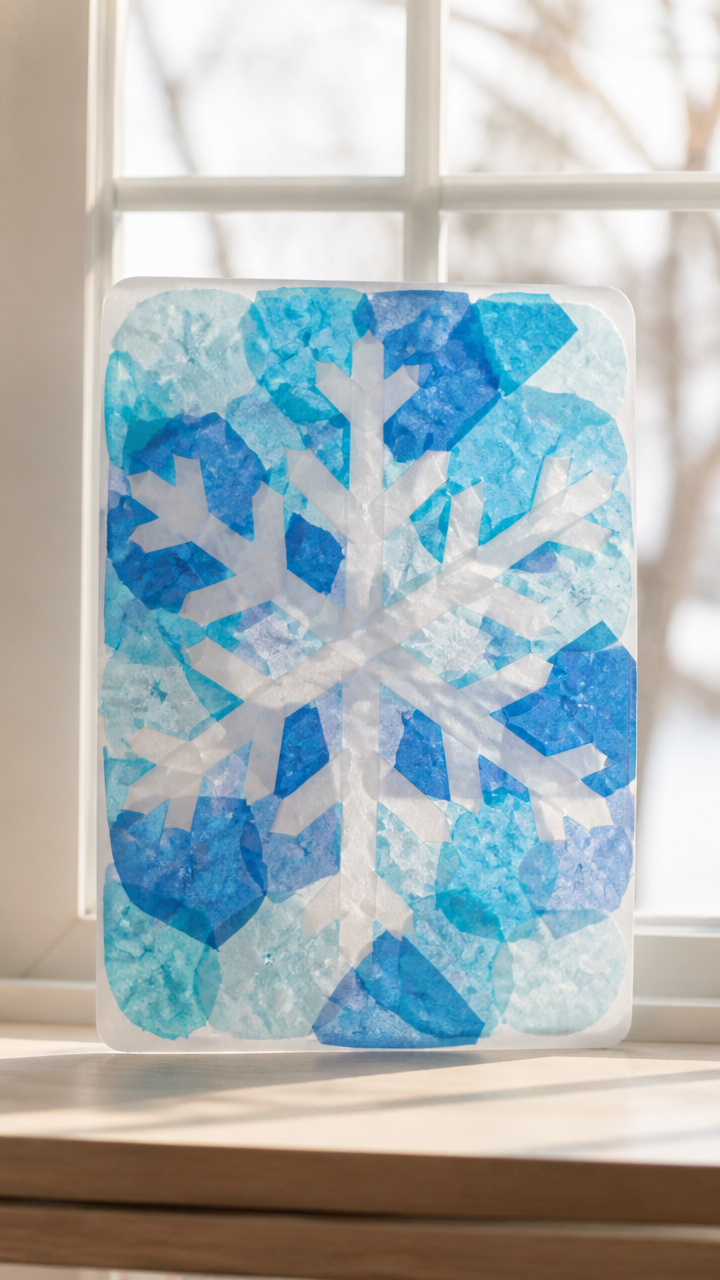
Crumpled tissue paper melts into translucent panes when ironed between wax sheets. Hang them in sunny windows.
Materials Needed
- White and blue tissue paper, 4 sheets
- Wax paper, 2 sheets (8.5×11 inch)
- Scissors
- Iron
- Parchment paper
- Craft stick
How to Make It
- Tear tissue paper into small pieces. Layer blue and white on one wax paper sheet.
- Place the second wax paper sheet on top.
- Cover with parchment paper. Iron on low heat for 30 seconds until sealed.
- Use the craft stick to smooth edges. Cut into window shapes.
18. Pom-Pom Polar Bears
Easy
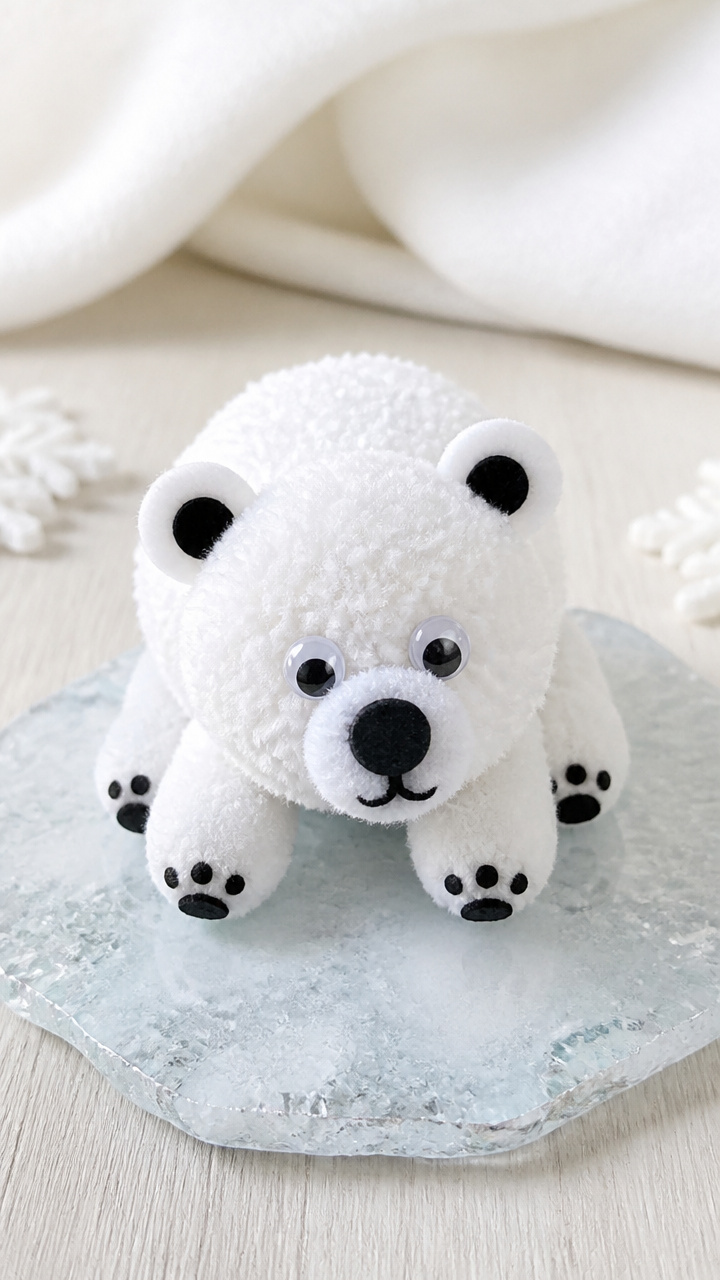
Fuzzy white balls glue into crouching bears with tiny ears and paws. They look like they're padding across ice.
Materials Needed
- Large white pom-poms, 3
- Small white pom-poms, 6
- Googly eyes, 6
- Black craft foam
- Glue stick
- Scissors
How to Make It
- Glue two small pom-poms to the side of a large one for ears.
- Glue two more small pom-poms to the front for paws.
- Glue on googly eyes near the top.
- Cut tiny black circles from foam for nose and mouth. Glue in place.
19. Clothespin Penguin Families
Easy
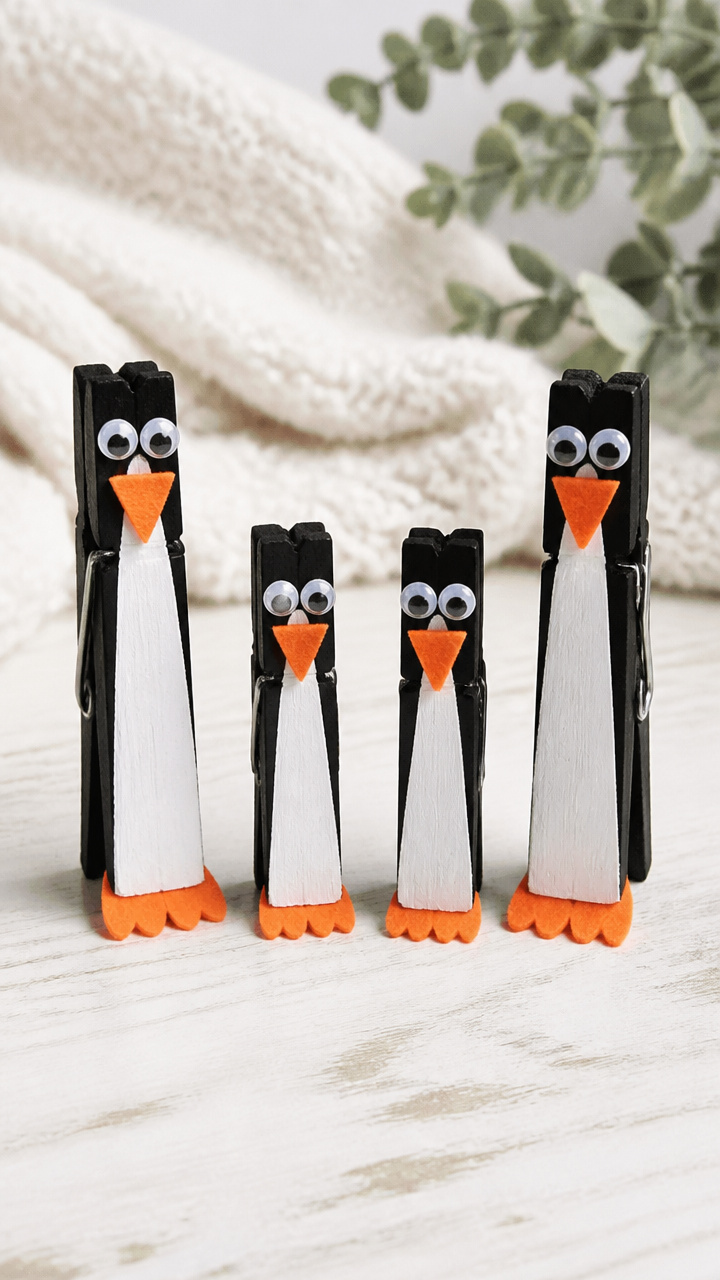
Wooden clothespins wear painted feathers and googly eyes, standing in a line like a real penguin colony.
Materials Needed
- Wooden clothespins, 5
- Black acrylic paint
- White acrylic paint
- Paintbrush
- Googly eyes, 10
- Orange craft foam
- Glue stick
- Scissors
How to Make It
- Paint the top of each clothespin black and the bottom white. Let dry for 10 minutes.
- Glue two googly eyes to the black painted area.
- Cut small beaks and feet from orange foam.
- Glue a beak below the eyes and feet to the bottom of the clothespin base.
20. Plaster of Paris Footprints
Advanced
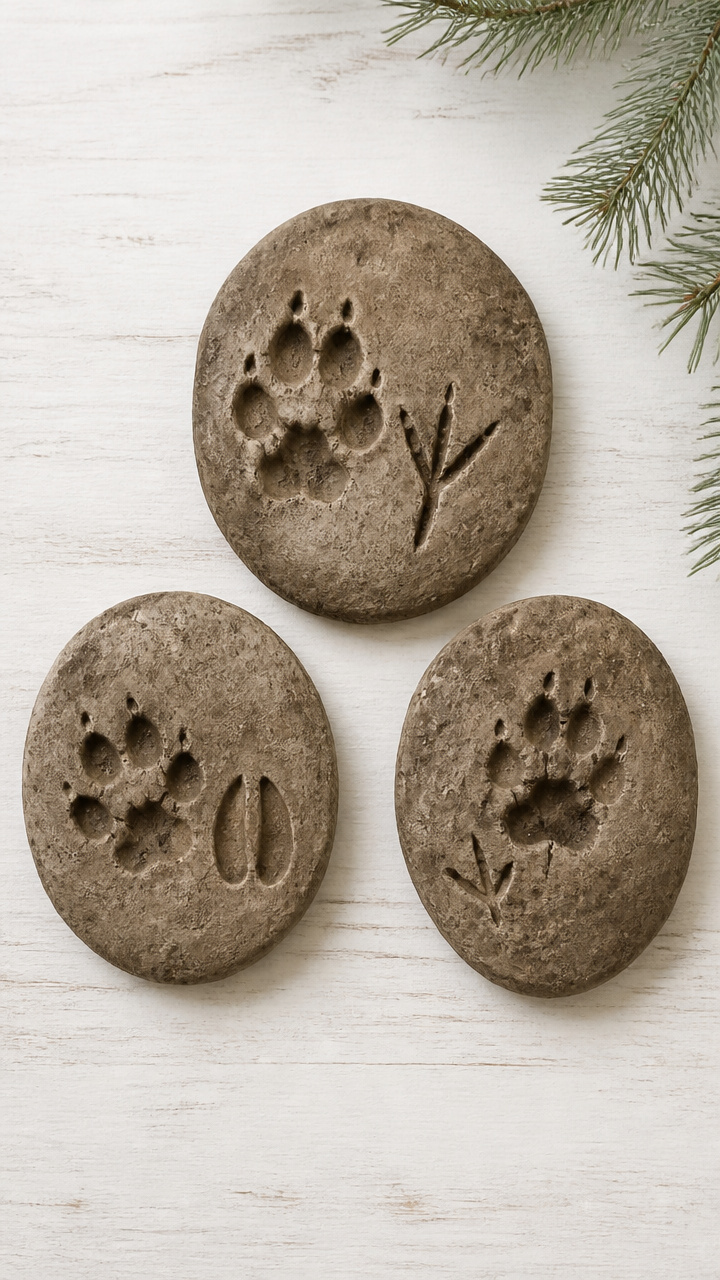
Muddy paw shapes form in molds and harden into keepsake casts. Kids press in animal toys to make tracks.
Materials Needed
- Plaster of Paris powder, 1 cup
- Water, 1/2 cup
- Plastic mixing bowl
- Stirring stick
- Silicone muffin cup, 3
- Toy animal figures, 3
- Vaseline
How to Make It
- Grease the inside of each muffin cup with Vaseline.
- Mix plaster powder and water in the bowl until smooth. Stir for 2 minutes.
- Pour the mixture into each cup, filling halfway.
- Press an animal figure into each cup. Let harden for 45 minutes before removing.
21. Tin Foil Snow Sculptures
Easy
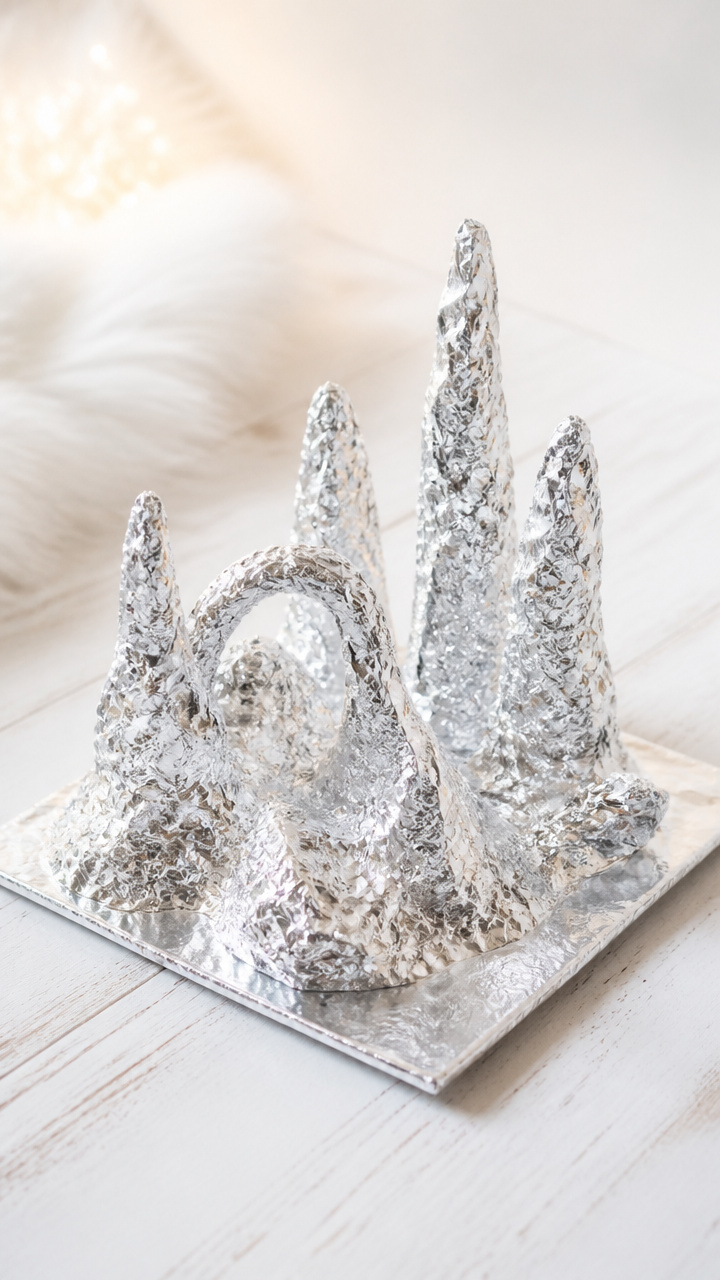
Shiny crumpled foil molds into abstract snow drifts and icy towers. They reflect light like real snowfields.
Materials Needed
- Aluminum foil, 1 roll
- Cardboard base, 6×6 inch
- White school glue
- Paintbrush
- Scissors
How to Make It
- Tear foil into 6-inch squares. Crumple each into a textured ball.
- Flatten slightly and glue to the cardboard base in a cluster.
- Brush a thin coat of glue over the entire sculpture.
- Let dry for 10 minutes. Add more layers if desired.
22. Edible Glitter Ornaments
Easy
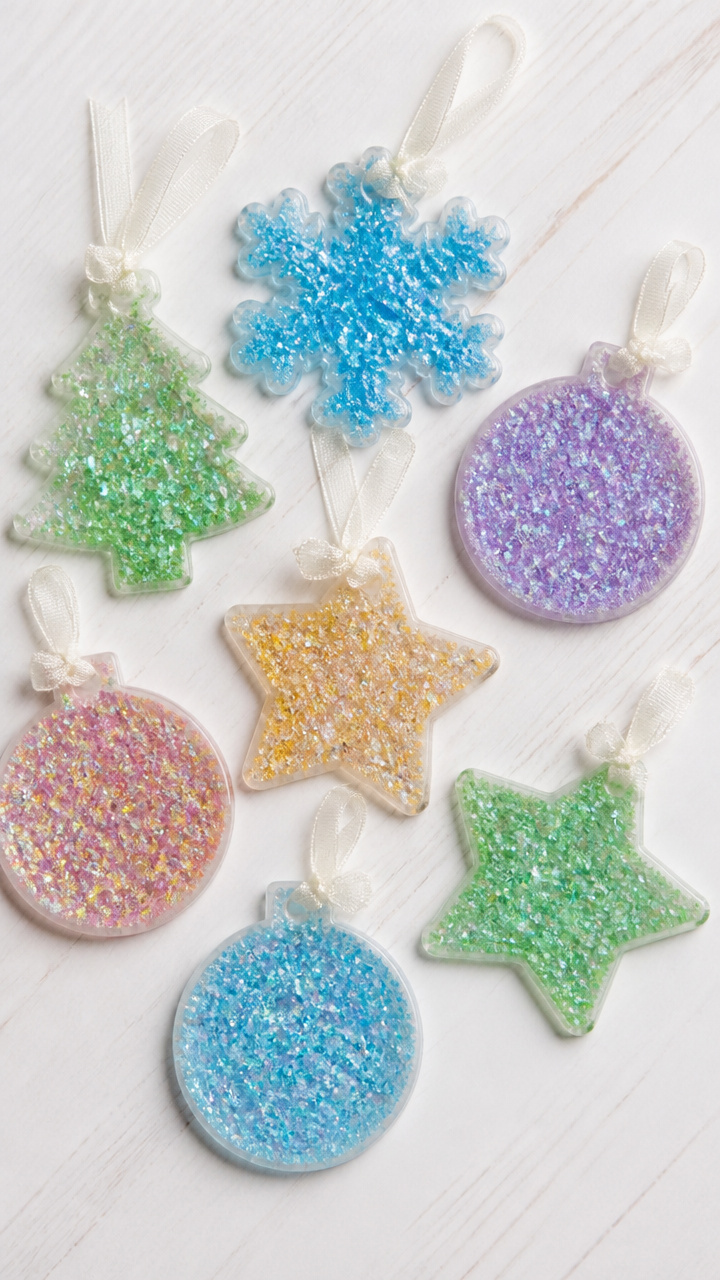
Pretzel sticks and marshmallows build glittery shapes that are safe to taste. They're sweet enough to eat after display.
Materials Needed
- Pretzel sticks, 12
- Mini marshmallows, 20
- Edible silver glitter, 1 teaspoon
- Corn syrup, 1 tablespoon
- Small bowl
- Paintbrush
How to Make It
- Dip pretzel sticks in corn syrup using the brush.
- Roll them in edible glitter. Set aside to dry for 10 minutes.
- Use marshmallows as connectors to join pretzels into star or tree shapes.
- Let the structure sit for 15 minutes to firm up before displaying.
Grab a few supplies and start with one craft—each one brings its own quiet joy. These little projects make the coldest days feel bright and full of possibility.