21 Epsom Salt Snow Crafts That Sparkle Like Real Frost

Frost-kissed windows, glittering icicles, snow-dusted pinecones — you can bring that crisp winter magic indoors with just a few simple supplies. Epsom salt transforms into dazzling frosty textures when layered just right, and these crafts make the most of its natural sparkle.
Each project uses real techniques and exact materials so you know exactly what to buy and how to use it. No guesswork, no fluff — just beautiful, shimmering results that feel like December light caught in your hands.
1. Frosted Mason Jar Luminaries
Easy
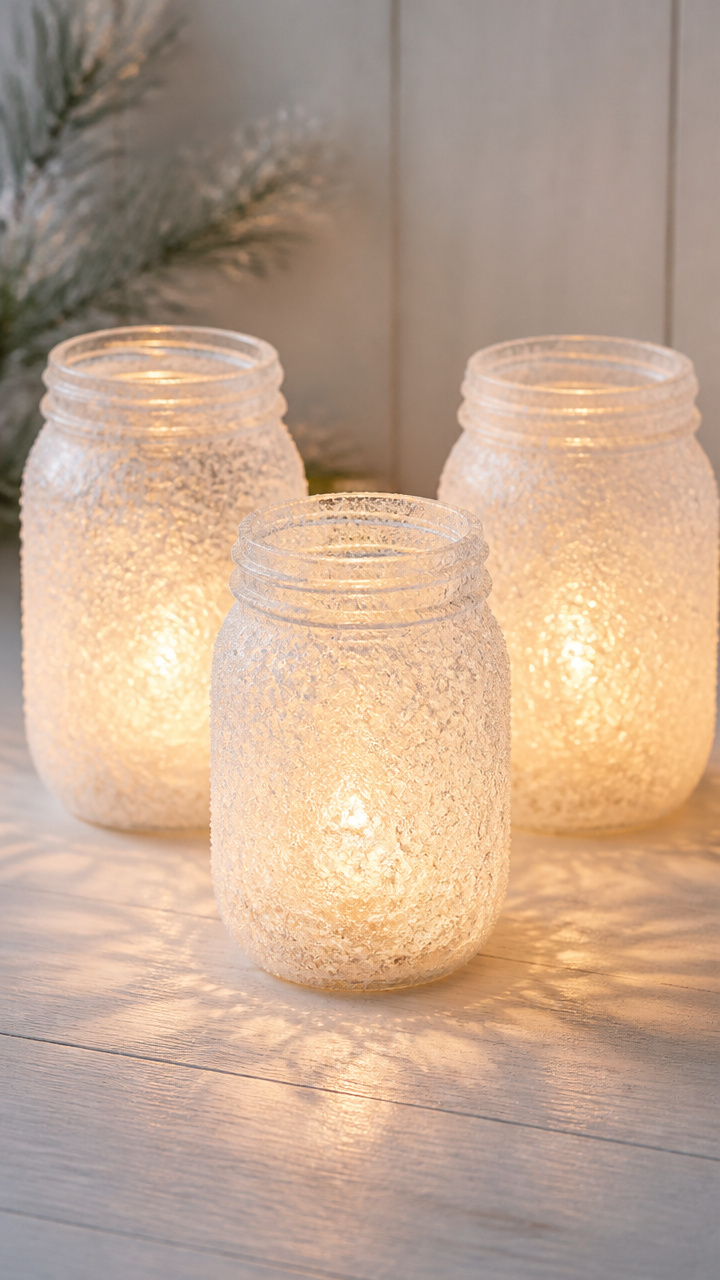
Soft golden light glows through a delicate crust of handmade frost on these glowing jar accents. They cast dreamy patterns on walls and work beautifully as centerpiece lighting.
Materials Needed
- 3 clean 16 oz mason jars
- 1 cup Epsom salt
- 1/4 cup white craft glue
- 1/4 cup water
- 4 tea light LED candles
How to Make It
- Mix Epsom salt, craft glue, and water in a bowl until fully combined and slightly thickened.
- Use a brush to apply the mixture in uneven patches around the lower two-thirds of each jar.
- Let jars dry upright for at least 4 hours until the coating is hard and crystalline.
- Place one LED tea light inside each jar before display.
2. Salt-Dipped Pinecone Ornaments
Easy
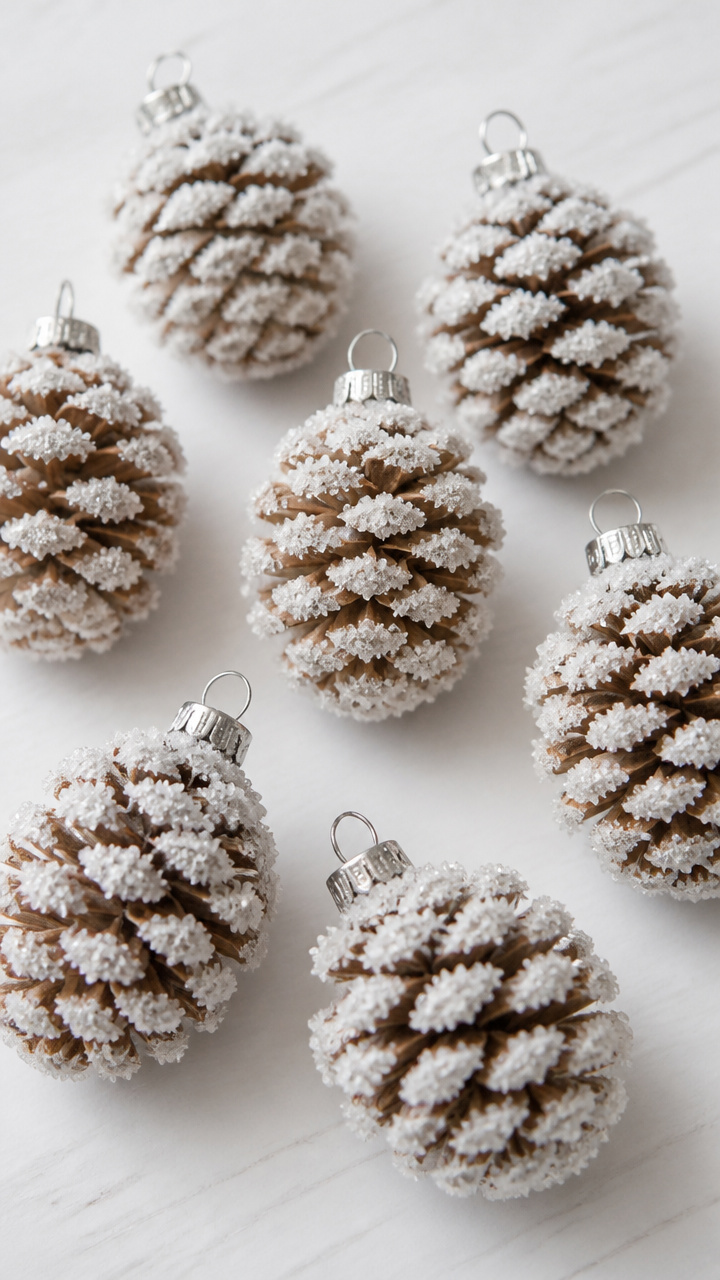
Crisp white crystals cling to every ridge of real pinecones, turning them into woodland treasures fit for a snowy forest scene or tree decoration.
Materials Needed
- 6 small to medium pinecones
- 1 cup Epsom salt
- 1/2 cup boiling water
- 1/2 cup white school glue
- 6 silver ornament hooks
How to Make It
- Dissolve Epsom salt in boiling water, then stir in glue until smooth and slightly syrupy.
- Dip each pinecone into the mixture, rotating to coat all surfaces evenly.
- Place pinecones on wax paper and let dry for 6 hours or until completely hardened.
- Attach an ornament hook to the top of each pinecone using a dab of glue.
3. Window Frosting Art Panels
Moderate
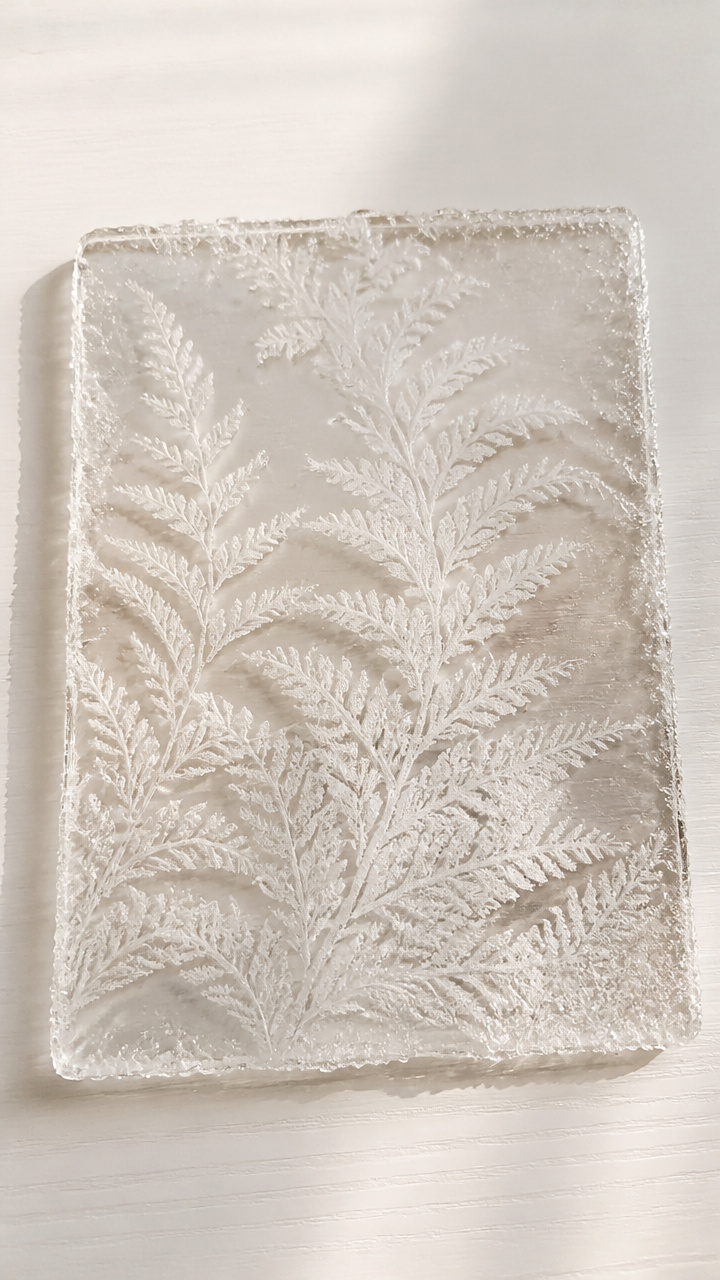
Delicate ice-fern patterns bloom across glass like real winter condensation. These temporary art pieces add seasonal charm without damaging windows.
Materials Needed
- 1 sheet 8×10 inch clear acrylic panel
- 1/2 cup Epsom salt
- 1/4 cup cornstarch
- 3/4 cup cold water
- 1 small paintbrush
- 1 fine mist spray bottle
How to Make It
- Whisk cornstarch into cold water in a saucepan and heat over medium until thickened into a paste.
- Remove from heat, stir in Epsom salt until fully blended, and cool for 10 minutes.
- Paint swirling frost patterns onto the acrylic with the brush using the mixture.
- Lightly mist with water from the spray bottle to encourage crystal spread and air dry for 5 hours.
4. Glittering Snowflake Terrariums
Moderate
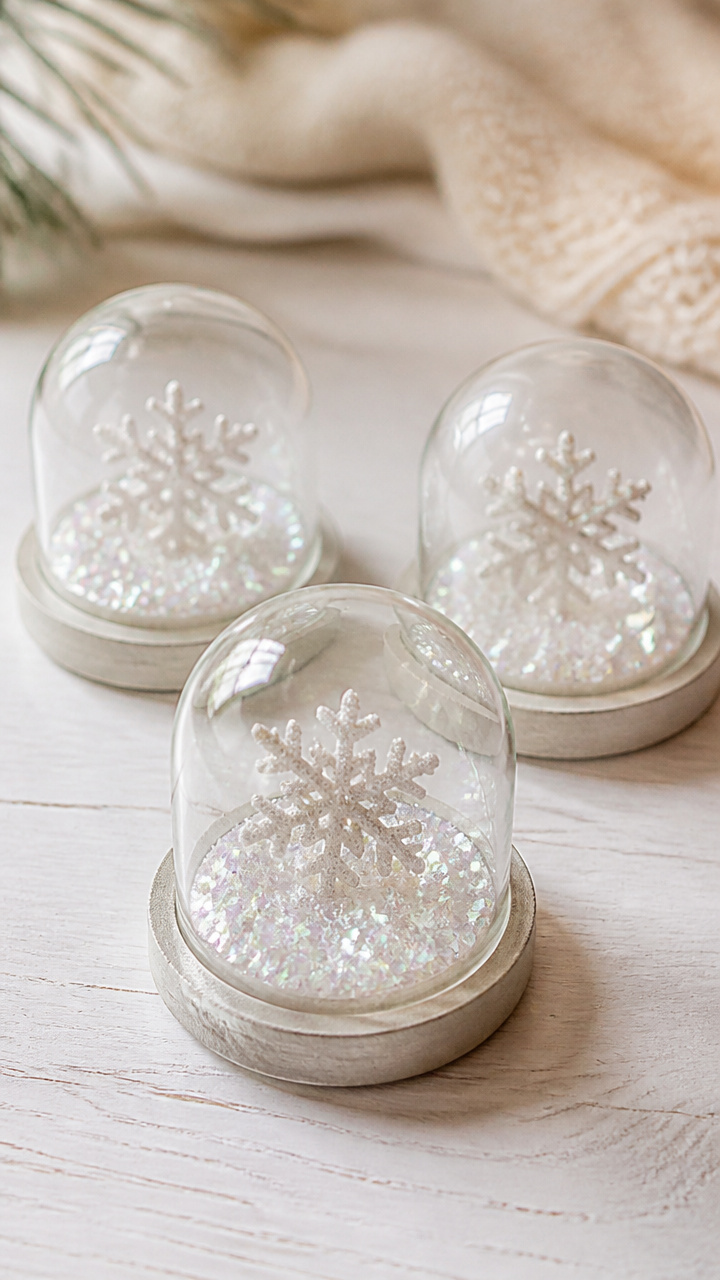
Mini frozen constellations glow under tiny glass domes, perfect for gifting or arranging on a holiday tray.
Materials Needed
- 3 glass dome terrariums with bases
- 1/2 cup Epsom salt
- 1/4 cup liquid starch
- 3 artificial snowflakes (1.5 inch size)
- 3 drops iridescent glitter
- 1 small mixing bowl
How to Make It
- Combine Epsom salt and liquid starch in the bowl, stirring until it forms a sticky slurry.
- Press the snowflakes gently into the mixture to coat completely.
- Place each coated snowflake in the center of a terrarium base and let dry for 4 hours.
- Sprinkle a drop of glitter around each snowflake before placing the dome cover.
5. Epsom Salt Candle Holders
Easy
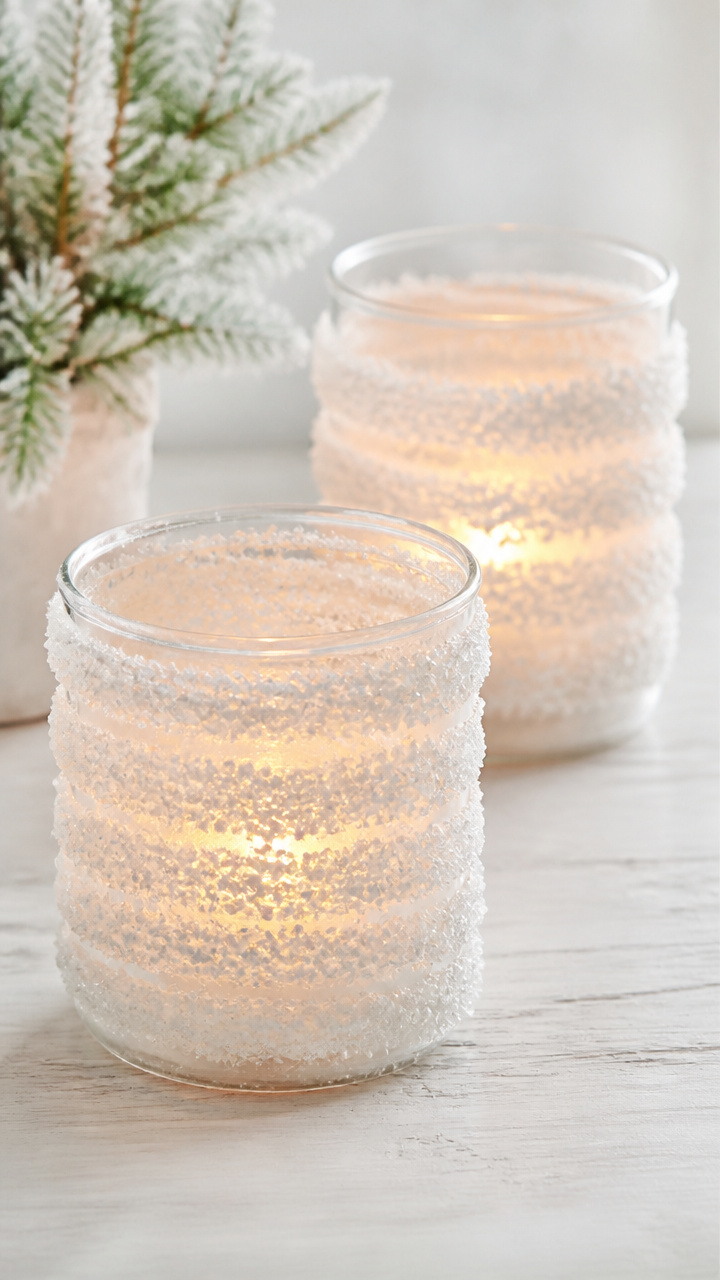
Thick bands of faux frost wrap around glass votive holders, diffusing candlelight into a soft winter haze.
Materials Needed
- 4 clear glass votive holders
- 3/4 cup Epsom salt
- 1/3 cup white glue
- 1 foam brush
- 4 flameless LED votives
How to Make It
- Mix Epsom salt and white glue in a bowl until no lumps remain and texture is creamy.
- Use the foam brush to apply a 1-inch wide band of mixture around the middle of each holder.
- Let dry upright for 3 hours or until firm to the touch and slightly translucent.
- Insert one LED votive into each holder after drying.
6. Frozen Twig Wreath Base
Advanced
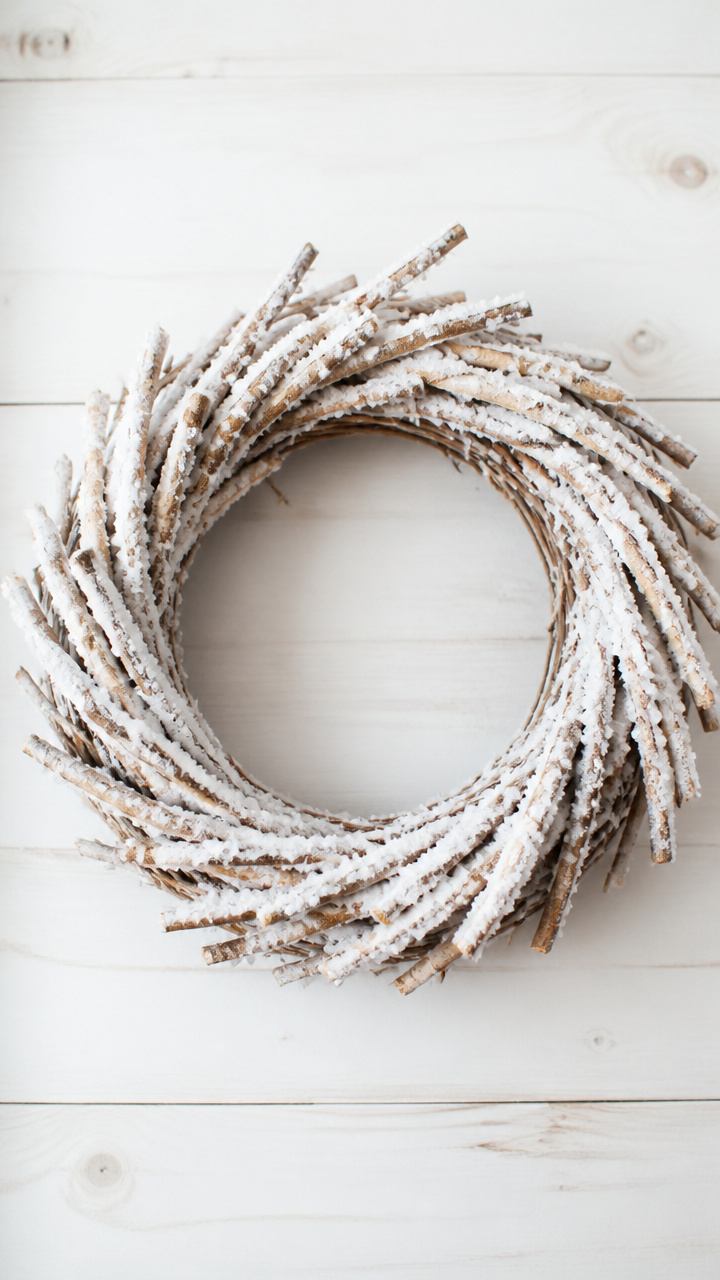
A wild tangle of bare branches becomes a sparkling winter crown with a heavy dusting of crystallized salt.
Materials Needed
- 1 grapevine wreath base (10 inch)
- 1 cup Epsom salt
- 1/2 cup school glue
- 1/4 cup warm water
- 1 wire cutter
- 6 birch twigs (6 inches long)
- hot glue gun and 1 glue stick
How to Make It
- Cut twigs to varying lengths between 4 and 6 inches using wire cutters.
- Hot glue twigs at staggered angles around the outer edge of the grapevine base.
- Mix Epsom salt, glue, and warm water in a bowl until smooth and pourable.
- Brush mixture heavily onto all exposed twig and vine surfaces.
- Let dry face-up for 8 hours in a low-humidity room to prevent clumping.
7. Salt-Coated Paper Snow Globes
Easy
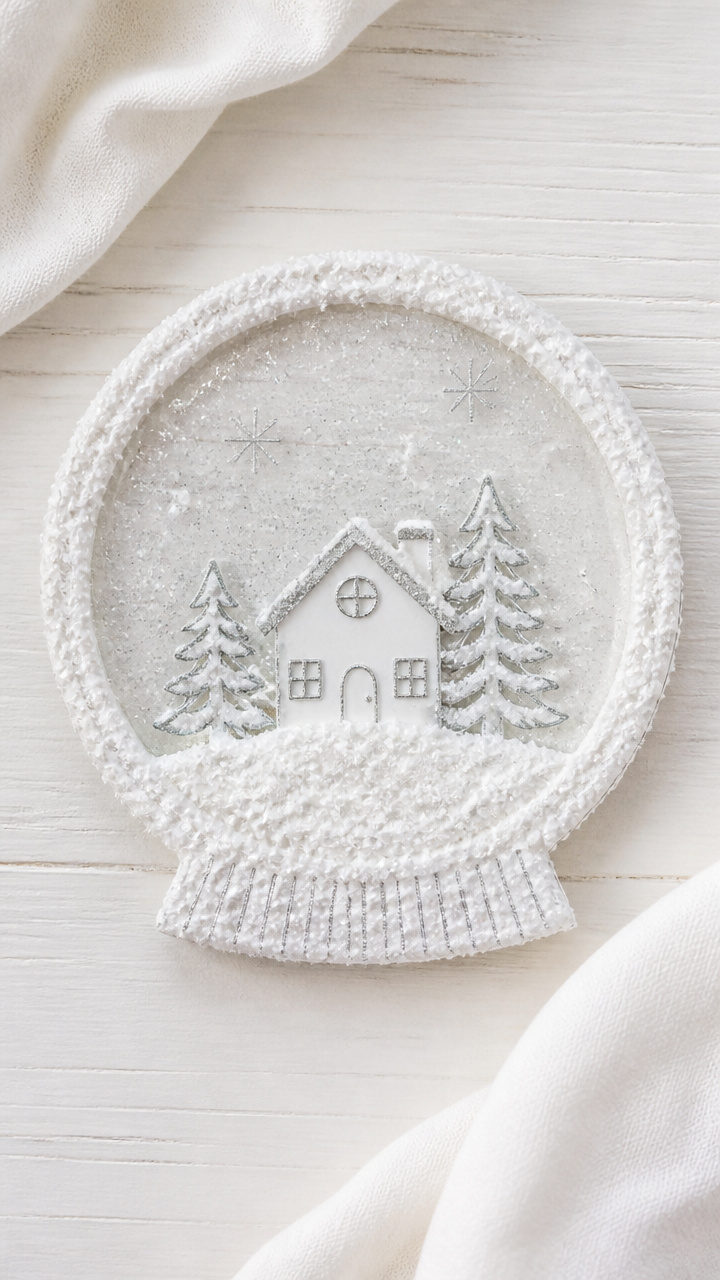
Flat cardboard cutouts gain dimension and shimmer with a thick, icy skin that mimics freshly fallen snow.
Materials Needed
- 5 pre-cut cardboard snow globe shapes (5 inch tall)
- 1/2 cup Epsom salt
- 1/4 cup white glue
- 1 paintbrush
- silver marker
How to Make It
- Mix Epsom salt and white glue in a bowl until uniformly blended.
- Paint the mixture onto the snow globe's 'snow' area and curved roof section only.
- Let dry flat for 2 hours until the surface crunches slightly when touched.
- Add window and trim details with the silver marker after drying.
8. Icicle Window Hangings
Moderate
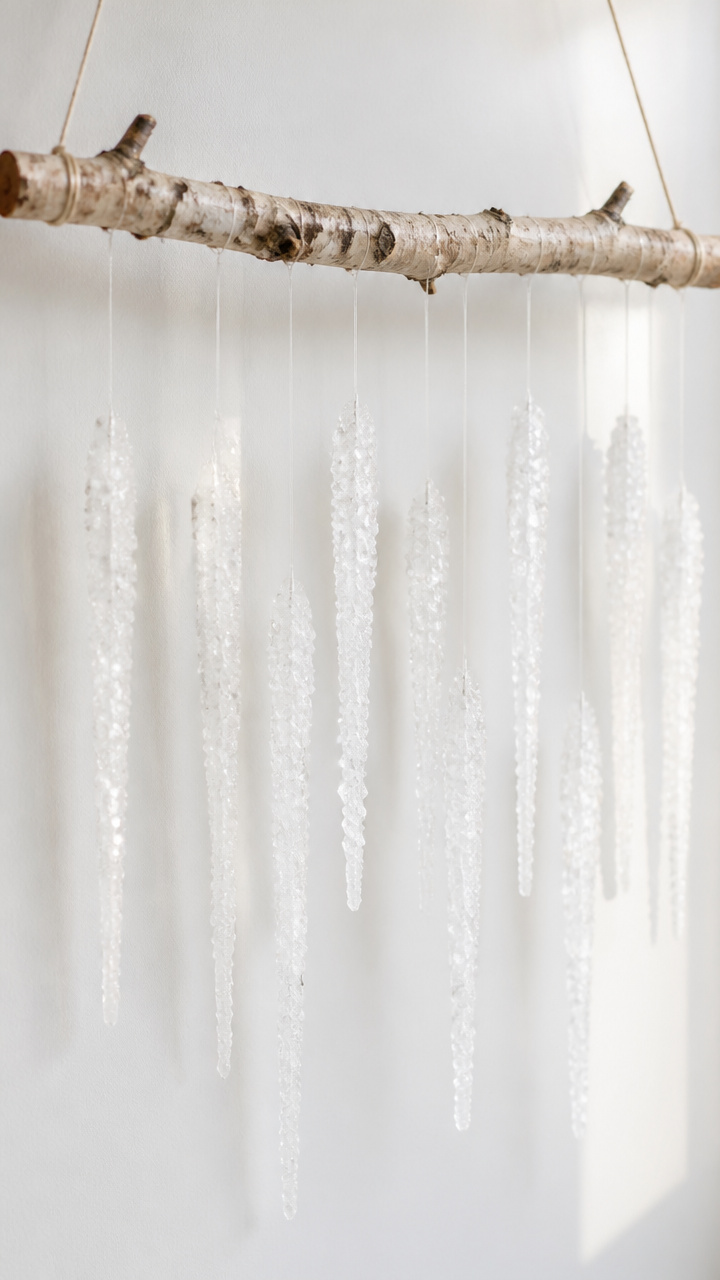
Long, glistening spikes dangle from a frosted branch, catching the light like real melting ice.
Materials Needed
- 1 straight birch branch (12 inches long)
- 1 cup Epsom salt
- 1/2 cup boiling water
- 1/4 cup white glue
- 6 feet clear fishing line
- scissors
How to Make It
- Dissolve Epsom salt in boiling water, then stir in glue and cool for 15 minutes.
- Cut fishing line into six 12-inch strands and tie one end of each to the branch.
- Dip the free ends into the salt mixture, letting excess drip off.
- Hang the branch horizontally and let icicles dry for 6 hours without touching anything.
9. Snowy Mason Bee House
Moderate
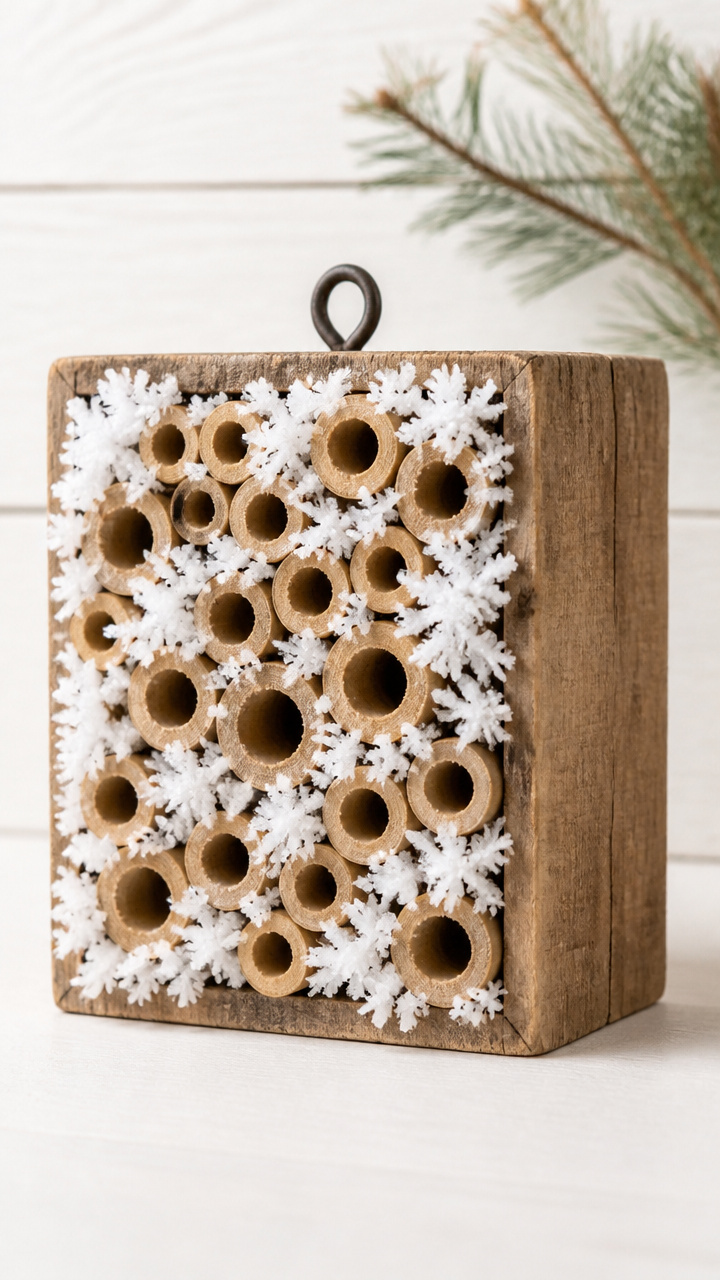
A functional insect hotel gets a seasonal makeover with soft frost pockets tucked between bamboo tubes.
Materials Needed
- 1 untreated wooden bee house block with bamboo inserts
- 3/4 cup Epsom salt
- 1/3 cup liquid starch
- 1 small spoon
- protective cardboard sheet
How to Make It
- Lay the bee house on its side over cardboard to catch drips.
- Mix Epsom salt and liquid starch in a bowl until it resembles wet sand.
- Spoon small amounts into gaps between bamboo and wood, focusing on top edges.
- Let dry undisturbed for 6 hours in a dry indoor space.
10. Crystallized Grapevine Monogram
Advanced
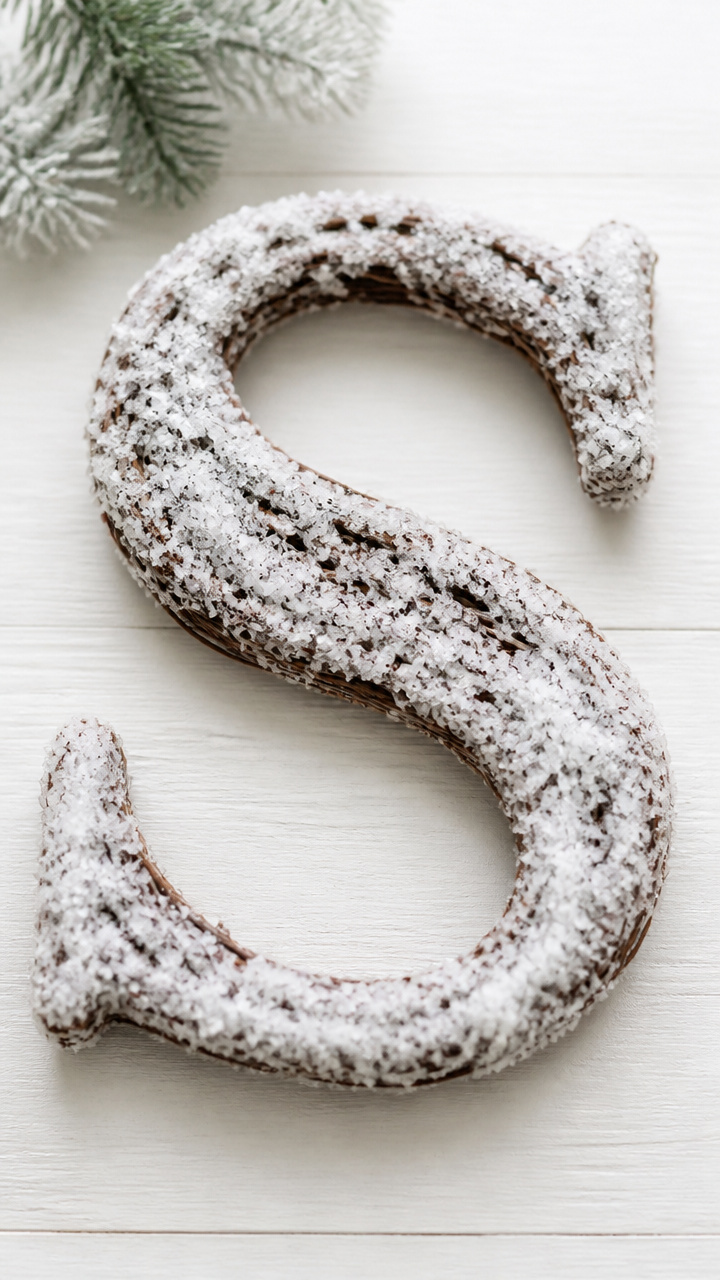
Your initial shines under a rugged halo of frost, ideal for mantel decor or personalized winter styling.
Materials Needed
- 1 letter-shaped grapevine form (8 inch tall)
- 1 1/2 cups Epsom salt
- 3/4 cup warm water
- 1/2 cup white craft glue
- large mixing bowl
- paint scraper
How to Make It
- Heat water slightly, then dissolve Epsom salt completely before mixing in glue.
- Stir until the solution is glossy and syrup-thick, then cool 10 minutes.
- Pour mixture into a shallow tray and submerge the grapevine letter completely.
- Lift out slowly, scrape off large drips with the scraper, and lay flat to dry 12 hours.
11. Frosted Citrus Slice Ornaments
Easy
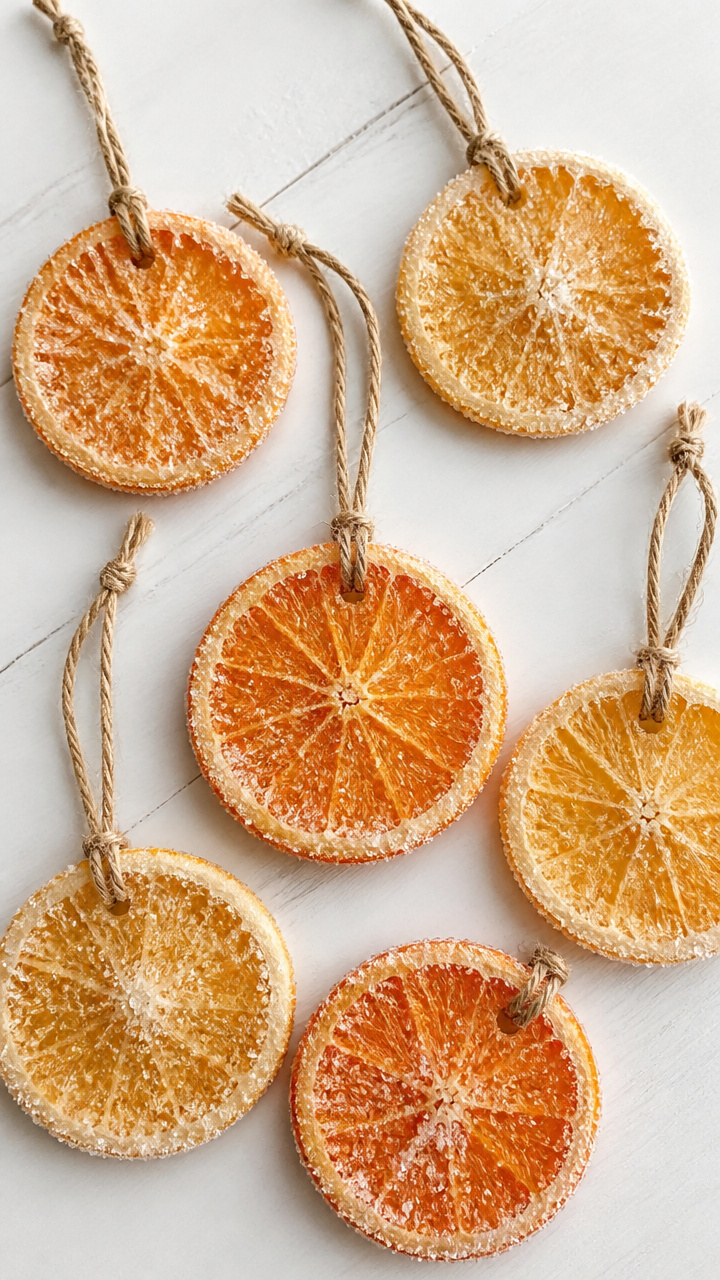
Dried orange and lemon wheels wear a rime of frost that enhances their rustic warmth and citrus scent.
Materials Needed
- 6 dried citrus slices (1/4 inch thick)
- 1/2 cup Epsom salt
- 1/4 cup white glue
- 6 gold jute cords (8 inches each)
- 1 paintbrush
How to Make It
- Mix Epsom salt and glue in a bowl until smooth and creamy.
- Brush a thin layer over both sides of each citrus slice.
- Lay slices flat and let dry for 3 hours until the surface feels grainy.
- Tie a jute cord around the top edge of each slice to create a hanger.
12. Salt-Painted Winter Trees
Moderate
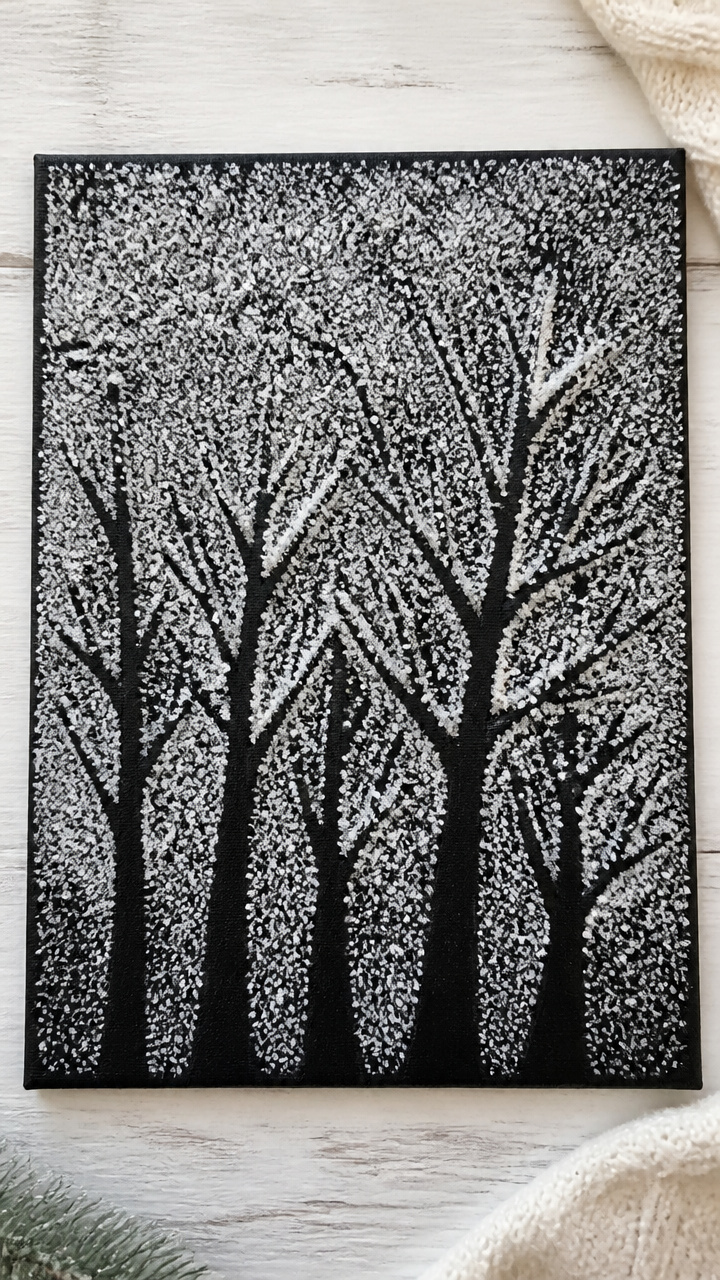
Bare silhouette trees emerge beneath a blizzard of textured salt, creating wall art with depth and shimmer.
Materials Needed
- 1 A4 black cardstock sheet
- 1/2 cup Epsom salt
- 1/4 cup school glue
- 1 small plastic palette
- 1 detail paintbrush
How to Make It
- Sketch a simple tree outline lightly in pencil on the cardstock.
- Mix Epsom salt and glue on the palette until it holds shape like wet snow.
- Use the brush to fill in tree trunks and branches with the mixture.
- Let dry for 4 hours until the paint stands slightly above the paper.
13. Glowing Snow Globe Bottles
Advanced
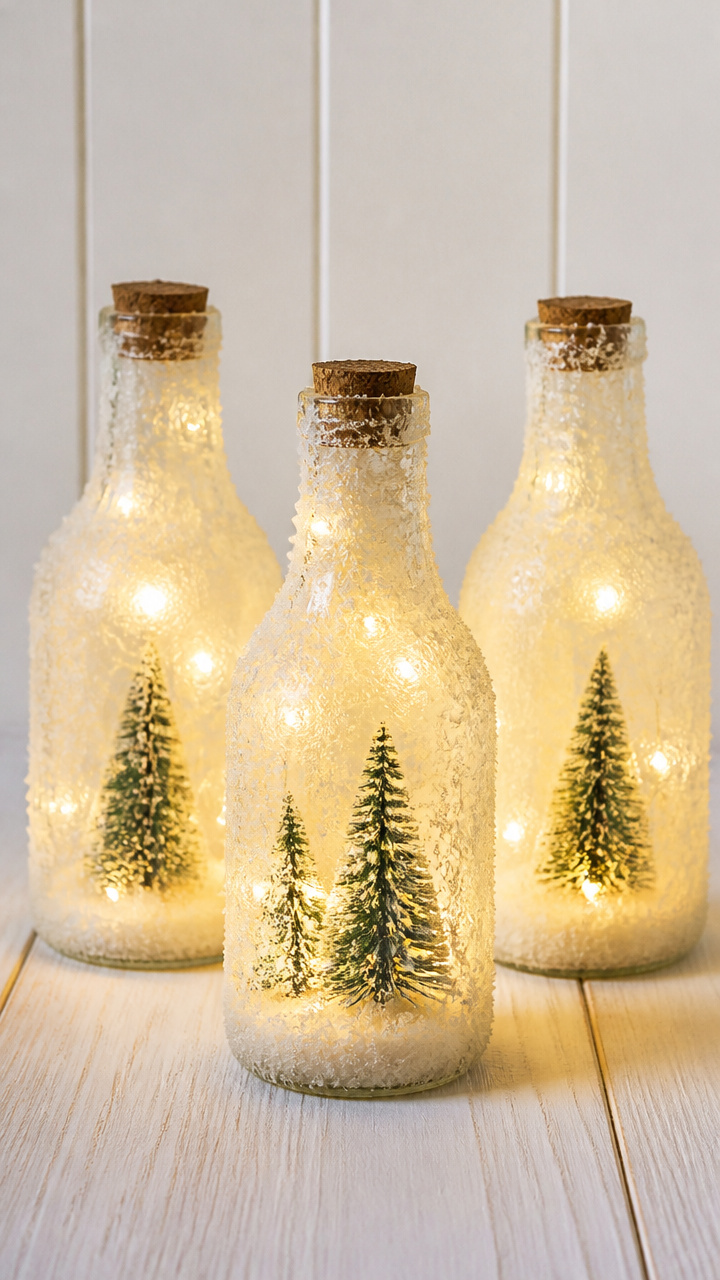
Repurposed glass bottles become self-contained winter scenes with glowing centers and frosted exteriors.
Materials Needed
- 3 small glass bottles with corks (6 inch tall)
- 1 cup Epsom salt
- 1/2 cup liquid starch
- 3 battery-powered fairy light strands (10 lights each)
- 3 fake mini pine trees (1 inch tall)
- 1 hot glue gun and glue stick
How to Make It
- Mix Epsom salt and liquid starch in a bowl until smooth and sticky.
- Coat the outside of each bottle with the mixture, avoiding the neck and base.
- Let dry for 6 hours until crystals are firm and reflective.
- Place a mini tree inside each bottle, wrap lights around it, and secure cork with hot glue.
14. Frosted Feather Centerpieces
Easy
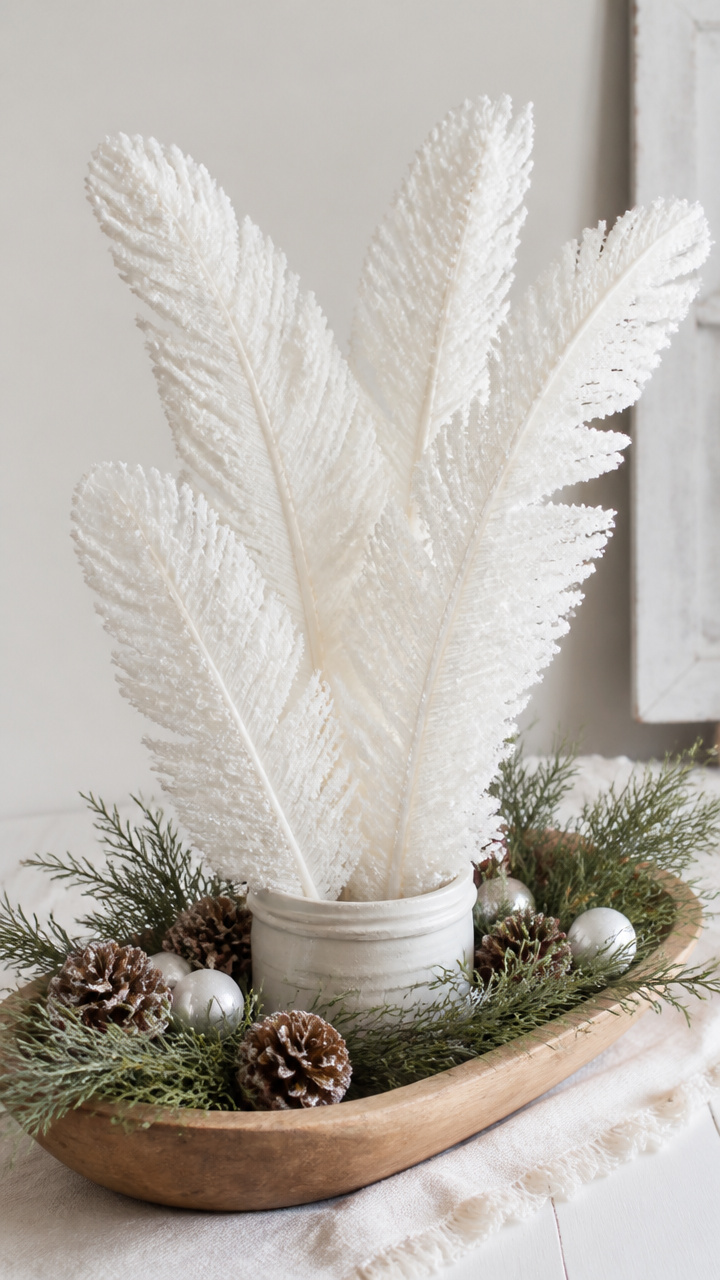
White goose feathers wear a dusting of frost that makes them look like they’ve just landed from a snow flurry.
Materials Needed
- 5 large white goose feathers
- 1/3 cup Epsom salt
- 1/4 cup white glue
- 1 paintbrush
- small bowl
How to Make It
- Mix Epsom salt and glue in the bowl until it forms a gritty paste.
- Use the brush to dab the mixture along the feather’s central shaft and tips.
- Lay feathers flat on parchment paper and let dry for 3 hours.
- Arrange in a low bowl or stand for display.
15. Salt-Crusted Seashell Displays
Easy
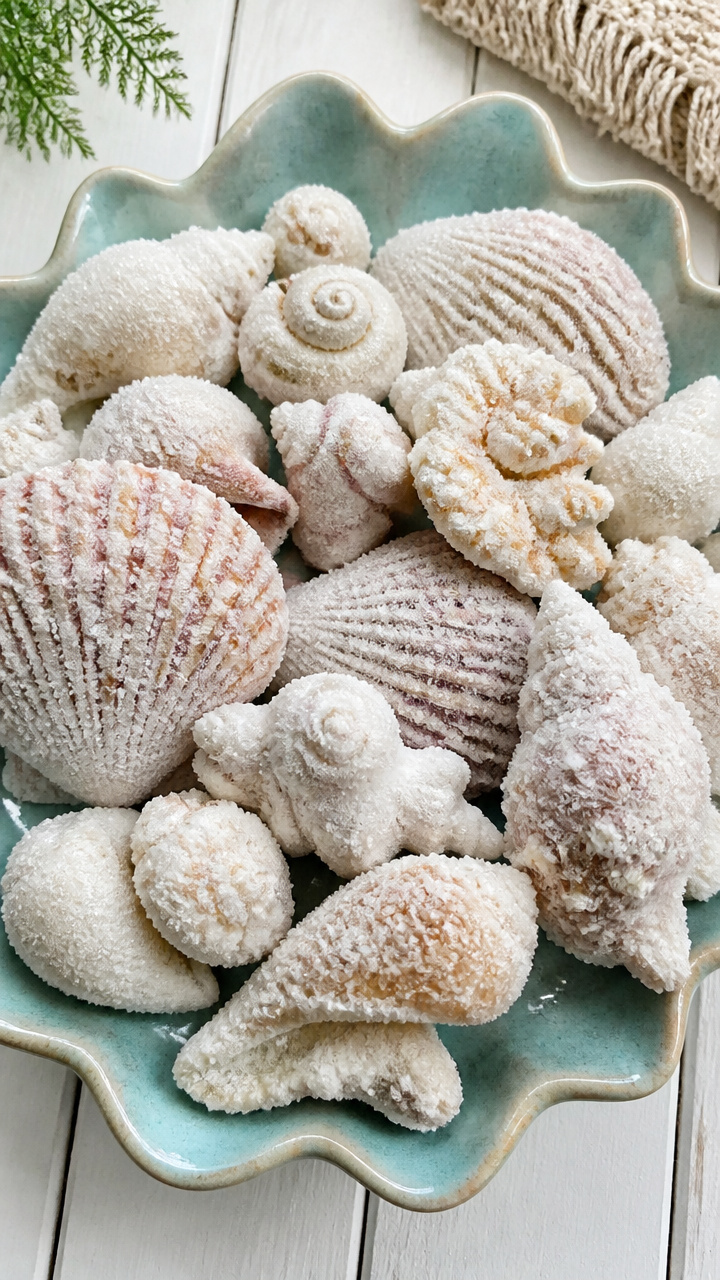
Seashells gather a wintry skin that transforms coastal finds into frost-laced curios for seasonal tables.
Materials Needed
- 8 clean seashells (assorted sizes)
- 1/2 cup Epsom salt
- 1/4 cup water
- 1/4 cup white glue
- 1 small sponge brush
How to Make It
- Dissolve Epsom salt in water, then mix in glue until smooth.
- Use the sponge brush to dab the mixture onto shell ridges and rims.
- Place shells open-side down on wax paper and dry for 4 hours.
- Turn over carefully and let underside dry another 2 hours.
16. Winter Shadow Box Scene
Advanced
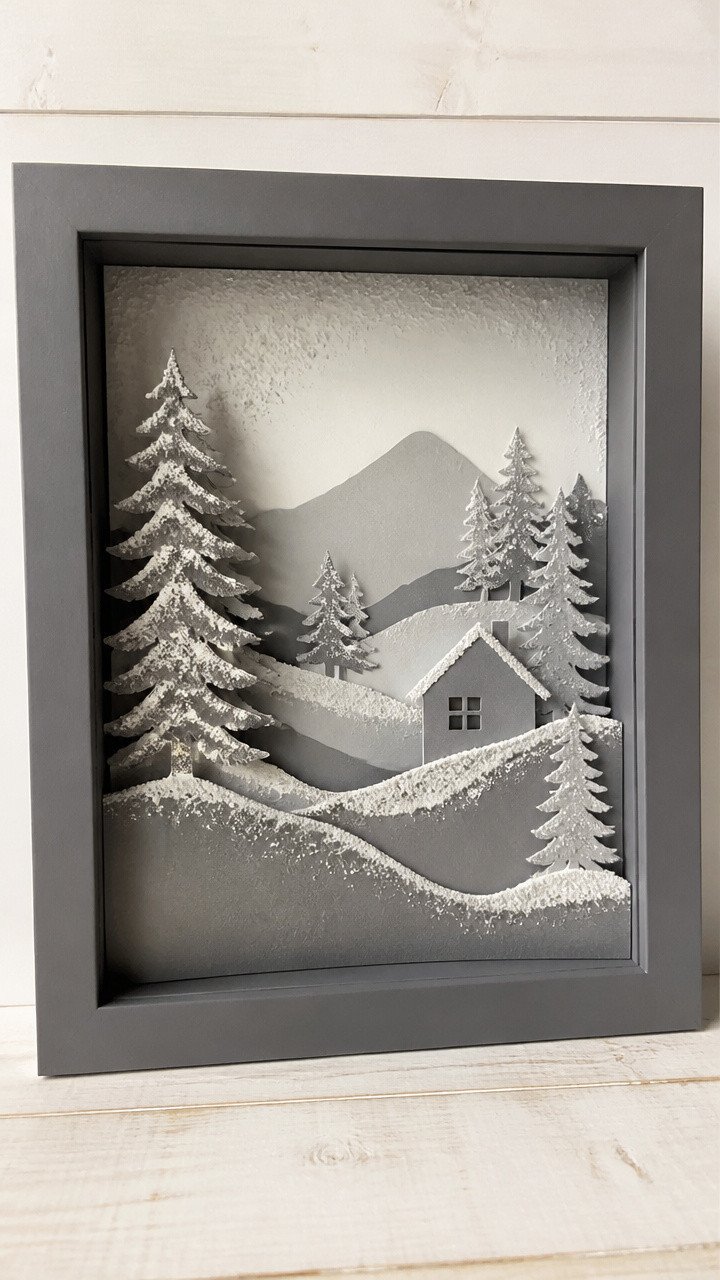
A deep frame holds a layered landscape of frosted trees, hills, and snowdrifts under a dusted glass front.
Materials Needed
- 1 8×10 inch shadow box frame with glass
- 3/4 cup Epsom salt
- 1/3 cup liquid starch
- 1 A4 gray cardstock sheet
- 1 pair scissors
- 1 hot glue gun and glue stick
How to Make It
- Cut cardstock into three hill shapes of decreasing height from back to front.
- Mix Epsom salt and liquid starch into a thick slurry.
- Brush mixture heavily onto the top edges of each hill and let dry 4 hours.
- Glue hills in layers inside the frame, then reattach glass after sprinkling extra salt on inner side.
17. Crystal-Covered Candles
Moderate
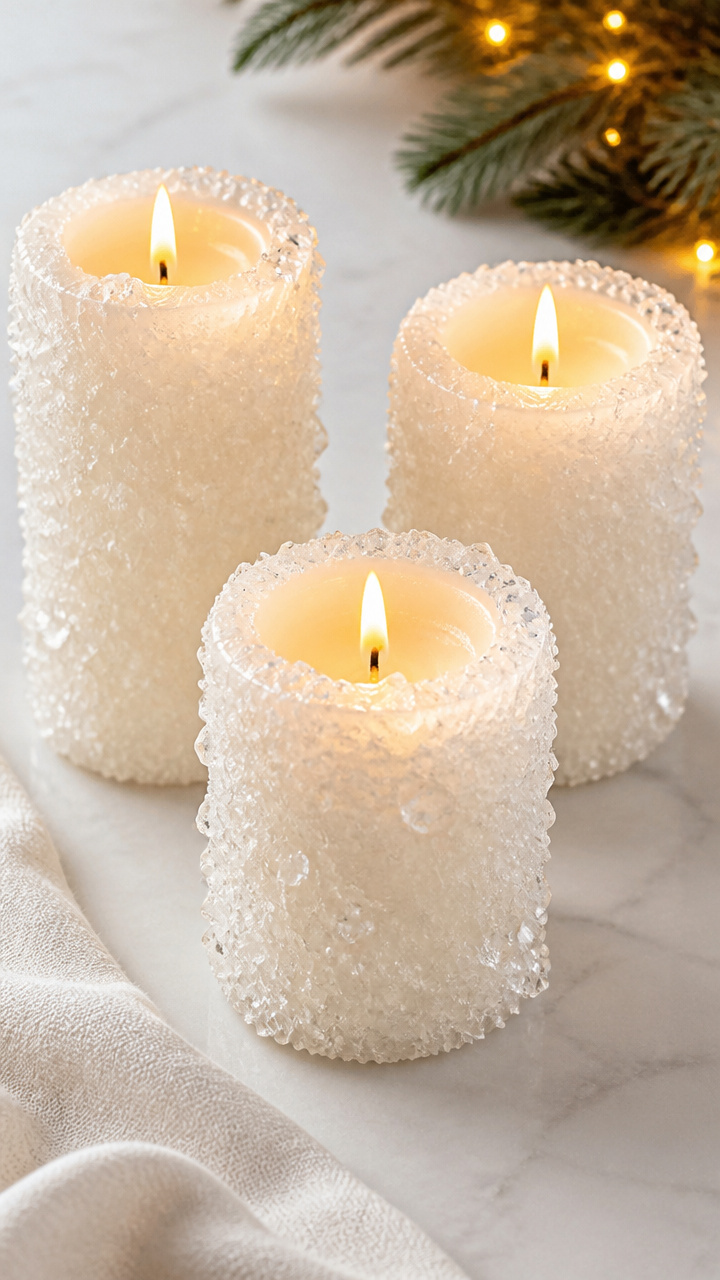
Entire pillar candles become encased in a jagged frost shell that melts beautifully when lit.
Materials Needed
- 3 unscented white pillar candles (3 inch tall)
- 1 cup Epsom salt
- 1/2 cup boiling water
- 1/4 cup white glue
- heat-safe bowl
How to Make It
- Dissolve Epsom salt in boiling water in the heat-safe bowl.
- Stir in glue and let cool 10 minutes until warm but not hot.
- Holding by the base, dip each candle halfway into the mixture and rotate slowly.
- Set upright and let dry for 6 hours until the coating is rigid and sparkly.
18. Frosted Book Page Garlands
Easy
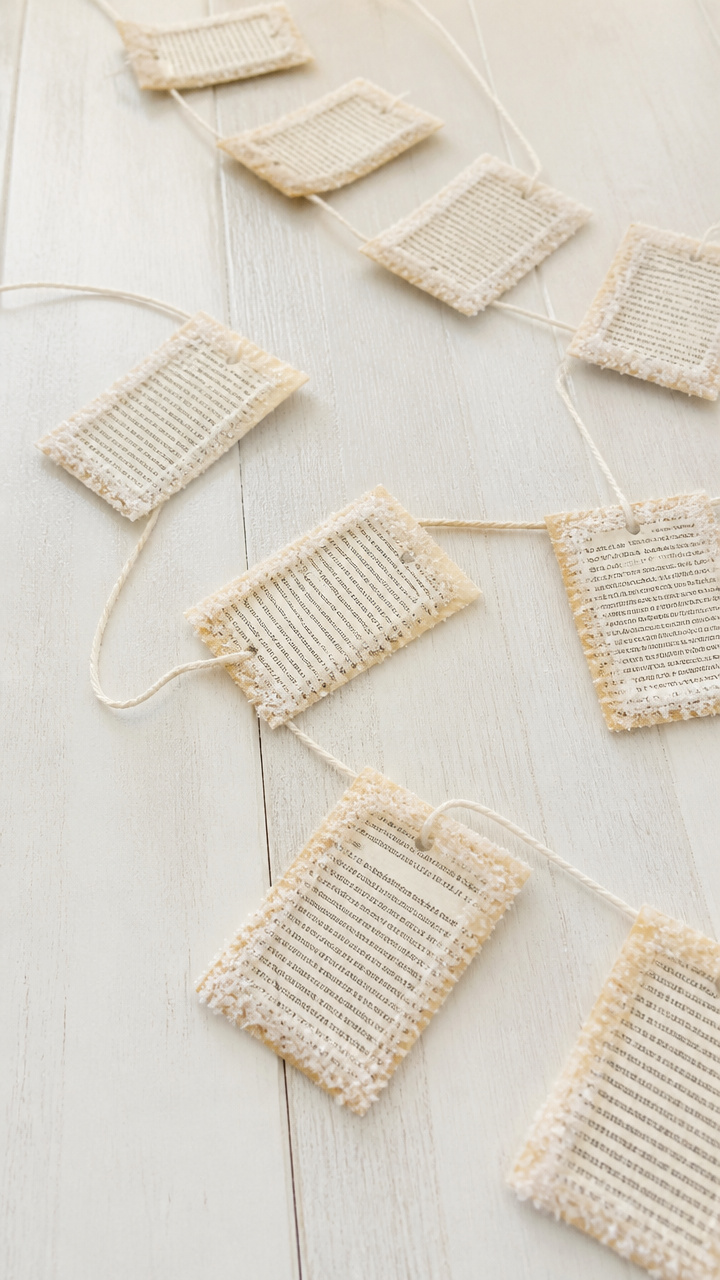
Vintage dictionary or novel pages turn into icy bunting with flaky salt edges that catch the breeze.
Materials Needed
- 10 rectangular book page cutouts (3×5 inch)
- 1/2 cup Epsom salt
- 1/4 cup white glue
- 5 feet white cotton string
- 1 paintbrush
- hole punch
How to Make It
- Mix Epsom salt and glue in a bowl until smooth.
- Brush the mixture along the top and outer edges of each paper rectangle.
- Punch a hole in each top corner and thread string through to connect.
- Let dry hanging for 3 hours to avoid sticking.
19. Salt-Encrusted Tealight Frames
Moderate

Geometric wire frames bloom with frost where salt crystals grow naturally along bent metal lines.
Materials Needed
- 3 gold metal wire star frames (4 inch)
- 3/4 cup Epsom salt
- 1/2 cup hot water
- 1/4 cup white glue
- tweezers
- baking rack
How to Make It
- Dissolve Epsom salt in hot water, then stir in glue and cool 5 minutes.
- Dip each wire frame into the solution, turning to coat evenly.
- Use tweezers to lift and place on a baking rack to dry 6 hours.
- Insert a tealight behind each frame when displayed.
20. Frosted Leaf Imprints
Easy
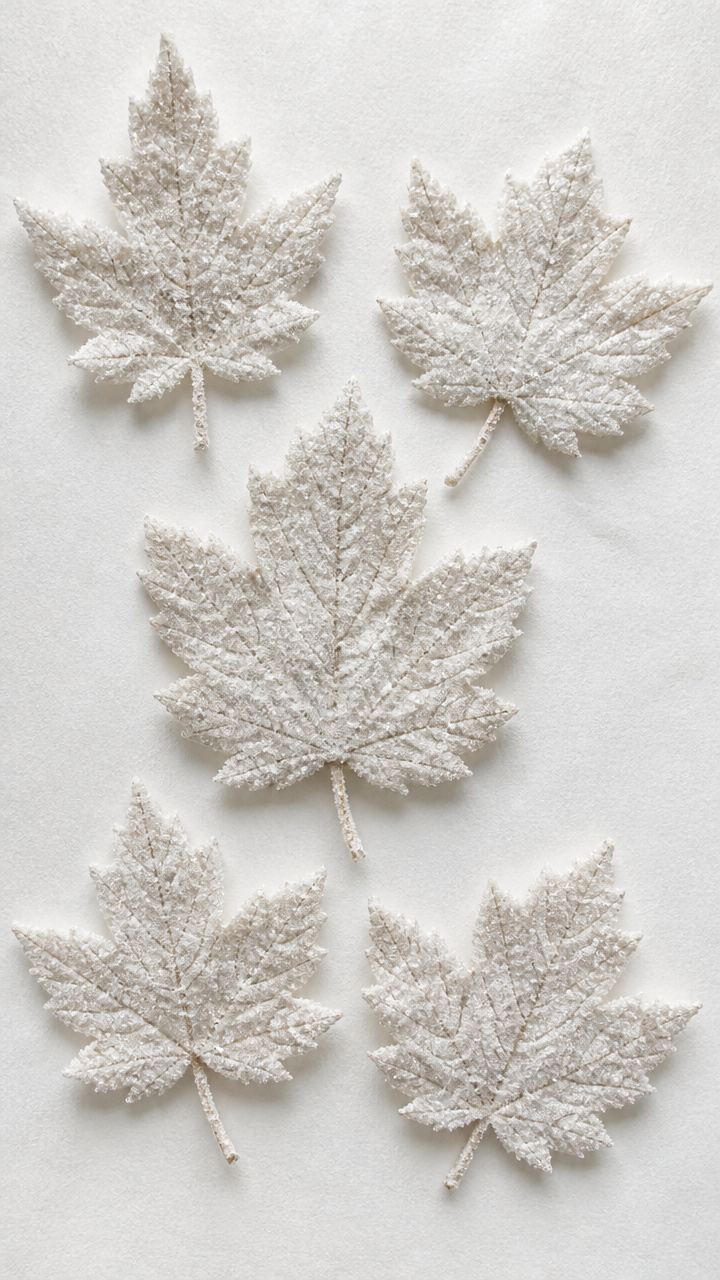
Real leaf veins trap fine salt crystals, preserving autumn’s shape in a winter-toned keepsake.
Materials Needed
- 5 pressed maple leaves
- 1/2 cup Epsom salt
- 1/4 cup liquid starch
- 1 A4 white drawing paper sheet
- 1 rolling pin
- wax paper
How to Make It
- Mix Epsom salt and liquid starch in a bowl until it sticks together.
- Place a leaf between the paper and wax paper, sprinkle mixture over it.
- Roll firmly with the pin to press salt into the grooves.
- Peel away the leaf and let the imprint dry 2 hours.
21. Snow-Dusted Topiary Balls
Easy
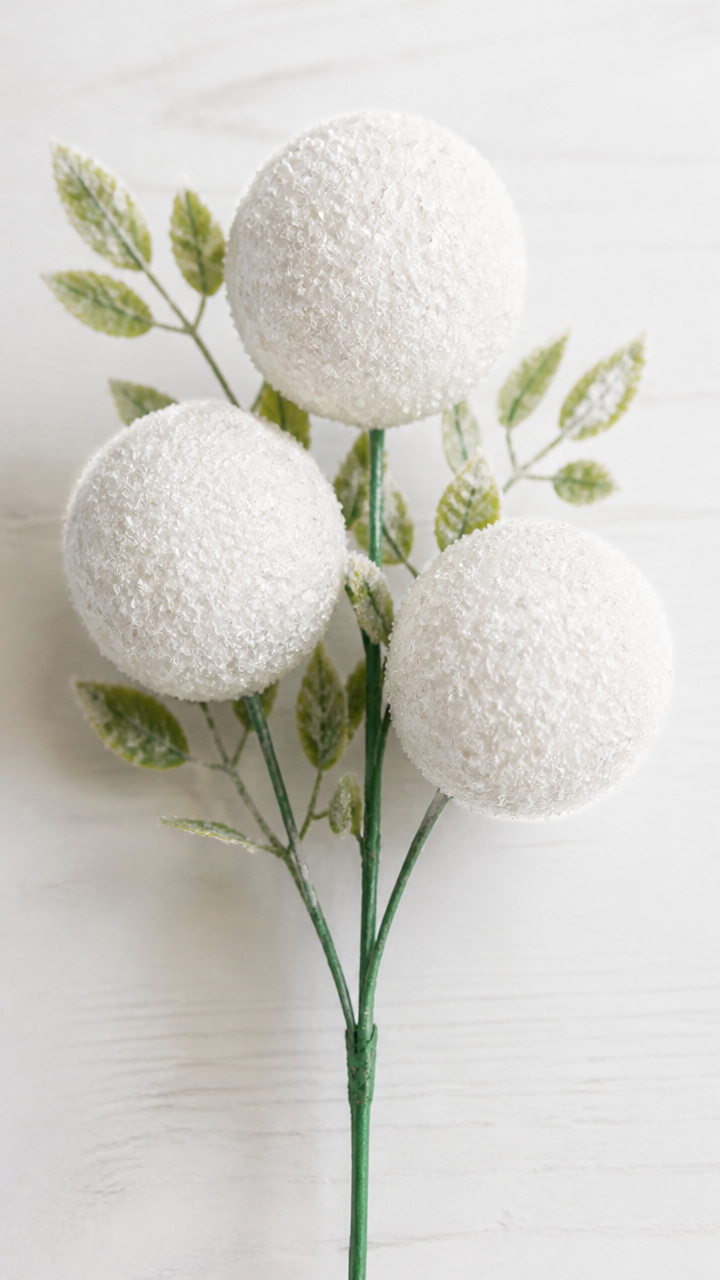
Foam balls mounted on stems wear a natural-looking snowcap that lasts all season.
Materials Needed
- 3 green-stemmed floral foam balls (2 inch diameter)
- 3/4 cup Epsom salt
- 1/3 cup white glue
- 1 foam brush
- shallow tray
How to Make It
- Mix Epsom salt and white glue in a tray until it holds shape.
- Roll each foam ball in the mixture, pressing gently to adhere.
- Let dry upright with stem in a cup for 4 hours.
- Display in a vase or cluster on a tray.
You’ve got everything you need to start creating frosty magic today. Grab your Epsom salt and let these ideas spark your next cozy crafting session.