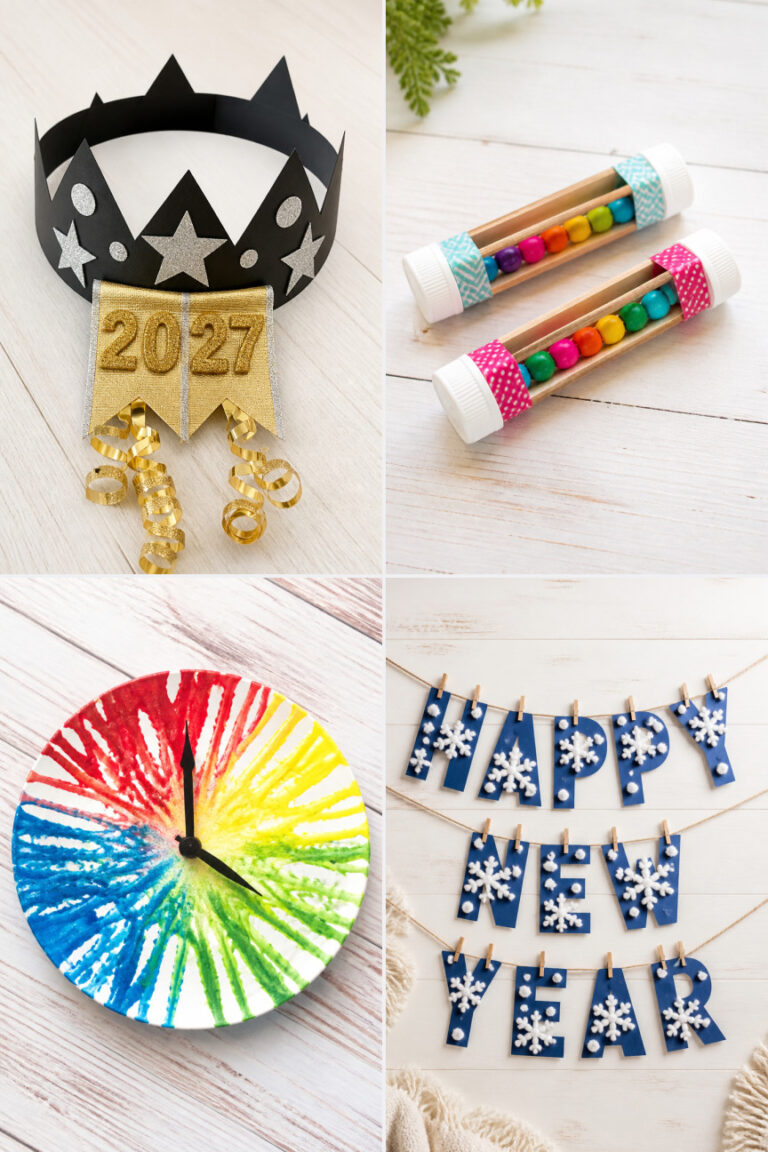
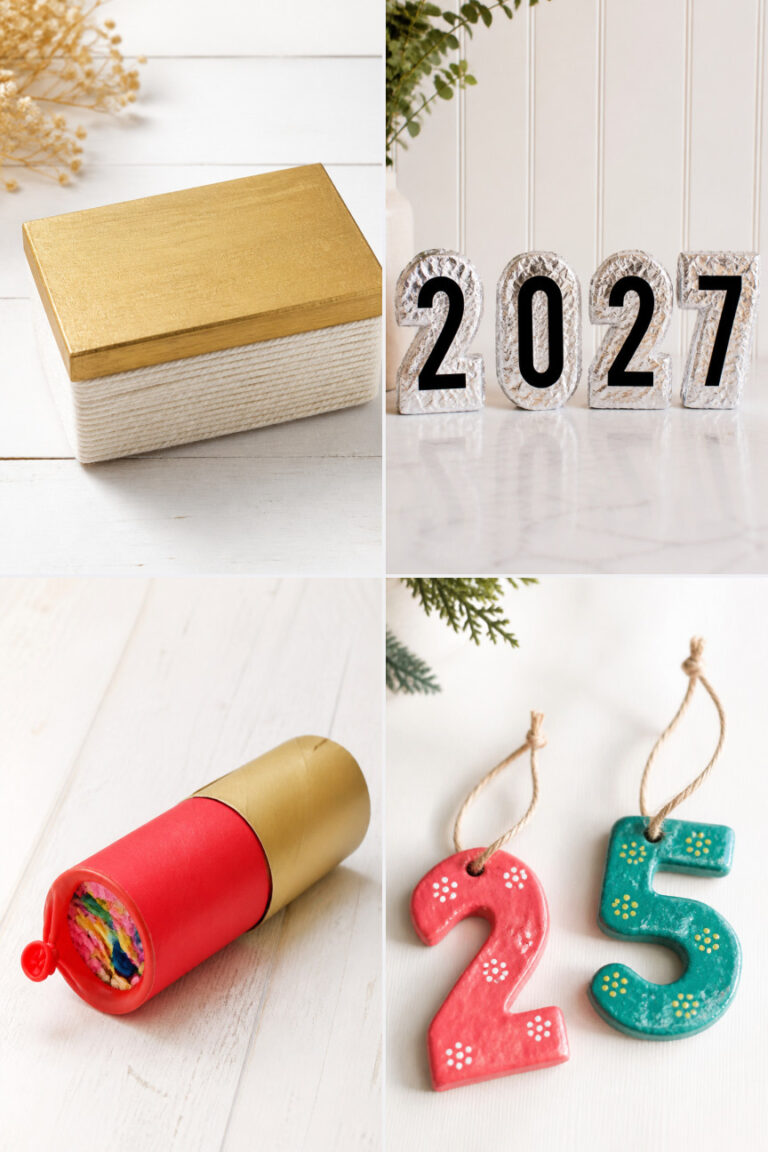
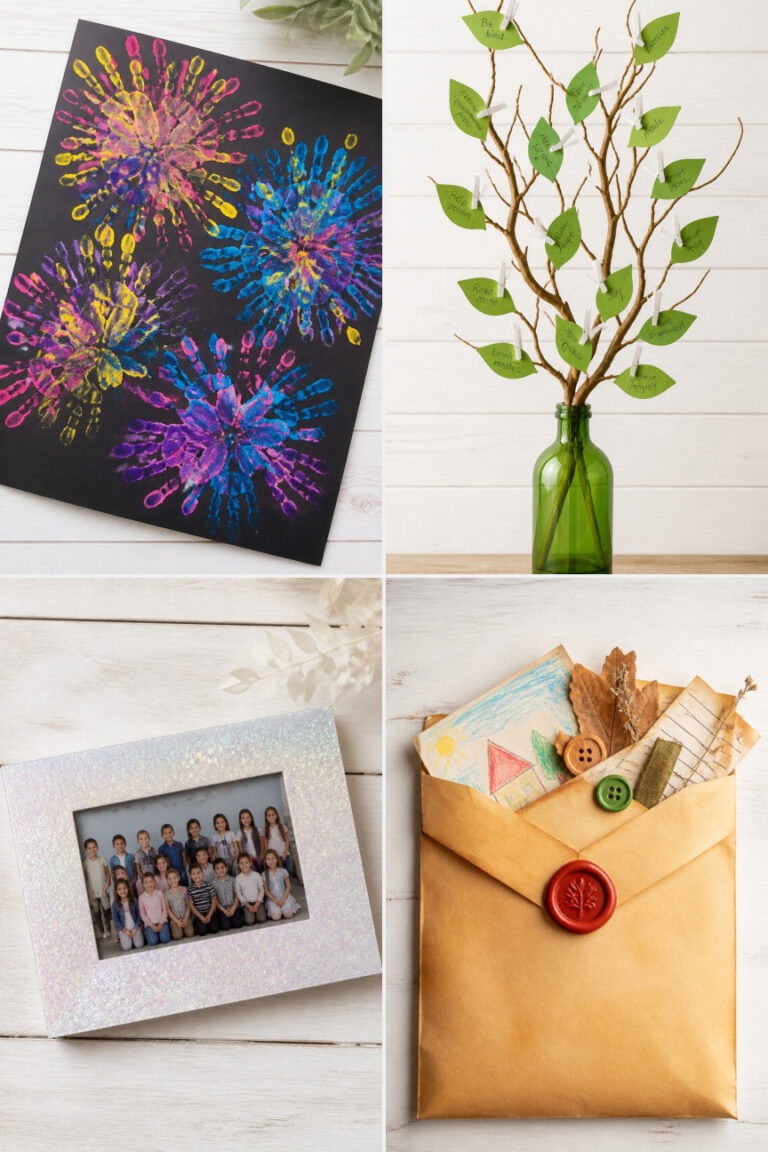
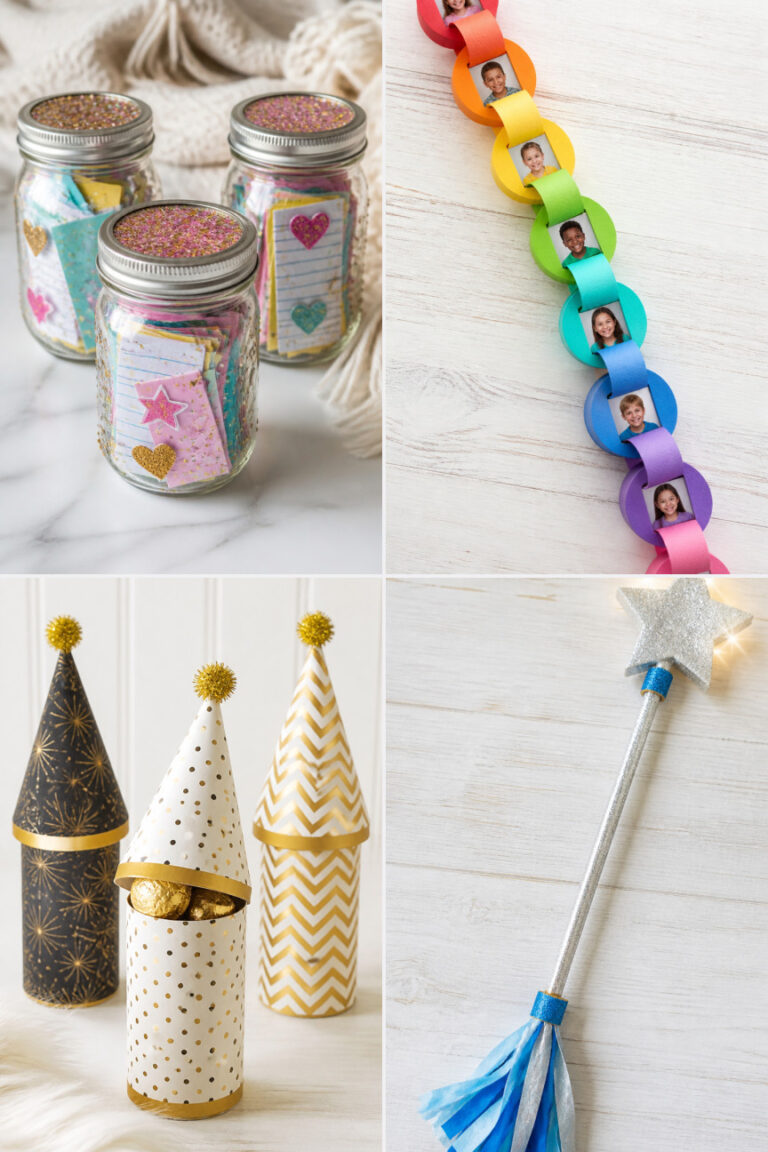
15 Simple New Year Crafts for Toddlers

Glitter spills like confetti, tiny hands press paint-covered fingers onto paper, and laughter bubbles up as toddlers create their first keepsakes of the year. These joyful moments don’t need fancy supplies or perfect results — just simple materials, a little guidance, and room for messy fun.
Each craft here is designed with little ones in mind: safe, engaging, and full of sensory discovery. You’ll find no repeated ideas, no confusing steps, just 15 fresh ways to celebrate the season with your toddler using things you likely already have at home.
1. Glittery Handprint Clock
Easy
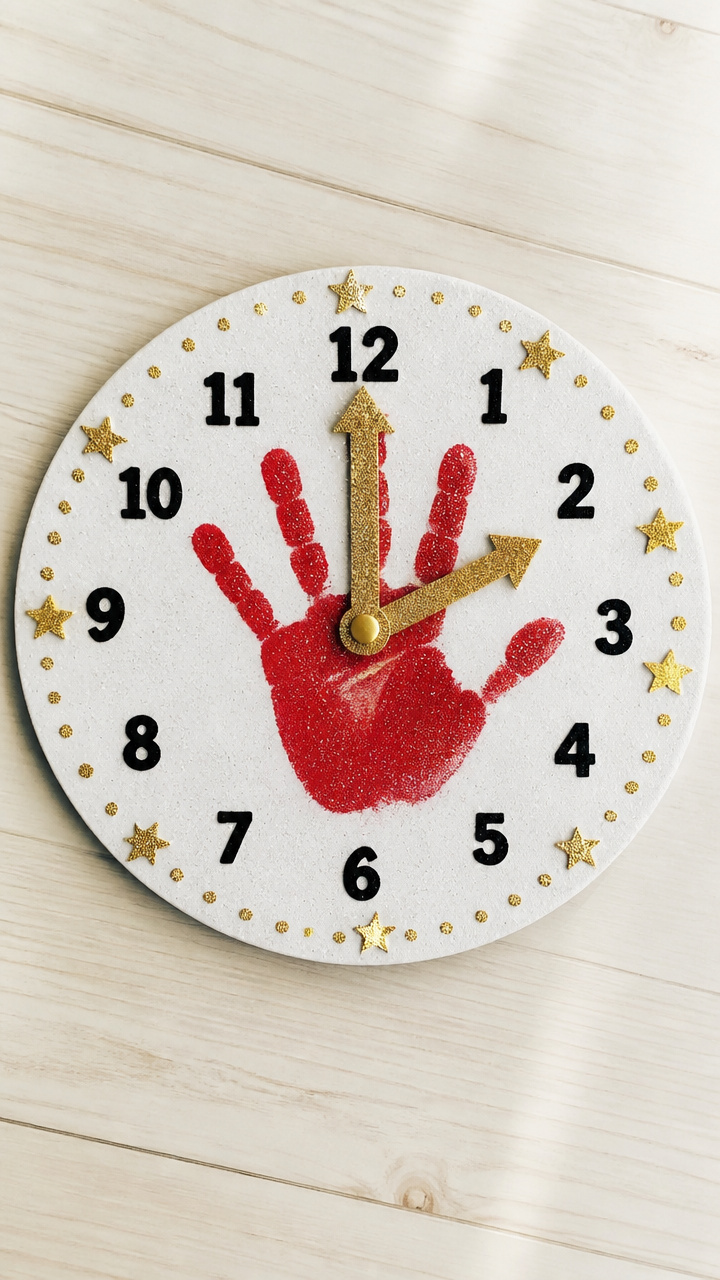
A shimmering paper clock made from your toddler’s handprint becomes a sweet keepsake that marks the start of a new year. The bold numbers and sparkly details make it both a craft and a playful learning tool.
Materials Needed
- 1 sheet of A4 white cardstock
- Red acrylic paint
- Gold glitter glue
- Black fine-tip marker
- 12 small gold star stickers
- Scissors
- Paintbrush
How to Make It
- Cut the cardstock in half and use one piece to draw a 6-inch circle with a pencil.
- Paint the palm and fingers of your toddler’s hand with red paint using the paintbrush, then press firmly in the center of the circle to make a handprint.
- Squeeze gold glitter glue around the edge of the circle to form a thick border and let it dry completely, about 20 minutes.
- Use the black marker to draw a clock face inside the circle, adding hour labels from 1 to 12 around the edge.
- Place one gold star sticker above each number to highlight the hours.


2. Pom-Pom Noise Makers
Easy
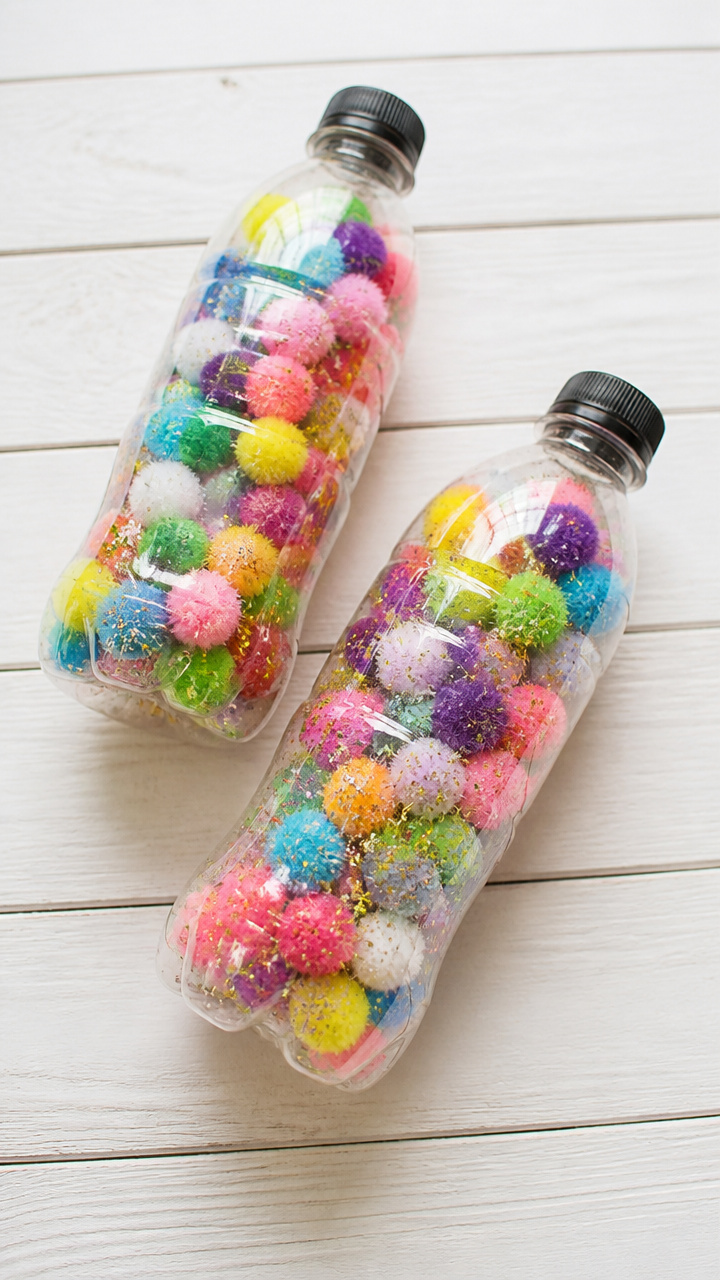
Brightly colored pom-poms rattle inside clear bottles when shaken, making joyful sounds that mimic party horns. These easy-to-make shakers give toddlers a safe way to join in the celebration with rhythm and motion.
Materials Needed
- 2 clean 8 oz clear plastic bottles with screw-top lids
- 10 large multicolor pom-poms (1 inch each)
- Glitter glue pen (assorted colors)
- Hot glue gun and glue sticks
How to Make It
- Let your toddler draw squiggly lines on the outside of each bottle using the glitter glue pens.
- Drop five pom-poms into each bottle and screw the lid on tightly.
- Use the hot glue gun to seal the lid to the bottle by applying a thin ring of glue where the lid meets the neck.


3. Cotton Ball Snow Banner
Easy
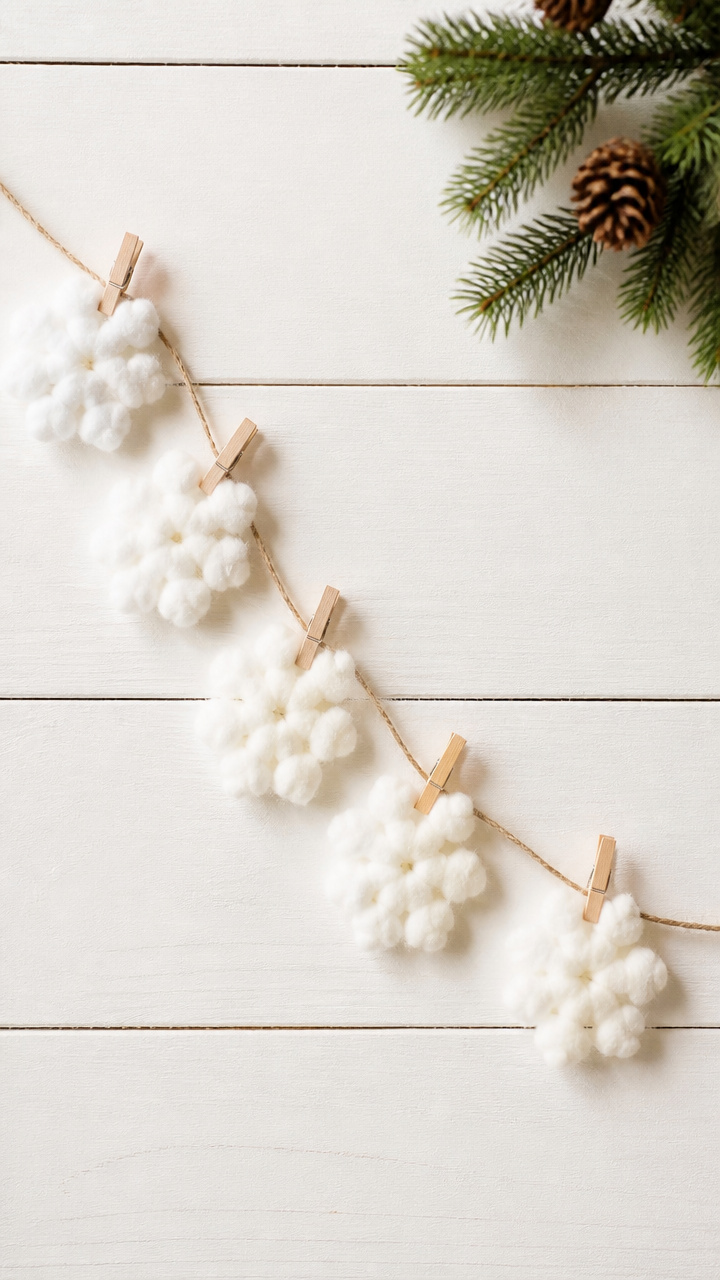
Fluffy cotton balls hang from twine like falling snow, creating a soft winter scene across the room. This tactile banner invites little hands to touch and explore while adding cozy charm to any space.
Materials Needed
- 3 feet of white cotton twine
- 12 white craft cotton balls
- 6 small wooden clothespins
- White school glue
- Scissors
How to Make It
- Cut the cotton twine into three 12-inch lengths and tie the ends together to form a triangle shape.
- Glue two cotton balls together at their centers to make a small cluster and repeat for six clusters.
- Once dry, clip one cluster to each clothespin and attach each clothespin to the twine triangle at even intervals.


4. Fingerprint Fireworks Art
Easy
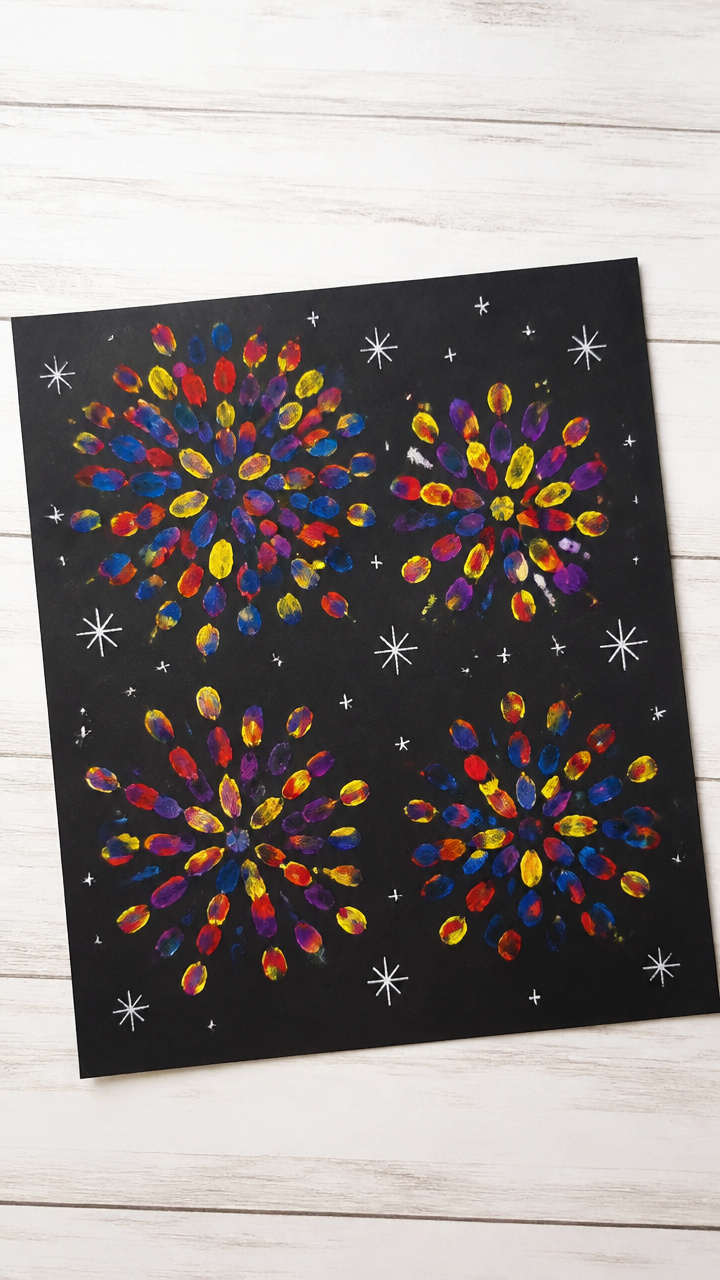
Tiny dots of paint explode across dark paper like real fireworks, made one finger at a time. This sensory-rich painting captures the excitement of celebration in bursts of color.
Materials Needed
- 1 sheet of 9×12 inch black construction paper
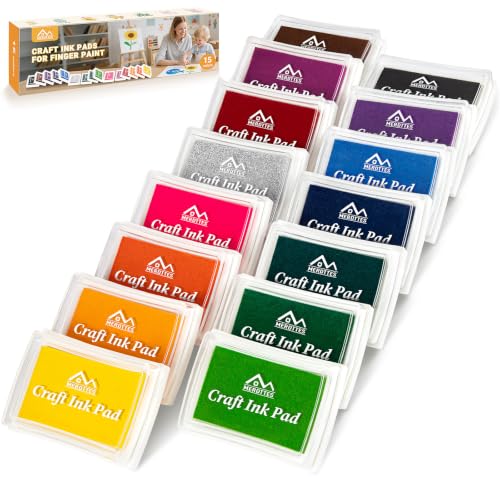
- Red, yellow, blue, and purple washable stamp pads
- White chalk pencil
How to Make It
- Use the white chalk pencil to write a number like '2025' lightly in the center of the black paper.
- Let your toddler press their fingertip onto each stamp pad and then dot the paint around the number to create firework bursts.
- Repeat with all colors, encouraging overlapping dots for a vibrant, layered effect.


5. Paper Plate Noisemakers
Easy
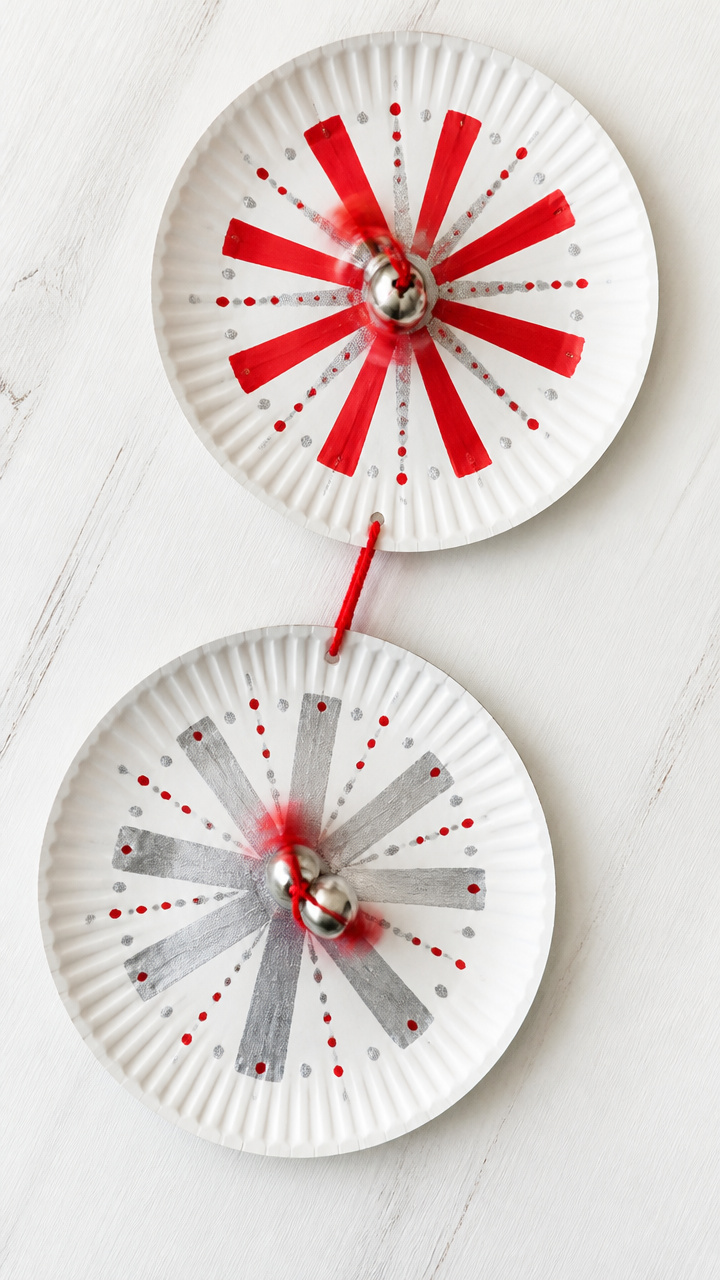
Two paper plates clap together with jingling bells when spun on a string, making a festive rattle. This spinning craft combines motion, sound, and bright colors for active play.
Materials Needed
- 2 white 9-inch paper plates
- 10 jingle bells (0.5 inch)
- Red and silver washable paint
- Paintbrush
- Hole punch
- 18 inches of red yarn
- White school glue
How to Make It
- Paint both paper plates with swirling patterns using red and silver paint and let them dry for 15 minutes.
- Place the bells in the center of one plate and lay the second plate on top, facing outward.
- Glue the rims together and let the glue set for 10 minutes.
- Punch two holes near the edge of the plates, opposite each other, and thread the yarn through to make a loop handle.


6. Sticker Countdown Chain
Easy
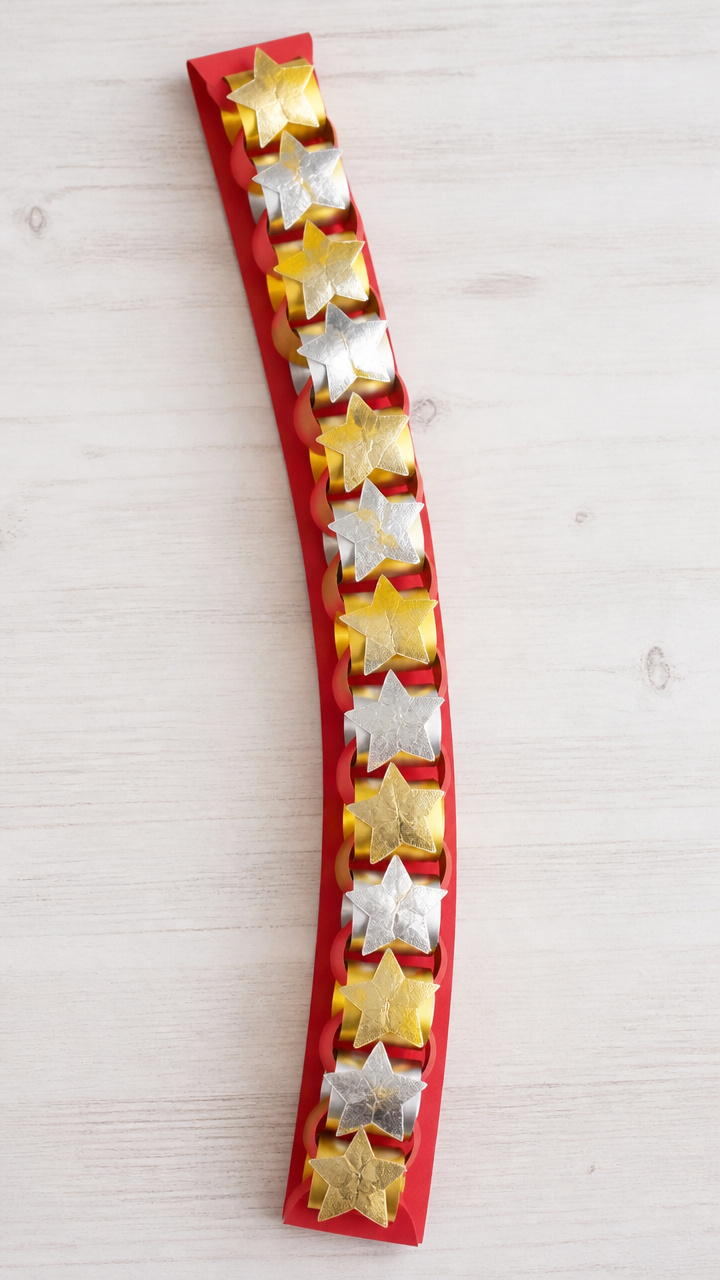
Bright stickers form linked loops that your toddler adds to each day, building excitement as the new year approaches. This visual countdown helps little ones understand the passage of time in a joyful way.
Materials Needed
- 30 round gold star stickers
- 30 round silver star stickers
- 12-inch ruler
- Scissors
- 12-inch strip of red construction paper
- White school glue
How to Make It
- Cut the red paper into ten 1-inch wide strips, each 12 inches long.
- Glue the ends of the first strip together to form a loop.
- Thread the second strip through the first loop before gluing its ends, creating a chain.
- Let your toddler place one gold or silver star sticker on each new loop as it’s added.


7. Tissue Paper Fireworks Window Art
Easy
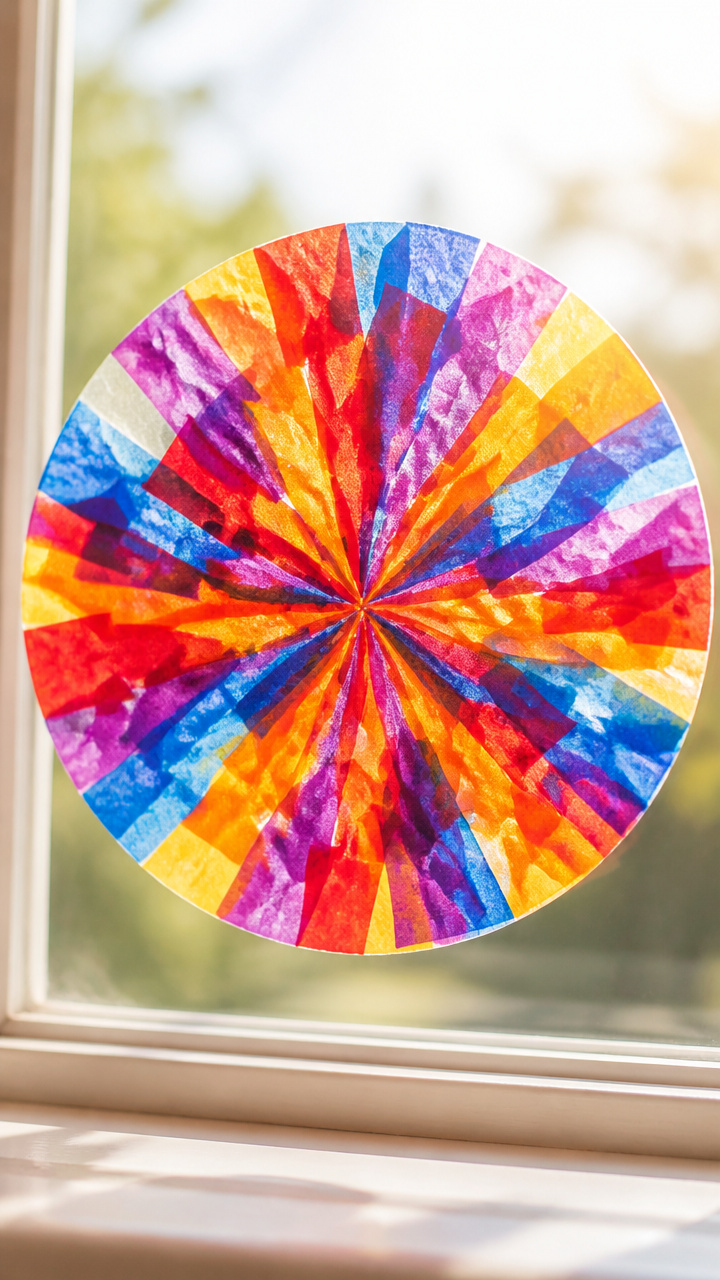
Layers of colorful tissue paper glow like fireworks when taped to a sunny window. This translucent craft teaches color blending and creates a bright display that catches the light.
Materials Needed
- 1 sheet of 9×12 inch clear contact paper
- 15 squares of red, yellow, blue, and purple tissue paper (2×2 inches each)
- Scissors
- Roll of clear tape
How to Make It
- Peel the backing off the contact paper and lay it sticky-side up on a flat surface.
- Let your toddler arrange the tissue paper squares on the sticky surface, overlapping colors in the center.
- Fold the top edge of the contact paper over to create a border, then tape the finished piece to a window using clear tape.


8. Popsicle Stick Maracas
Easy
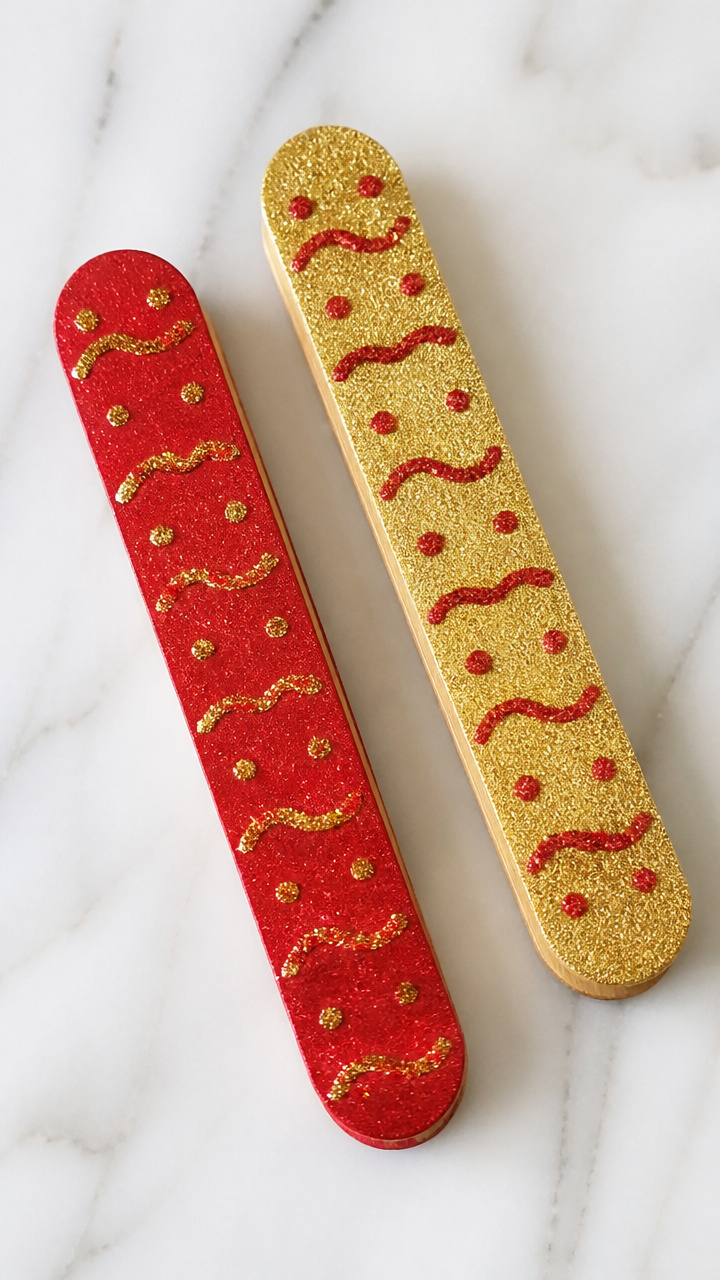
Rice rattles inside decorated tubes when shaken, turning simple sticks into musical instruments. This craft combines painting, gluing, and sound-making in one energetic project.
Materials Needed
- 2 large craft sticks (6 inches long)
- 1 tablespoon uncooked rice
- White school glue
- Red and gold acrylic paint
- Paintbrush
- Glitter glue pen (gold)
How to Make It
- Paint both craft sticks with red paint and let them dry for 10 minutes.
- Draw swirls and dots on the sticks using the gold glitter glue pen and set aside to dry.
- Glue the sticks together back-to-back, leaving a small gap at one end.
- Pour the rice into the gap, then seal the opening completely with glue and let it dry flat for 20 minutes.



9. Foam Number Rubbings
Easy
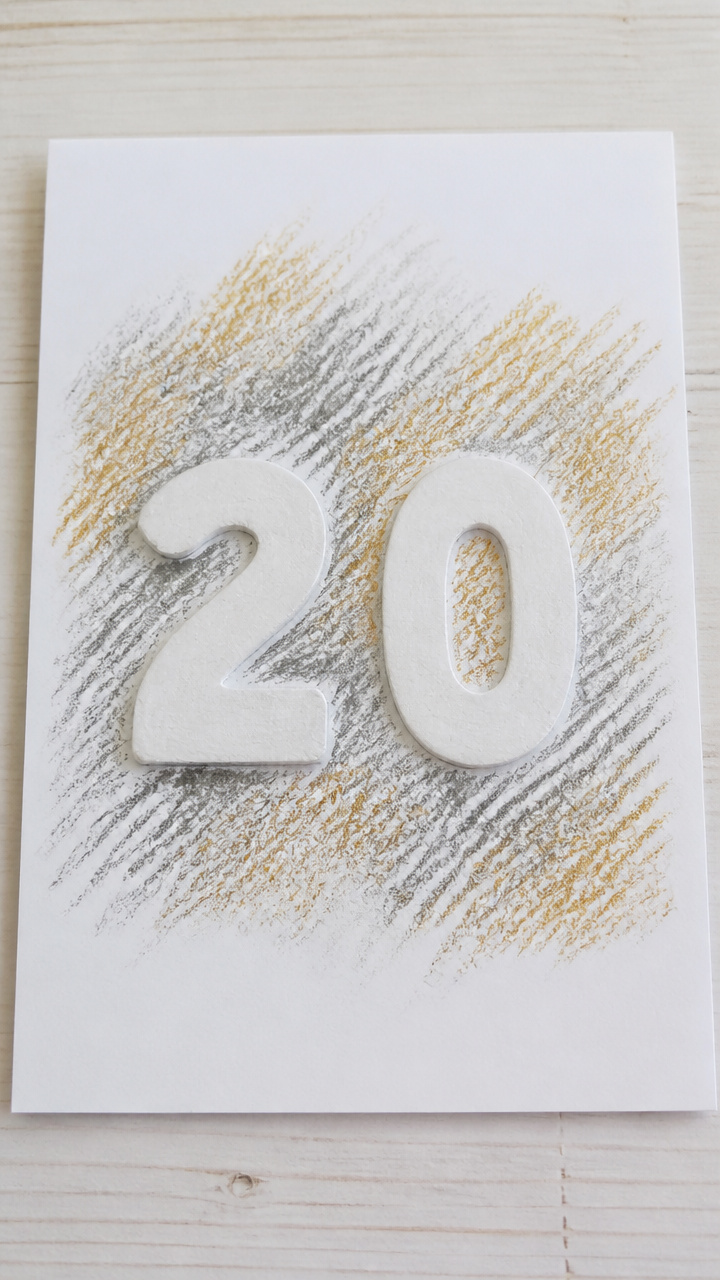
Raised foam numbers reveal bold prints when crayons glide over them, teaching shapes through texture. This quiet craft builds fine motor skills and number recognition in a calming way.
Materials Needed
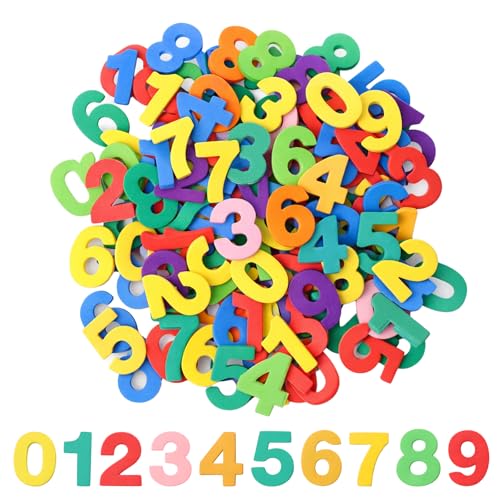
- 2 foam number stickers (size 3 inches, numbers 2 and 0)
- 1 sheet of A4 white drawing paper
- Crayons (black, silver, gold)
- Tape
How to Make It
- Stick the foam numbers onto a hard surface like a table or clipboard.
- Tape the drawing paper over the foam numbers to keep it in place.
- Let your toddler rub the side of a crayon over the paper, pressing gently to reveal the number shapes underneath.


10. Cereal Ring Confetti Shakers
Easy
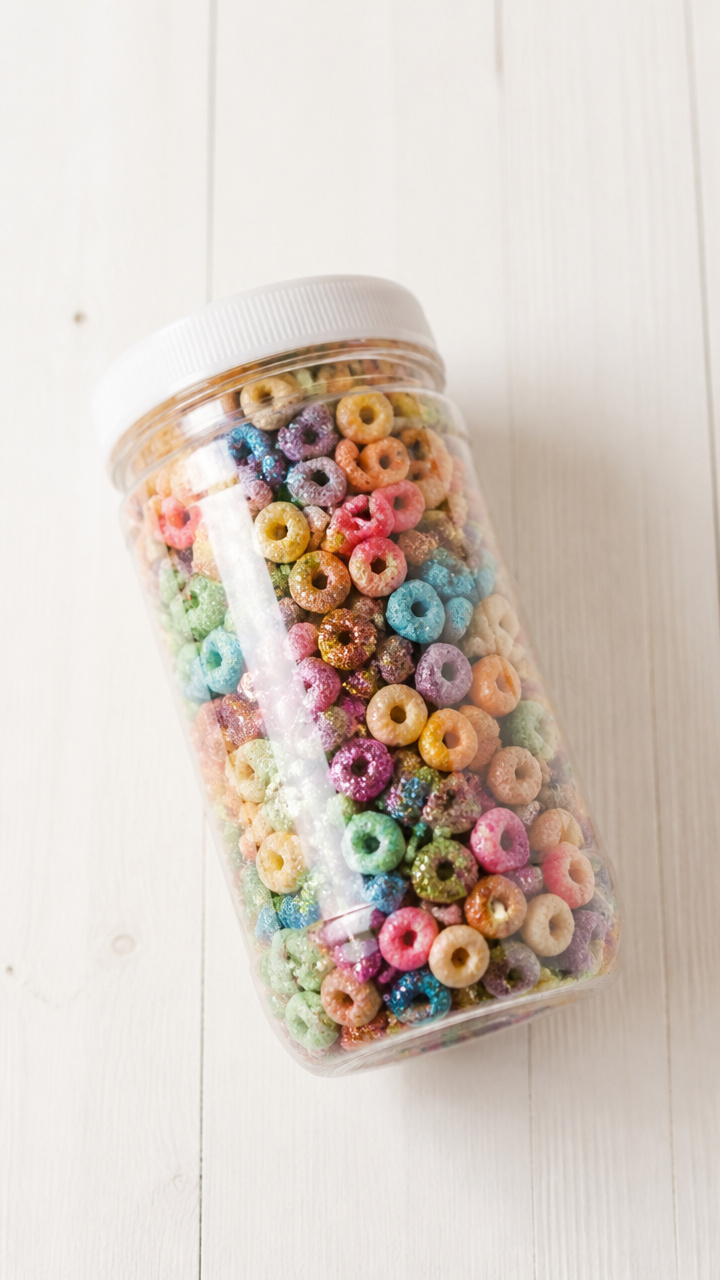
Rainbow-colored cereal loops dance inside jars when shaken, creating a cheerful light show. This edible-safe craft uses kitchen staples for instant sensory fun.
Materials Needed
- 1 clean 8 oz clear plastic jar with lid
- 1/4 cup multicolor cereal rings
- Glitter glue pen (assorted colors)
- Hot glue gun and glue sticks
How to Make It
- Let your toddler draw zigzags and dots on the jar with the glitter glue pens.
- Pour the cereal rings into the jar and screw the lid on tightly.
- Use the hot glue gun to seal the lid to the jar by adding a bead of glue around the rim.


11. Crayon Melting Sunburst
Moderate
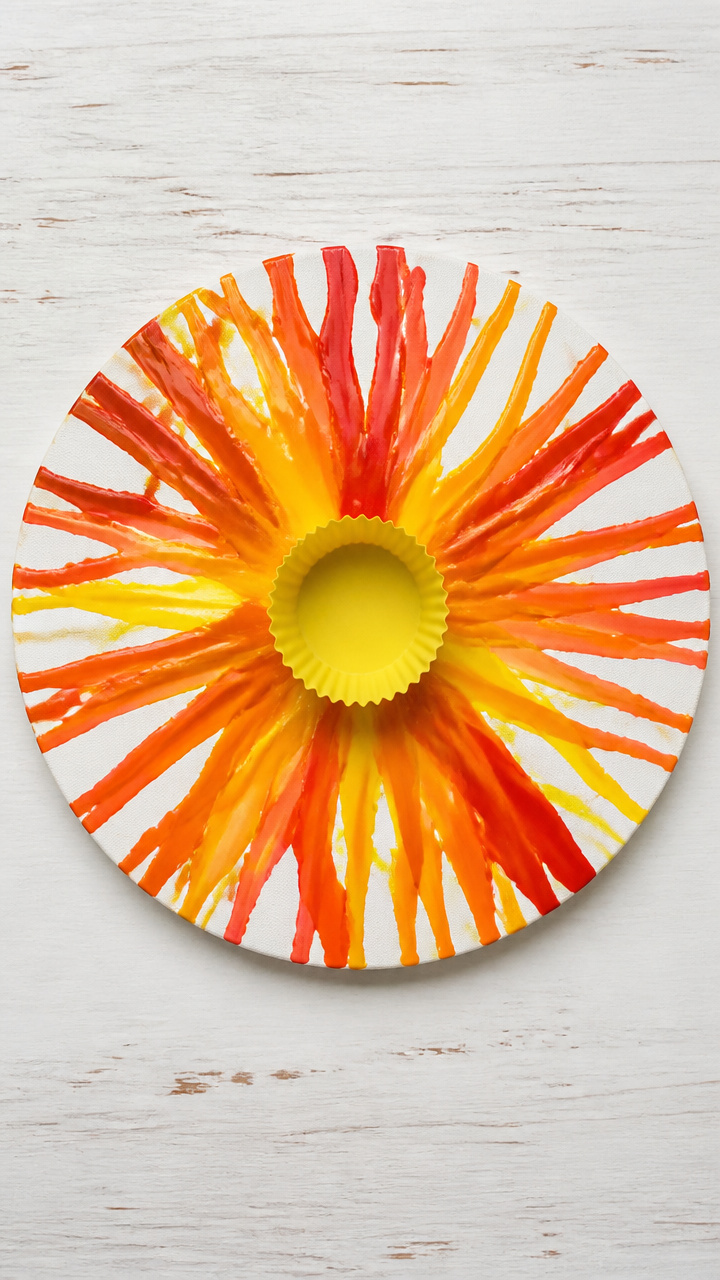
Broken crayon pieces melt into radiant sun shapes, capturing color and warmth on paper. This oven-baked craft turns scraps into vibrant art with minimal effort.
Materials Needed
- 10 broken crayon pieces (red, yellow, orange)
- 1 silicone muffin cup (2.5 inch diameter)
- 1 sheet of A4 white cardstock
- Oven
- Baking sheet
How to Make It
- Peel the paper off the crayon pieces and break them into small chunks.
- Place the chunks into the silicone cup, packing them tightly.
- Set the cup on a baking sheet and bake at 275°F for 10 minutes, or until fully melted.
- Let the cup cool completely, then pop out the crayon disc and glue it to the center of the cardstock with white school glue.


12. Yarn-Wrapped Number
Moderate
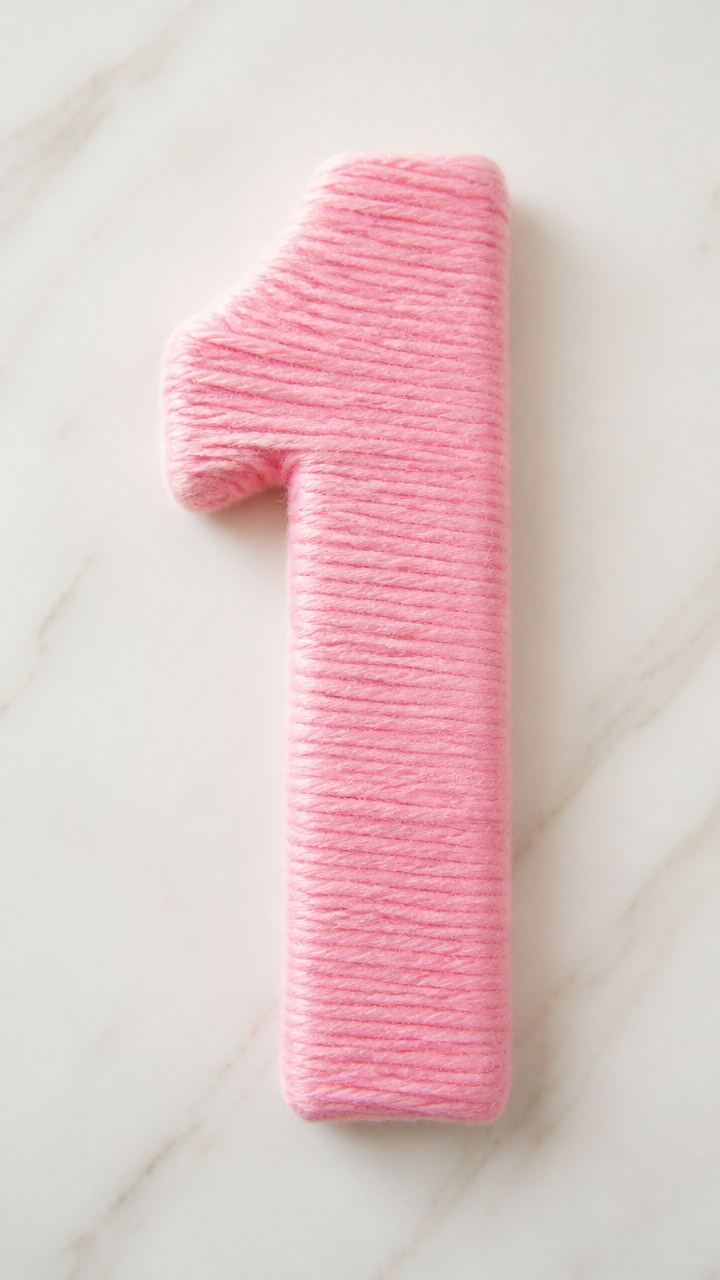
Soft pink yarn spirals around a stiff number cutout, creating a cozy tactile shape. This wrapping craft builds hand strength and focus through repetitive motion.
Materials Needed
- 1 foam number cutout (number 1, 5 inches tall)
- 1 ball of pink craft yarn
- White school glue
- Paintbrush
How to Make It
- Use the paintbrush to spread a thin layer of glue along the edge of the foam number.
- Press the end of the yarn into the glue and begin wrapping it tightly around the number.
- Continue wrapping, adding more glue as needed, until the entire number is covered and let it dry for 15 minutes.


13. Bubble Wrap Print Banner
Easy
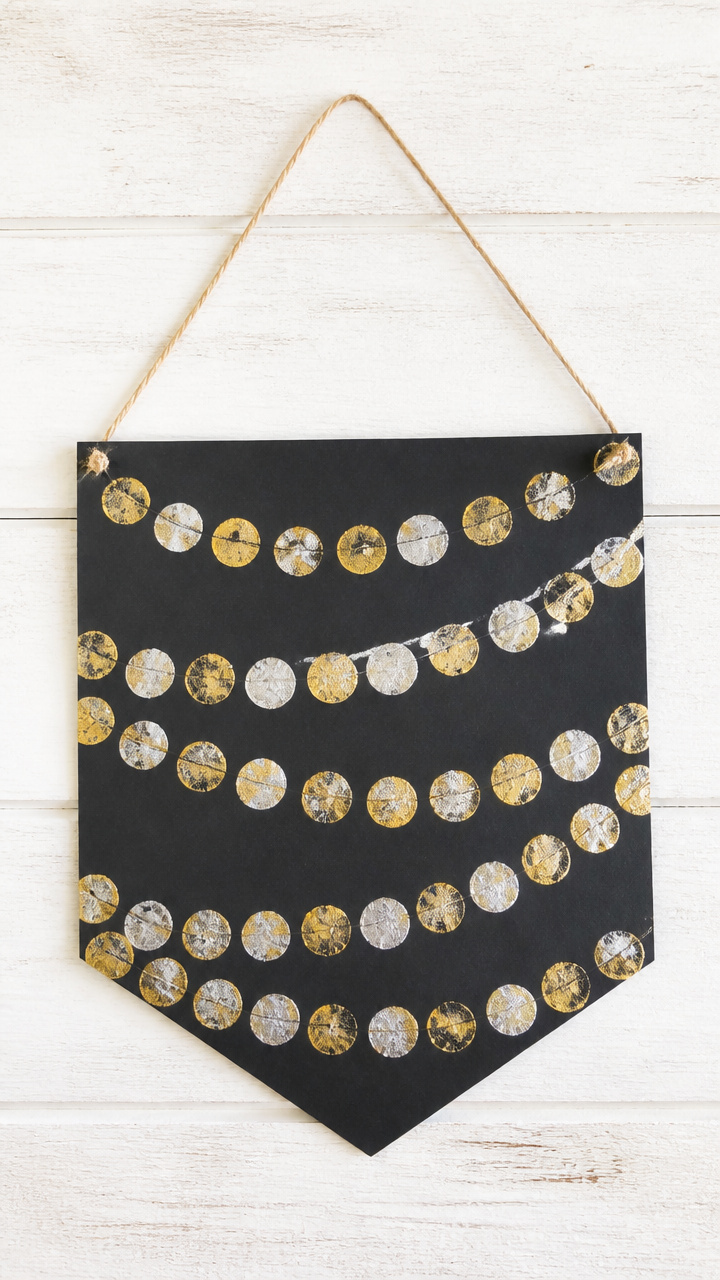
Rows of bubble wrap stamp perfect circles in silver and gold, forming a metallic garland. This print craft introduces pattern-making with a fun popping surprise.
Materials Needed
- 12-inch piece of bubble wrap (1 inch bubbles)
- 1 sheet of 9×12 inch black construction paper
- Silver acrylic paint
- Gold acrylic paint
- Paint tray
- Scissors
- Hole punch
- 12 inches of silver ribbon
How to Make It
- Cut the bubble wrap into three 4-inch squares.
- Pour silver and gold paint into separate sections of the paint tray.
- Dip one bubble wrap square into silver paint and stamp it in a row across the top of the paper.
- Repeat with gold paint and the other squares to make alternating rows.
- Punch two holes at the top corners and thread the ribbon through to hang.


14. Pinecone Sparkle Holders
Moderate
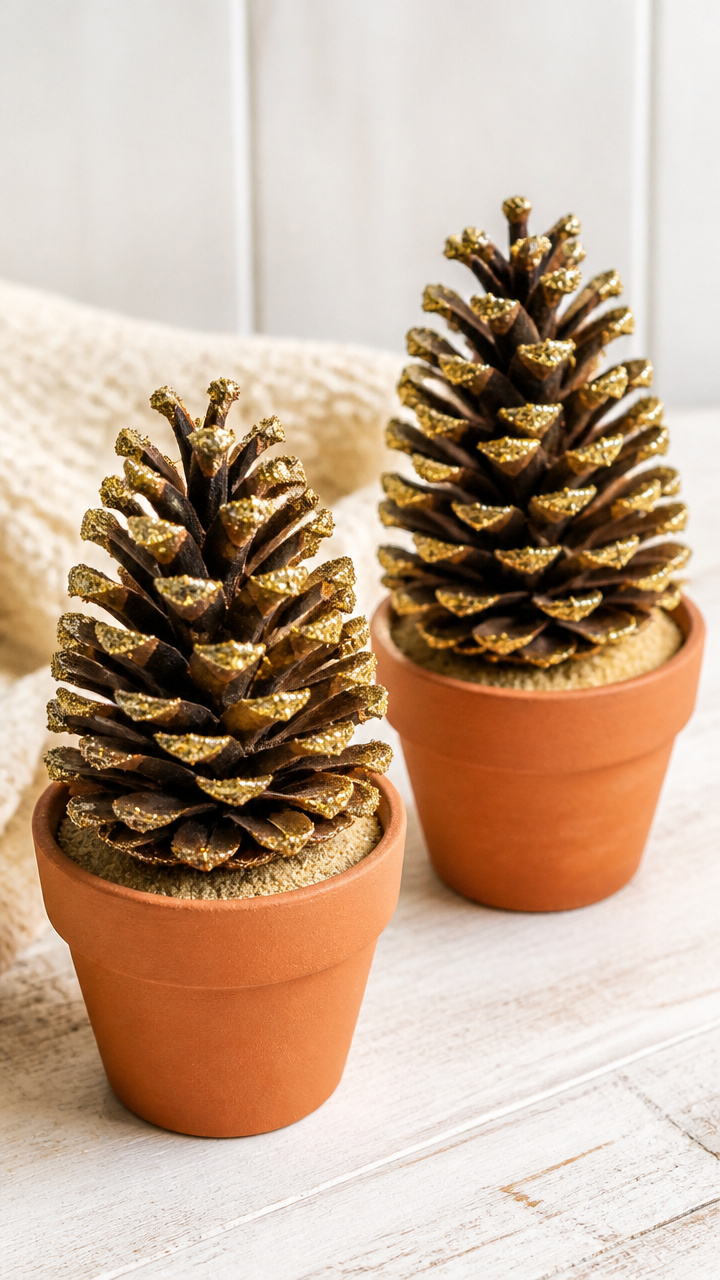
Real pinecones dusted with glitter stand in small pots like festive centerpieces. This nature-based craft blends outdoor finds with indoor sparkle for a rustic-chic touch.
Materials Needed
- 2 small pinecones (3 inches tall)
- Gold glitter
- White school glue
- 2 small terracotta pots (2 inch diameter)
- Craft sand (1 cup)
How to Make It
- Pour glue onto a paper plate and roll the base of each pinecone in it.
- Sprinkle gold glitter over the glued section and let it dry for 15 minutes.
- Fill each pot with craft sand and push the glittered end of the pinecone into the sand to hold it upright.


15. Crayon Dot Mosaic
Easy
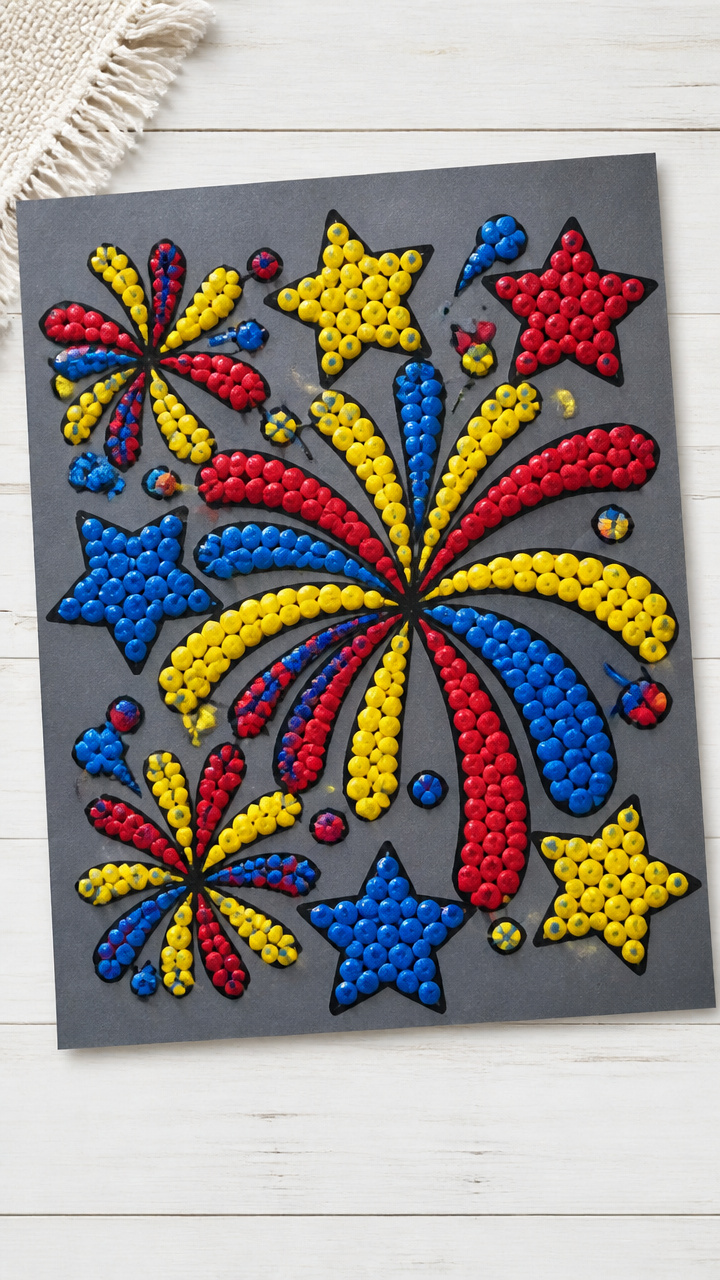
Small crayon pieces pressed into a numbered outline form a chunky mosaic full of color. This sorting and placing activity strengthens coordination and color recognition.
Materials Needed
- 1 sheet of A4 gray cardstock
- 20 small crayon pieces (red, yellow, blue)
- Black fine-tip marker
- White school glue
- Paintbrush
How to Make It
- Use the marker to draw a large number '3' in the center of the cardstock.
- Apply glue inside the number outline using the paintbrush.
- Let your toddler place crayon pieces side by side to fill the number completely.
- Let the glue dry flat for 20 minutes.


These crafts bring color, sound, and wonder into your home with just a few simple supplies. Pick one that matches your toddler’s mood today and let the joyful mess begin.