15 New Year Crafts for Preschoolers

Glitter spills like confetti, glue bottles twist open with promise, and tiny hands press paper into paint with joyful focus. These moments spark more than just decorations—they build confidence, coordination, and a sense of celebration that sticks long after the last craft is hung on the fridge.
Each project here is made for little fingers and big imaginations. You’ll find no repeat supplies or overlapping techniques—just fresh, doable ideas that turn simple materials into keepsakes worth smiling at.
1. Glittery Countdown Clock
Easy
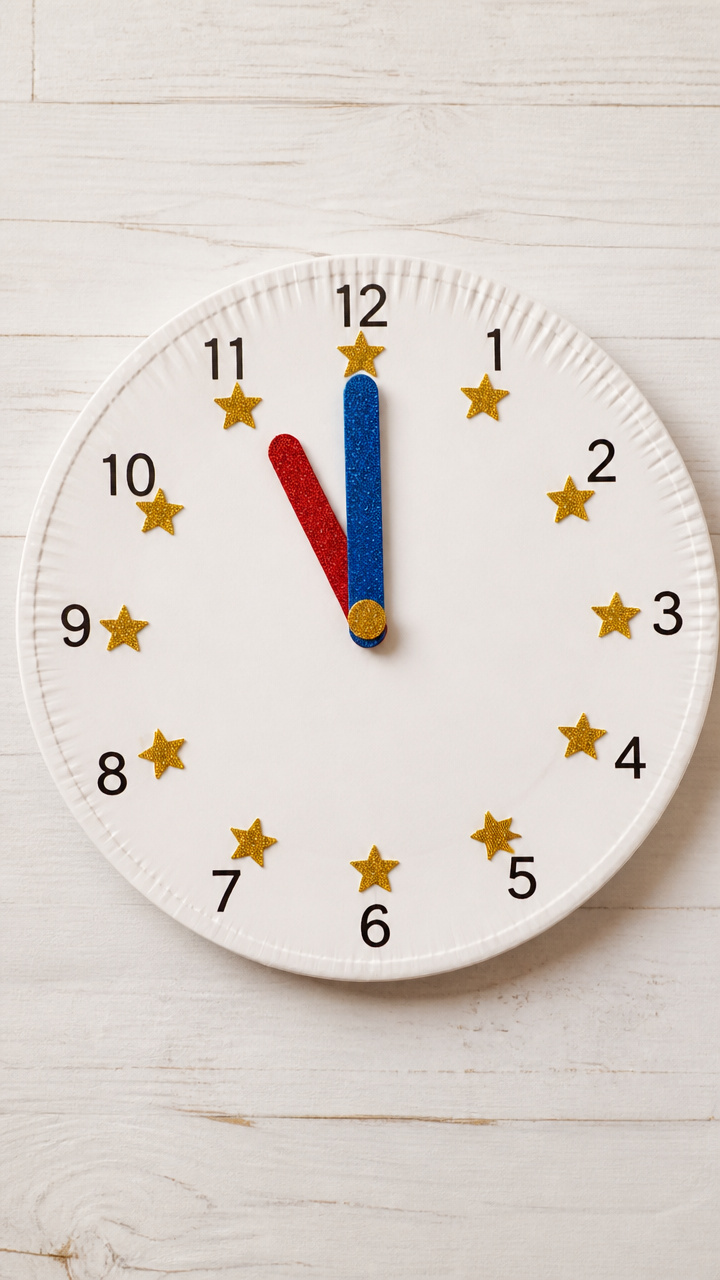
A spinning cardboard clock helps little ones track hours until midnight with shimmering hands and bold numbers. This craft doubles as both decoration and learning tool.
Materials Needed
- 12-inch white foam plate
- Black fine-tip marker
- 12 gold star stickers
- Red craft stick
- Blue craft stick
- Hot glue gun and glue sticks
- Fine silver glitter
- White school glue
- Scissors
How to Make It
- Use the black marker to write numbers 1 through 12 evenly around the edge of the foam plate, like a clock face.
- Stick one gold star above each number for sparkle and visual interest.
- Cut the red craft stick in half and glue one half from center to edge for the hour hand using hot glue.
- Glue the full blue craft stick from center to edge for the minute hand, slightly longer than the red.
- Draw a small circle in the center with glue and sprinkle silver glitter over it. Let dry completely.


2. Pom-Pom Noise Makers
Easy
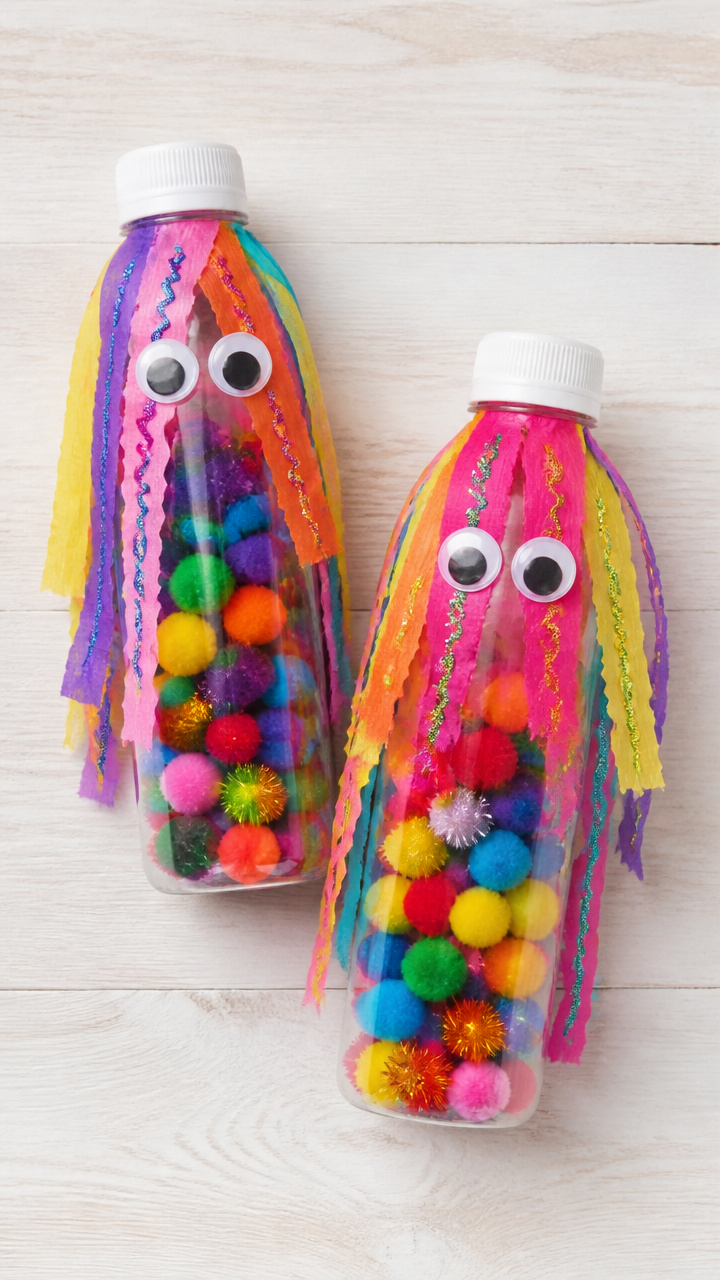
Shake, rattle, and cheer with handmade shakers filled with soft pom-poms and wrapped in bright streamers. Perfect for indoor celebrations without the ear-splitting volume.
Materials Needed
- Empty plastic water bottles (8 oz), 2 per child
- Jumbo rainbow pom-poms, 1 cup
- Googly eyes, 4 per bottle
- Liquid school glue
- Glitter glue (assorted colors)
- Crepe paper streamers, 3 rolls
- Scissors
How to Make It
- Fill each bottle halfway with jumbo pom-poms, then screw the lid on tightly.
- Glue two googly eyes on the front of each bottle to create a silly face.
- Squeeze lines of glitter glue across the bottle and let dry flat for 20 minutes.
- Cut crepe paper streamers into 6-inch strips and glue them around the neck of the bottle for festive flair.


3. Handprint Fireworks Cards
Easy
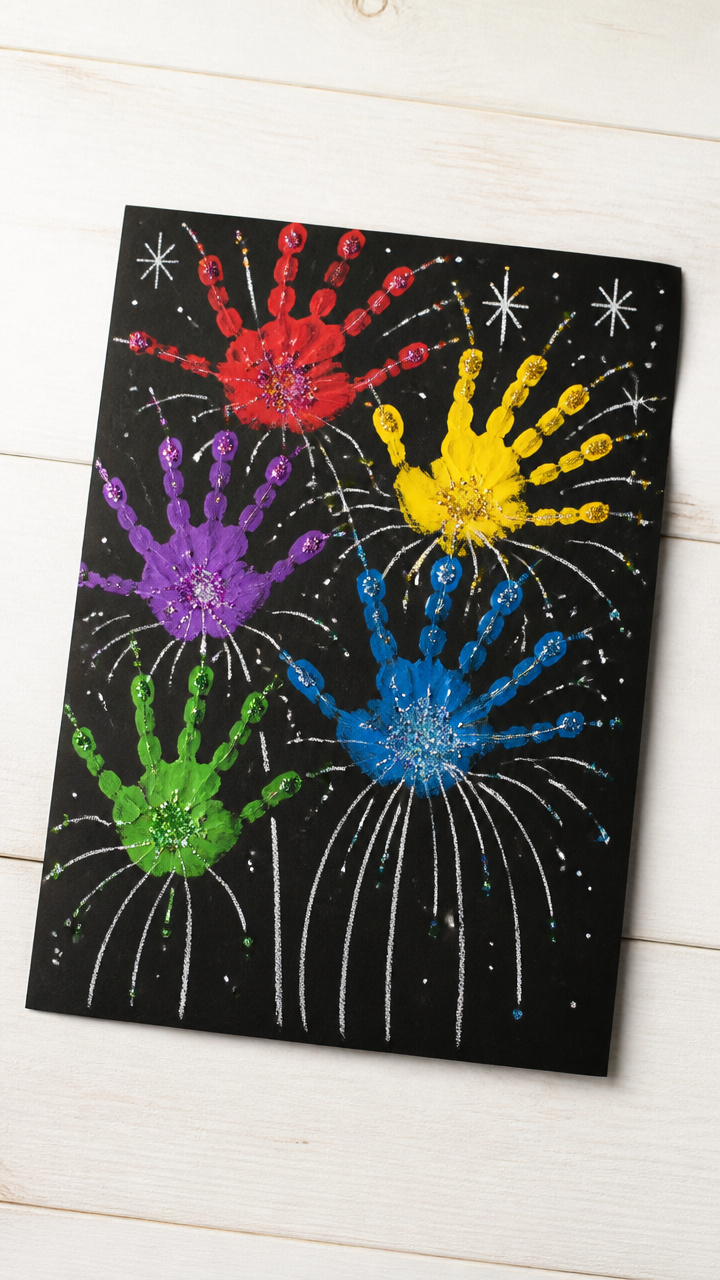
Bold handprints fan out like bursts of color against dark backgrounds, turning each card into a personal masterpiece. Ideal for gifting or framing.
Materials Needed
- Black A4 construction paper
- Washable tempera paints in red, yellow, blue, purple, green
- Paint trays with compartments
- Baby wipes
- White crayon
- Glitter pens (silver and gold)
How to Make It
- Press one palm firmly into a chosen paint color, then stamp it near the bottom corner of the black paper.
- Repeat with different colors and hands to create overlapping fireworks bursts.
- Let all prints dry for 15 minutes before adding details.
- Use a white crayon to draw short radiating lines from each print to extend the explosion effect.
- Trace some lines with silver and gold glitter pens for extra shine.


4. Confetti Stomp Art
Easy
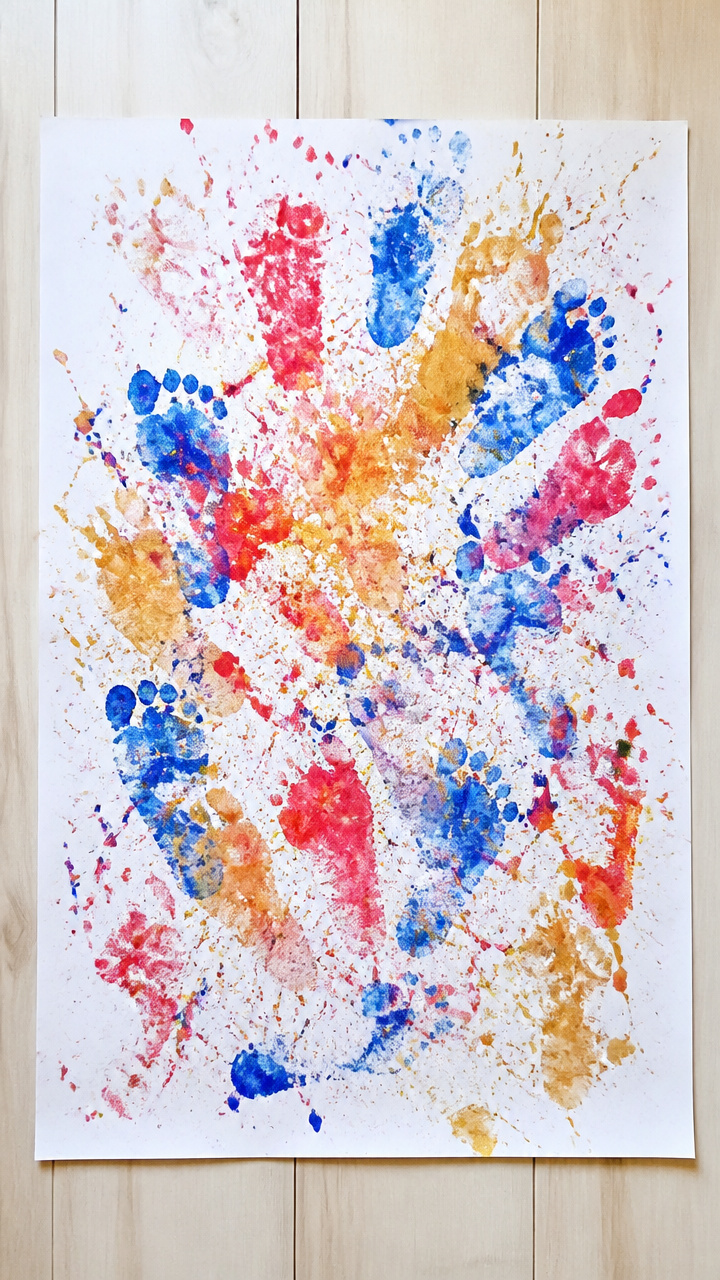
Tiny feet jump and dance over paper-covered floors, releasing bursts of color with every step. This energetic process turns movement into art.
Materials Needed
- Large roll of white butcher paper
- Washable liquid watercolors (red, blue, gold)
- Plastic squeeze bottles, 3
- Bare feet
- Spray bottle with water
- Smock or old clothes
How to Make It
- Lay butcher paper on a clean floor and use squeeze bottles to dot random spots with colored watercolor.
- Have the child wear a smock and step only on the colored dots with bare feet.
- Let them stomp, wiggle, and jump gently to spread color outward like explosions.
- Once covered, mist lightly with water from the spray bottle to blend edges slightly.
- Let dry flat for 1 hour before cutting into individual artworks.


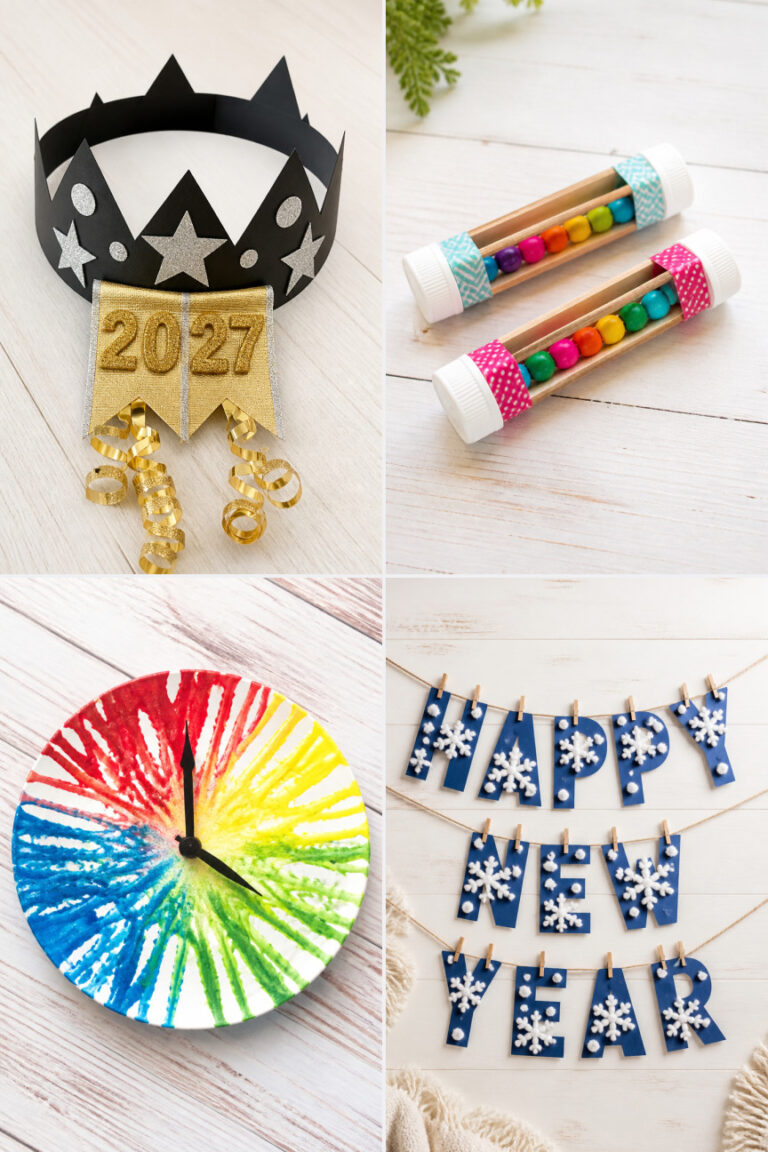
5. New Year’s Hat Band
Easy
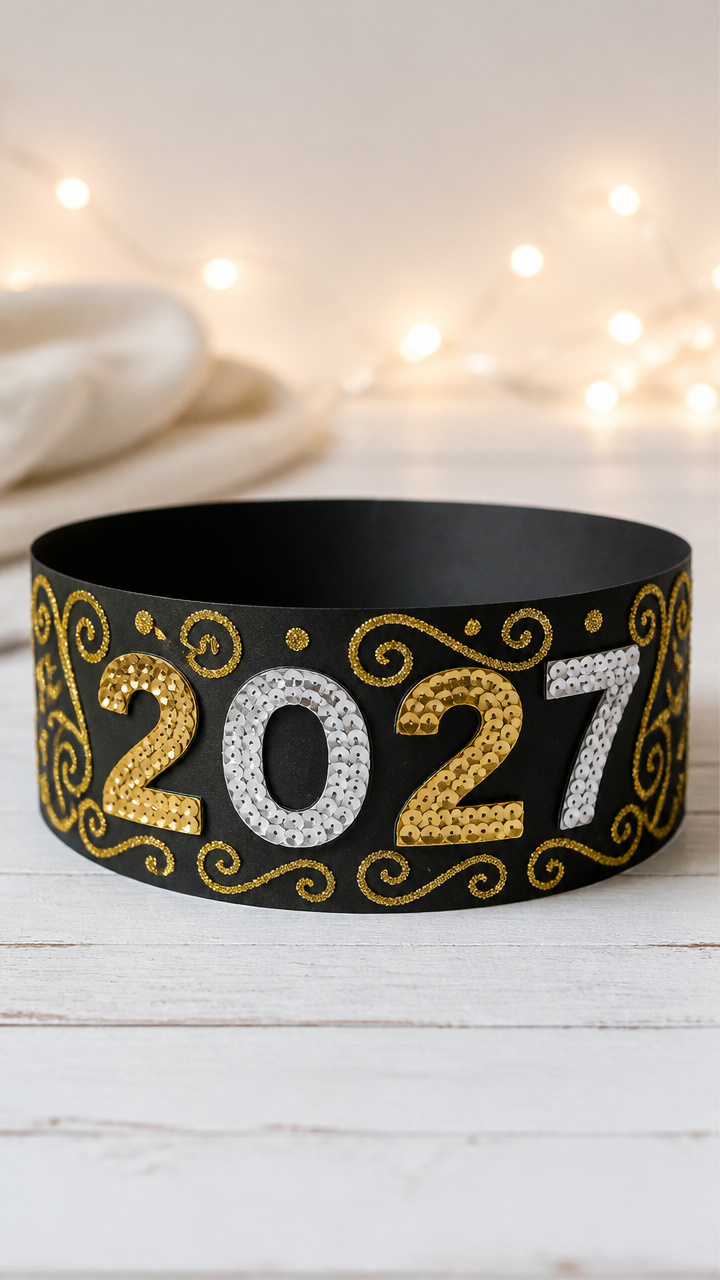
A flexible paper crown wraps snugly around the head, decked with numerals and glitter swirls. Wearable crafts mean pride lasts all night.
Materials Needed
- Cardstock strip, 18 x 3 inches (black)
- Number stickers: 2, 0, 2, 7
- Glitter glue pen (gold)
- Double-sided tape
- Ruler
- Scissors
How to Make It
- Measure the child’s head and trim the cardstock strip to fit with a 1-inch overlap.
- Place the four number stickers centered along the top edge of the strip.
- Draw wavy lines above and below the numbers using the gold glitter glue pen.
- Let the glue dry for 25 minutes until no longer tacky.
- Attach the ends with double-sided tape to form a band.


6. Cotton Ball Cloud Noisemakers
Moderate
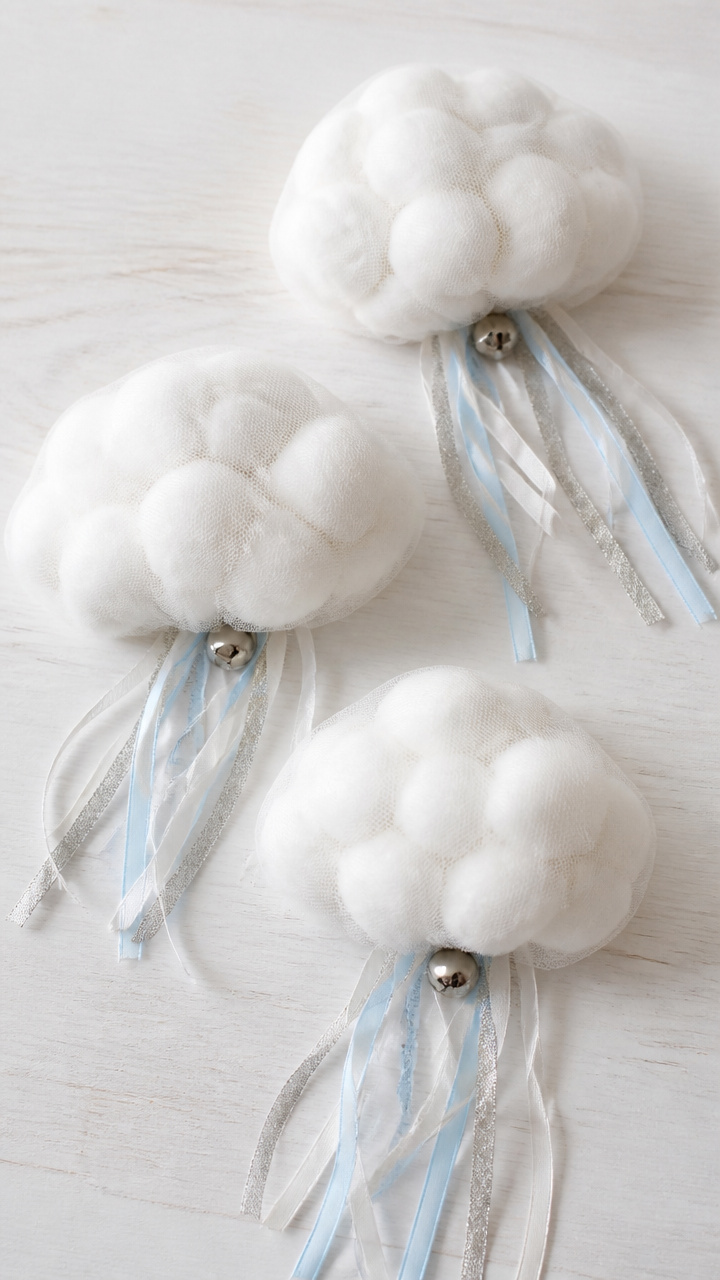
Fluffy cotton clouds hide jingle bells inside tulle pouches, making gentle sounds when waved. Soft sensory fun for little revelers.
Materials Needed
- White tulle squares, 8 x 8 inches, 2 per cloud
- Jingle bells, 3 per cloud
- Polyester fiberfill, 1/4 cup per cloud
- Craft wire, 6 inches per cloud
- Wire cutters
- Hot glue gun
- Silver pipe cleaners, 2 per cloud
How to Make It
- Layer two tulle squares and place 3 jingle bells in the center, then add a small handful of fiberfill.
- Gather the tulle edges upward and twist tightly just above the fill.
- Wrap craft wire around the gathered neck and twist closed to secure.
- Trim excess tulle strands evenly with scissors.
- Glue one pipe cleaner to each side of the wire base to form fluffy arms.


7. Fingerprint Balloon Pop Art
Easy
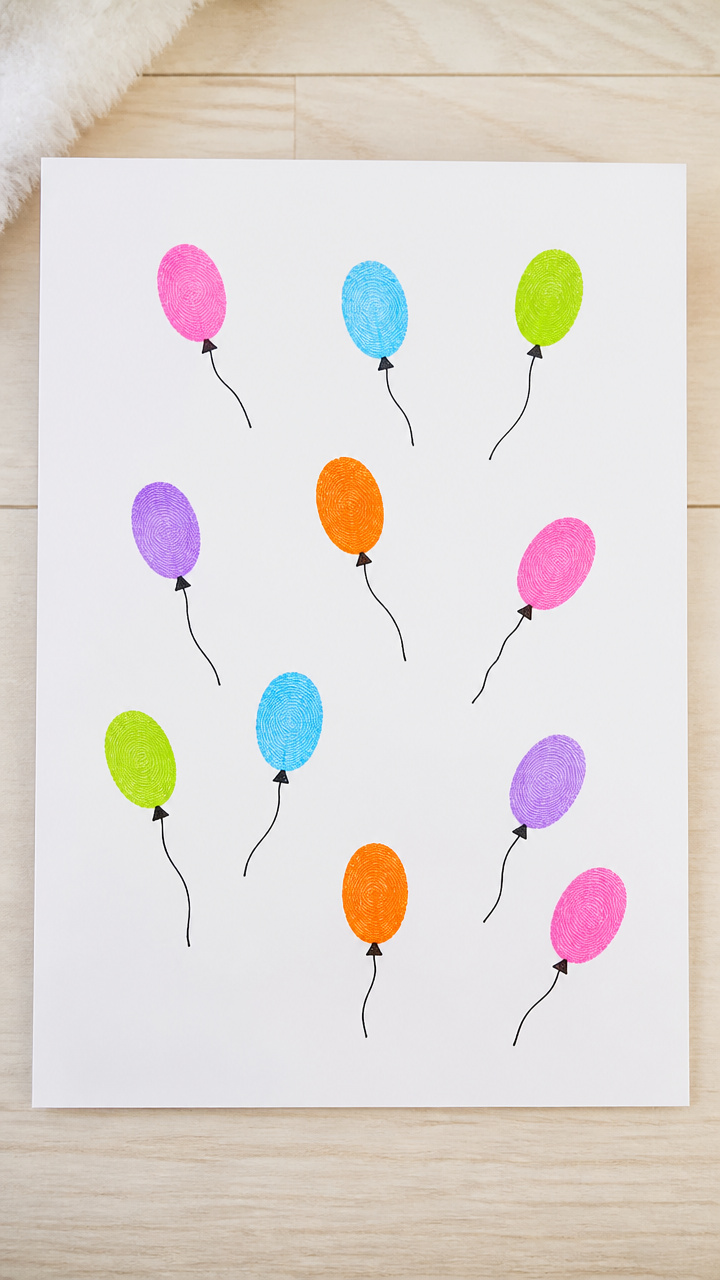
Dozens of colorful fingerprints cluster like floating balloons on a crisp background. Each thumbprint holds a tiny surprise.
Materials Needed
- White A4 drawing paper
- Washable ink pads in pink, blue, lime, purple, orange
- Black fine-tip marker
- Ruler
- String line stencil (optional)
How to Make It
- Have the child press their thumb into one ink pad and stamp it onto the paper, lifting straight up.
- Repeat with different colors, spacing prints across the page like floating balloons.
- Let all ink dry for 10 minutes.
- Draw a short straight line down from each print with the black marker to form a string.
- Use the ruler to sketch a ground line where all strings meet for a unified look.


8. Tissue Paper Lantern
Moderate
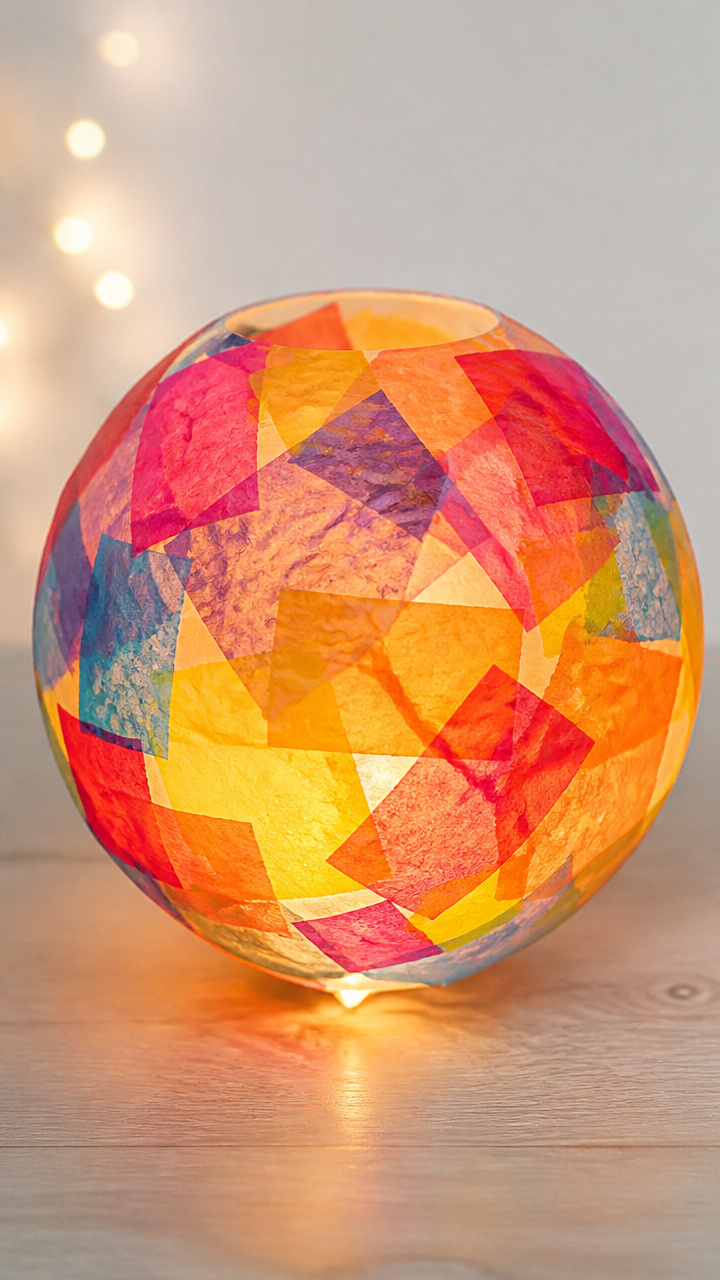
Layers of crinkled tissue bloom into glowing spheres when lit from within. Light-up crafts bring instant wonder.
Materials Needed
- Clear plastic ornament, 3-inch diameter, top removed
- Tissue paper sheets (assorted bright colors), 6 per lantern
- White school glue
- Paintbrush (1/2 inch wide)
- LED tea light
- Scissors
How to Make It
- Cut each tissue sheet into 1-inch wide strips, about 6 inches long.
- Crumple each strip loosely into a tiny rosette and set aside.
- Brush a thin layer of glue on the outside of the plastic ornament.
- Press crumpled tissue pieces close together all over the surface, covering completely.
- Let dry for 45 minutes, then place an LED tea light inside and turn it on.


9. Cereal Ring Toss Game
Easy
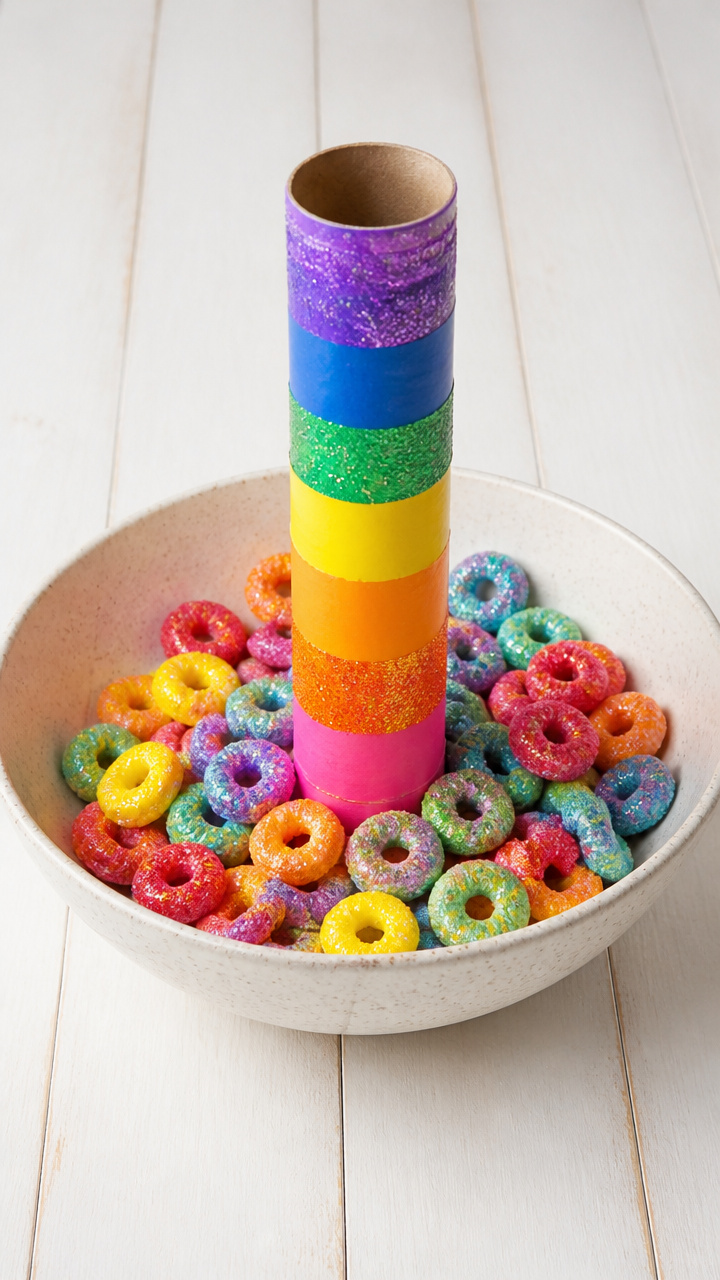
Bright O-shaped cereal loops become tossable rings for a homemade party game. Snackable and playable in one.
Materials Needed
- Unpopped popcorn kernels, 1 cup
- Cardboard tube (from paper towels)
- Colored masking tape
- Large bowl
- Rainbow-colored cereal Os, 2 cups
- Glitter glue pens (assorted)
How to Make It
- Pour unpopped kernels into the cardboard tube and seal both ends with tape.
- Wrap colored masking tape around the tube in diagonal stripes for visibility.
- Set the tube upright in the center of the bowl to catch rings.
- Decorate each cereal O with a quick line of glitter glue and let dry 15 minutes.
- Toss the rings from a marked line three feet away.


10. Foam Number Rubbings
Easy
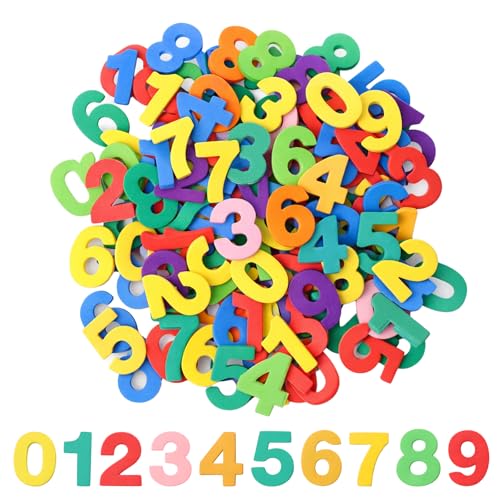
Raised foam numerals reveal ghostly outlines when rubbed with crayons, creating textured keepsakes. Quiet creativity meets discovery.
Materials Needed
- Black foam sheets with pre-cut numbers (2, 0, 2, 7)
- White cardstock, 8.5 x 11 inches
- Unwrapped crayons (white, silver, gold)
- Tape
- Scissors
How to Make It
- Place one foam number on the table and lay a sheet of cardstock on top.
- Tape the edges of the paper down so it doesn’t shift during rubbing.
- Hold a crayon sideways and rub gently over the number shape until the outline appears.
- Repeat with other numbers and crayon colors on fresh sheets.
- Cut out each rubbing and staple into a mini booklet titled 'My Numbers'.


11. Yarn-Wrapped Time Capsule
Moderate
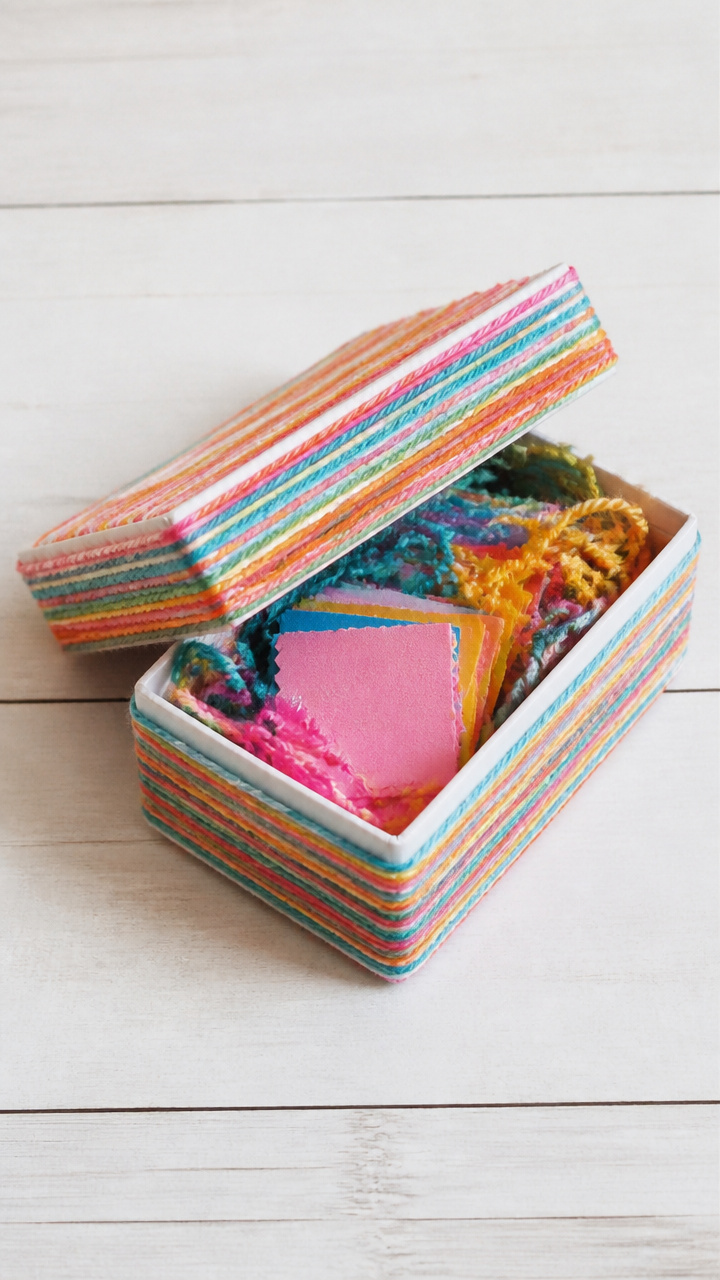
A small box wrapped in spiraling yarn holds tiny notes and drawings sealed for next year. Anticipation grows with every wrap.
Materials Needed
- Small cardboard gift box with lid, 4 x 3 x 2 inches
- White school glue
- Paintbrush (1/2 inch)
- Rainbow yarn, 30 yards
- Child-safe scissors
- Mini blank cards, 5 per child
- Crayons
How to Make It
- Have the child draw or write one hope or memory on each mini card.
- Place cards inside the box and close the lid.
- Brush a thin line of glue along the length of the box.
- Wrap yarn tightly around the box, pressing into glue as you go, changing colors every few wraps.
- Let dry 1 hour before storing in a safe spot to open later.


12. Bubble Wrap Calendar Print
Easy
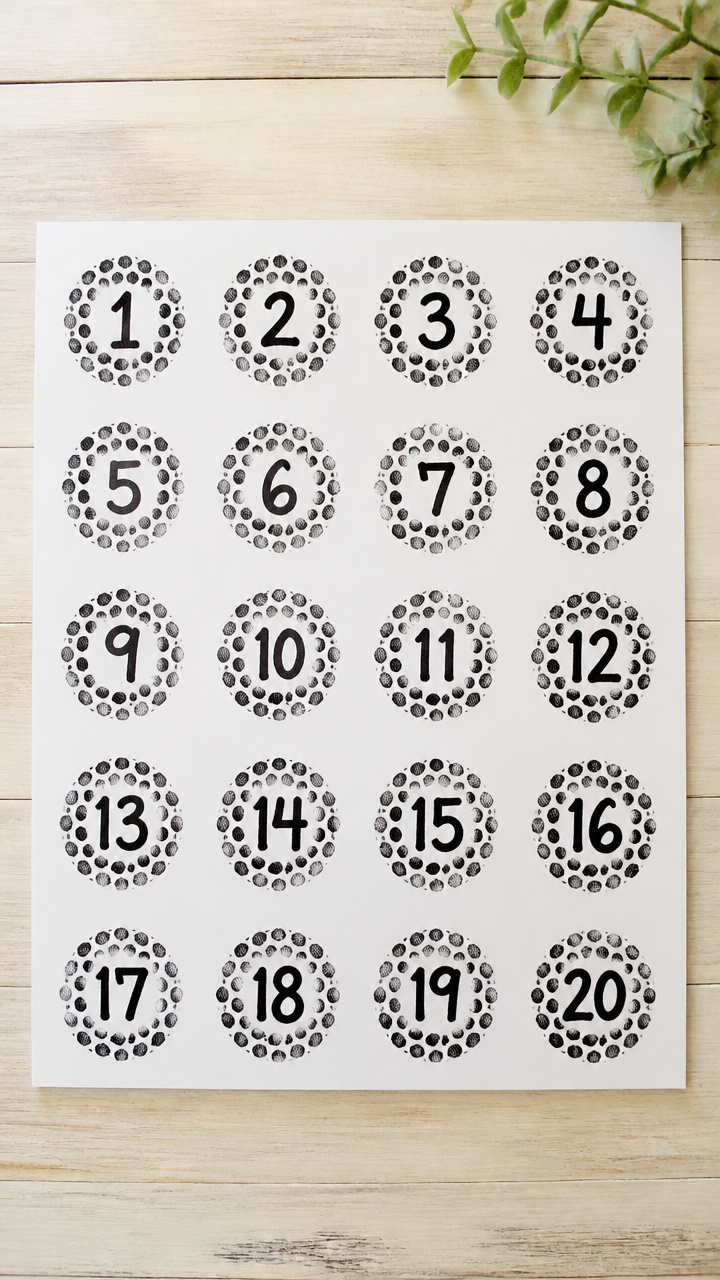
Grids of bubble wrap stamp perfect rows of dots that form a custom calendar page. Rhythmic patterns soothe and engage.
Materials Needed
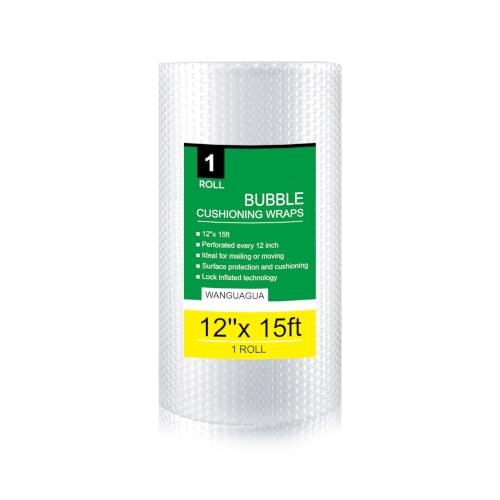
- Sheet of bubble wrap, 6 x 8 inches (regular size bubbles)
- Black tempera paint
- Paint tray
- Paint roller (2 inches wide)
- White A4 cardstock
- Black fine-tip marker
- Ruler
How to Make It
- Place bubble wrap bumpy side up in the paint tray and roll black paint evenly over the surface.
- Press one sheet of cardstock firmly over the painted bubbles and lift straight off.
- Repeat to make a grid of six even rows of five circles each.
- Use ruler and marker to draw a border around the grid.
- Label each row with days Monday through Sunday above the columns.

13. Pipe Cleaner Sparklers
Easy
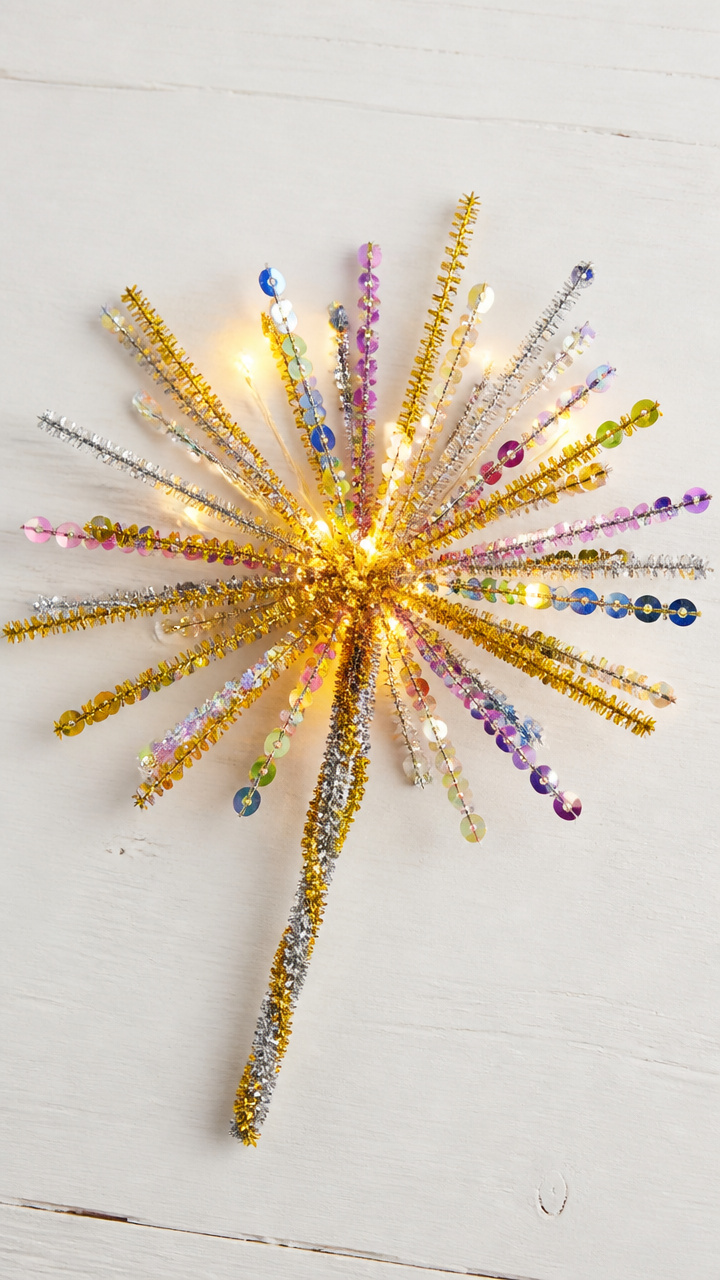
Twisted wire shapes glow with sequin trails when waved in dim light. Safe handheld sparkle for little hands.
Materials Needed
- Gold and silver pipe cleaners, 6 total
- Sequins (tiny, assorted colors), 1/4 cup
- White school glue
- Mini glue dots
- Battery-powered fairy lights (warm white, 10 bulbs)
How to Make It
- Bend one pipe cleaner into a spiral, star, or zigzag shape at one end, leaving a straight handle.
- Dot glue along the wire and press sequins into place, covering most of the shape.
- Let dry for 20 minutes.
- Wrap the base of the handle with a glue dot to prevent snagging.
- Clip the sparkler behind the first bulb of the fairy lights for a glowing effect.


14. Sticker Mosaic Window Art
Easy
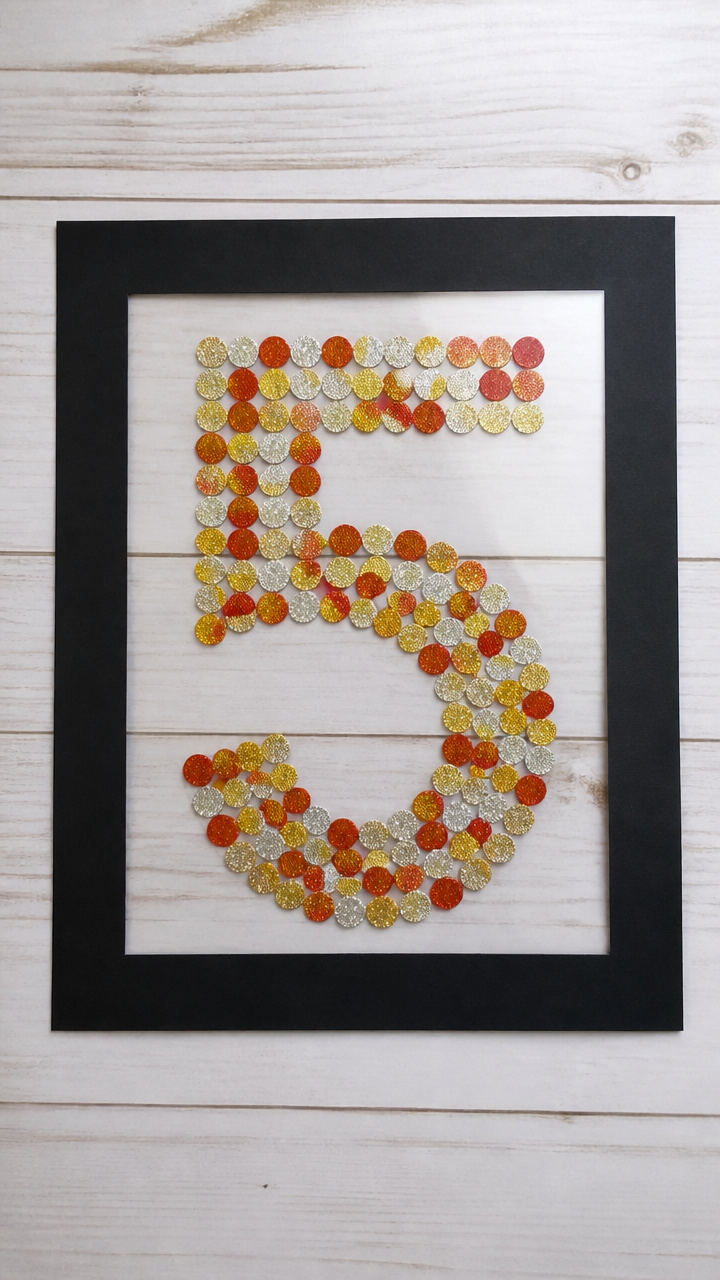
Thousands of round stickers pack together to form a shimmering numeral display for windows. Simple pieces build something grand.
Materials Needed
- Clear contact paper, 12 x 18 inches, sticky side up
- Round sticker dots (red, gold, silver), 3 packs
- Black cardstock frame, 14 x 20 inches
- Scissors
- Pencil
How to Make It
- Draw a large number '2' and '4' on the contact paper with pencil, leaving space between.
- Fill each number outline completely with sticker dots, pressing them close together.
- Overlap colors randomly to create a mosaic effect.
- Trim excess contact paper to match the black frame size.
- Center the sticky artwork on the frame and smooth into place.


15. Crayon Melting Canvas
Advanced
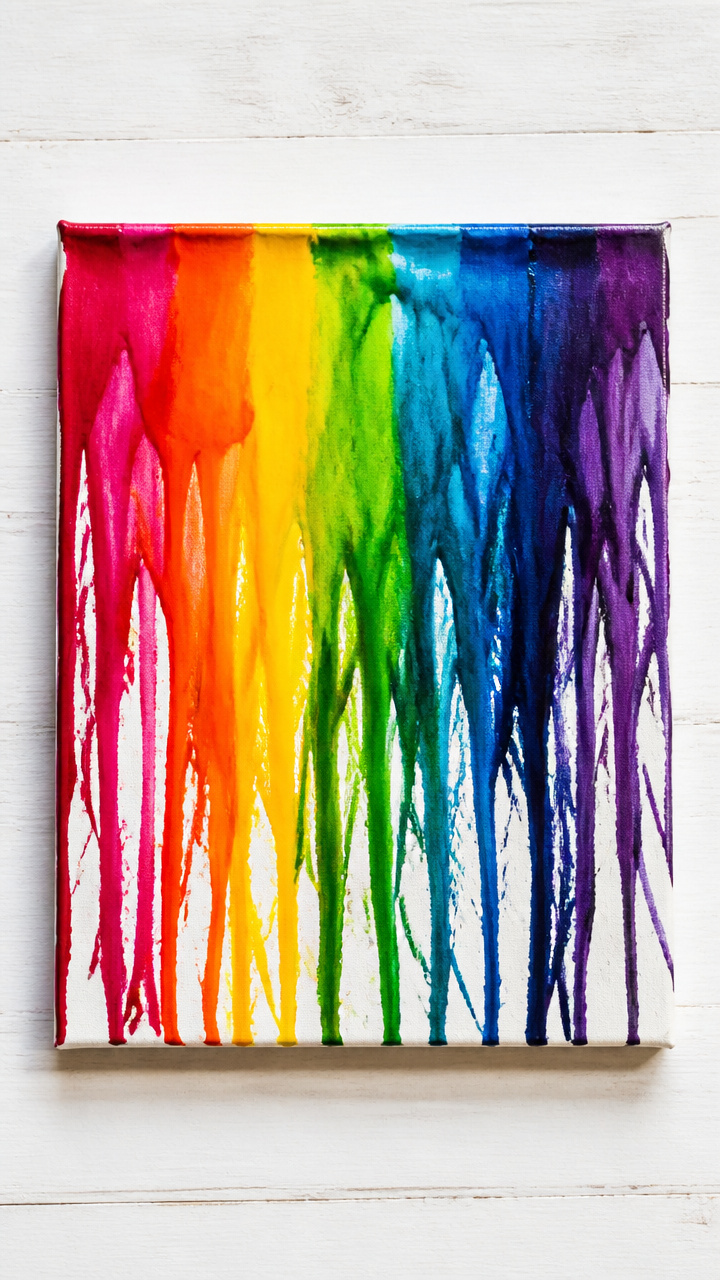
Broken crayon bits drip down cardboard in vibrant streaks when warmed by a hair dryer. Heat transforms color into motion.
Materials Needed
- Cardboard canvas, 9 x 12 inches
- Old crayons (peeled), 10 per child
- Hair dryer
- Painter’s tape
- Dropper tray
- Safety goggles
How to Make It
- Peel paper off crayons and break into small pieces using hands or dropper tray edge.
- Tape the cardboard vertically in a well-ventilated area with a tray at the base to catch wax.
- Place crayon pieces at the top edge of the cardboard, pointing downward.
- Turn on hair dryer to high heat and aim just above crayons to melt tips slowly.
- Let wax drip naturally down the board, moving dryer gently to guide flow.


Grab a glue bottle, clear a little table space, and let the colors fly. These crafts are ready whenever you are—and every one is a moment waiting to happen.