15 Fun Letter F Crafts for Preschoolers
Little hands love making big discoveries through simple crafts. Focusing on the letter F gives you a chance to explore furry frogs, fluttering flags, and feathery friends with playful textures and bold colors. These projects use everyday supplies and deliver joy with every cut, paste, and paint stroke.
Each craft builds fine motor skills while sparking imagination. You’ll find no two ideas alike — just fifteen fresh, hands-on ways to celebrate the sound of F.
1. Fingerprint Fireflies in a Jar
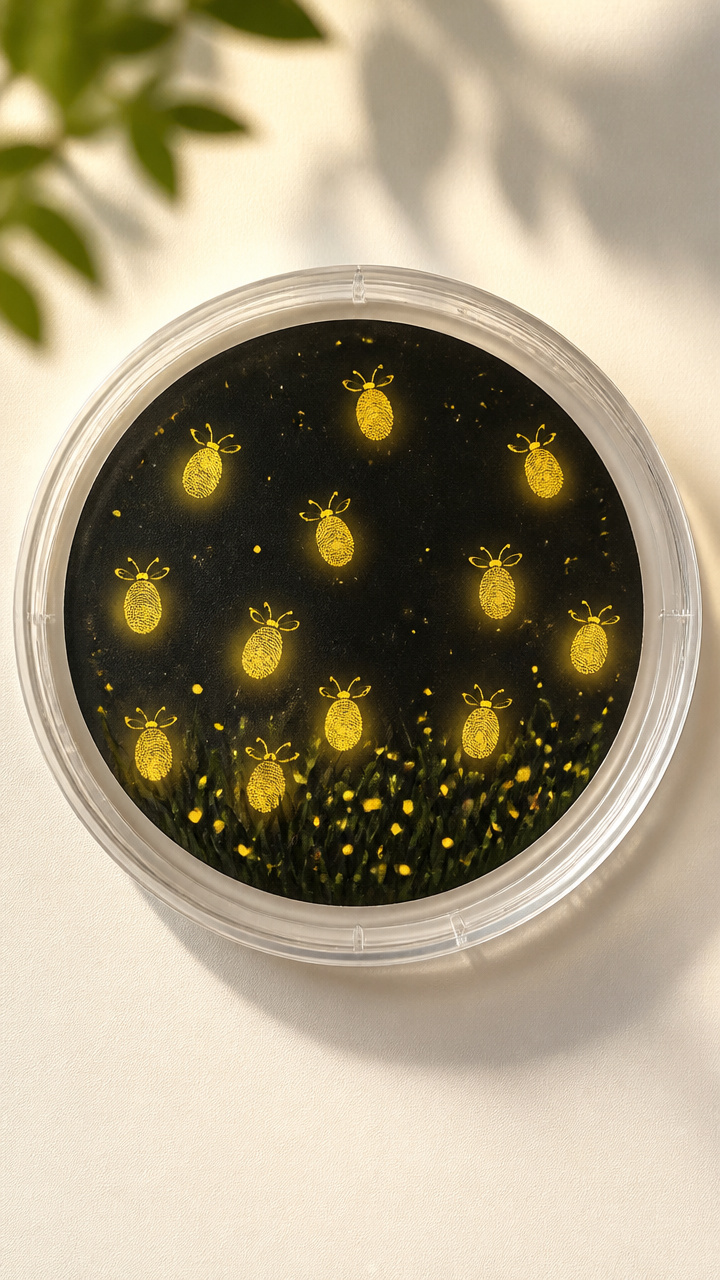
Glowing bugs come alive with thumbprints and glow-in-the-dark paint. This sensory-rich craft doubles as a nightlight keepsake.
Materials Needed
- One clear plastic jar lid (3-inch diameter)
- Black construction paper (6×8 inch sheet)
- Glow-in-the-dark yellow acrylic paint, 2 tablespoons
- White gel pen
- Glue stick
- Cotton swab
How to Make It
- Place the jar lid upside down on the black paper and trace a circle around it with a pencil, then cut it out.
- Squeeze glow paint onto a plate and have your child press their clean thumb into the paint, then stamp 8–10 fingerprints inside the circle to make fireflies.
- Let the prints dry for 10 minutes, then draw tiny wings and faces on each with the white gel pen using the cotton swab for fine lines.


2. Foam Fish with Bubble Eyes
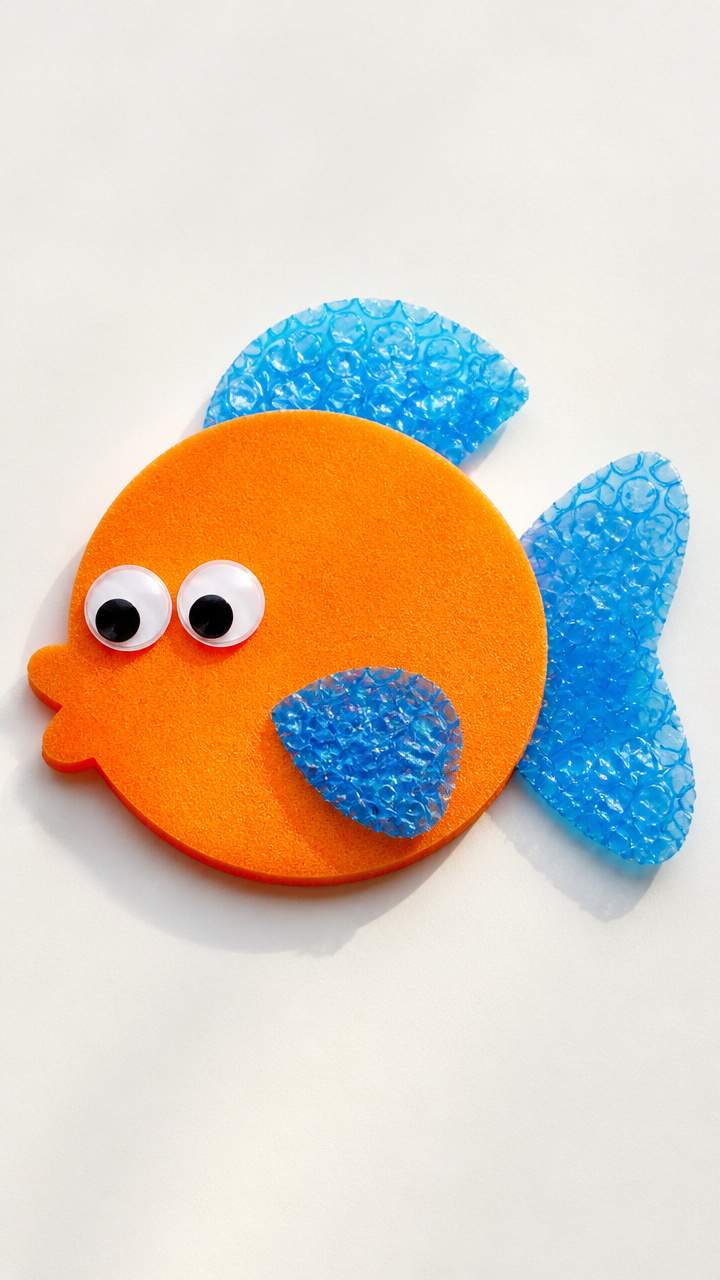
Bright foam shapes assemble into a wiggly fish with bouncy bubble wrap eyes. The crinkly texture invites touch and storytelling.
Materials Needed
- Orange craft foam sheet (9×12 inch)
- Blue bubble wrap (4×6 inch piece)
- Googly eyes (12mm, 2 pieces)
- Scissors
- Glue dots (pack of 20)
- Black marker
How to Make It
- Cut a fish body shape from the foam using scissors: an oval with a triangle tail attached.
- Cut two small circles from the bubble wrap for eyes and stick one googly eye onto each with a glue dot.
- Press the bubble wrap eyes onto the foam fish head using two more glue dots, then add gills and a mouth with the black marker.


3. Feather Fan Art
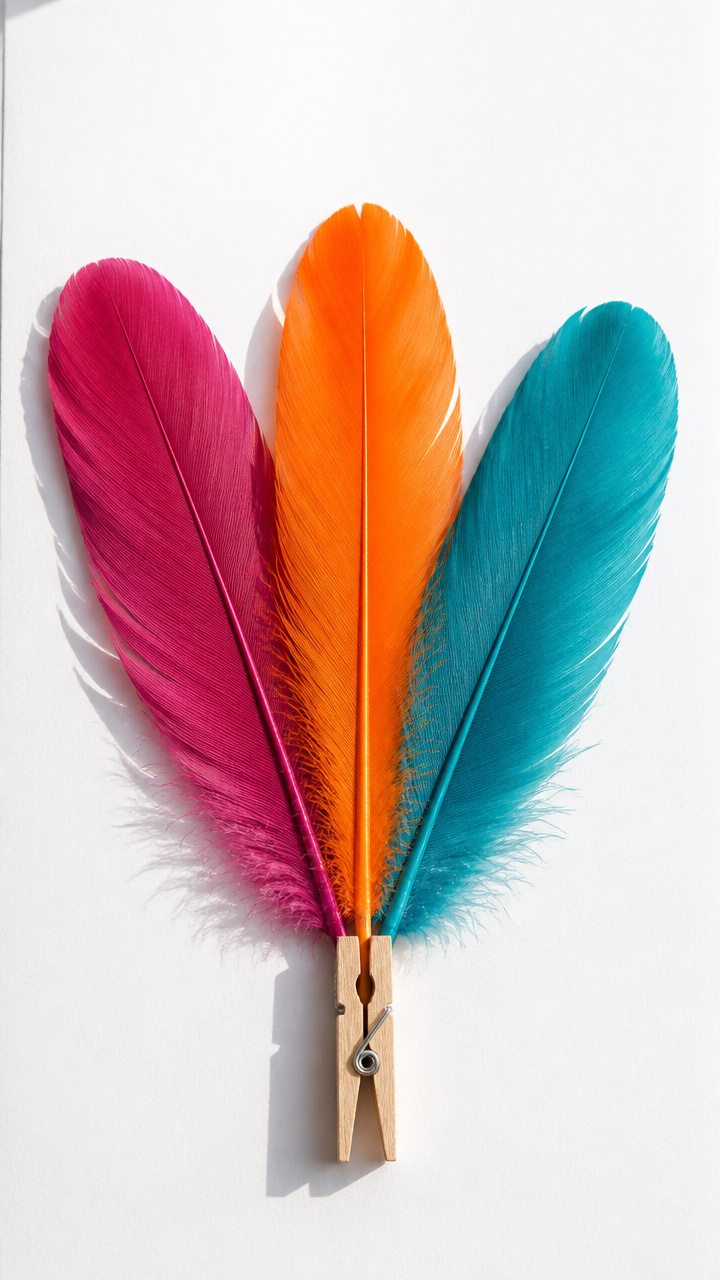
Soft dyed feathers fan out like a peacock’s tail on cardstock. This craft teaches symmetry and color blending.
Materials Needed
- Three 6-inch dyed chicken feathers (assorted colors)
- A4 white cardstock
- Purple washable glue
- Clothespin
- Ruler
How to Make It
- Lay the cardstock vertically and use the ruler to draw a straight 4-inch line from the bottom center upward.
- Squeeze a dime-sized puddle of glue at the base of the line and press the quill ends of the feathers into it, fanning them outward evenly.
- Clip the clothespin over the feather stems at the glue spot to hold them in place for 15 minutes until set.


4. Foil Fish Rubbing
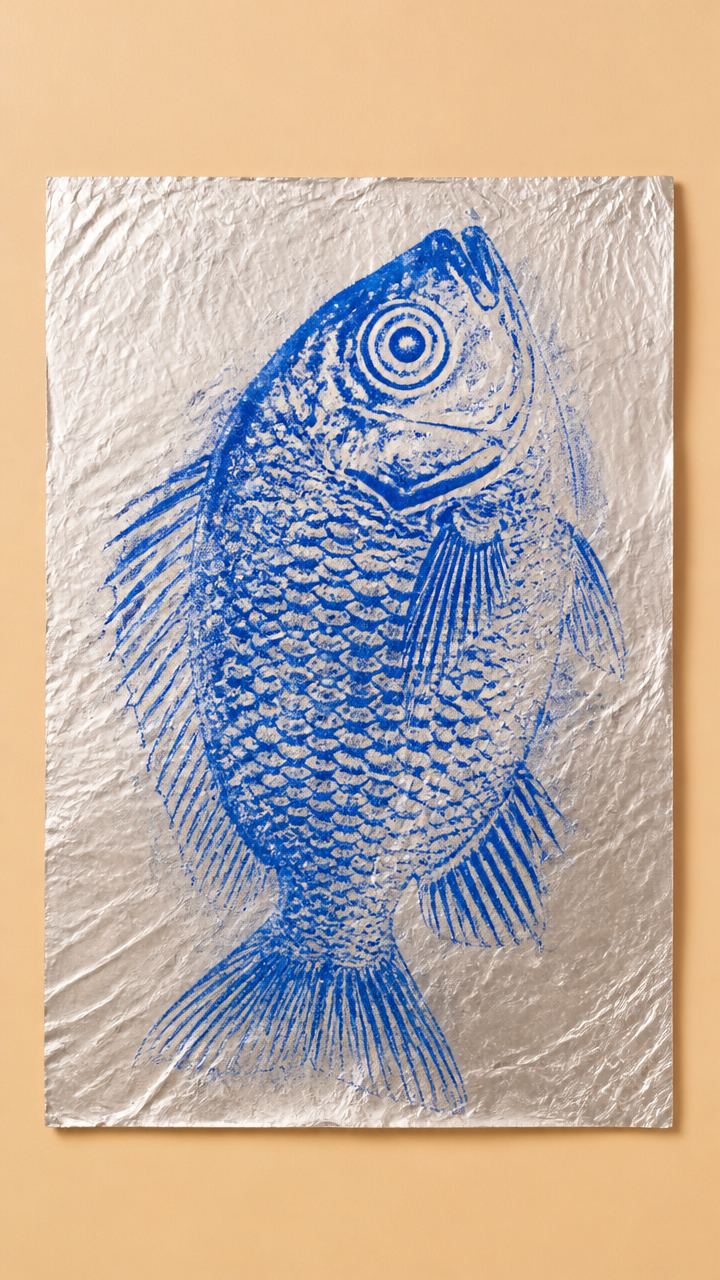
Hidden fish shapes reveal shimmering scales when rubbed with crayons. The surprise element keeps little artists engaged.
Materials Needed
- Aluminum foil (8×10 inch sheet)
- Blue wax crayon (peeled)
- Tape
- Cardboard scrap (5×5 inch)
- Scissors
How to Make It
- Cut a fish shape from the cardboard with scissors and place it under the foil, then tape the foil edges flat to a table.
- Smooth the foil over the cardboard shape with your palm so the outline is visible beneath.
- Lay the blue crayon on its side and rub firmly over the foil until the fish shape appears with a silvery texture.


5. Fluffy Frog Puppet
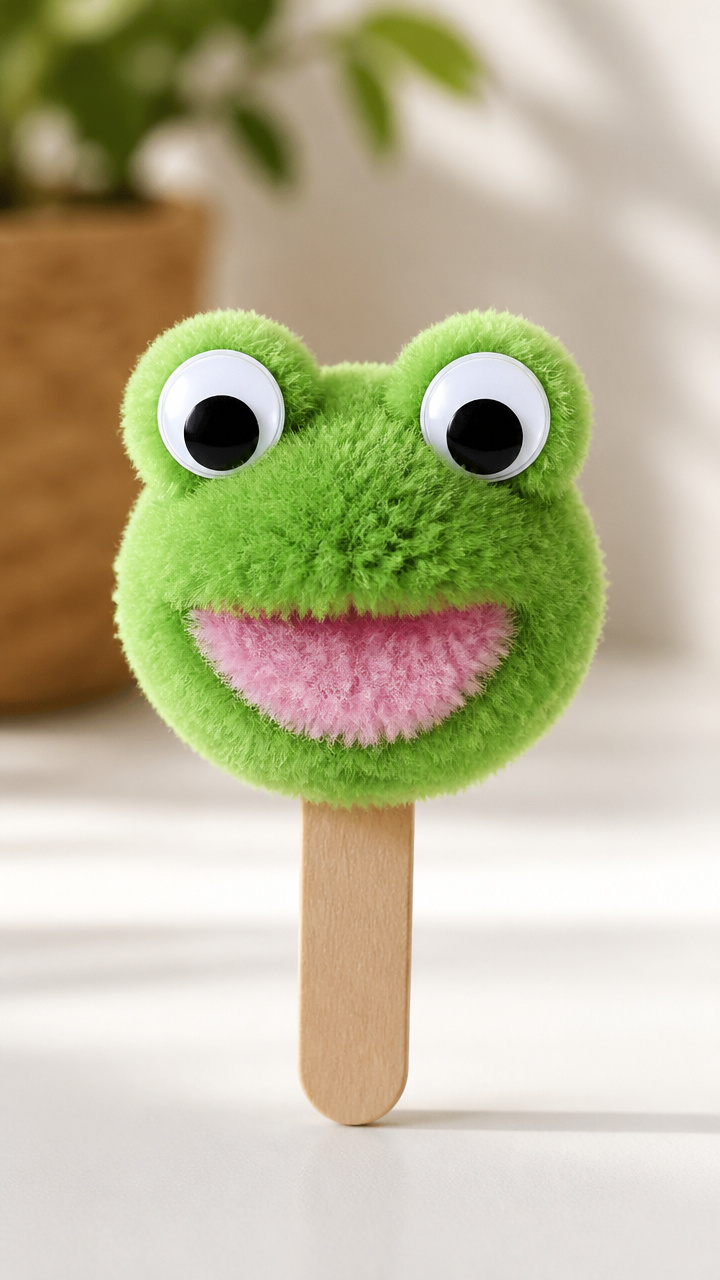
A googly-eyed frog with a soft pom-pom belly hops to life on a popsicle stick. Perfect for storytelling after craft time.
Materials Needed
- Green felt sheet (8×10 inch)
- Pink pom-pom (1 inch diameter)
- Popsicle stick
- Hot glue gun and glue sticks
- Scissors
- Two 15mm googly eyes
How to Make It
- Cut a frog body from the felt: a rounded rectangle with two front bumps and two back leg curves.
- Use the hot glue gun to attach the pom-pom centered on the front half of the frog, then glue the popsicle stick along the back edge.
- Glue the googly eyes above the pom-pom and let the puppet cool for 3 minutes before play.


6. Fruit Loop Frame
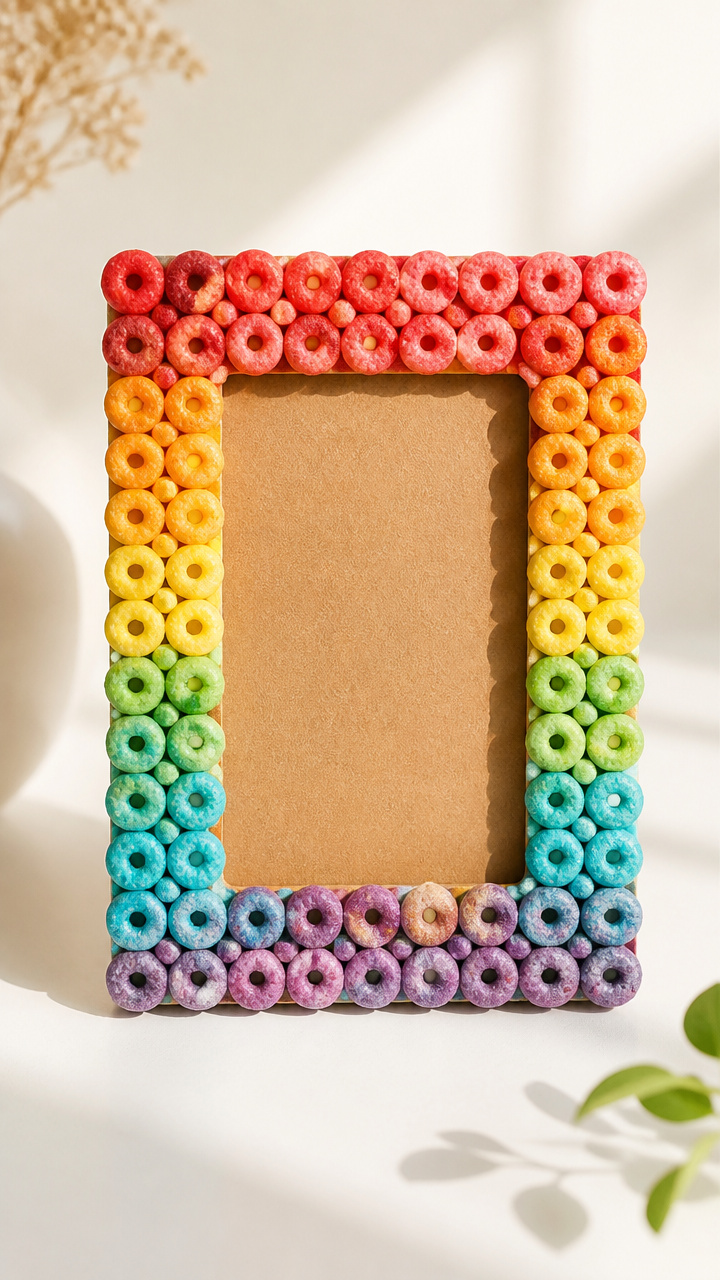
Colorful cereal loops form a crunchy rainbow border around a photo. A tasty-smelling craft that ends with display pride.
Materials Needed
- Cardboard picture frame (5×7 inch, front removed)
- One 1.5 oz bag Fruit Loops cereal
- White school glue
- Paintbrush (1/2 inch wide)
- Tweezers
How to Make It
- Lay the frame faceup and brush a thin layer of glue onto the outer 1-inch border using the paintbrush.
- Use tweezers to place individual Fruit Loops along the glued edge, alternating colors in a tight circle.
- Let dry flat for 1 hour, then reassemble the frame with a photo behind the decorated border.


7. Felt Flower Garden
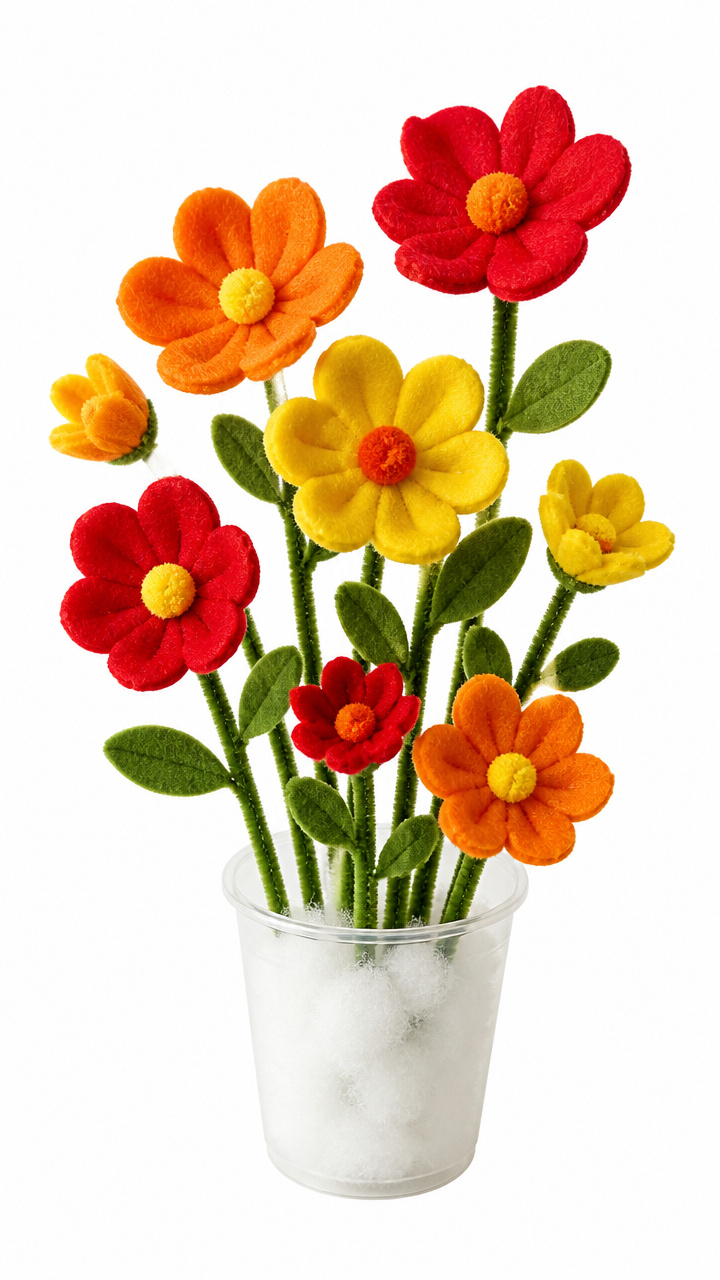
Layered petals in warm tones rise from pipe cleaner stems. This 3D arrangement stands upright in a cup base.
Materials Needed
- Red, orange, and yellow felt sheets (each 6×9 inch)
- Three green pipe cleaners
- Small plastic cup
- Polyfill stuffing (handful)
- Glue dots (10 count)
How to Make It
- Cut six flower shapes from each felt color: a circle with eight petal points snipped outward.
- Stack one red, one orange, and one yellow flower together and pinch the center, then twist a pipe cleaner through the base to form a stem.
- Fill the cup halfway with polyfill and push the three flower stems into the stuffing to display.


8. Flashlight Flag Banner
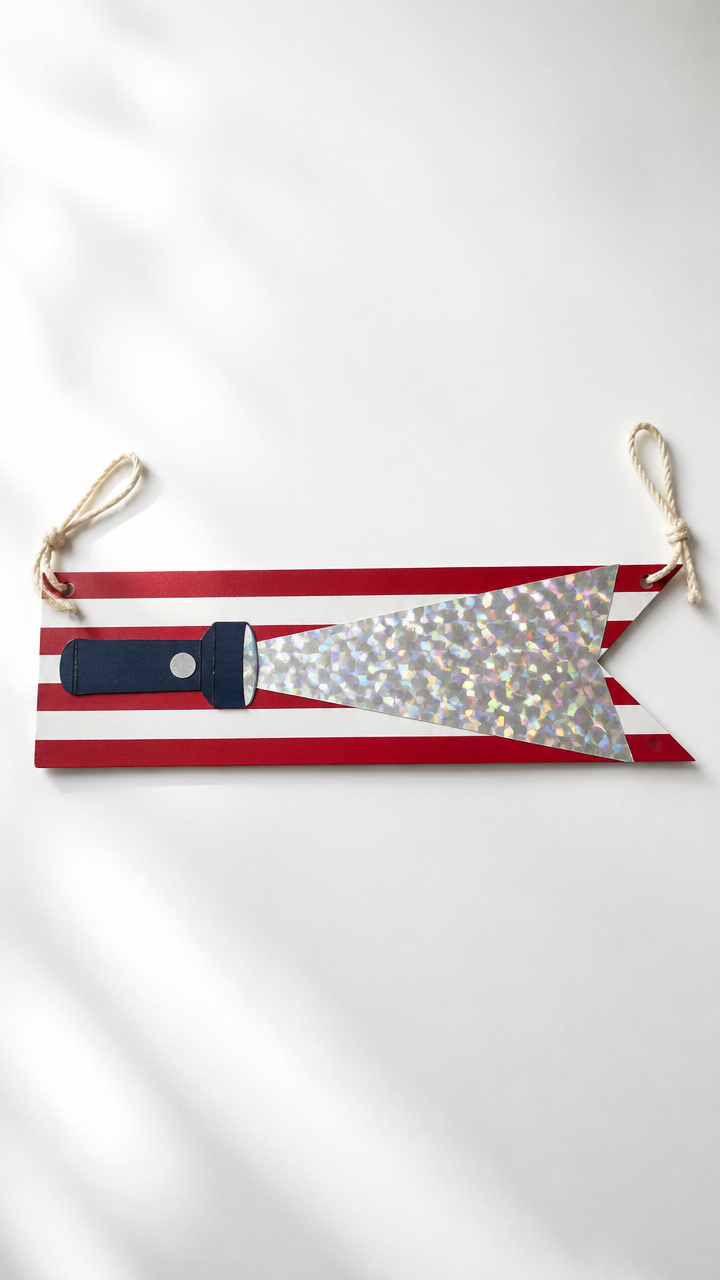
Striped paper flags wave on yarn with real reflective tape. Hang it near a window for sun-catching sparkle.
Materials Needed
- Red and white striped paper (8.5×11 inch, pre-printed)
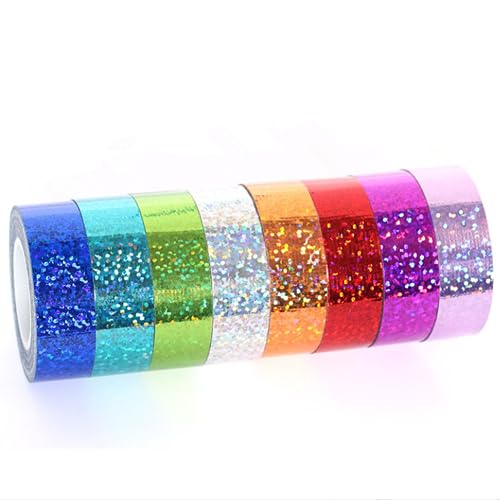
- Silver reflective tape (1/2 inch wide, 12 inches long)
- Yarn (24 inches)
- Hole punch
- Tape
How to Make It
- Cut the paper into six 2-inch tall triangles with straight tops, using scissors to follow the stripe pattern diagonally.
- Cut three 2-inch strips of reflective tape and stick one across the white section of each flag.
- Punch a hole in the top left and right corners of each flag, thread the yarn through, and knot the ends to hang.


9. Flap-Fold Farm Animals
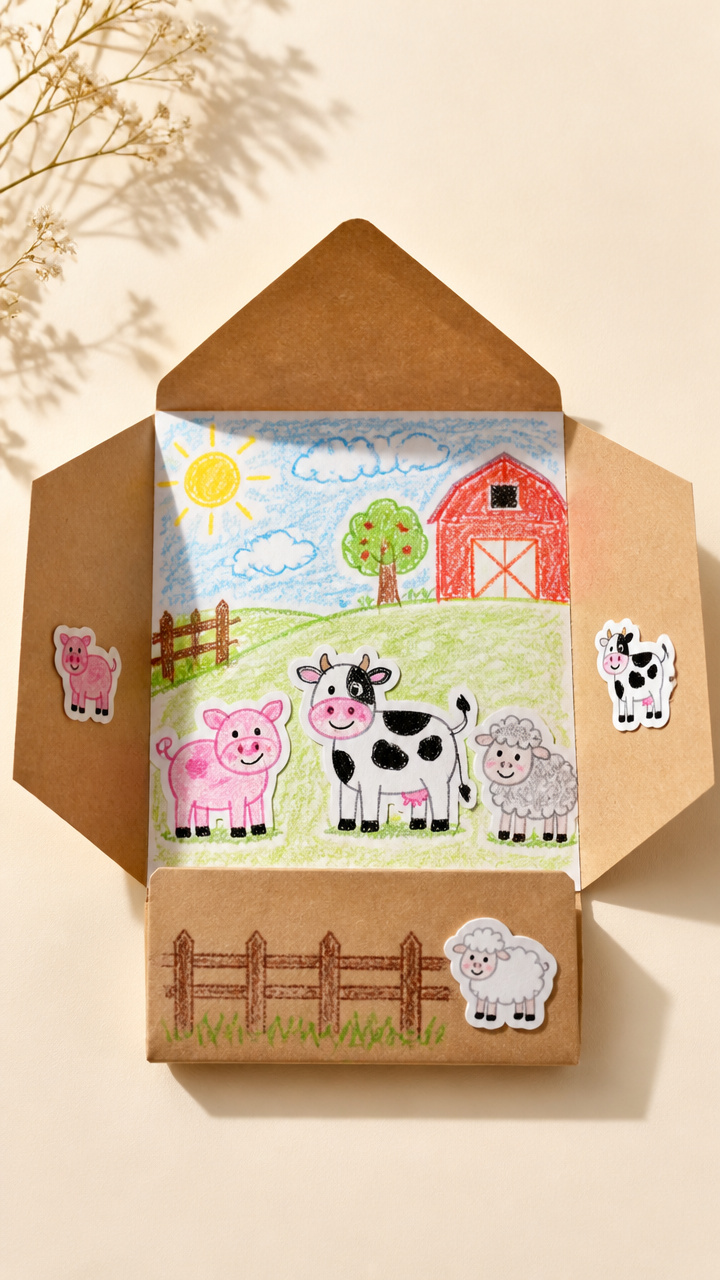
Lift-the-flap cards reveal a cow, pig, and sheep behind barn doors. Surprise openings build narrative fun.
Materials Needed
- Brown envelope (9×12 inch)
- Crayons (black, pink, gray)
- Scissors
- Glue stick
- Animal stickers (farm set)
How to Make It
- Cut the envelope flap off and glue it upright on the front like a barn door, leaving the bottom edge unglued so it can lift.
- Draw a barn shape around the flap with black crayon, adding windows and a roof with overlapping lines.
- Stick one animal behind each flap and label the door with its name in large letters using pink or gray crayon.


10. Fizzy Foam Letters
Baking soda and glue create puffy F letters that fizz when painted with vinegar. A science-sensory hybrid craft.
Materials Needed
- Baking soda (1/4 cup)
- White school glue (1/4 cup)
- Mixing bowl
- Popsicle stick
- Spray bottle with vinegar
- Food coloring (blue, 5 drops)
How to Make It
- Mix glue and baking soda in the bowl with the popsicle stick until smooth and thick like frosting.
- Spread the mixture into the shape of a capital F on wax paper, about 4 inches tall, and let dry 2 hours.
- Add 5 drops of food coloring to the vinegar in the spray bottle and spritz the dry F to watch it bubble and change color.


11. Fork-Printed Forest
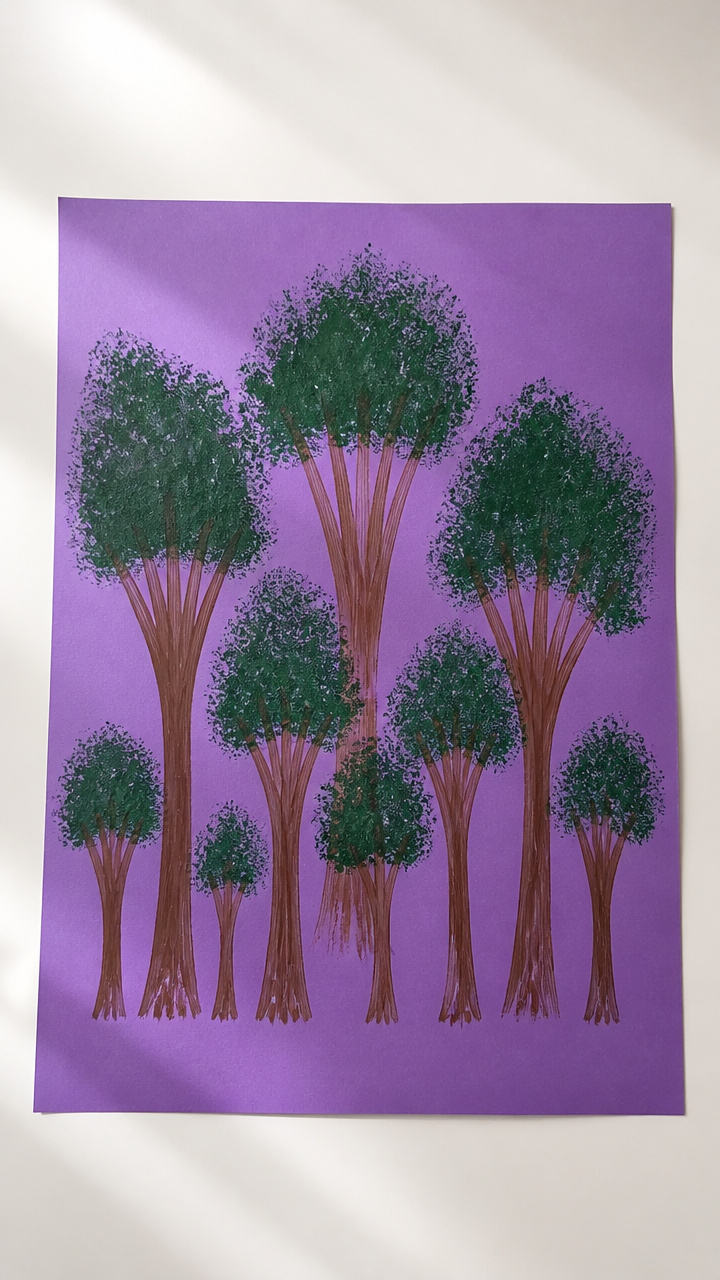
Dipped forks stamp textured tree trunks across a twilight scene. A clever tool substitution makes art accessible.
Materials Needed
- Brown tempera paint (3 tablespoons)
- Large fork
- Dark green sponge (3×4 inch)
- A4 purple construction paper
- Round stencil (2 inch diameter)
How to Make It
- Dip the fork tines into brown paint and press vertically into the paper to make five tree trunks across the bottom third.
- Dab the sponge in dark green paint and stamp round treetops above each trunk, overlapping slightly.
- Use the stencil and white crayon to trace a full moon near the top corner before the paint dries.


12. Flamingo Toilet Paper Roll
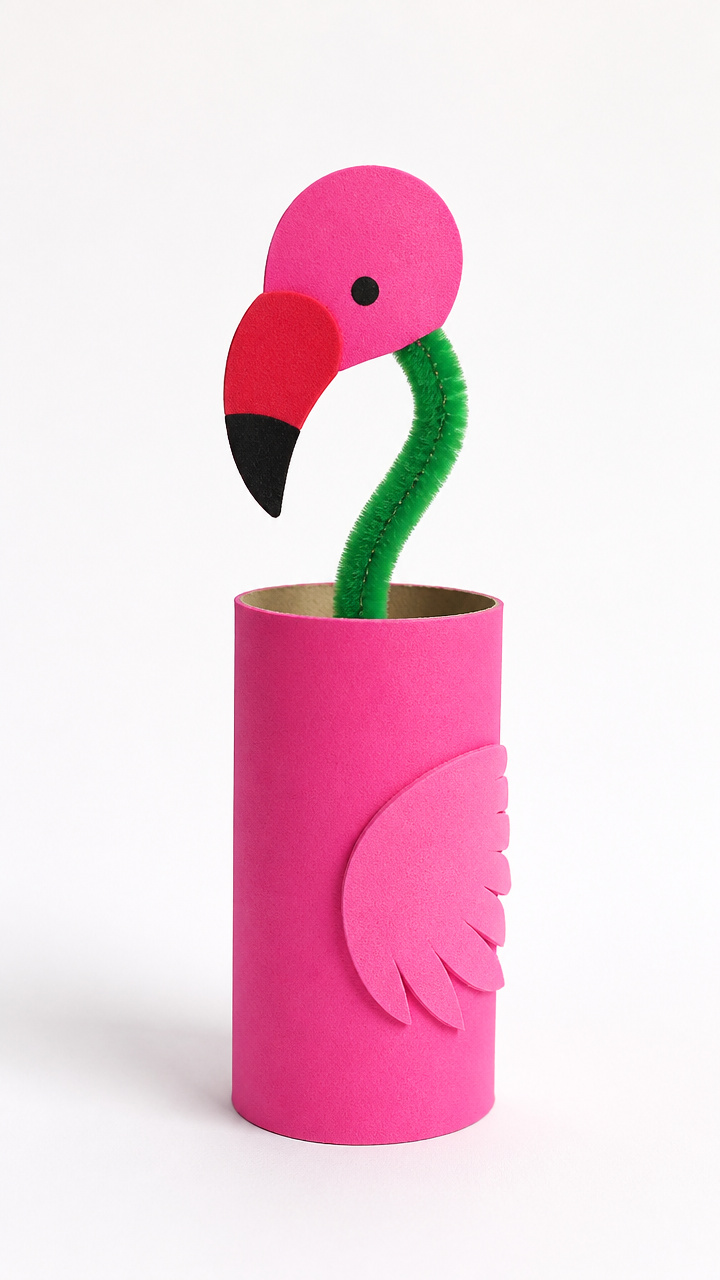
A pink-painted roll bird stands on a bent pipe cleaner leg. Balance practice meets imaginative play.
Materials Needed
- Empty toilet paper roll
- Pink acrylic paint (2 tablespoons)
- Paintbrush (1 inch wide)
- Red craft foam scrap
- Bent green pipe cleaner (3 inches)
- Glue dot
How to Make It
- Paint the entire roll with pink acrylic using the brush and let dry flat for 20 minutes.
- Cut a heart shape from red foam for the flamingo head and neck, then tuck the top into the roll opening.
- Slide the bent pipe cleaner under the roll and secure with a glue dot on each side to form standing legs.


13. Felt Food Basket
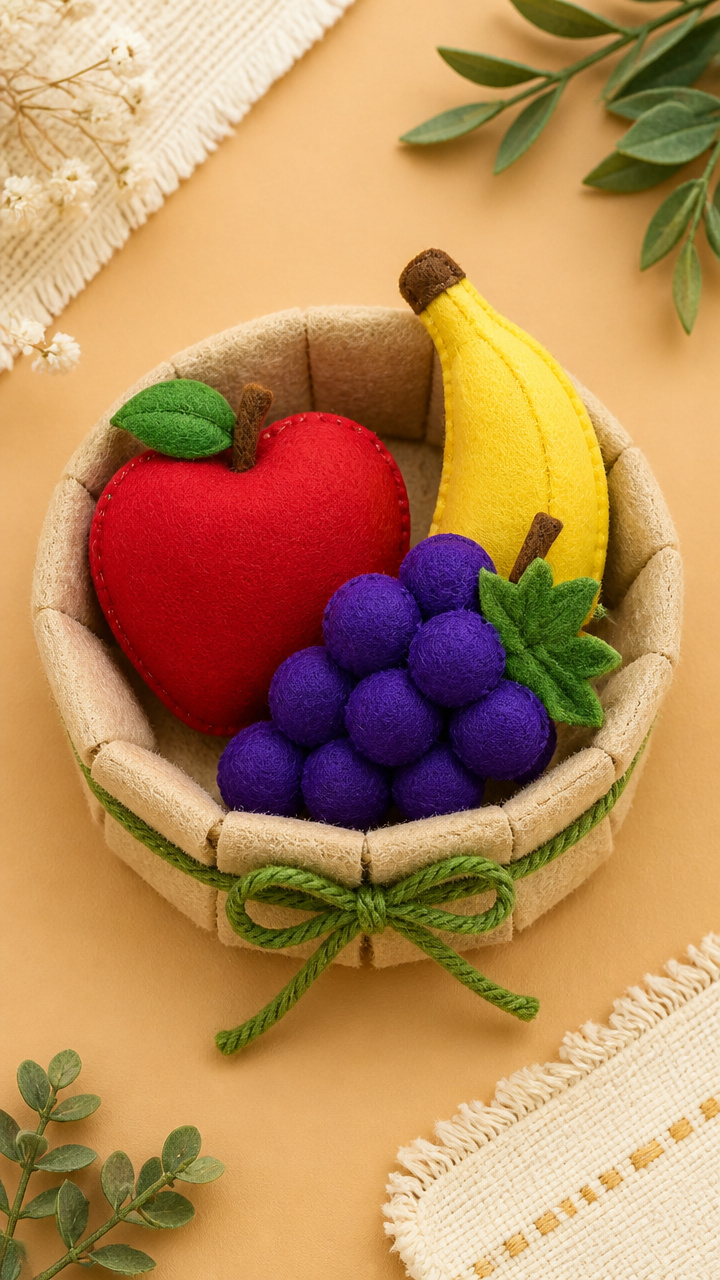
Hand-stitched fruits nestle in a woven pocket basket. Builds pincer grip and food vocabulary together.
Materials Needed
- Beige fabric scrap (6×8 inch)
- Felt scraps (red apple, yellow banana, purple grape cluster)
- Yarn needle
- Green yarn (12 inches)
- Fabric glue
How to Make It
- Fold the beige fabric in half and glue the sides up 4 inches, leaving the top open to form a pouch.
- Weave the green yarn horizontally through the top edge using the yarn needle to create a basket rim.
- Glue each felt fruit inside the basket and let dry 10 minutes before handling.


14. Floating Feather Boats
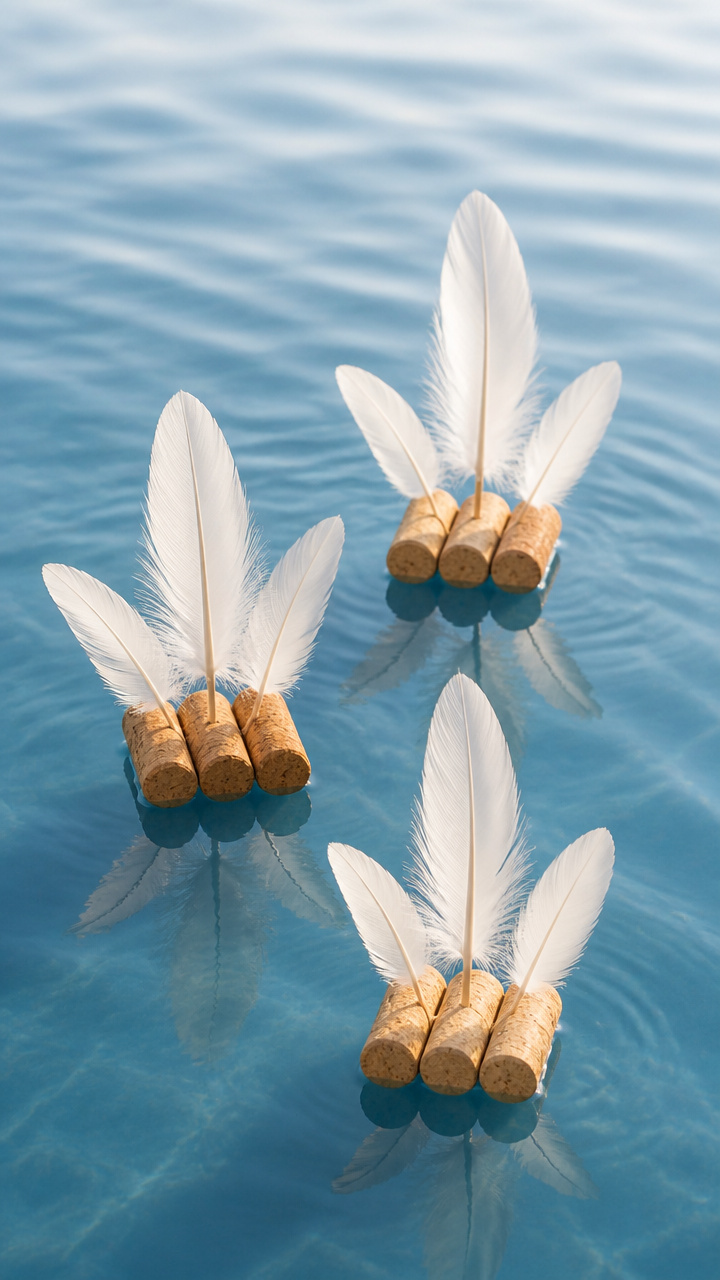
Corks sail with feather sails glued to mast sticks. Test them in a tub or display on a shelf.
Materials Needed
- Wine corks (3 pieces)
- Craft feathers (white, 3 inches long)
- Toothpicks (3 pieces)
- Hot glue gun
- Blue tray of water
How to Make It
- Push a toothpick upright into the center of each cork to form a mast.
- Glue the quill end of a feather to the top of each toothpick and hold for 10 seconds until set.
- Place each boat in the water tray to see if it floats upright, adjusting feather size if needed.


15. Foil-Stamped Footprints
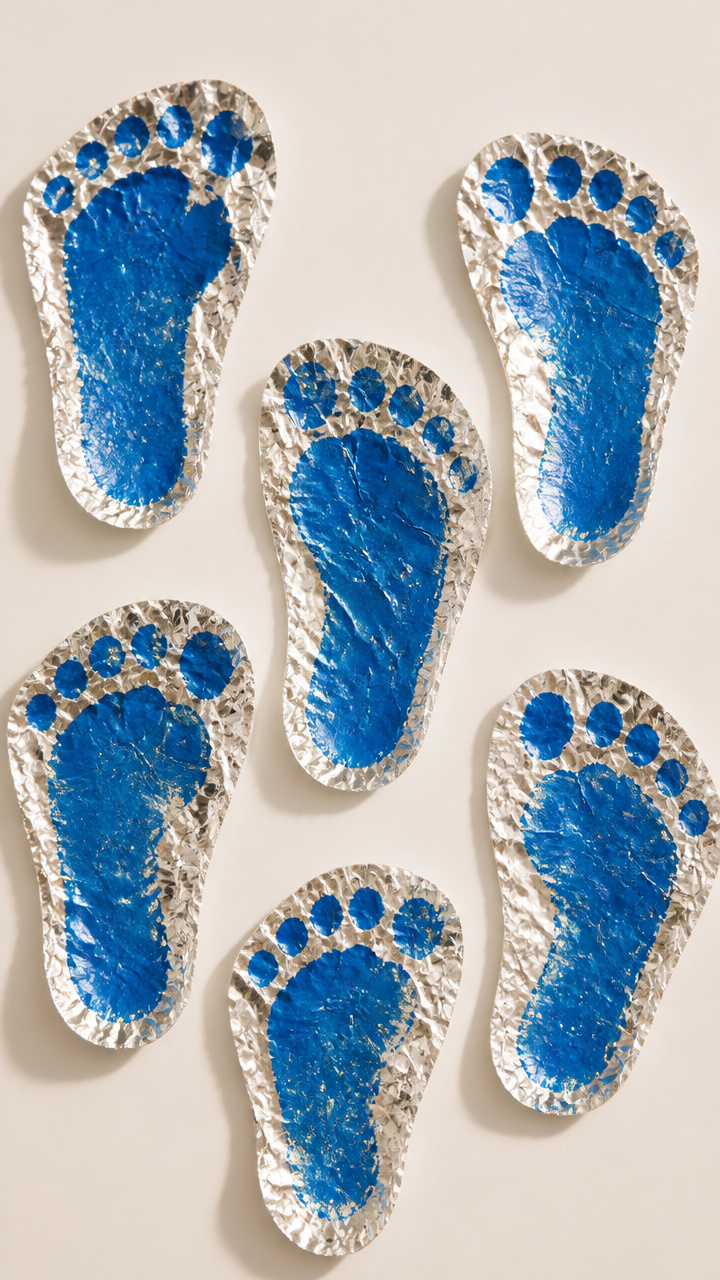
Bare feet step into paint and stamp a foil path across paper. A giggle-filled activity with shiny results.
Materials Needed
- Aluminum foil (12×18 inch sheet)
- Blue washable paint (1/4 cup)
- Shallow tray
- Paper towel
- Baby wipe
How to Make It
- Lay the foil shiny side up on a table and pour paint into the tray, placing it nearby.
- Have your child step into the paint, then walk across the foil leaving two footprints.
- Blot excess paint with the paper towel, then clean feet immediately with the baby wipe.


You’ve got everything you need to turn a simple letter into joyful moments. Grab your supplies and let the little hands lead the way.