15 Quick Valentine’s Day Crafts to Make at Home

Red paper hearts flutter on windows, handmade cards carry secret messages, and tiny gifts wrapped in ribbon appear on pillows. These small gestures fill a home with warmth and intention, turning an ordinary week into something tender and memorable.
You don’t need hours or a craft room to make meaningful keepsakes. With just a few supplies you likely already have, you can create thoughtful pieces that celebrate love in all its quiet, joyful forms.
1. Fingerprint Heart Magnets
Easy
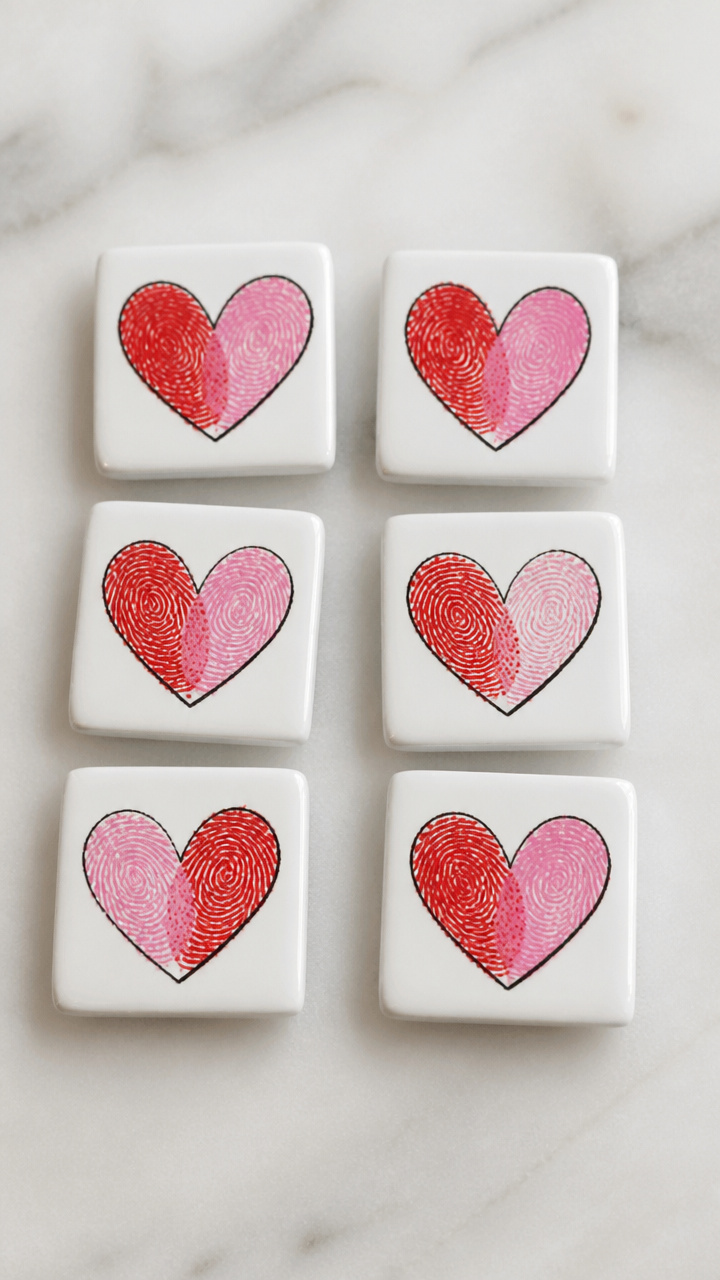
Tiny keepsakes made from your actual touch, these magnets turn smudges of paint into lasting symbols of affection. They stick to fridges, lockers, or any metal surface where a little love is needed.
Materials Needed
- White ceramic tile magnets (1 inch square), 6 pieces
- Red acrylic paint, 2 tablespoons
- Pink acrylic paint, 1 tablespoon
- Fine black paint pen
- Small foam brush
- Paper plate
How to Make It
- Pour red and pink acrylic paint onto the paper plate and mix slightly for a marbled effect.
- Press your thumb gently into the paint, then press it onto the center of each magnet tile to form a heart shape with two fingerprint curves at the top.
- Let the paint dry completely for 20 minutes.
- Use the fine black paint pen to draw a small stem and two leaves beneath each heart.
2. Tissue Paper Lanterns
Moderate
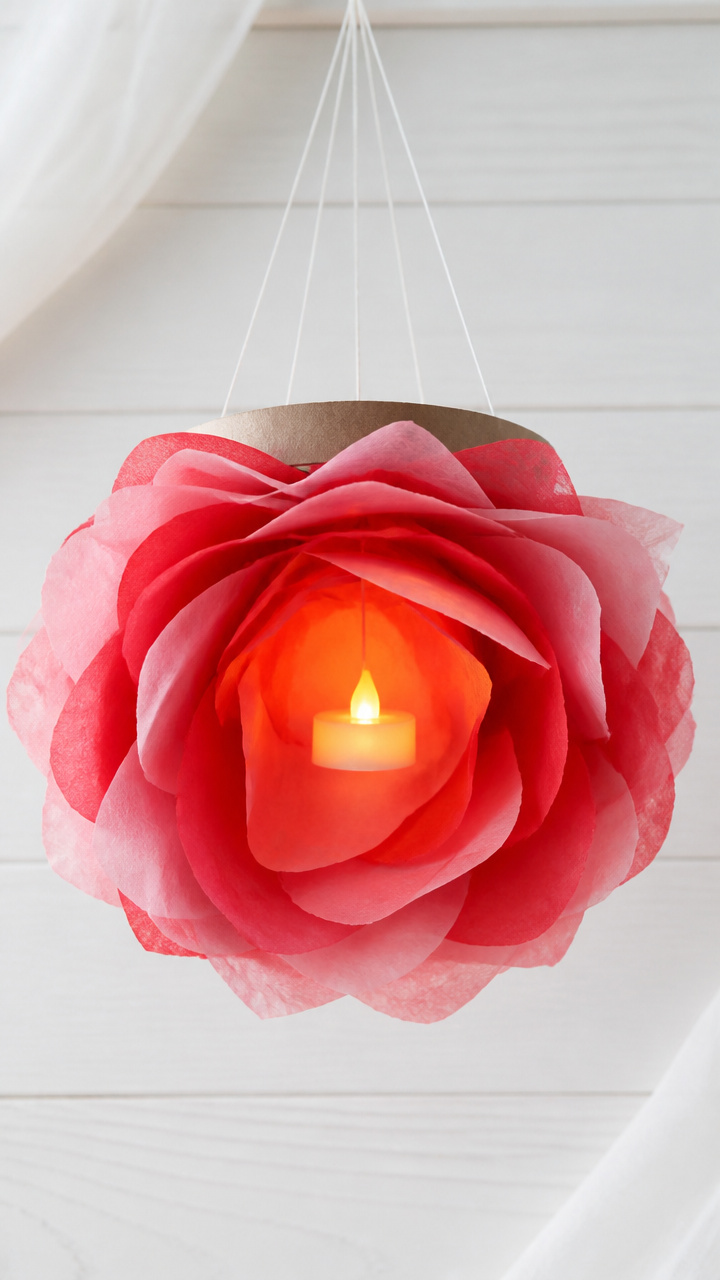
Soft glowing light filters through layered petals of colored tissue, creating a gentle ambiance perfect for a cozy dinner or bedroom corner. The delicate folds mimic blooming roses.
Materials Needed
- Red tissue paper, 10 sheets (20 x 20 inches)
- Pink tissue paper, 10 sheets (20 x 20 inches)
- Scissors
- Glue stick
- Cardboard ring (4 inch inner diameter)
- Tealight LED candle
How to Make It
- Stack five red and five pink tissue sheets together and fold them in an accordion pattern, 1 inch wide, across the 20-inch side.
- Cut the folded stack into a rounded petal shape at both ends using scissors.
- Unfold the accordion and gently separate each layer to form a full fan.
- Glue the ends of the fan together to form a circle and attach it evenly around the cardboard ring.
- Place the tealight LED candle inside the ring before adding a second identical tissue circle on the opposite side.
3. Cinnamon-Apple Simmer Potpourri
Easy
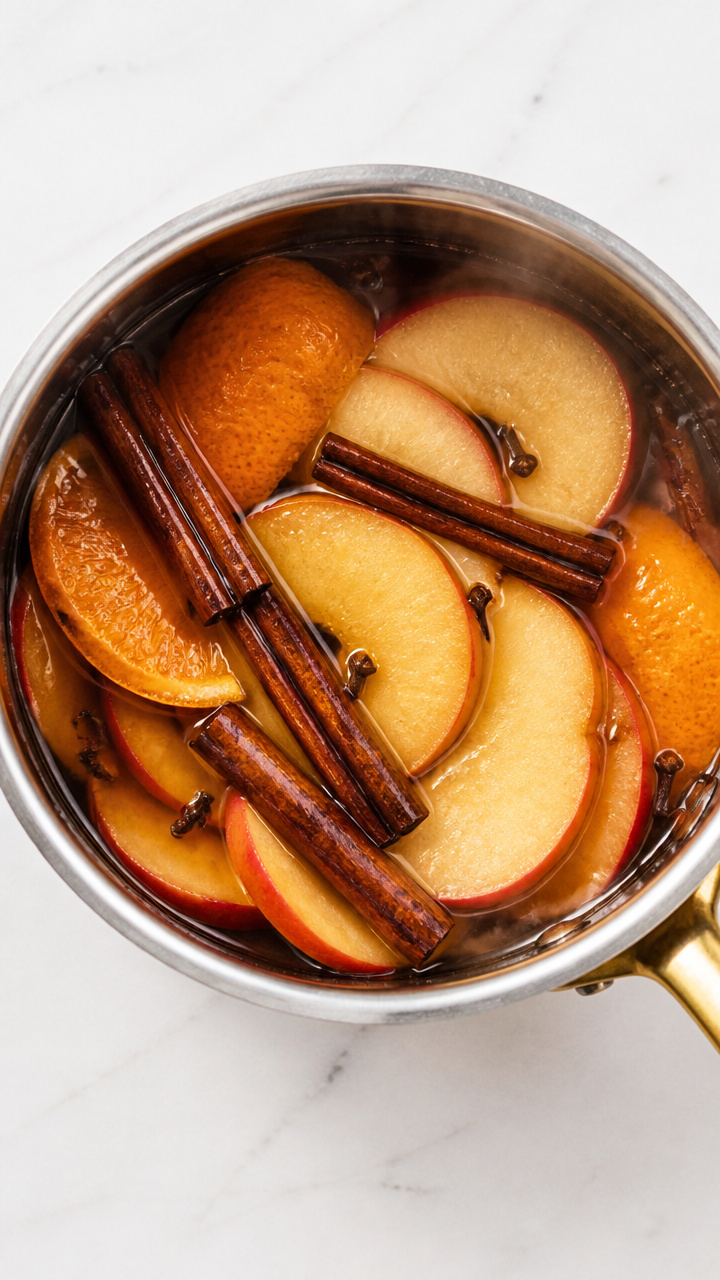
A bubbling pot fills your kitchen with the scent of spiced apples and warmth, welcoming everyone who walks through the door. This aromatic blend doubles as a natural air freshener.
Materials Needed
- Apple slices (dried or fresh), 1 cup
- Ground cinnamon, 2 tablespoons
- Whole cloves, 1 tablespoon
- Orange peel strips, 1/2 cup
- Water, 4 cups
- Small saucepan
How to Make It
- Combine apple slices, cinnamon, cloves, orange peels, and water in the saucepan.
- Bring the mixture to a simmer over medium heat, then reduce to low and let it bubble gently for at least one hour.
- Stir once every 20 minutes and add more water if the level drops below half.
4. Heart-Shaped Bath Bombs
Moderate
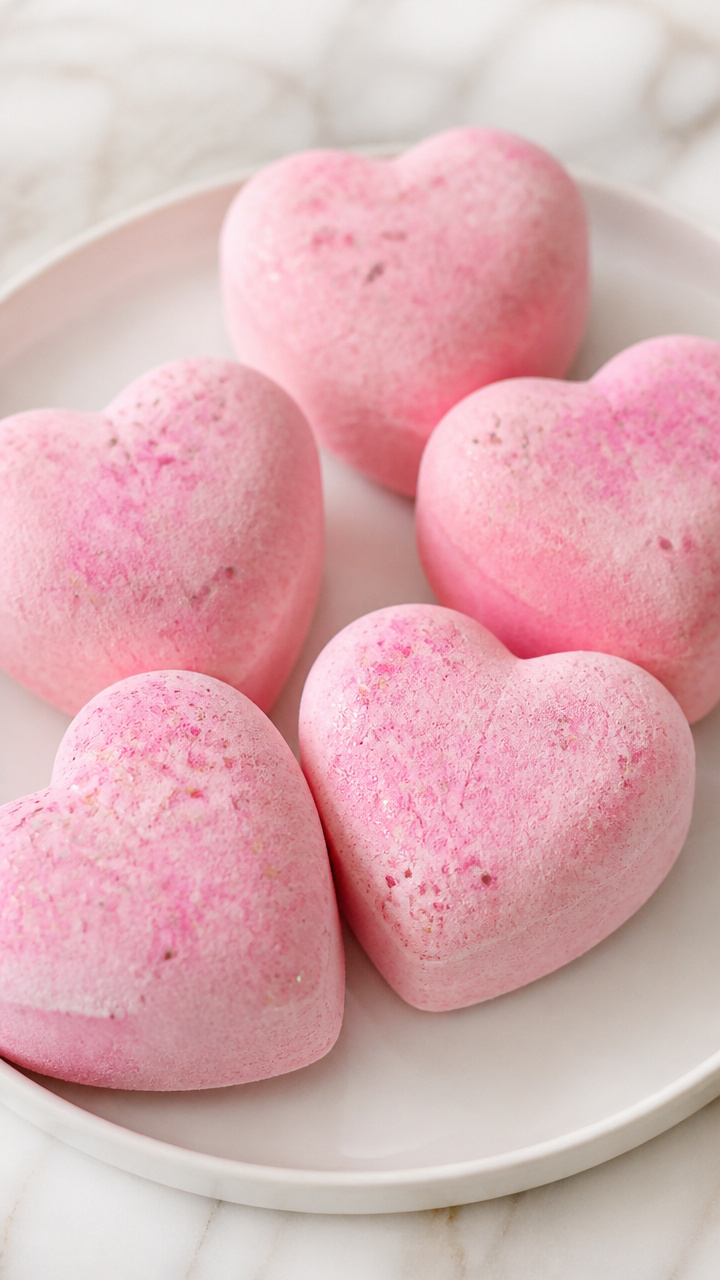
Fizzy spheres that dissolve in warm water, releasing citrusy sweetness and soft color. Each one fits perfectly in the palm and makes bath time feel like a treat.
Materials Needed
- Baking soda, 1 cup
- Citric acid, 1/2 cup
- Cornstarch, 1/2 cup
- Epsom salt, 1/4 cup
- Coconut oil, 2 tablespoons (melted)
- Red liquid food coloring, 10 drops
- Lavender essential oil, 10 drops
- Silicone heart mold (2 inch), 1 piece
- Spray bottle with water
How to Make It
- In a large bowl, whisk together baking soda, citric acid, cornstarch, and Epsom salt until no lumps remain.
- In a separate small bowl, mix melted coconut oil, food coloring, and lavender essential oil.
- Slowly drizzle the wet mixture into the dry ingredients while stirring constantly to avoid early fizzing.
- Mist the mixture lightly with water from the spray bottle until it holds shape when squeezed in your hand.
- Press the mixture firmly into both halves of the silicone heart mold, overfill slightly, then clamp shut and let sit for 4 hours before unmolding.
5. Embroidered Pocket Pillow
Advanced
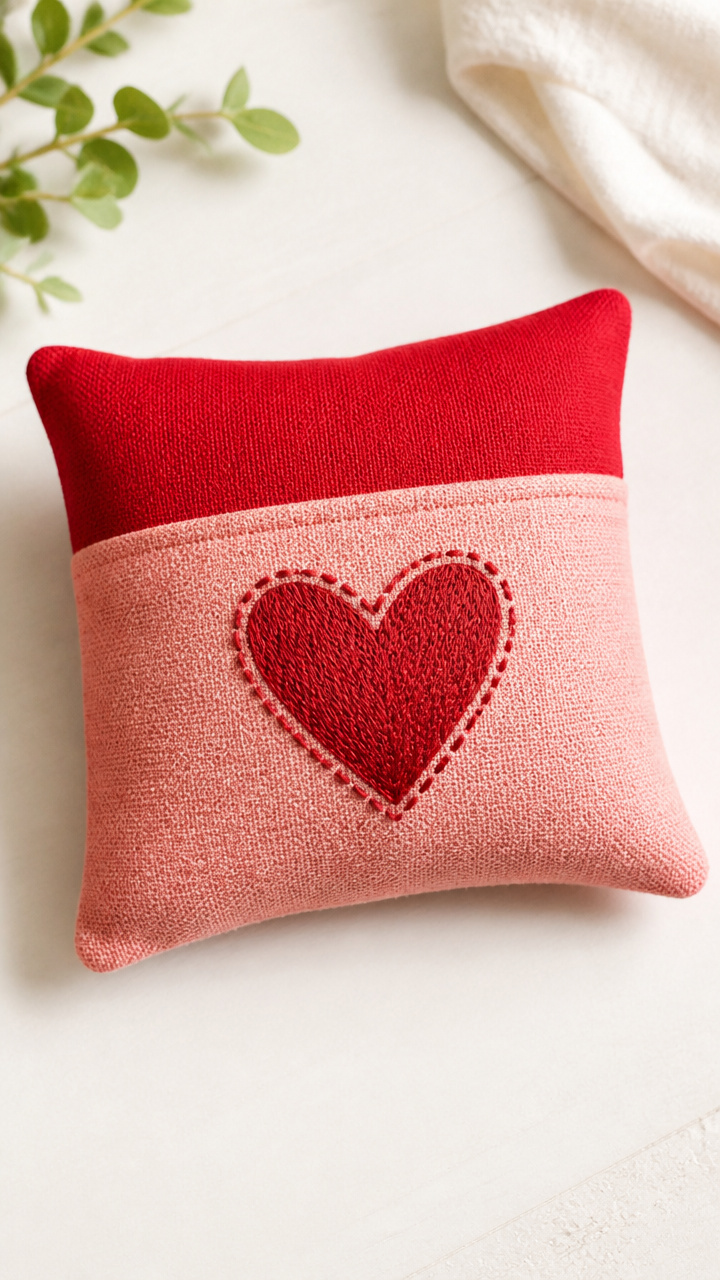
A small fabric pouch stitched with a single red thread heart, soft enough to hold in your hand or tuck into a drawer. The slight texture of embroidery adds quiet detail.
Materials Needed
- Red cotton fabric, 7 x 7 inches
- Pink cotton fabric, 7 x 7 inches
- Embroidery floss (red), 1 strand
- Embroidery needle
- Scissors
- Polyester fiberfill, 1/2 cup
- Straight pins
- Sewing machine with matching red thread
How to Make It
- Place the red fabric on top of the pink fabric, right sides facing, and pin around the edges.
- Using the sewing machine, stitch a 1/4 inch seam around three sides, leaving one side open.
- Turn the fabric right side out and push out the corners gently with a pencil.
- Thread the embroidery needle with one strand of red floss and knot the end.
- Stitch a simple heart in the center using backstitch, about 2 inches tall.
- Fill the pillow with fiberfill through the open side, then hand-stitch the opening closed with a ladder stitch.
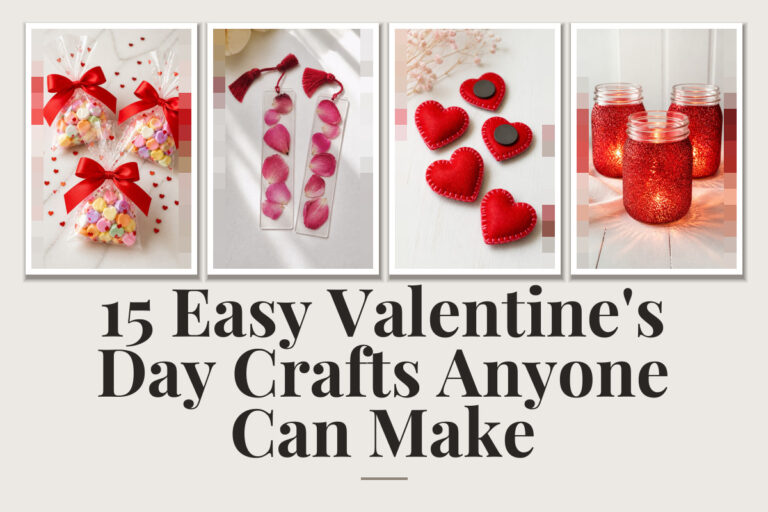
6. Pressed Flower Bookmarks
Easy
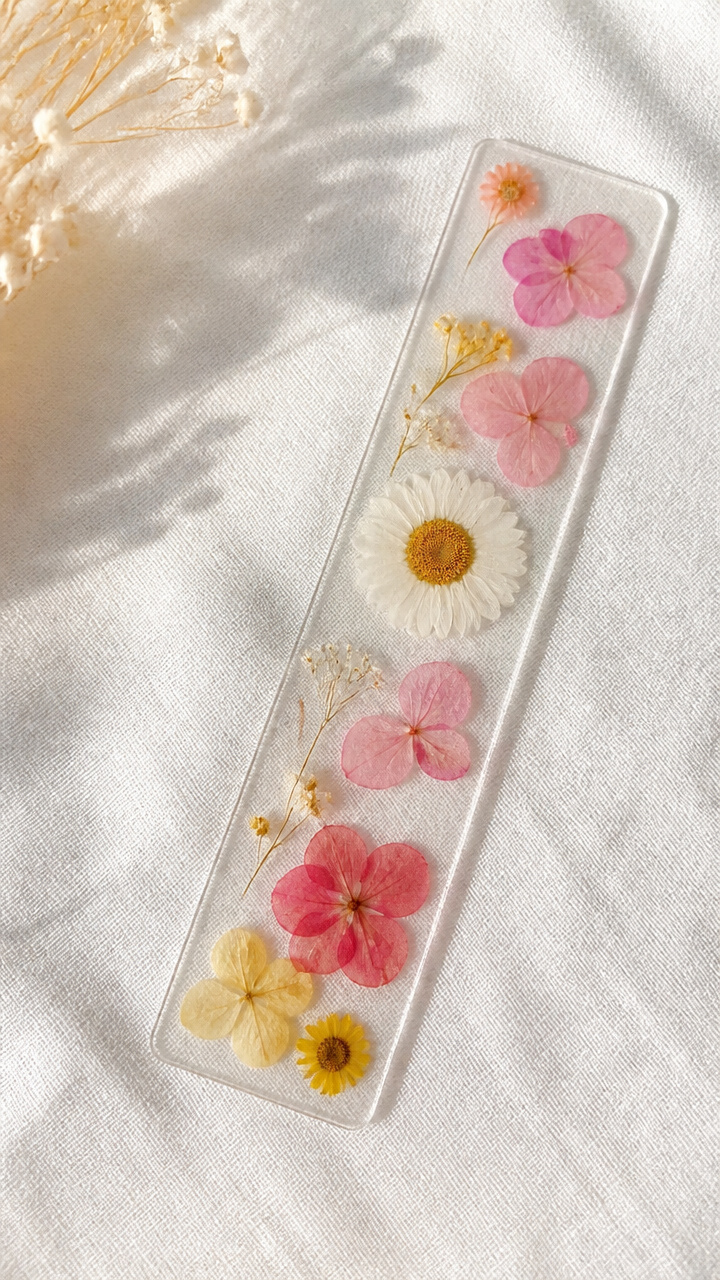
Delicate blooms sealed between layers of clear contact paper, ready to mark pages in journals or novels. Each one carries the fragile beauty of real petals.
Materials Needed
- Dried pressed flowers (small, flat varieties), 3 sets
- Clear self-adhesive contact paper, 8.5 x 11 inch sheet
- Scissors
- Ruler
- Pencil
How to Make It
- Cut the contact paper sheet in half lengthwise using scissors and ruler to make two 4.25 x 11 inch strips.
- Peel the backing from one strip and lay it sticky-side up on a flat surface.
- Arrange one set of pressed flowers in a vertical line down the center of the sticky surface.
- Carefully place the second strip on top, aligning the edges exactly, and press down smoothly from the center outward to remove air bubbles.
7. Salt Dough Ornaments
Moderate
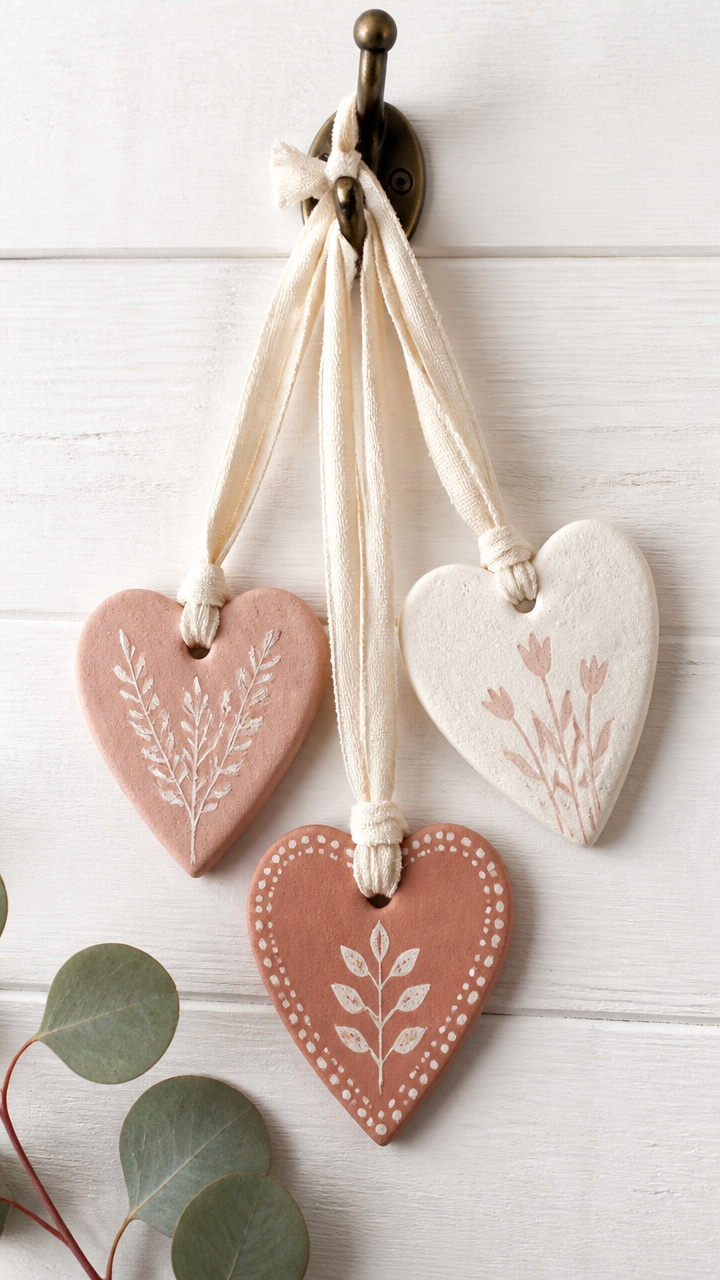
Simple shapes baked firm and painted with care, these ornaments dangle from ribbons on doorknobs or trees. They’re rustic, personal, and keep for years.
Materials Needed
- All-purpose flour, 1 cup
- Table salt, 1/2 cup
- Water, 1/2 cup
- Mixing bowl
- Rolling pin
- Heart-shaped cookie cutter (3 inch)
- Straw
- Baking sheet
- Parchment paper
- Red acrylic paint
- Fine paintbrush
- Red satin ribbon, 12 inches
How to Make It
- In the mixing bowl, combine flour, salt, and water. Stir with your hands until a smooth dough forms.
- Roll the dough to 1/4 inch thickness on a clean surface and cut out three hearts using the cookie cutter.
- Push a straw through the top edge of each heart to create a hanging hole.
- Place the hearts on the parchment-lined baking sheet and bake at 200°F for 3 hours until hard and dry.
- Paint each ornament with red acrylic paint using the fine brush and let dry for 30 minutes.
- Thread the ribbon through the hole and tie a loop for hanging.
8. Washi Tape Gift Boxes
Easy
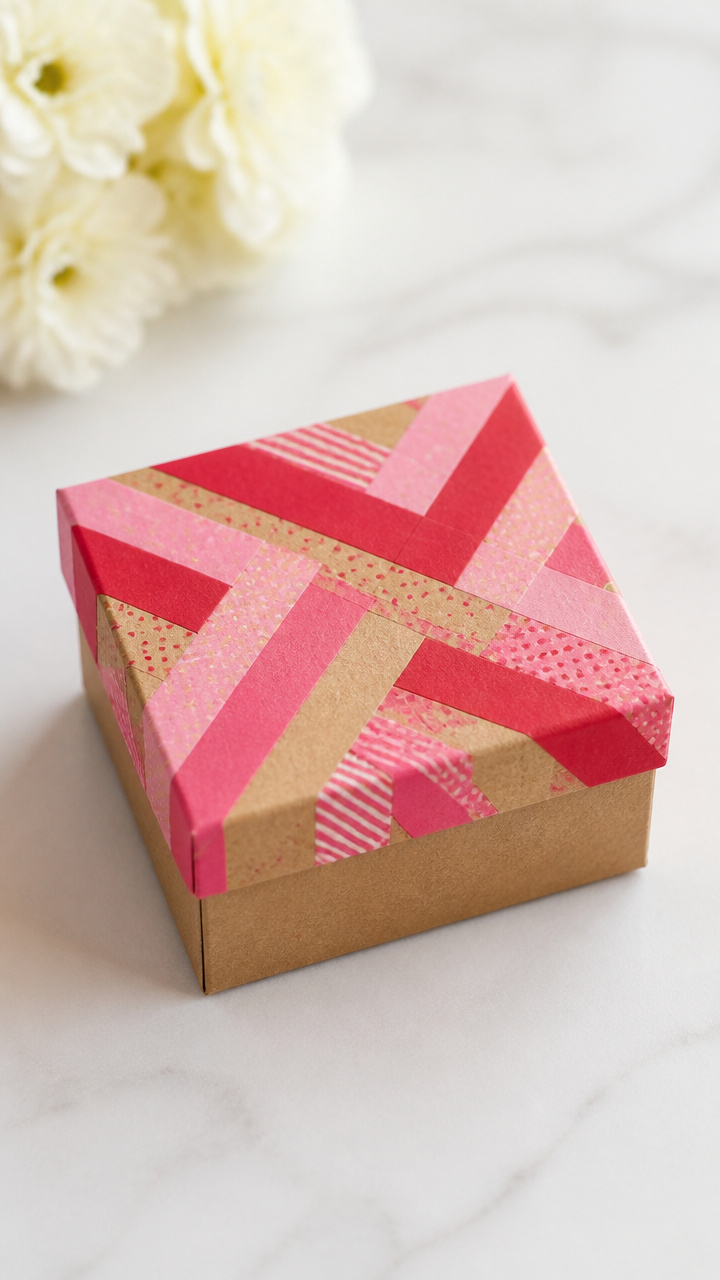
Plain cardboard boxes transformed with bright stripes and geometric patterns, ideal for holding chocolates or handwritten notes. The tape adds instant color without mess.
Materials Needed
- Small kraft gift box with lid (4 x 4 x 2 inches), 1 set
- Red washi tape (1/2 inch wide), 1 roll
- Pink washi tape (1/2 inch wide), 1 roll
- Scissors
How to Make It
- Cut six 4-inch strips of red washi tape and apply them vertically on the box base, spacing them evenly apart.
- Add pink washi tape strips horizontally across the box, overlapping the red to form a grid.
- Repeat the same pattern on the lid using alternating tape order for contrast.
- Trim excess tape at the edges with scissors for a clean finish.
9. Hand-Stamped Tea Towels
Moderate
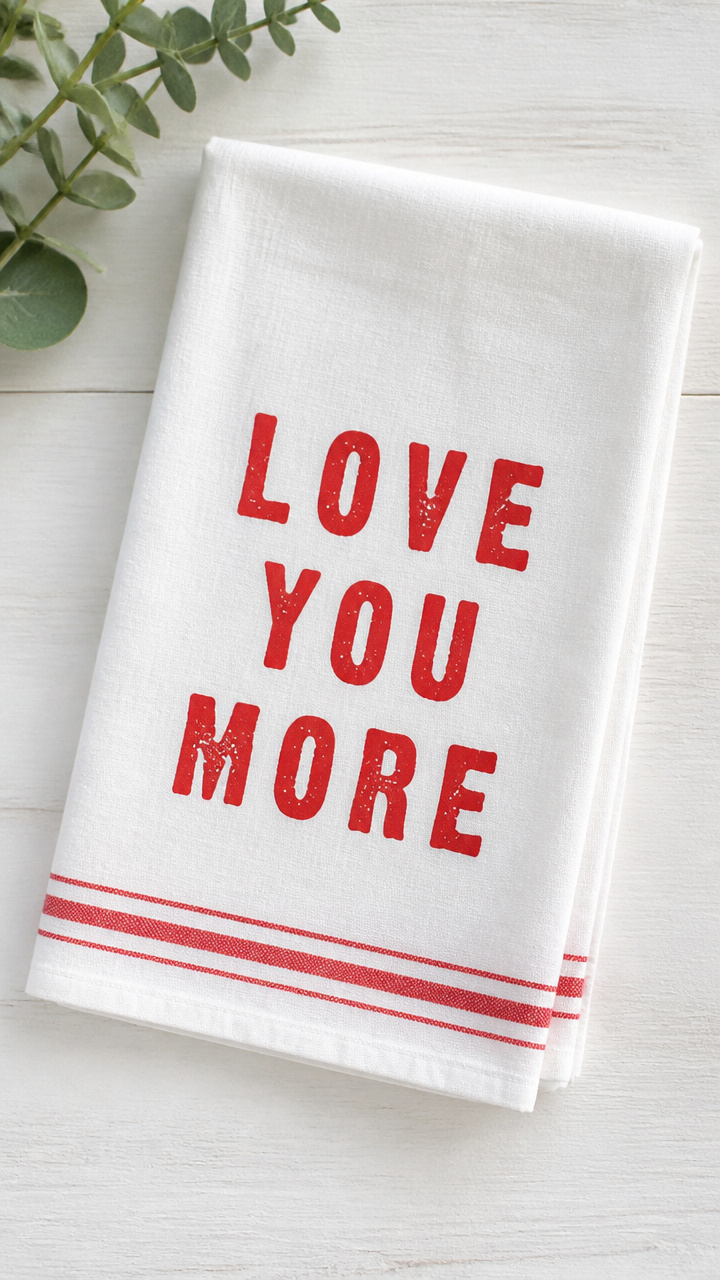
Cotton towels marked with bold block-letter messages like 'Love You' or 'Be Mine', useful and heartfelt. The stamping process gives a handmade print studio look.
Materials Needed
- Plain white cotton tea towel, 1 piece
- Red fabric ink pad
- Rubber alphabet stamps (1/2 inch high)
- Acrylic block (2 x 3 inches)
- Ruler
- Pencil
- Iron
How to Make It
- Lay the tea towel flat and use pencil and ruler to lightly mark a center line 6 inches from the bottom hem.
- Choose letter stamps to spell a short phrase and arrange them backward on the acrylic block.
- Press the stamp set firmly into the red fabric ink pad, then transfer the image straight down onto the towel along the marked line.
- Repeat stamping for additional lines if desired, allowing 1 inch between rows.
- Let the ink dry for 24 hours, then heat-set by ironing the stamped area on high for 3 minutes.
10. Photo String Lights
Easy
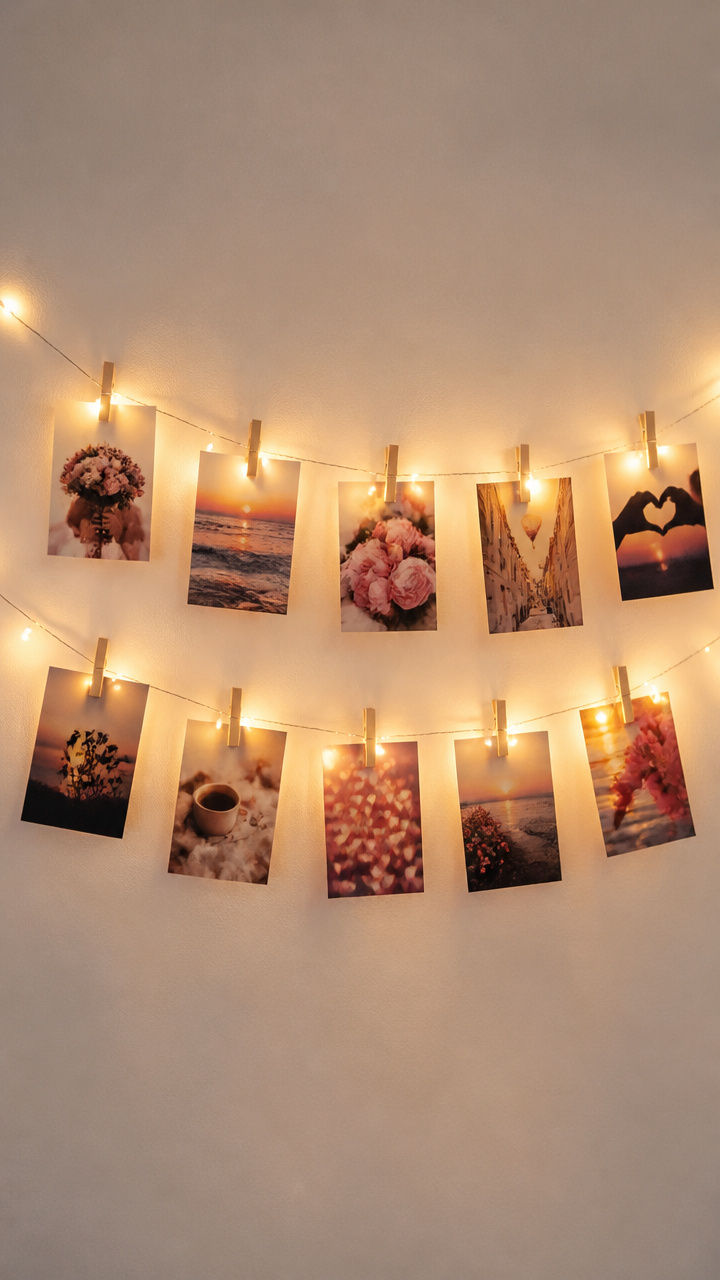
Tiny clothespins clip favorite snapshots to a string of fairy lights, glowing softly behind smiling faces. It turns memories into ambient decoration.
Materials Needed
- Fairy lights (battery-operated, 10 bulbs), 1 strand
- Mini wooden clothespins, 10 pieces
- Printed photos (2 x 3 inches), 10 pieces
- Scissors
How to Make It
- Cut each photo to fit the clothespin jaws, trimming slightly if needed with scissors.
- Open each clothespin and clip one photo to it, oriented vertically.
- Attach the first clothespin to the wire near the battery pack, letting the photo hang freely.
- Space the remaining photo clips evenly along the strand, about 6 inches apart.
11. Yarn-Wrapped Heart Coasters
Moderate
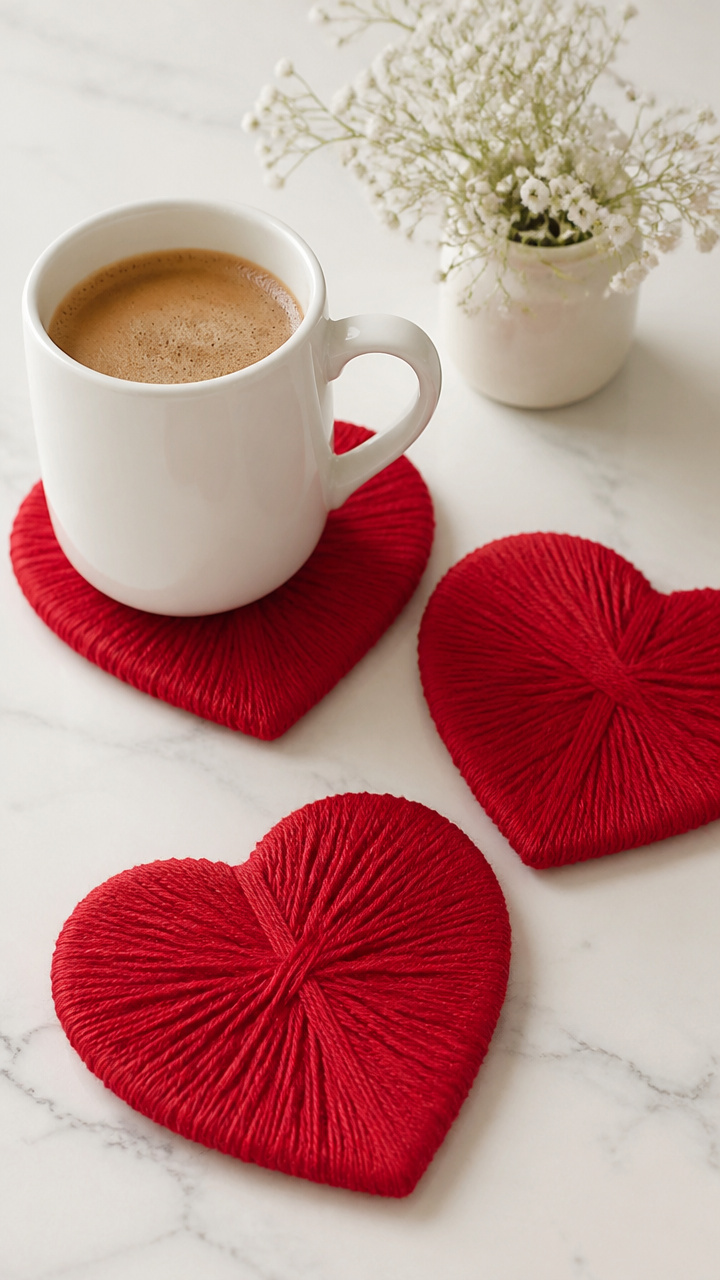
Stiff cardboard hearts wrapped tightly in plush red yarn, soft under coffee mugs and easy to wipe clean. The dense wrapping creates a satisfying tactile surface.
Materials Needed
- Cardboard, 8 x 8 inches
- Craft knife
- Ruler
- Pencil
- Red yarn (medium weight), 1 ball
- Hot glue gun
- Hot glue sticks, 1 pack
- Scissors
How to Make It
- Draw a 4-inch heart shape on the cardboard and cut it out using the craft knife and ruler for clean edges.
- Make a second identical heart and glue the two layers together with hot glue around the edge.
- Put a dot of hot glue near the edge of one face and press the yarn end to it, holding 10 seconds.
- Wrap the yarn tightly around the coaster, covering the surface completely, adding a drop of hot glue every inch to secure the path.
- When the surface is fully covered, cut the yarn and glue the end in place, then trim excess.
12. Chocolate-Dipped Spoon Treats
Easy
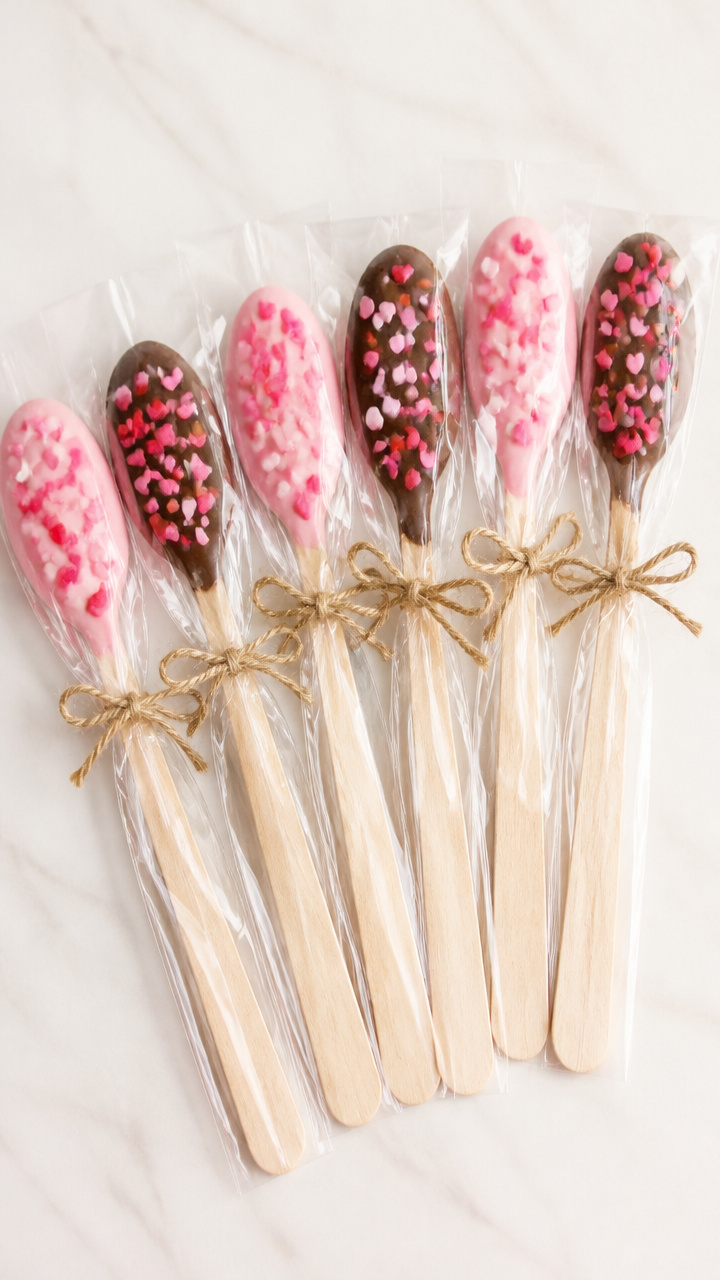
Wooden spoons coated in smooth chocolate and sprinkled with festive bits, ready to swirl into warm milk. They’re edible gifts wrapped in cellophane.
Materials Needed
- Unfinished wooden spoons, 6 pieces
- Dark chocolate chips, 1 cup
- Pink candy melts, 1/2 cup
- Double boiler
- Valentine sprinkles (heart-shaped), 2 tablespoons
- Cellophane treat bags, 6 pieces
- Ribbon (red), 36 inches total
How to Make It
- Place dark chocolate chips in the top of the double boiler and heat over simmering water, stirring until fully melted.
- Dip the spoon bowl into the melted chocolate, turning to coat completely, then lift and let excess drip off for 5 seconds.
- While still wet, sprinkle pink hearts over the chocolate and place the spoon on wax paper to set for 15 minutes.
- Melt the pink candy melts and drizzle a thin line across each spoon handle with a spoon.
- Slide each finished spoon into a cellophane bag and tie the top with a 6-inch ribbon.
13. Clay Ring Dishes
Advanced
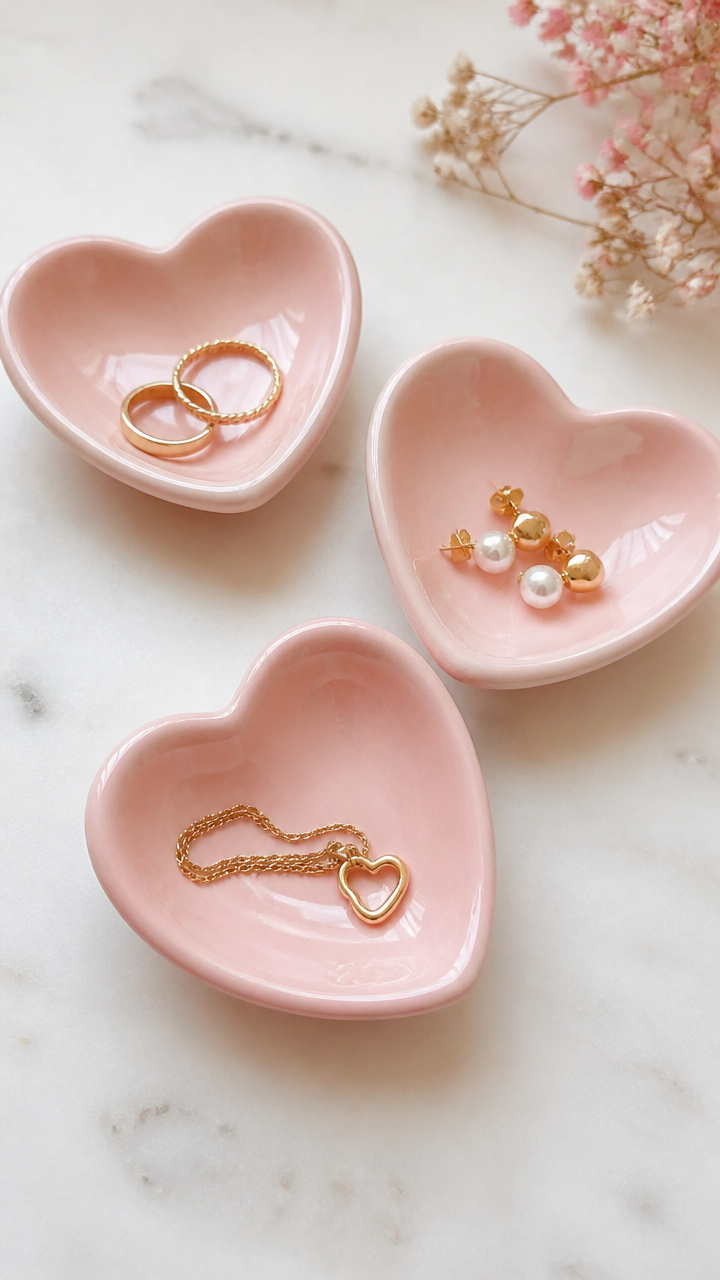
Petite bowls molded by hand to hold earrings or trinkets, glazed in soft pink. Their curved sides cradle small treasures safely.
Materials Needed
- Air-dry polymer clay (pink), 1/4 pound
- Glass jar (3 inch diameter)
- Rolling pin
- Craft knife
- Sandpaper (fine grit)
- Clear acrylic sealer spray
How to Make It
- Roll the clay to 1/8 inch thickness on a clean surface using the rolling pin.
- Place the glass jar upside down and press the clay over the base to form a shallow bowl shape.
- Trim the edge with the craft knife for a smooth rim and let the dish air-dry upright for 24 hours.
- Lightly sand any rough spots with fine-grit sandpaper after drying.
- Spray the entire dish with two light coats of clear acrylic sealer, waiting 10 minutes between coats.
14. Origami Heart Garland
Moderate
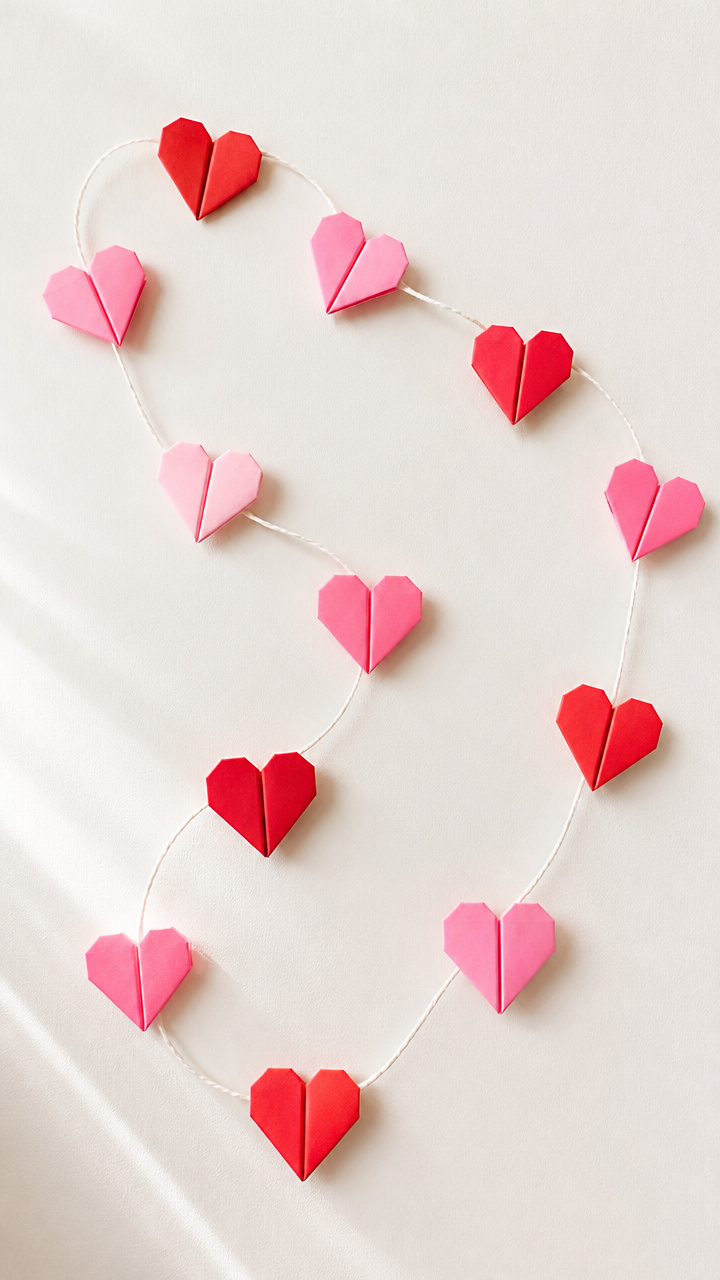
Dozens of tiny folded hearts strung into a fluttering chain, hung above a bed or mantel. The crisp paper folds catch light with every breeze.
Materials Needed
- Red origami paper (6 x 6 inches), 20 sheets
- Pink origami paper (6 x 6 inches), 20 sheets
- Thin white cotton cord, 6 feet
- Tapestry needle
- Glue dot, 1 piece
How to Make It
- Fold each sheet into a traditional origami heart using valley and mountain folds, following standard folding sequence for symmetry.
- Thread the tapestry needle with the cotton cord and push it through the top flap of the first heart, positioning it centered.
- Continue threading hearts, alternating colors, every 3 inches along the cord.
- Secure the end knot with a glue dot to prevent slipping.
15. Personalized Coupon Jar
Easy
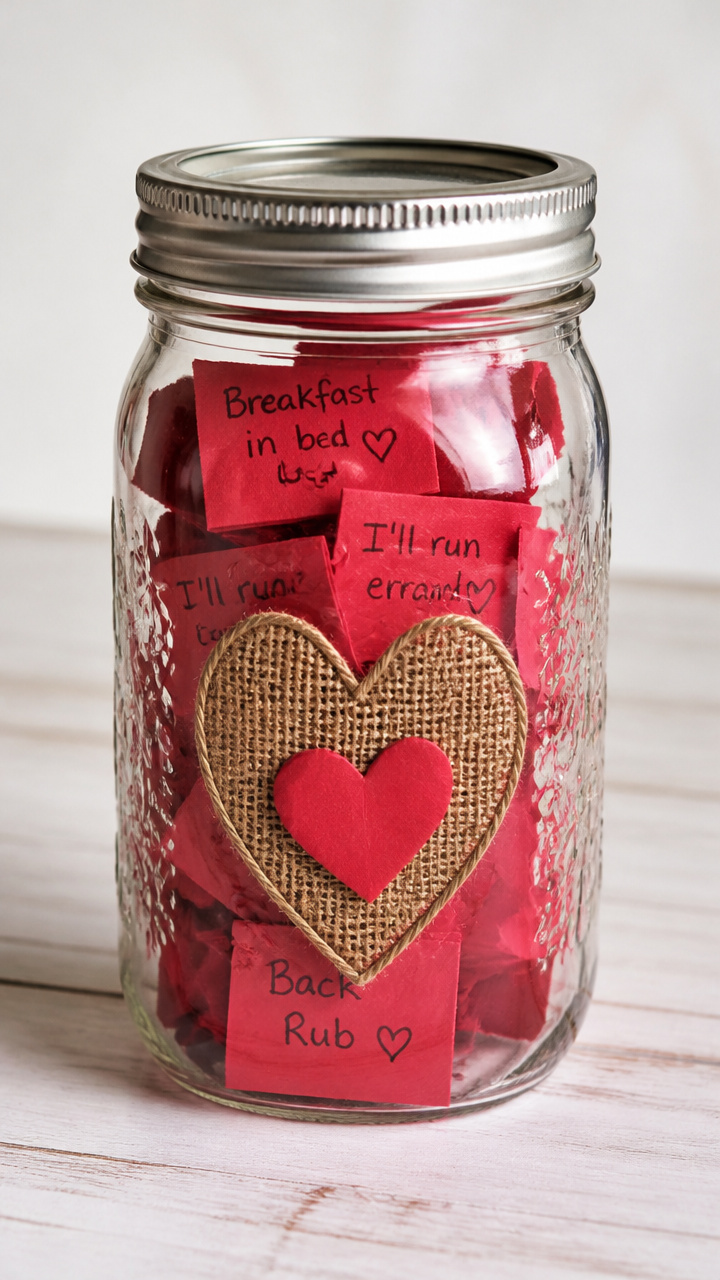
A mason jar filled with hand-cut promises like 'Breakfast in Bed' or 'One Free Hug', redeemable anytime. The slips unfold small acts of kindness.
Materials Needed
- Mason jar with lid (8 oz), 1 piece
- Red construction paper, 2 sheets
- Pencil
- Scissors
- Ruler
- Black gel pen
- Red ribbon, 18 inches
- Glue stick
How to Make It
- Cut the construction paper into 12 rectangles, each 2 x 4 inches, using the ruler and scissors.
- Write a unique favor on each slip with the black gel pen, such as 'Movie Night of Your Choice' or 'Foot Rub'.
- Roll each coupon and place it inside the jar.
- Write 'For You' on the lid with the pen, then glue the ribbon around the rim and tie in a bow.
Each of these crafts carries your attention and care, no matter how simple. Pick one that speaks to you and start creating something beautiful today.