15 Creative Valentine’s Day Crafts for Adults

Soft candlelight flickers across handmade paper hearts, while the scent of dark chocolate lingers in the kitchen from a just-finished treat. These are the moments love lives in — quiet, thoughtful, and made with care.
Skip the crowded stores and generic gifts. This collection brings together crafts that feel personal, intentional, and deeply satisfying to make. Each one is designed for adults who want to give something real, not just something pretty.
1. Pressed Flower Resin Coasters
Moderate
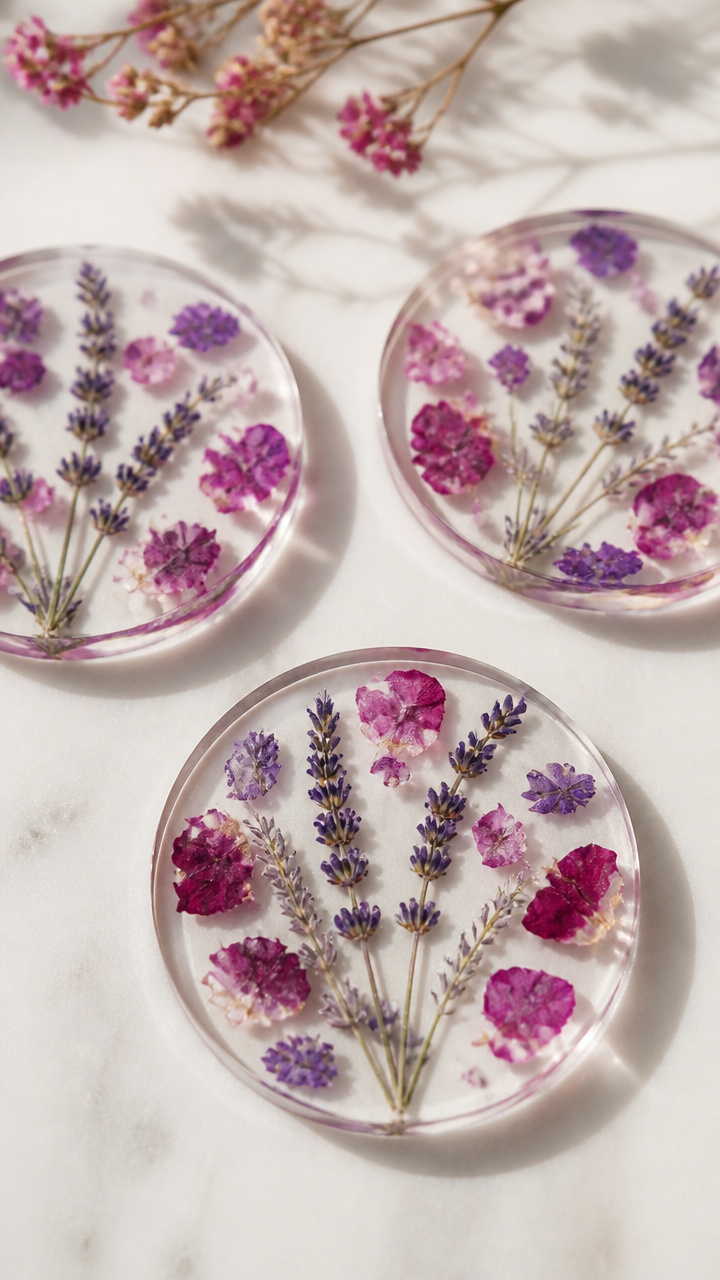
Delicate blooms suspended in glossy resin turn everyday drinks into a moment of beauty. These coasters last for years and carry the quiet elegance of preserved nature.
Materials Needed
- 4 silicone coaster molds (3.5 inch round)
- Epoxy resin kit (8 oz total)
- Dried lavender sprigs (6 small)
- Dried rose petals (10 medium)
- Small mixing cups (2)
- Stir sticks (2)
- Disposable gloves
- Toothpicks
- Isopropyl alcohol spray bottle
How to Make It
- Spray the inside of each mold with isopropyl alcohol and let dry to remove dust.
- Mix the epoxy resin according to package instructions, using one cup for Part A and one for Part B. Stir slowly for 2 minutes to avoid bubbles.
- Pour a thin layer of resin into each mold, filling about one-third full.
- Place 1-2 lavender sprigs and 2 rose petals into each mold using tweezers for placement.
- Slowly pour more resin to fill each mold completely, covering all botanicals.
- Pop any visible bubbles with a toothpick. Let cure undisturbed for 24 hours in a flat, dust-free area.
2. Embroidered Love Letter Art
Moderate
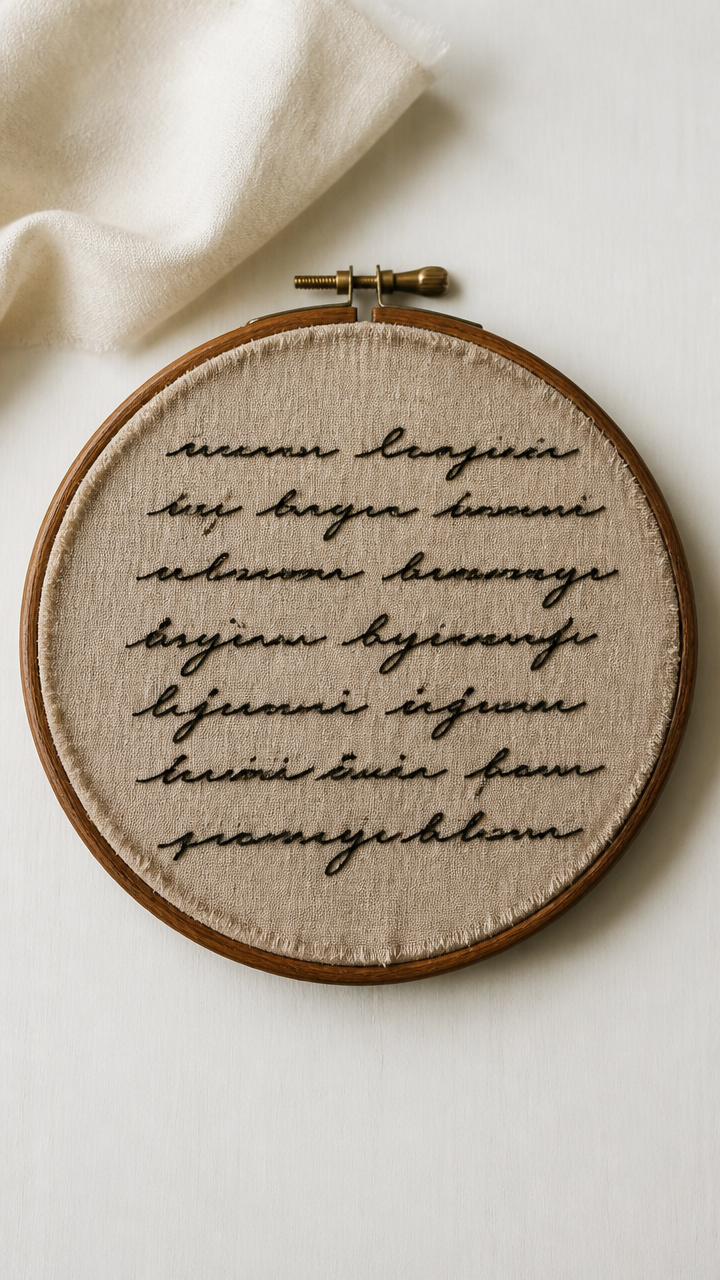
Hand-stitched words on linen create a keepsake that feels both vintage and deeply personal. Choose a meaningful phrase only the two of you share.
Materials Needed
- 8×10 inch piece of natural linen fabric
- 6 inch wooden embroidery hoop
- Black embroidery floss (1 skein)
- Embroidery needle (size 7)
- Water-soluble fabric marker
- Scissors
- Printed quote or phrase (3-5 words)
How to Make It
- Place the linen in the embroidery hoop and tighten until the fabric is taut.
- Use the water-soluble marker to trace your chosen words lightly onto the fabric.
- Thread the needle with a 15-inch strand of black floss. Knot the end.
- Use backstitch to follow the traced letters, keeping stitches even at about 1/8 inch long.
- Trim excess fabric to 1 inch beyond the hoop. Cut small slits around the edge and fold it over the outer hoop ring, securing with glue if needed.
- Remove the hoop and gently wash away any remaining marker lines with cool water. Air dry flat.
3. Chocolate-Dipped Spoon Charms
Easy
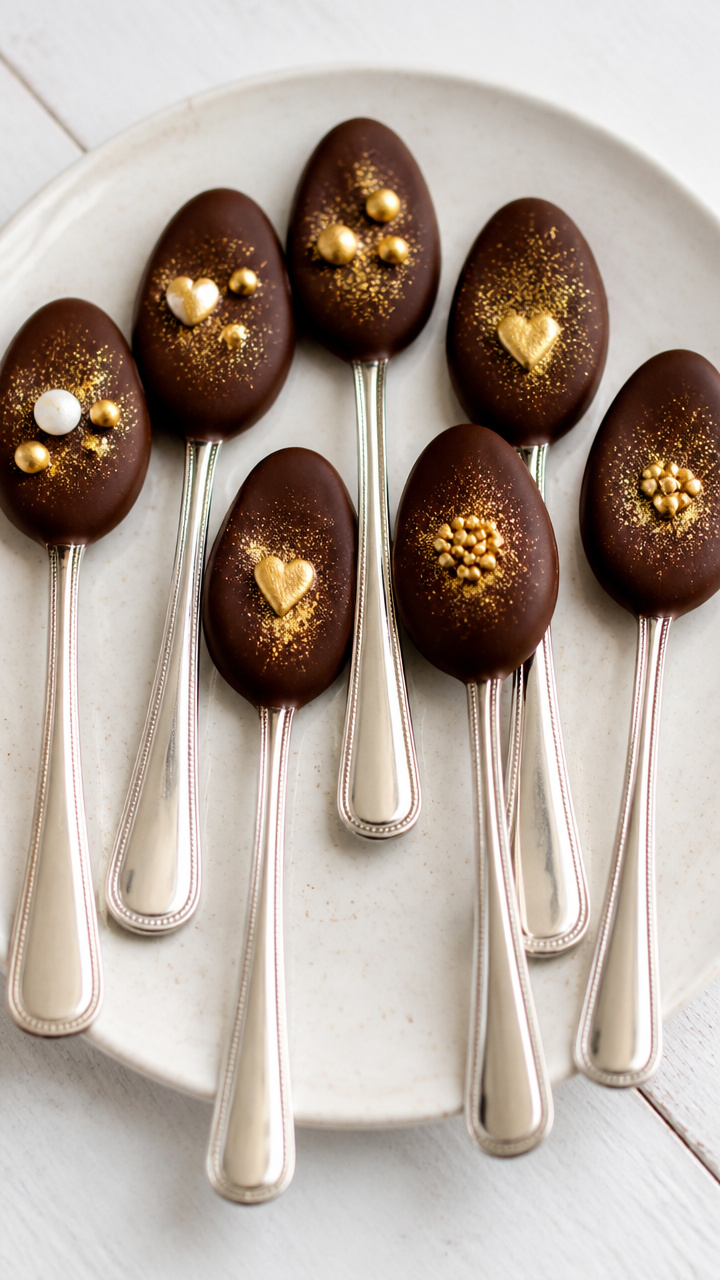
A spoon wrapped in dark chocolate and sprinkled with gold dust becomes a sweet ritual for cozy mornings. It’s edible romance with zero mess.
Materials Needed
- 6 metal coffee spoons
- 6 oz dark chocolate melting wafers
- 1 tsp coconut oil
- Edible gold dust (1/4 tsp)
- Small microwave-safe bowl
- Paintbrush (food-safe)
- Parchment paper
- Gold ribbon (12 inches per spoon)
How to Make It
- Line a baking sheet with parchment paper.
- Combine chocolate wafers and coconut oil in the bowl. Microwave in 30-second bursts, stirring between, until smooth.
- Dip each spoon into the chocolate, coating the bowl halfway up the handle.
- Lay spoons on parchment. Use the brush to spread chocolate evenly if needed.
- Immediately sprinkle gold dust over the wet chocolate. Let set at room temperature for 30 minutes.
- Tie a ribbon around each handle and gift in a small box.
4. Copper Wire Heart Mobile
Moderate
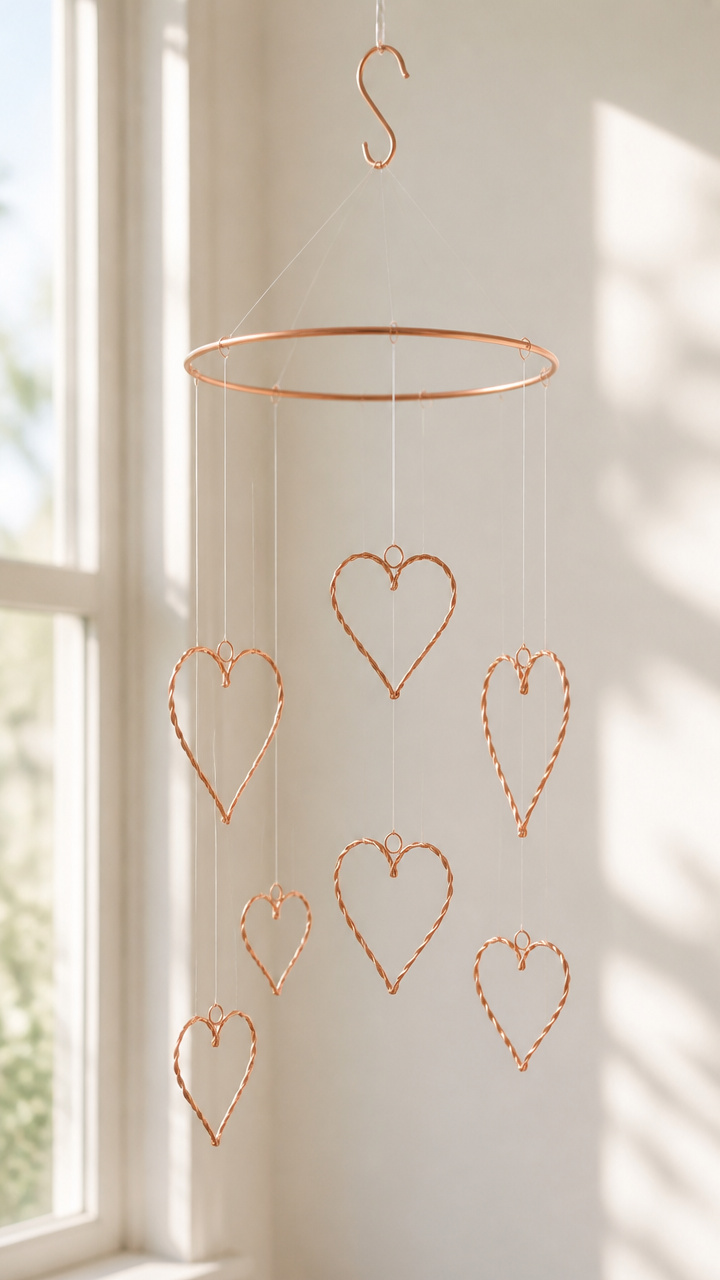
Twisted copper wire forms delicate floating hearts that catch light and movement near a window. The gentle sway adds soft motion to quiet spaces.
Materials Needed
- 16 gauge copper craft wire (10 feet)
- Wire cutters
- Round-nose pliers
- Ruler
- Clear fishing line (10 yards)
- Small S-hook (1)
- Lightweight driftwood branch (6 inches long)
How to Make It
- Cut three 8-inch lengths of copper wire. Set aside.
- Use the round-nose pliers to bend each wire into a symmetrical heart shape, twisting the ends together at the top to close.
- Make a small loop at the top of each heart for hanging.
- Cut three 12-inch pieces of fishing line. Tie one end to a heart loop and the other to the driftwood, spacing them evenly.
- Cut a 15-inch piece of fishing line. Tie each end to the left and right ends of the branch to form a hanging triangle.
- Attach the S-hook to the center top of the triangle for display.
5. Scented Linen Heart Sachets
Easy
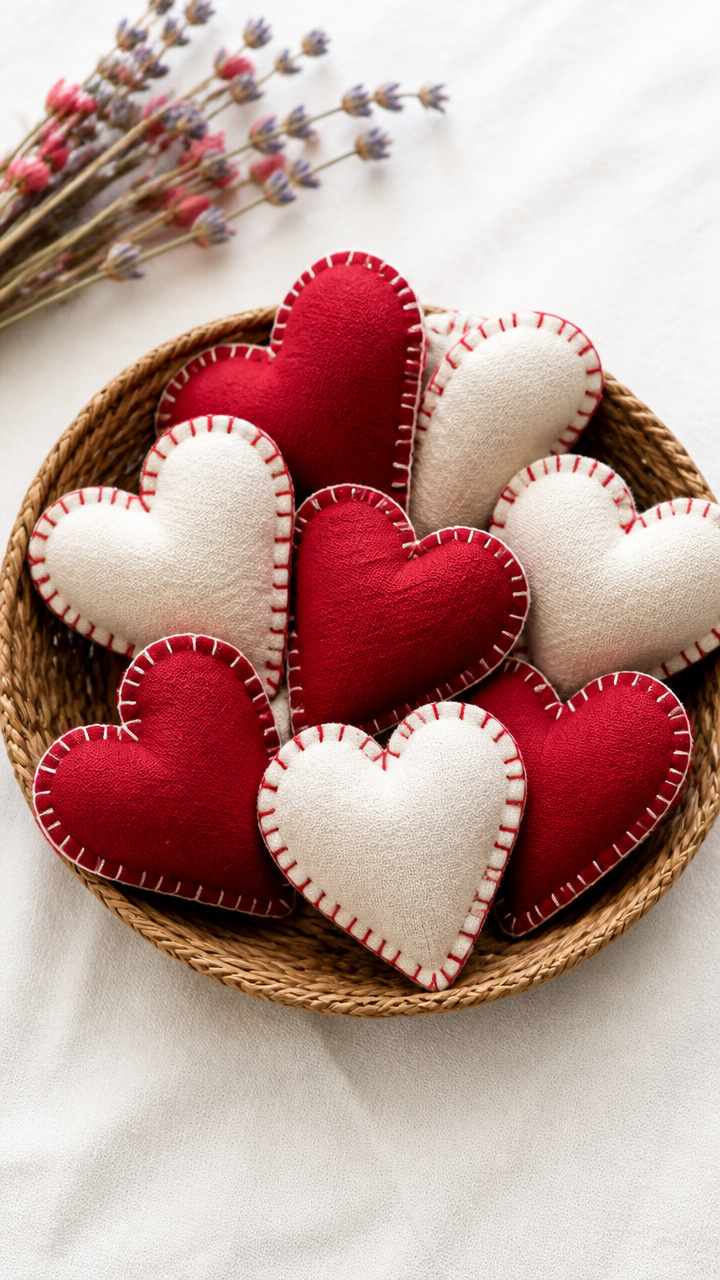
Tiny fabric pouches filled with dried rose and lavender nestle in drawers or hang from mirrors. Their subtle fragrance whispers intimacy.
Materials Needed
- Red cotton fabric (1/4 yard)
- White cotton fabric (1/4 yard)
- Dried rose buds (1/4 cup)
- Dried lavender buds (1/4 cup)
- Polyester stuffing (1/2 cup)
- Sewing machine
- Matching red thread
- Fabric scissors
- Pencil
- Straight pins
How to Make It
- Draw six 3-inch hearts on the wrong side of each fabric type. Cut out three red and three white pairs.
- Pin a red and white heart right sides together. Repeat for all pairs.
- Sew around the edge with a 1/4 inch seam allowance, leaving a 1.5-inch gap on the bottom.
- Clip curves and turn each heart right side out. Press edges flat with fingers.
- Mix rose buds, lavender buds, and a handful of stuffing. Fill each sachet through the gap.
- Hand stitch the opening closed with a whipstitch using red thread.
6. Personalized Map Art Frame
Moderate
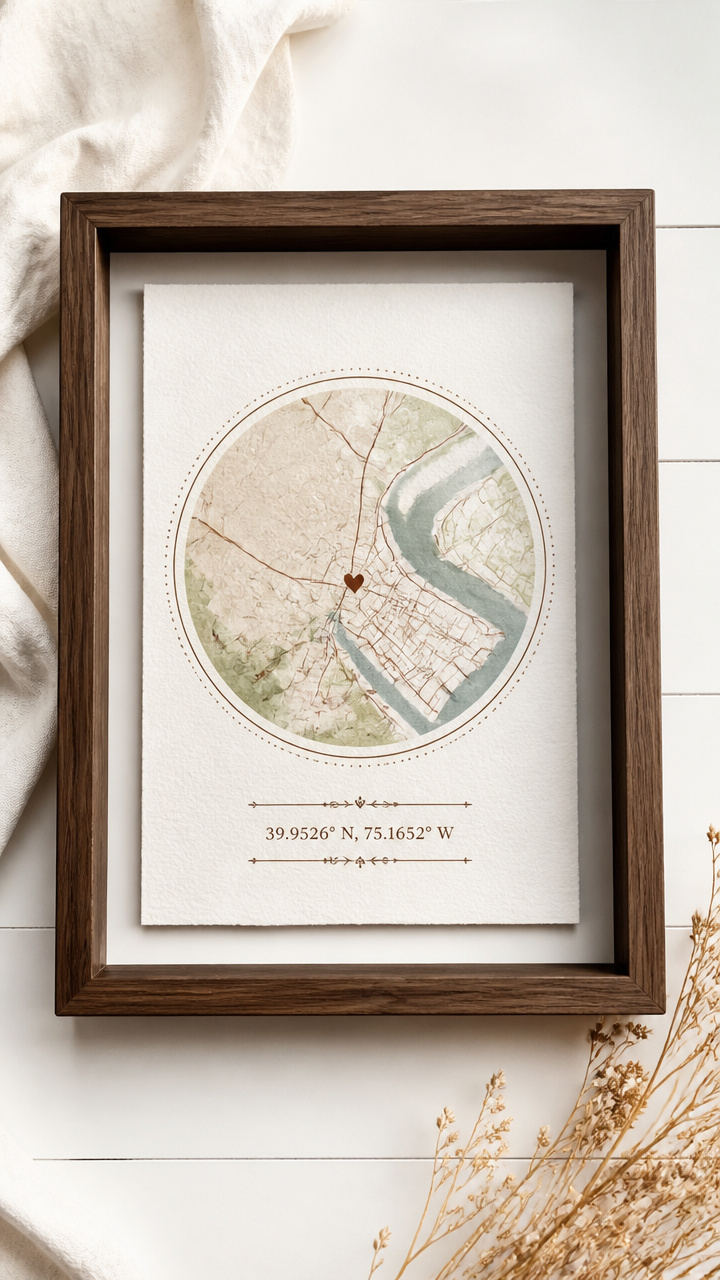
A favorite shared location printed on watercolor paper becomes a framed story of where you began. Coordinates add a touch of quiet precision.
Materials Needed
- 8×10 inch watercolor paper
- Inkjet printer
- Map screenshot (saved digitally)
- Matte acrylic varnish (2 oz)
- Foam brush (1 inch)
- 8×10 inch shadow box frame
- Fine-tip black pen
- Ruler
How to Make It
- Print the map image on the watercolor paper using the inkjet printer.
- Let the print dry completely for 20 minutes to prevent smudging.
- Use the ruler and fine-tip pen to draw a neat rectangle around the map. Write coordinates below in clear block letters.
- Apply a thin coat of matte varnish over the entire surface with the foam brush. Let dry for 1 hour.
- Repeat with a second coat. Dry again for 1 hour.
- Place the finished art in the shadow box frame and secure the backing.
7. Wine Cork Love Stamp
Easy
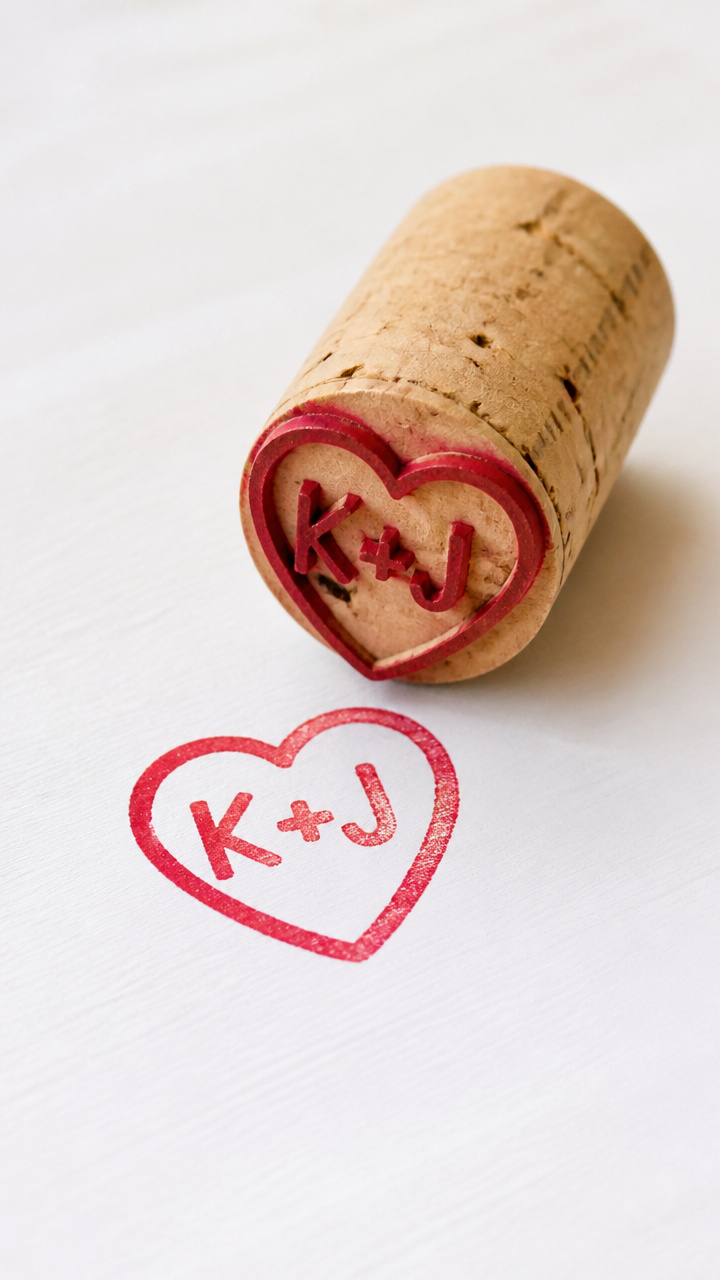
A halved wine cork carved with initials becomes a reusable stamp for cards or tags. It carries the memory of a shared bottle.
Materials Needed
- 1 wine cork
- Craft knife
- Pencil
- Red rubber stamp pad
- Cutting mat
- Ruler
How to Make It
- Slice the cork in half widthwise using the craft knife on the cutting mat.
- Use the pencil to sketch intertwined initials on the flat end of one half.
- Carefully carve away the surrounding cork around the letters, cutting about 1/8 inch deep.
- Test the stamp on scrap paper. Add more depth if the impression is faint.
- Press the carved side into the ink pad and stamp onto cardstock or tag.
- Let ink dry for 2 minutes before handling.
8. Velvet Ribbon Bookmark
Easy
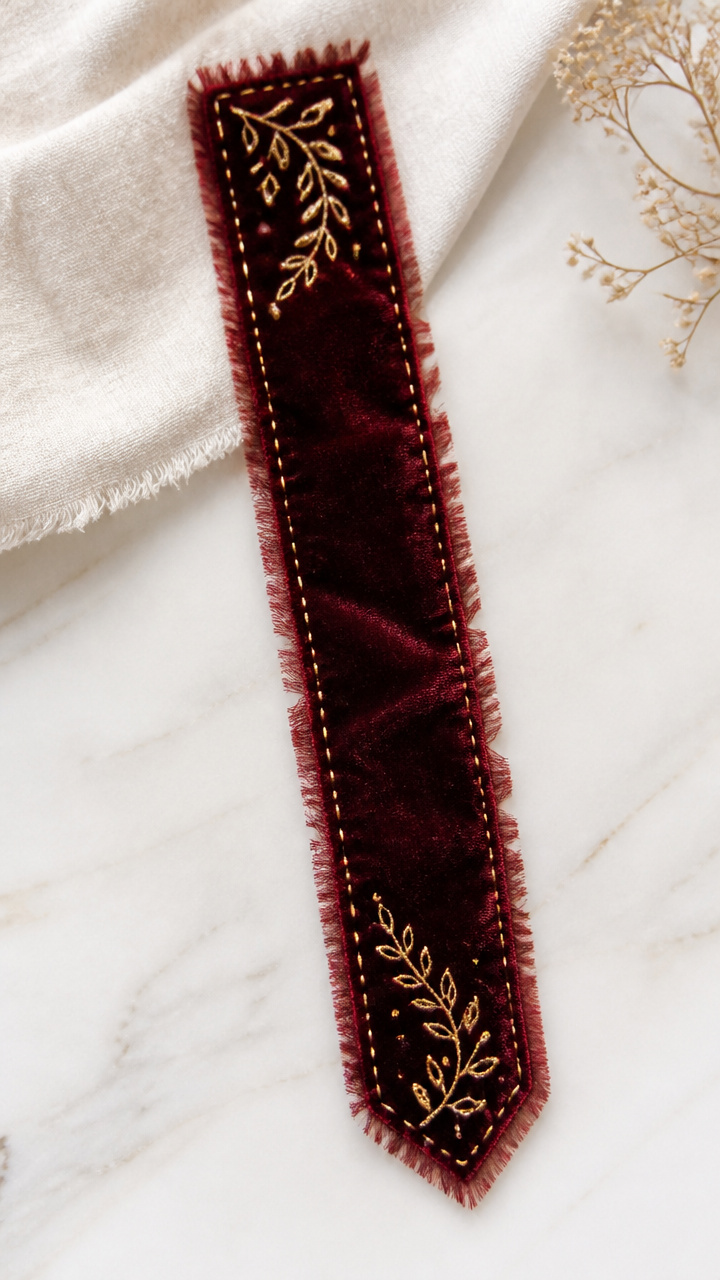
Plush burgundy ribbon trimmed with gold stitching marks pages with quiet luxury. It’s a tactile reminder of slow afternoons together.
Materials Needed
- Burgundy velvet ribbon (1 inch wide, 12 inches long)
- Gold metallic embroidery floss (1 skein)
- Embroidery needle (size 9)
- Scissors
- Ruler
- Pencil
How to Make It
- Measure and cut the ribbon to exactly 12 inches.
- Use the pencil to mark a diagonal line from one top corner to the opposite bottom corner.
- Thread the needle with an 18-inch strand of gold floss. Knot the end.
- Stitch along the diagonal line using running stitch, keeping stitches even at 1/8 inch apart.
- Tie off the thread with a double knot on the back. Trim excess to 1/4 inch.
- Fold the top corner down slightly to soften the edge.
9. Mini Succulent Love Pot
Moderate
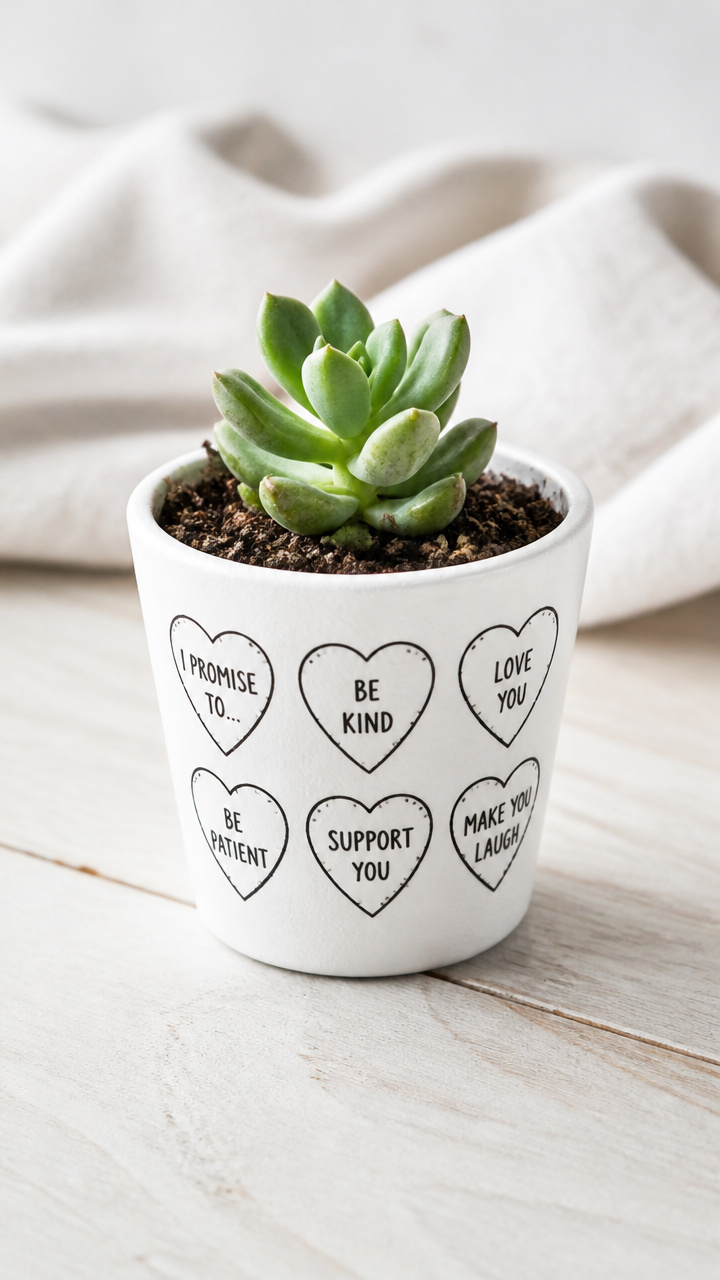
A terracotta pot painted with hand-lettered promises grows a tiny plant that thrives on little but lasts forever. It’s love as a living thing.
Materials Needed
- 2.5 inch terracotta pot
- Acrylic paint (matte white, 2 oz)
- Fine-tipped black paint pen
- Small paintbrush (1/4 inch)
- Sandpaper (220 grit)
- Baby succulent (Haworthia or Echeveria)
- Cactus potting mix (1 cup)
How to Make It
- Lightly sand the outside of the pot to smooth rough spots. Wipe clean with a dry cloth.
- Paint the entire pot with white acrylic using the brush. Let dry for 30 minutes.
- Apply a second coat. Dry another 30 minutes.
- Use the paint pen to write a short word like 'Always' or 'Us' in neat cursive on the side.
- Fill the pot halfway with cactus mix. Place the succulent in the center and add more soil to secure.
- Water with 1 teaspoon of water and place in bright indirect light.
10. Photo Transfer Candle
Advanced
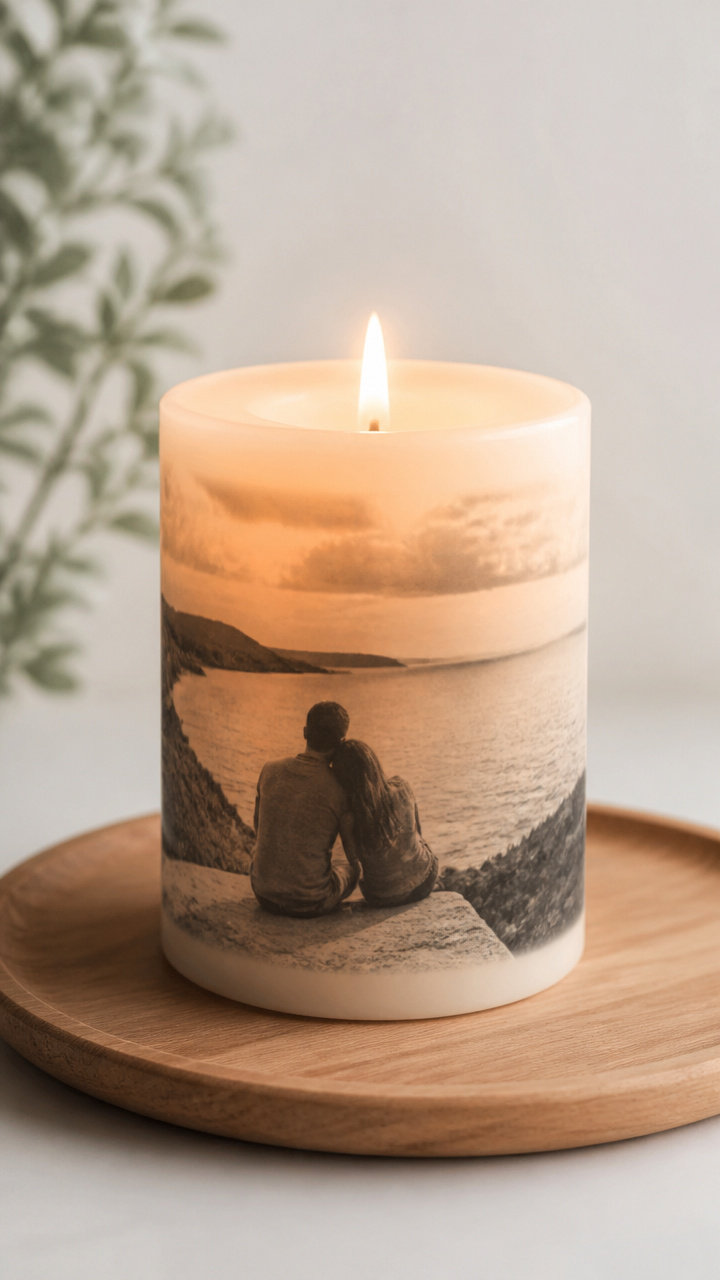
A cherished couple photo wraps around a pillar candle, glowing softly when lit. The image appears to float in warm light.
Materials Needed
- White unscented pillar candle (3 inch diameter, 4 inches tall)
- Laser-printed photo (2×3 inches, black and white)
- Matte medium (2 oz)
- Foam brush (1 inch)
- Scissors
- Bowl of warm water
- Soft cloth
How to Make It
- Cut the photo to fit the height of the candle, trimming excess borders.
- Brush a thick, even layer of matte medium onto the candle surface.
- Press the photo face-down onto the candle, smoothing from center outward.
- Wrap plastic wrap around the candle to hold the photo in place. Let dry for 2 hours.
- Soak a corner of the photo in warm water for 10 seconds. Gently rub the paper backing to dissolve, leaving the ink layer intact.
- Pat dry with a soft cloth and let cure overnight before lighting.
11. Knitted Heart Keychain
Moderate
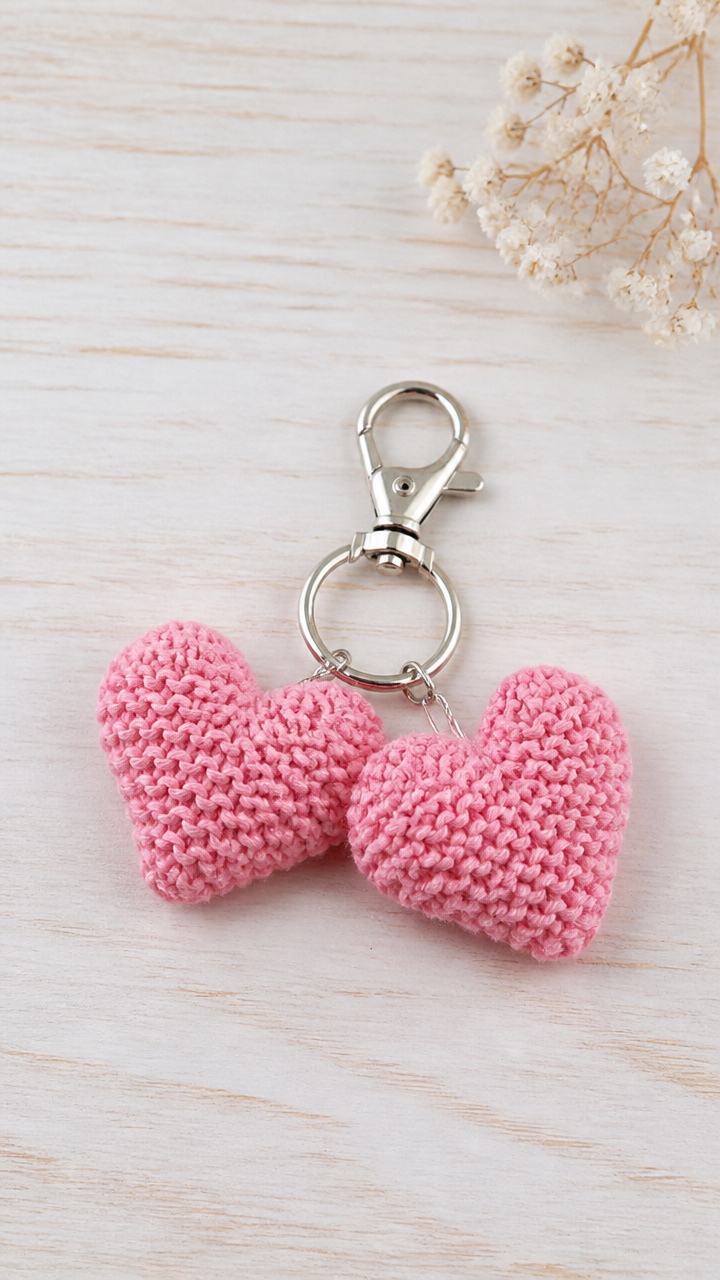
Two tiny pink hearts knitted in garter stitch nestle together on a silver lobster clasp. It jingles softly with every step.
Materials Needed
- Pink fingering yarn (20 yards)
- Pair of US size 6 knitting needles
- Tapestry needle
- Scissors
- Small amount of polyester stuffing
- Silver lobster clasp keyring
How to Make It
- Cast on 12 stitches. Knit every row (garter stitch) for 15 rows.
- Bind off. Cut yarn, leaving a 10-inch tail. Thread onto tapestry needle.
- Fold the rectangle in half diagonally to form a triangle. Sew the two sides together.
- Turn right side out. Stuff lightly with a pinch of polyester filling.
- Sew the top edge closed. Repeat to make a second heart.
- Sew both hearts together at the base. Attach the keyring to the top loop with the needle and thread.
12. Calligraphy Date Night Jar
Easy
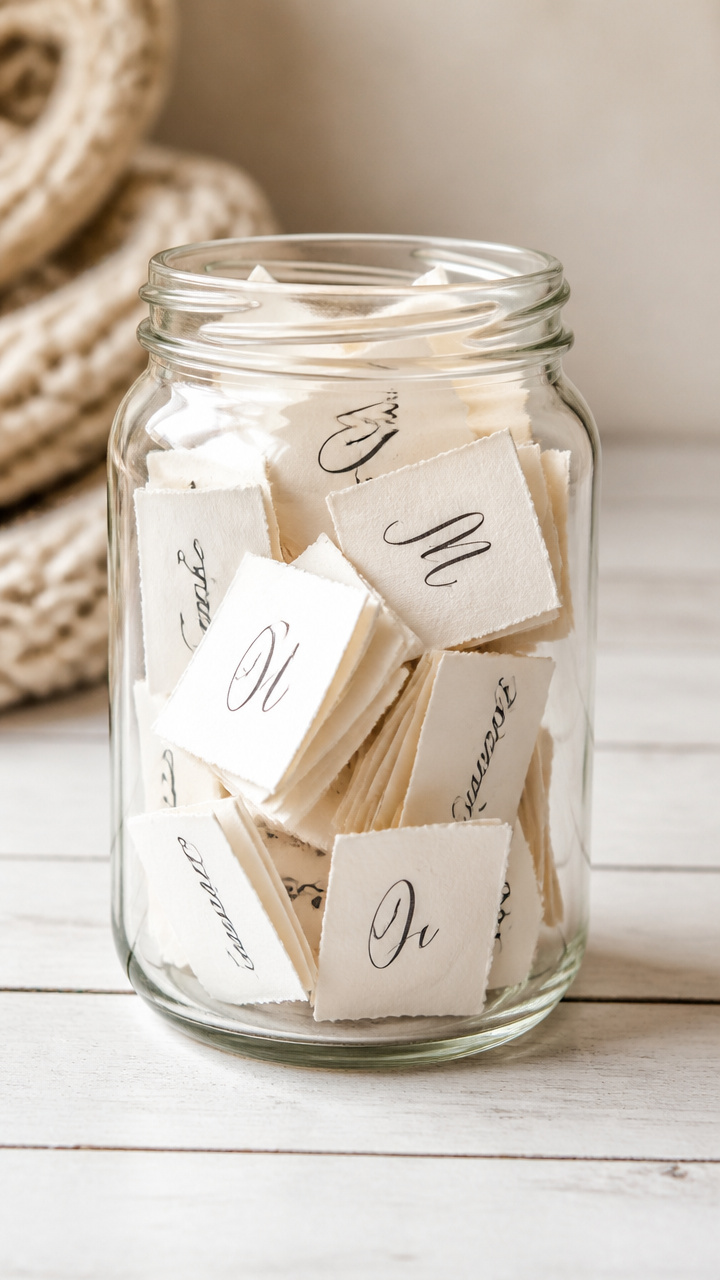
Slips of paper with handwritten date ideas fill a mason jar ready for spontaneous connection. Each pull feels like a surprise invitation.
Materials Needed
- 4 oz mason jar with lid
- White cardstock (5×7 inch sheet)
- Black calligraphy marker (broad tip)
- Ruler
- Pencil
- Scissors
- Twine (12 inches)
How to Make It
- Cut the cardstock into 12 equal rectangles (1.5×3 inches).
- Use the pencil and ruler to lightly mark a line 1/4 inch from the top of each slip.
- Write a date idea on each slip using the calligraphy marker, such as 'Cook Thai Together' or 'Stargaze with Blankets'.
- Let ink dry for 2 minutes to prevent smearing.
- Roll each slip and place inside the jar.
- Tie twine around the neck of the jar and tuck the end under the knot.
13. Marbled Nail Polish Coasters
Moderate
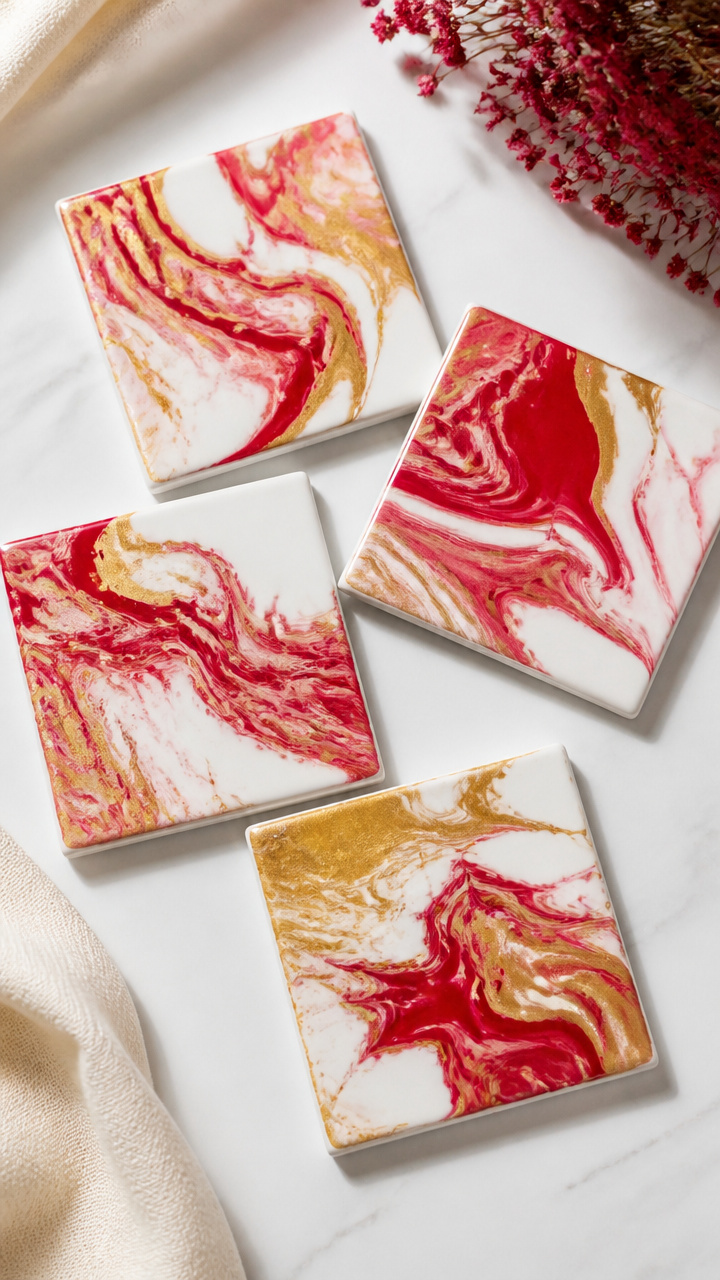
Swirls of red and gold nail polish float on water then transfer to ceramic tiles. Each coaster is a one-of-a-kind fluid painting.
Materials Needed
- 4 white ceramic tiles (4×4 inches)
- Clear waterproof sealant (2 oz spray)
- Red nail polish
- Gold nail polish
- Large container of water (quart size)
- Craft stick
- Gloves
- Paper towels
How to Make It
- Wear gloves. Place a tile in the water, face up, supported by your fingers.
- Drop 3 drops of red polish and 2 drops of gold polish onto the water’s surface from 2 inches above.
- Drag the craft stick once through the polish in a zigzag to create swirls.
- Slowly slide the tile up through the polish layer. Lift and drain excess water.
- Lay flat on paper towels to dry for 1 hour.
- Spray both sides with sealant in a well-ventilated area. Dry 2 hours before use.
14. Leather Cord Bracelet Duo
Advanced
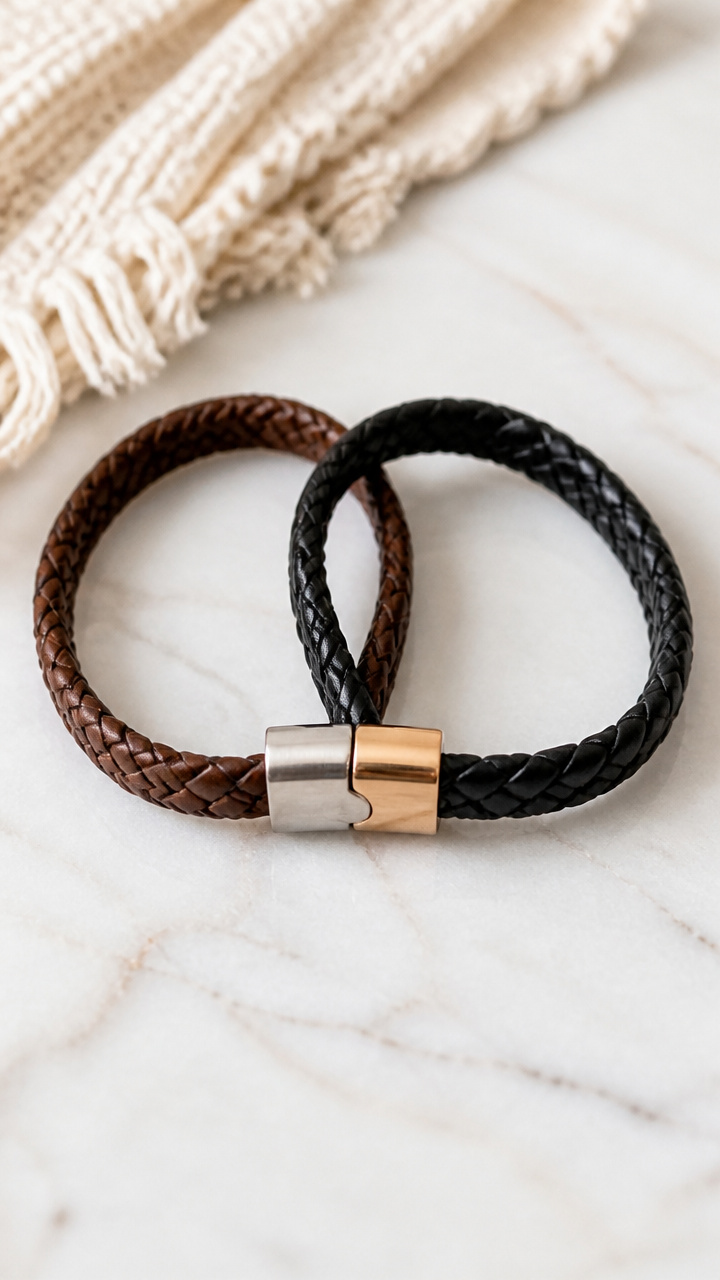
Two braided leather cords with magnetic clasps connect and separate like a private promise. Worn alone or clipped together, they speak without words.
Materials Needed
- Brown leather cord (2 mm thickness, 36 inches)
- Black leather cord (2 mm thickness, 36 inches)
- 2 magnetic clasps (5 mm)
- Scissors
- Lighter
- Ruler
How to Make It
- Cut two 18-inch lengths of brown cord and two 18-inch lengths of black cord.
- Braid one brown and one black cord together tightly. Repeat for the second bracelet.
- Melt the ends of each braid lightly with the flame to prevent fraying. Do not burn.
- Slide one clasp end onto a braid end. Tie a double knot to secure. Melt the knot slightly to lock it.
- Repeat for the other end and for the second bracelet.
- Clip the bracelets together at the clasps to test connection strength.
15. Origami Fortune Teller Love Notes
Easy
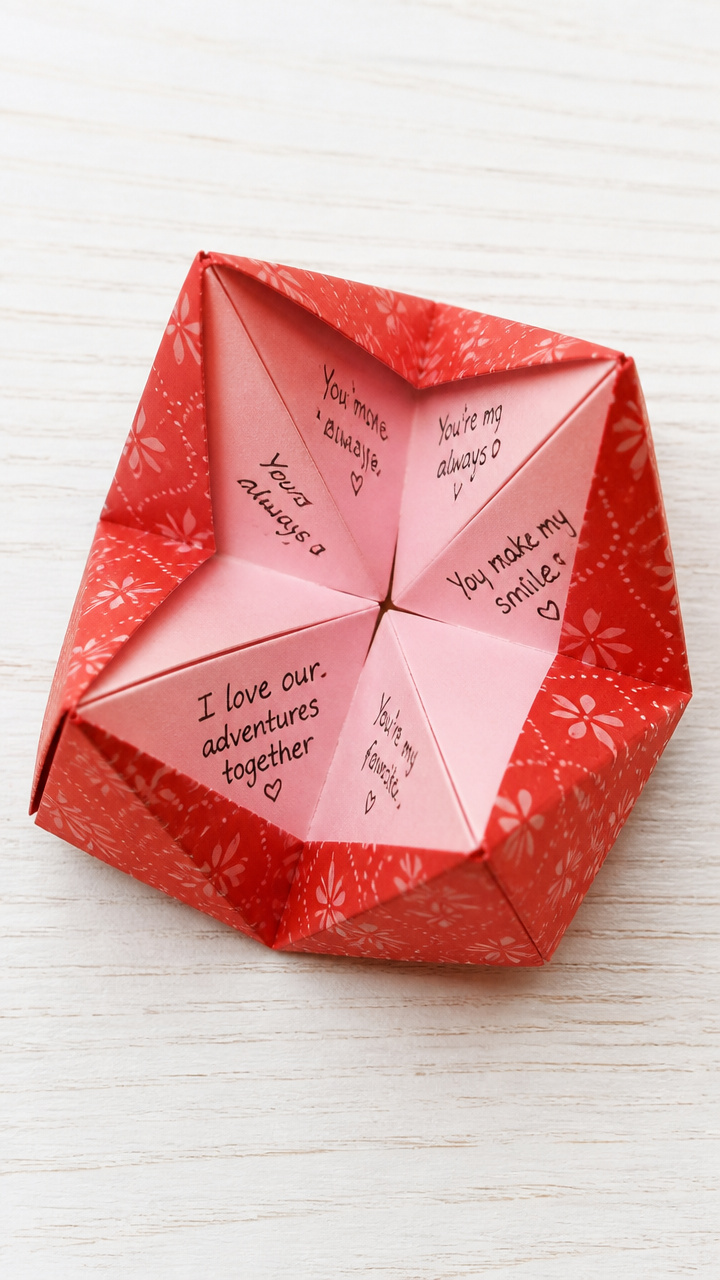
A classic paper game refilled with romantic prompts unfolds with laughter and intimacy. Open a flap to reveal 'Kiss Me' or 'Tell Me a Secret'.
Materials Needed
- 8.5×8.5 inch red patterned origami paper
- Fine-tip black pen
- Ruler
- Pencil
How to Make It
- Fold the paper in half diagonally both ways. Crease well and unfold.
- Fold all four corners to the center point. Press flat.
- Flip the square over. Fold the new corners to the center again.
- Fold in half vertically and horizontally to create creases, then unfold.
- Insert thumbs and index fingers into the four pockets underneath to form the fortune teller.
- Use the pen to write romantic prompts like 'Hug Me' or 'Say I Love You' on the inner flaps.
Each of these crafts holds space for a feeling, a memory, or a quiet 'I see you.' Pick one that calls to you and start simple. Your hands already know how to make love tangible.