15 DIY Valentine’s Day Paper Heart Crafts

Soft pink paper hearts flutter on a string above the kitchen table, catching afternoon light and turning a quiet corner into something tender and bright. You don’t need fancy tools or a craft studio to make moments like this.
These handmade details carry more warmth than anything store-bought ever could. With just scissors, glue, and a little time, you can create keepsakes that say exactly what you feel.
1. Layered Tissue Paper Hearts
Easy
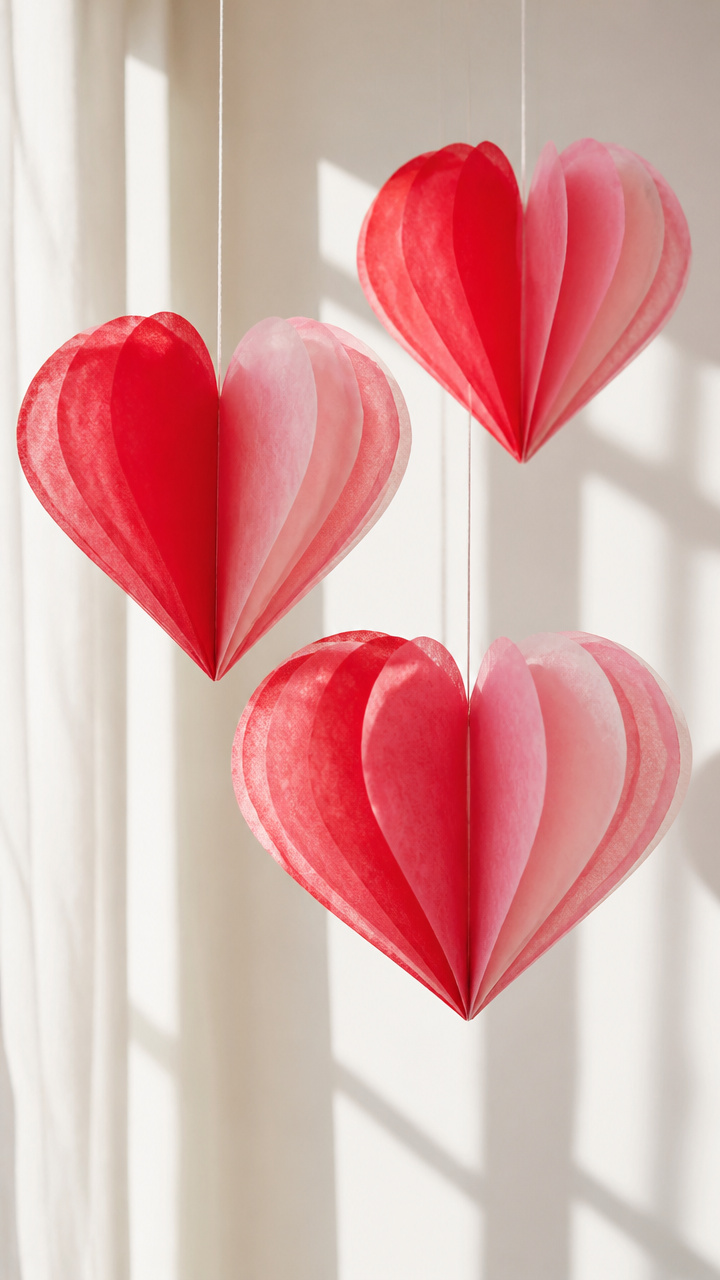
Delicate, cloud-like hearts glow when hung in sunny windows. Their soft texture catches light beautifully and adds a gentle touch to any space.
Materials Needed
- 3 sheets red tissue paper
- 1 sheet pink tissue paper
- Scissors
- White school glue
- Pencil
- String (12 inches)
- Cardboard heart template (3 inches wide)
How to Make It
- Trace the cardboard heart onto each sheet of tissue paper and cut out six hearts total.
- Stack all six hearts evenly and pinch the center at the top.
- Apply a small dot of white school glue to the pinched center and press the ends of the string into it to form a hanger.
- Let the glue dry completely for 5 minutes before displaying.
2. Origami Heart Garland
Moderate

Tiny folded hearts march along a cotton thread in cheerful rhythm. This garland brings crisp geometry and handmade charm to mantels or walls.
Materials Needed
- 10 sheets 6×6 inch red patterned scrapbook paper
- Cotton twine (4 feet)
- Needle with a large eye
- Ruler
- Bone folder
How to Make It
- Fold each 6×6 inch paper in half diagonally to form a triangle, then unfold.
- Bring the bottom two corners up to meet at the top point, forming a smaller triangle.
- Fold the left and right edges toward the center line, then tuck the side flaps inward to form a heart shape.
- Thread the needle with twine and carefully pass it through the top fold of each heart, spacing them 3 inches apart.
3. Pressed Flower Heart Frame
Moderate
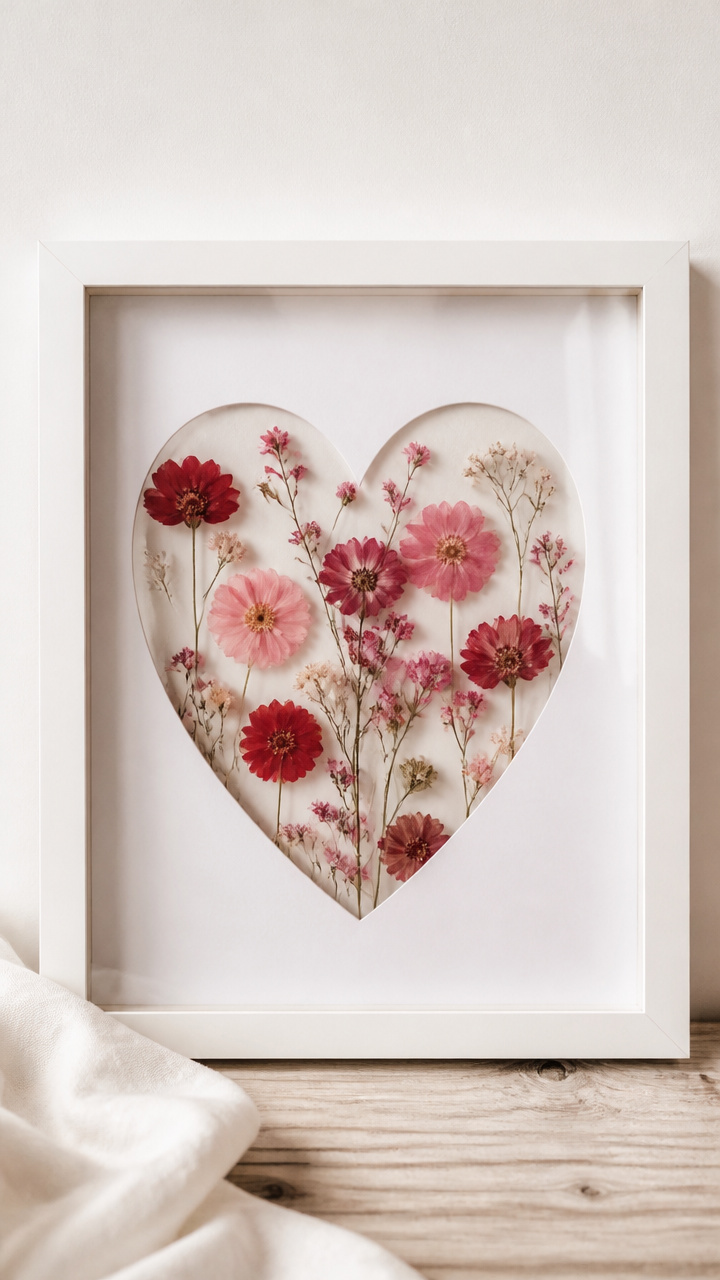
A heart-shaped window reveals tiny dried blooms suspended in air. This frame turns delicate flowers into a lasting romantic gesture.
Materials Needed
- 8×10 inch shadow box frame with glass
- White A4 cardstock
- Pressed red and pink flowers (10 small blooms)
- Craft knife
- Double-sided tape
- Tweezers
- Pencil
How to Make It
- Draw a 5-inch heart in the center of the cardstock and cut it out carefully with the craft knife.
- Place the cardstock between the frame’s backing and glass so the heart opening is centered.
- Use tweezers to arrange pressed flowers around the heart opening on the glass side.
- Close the shadow box securely and stand it upright for display.
4. Quilled Paper Heart Card
Advanced
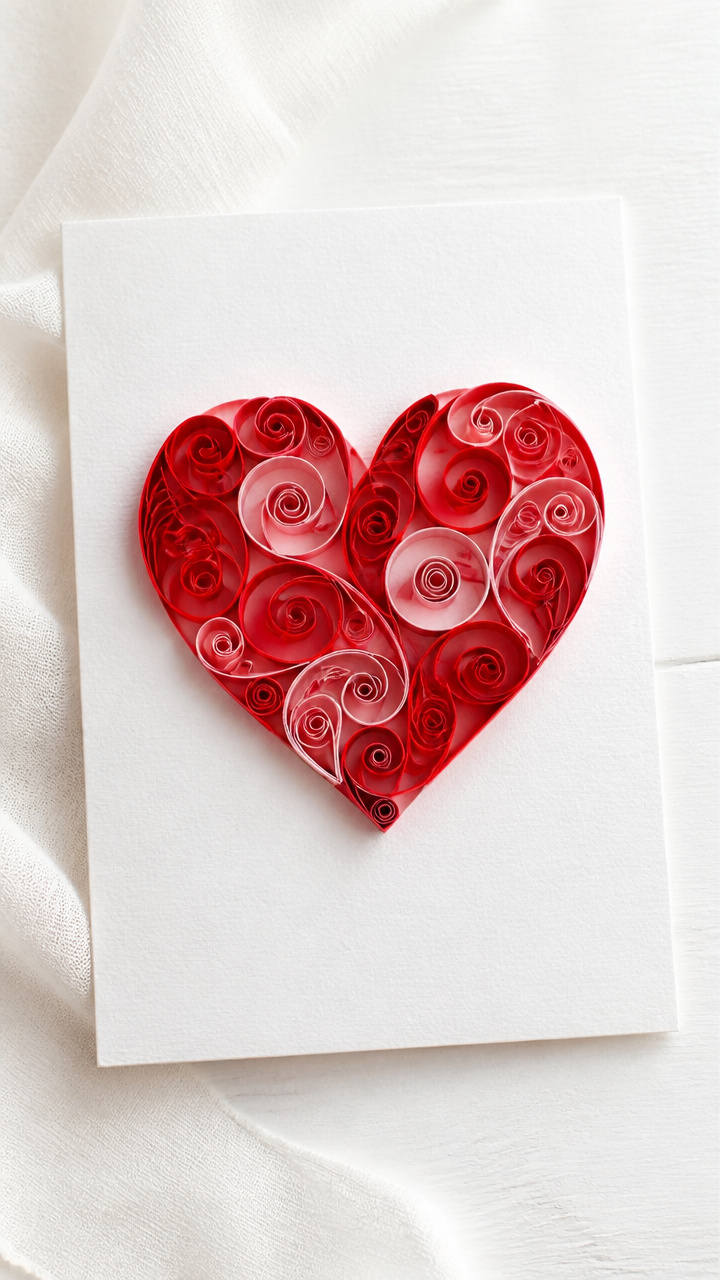
Swirling loops of rolled paper bloom into a dimensional heart on a blank card. This technique turns simple strips into elegant art.
Materials Needed
- Red quilling paper strips (1/8 inch wide, 12 inches long, 10 pieces)
- Pink quilling paper strips (1/8 inch wide, 12 inches long, 5 pieces)
- Quilling tool
- Glue pen
- Blank 5×7 inch white card
- Tweezers
How to Make It
- Roll one red strip tightly around the quilling tool and secure the end with a dab of glue from the glue pen.
- Repeat with nine more red strips and five pink strips to make 15 loose coils.
- Pinch opposite sides of each coil to form teardrop and marquise shapes.
- Arrange the shaped coils into a heart pattern on the card and glue each in place with the glue pen.
5. Pop-Up Heart Surprise Card
Moderate

Open the card and a bold red heart leaps forward. The surprise movement makes this card unforgettable in someone’s hand.
Materials Needed
- Red A4 cardstock (folded to 5.5×8.5 inch card)
- Pink A4 cardstock
- Scissors
- Ruler
- Pencil
- Glue stick
How to Make It
- Cut a 3-inch heart from pink cardstock.
- On the inside front of the red card, draw a horizontal line 2 inches from the bottom and 3 inches long.
- Cut along the line and fold the flap upward, applying glue to its back edge.
- Press the pink heart over the glued flap so it stands upright when the card is opened.
6. Paper Doily Heart Wreath
Easy
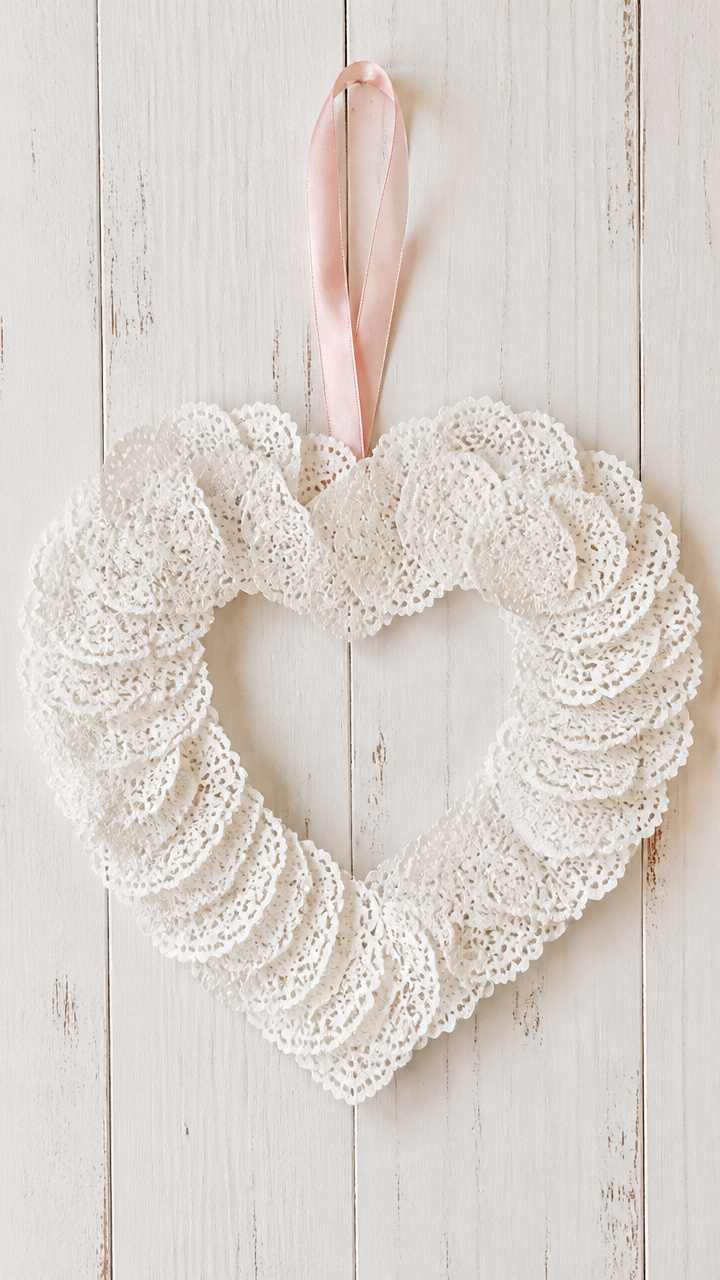
Lace-edged doilies form a full, romantic wreath perfect for doors or walls. The vintage look feels timeless and heartfelt.
Materials Needed
- 6 white paper doilies (8 inches diameter)
- Hot glue gun
- Glue sticks
- Cardboard ring (6 inches outer diameter, 3 inches inner)
- Ribbon (18 inches)
How to Make It
- Flatten each doily and layer three on top of each other, offsetting the centers slightly.
- Apply hot glue around the outer edge of the cardboard ring and press the layered doilies onto it.
- Repeat with the remaining three doilies, adding them on top to build volume.
- Tie ribbon into a bow and glue it to the top of the wreath with hot glue.
7. Heart-Shaped Confetti Jar
Easy
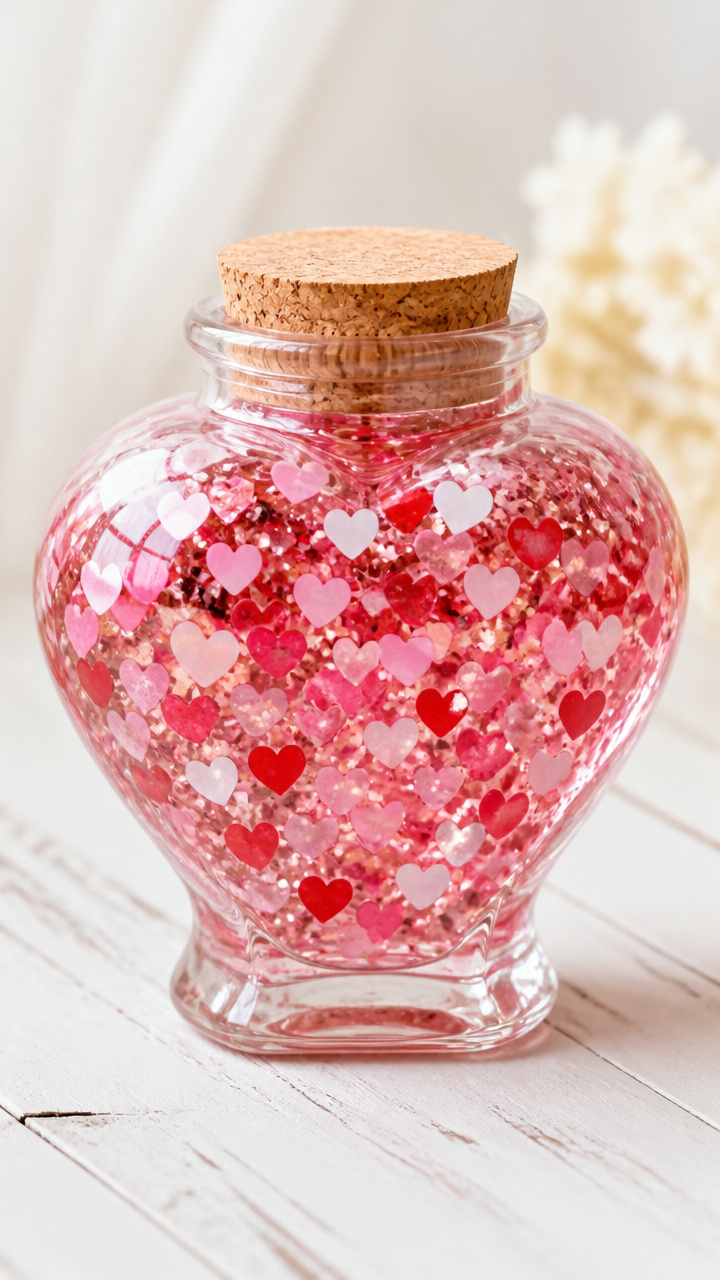
A clear jar sparkles with hundreds of tiny paper hearts. Shake it and watch the colors swirl like a snow globe filled with love.
Materials Needed
- Clear glass jar with lid (6 oz)
- Red, pink, and white printer paper (one sheet each)
- Circle punch (1/2 inch)
- Glitter (rose gold, 1 tablespoon)
- Funnel
- White school glue (1 teaspoon)
How to Make It
- Use the circle punch to cut 100 circles from each colored paper sheet.
- Mix all confetti pieces in a bowl with glitter and 1 teaspoon of glue to prevent static.
- Use the funnel to pour the mixture into the jar.
- Seal the jar tightly and shake gently to mix the contents.
8. Folded Paper Heart Bouquet
Moderate
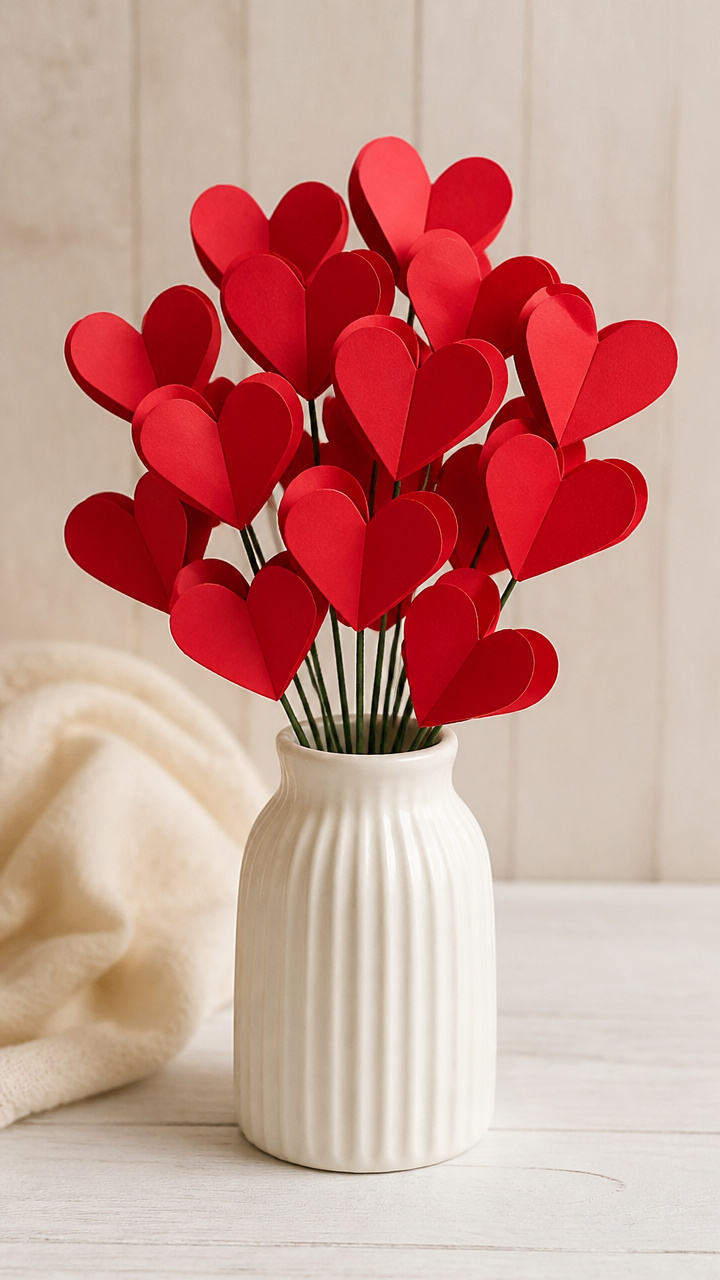
Sturdy paper hearts perch on wire stems like real flowers. Arrange them in a vase for a bouquet that never wilts.
Materials Needed
- Red construction paper (8.5×11 inch, 5 sheets)
- Green floral wire (18 gauge, 5 pieces, 10 inches long)
- Hot glue gun
- Glue sticks
- Scissors
- Pencil
How to Make It
- Draw a 3-inch heart on one sheet of construction paper and cut it out as a template.
- Trace the template onto the remaining paper to make 10 hearts and cut them out.
- Stack two hearts together and apply hot glue along one edge, pressing another pair on top at a slight angle to build thickness.
- Slide the end of a floral wire between the layers at the bottom of each heart and secure with hot glue.
9. Salt Dough Heart Ornaments
Moderate
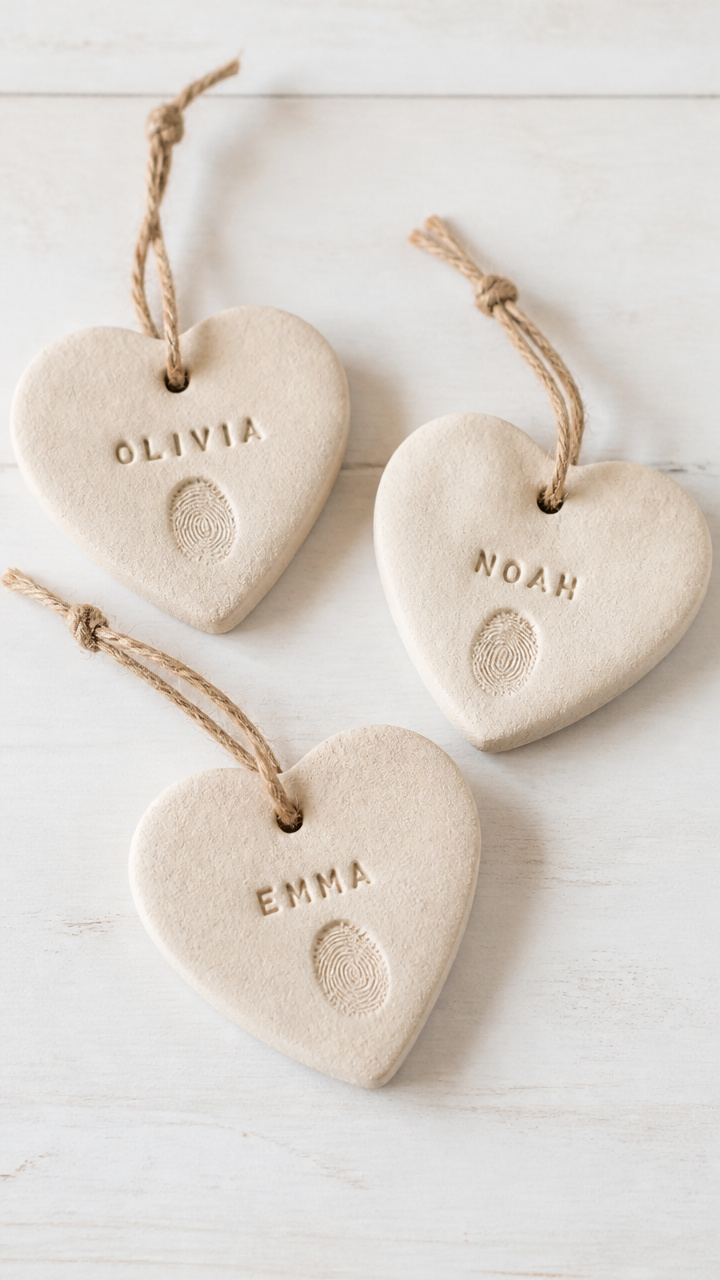
Rustic, oven-baked hearts hold handwritten names and tiny fingerprints. These ornaments become heirlooms when saved year after year.
Materials Needed
- 2 cups all-purpose flour
- 1 cup salt
- 3/4 cup water
- Heart-shaped cookie cutter (3 inches)
- Baking sheet
- Parchment paper
- Acrylic paint (red and pink)
- Paintbrush
- Straw (for hole punching)
How to Make It
- Mix flour, salt, and water in a bowl until a smooth dough forms, kneading for 2 minutes.
- Roll the dough to 1/4 inch thickness and cut out 6 hearts using the cookie cutter.
- Push a straw through the top of each heart to make a hanging hole.
- Bake on a parchment-lined baking sheet at 200°F for 3 hours, then let cool completely before painting.
10. Watercolor Bleed-Through Hearts
Easy
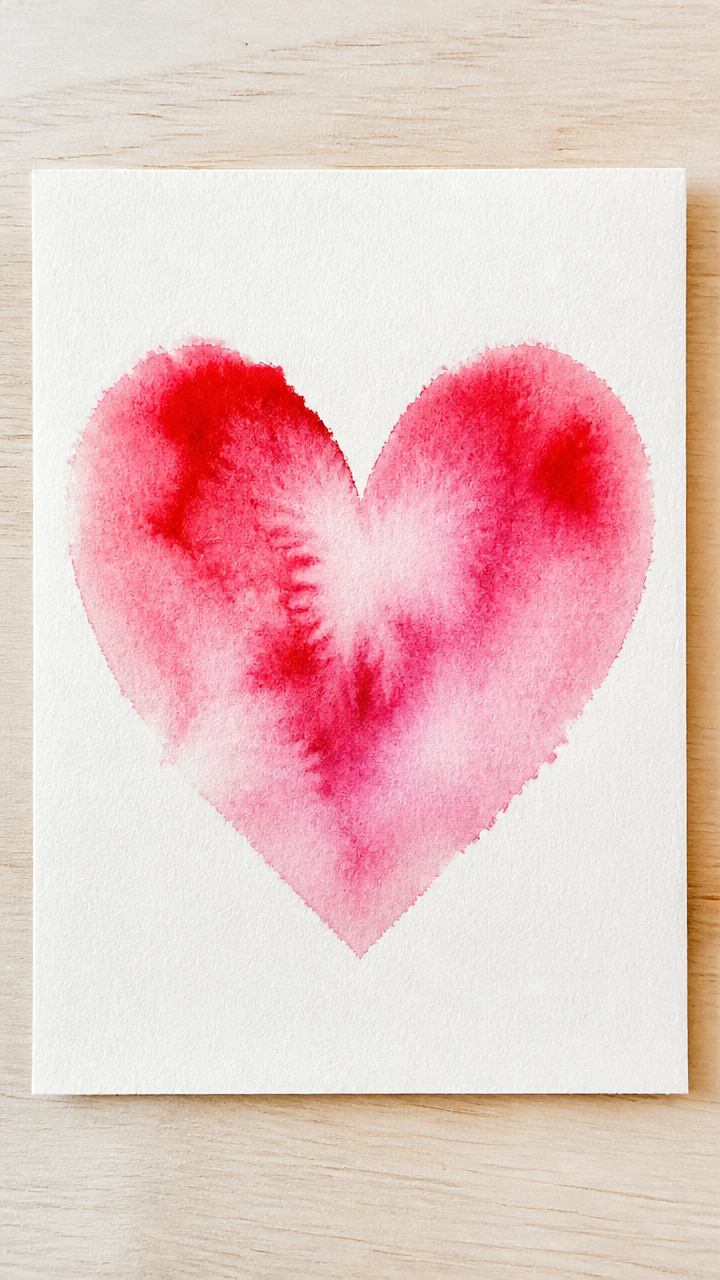
Vibrant paint bleeds across folded paper to create symmetrical hearts. Each piece is a unique print with soft, dreamy edges.
Materials Needed
- Watercolor paper (9×12 inch, 1 sheet)
- Red and pink liquid watercolors (1 bottle each)
- Pipette
- Clothespin
- Flat surface
- Paper towel
How to Make It
- Fold the watercolor paper in half vertically and secure the fold with a clothespin.
- Use the pipette to drop red and pink watercolor along the folded edge.
- Wait 2 minutes for the paint to wick across the paper, then carefully open it.
- Lay flat on a protected surface and let dry for 1 hour.
11. Paper Strip Weave Hearts
Moderate

Interlaced red and white strips form a tight woven heart. The crisp contrast looks modern and fresh on shelves or walls.
Materials Needed
- Red construction paper (8.5×11 inch, 2 sheets)
- White construction paper (8.5×11 inch, 2 sheets)
- Scissors
- Glue stick
- Pencil
- Ruler
- Cardboard heart base (4 inches)
How to Make It
- Cut ten 1/2 inch wide strips, 6 inches long, from each color of paper.
- Lay the cardboard heart flat and glue five red strips vertically, spaced evenly across the surface.
- Weave white strips horizontally over and under the vertical red strips, pressing gently to secure.
- Glue the ends of each strip to the back of the cardboard heart and trim excess.
12. Foil-Embellished Heart Tags
Advanced
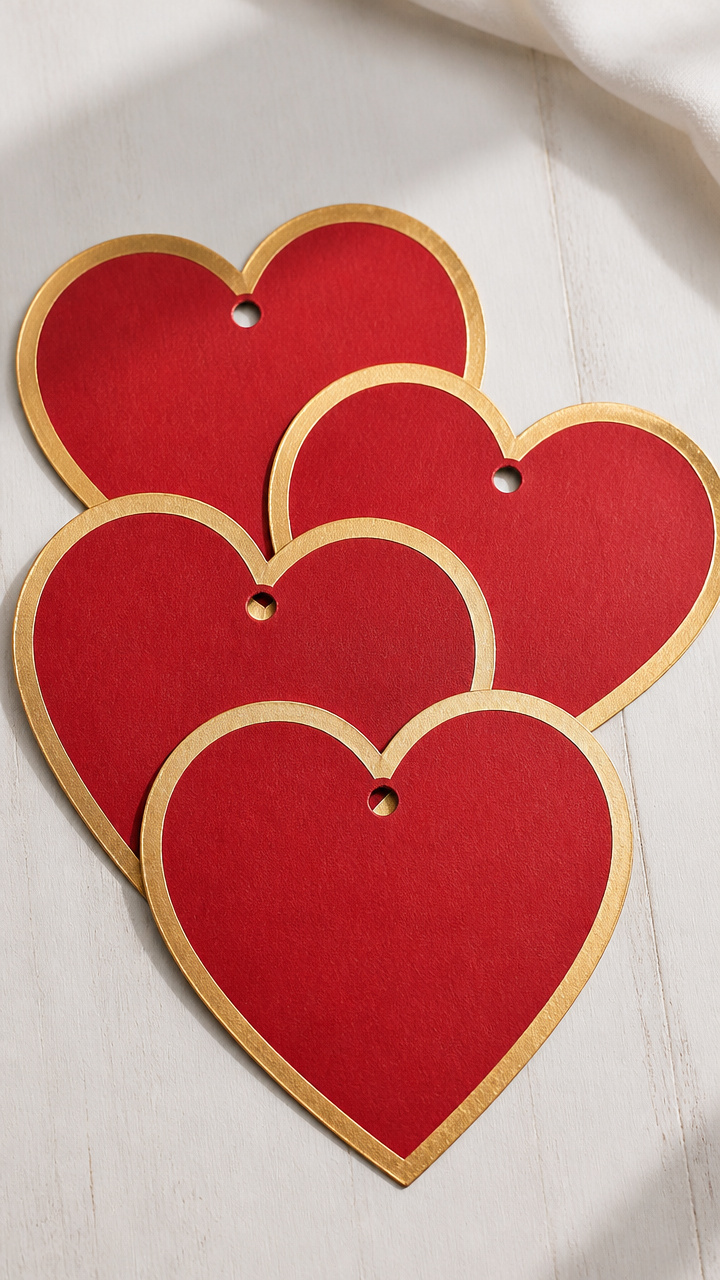
Shimmering gold foil outlines bold red hearts on sturdy tags. These elevate gifts with a custom, luxurious touch.
Materials Needed
- Red kraft cardstock (5×7 inch, 5 pieces)
- Gold foil transfer sheet (4×6 inch)
- Foiling pen
- Craft blade
- Cutting mat
- Hole punch
How to Make It
- Draw a 2-inch heart in the center of each tag with the foiling pen, applying even pressure.
- Place the gold foil sheet over the drawn heart, foil side down, and burnish firmly with your fingertip for 20 seconds.
- Peel off the foil sheet to reveal the transferred gold outline.
- Use the craft blade on the cutting mat to clean up any smudges and punch a hole at the top with the hole punch.
13. 3D Paper Heart Sculpture
Advanced
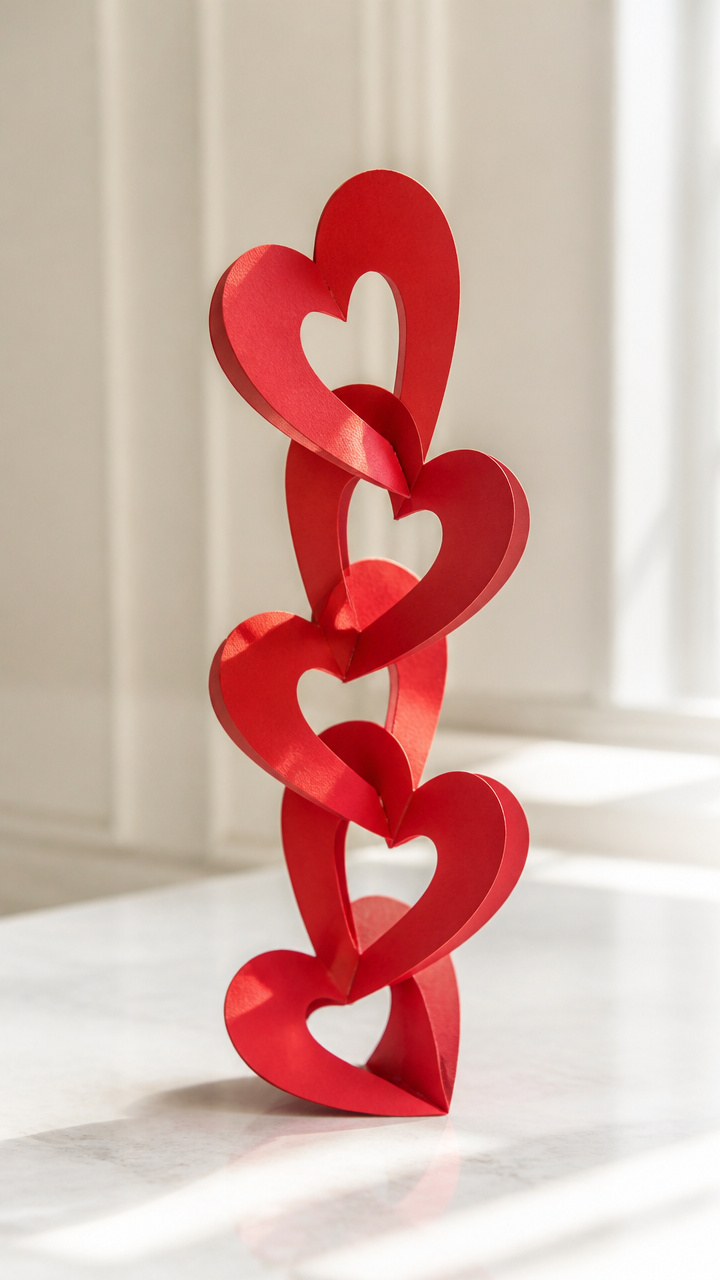
Five interlocking hearts spiral into a free-standing sculpture. This centerpiece draws eyes and sparks conversation.
Materials Needed
- Red cardstock (8.5×11 inch, 5 sheets)
- X-Acto knife
- Cutting mat
- Metal ruler
- Glue dots
- Pencil
- Protractor
How to Make It
- Draw a 4-inch heart on one sheet and cut it out as a template.
- Trace the heart onto the remaining sheets and mark a 72-degree angle from the top center of each.
- Use the X-Acto knife and metal ruler to cut a straight slit from the top center to the interior of each heart along the marked line.
- Interlock the hearts by sliding each slit into the next at the marked angle and secure joints with glue dots.
14. Heart String Art Board
Advanced
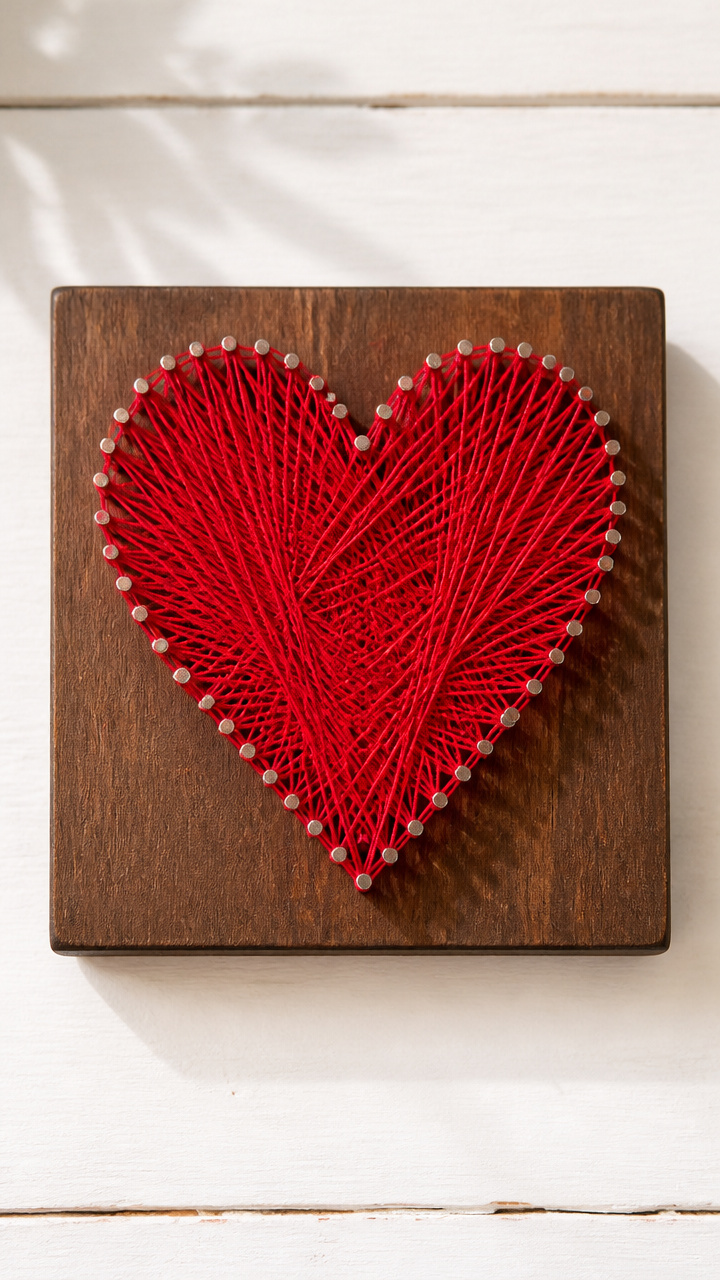
Crimson thread wraps tightly around tiny nails to form a glowing heart. The textured glow casts soft shadows on the wall.
Materials Needed
- Wood board (6×6 inch)
- Small nails (50 pieces, 1/2 inch)
- Hammer
- Red embroidery floss (2 meters)
- Cardboard heart template (4 inches)
- Tape
- Pencil
How to Make It
- Trace the cardboard heart onto the wood board and tape it in place.
- Hammer a nail every 1/2 inch along the traced line, removing the paper when done.
- Tie the end of the embroidery floss to one bottom nail and begin wrapping diagonally across the heart shape.
- Continue wrapping until the center is densely filled, then tie off the end on the last nail.
15. Recycled Book Page Hearts
Easy

Faint text peeks through painted red hearts made from old book pages. These carry stories within their shape and soul.
Materials Needed
- Pages from an old book (5 sheets)
- Mod Podge
- Foam brush
- Red acrylic paint
- Paintbrush
- Heart stencil (2 inches)
- Cardboard (for drying)
How to Make It
- Lay a book page flat and position the heart stencil in the center.
- Brush Mod Podge over the stencil area and carefully remove the stencil.
- Paint the exposed heart shape with red acrylic paint and let dry for 20 minutes on cardboard.
- Brush a final coat of Mod Podge over the dried paint to seal and protect.
Grab your scissors and start with just one heart. Each fold, cut, and brushstroke carries your care into something visible and true.