15 Valentine’s Day Recycled Material Crafts

Crumpled paper, old jars, worn fabric—these small things carry stories and can become something new when shaped with care. Turn what you already have into heartfelt gifts and decorations that feel personal and kind to the planet.
Each piece you make holds warmth not just in how it looks but in knowing you gave time and thought to create it. These crafts invite you to slow down, enjoy simple materials, and share love in a way that’s gentle on both hearts and Earth.
1. Wine Cork Love Stamps
Easy
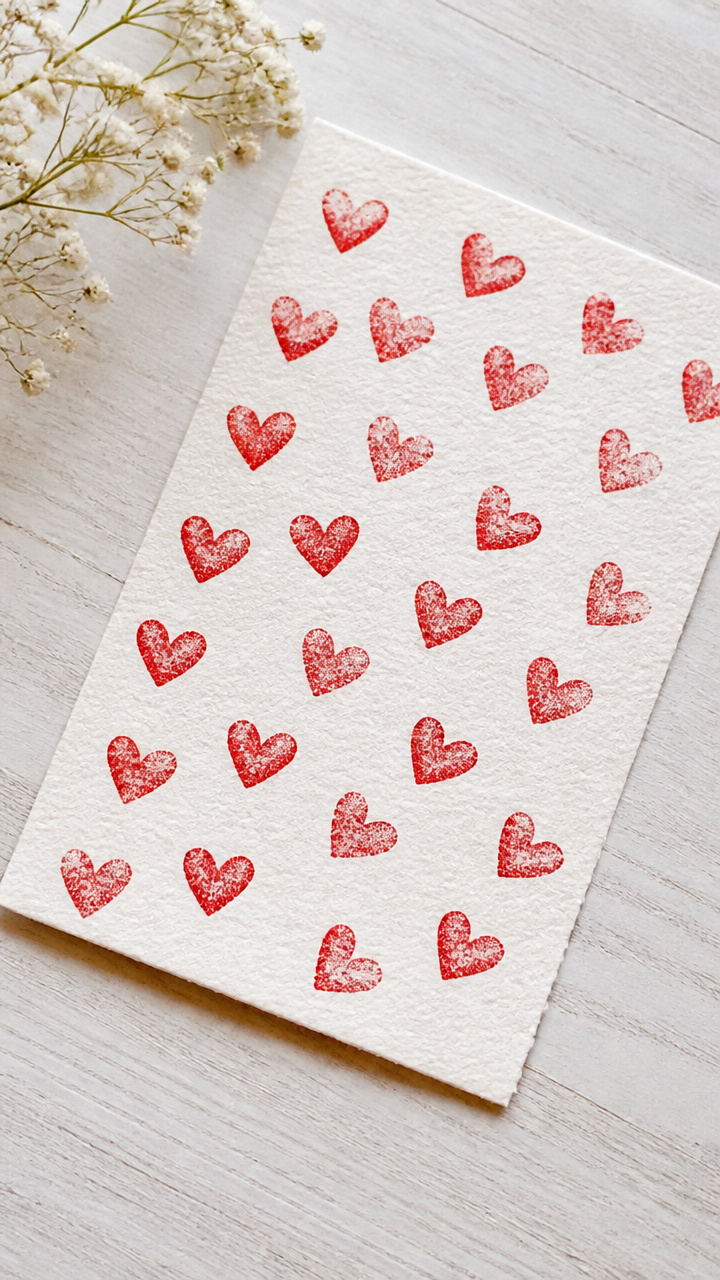
A cluster of tiny heart prints blooms across handmade cards and gift tags. Carving your own stamps gives each impression a one-of-a-kind texture and charm.
Materials Needed
- 3 wine corks
- Craft knife
- Pencil
- Red ink pad
- Heart-shaped cookie cutter (1 inch)
How to Make It
- Trace the outline of the cookie cutter onto the flat end of each cork using the pencil.
- Carefully cut along the traced line with the craft knife, pressing straight down to carve a shallow heart shape.
- Test the stamp on scrap paper, adjusting edges if needed for a clean print.
- Press the carved cork firmly onto the red ink pad, then stamp onto paper or tags.


2. Denim Pocket Heart Pouch
Moderate
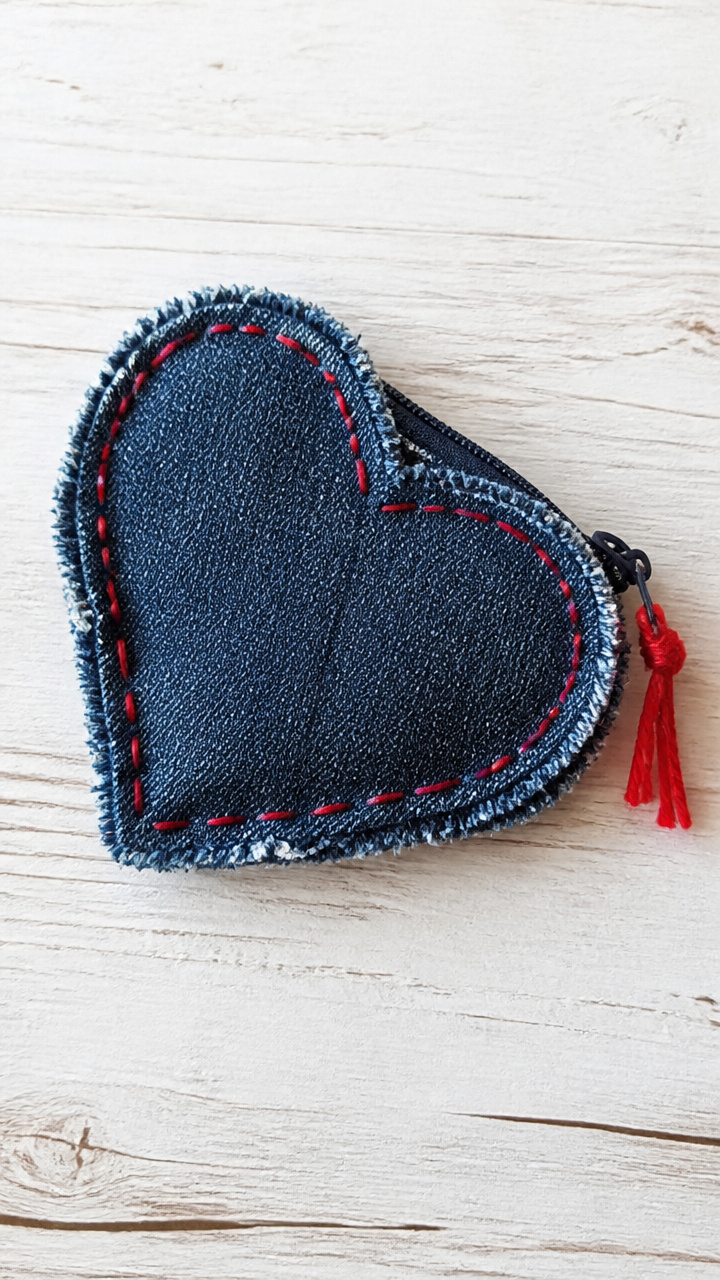
Soft indigo fabric from an old pair of jeans becomes a little pouch perfect for holding love notes or candy. The frayed edges add character and warmth.
Materials Needed
- One back denim pocket with seam allowance
- Fabric scissors
- Sewing needle
- Red embroidery floss
- Straight pins
- Tailor's chalk
How to Make It
- Lay the denim pocket flat and use tailor's chalk to draw a heart shape that fits within its borders, leaving 0.5 inch margins.
- Cut out two identical heart shapes from the pocket using fabric scissors.
- Pin the two pieces together with right sides facing, then sew around the edge with a whipstitch using red embroidery floss.
- Leave a 1.5-inch gap at the top, turn the pouch right side out, and tuck the raw edges inward before stitching closed.


3. Mason Jar Lid Wind Chime
Moderate
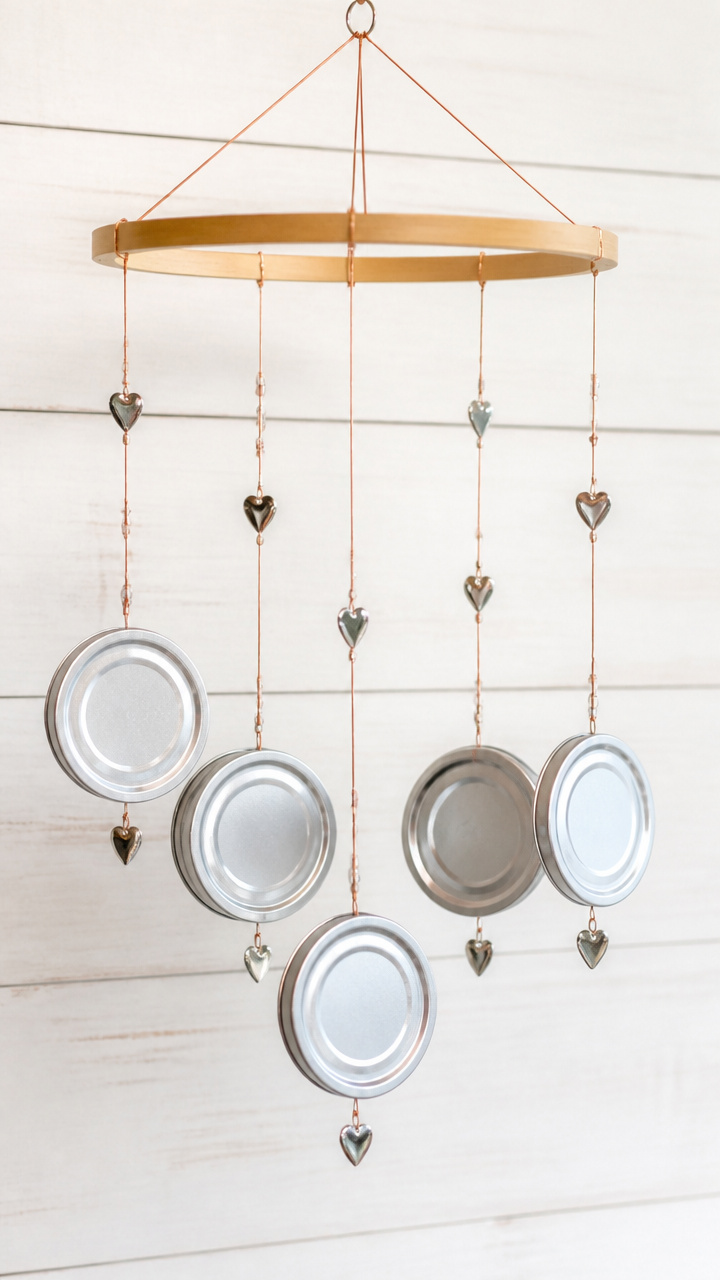
Metallic clinks dance softly in the breeze as upcycled jar lids sway from a wooden ring. Hang it by a window to catch light and attention.
Materials Needed
- 5 mason jar lids (regular size)
- 1 wooden embroidery hoop (8 inch diameter)
- Silver spray paint
- Hole punch (metal compatible)
- 5 feet of thin copper wire
- Small heart charms (5, metal)
How to Make It
- Spray paint the jar lids and wooden hoop with silver paint, letting them dry completely on newspaper for 2 hours.
- Use the hole punch to make one hole near the edge of each lid.
- Cut five 12-inch lengths of copper wire and thread one through each lid's hole, twisting to secure.
- Tie the free end of each wire to the outer ring of the embroidery hoop, spacing evenly.
- Attach a heart charm to the bottom of each wire with a small loop twist.


4. Magazine Page Heart Garland
Easy
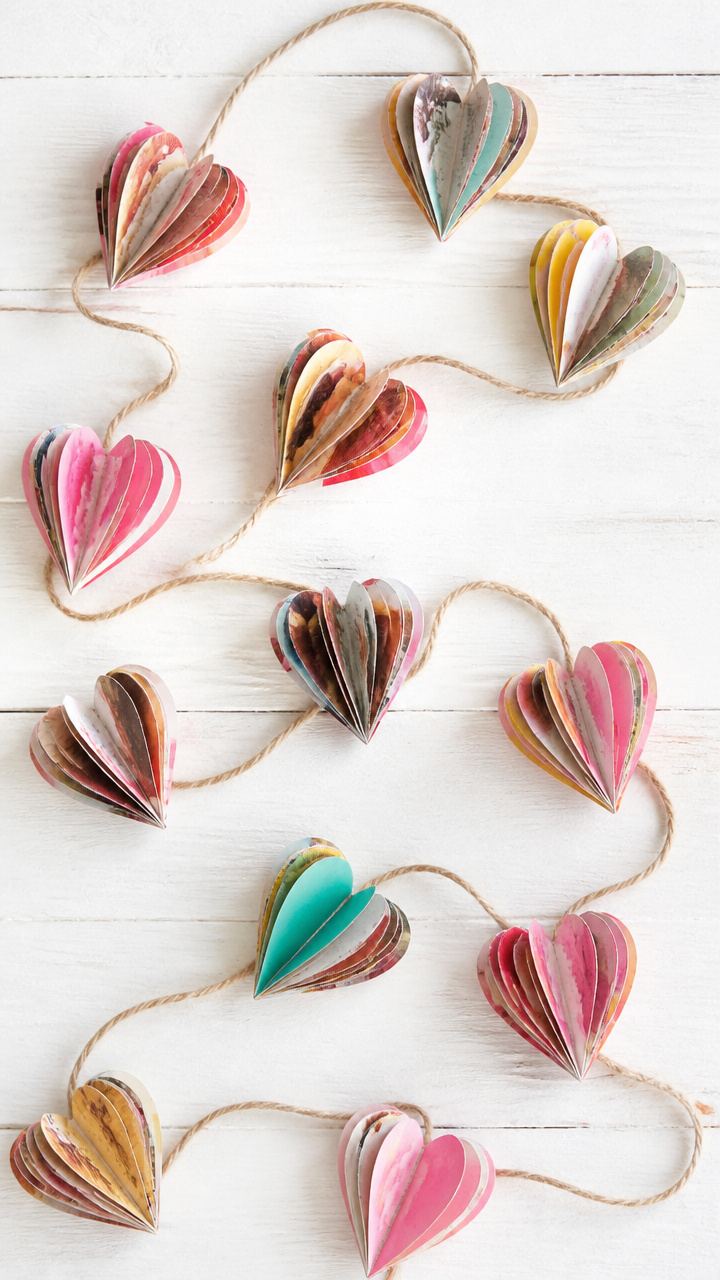
Bright swirls of colored text spiral into festive hearts that flutter along a windowsill or mantel. Each cut page carries fragments of stories turned joyful.
Materials Needed
- Old fashion magazine (1)
- Scissors
- White glue
- Twine (3 feet)
- Cardboard heart template (3 inch)
- Clothespins (6)
How to Make It
- Trace the cardboard heart template onto magazine pages and cut out 12 hearts.
- Fold each heart in half vertically and apply a thin line of white glue along one edge.
- Press two folded hearts together back-to-back to form a double-sided shape, holding for 10 seconds.
- Let all hearts dry flat for 20 minutes, then use clothespins to clip them evenly onto the twine.


5. Plastic Bottle Rose Bouquet
Moderate
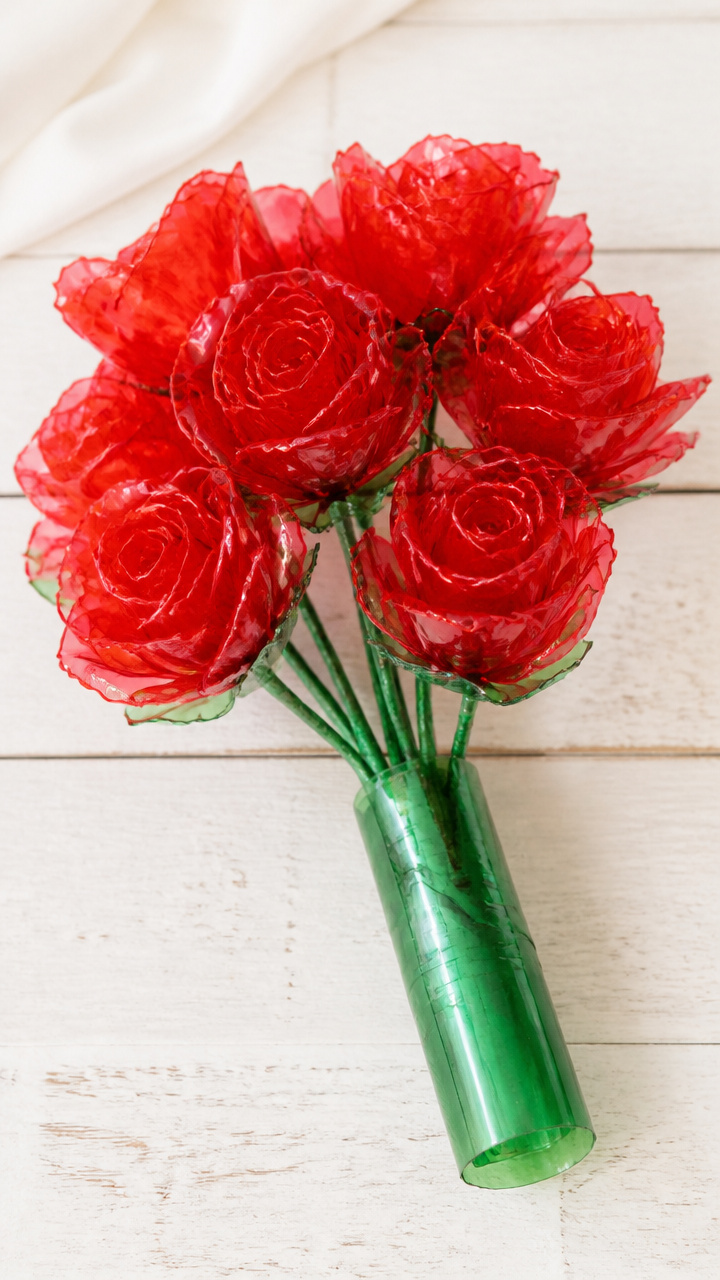
Translucent petals glow like stained glass when sunlight passes through them. This bouquet never wilts and takes just an hour to assemble.
Materials Needed
- Clear plastic soda bottles (3, 16 oz)
- Scissors
- Green floral tape
- Thick green wire (12 inches per rose)
- Lighter
- Red tissue paper (2 sheets)
How to Make It
- Cut each bottle into 1-inch tall rings, then slice each ring into petal shapes with pointed tips.
- Pass each petal gently over a lighter flame to curl the edges, moving quickly to avoid melting.
- Stack 8 petals in a spiral, attaching them one by one to the top of a green wire stem with a dab of melted plastic from the bottle rim.
- Wrap the stem with green floral tape from base to where petals begin, stretching slightly as you go.
- Tuck a small square of red tissue paper in the center of each flower as a filler.


6. Tin Can Wall Hearts
Advanced
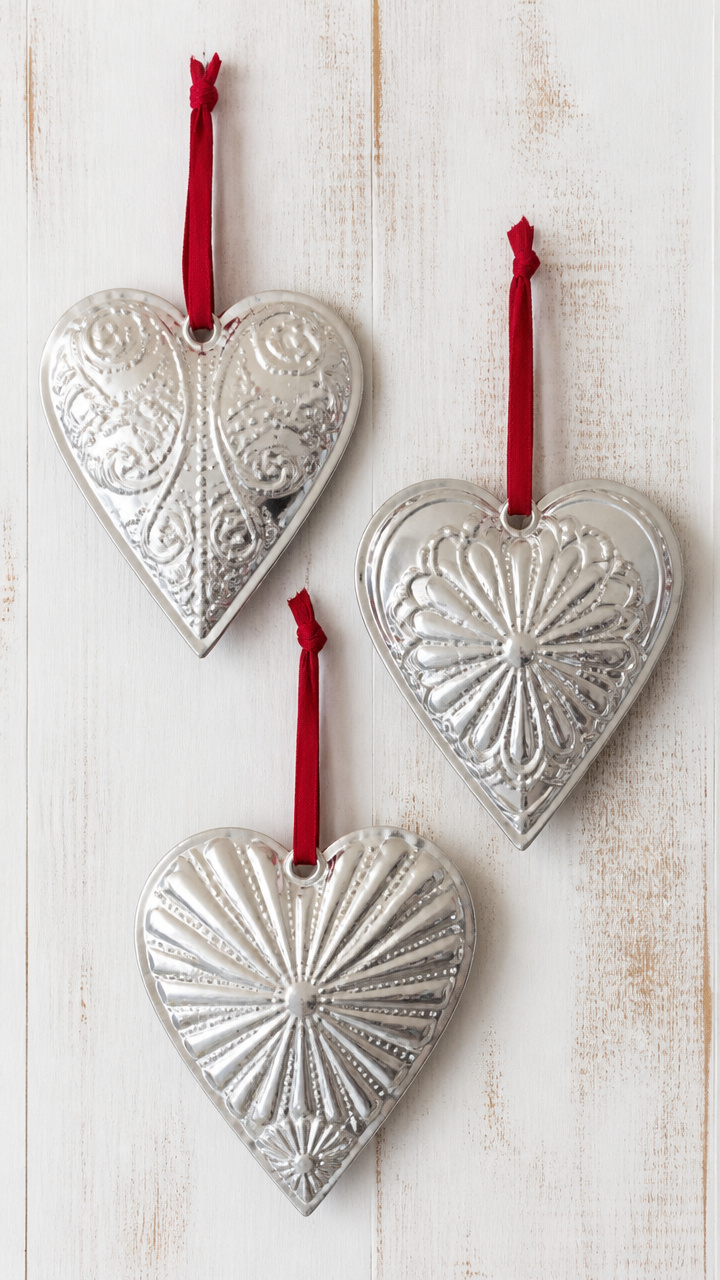
Shiny metal hearts with embossed patterns hang proudly on a bedroom wall. Hammering designs into cans adds rhythm and tactile fun.
Materials Needed
- Empty soup cans (2)
- Hammer
- Nail set tool
- Scissors
- Emery cloth
- Red ribbon (18 inches)
- Heart stencil (4 inch)
How to Make It
- Peel labels off cans and wash thoroughly, drying completely before cutting.
- Use scissors to snip off both ends of each can, then unroll the metal sheet and flatten under a book overnight.
- Trace two heart shapes using the stencil and cut them out with heavy-duty scissors.
- Place one heart on a wood block and use the nail set with hammer to tap decorative dots in a spiral pattern.
- Smooth sharp edges with emery cloth, then punch two holes at the top and thread with red ribbon for hanging.


7. Book Page Origami Hearts
Easy
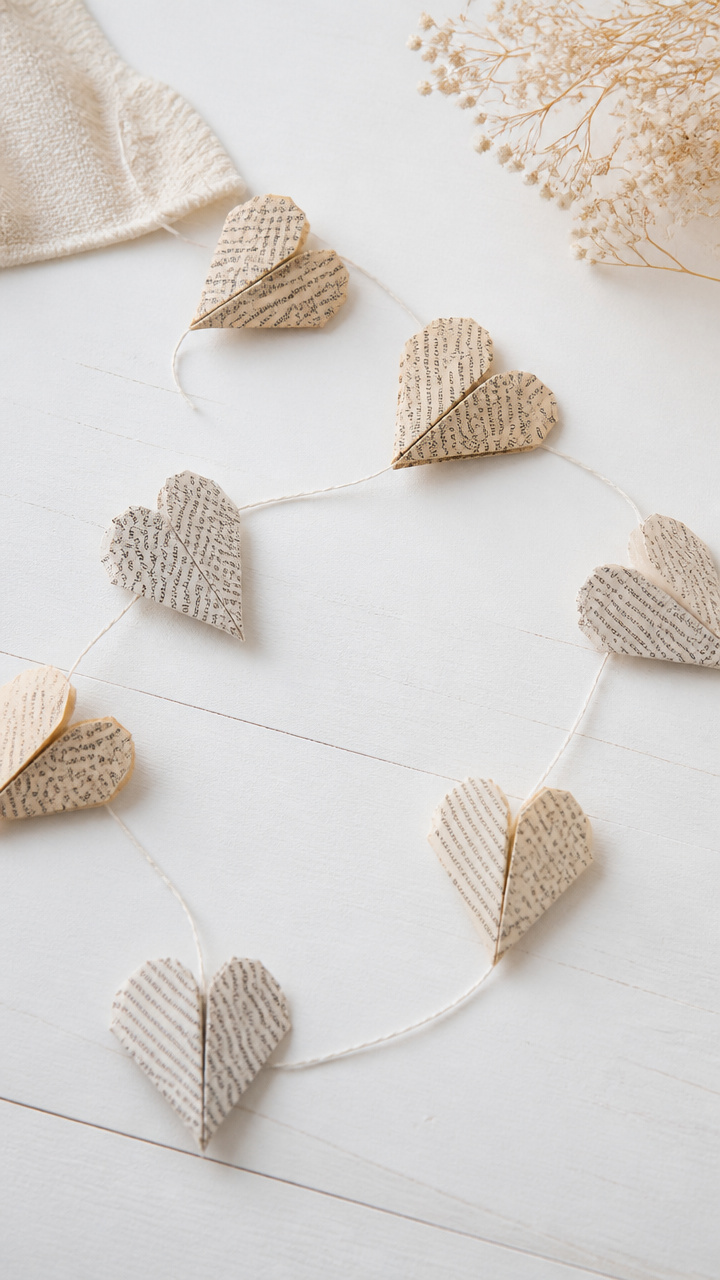
Faint lines of poetry or prose peek through delicate folded hearts strung into a quiet garland. These are perfect tucked inside a card or hung above a desk.
Materials Needed
- Pages from an old paperback book (6)
- Ruler
- Pencil
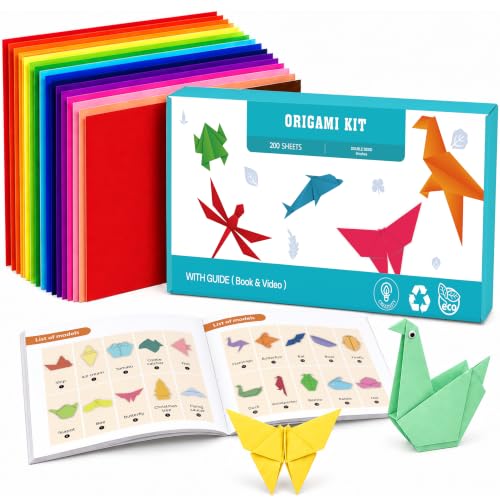
- Origami folding technique guide (printed)
- Thin white thread (2 feet)
- Tape
How to Make It
- Cut six 6×6 inch squares from book pages using the ruler and pencil to measure.
- Follow the printed origami guide to fold each square into a triangular heart using valley and mountain folds.
- At the top point of each heart, make a tiny hole with the pencil tip.
- Thread the white thread through each heart, tying small knots between them to space evenly.
- Tape the ends of the thread to a surface to display.


8. Egg Carton Flower Centerpieces
Easy
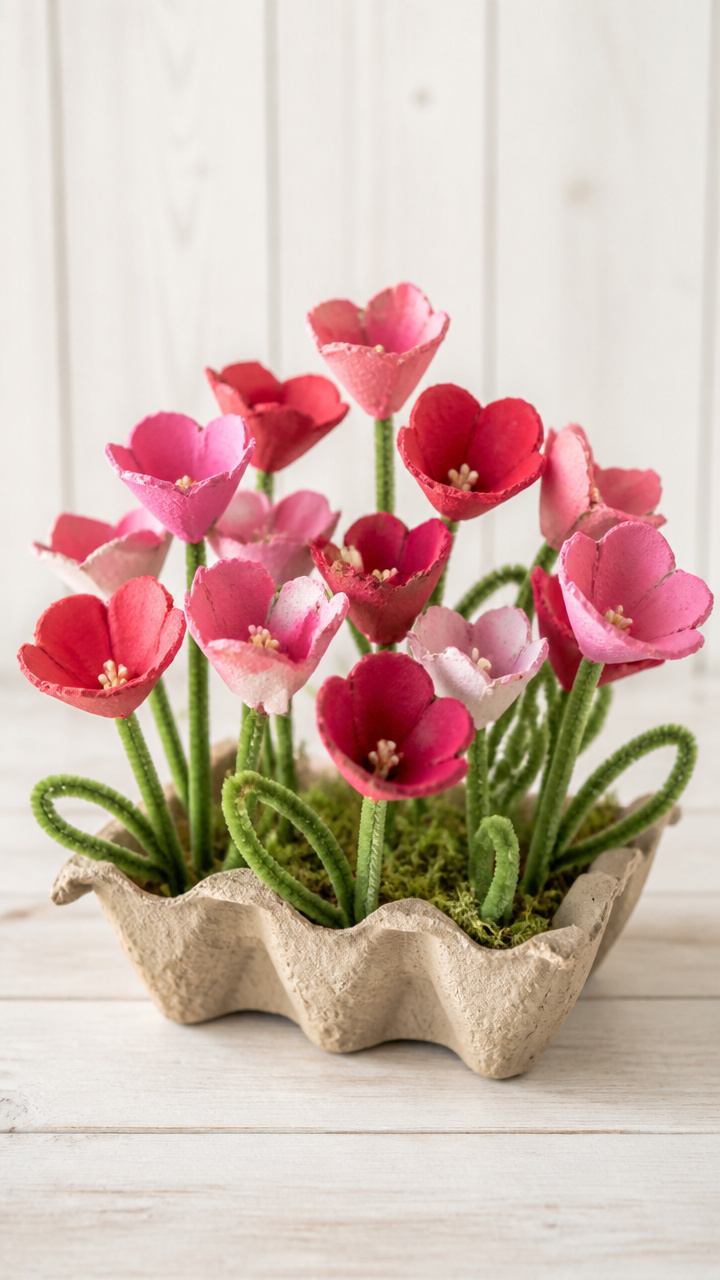
Rows of soft cup-shaped blossoms bloom from repurposed egg cartons, painted in warm pinks and reds. Group them in a tray for a sweet kitchen accent.
Materials Needed
- Cardboard egg carton (1)
- Scissors
- Pink acrylic paint
- Paintbrush (small round)
- Glue stick
- Green pipe cleaners (5)
- Small ceramic dish (for display)
How to Make It
- Cut out 10 individual cups from the egg carton using scissors.
- Paint the outside of each cup with pink acrylic paint and let dry on wax paper for 30 minutes.
- Use the glue stick to attach five pipe cleaners together at the base to form a stem bundle.
- Glue the stem bundle inside one cup, then stack four more cups around it, gluing each layer slightly offset.
- Place the finished flower in the ceramic dish and repeat to make a cluster.


9. CD Mosaic Picture Frame
Advanced
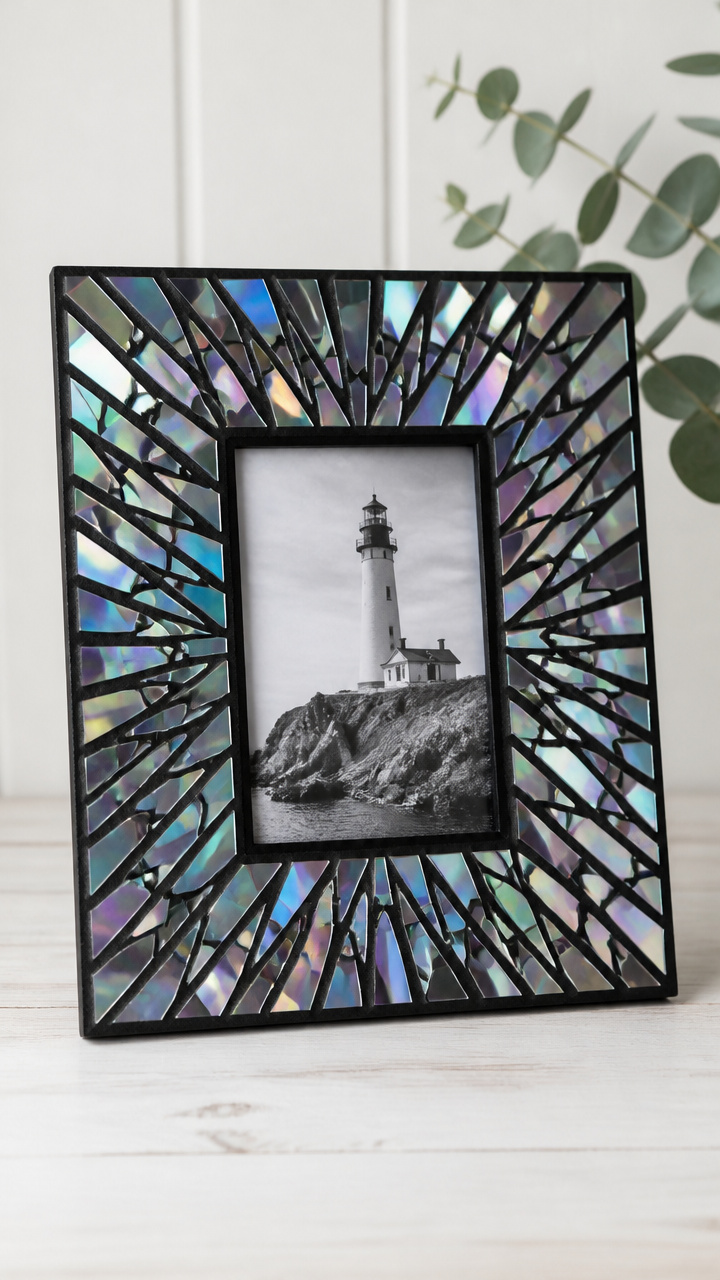
Rainbow flashes reflect from broken CD pieces arranged in a sunburst pattern. This frame turns any snapshot into a sparkling keepsake.
Materials Needed
- Old CD (1)
- Glass picture frame (5×7 inch)
- Black matte paint
- Paintbrush (flat 1 inch)
- Hot glue gun
- Safety goggles
- Needle-nose pliers
How to Make It
- Remove the glass from the frame and paint the wooden frame black, letting it dry for 1 hour.
- Put on safety goggles and use needle-nose pliers to snap the CD into 15-20 irregular shards.
- Sort shards by size and lay them shiny-side-up around the glass in a radial pattern.
- Working one piece at a time, apply a small dot of hot glue to the back and press onto the glass, leaving no gaps.
- Let the glue cure for 20 minutes before reinserting the photo and closing the frame.


10. Tea Bag Tag Valentines
Easy
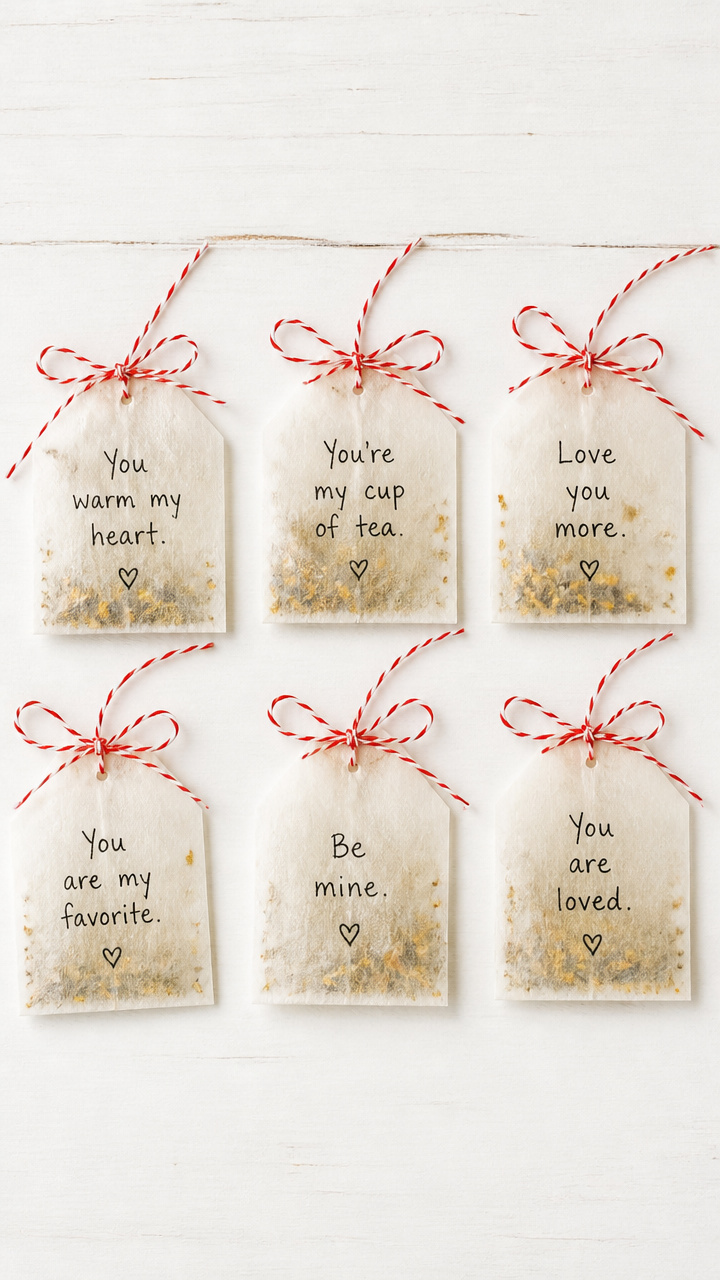
Mini envelopes made from used tea bags carry tiny love messages with a hint of bergamot or chamomile. These are unexpected and intimate little gifts.
Materials Needed
- Used tea bags (6, with intact paper tags)
- Fine-tip black pen
- Hole punch
- Red baker's string (12 inches)
- Scissors
How to Make It
- Rinse used tea bags gently and lay flat to dry overnight on a windowsill.
- Once dry, write a short message like 'You're my brew-tiful' on each tag with the fine-tip pen.
- Use scissors to trim excess string from each bag, leaving 1 inch attached to the tag.
- Punch a hole in the top of each tag and thread with a 2-inch piece of red baker's string tied in a bow.


11. Bottle Cap Magnets
Easy
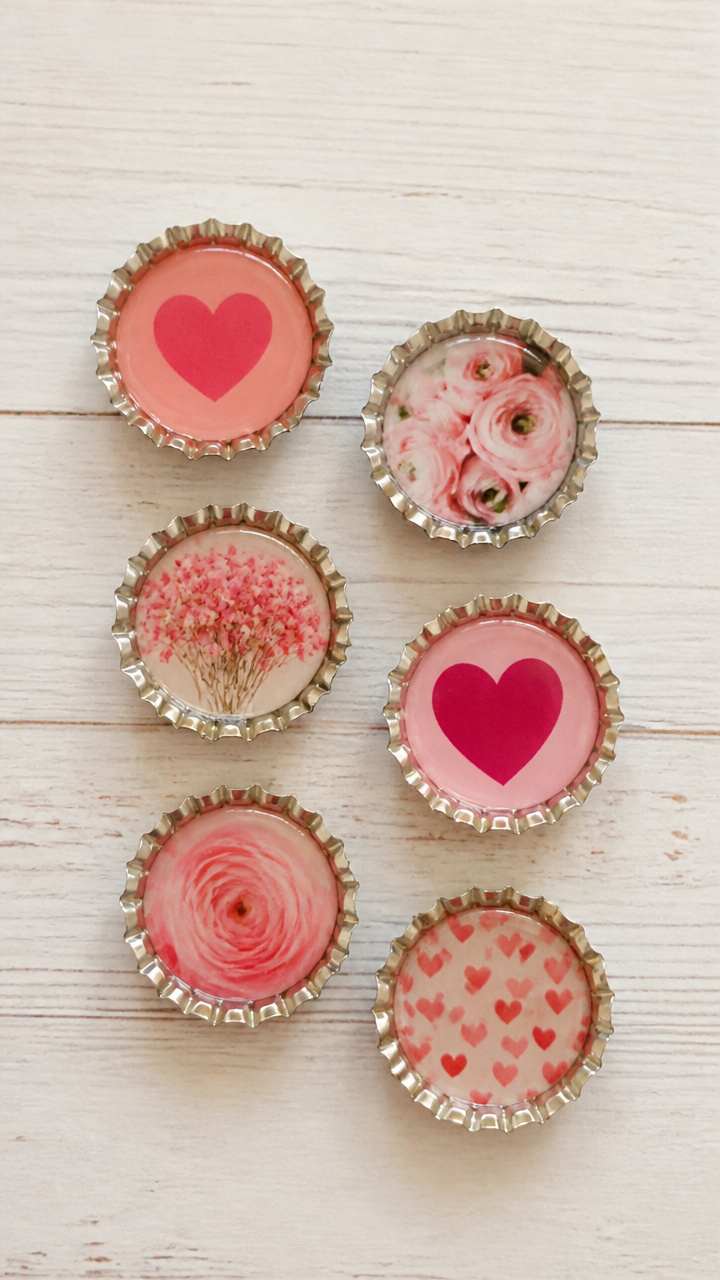
Tiny metal caps hold miniature photos or hand-drawn hearts, ready to cling to any fridge or locker. They’re small but full of personality.
Materials Needed
- Aluminum bottle caps (6)
- Round magnet discs (12 mm, 6)
- E6000 glue
- Craft tweezers
- Small printed photos (1 inch diameter, 6)
- Clear packing tape
How to Make It
- Cut six 1.5-inch squares of clear packing tape and place one sticky-side-up on a flat surface.
- Center a photo on each tape square, then cover with another tape square to seal.
- Trim excess tape around each photo to fit inside the cap.
- Apply a pea-sized drop of E6000 glue into each bottle cap and press a photo face-up into the glue.
- After 5 minutes, add another drop of glue on top and press a magnet disc into place, holding for 10 seconds.


12. Cardboard Tube Peep-Through Cards
Moderate

A heart-shaped window in a thick paper card reveals a hidden message when tilted. Rolling the tube creates depth and surprise.
Materials Needed
- Toilet paper rolls (2)
- Red construction paper (8.5×11 inch)
- Glue stick
- Craft knife
- Pencil
- Ruler
How to Make It
- Flatten each tube and cut into 0.75-inch wide rings using scissors.
- Stack eight rings and glue them together with the glue stick, offsetting each layer slightly to form a spiral column.
- Cut a 5×7 inch card from red construction paper and draw a 2 inch heart in the center.
- Use the craft knife to carefully cut out the heart, then glue the tube column over the hole so it stands upright.
- Write a message on a tiny scroll of paper and tuck it inside the tube so it shows through the front.
13. Fabric Scrap Bunting
Easy
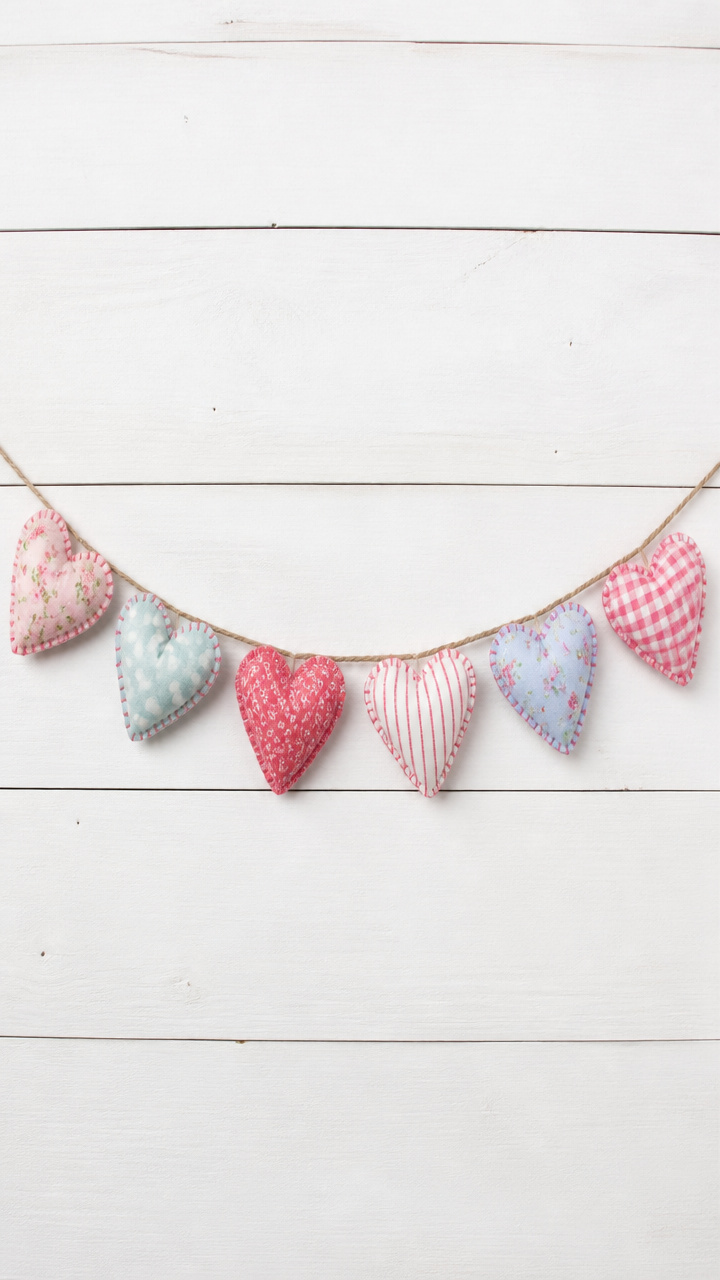
A string of mismatched hearts flutters with cozy charm, each cut from favorite worn shirts or dresses. This bunting feels like memory made visible.
Materials Needed
- Assorted cotton fabric scraps (6 pieces, 6×6 inch)
- Fabric scissors
- Sewing needle
- Pink thread
- Twine (4 feet)
How to Make It
- Fold each fabric scrap in half and use scissors to cut a heart shape through both layers.
- Open the hearts and align two matching ones with right sides together.
- Sew around the edge with a running stitch using pink thread, leaving a 1 inch gap.
- Turn each heart right side out and press flat with fingers.
- Space the hearts evenly along the twine, hand-stitching each to the string through the top fold.


14. Yogurt Cup Lanterns
Easy
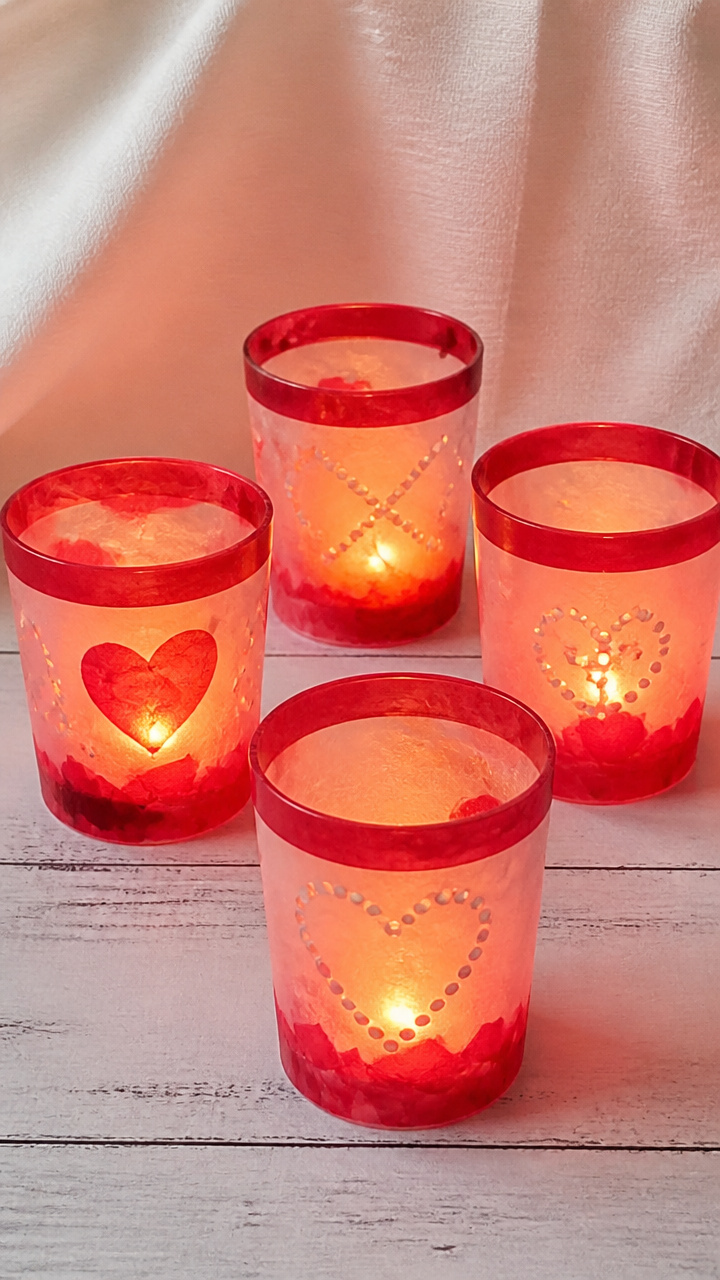
Soft red glows spill through hand-poked patterns in translucent cups. Set them on a table with a tea light for a safe, flickering centerpiece.
Materials Needed
- Empty yogurt cups (4, 6 oz)
- Red tissue paper (1 sheet)
- Mod Podge
- Foam brush
- Push pin
- LED tea lights (4)
How to Make It
- Wash and dry the yogurt cups, removing labels completely.
- Cut the tissue paper into 2×2 inch squares and apply a thin layer of Mod Podge to the outside of one cup.
- Press tissue paper squares onto the cup, overlapping slightly, and seal with another coat of Mod Podge.
- Let dry for 45 minutes, then use a push pin to poke small heart and dot patterns through the sides.
- Place an LED tea light inside each cup and group them on a tray.


15. Cereal Box Puzzle Coasters
Moderate
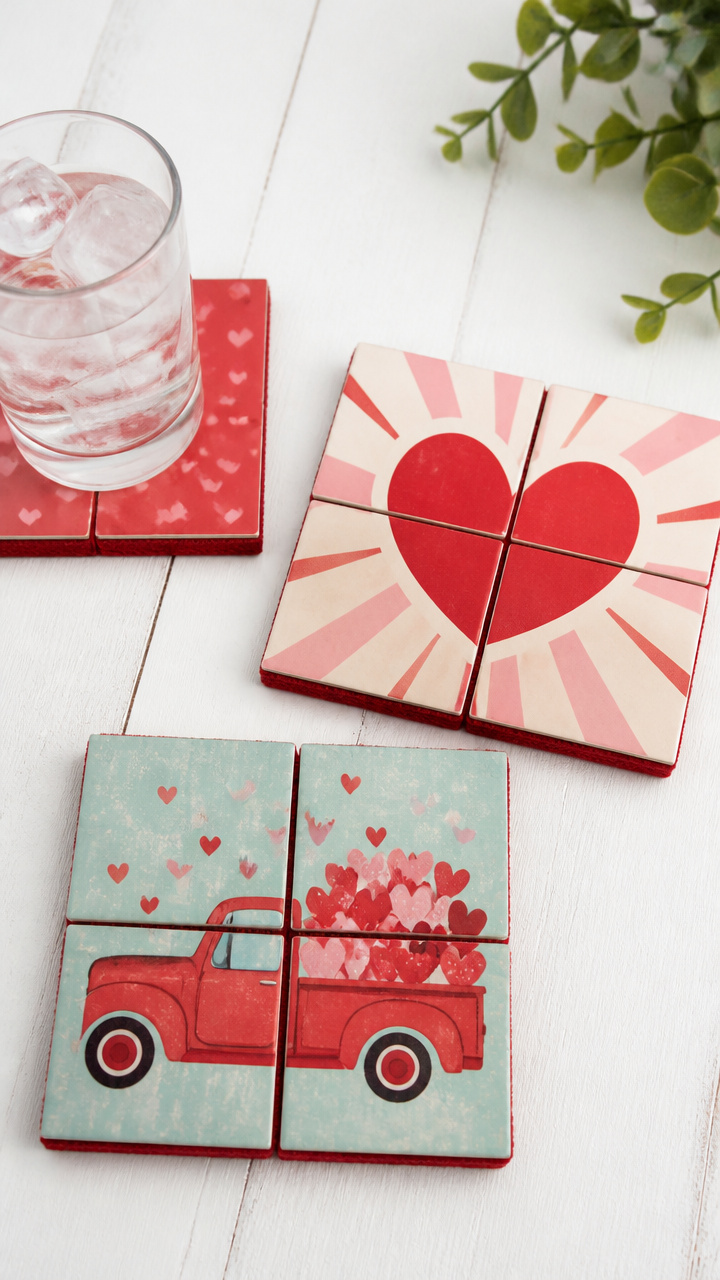
Sturdy cardboard squares reveal a split image only when placed side by side. These double as decor and a playful gift for couples.
Materials Needed
- Empty cereal box
- Craft knife
- Ruler
- Matte medium
- Paintbrush
- Red felt sheet (9×12 inch)
- Photos (2, 3×3 inch, matching couple image)
How to Make It
- Flatten the cereal box and use the ruler to draw four 4×4 inch squares, then cut them out with the craft knife.
- Cut one photo in half vertically and glue each half to two separate squares using matte medium, let dry 20 minutes.
- Seal the front and edges of each coaster with two coats of matte medium, drying 15 minutes between coats.
- Cut the felt into four 3.75 inch squares and glue one to the back of each coaster to prevent scratching.


You’ve got everything you need right at home to make something meaningful. Pick one idea and start today—love grows in the making.