15 Creative Valentine’s Day Crafts Using Construction Paper

Reds, pinks, and hearts in every shape spill across the table as scissors snip and glue dries. These handmade moments become keepsakes that outlast any store-bought card.
You don’t need fancy supplies or years of crafting experience to make something meaningful. With just construction paper and a few basics, you can create gifts and decorations full of love and personality.
1. Folded Heart Pop-Up Card
Easy

A surprise red heart leaps into view when this card opens, creating a playful moment perfect for slipping into a lunchbox or mailbox.
Materials Needed
- One 9×12 inch sheet red construction paper
- One 9×12 inch sheet pink construction paper
- White school glue
- Scissors
- Ruler
- Pencil
How to Make It
- Fold the pink sheet in half vertically to form a 6×9 inch card base and crease sharply with your fingernail.
- On the red sheet, draw a heart 3 inches tall and cut it out using scissors.
- Fold the heart in half and apply a small dot of glue along its folded edge.
- Open the pink card and center the glued edge on the inside fold, pressing it down to attach and letting it dry flat for 5 minutes.
2. Paper Doily Heart Garland
Moderate
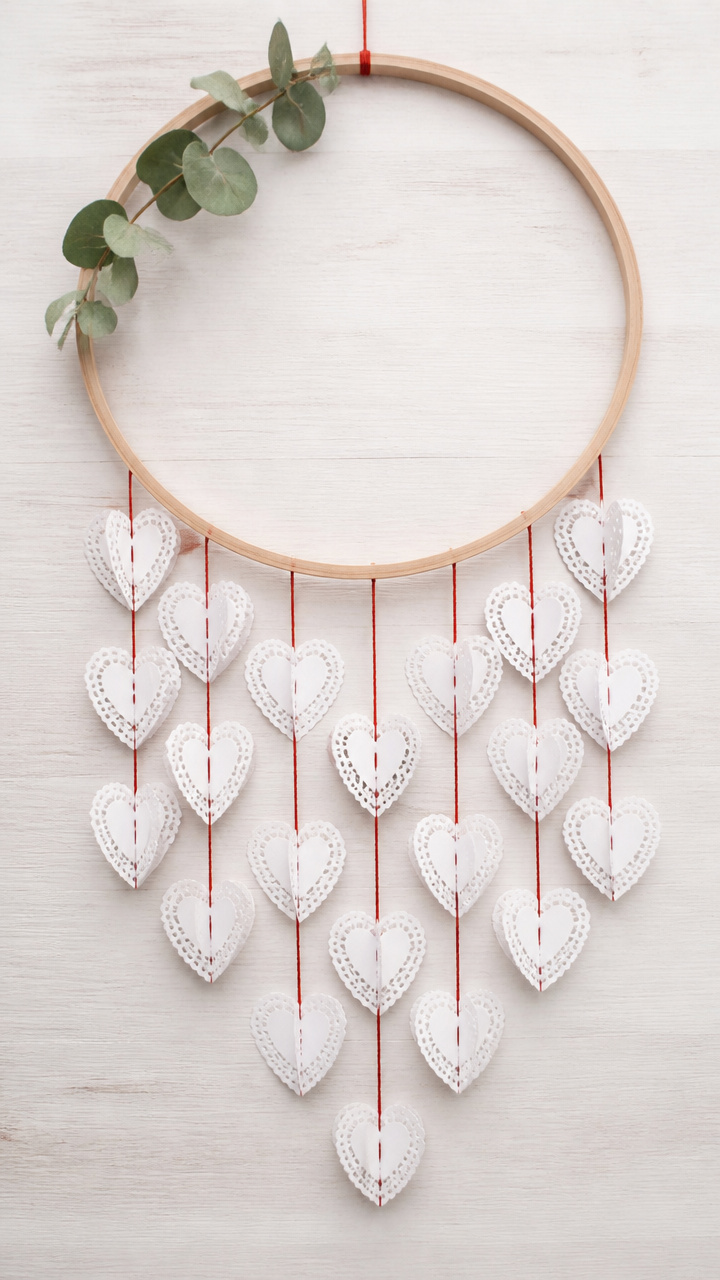
Delicate layered hearts strung together flutter softly on a windowsill, adding romantic charm to any room without clutter.
Materials Needed
- Three 9×12 inch sheets white construction paper
- Craft hole punch
- Twelve-inch wooden embroidery hoop
- Red embroidery floss, 3 yards
- Needle
- Scissors
- Heart stencil, 4 inches wide
How to Make It
- Trace the heart stencil onto each white sheet and cut out six hearts total using scissors.
- Stack two hearts together and use the hole punch to add five evenly spaced holes around the outer edge.
- Thread the needle with 18 inches of red floss and knot the end.
- Sew through the punched holes of one stacked pair using a running stitch, then tie off and trim the thread.
- Repeat for the remaining two pairs, then tie each finished heart to the embroidery hoop with 6 inch floss segments spaced evenly.
3. Layered Shadow Box Heart
Advanced
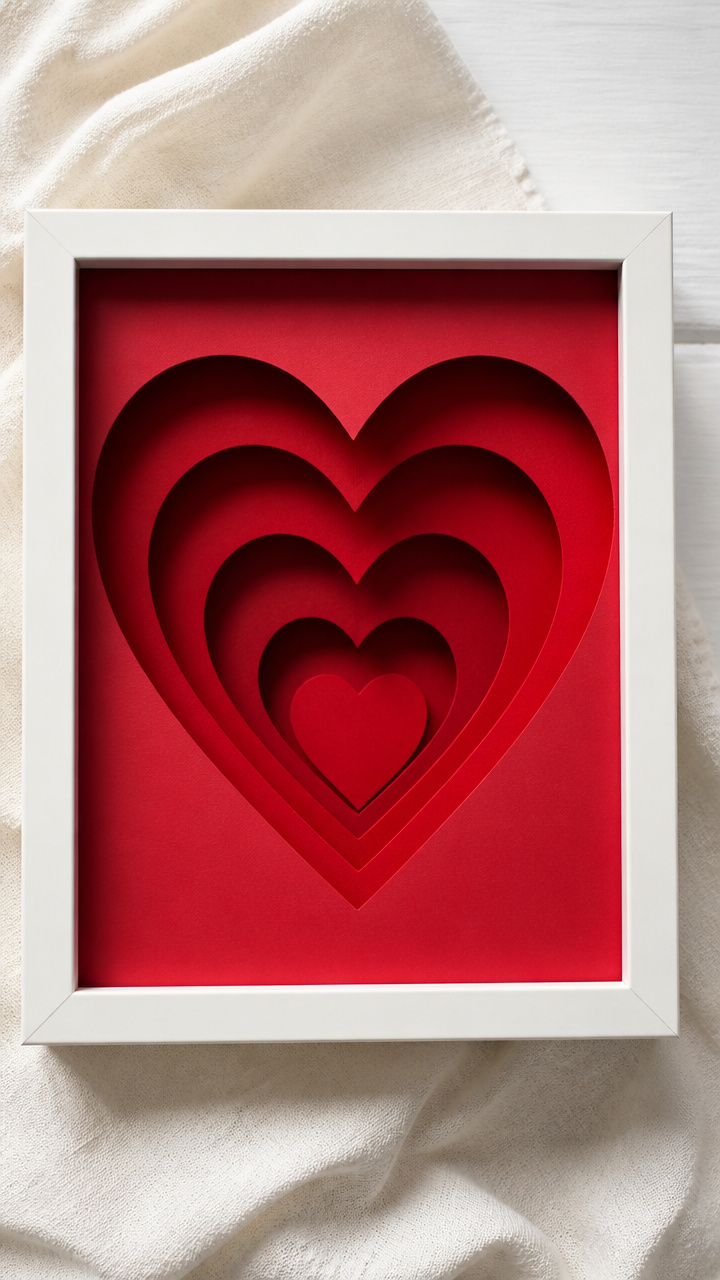
Deep red paper layers build dimension inside a thrifted frame, casting soft shadows that shift with the light.
Materials Needed
- Five 9×12 inch sheets varying red-toned construction paper
- Empty 8×10 inch picture frame with backboard
- Double-sided foam squares, 1/2 inch, pack of 20
- X-Acto knife with #11 blade
- Self-healing cutting mat
- Cutting ruler
- Pencil
- Heart template, 6 inches tall
How to Make It
- Place the template on the darkest red sheet and trace it, then repeat on each lighter shade to create five hearts.
- Use the X-Acto knife and ruler on the cutting mat to cut out each heart precisely, changing blades if needed.
- Lay the darkest heart on the backboard and attach four foam squares near its edges.
- Center the next-lightest heart on top and press gently to adhere, repeating with increasing spacer counts: three, two, one.
- Top with the lightest heart directly on the previous layer with no spacers, then insert the backboard into the frame.
4. Accordion Love Fan
Easy

Bright zigzag folds fan open to reveal hidden messages, making this a fun interactive gift for kids or playful partners.
Materials Needed
- Four 9×12 inch sheets assorted pink and red construction paper
- Glue stick
- Pencil
- Ruler
- Scissors
How to Make It
- Cut each sheet into 3×9 inch strips using the ruler and scissors, yielding 16 strips total.
- Fold one strip accordion-style with 3/4 inch peaks and valleys, creasing each fold sharply with your fingernail.
- Repeat folding for all strips, then lay them side by side with ends aligned.
- Glue the end of one strip to the end of the next using the glue stick, building one long chain.
- Let the glue dry for 3 minutes, then fan out the chain and pinch the center to bind it temporarily.
5. Construction Paper Quilled Hearts
Moderate
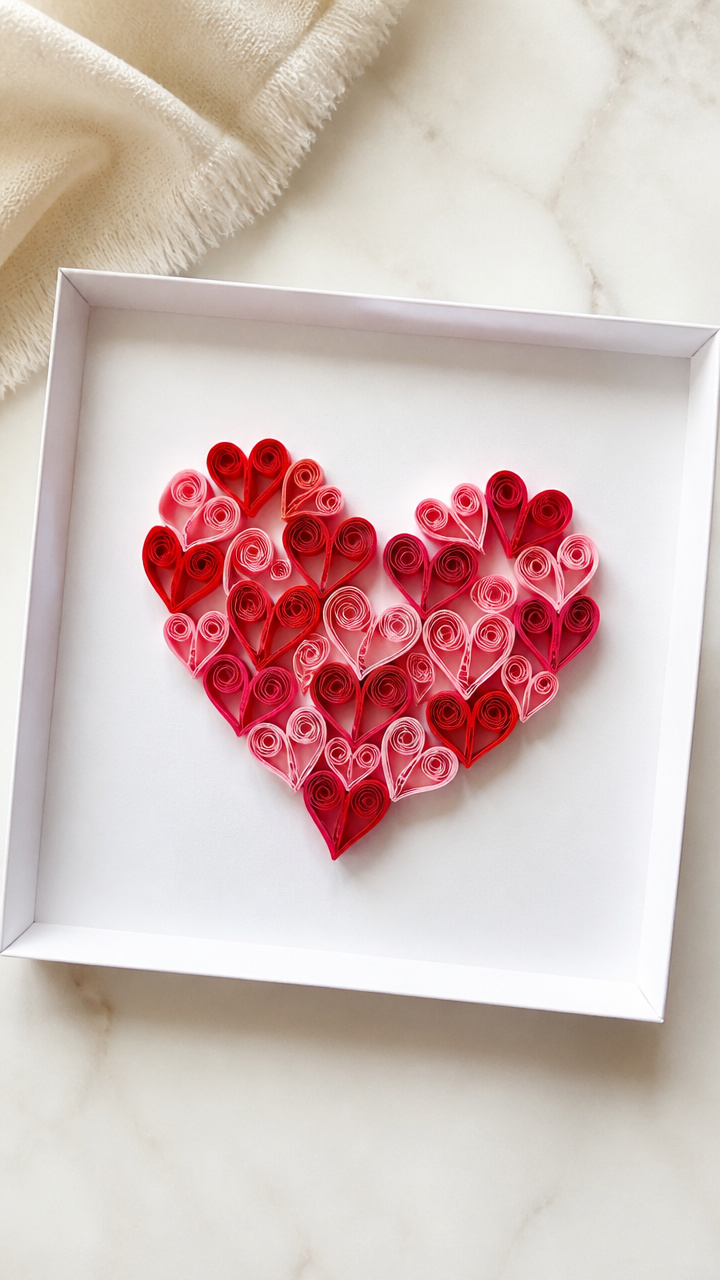
Tightly coiled paper threads spiral into tiny hearts that nestle into a hand-folded display tray.
Materials Needed
- Eight 9×12 inch sheets red and pink construction paper
- Quilling tool with slotted tip
- White craft glue in fine applicator bottle
- Tweezers
- Scissors
- Cardboard base, 5×7 inches
How to Make It
- Cut eight strips of paper 1/4 inch wide and 12 inches long using the scissors and ruler.
- Roll each strip tightly around the quilling tool and secure the end with a dab of glue from the applicator bottle.
- Let coils relax slightly, then pinch one end to form a teardrop and bend it toward the base to meet at a point, gluing shut.
- Arrange ten quilled hearts on the cardboard base in a loose cluster and glue each in place with tweezers for precision.
- Allow the glue to dry completely for 10 minutes before handling.
6. Heart-Shaped Paper Chain
Easy

Interlocking loops twist into a bold garland that wraps a mirror or frames a doorway with cheerful color.
Materials Needed
- Six 9×12 inch sheets alternating red and pink construction paper
- White school glue
- Scissors
- Pencil
- Ruler
How to Make It
- Cut each sheet into 1×12 inch strips using the ruler and scissors, producing 72 strips.
- Form a loop with one strip and glue the ends together, overlapping by 1/2 inch.
- Thread a second strip through the first loop before gluing its ends to create an interlock.
- Continue threading and gluing strips in alternating colors until the chain measures 6 feet.
- Let each joint dry for 30 seconds before adding the next link to prevent separation.
7. Paper Mosaic Heart Frame
Moderate
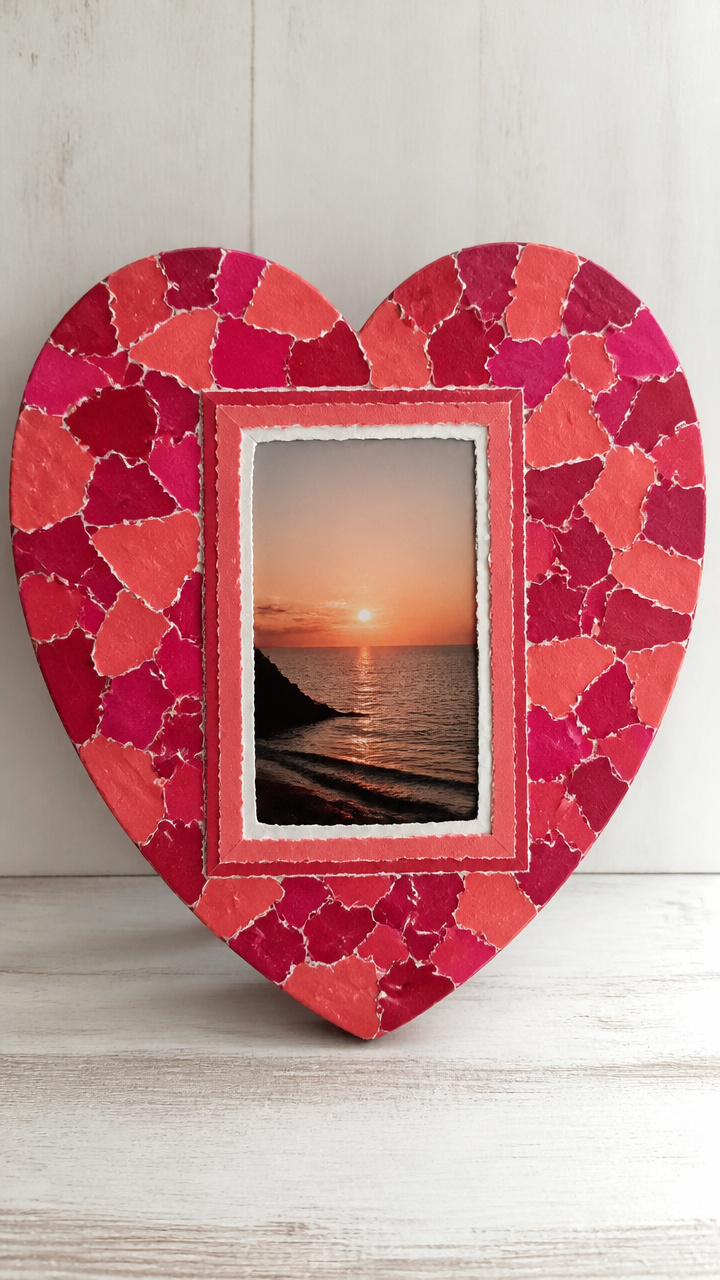
Tiny torn paper tiles cover a cardboard heart, forming a textured border that holds a favorite photo.
Materials Needed
- One 9×12 inch sheet deep red construction paper
- One 9×12 inch sheet magenta construction paper
- One 9×12 inch sheet coral construction paper
- Matte photo, 3×5 inches
- Cardboard sheet, 6×8 inches
- White school glue
- Scissors
- Pencil
How to Make It
- Draw a 5 inch heart on the cardboard and cut it out with scissors to use as a base.
- Tear the three colored sheets into 1/2 inch square pieces, mixing shades as you go.
- Apply a thin layer of glue to the outer 3/4 inch edge of the cardboard heart using your fingertip.
- Press paper pieces close together into the glued area, covering completely with no gaps.
- Center the photo on the inner clear space and glue it down, letting the entire piece dry face up for 20 minutes.
8. Foil-Backed Heart Bookmarks
Moderate
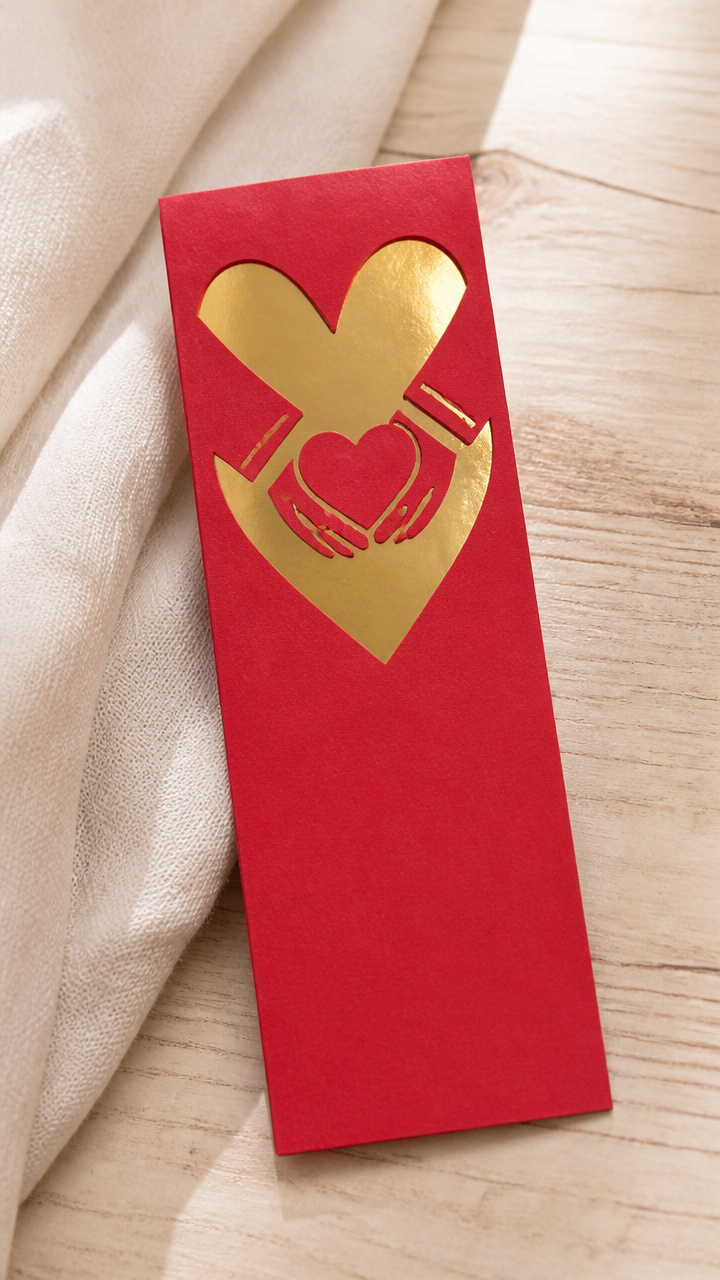
Shiny gold accents catch the light on sturdy bookmarks shaped like clasped hands holding a heart.
Materials Needed
- Two 9×12 inch sheets red construction paper
- One 9×12 inch sheet gold metallic cardstock
- Scissors
- Pencil
- White school glue
- Bookmark template, 2×6 inches with hand-heart design
How to Make It
- Trace the bookmark template onto red paper and cut out two identical shapes using scissors.
- Trace the hand-heart outline onto gold cardstock and cut it out precisely.
- Glue the gold shape centered between the two red layers, sandwiching the edges completely.
- Press under a heavy book for 3 minutes to bond firmly, then let cure for 10 minutes before use.
9. Peekaboo Window Heart Card
Moderate
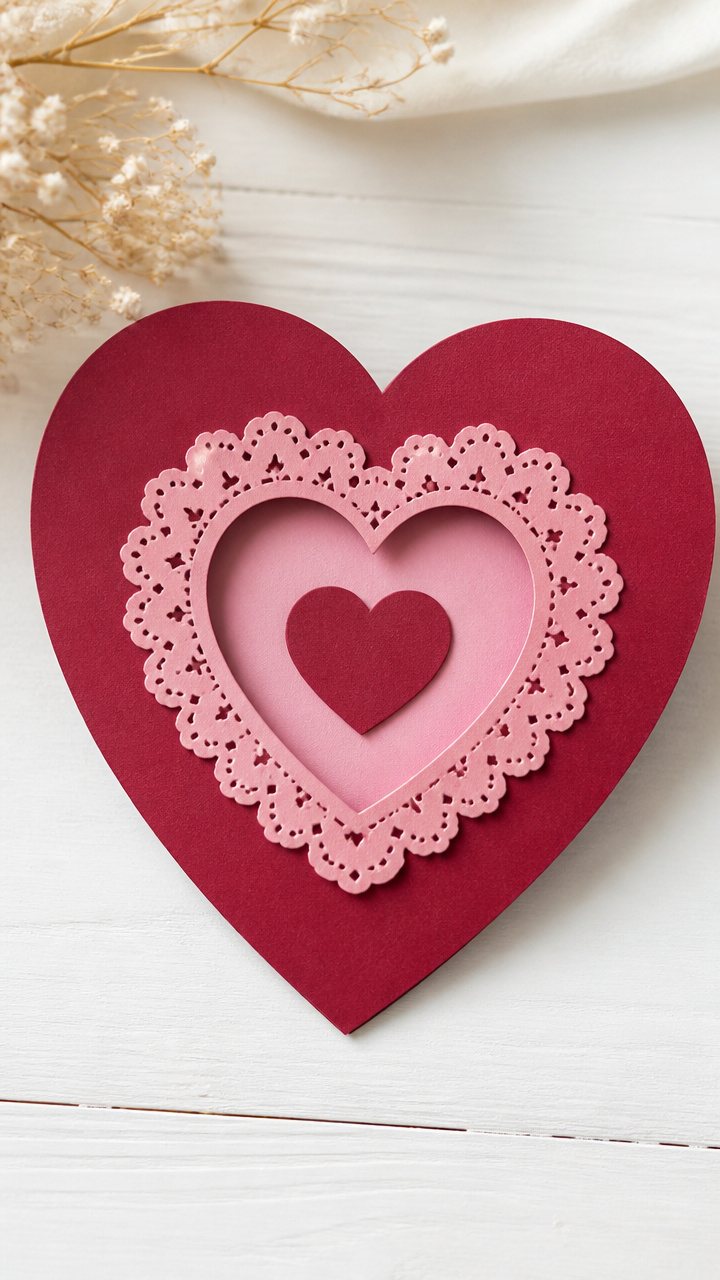
A die-cut opening framed in lace reveals a smaller heart beneath, inviting fingers to lift the flap.
Materials Needed
- One 9×12 inch sheet burgundy construction paper
- One 9×12 inch sheet pale pink construction paper
- Lace trim, 1/4 inch wide, 12 inches long
- Craft knife with #11 blade
- Self-healing cutting mat
- Glue stick
- Scissors
- Heart stencil, 2 inches wide
How to Make It
- Fold the burgundy sheet in half to make a 6×9 inch card and crease sharply.
- Place the 2 inch heart stencil 1 inch from the front center and trace lightly with pencil.
- Use the craft knife on the cutting mat to carefully cut along the line, removing the center shape.
- Trim the lace to 4 inches and glue it around the inside edge of the window with the glue stick.
- Center the small pink heart behind the window and glue it in place, letting it show through the opening.
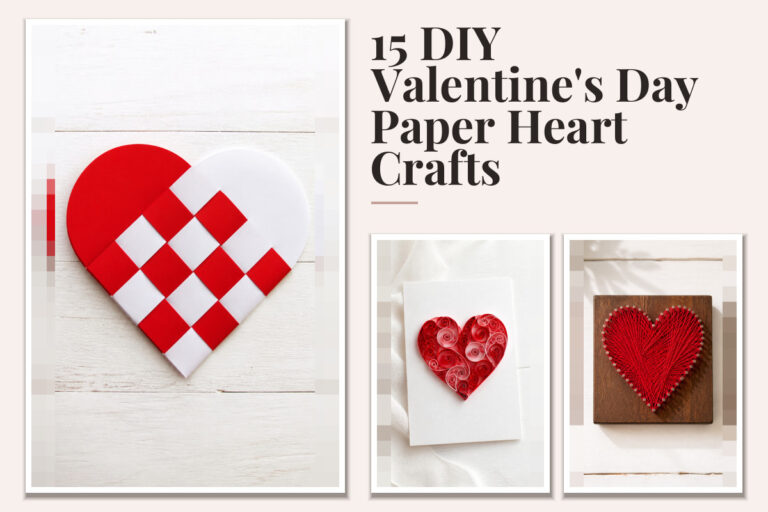
10. Paper Weave Wall Heart
Easy
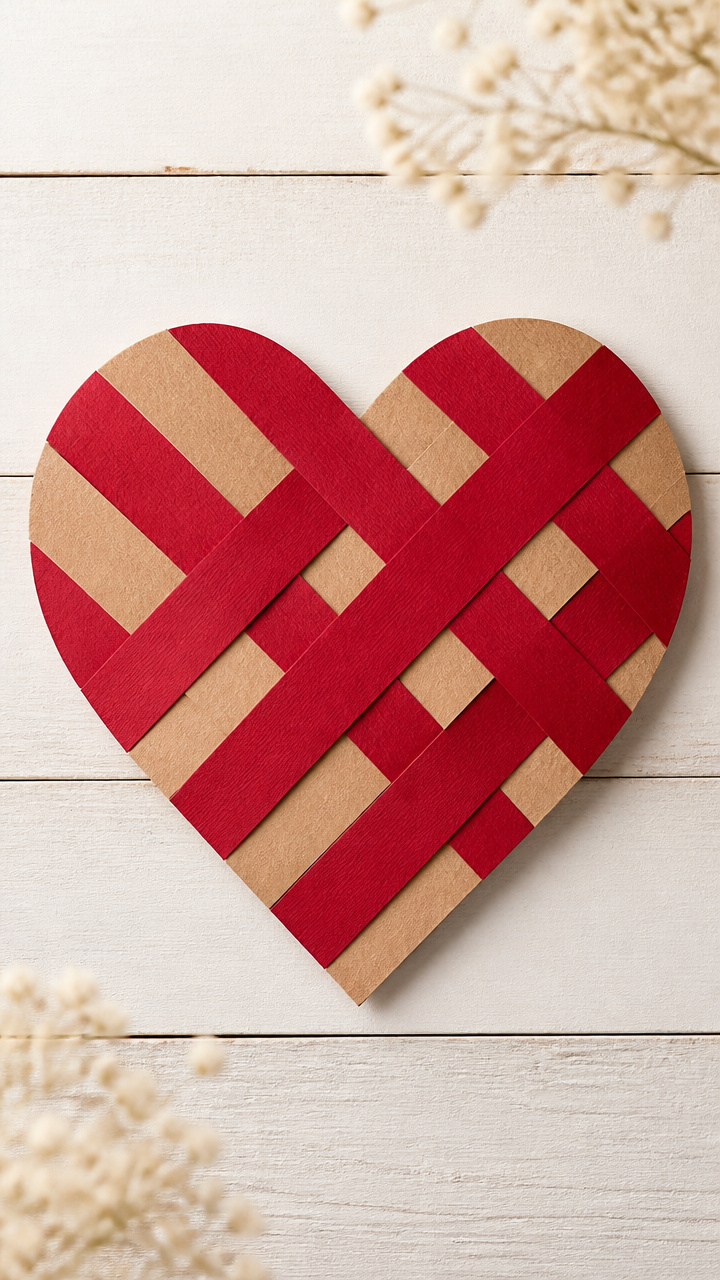
Crisscrossed strips form a woven heart mounted on a contrasting background, modern and graphic on any wall.
Materials Needed
- One 9×12 inch sheet crimson construction paper
- One 9×12 inch sheet kraft paper
- White school glue
- Scissors
- Ruler
- Heart stencil, 8 inches tall
How to Make It
- Cut the crimson sheet into eight 1 inch wide strips, each 12 inches long.
- Cut the kraft sheet to 9×12 inches and lay it flat as the backing.
- Arrange four crimson strips vertically 1 inch apart on the kraft sheet, gluing only the ends.
- Weave four horizontal strips over and under the vertical ones, pressing gently at each intersection.
- Glue the ends of the horizontal strips and let the piece dry flat for 15 minutes before hanging.
11. Origami Heart Mobile
Advanced

Five folded hearts dangle at different heights from a painted twig, turning breezes into gentle motion.
Materials Needed
- Ten 6×6 inch squares red origami paper
- Natural birch twig, 10 inches long
- Acrylic paint, matte white, 1 oz
- Paintbrush, size 4 round
- Fishing line, 10 lb test, 3 feet
- Scissors
- Tape measure
How to Make It
- Paint the twig with white acrylic using the brush and let it dry completely for 20 minutes.
- Fold each 6×6 inch square into a traditional origami heart following standard valley and mountain folds.
- Cut five fishing line segments: 8, 10, 12, 14, and 16 inches using scissors and the tape measure.
- Tie one end of each line around the pointed tip of a heart with a double knot.
- Evenly space and tie the free ends to the painted twig, then tie a 6 inch loop to the center for hanging.
12. Construction Paper Flower Bouquet
Moderate

Vibrant paper roses bundled with twine mimic a real bouquet, lasting far longer on a bedside table.
Materials Needed
- Six 9×12 inch sheets red construction paper
- Three 9×12 inch sheets green construction paper
- Floral wire, 18 gauge, 6 pieces, 12 inches each
- Green floral tape
- Scissors
- Pencil
- Ruler
How to Make It
- Cut six 4×4 inch squares from red paper and round the corners slightly with scissors.
- Make a small hole in the center of each square and snip inward in a spiral to within 1 inch of the edge.
- Roll the spiral from the outer end toward the center around a pencil to form a rose, securing the base with a dot of glue.
- Attach a floral wire to each flower base with floral tape, wrapping tightly from head to 2 inches down.
- Cut leaf shapes from green paper and slide two onto each stem, taping them in place with green floral tape.
13. Heart Confetti Surprise Envelope
Easy

A tug on a ribbon spills a burst of tiny hearts, transforming a simple envelope into a joyful reveal.
Materials Needed
- One 9×12 inch sheet pink construction paper
- One 9×12 inch sheet red construction paper
- Confetti punch, heart-shaped, 3/8 inch
- Red satin ribbon, 1/4 inch wide, 12 inches long
- White school glue
- Envelope template, 5×7 inches
How to Make It
- Fold the pink sheet in half and cut using the envelope template, then glue the sides and bottom flaps shut.
- Use the confetti punch on the red sheet to create 50 small hearts.
- Slide the hearts inside the envelope and feed one end of the ribbon through the top seam.
- Tie a knot inside to anchor the ribbon, then seal the envelope flap with glue.
14. Paper Cut-Out Suncatcher
Moderate

Sunlight streams through a layered heart collage, casting colorful reflections on walls and floors.
Materials Needed
- Four 9×12 inch sheets transparent vellum paper in red, pink, magenta, and coral
- Clear adhesive shelf liner, 12×12 inches
- Black construction paper, 9×12 inch sheet
- Scissors
- Heart stencils: 2 inch, 3 inch, 4 inch
- Double-sided tape
How to Make It
- Cut the black paper to 8×10 inches to serve as the suncatcher’s dark border.
- Trace and cut one heart in each size from each vellum color, totaling 16 hearts.
- Layer the hearts concentrically on the shelf liner sticky side up, largest on the outside.
- Press firmly to adhere all layers, then trim excess liner to match the black paper size.
- Attach the assembly to the black sheet using double-sided tape on all four edges.
15. Hand-Stamped Heart Banner
Easy

Uniform hearts stamped in rhythmic rows create a crisp pennant string ideal for parties or photos.
Materials Needed
- Five 9×12 inch sheets assorted red-toned construction paper
- Round wooden cap eraser, 1/2 inch diameter
- Red fabric paint, 2 oz squeeze bottle
- Pencil
- Ruler
- Twine, 5 feet
- Hole punch
How to Make It
- Cut each sheet into 6×6 inch squares, yielding 20 total.
- Dip the eraser flat side into the fabric paint and stamp a heart near the top of one square.
- Repeat stamping on all squares, letting each dry for 5 minutes to avoid smudging.
- Punch two holes at the top corners of each square and thread twine through alternately.
- Knot the ends of the twine to secure the banner for hanging.
Grab your scissors and start shaping love one cut at a time. These simple creations mean more because you made them with your hands.