17 Large-Print and Easy-Grip January Crafts for Seniors

Soft yarns, bold markers, and wide-handled tools fill a sunlit table where hands move with care and confidence. These crafts meet you where you are, offering comfort in the rhythm of making and joy in the finished piece.
Each project uses materials that are easy to see and hold, with clear steps that don’t rush. You’ll create things that warm your space and spirit, one thoughtful stitch or stroke at a time.
1. Knitted Mug Hug
Easy
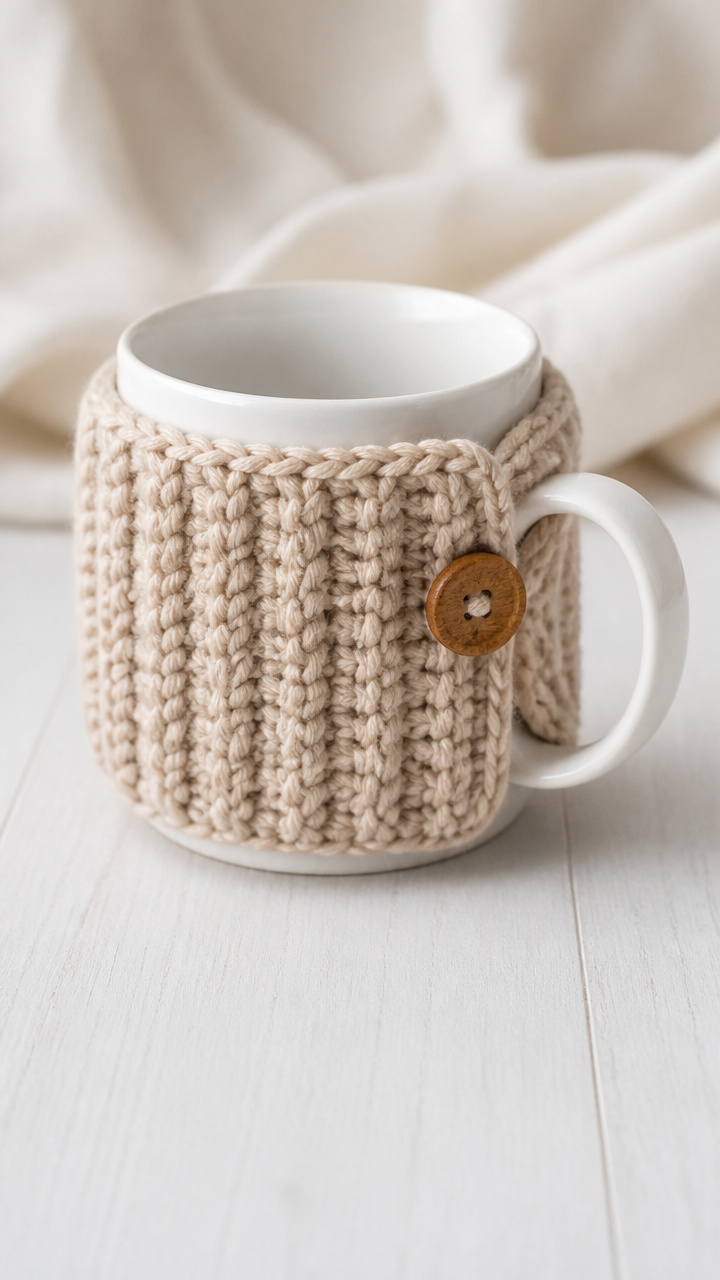
Thick wool wraps around your favorite mug, keeping drinks warm and hands cozy. This snug sleeve slips on easily and stays put with a simple button closure.
Materials Needed
- Bernat Softee Chunky yarn (1 skein, color of choice)
- Size 10 knitting needles
- One 1-inch wooden button
- Yarn needle
- Scissors
How to Make It
- Cast on 20 stitches using the long-tail cast-on method.
- Knit every row until the piece measures 6 inches from the cast-on edge.
- Bind off loosely, then use the yarn needle to sew the button centered on one end.
- Fold the rectangle into a loop so the button lines up with the opposite edge, and whip-stitch the seam closed.


2. Puffy Paint Winter Suncatcher
Easy
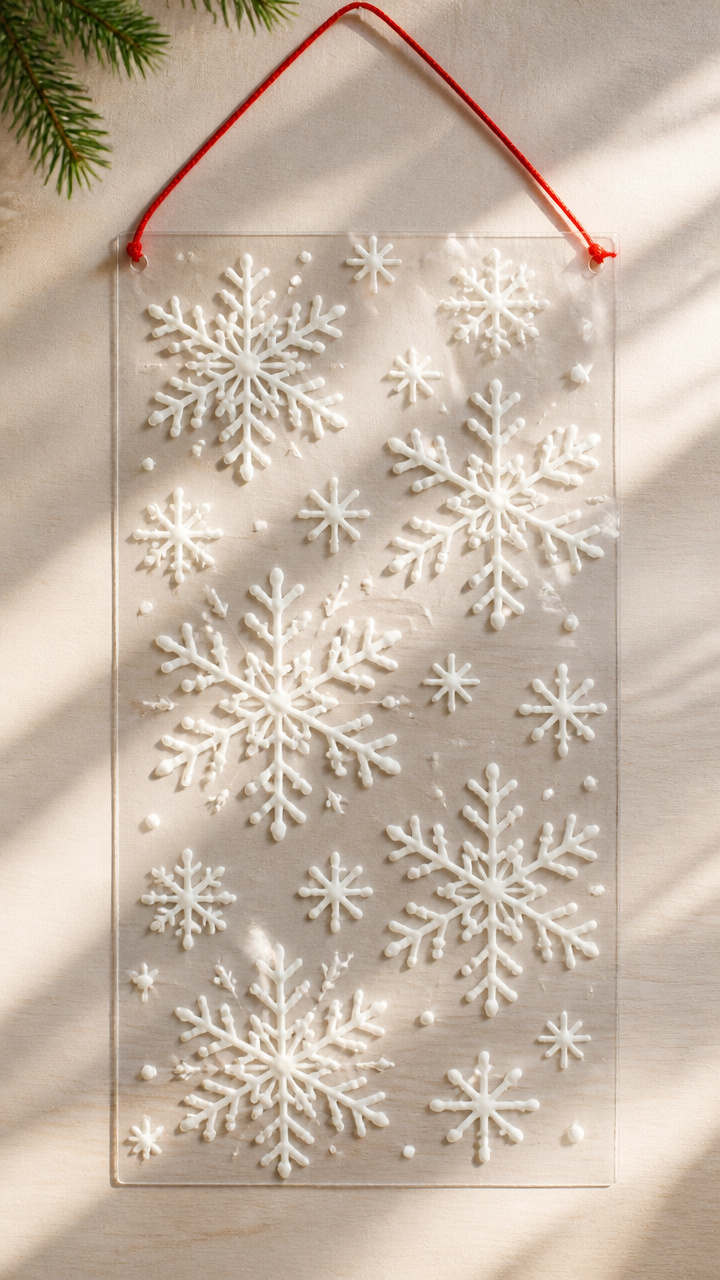
Glossy snowflakes rise off a transparent sheet, catching light near a window. The thick paint creates texture you can feel and see clearly.
Materials Needed
- Clear contact paper (12×18 inch sheet)
- Elmer’s Puffy Paint in white (4 oz bottle)
- Plastic craft stick
- Scissors
- String (12 inches, red)
How to Make It
- Cut the contact paper into a 10-inch circle using scissors.
- Peel the backing and place the sticky side up on a flat surface.
- Squeeze the puffy paint into snowflake designs, using the craft stick to spread slightly if needed.
- Let dry undisturbed for 24 hours, then punch a hole at the top and thread the string through for hanging.


3. Felt Flower Bouquet
Moderate
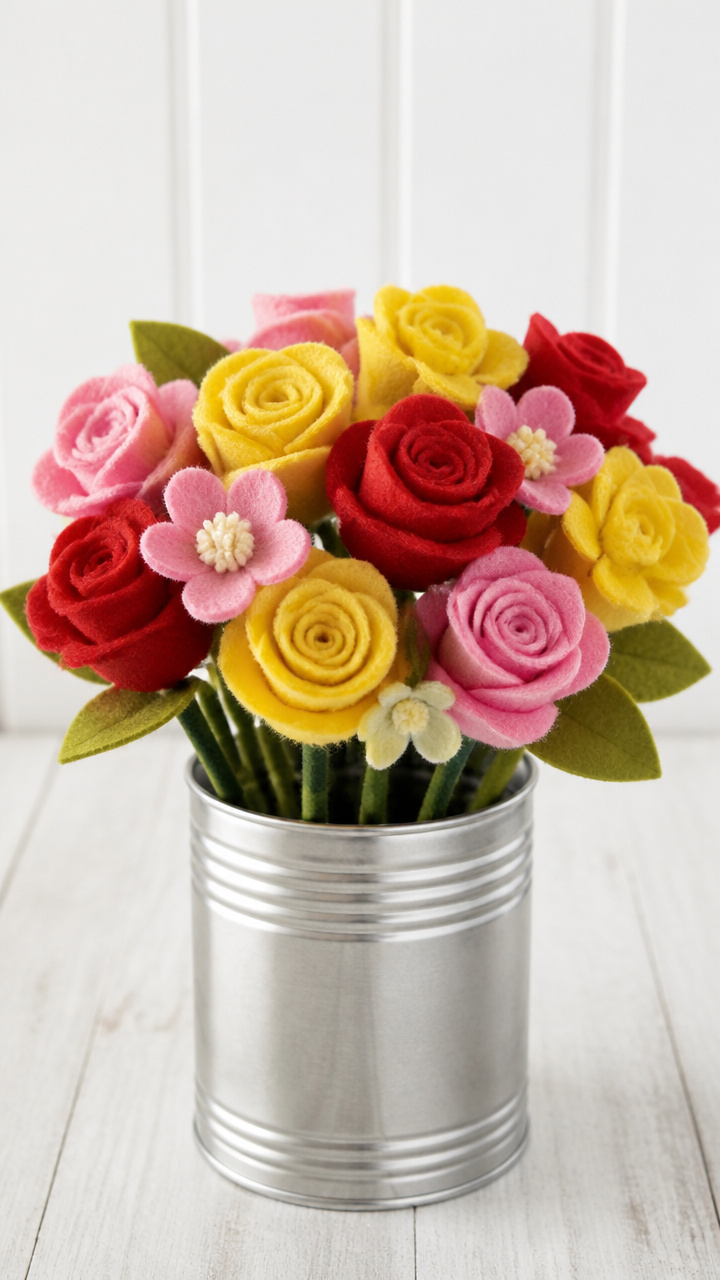
Bright silk-like petals stand tall on bendable wire stems, arranged in a recycled tin. These flowers never wilt and invite touch with their soft fabric.
Materials Needed
- Craft felt sheets (red, yellow, pink – 1 each)
- Chenille stems (green, 6 count)
- Hot glue gun with low-temp glue sticks
- Scissors
- Empty coffee tin (cleaned, label removed)
How to Make It
- Cut five petal shapes from each felt color, about 2 inches long, using scissors.
- Stack petals in a spiral, offsetting each layer, and pinch the base together.
- Apply hot glue to the center and attach a chenille stem, holding for 15 seconds.
- Repeat to make six flowers, then arrange them in the coffee tin.


4. Button Memory Board
Moderate
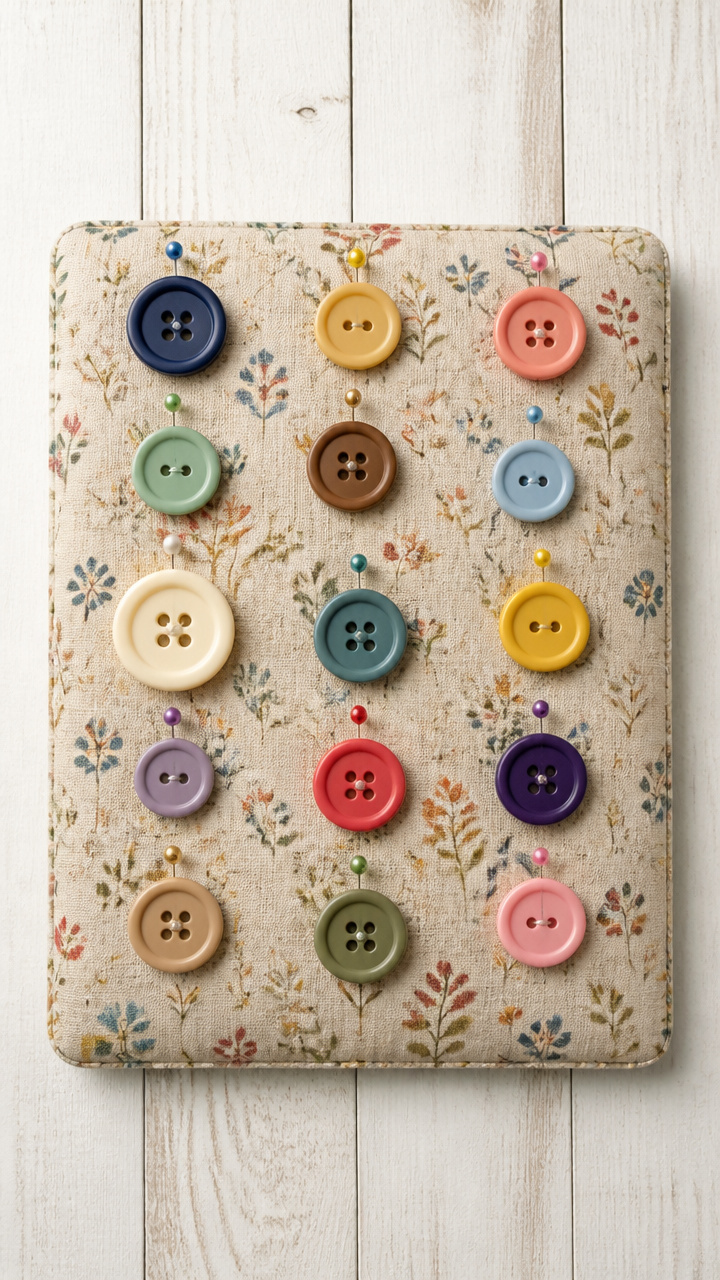
Colorful buttons anchor photos and notes to a padded square covered in fabric. This tactile board holds moments worth revisiting daily.
Materials Needed
- Corkboard (9×12 inch)
- Fabric (cotton print, 12×15 inch)
- Spray adhesive
- Assorted large buttons (12 pieces, 1 inch diameter)
- Push pins with round heads (12 count)
- Ruler
- Scissors
How to Make It
- Lay the corkboard on the wrong side of the fabric and trim excess, leaving a 1-inch border.
- Spray adhesive evenly on the corkboard, wait 30 seconds, then press fabric smooth over it.
- Fold edges to the back and secure with push pins at each corner and midpoint.
- Thread one button onto each remaining push pin and use them to attach small photos or notes.


5. Yarn-Wrapped Walking Stick Handle
Easy
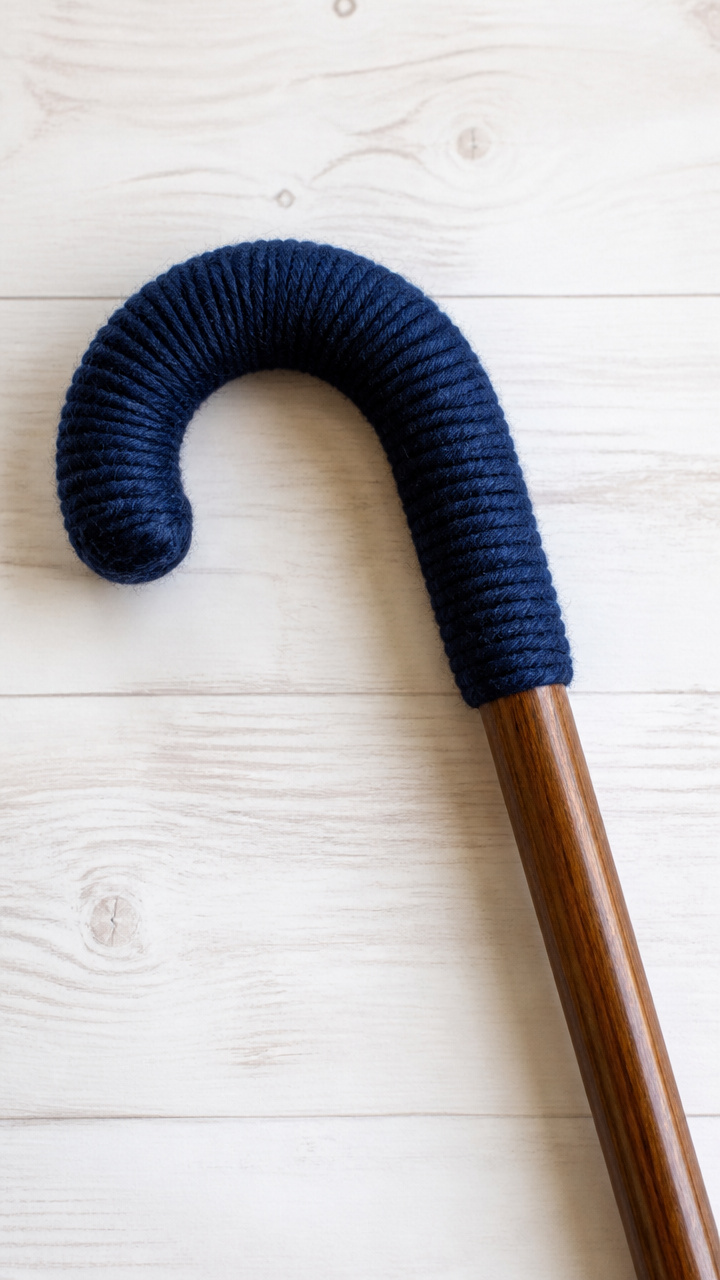
A cushioned grip forms from layers of soft yarn wrapped tightly around a cane’s curved top. This custom wrap improves comfort with every walk.
Materials Needed
- Chunky acrylic yarn (1 skein, navy blue)
- Walking cane with curved handle
- Fabric glue (1 oz)
- Small brush
How to Make It
- Apply a thin line of fabric glue along the top of the cane handle using the brush.
- Press the yarn end down and begin wrapping snugly, covering the entire grip area.
- Overlap each layer slightly and maintain tension as you wind.
- When 1 inch remains, dab glue under the end and press to secure, letting dry 2 hours.
6. Large-Bead Bracelet Stack
Easy
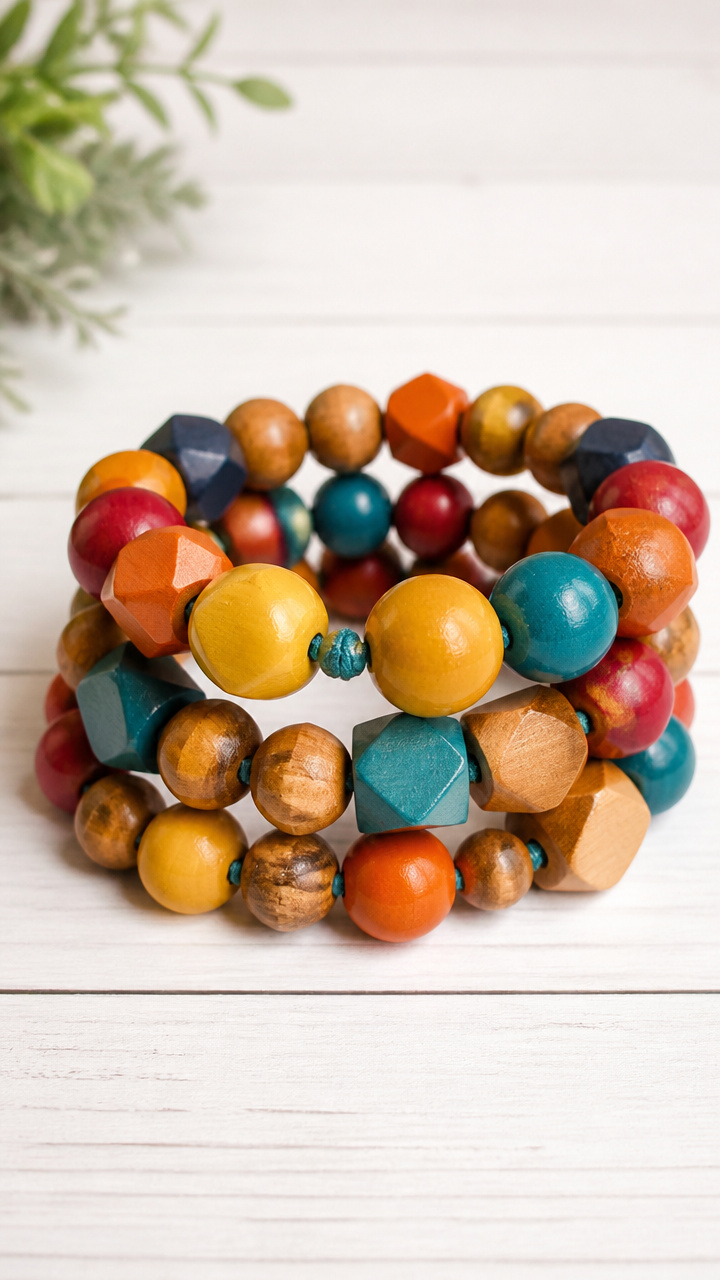
Wooden beads in bold shapes slide onto elastic cord, creating a cheerful wrist set. The big holes and smooth finish make threading effortless.
Materials Needed
- Large-hole wooden beads (20 pieces, assorted shapes, 1 inch)
- Stretch Magic cord (1 mm, 12 inches, opaque turquoise)
- Scissors
- Bead stopper clip (optional)
How to Make It
- Cut one 12-inch piece of Stretch Magic cord with scissors.
- Slide beads onto the cord in any order, using the bead stopper clip to prevent slipping if needed.
- Once ten beads are strung, tie a surgeon’s knot by looping twice before pulling tight.
- Trim ends close to the knot and tuck any sharp edges into the bead holes.
7. Photo Transfer Coaster
Moderate
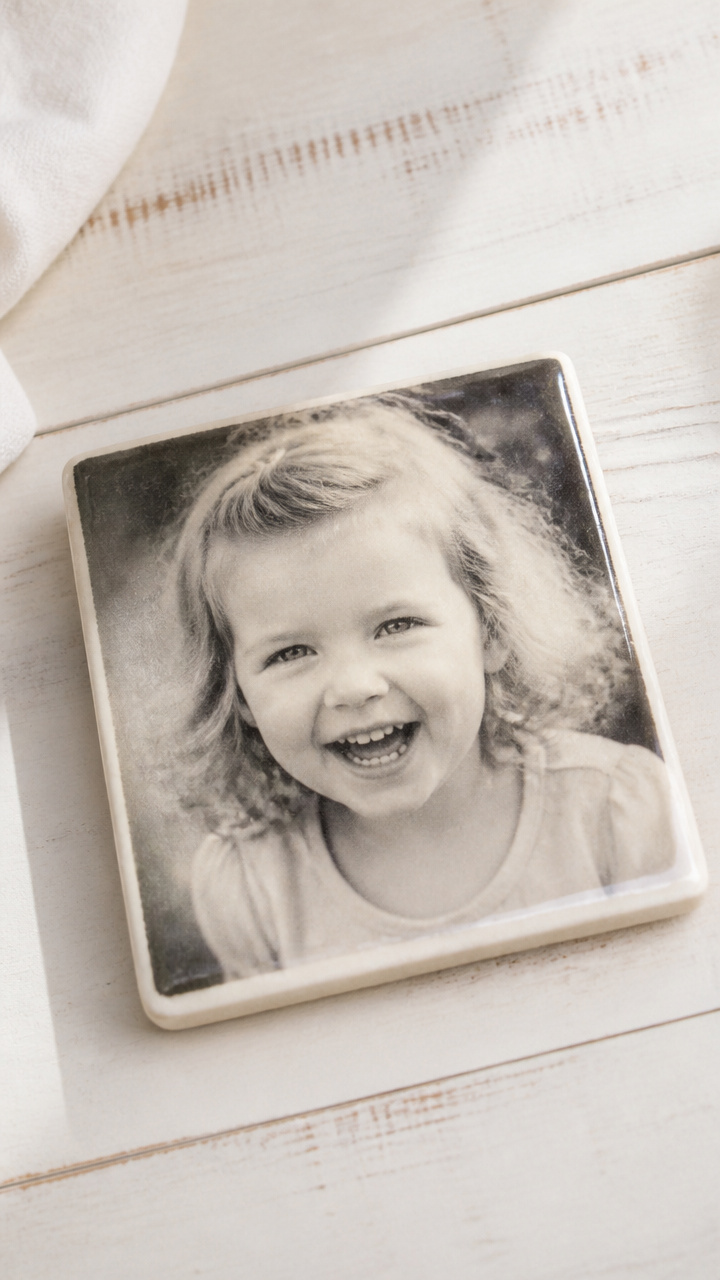
A cherished face appears on a tile surface sealed beneath a glassy coat. These coasters protect tables and spark happy memories.
Materials Needed
- Ceramic floor tile (4×4 inch, sanded edge, 1 piece)
- Laser-printed photo (2×2 inch, high contrast)
- Mod Podge Photo Transfer Medium (2 oz)
- Foam brush (1 inch)
- Damp sponge
- Scissors
How to Make It
- Cut the photo to fit the tile, leaving a small border.
- Use the foam brush to apply an even layer of transfer medium to the tile.
- Place the photo face-down and smooth out air bubbles with your palm.
- Let dry 24 hours, then wet the back with the sponge and gently rub off the paper, leaving the image behind.


8. Warm Flannel Scarf
Easy
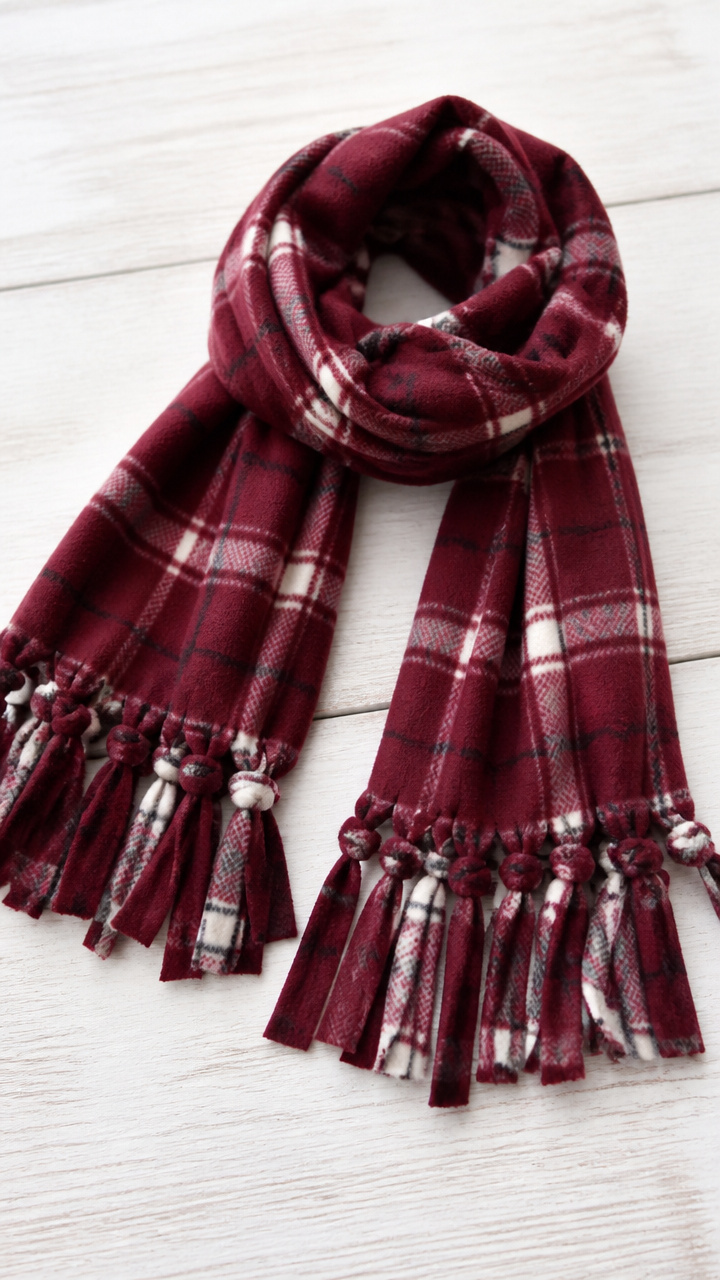
Two wide strips of plaid flannel join without sewing, knotted at each fringe end. This scarf drapes softly and warms shoulders fast.
Materials Needed
- Flannel fabric (2 yards, 45-inch width, burgundy plaid)
- Rotary cutter or sharp scissors
- Cutting mat (optional)
- Ruler
How to Make It
- Lay the fabric flat and cut crosswise into two 36-inch lengths using the rotary cutter or scissors.
- Cut 1-inch wide fringe along both short ends, 4 inches deep, using the ruler as a guide.
- Align the two pieces and tie each pair of fringes in a double knot.
- Trim any uneven ends to match.


9. Glitter Jar Snow Globe
Easy
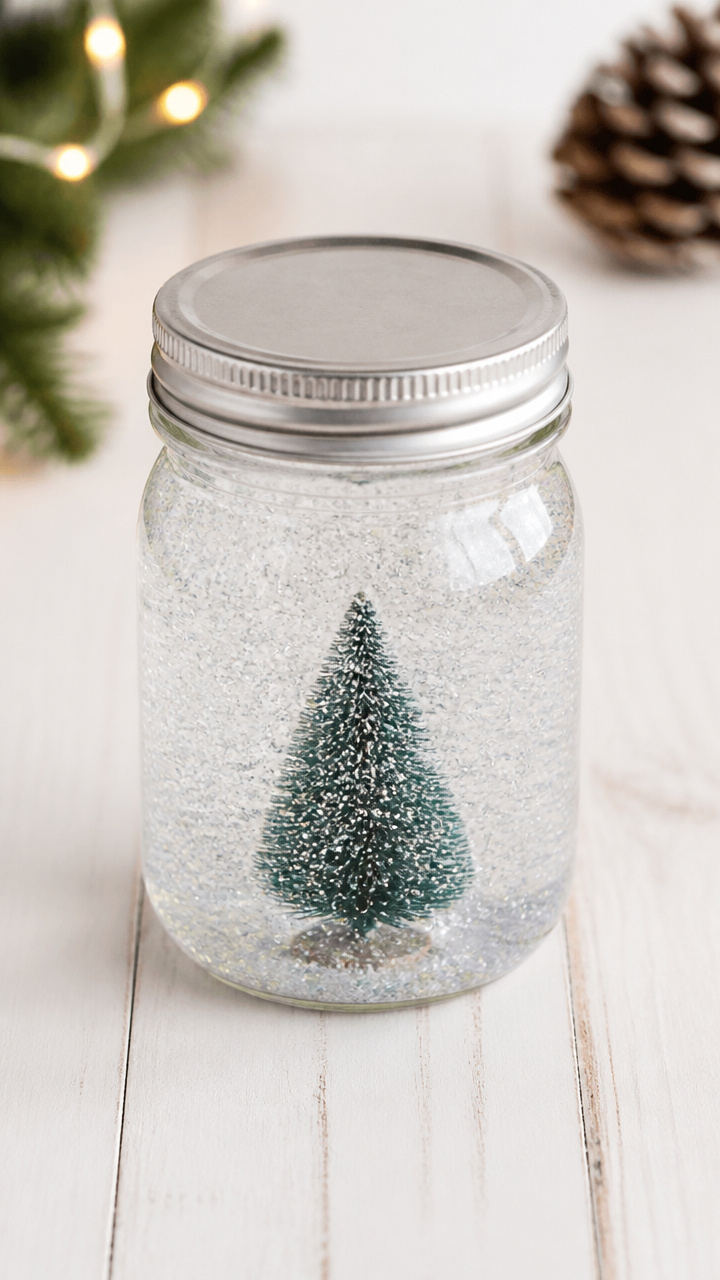
Swirling glitter drifts slowly in a jar filled with glycerin and water. Shake it gently and watch the storm settle like real snow.
Materials Needed
- Mason jar with lid (16 oz, wide mouth)
- Distilled water (1 cup)
- Clear school glue (2 tablespoons)
- Fine white glitter (1 teaspoon)
- Miniature plastic tree (1 inch tall)
- Hot glue gun
How to Make It
- Use hot glue to attach the mini tree to the inside of the jar lid, letting it dry 5 minutes.
- Fill the jar with distilled water, leaving 1 inch of space at the top.
- Add glue and glitter, then screw the lid on tightly.
- Turn upside down and shake gently to see the glitter swirl and fall slowly.


10. Crocheted Lap Blanket Strip
Moderate
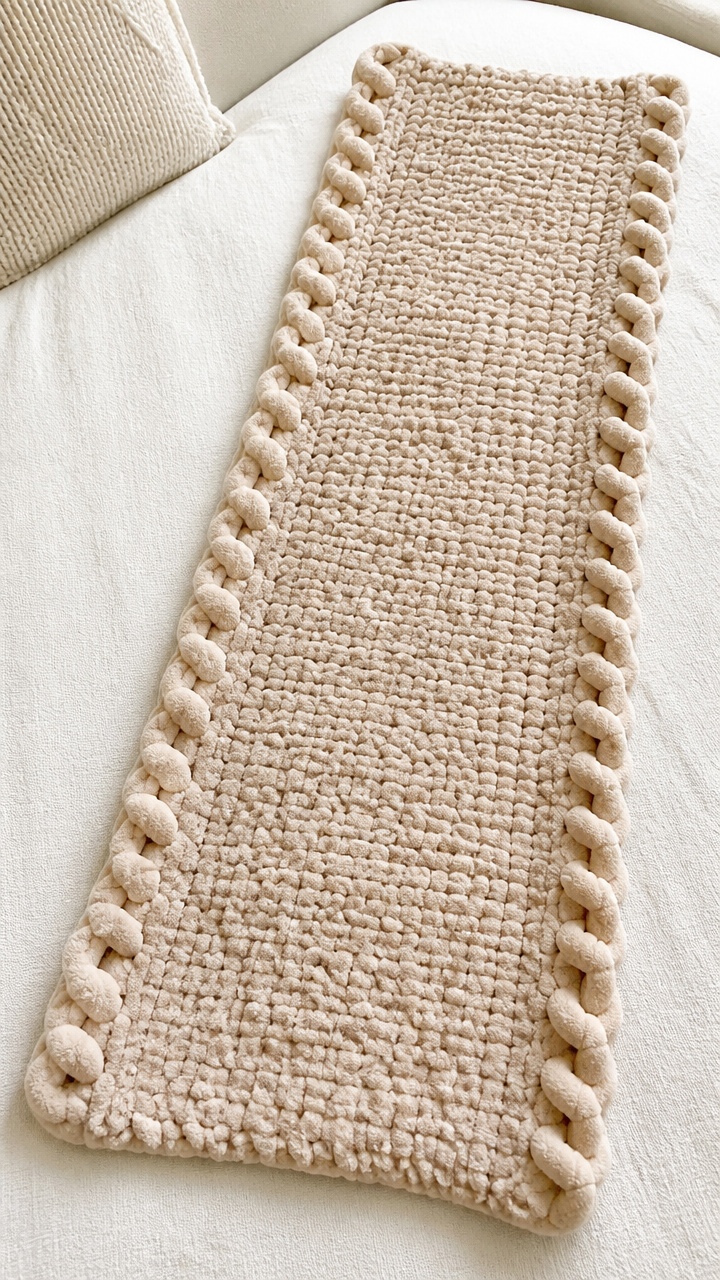
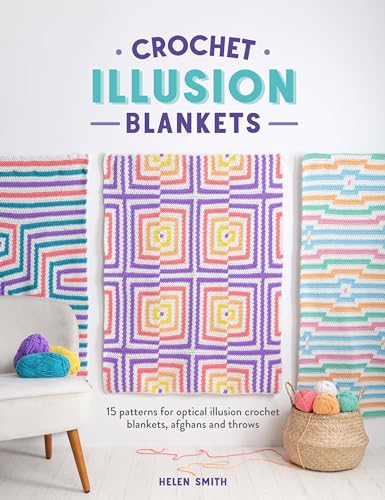
A long rectangle knitted in chunky yarn grows with each session, perfect for resting on legs. Join multiple strips later or enjoy one as-is.
Materials Needed
- Red Heart Super Saver Jumbo yarn (1 skein, oatmeal)
- Jumbo crochet hook (size 19 mm)
- Scissors
How to Make It
- Make a slipknot and chain 12 stitches using the jumbo hook.
- Single crochet in the second chain from hook and each chain across, turning at the end.
- Chain 1, then single crochet in each stitch of the previous row.
- Repeat row 3 until the piece measures 36 inches, then fasten off and weave in ends.

11. Painted Rock Garden Markers
Easy
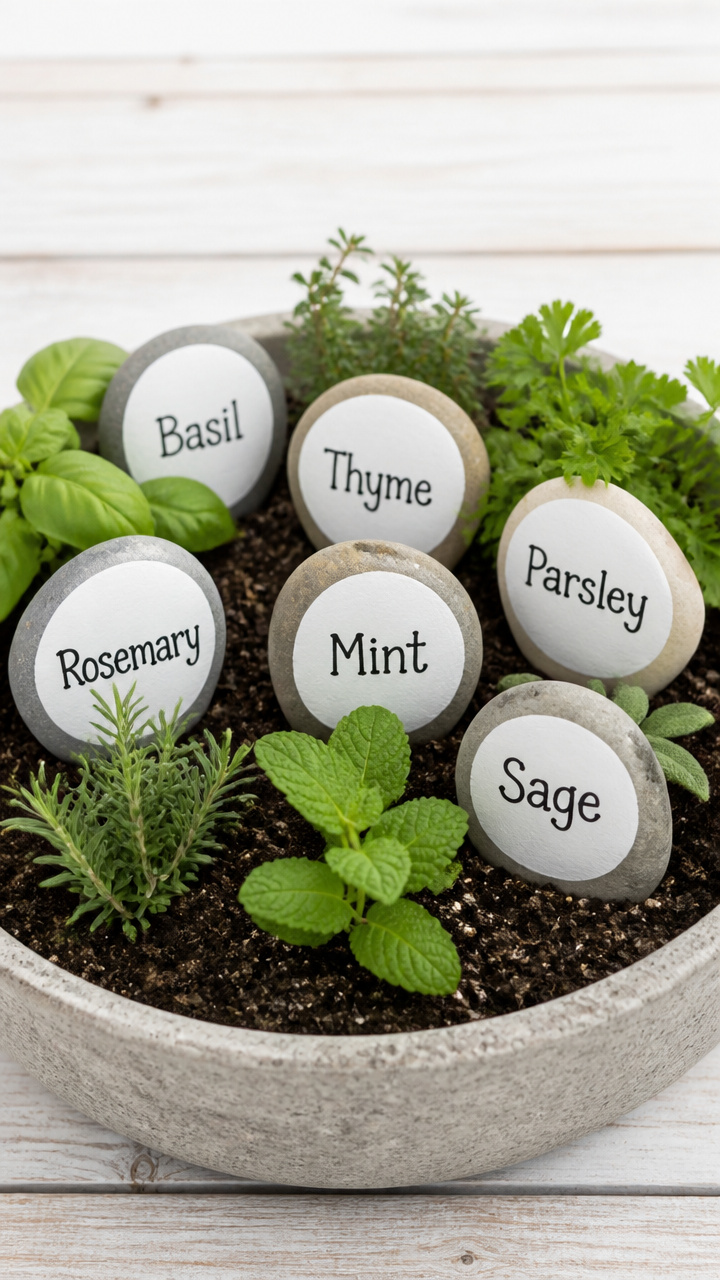
Smooth river stones wear bold plant names in weatherproof paint. These markers sit upright in soil and stay legible all season.
Materials Needed
- River rocks (6 pieces, 3-4 inches long, flat side)
- Acrylic paint (white, 2 oz)
- Wide paintbrush (1 inch)
- Permanent black marker (paint pen, extra fine)
- Outdoor sealer spray (clear, matte)
How to Make It
- Clean rocks with water and let dry completely.
- Paint the flat side white using the wide brush, applying a second coat if needed, drying 1 hour between coats.
- Write the name of a herb or vegetable in block letters with the black paint pen.
- Spray lightly with outdoor sealer in a well-ventilated area, holding 10 inches away, and let cure 24 hours.


12. Tissue Paper Window Mural
Easy
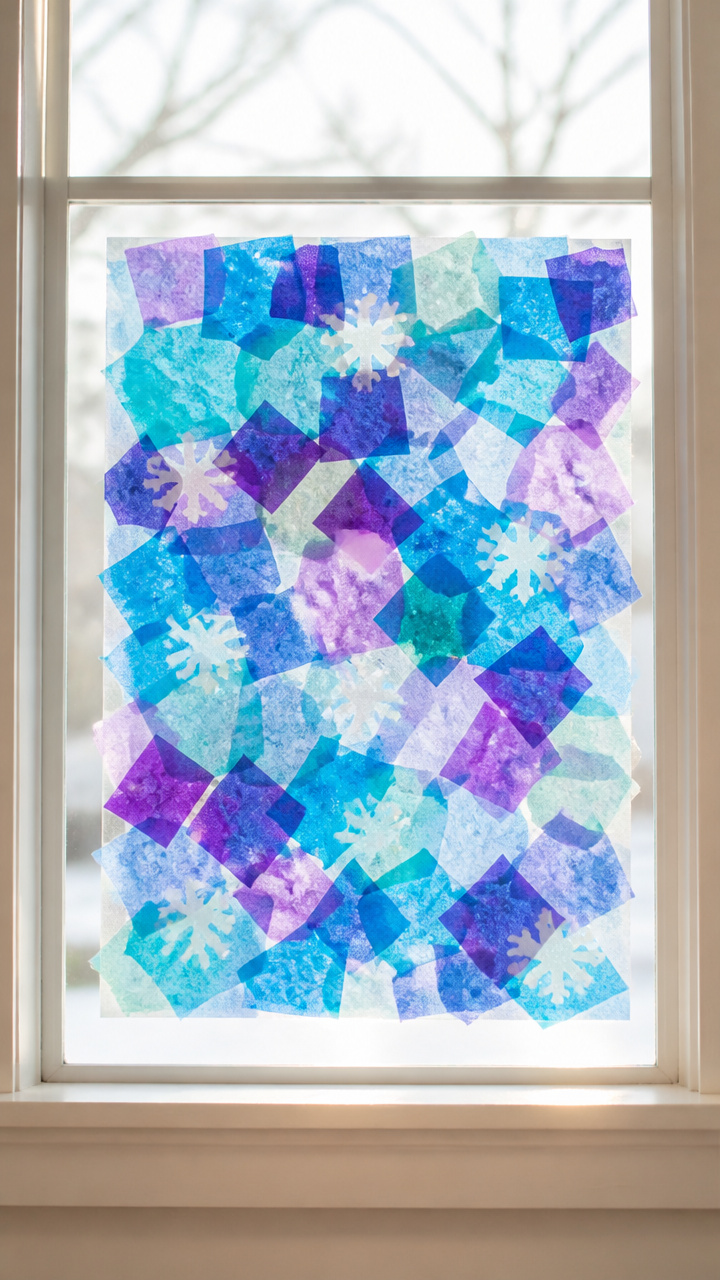
Overlapping squares of colored tissue form a glowing winter scene taped to glass. Light shines through, turning walls into art.
Materials Needed
- Tissue paper (assorted colors, 10 sheets, 20×26 inch)
- Contact paper (12×18 inch, clear, sticky side up)
- Scissors
- Roll of masking tape
How to Make It
- Cut tissue paper into 3-inch squares using scissors.
- Peel the liner from the contact paper and lay it sticky side up.
- Arrange tissue squares edge to edge to cover the entire surface, creating a snowy sky and evergreen pattern.
- Tape the mural to a clean window using masking tape on all four corners.


13. Fabric Scrap Bookmarks
Easy
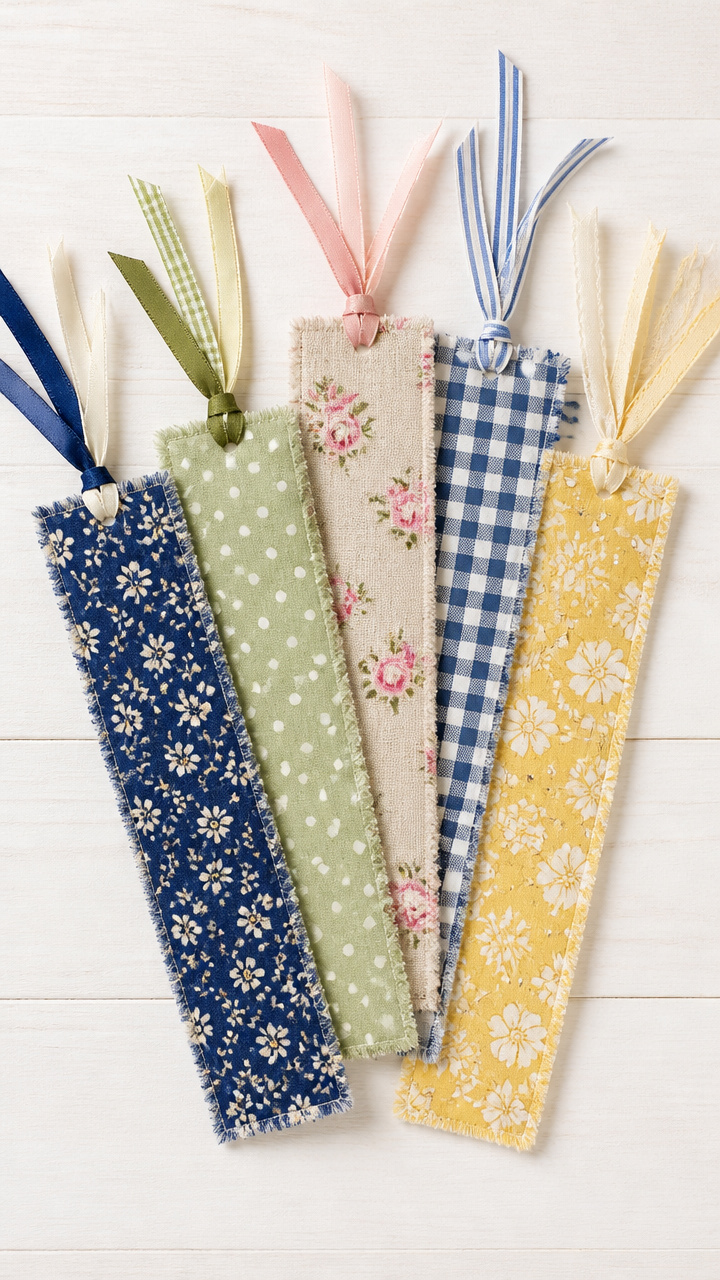
Strips of durable cotton wrap around cardboard, ending in fluttering tails. Slide one into your current read and keep your place in style.
Materials Needed
- Cardboard (cereal box, cut into 2×6 inch strips, 3 pieces)
- Fabric scraps (cotton, 4×8 inches each, 3 pieces)
- White glue
- Foam brush (1 inch)
- Hole punch
- Ribbon (1/4 inch wide, 6 inches, 3 pieces)
How to Make It
- Brush glue evenly on one side of a cardboard strip using the foam brush.
- Center the fabric over it and press smooth, folding the ends to the back and gluing down.
- Let dry 1 hour, then punch a hole at the top center.
- Thread ribbon through and knot the end, repeating for all three bookmarks.


14. Salt Dough Ornaments
Moderate
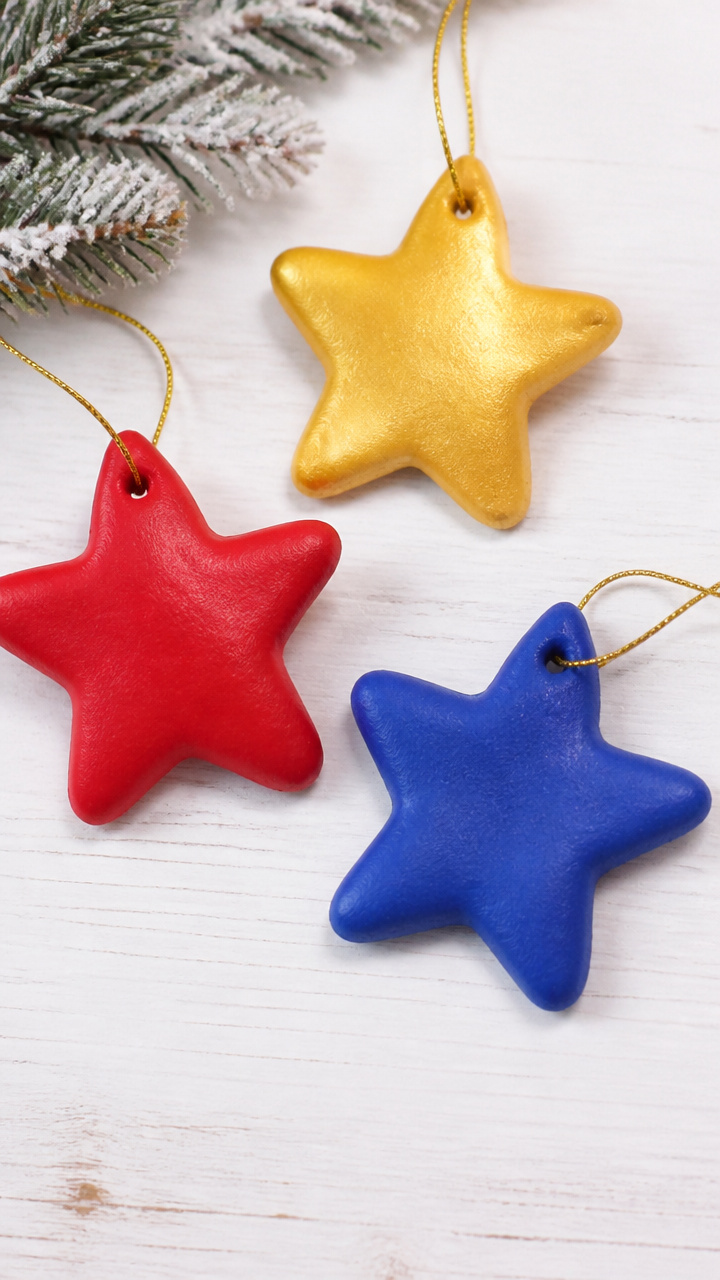
Hand-shaped decorations bake firm and accept bright paint for holiday cheer. Press your thumbprint or use cookie cutters for quick shapes.
Materials Needed
- All-purpose flour (1 cup)
- Table salt (1/2 cup)
- Water (2/3 cup)
- Mixing bowl
- Rolling pin
- Star-shaped cookie cutter (3 inch)
- Bamboo skewer
- Acrylic paint (red, green, gold)
- Ribbon (1/8 inch, 8 inches, gold)
- Oven
How to Make It
- Mix flour, salt, and water in the bowl until a smooth dough forms, kneading by hand for 2 minutes.
- Roll to 1/4 inch thick and cut three stars with the cookie cutter.
- Push the skewer through the top of each to make a hanging hole, then bake at 250°F for 2 hours.
- Cool completely, paint with acrylics, and thread ribbon through when dry.


15. Knit Headband with Buttons
Moderate
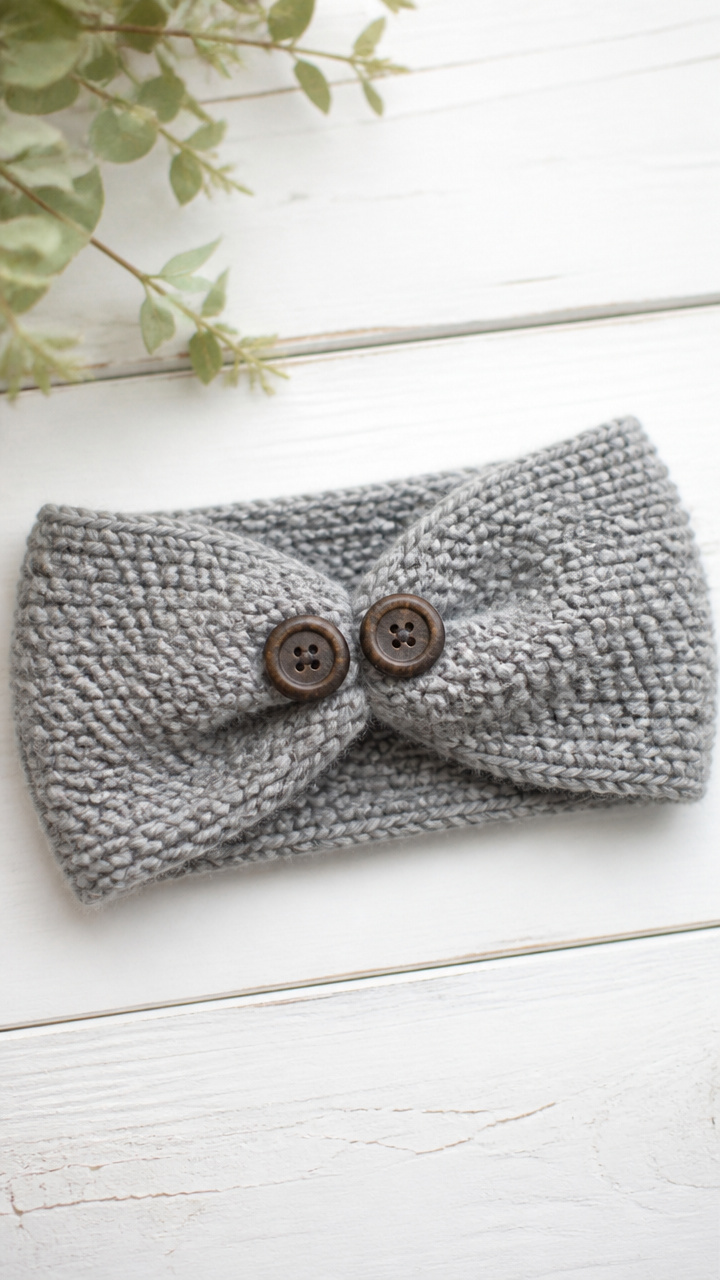
A stretchy band fits snugly over ears, finished with a front button accent. Knit flat and fast, it needs no shaping or counting.
Materials Needed
- Caron Simply Soft yarn (1 skein, heather gray)
- Size 8 knitting needles
- Two 3/4-inch buttons
- Yarn needle
- Scissors
How to Make It
- Cast on 18 stitches using the knit cast-on method.
- Knit every row until the piece measures 16 inches from the start.
- Bind off and weave in ends with the yarn needle.
- Fold the band in half lengthwise, sew the short edges together, then sew buttons near one end on the outside.


16. Collage Frame Art
Moderate
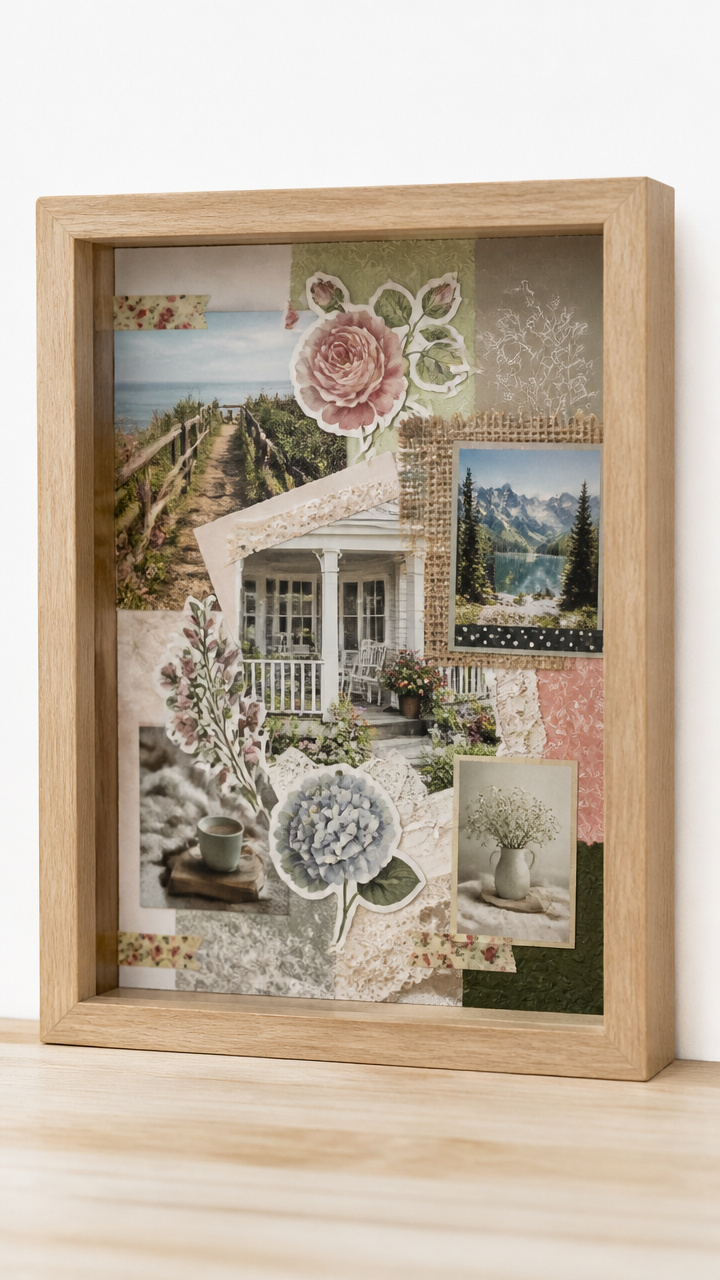
Found images and textured papers fill a deep frame, layered for depth and interest. No two look alike, each telling a quiet personal story.
Materials Needed
- Shadow box frame (8×10 inch, 1 inch deep)
- Old magazines (3 pages with large photos)
- Craft glue stick
- Scissors
- Washi tape (1/2 inch, floral design)
How to Make It
- Flip through magazines and cut out three focal images, each about 4 inches wide.
- Arrange them on the backing board inside the frame, overlapping slightly.
- Glue each piece down with the glue stick, pressing firmly for 10 seconds.
- Add washi tape borders around one or two images for contrast and dimension.


17. Scented Pinecone Wreath
Advanced
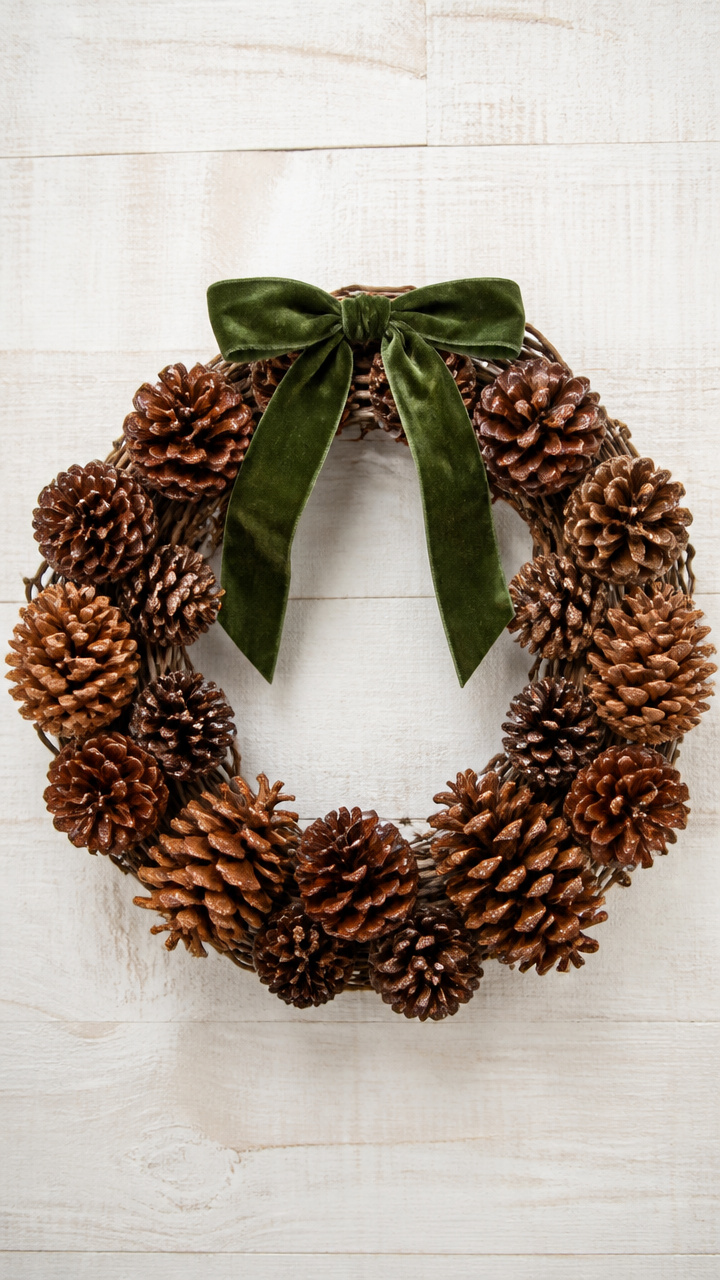
Real pinecones cluster on a wire ring, tied with a wide velvet ribbon. A drop of essential oil keeps it smelling fresh for weeks.
Materials Needed
- Wire wreath frame (12 inch, grapevine type)
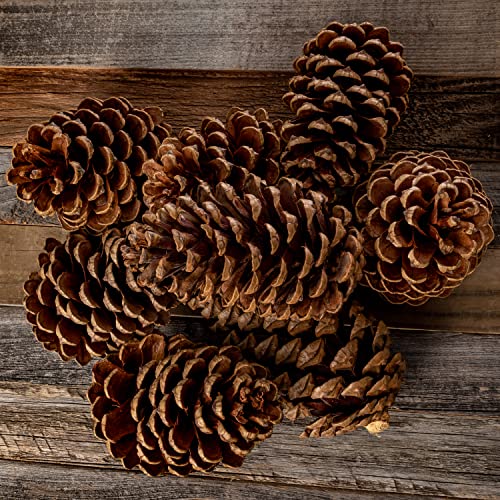
- Pinecones (15 pieces, 2-3 inches long)
- Floral wire (22 gauge, 18 inches, 15 pieces)
- Wire cutters
- Velvet ribbon (2 inches wide, 24 inches, forest green)
- Cinnamon essential oil (5 drops)
How to Make It
- Wrap one end of floral wire around the base of a pinecone and twist tightly at the back.
- Attach the free end to the wreath frame by twisting around both wires, spacing each cone closely.
- Continue until the frame is full, trimming excess wire with cutters.
- Tie the ribbon into a bow at the bottom and add 5 drops of cinnamon oil to the center for scent.


Pick one that calls to you, gather what you need, and begin. Your hands remember more than you think, and every piece you make belongs exactly where it lands.