20 Relaxing January Crafts for Adults After the Holidays

Soft light filters through winter windows, catching dust motes like tiny stars. Your hands, still remembering the rhythm of wrapping paper and ribbon, now crave something slower, quieter.
These crafts meet you where you are. No pressure, no glitter explosions, just thoughtful making with clear steps and satisfying results.
1. Linen Sachets with Lavender
Easy
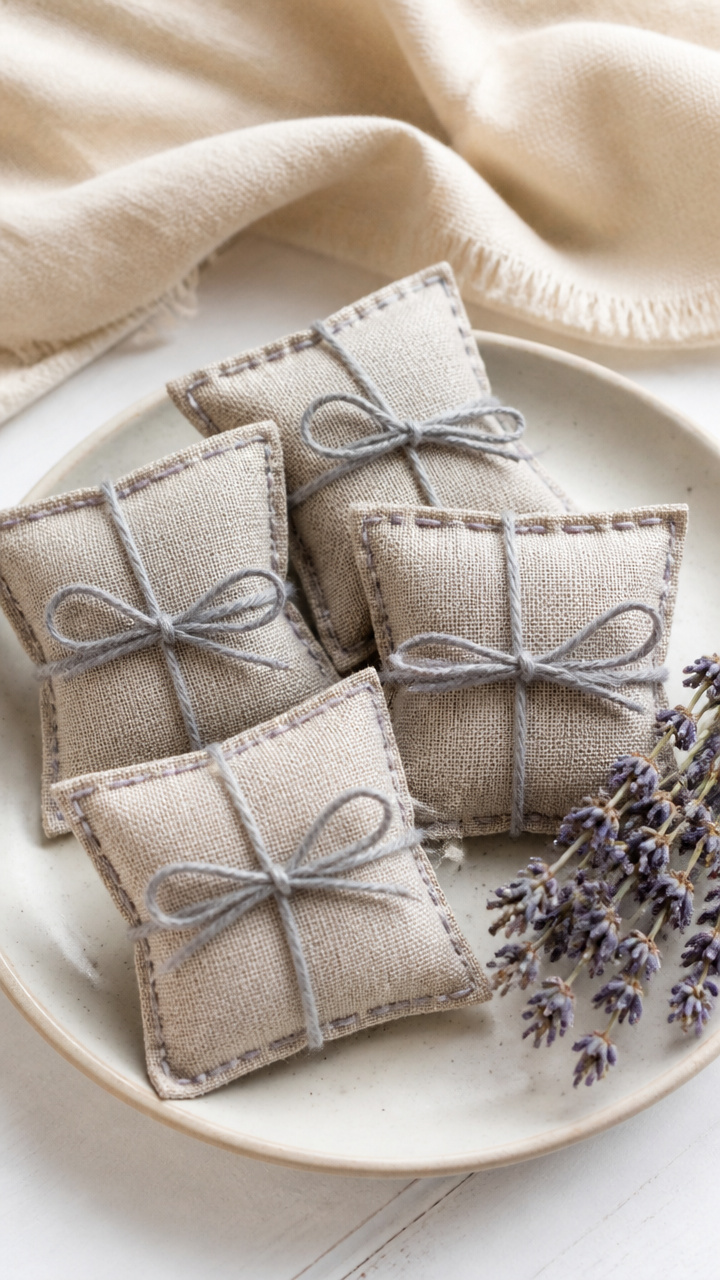
Tiny fabric pouches filled with dried lavender release a soft scent when tucked into drawers or placed under pillows. Their gentle weight and fragrance bring calm with every opening of a drawer.
Materials Needed
- 10×10 inch piece of natural linen fabric
- 1/4 cup dried lavender buds
- Embroidery floss in pale gray
- Tapestry needle
- Scissors
- Ruler
- Pins
How to Make It
- Cut the linen into two 5×5 inch squares. Place them together with the right sides facing.
- Pin around the edges, leaving a 1 inch gap on one side. Stitch around all four sides using a backstitch with the embroidery floss.
- Turn the pouch right side out through the gap. Push out the corners gently with your finger.
- Fill the pouch with dried lavender buds. Fold the raw edges of the opening inward and sew it closed with a whipstitch.


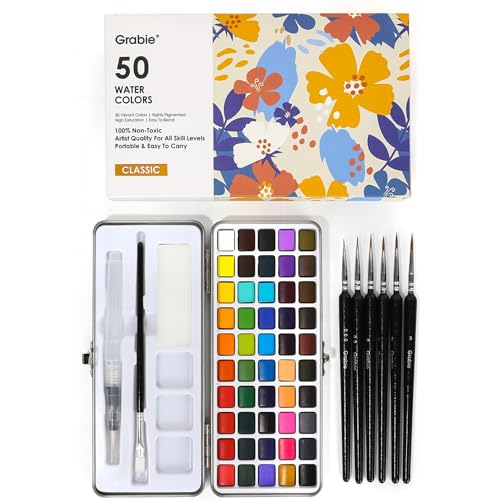
2. Watercolor Moon Phases
Moderate
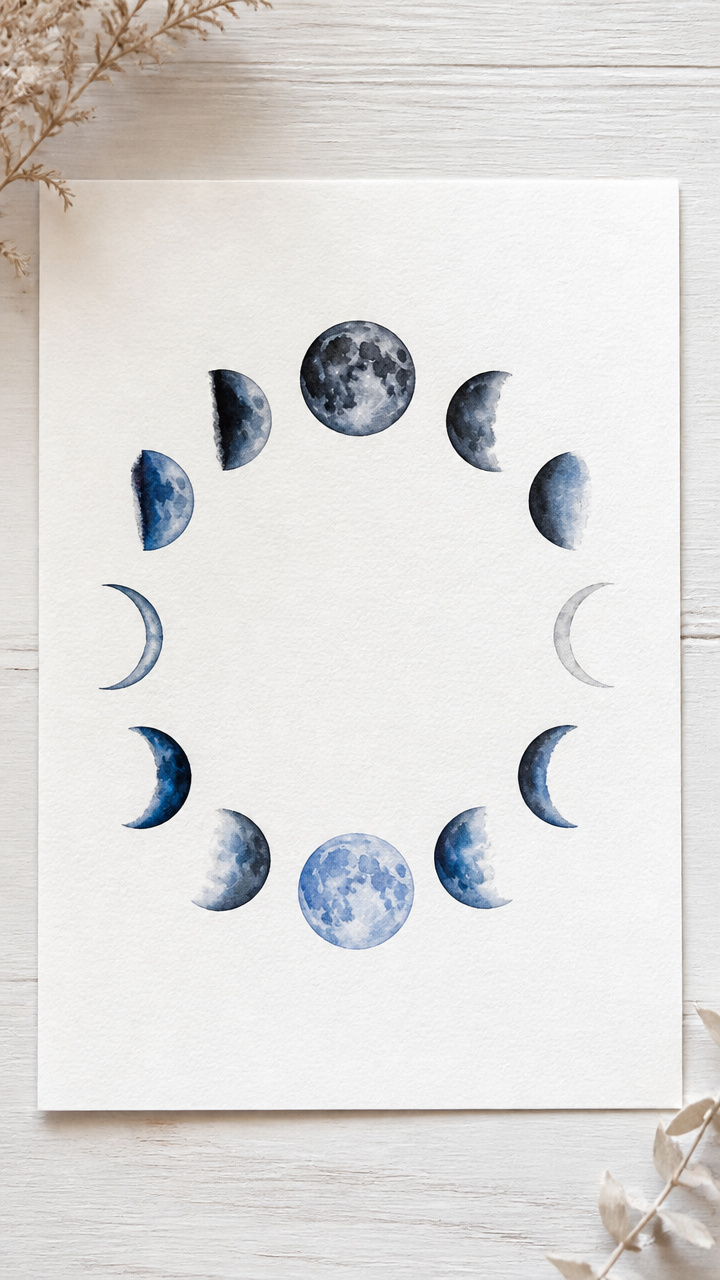
A delicate ring of soft gray and blue washes captures the lunar cycle in gentle gradients. Hang it near your bed to mirror the night sky’s quiet rhythm.
Materials Needed
- 9×12 inch cold press watercolor paper
- Cobalt blue watercolor paint
- Payne's gray water color paint
- Size 6 round watercolor brush
- Pencil
- Eraser
- Ruler
- Compass
- Jar of water
- Paper towel
How to Make It
- Use the compass to draw a 6 inch circle in the center of the paper. Lightly mark 8 even points around the edge.
- Draw a small circle at each point to represent the moon’s position. Sketch the visible portion of each phase inside using curved lines.
- Wet the area inside one moon shape with clean water. Drop in diluted cobalt blue at the edge and let it bloom. Add a touch of Payne's gray for depth.
- Repeat for each phase, letting the paper dry completely between applications. Lightly erase pencil marks once the painting is fully dry.


3. Beeswax Candle Dipping
Moderate
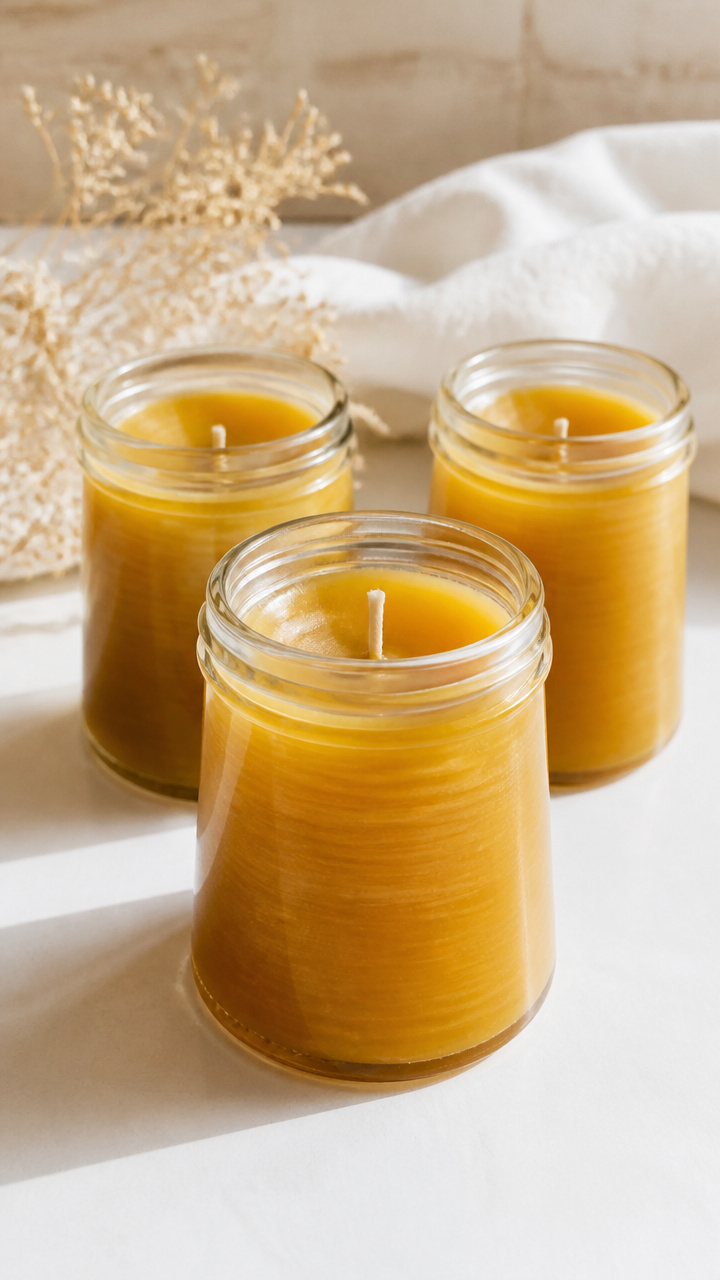
Dipping cotton wicks into warm beeswax builds smooth, golden candles layer by layer. The honeyed scent fills the room as you work.
Materials Needed
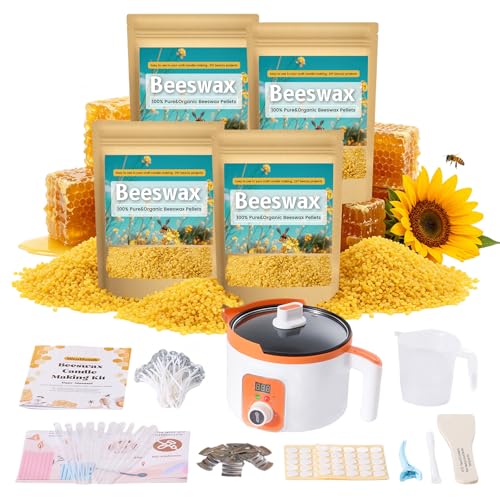
- 1 pound beeswax pellets
- Double boiler
- 6 cotton wicks with metal tabs
- Popsicle sticks
- Scissors
- 8 ounce glass jars
- Aluminum foil
How to Make It
- Melt the beeswax in the double boiler over medium heat, stirring occasionally until fully liquid.
- Cut each wick to 8 inches. Attach one end to a popsicle stick and place the other end into a metal tab at the bottom of a jar.
- Dip one wick straight down into the wax, hold for 10 seconds, then lift and let excess drip off for 20 seconds.
- Repeat the dip every 5 minutes for 12 rounds, letting the candle cool between dips. Cover jars with foil when not in use to prevent dust.


4. Pressed Flower Bookmarks
Easy
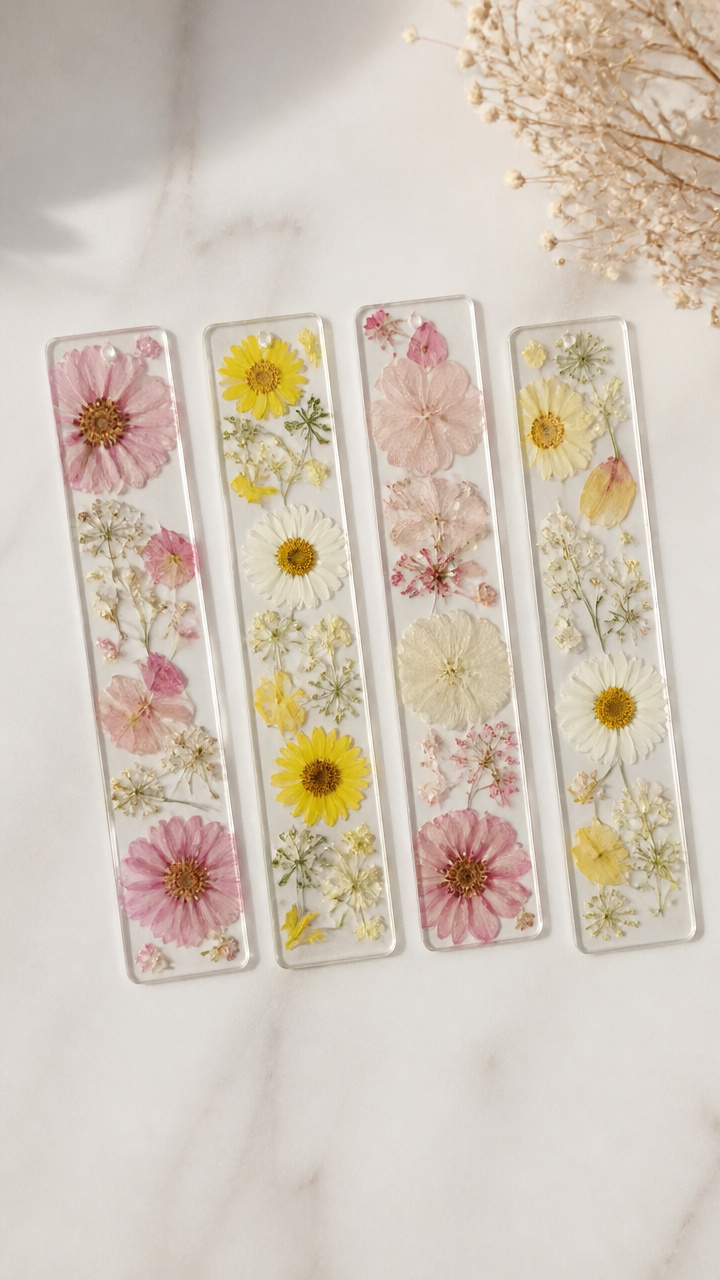
Translucent petals sealed between layers of laminated paper become keepsakes that mark your place in novels and journals. Each one holds a tiny piece of winter light.
Materials Needed
- 10 dried pressed flowers
- 8.5×2 inch strips of cardstock
- Contact paper, 12×12 inch sheet
- Scissors
- Pencil
- Ruler
How to Make It
- Lay the cardstock strip on a flat surface. Arrange 2-3 pressed flowers on one half, leaving space around the edges.
- Peel the backing from the contact paper. Carefully place the sticky side over the flowers and cardstock.
- Smooth out air bubbles with your palm. Trim the excess contact paper to match the bookmark shape.
- Fold the top edge over to create a small loop, then press the edges together to seal.


5. Knit a Chunky Headband
Easy
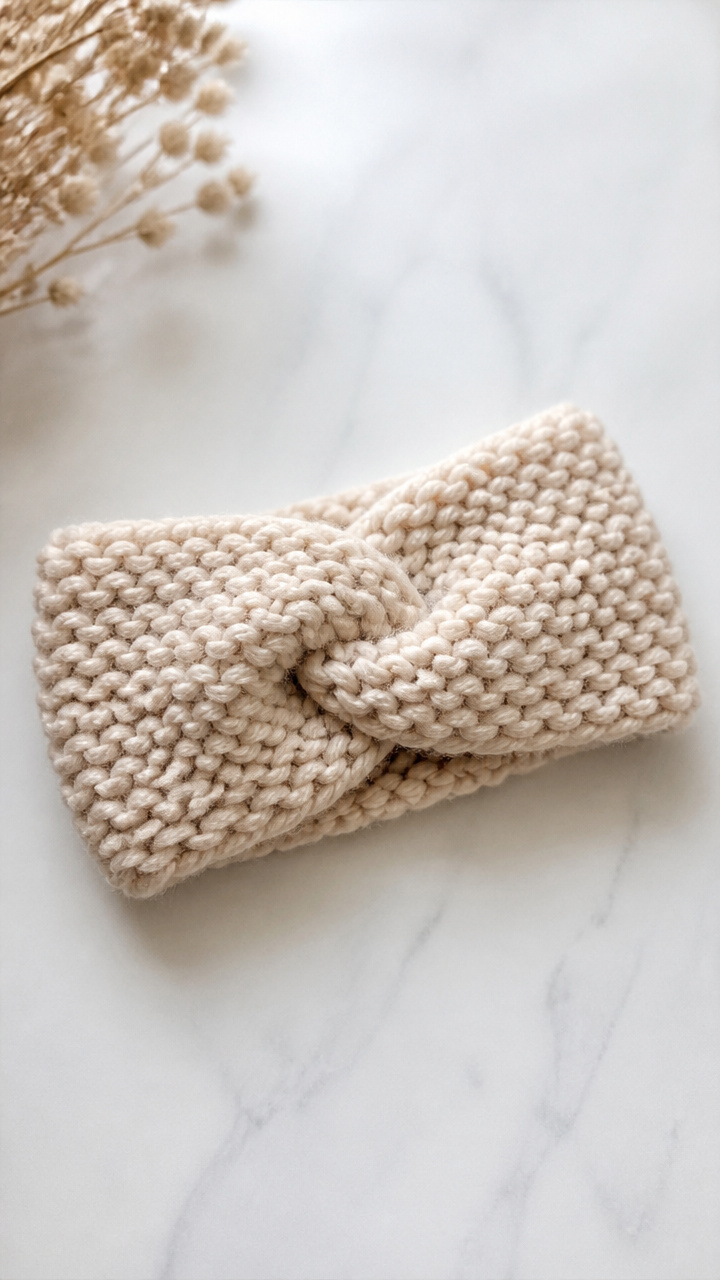
Thick merino wool knits up fast in simple garter stitch, creating a cozy headband that stays put during morning walks. The rhythm of the needles quiets a busy mind.
Materials Needed
- 100 yards bulky merino wool yarn in oatmeal
- Size 13 knitting needles
- Tapestry needle
- Scissors
How to Make It
- Cast on 12 stitches using the long-tail method. Knit every row until the piece measures 18 inches.
- Bind off loosely. Weave in the starting and ending tails using the tapestry needle.
- Fold the piece in half lengthwise with the right sides together. Sew the short edges closed with a whipstitch.
- Turn the headband right side out and smooth the seam.


6. Salt Dough Ornament Shapes
Easy
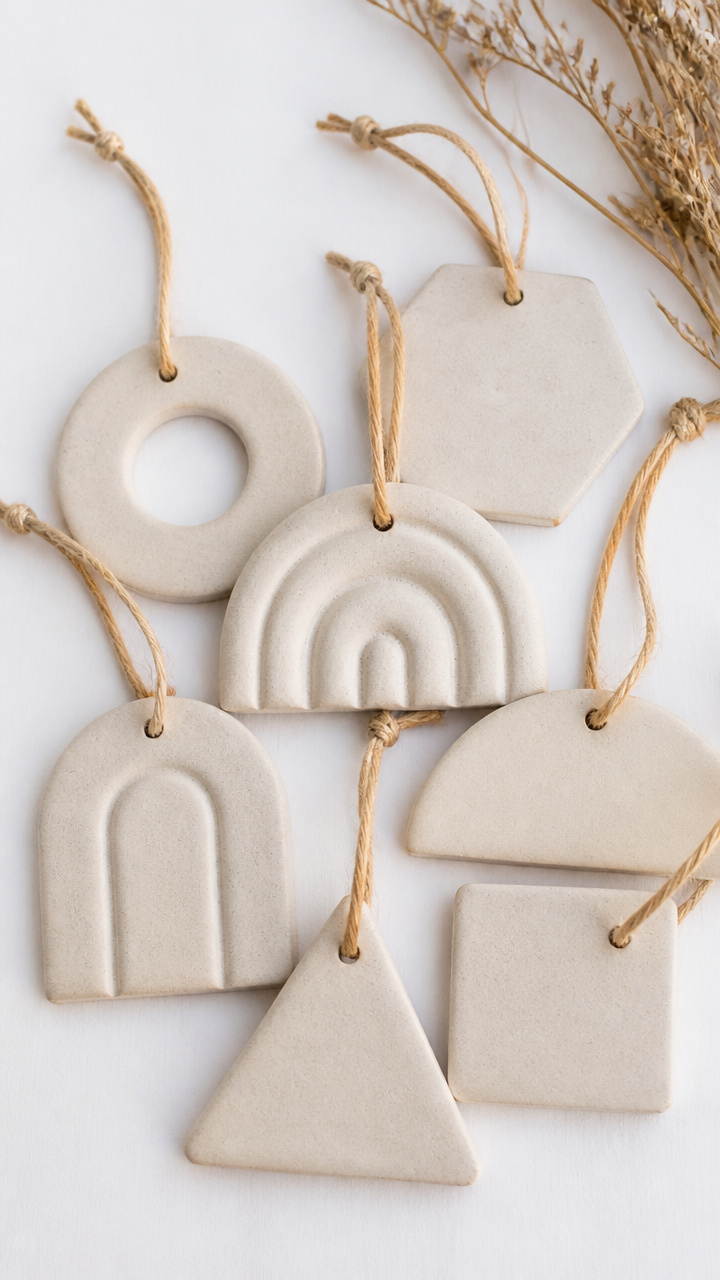
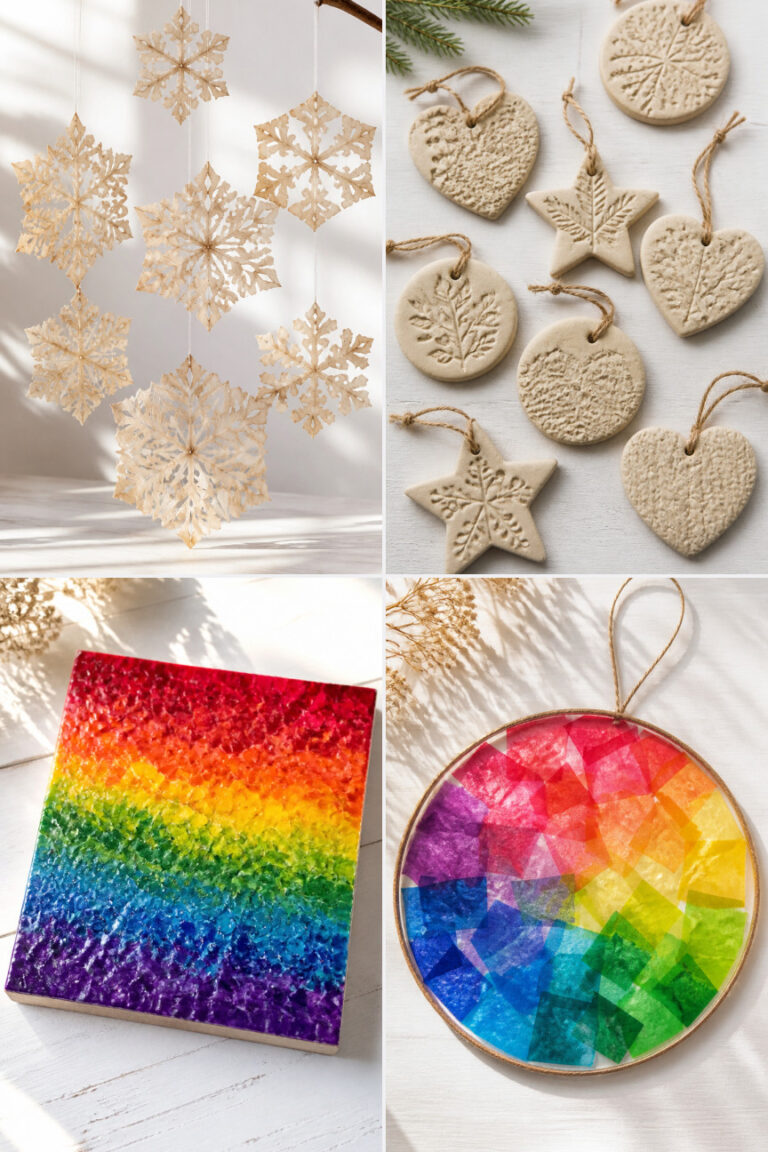
Simple shapes rolled and cut from homemade dough dry into rustic decorations. String them with twine and hang from a low shelf or mirror.
Materials Needed
- 1 cup all-purpose flour
- 1/2 cup table salt
- 1/2 cup warm water
- Rolling pin
- Cookie cutters (geometric shapes)
- Straw
- Baking sheet
- Parchment paper
- Twine
How to Make It
- Mix flour, salt, and warm water in a bowl until a smooth dough forms. Knead for 2 minutes on a floured surface.
- Roll the dough to 1/4 inch thickness. Press cookie cutters into the dough and lift out the shapes.
- Use a straw to poke a hole near the top edge of each shape. Place on a parchment-lined baking sheet.
- Bake at 200°F for 3 hours, then let cool completely. Thread twine through the hole to hang.


7. Embroidered Cloud Hoop
Moderate
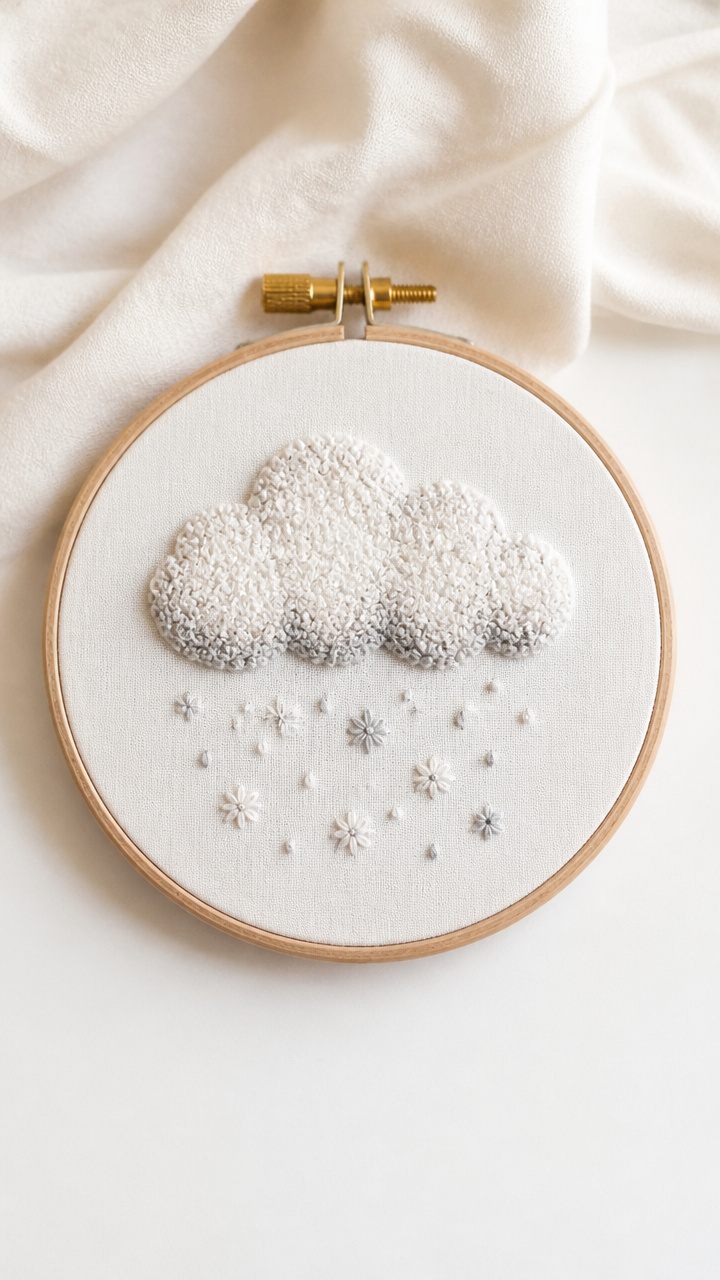
A wispy white cloud floats inside a small wooden hoop, stitched with soft French knots and lazy daisy flowers. It hangs above your desk like a quiet promise.
Materials Needed
- 6 inch wooden embroidery hoop
- White cotton fabric, 8×8 inch
- Size 5 pearl cotton thread in white
- Size 8 pearl cotton thread in light gray
- Embroidery needle
- Scissors
- Water-soluble fabric marker
How to Make It
- Place the fabric in the hoop and tighten. Use the marker to draw a soft cloud shape in the center.
- Stitch the outline with a stem stitch using white thread. Fill the cloud with scattered French knots.
- Add three small lazy daisy stitches in light gray near the bottom edge to suggest rain.
- Trim excess fabric to 1 inch around the hoop. Secure the back with a piece of felt if desired.


8. Ceramic Mug Cozy
Moderate
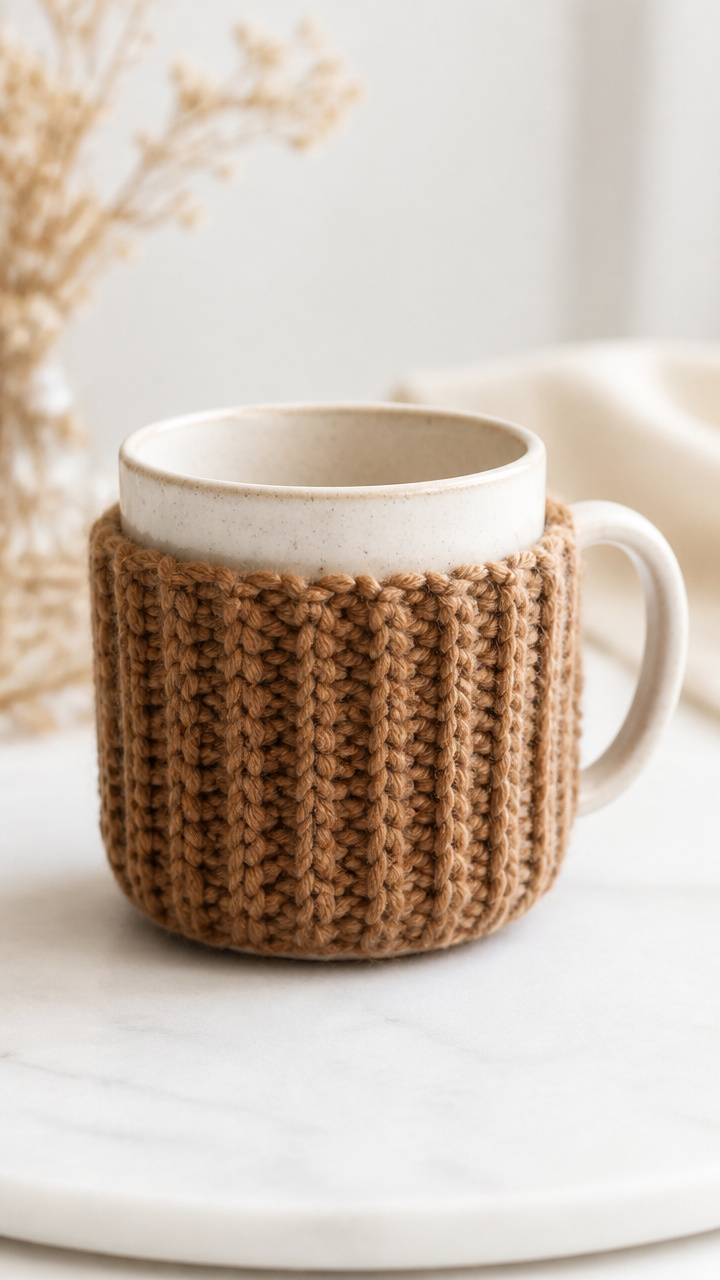
A snug sleeve of thick yarn wraps around your favorite mug, keeping tea warm and your hands warmer. Worked in simple ribbing, it stretches easily over ceramic.
Materials Needed
- 50 yards worsted weight wool yarn
- Size 7 circular knitting needle, 16 inch
- Stitch marker
- Tapestry needle
- Scissors
How to Make It
- Cast on 48 stitches and join in the round, being careful not to twist. Place a stitch marker to mark the beginning.
- Knit every round for 7 inches, creating a ribbed texture. This forms the cozy’s stretchy body.
- Bind off loosely. Weave in the tail with the tapestry needle.
- Slide the cozy onto a standard 12 oz ceramic mug to check fit.


9. Tissue Paper Window Cling
Easy
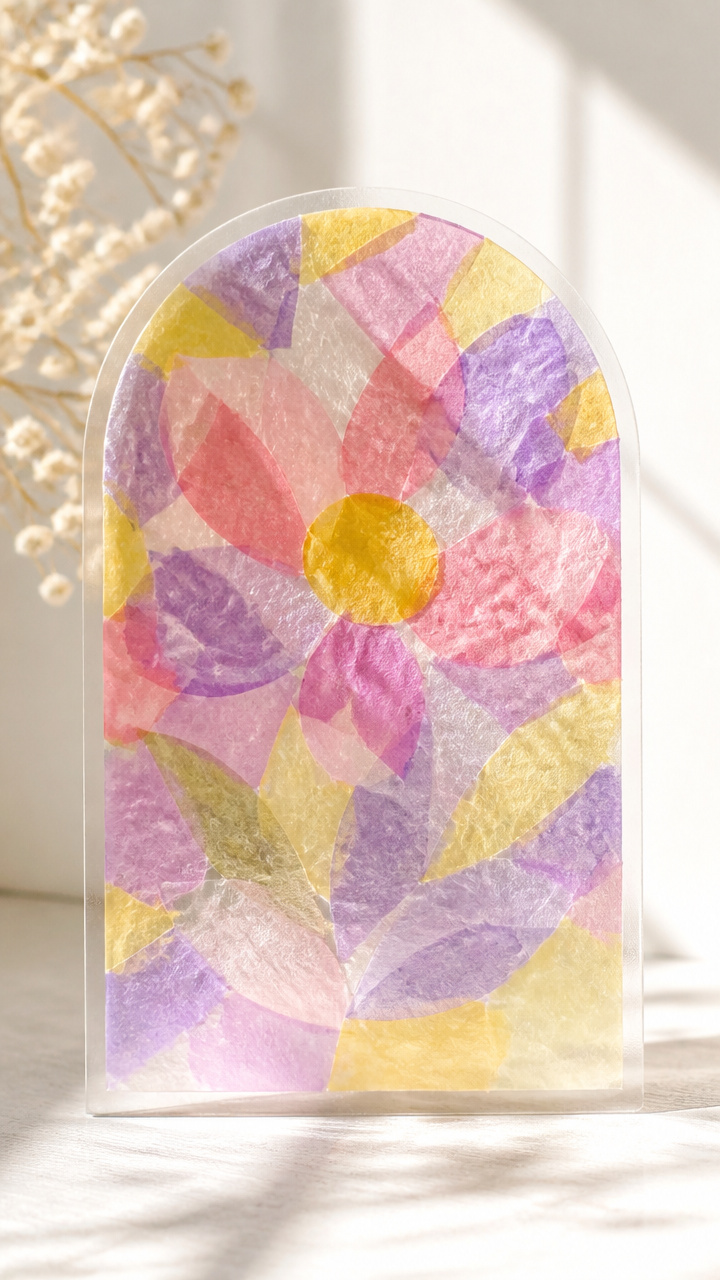
Layers of pastel tissue paper fuse into a stained-glass effect when brushed with glue. Sunlight turns your window into a soft glowing panel.
Materials Needed
- 8×10 inch sheet of clear contact paper
- Pink, lavender, and pale yellow tissue paper
- Scissors
- White school glue
- Foam brush
- Bowl
- Paper plate
How to Make It
- Cut the tissue paper into 1 inch squares. Arrange them in overlapping layers on the sticky side of the contact paper.
- Mix equal parts glue and water in a bowl. Stir gently to avoid bubbles.
- Use the foam brush to apply a thin, even layer of glue mixture over the tissue paper. Let dry for 2 hours.
- Peel off the backing and press the cling onto a clean window, sticky side down.


10. Leather Cord Bookmark
Moderate
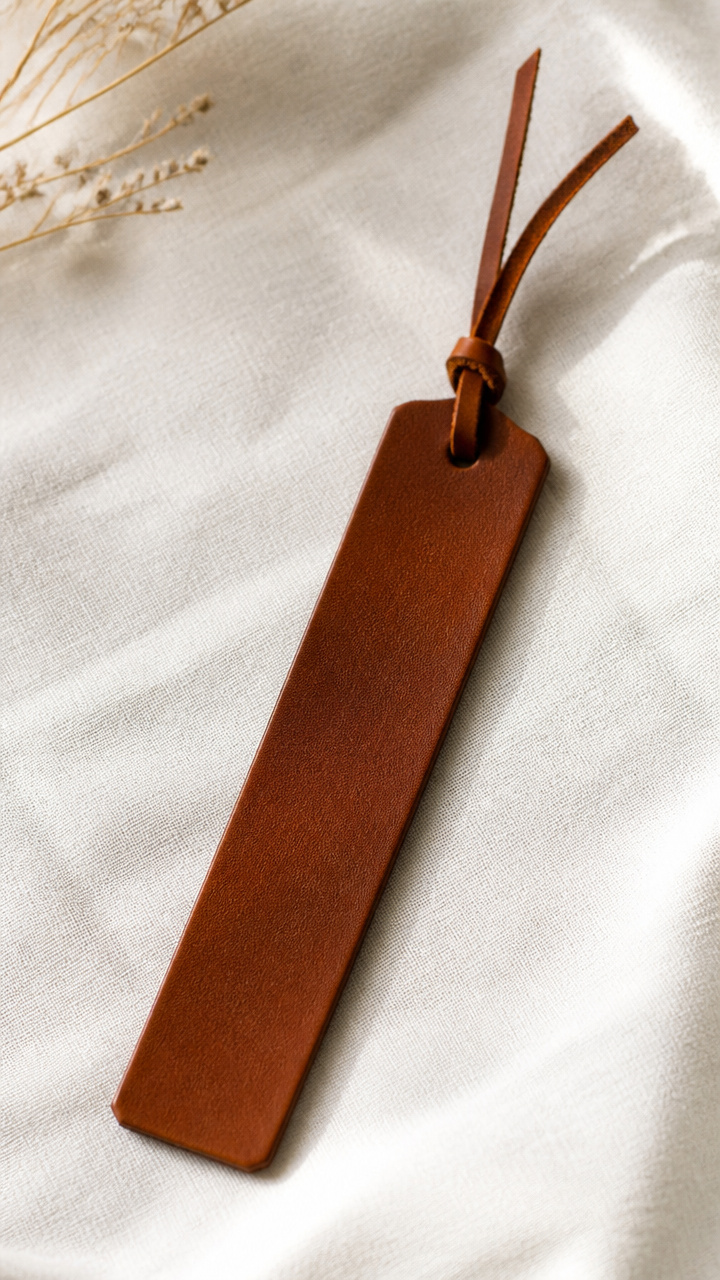
A slim strip of vegetable-tanned leather develops a rich patina as you use it. Burnished edges and a single hole make it both durable and elegant.
Materials Needed
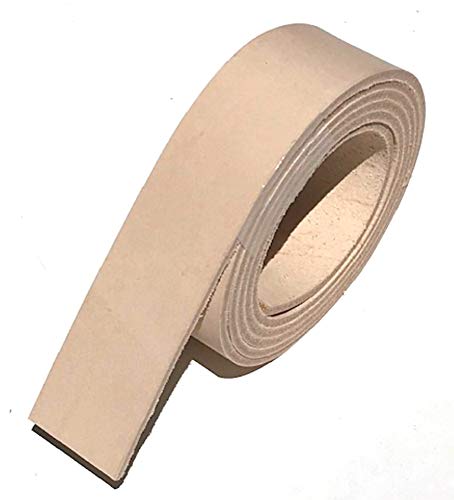
- 3×1 inch piece of 3 oz vegetable-tanned leather
- Ruler
- Utility knife
- Self-healing cutting mat
- Edge beveler
- Sanding block
- Hole punch
- Leather wax
How to Make It
- Measure and mark the leather to 3×1 inch using the ruler and pencil. Cut along the line with the utility knife on the cutting mat.
- Use the edge beveler to round all four edges. Smooth them with the sanding block in a circular motion.
- Punch a hole 1/4 inch from the top end using the hole punch.
- Rub leather wax onto the surface and edges with a cloth. Buff to a soft shine.

11. Crocheted Lavender Scrubby
Easy
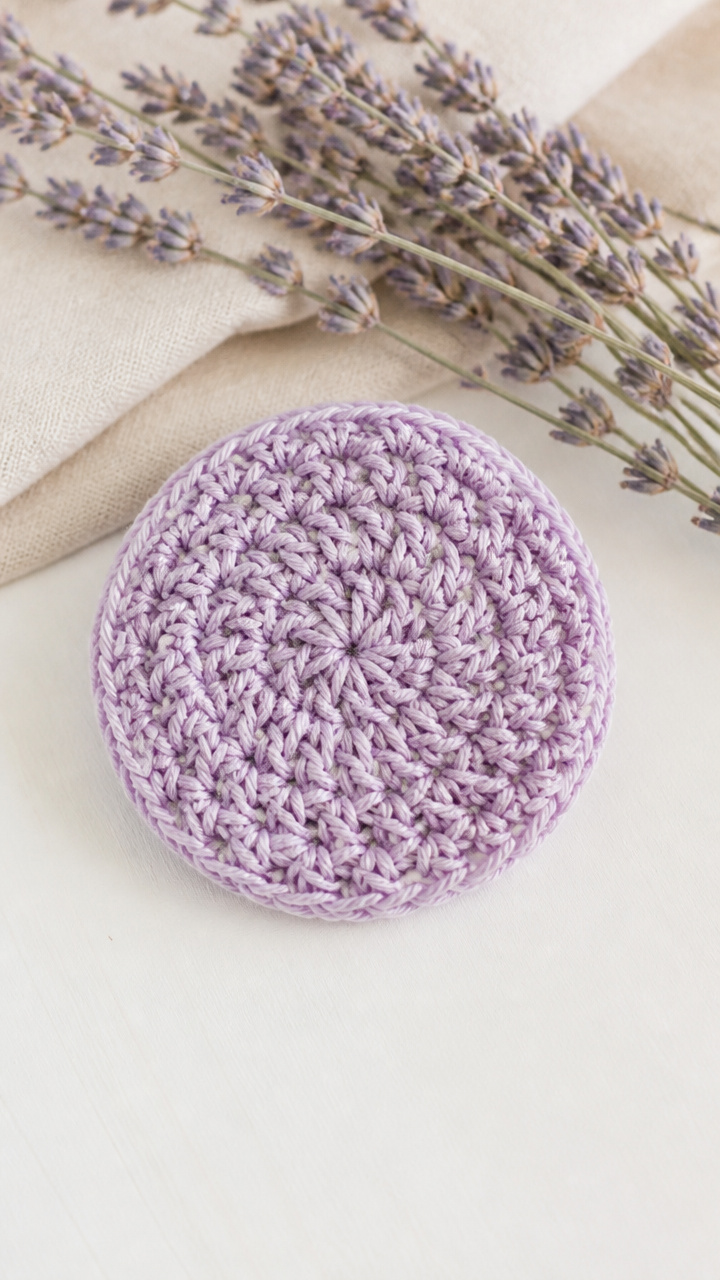
Tightly looped cotton yarn forms a gentle exfoliating pad infused with lavender oil. Use it in the shower for a calming start to the day.
Materials Needed
- 50 yards cotton yarn in light purple
- Size G crochet hook
- 5 drops lavender essential oil
- Small bowl of water
- Scissors
How to Make It
- Make a slipknot and chain 6. Work 5 single crochets into the second chain from the hook.
- Chain 1, turn. Work 5 single crochets across. Repeat this row until the scrubby measures 3 inches.
- Dip the finished scrubby into water and squeeze out excess. Add 5 drops of lavender oil and let it air dry for 1 hour.
- Trim any loose ends with scissors.


12. Painted Rock Garden Markers
Easy
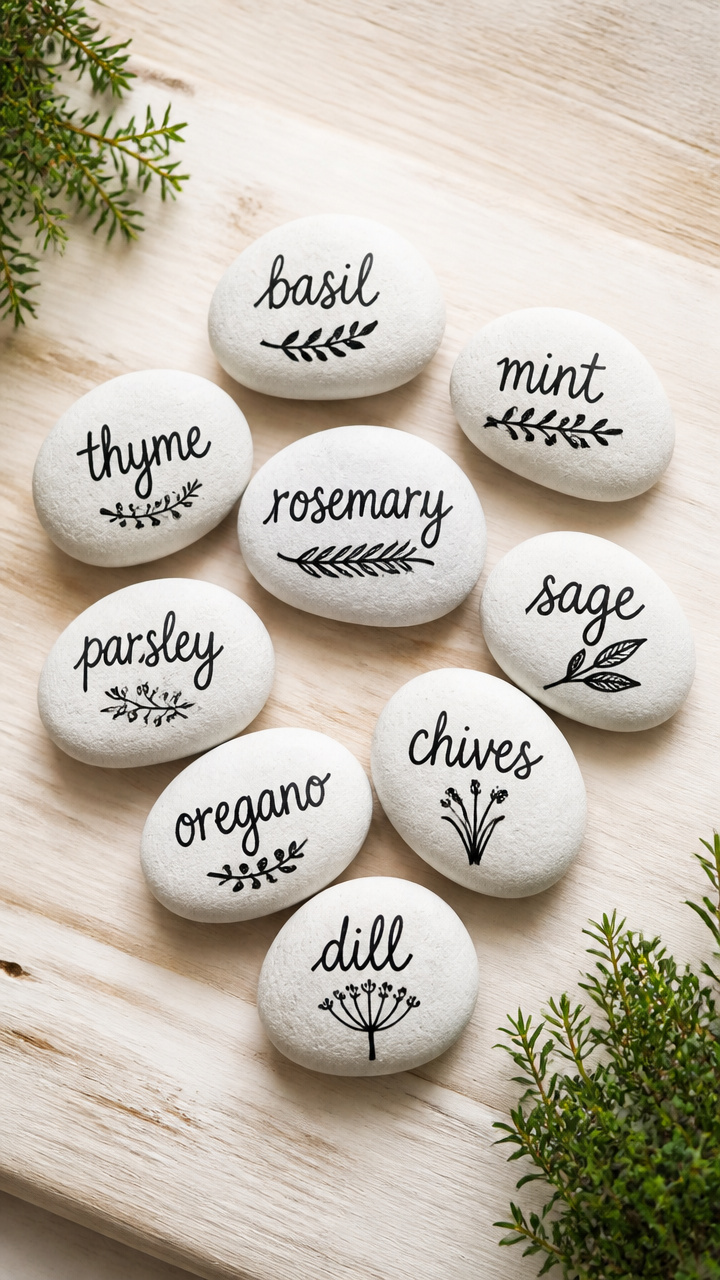
Smooth river stones become labeled tags for herbs or houseplants when painted with clear lettering. Their cool weight feels grounding in your palm.
Materials Needed
- 5 clean river stones, palm-sized
- White acrylic paint
- Small paintbrush
- Black acrylic paint pen
- Clear acrylic sealer spray
- Paper plate
How to Make It
- Paint one flat side of each stone with white acrylic paint. Let dry for 30 minutes on a paper plate.
- Write the name of a herb or plant with the black paint pen. Use block letters for clarity.
- Let the ink dry for 10 minutes. Hold the sealer spray 10 inches away and apply a light, even coat.
- Wait 15 minutes between coats. Apply two coats total, letting each dry before the next.


13. Felted Wool Dryer Balls
Easy
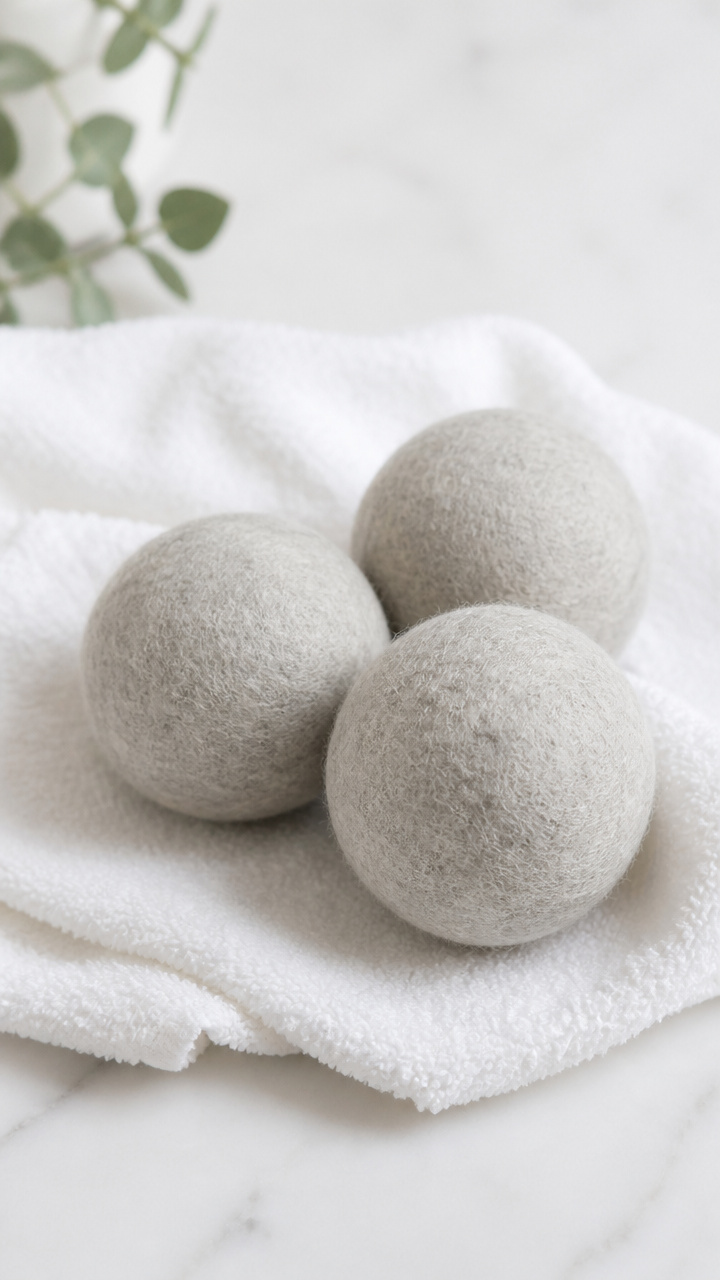
Hand-rolled balls of raw wool fluff up in the dryer, reducing drying time and softening clothes without chemicals. The act of rolling is quietly hypnotic.
Materials Needed
- 100% raw wool roving, 3 ounces
- Old pair of pantyhose
- Dish soap
- Hot water
- Mixing bowl
- Towel
How to Make It
- Pull off 1 ounce of wool roving and roll it into a tight ball. Repeat for two more balls.
- Place each ball inside the pantyhose, tying a knot between them. Twist the ends closed.
- Swirl the hose bundle in hot, soapy water for 5 minutes, then rinse in warm water.
- Remove the balls from the hose. Press gently with a towel to remove water. Let dry for 24 hours.
14. Macrame Plant Hanger
Moderate
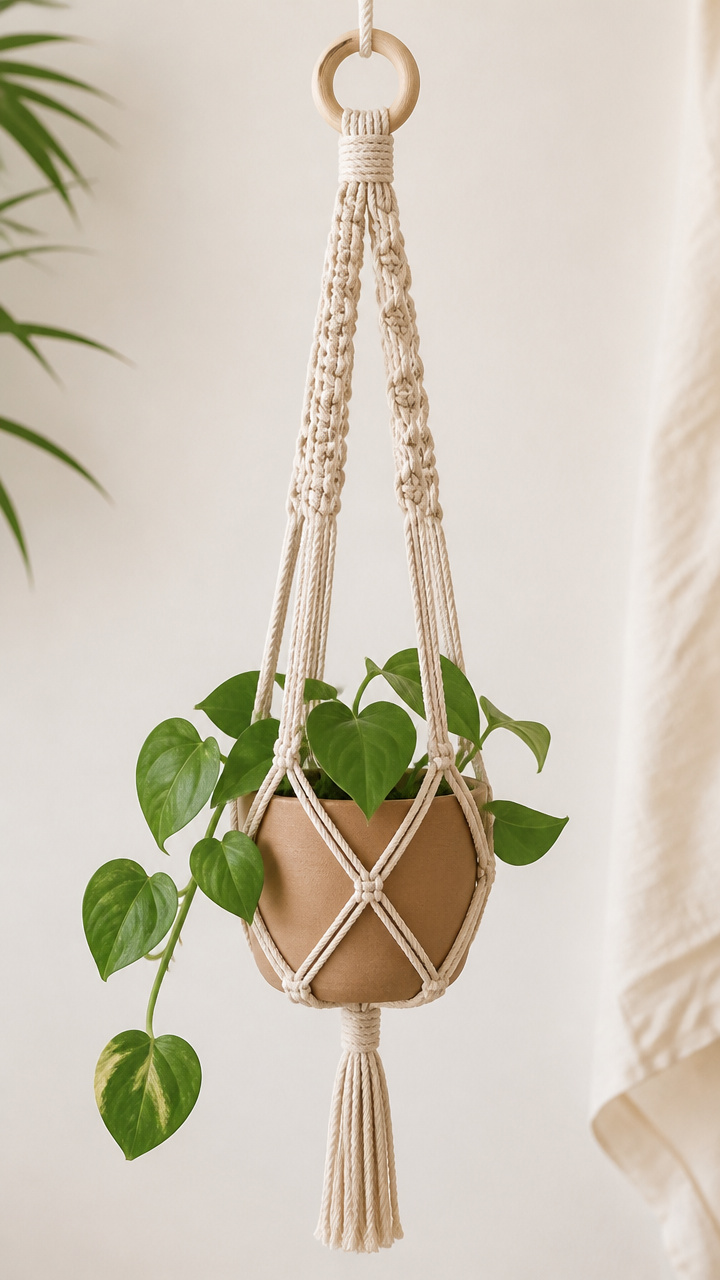
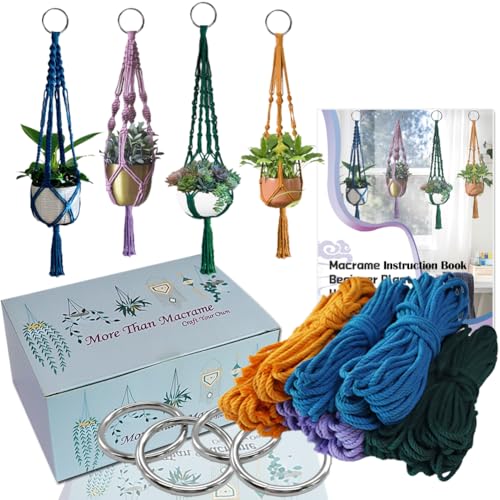
Four strands of cotton cord twist and knot into a cradle that holds a small ceramic pot. The pattern repeats in a soothing, predictable rhythm.
Materials Needed
- 4 pieces of 3 mm cotton cord, each 8 feet long
- 1 wooden ring, 2 inch diameter
- Scissors
- Measuring tape
- Small clay pot
How to Make It
- Fold each cord in half and attach it to the wooden ring with a lark’s head knot. You will have 8 hanging strands.
- Measure 6 inches down from the ring. Group the cords into four pairs. Tie a square knot 6 inches down on each pair.
- Gather all 8 strands and tie one large square knot 8 inches below the first set.
- Separate the strands into four groups of two. Tie a square knot with each group 4 inches down. Trim ends evenly.


15. Ink-Resist Snowflake Cards
Easy
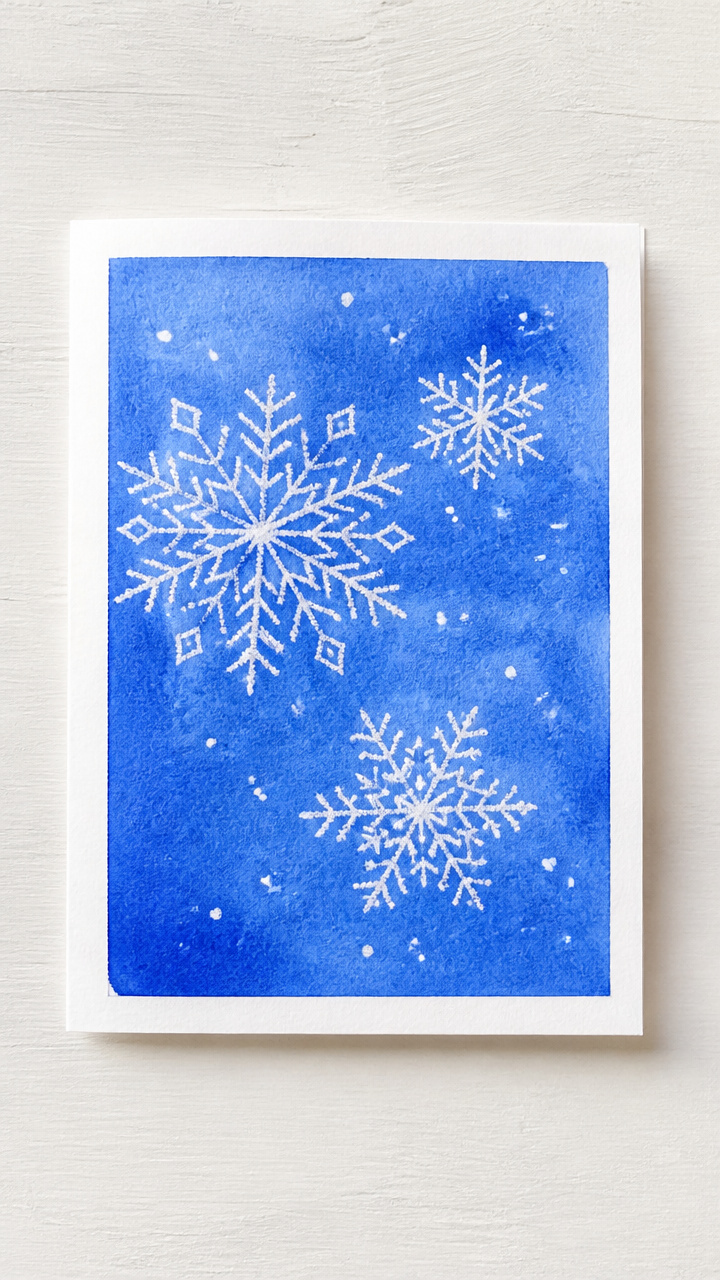
Crayon-drawn snowflakes resist watercolor washes, leaving crisp white patterns on cool blue backgrounds. Each card feels like a winter sky captured on paper.
Materials Needed
- A6 white cardstock, 5 sheets
- White crayon
- Cobalt blue watercolor paint
- Size 8 watercolor brush
- Jar of water
- Paper towel
- Ruler
How to Make It
- Use the white crayon to draw a unique snowflake in the center of each card. Press firmly to lay down thick wax.
- Mix cobalt blue paint with water to a light wash. Use the brush to cover the entire card surface.
- Blot excess water with a paper towel. Let the cards dry flat for 1 hour.
- Use the ruler to crease each card in half before displaying or mailing.


16. Resin Coaster Set
Advanced
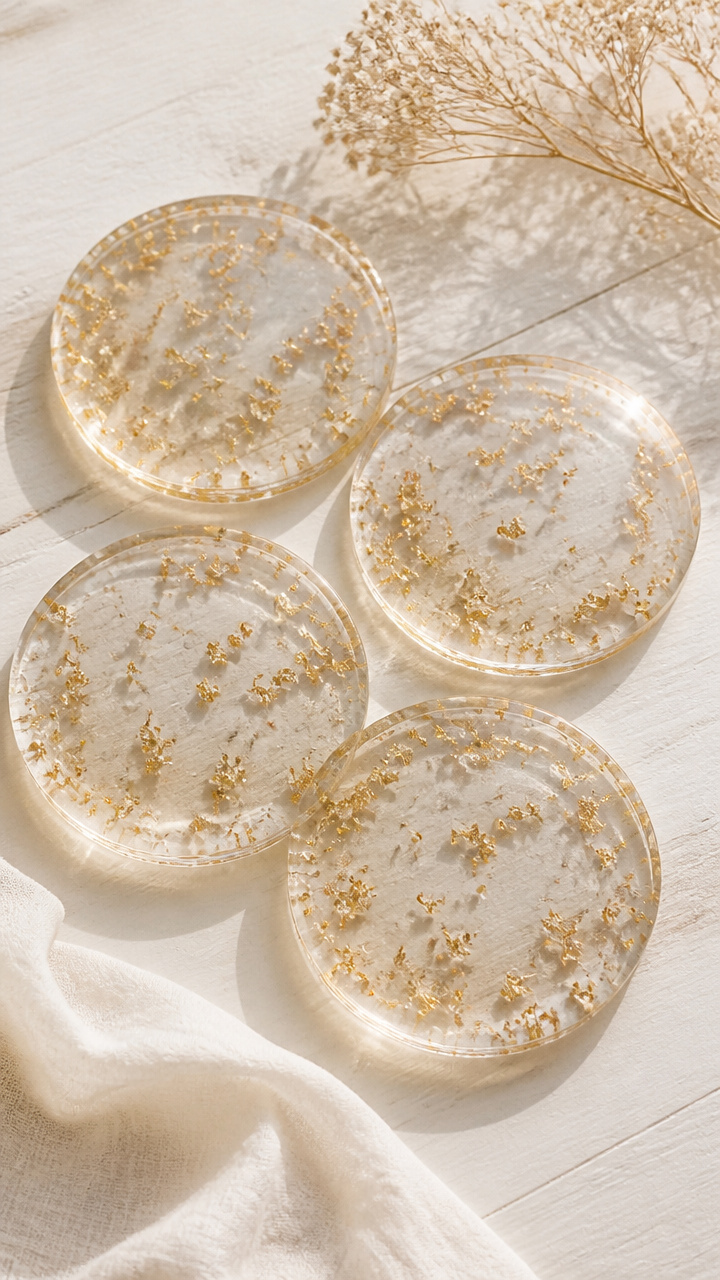
Clear epoxy resin pours into silicone molds, trapping gold leaf flakes in glossy, durable coasters. The slow cure time lets you watch the surface settle.
Materials Needed
- Epoxy resin kit (8 oz total)
- Silicone coaster mold, 4 cavity
- Gold leaf flakes
- Disposable plastic cups
- Stir sticks
- Heat gun
- Gloves
- Mask
How to Make It
- Wear gloves and a mask. Mix resin and hardener in a cup according to the kit instructions. Stir slowly for 3 minutes.
- Pour a thin layer into each mold cavity. Sprinkle gold leaf flakes over the surface.
- Pour a second layer to cover the flakes. Pass the heat gun slowly over the top to pop air bubbles.
- Let cure for 24 hours in a dust-free area. Flex the mold to release the coasters.


17. Quilled Paper Snowflakes
Moderate
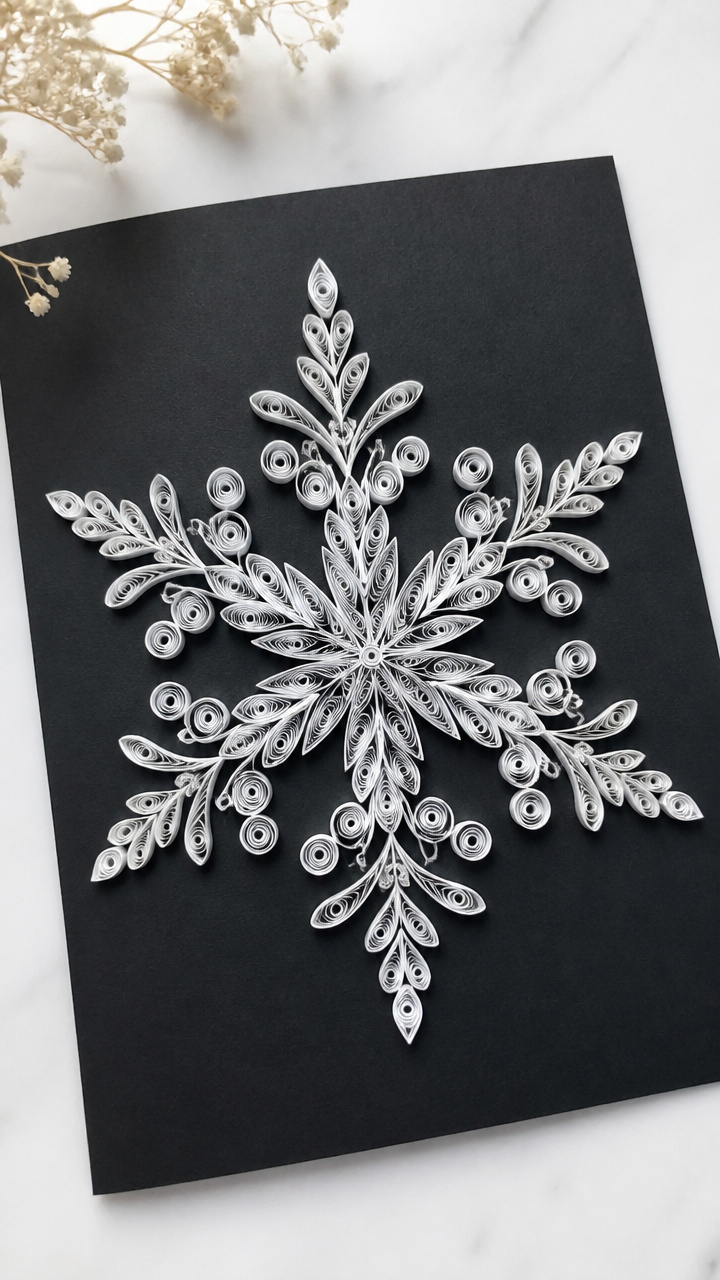
Thin strips of paper are coiled and shaped into symmetrical snowflakes, then glued to dark cardstock. The intricate work focuses your breathing and attention.
Materials Needed
- White quilling paper strips, 1/8 inch wide
- Quilling tool
- Tweezers
- White craft glue
- Black A4 cardstock
- Clear ruler
- Scissors
How to Make It
- Wrap a 12 inch strip around the quilling tool. Glue the end and let the coil relax into a loose circle.
- Pinch the coil at two opposite points to form a teardrop. Repeat to make 6 identical shapes.
- Arrange the shapes in a circle, points touching the center. Glue them together at the tips.
- Glue the snowflake onto the black cardstock. Let dry for 30 minutes before handling.


18. Clay Scented Sachets
Easy
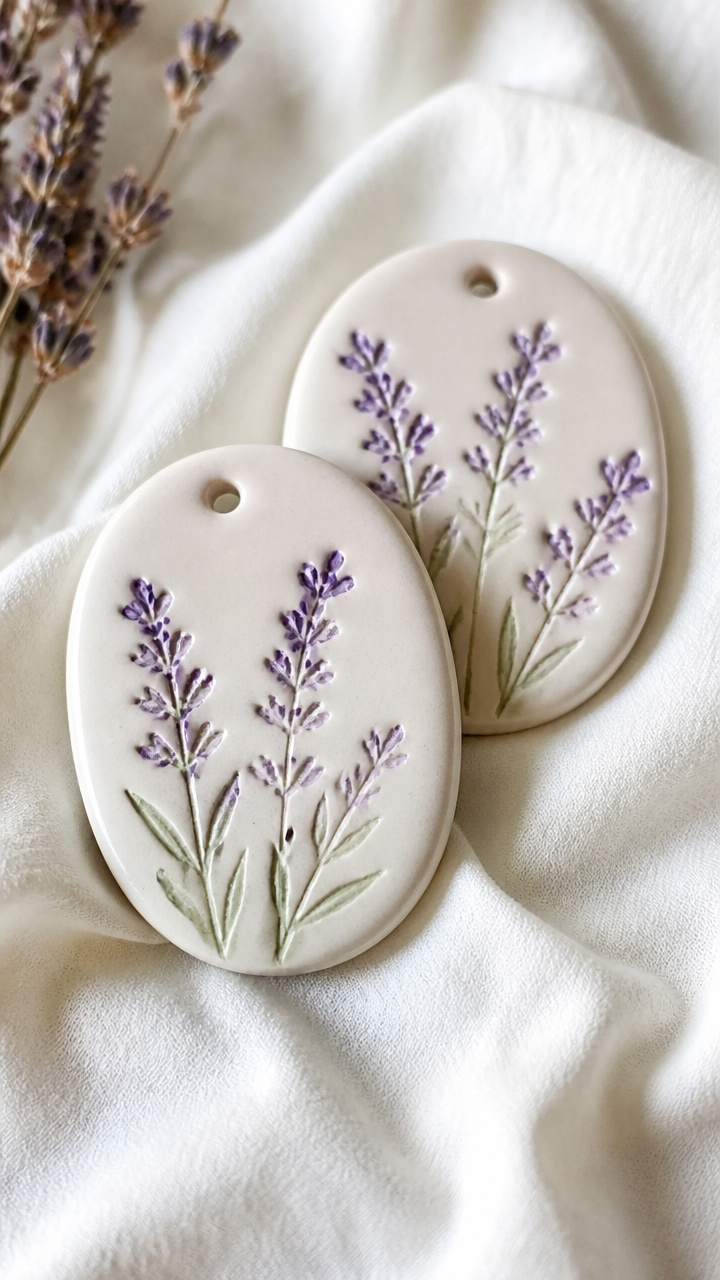
Air-dry clay is rolled and stamped with floral designs, then infused with essential oils. Place them in closets to scent linens naturally.
Materials Needed
- White air-dry clay, 4 oz
- Floral cookie cutter
- Straw
- Rolling pin
- Bamboo skewer
- Lavender essential oil
- Small bowl
- Paintbrush
How to Make It
- Roll the clay to 1/4 inch thickness. Press the cookie cutter into the clay and lift out the shape.
- Use the straw to cut a small circle near the top. Poke a hole through it with the skewer.
- Let the clay dry on a flat surface for 24 hours, flipping once after 12 hours.
- Mix 3 drops of lavender oil with 1 teaspoon of water in a bowl. Brush the solution over the sachet. Let dry 1 hour.


19. Woven Potholder on Cardboard Loom
Moderate
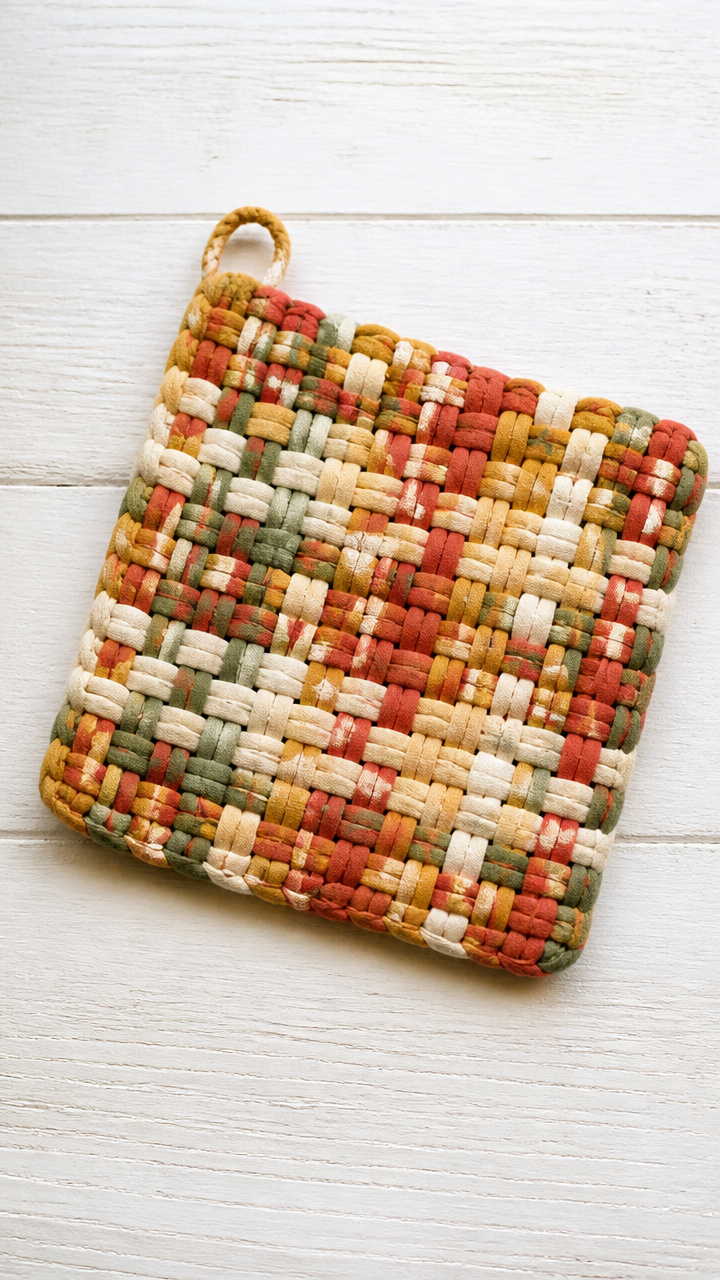
Strips of cotton fabric weave over and under vertical warp threads, building a thick square that protects your hands. The repetitive motion is deeply calming.
Materials Needed
- Cardboard, 6×6 inch square
- Cotton fabric strips, 1 inch wide, 12 inches long (10 pieces)
- Scissors
- Tape
- Large needle
How to Make It
- Cut slits every 1/2 inch along two opposite edges of the cardboard. Tape the end of one fabric strip to the back and thread it up through the first slit.
- Continue threading the strip up and down to create vertical warp threads. Tape the end to the back.
- Weave a horizontal strip over and under the vertical threads. Push it up snugly with your fingers after each pass.
- Alternate the over-under pattern on each row. After 10 rows, tie off the ends on the back and trim.


20. Dip-Dye Cotton Napkins
Moderate
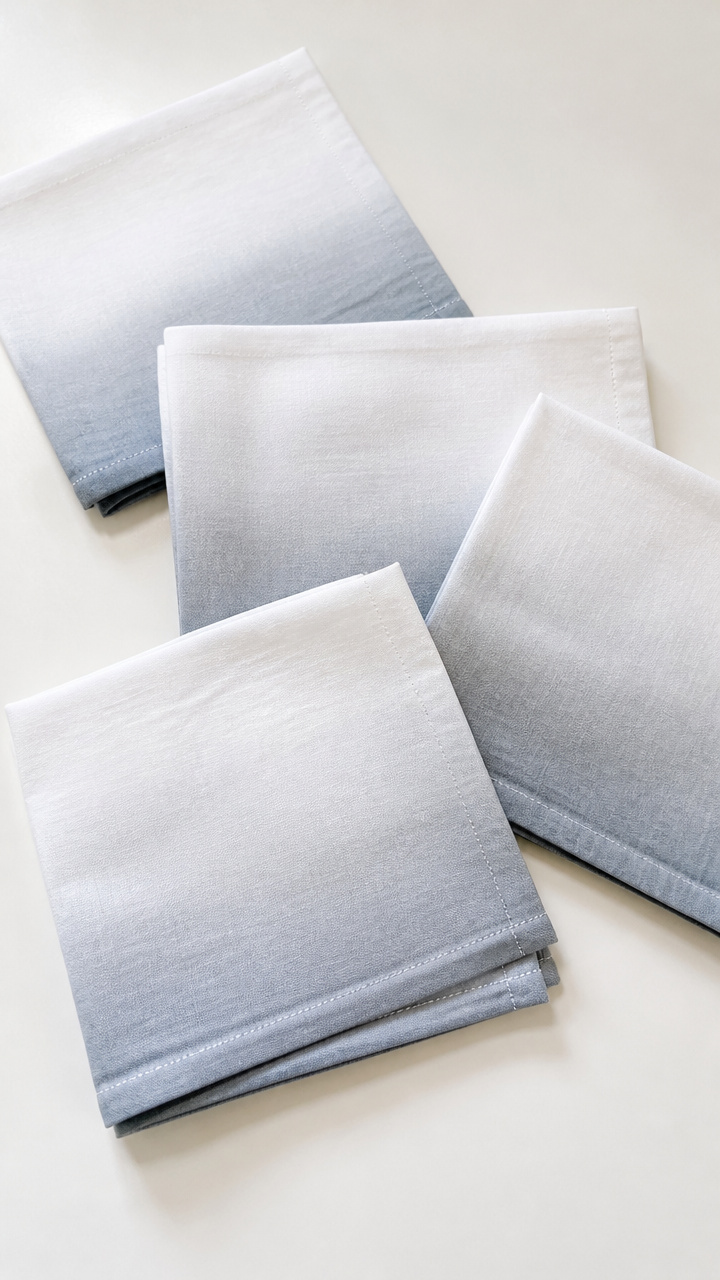
Crisp white cotton napkins soak into a pale gray dye bath, creating soft ombré edges that deepen near the hem. They bring quiet elegance to any table.
Materials Needed
- 4 white cotton napkins, 16×16 inch
- Gray fiber-reactive dye powder
- Soda ash
- Large plastic tub
- Rubber bands
- Plastic gloves
- Measuring spoons
- Stirring stick
How to Make It
- Soak the napkins in a solution of 1 cup soda ash and 1 gallon warm water for 20 minutes. Wring out excess.
- Mix 2 tablespoons dye powder with 2 quarts warm water in the tub. Stir well.
- Fold each napkin diagonally and secure with rubber bands. Dip the tip 2 inches into the dye.
- Let soak for 15 minutes, lifting slightly every 5 minutes to deepen the gradient. Rinse under cold water until clear.


Pick one, gather what you need, and let your hands find their rhythm. The quiet joy is in the doing.