22 Penguin and Polar Bear Crafts for Preschool Classrooms

Soft cotton snowballs cling to blue construction paper skies, tiny mittened hands press glue-dotted shapes into place, and a waddle of handmade penguins lines the classroom window ledge. These moments spark joy and curiosity in little learners.
Bringing arctic animals into your classroom through hands-on crafts builds fine motor skills, inspires imaginative play, and warms up winter days. Each of these 22 projects uses clear materials and simple steps so you can focus on fun, not frustration.
1. Cotton Ball Snowbank Penguins
Easy
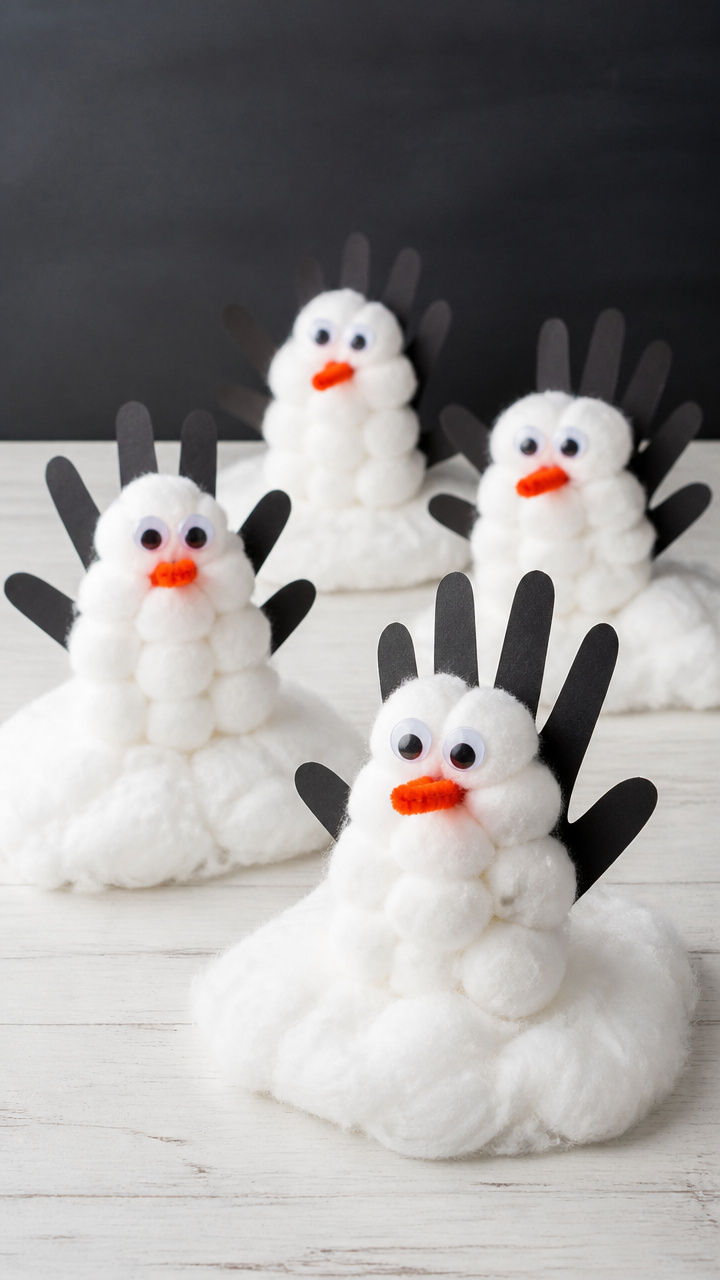
Plump white snowbanks cradle handprint penguin bodies, creating soft 3D scenes perfect for hallway displays.
Materials Needed
- A4 black cardstock
- White craft glue
- Jumbo cotton balls
- Small plastic googly eyes (10mm)
- Orange pipe cleaners
- Black washable marker
How to Make It
- Trace each child’s hand on the bottom third of the black cardstock with the black marker, then have them cut it out with safety scissors.
- Run a thick line of glue across the top half of the hand shape to form the snowbank.
- Press jumbo cotton balls side by side into the glue until the snowbank is full and fluffy.
- Glue two googly eyes near the top of the hand shape, just above the thumb.
- Cut the orange pipe cleaner into 1-inch pieces and fold one into a triangle beak, then glue below the eyes.
- Let dry completely before displaying.


2. Polar Bear Paw Prints
Easy
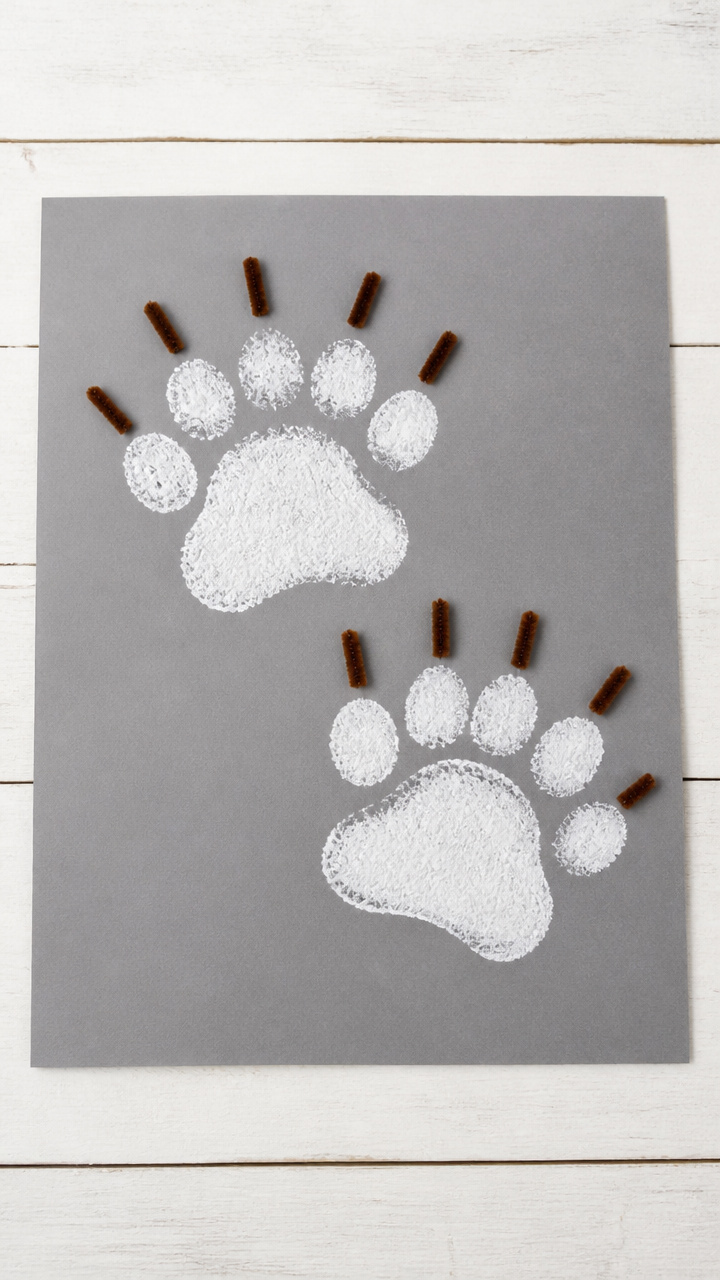
Textured paw prints made with sponge stamps give children a tactile way to explore animal tracks.
Materials Needed
- White tempera paint
- Gray construction paper (9×12 inches)
- Natural sea sponges
- Scissors
- Brown chenille stems (pipe cleaners)
How to Make It
- Cut each sea sponge into a circle about 2 inches wide using scissors.
- Have children dip the sponge into white tempera paint and stamp five oval pads in a semi-circle on gray paper to form a paw.
- Add a larger oval above for the heel pad and let dry.
- Cut brown chenille stems into five 1-inch pieces and glue one vertically above each toe pad for claws.
- Label each print with the child’s name at the bottom.


3. Tissue Paper Ice Caves
Easy
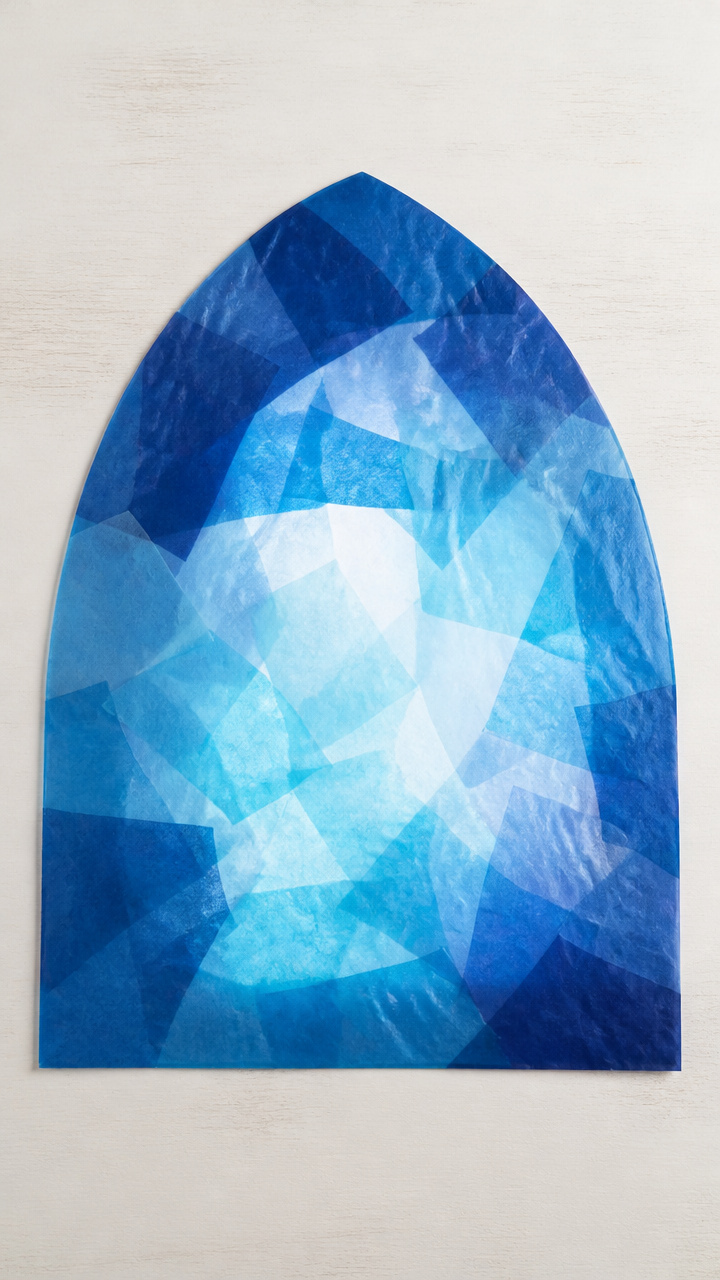
Layered squares of cool blue tissue paper glow like real ice when taped to windows.
Materials Needed
- Blue tissue paper sheets (light and dark blue)
- Clear contact paper (12×18 inches)
- Child-safe scissors
- White school glue
- Pencil
How to Make It
- Cut tissue paper into 2-inch squares using child-safe scissors.
- Peel the backing off the contact paper and lay it sticky-side up on the table.
- Have children arrange tissue paper squares in overlapping layers to fill the sheet.
- Draw a rounded cave entrance at the bottom with a pencil directly on the tissue layers.
- Carefully place the second sheet of contact paper on top, sealing the edges.
- Trim excess and hang in a sunny window.


4. Paper Plate Polar Bears
Moderate
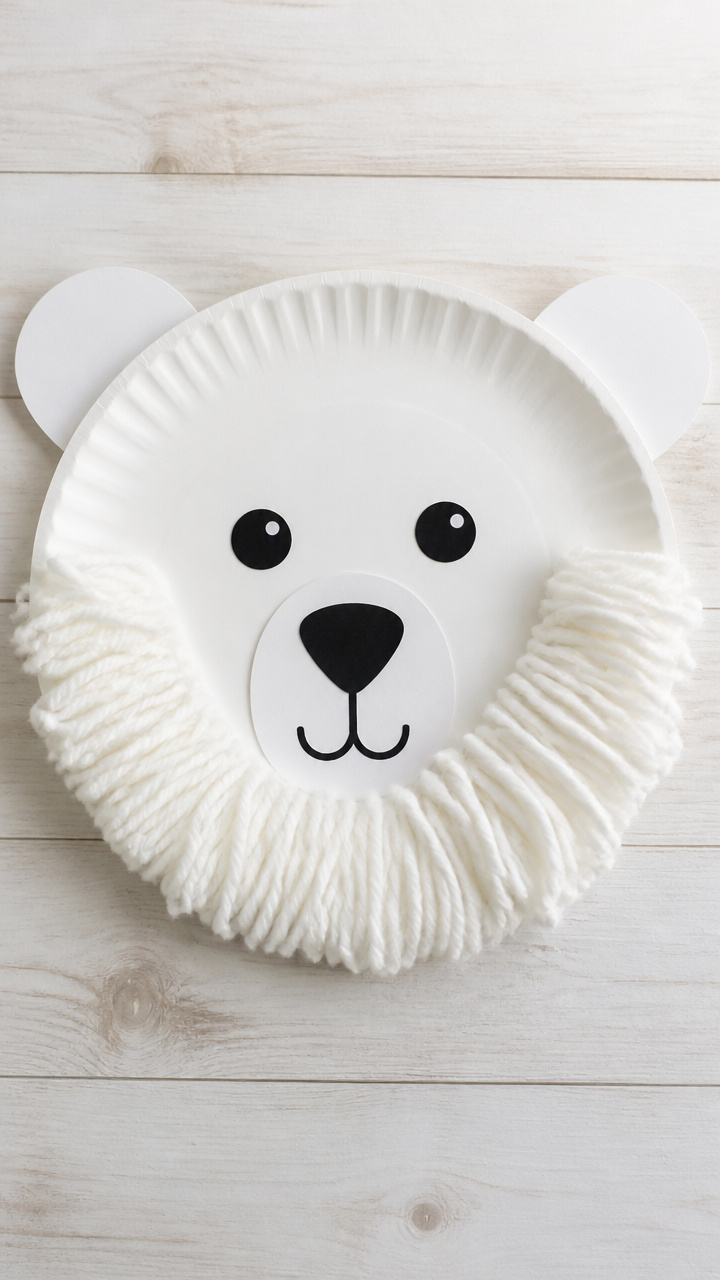
Full-face polar bears with fluffy fur collars become expressive characters with movable mouths.
Materials Needed
- 9-inch white paper plates
- White yarn (medium thickness)
- Hot glue gun and glue sticks
- Black foam craft circles (15mm)
- Craft stick
- White school glue
- Hole punch
How to Make It
- Apply hot glue along the outer rim of the back side of the paper plate and press yarn into it to form a thick fur collar.
- Let the glue cool completely before handling.
- Glue two black foam circles onto the front for eyes.
- Cut a vertical slit from the center of the plate upward about 2 inches.
- Slide a craft stick through the slit from behind so it acts as a lever.
- Punch two small holes near the top edge and thread string through to hang.


5. Penguin Finger Puppets
Easy
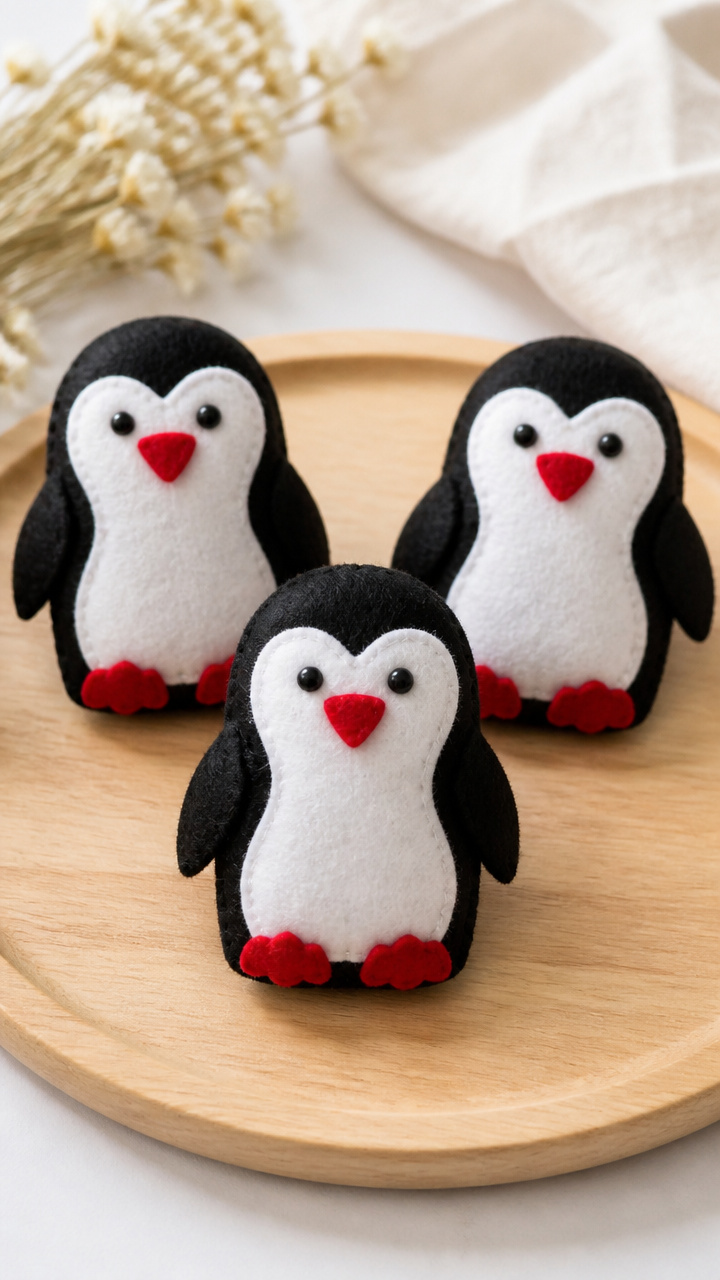
Mini penguins with wiggling feet invite storytelling during circle time or quiet play.
Materials Needed
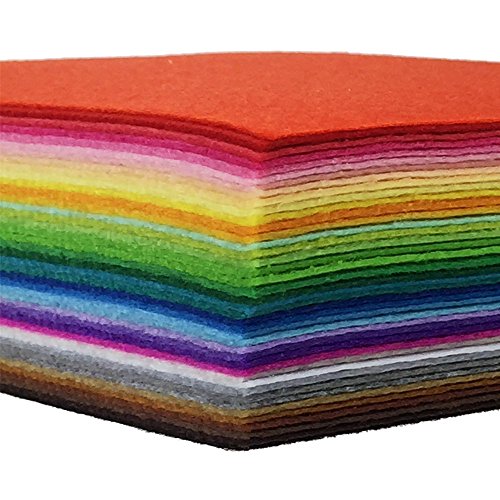
- Black and white felt sheets
- Red felt sheet
- Felt-safe scissors
- Fabric glue
- Plastic needle and white embroidery floss
How to Make It
- Cut out two identical penguin shapes from black felt, each about 3 inches tall with flippers and feet.
- Cut a smaller oval from white felt for the belly and glue centered on one black shape.
- Cut a tiny triangle from red felt for the beak and glue below the belly oval.
- Use fabric glue to attach the two black felt sides together around the edges, leaving the bottom open.
- Thread the plastic needle with white floss and stitch across the opening to reinforce it.


6. Snowflake Crown Bands
Easy
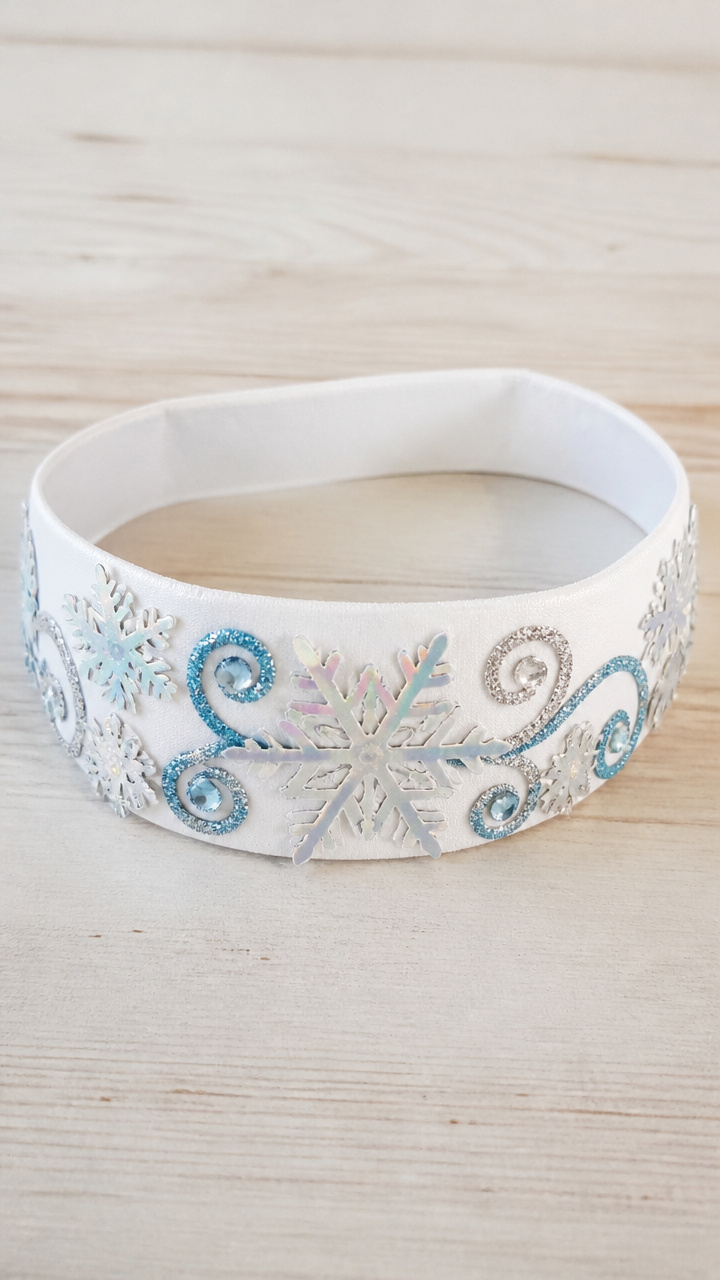
Iridescent stickers and glitter glue turn plain headbands into frosty arctic wear.
Materials Needed
- White elastic headbands (1/2 inch wide)
- Clear glitter glue (blue and silver)
- Self-adhesive snowflake stickers
- Rhinestone stickers (clear and light blue)
- Fine-tip silver gel pen
How to Make It
- Squeeze blue and silver glitter glue in swirling patterns along the top edge of the headband.
- Sprinkle self-adhesive snowflake stickers randomly over the wet glue.
- Press rhinestone stickers into the glue between snowflakes for extra sparkle.
- Let dry flat for at least 2 hours.
- Add final details with the silver gel pen once dry.


7. Polar Bear Shadow Box
Moderate
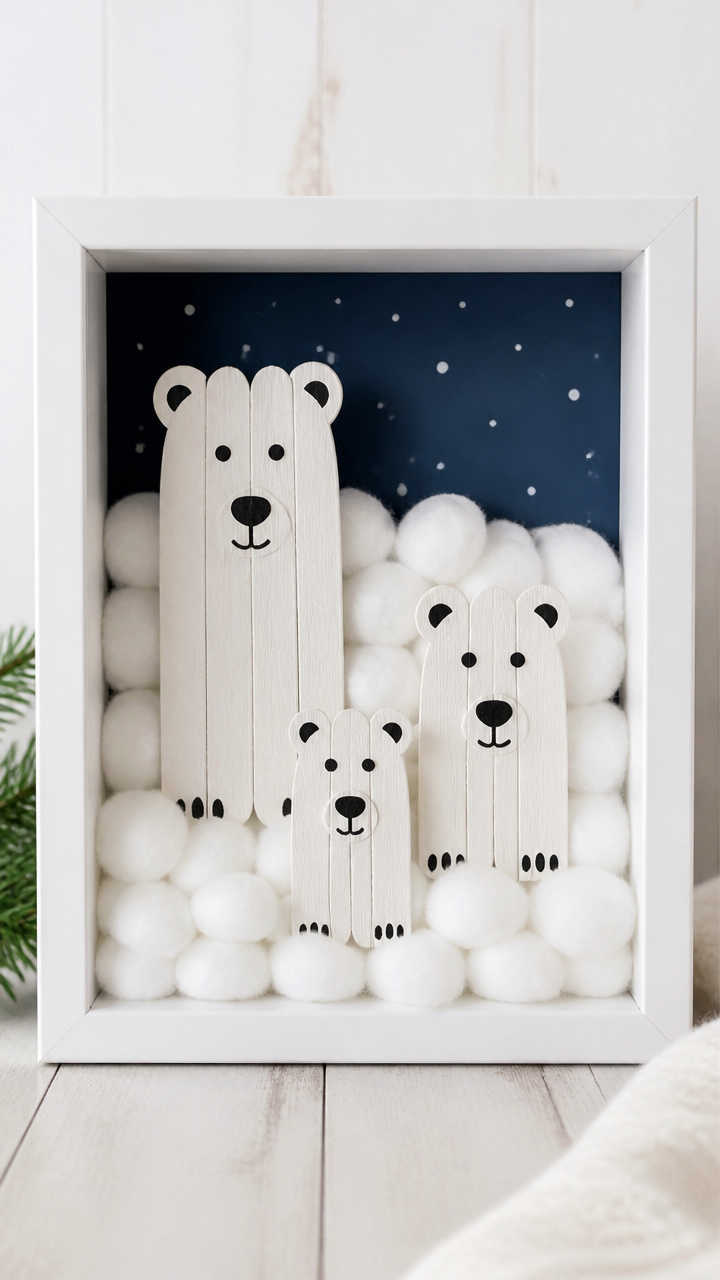
A deep frame filled with layered cotton and popsicle stick bears creates depth and dimension.
Materials Needed
- Shoebox lid (with sides intact)
- White acrylic paint
- Foam brush
- Jumbo cotton balls
- White glue
- Colored craft sticks (white)
- Googly eyes (8mm)
How to Make It
- Paint the inside of the shoebox lid with white acrylic paint using the foam brush and let dry.
- Glue jumbo cotton balls across the bottom third to form a snowy floor.
- Cut craft sticks in half and paint one end with white glue to represent bear heads.
- Press an 8mm googly eye onto each glued head end.
- Stand the craft sticks upright in the cotton ball snow and let the glue set.


8. Waddling Penguin Line Art
Easy
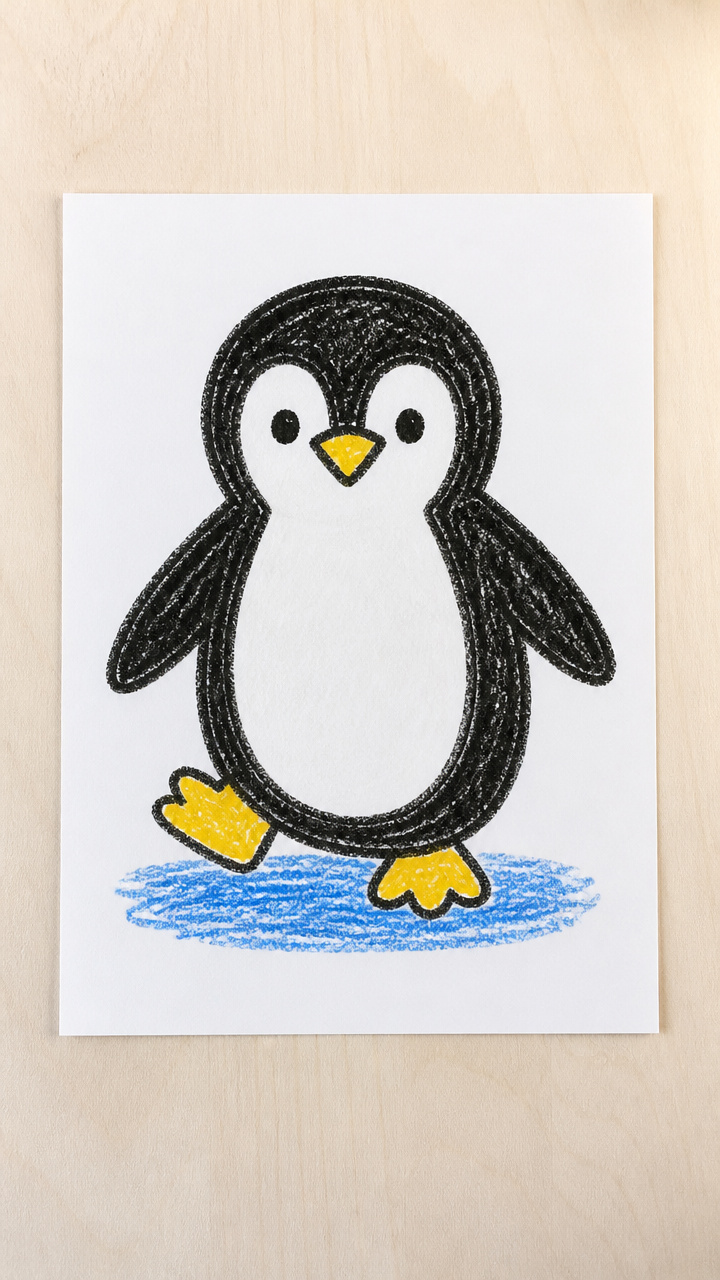
Bold black outlines and chunky crayon fills make this penguin ideal for young artists.
Materials Needed
- Black oil pastels
- White drawing paper (8.5×11 inches)
- Blue and yellow wax crayons
- Pencil
- Tracing stencil (penguin shape)
How to Make It
- Place the penguin stencil on the paper and trace firmly with a pencil.
- Go over the pencil line with a black oil pastel, pressing hard to make a thick border.
- Fill the belly area with smooth yellow wax crayon.
- Color the back and wings with firm blue crayon strokes.
- Blend the colors slightly with fingers if desired.


9. Iceberg Collage Blocks
Moderate
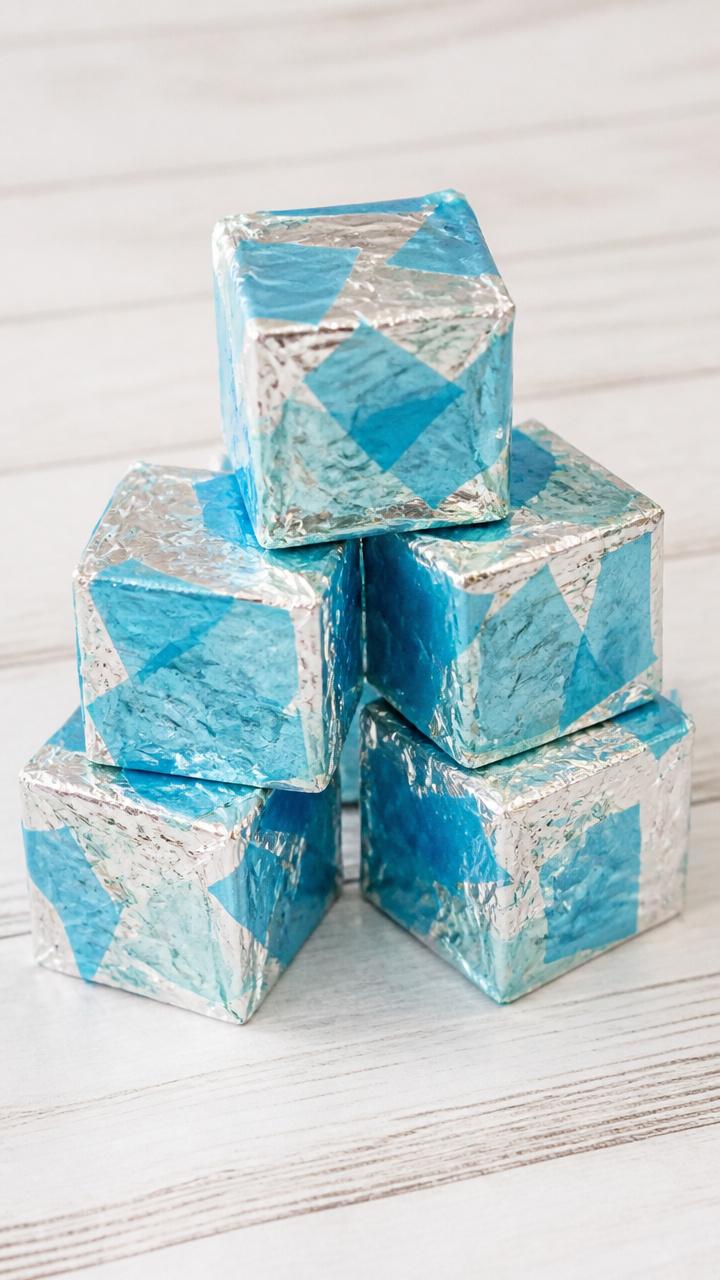
Recycled cardboard cubes become floating icebergs when layered with foil and glue.
Materials Needed
- Cardboard cubes (2-inch, from packaging)
- Aluminum foil sheets
- White school glue
- Paintbrush
- Light blue tissue paper
- Scissors
How to Make It
- Cut aluminum foil into 3-inch squares and crumple each slightly.
- Brush white school glue all over one cardboard cube face.
- Press the crumpled foil square onto the glued face and smooth gently with fingertips.
- Repeat for all six sides, letting each dry before gluing the next.
- Tear light blue tissue paper into small pieces and glue over any gaps for icy texture.
- Let dry overnight before use in sensory bins.


10. Penguin Rock Families
Moderate
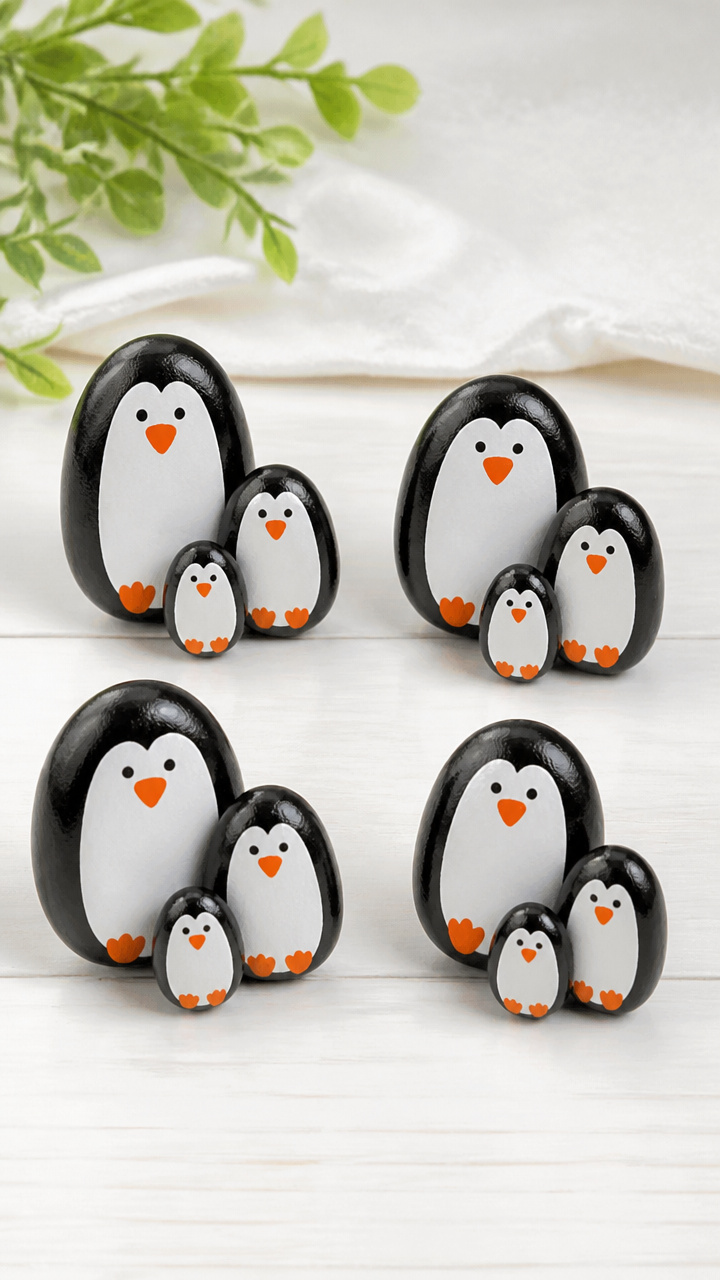
Smooth river rocks become family groups of penguins with painted details.
Materials Needed
- River rocks (oval, 2-3 inches long)
- Acrylic paint (black, white, orange)
- Fine-tip paintbrushes (size 1 and 4)
- Clear sealant spray
- Paper plate palette
How to Make It
- Wash and dry rocks thoroughly before starting.
- Use the size 4 brush to paint the top two-thirds of each rock black for the back.
- Paint the lower third white for the belly.
- Use the size 1 brush to add two small white circles for eyes and a small orange triangle for the beak.
- Let paint dry completely, then apply one coat of clear sealant spray in a well-ventilated area.
- Display the penguin rocks grouped together on a shelf.


11. Polar Bear Suncatchers
Moderate
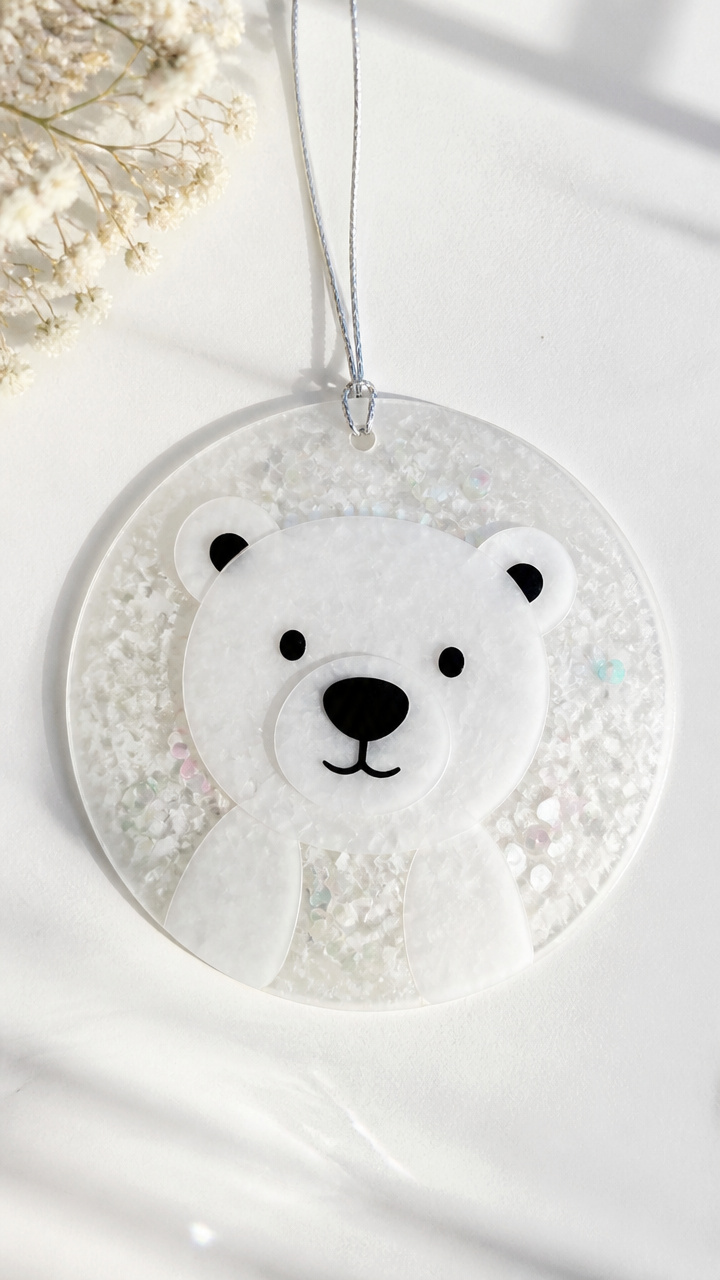
Translucent vellum and iridescent beads catch sunlight like frost on fur.
Materials Needed
- White vellum sheets (8.5×11 inches)
- Circle punch (3-inch)
- Iridescent sequins
- Clear glue dots
- Silver embroidery floss
- Hole punch
How to Make It
- Use the circle punch to cut one disc from white vellum per child.
- Place three clear glue dots evenly spaced on the vellum circle.
- Press iridescent sequins onto the glue dots to mimic sparkling ice.
- Let the glue set for 10 minutes.
- Punch a hole at the top and thread with 12 inches of silver embroidery floss to hang.


12. Penguin Footprint Tracks
Easy
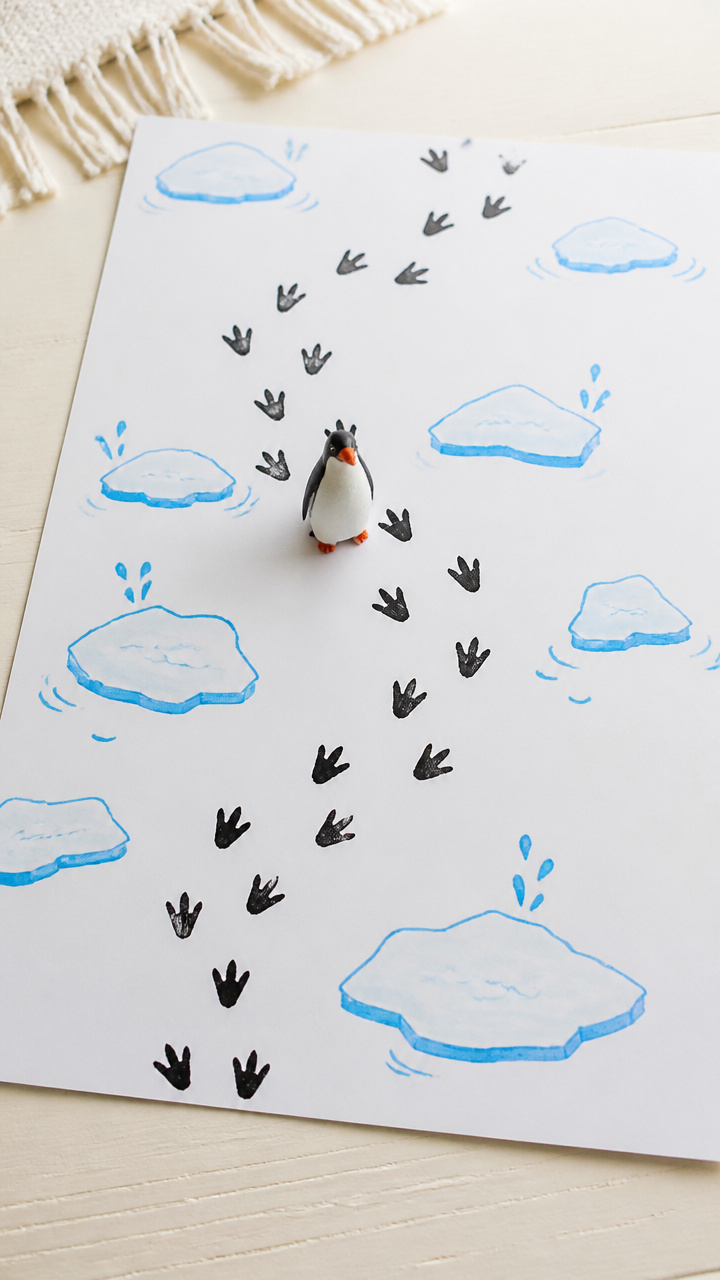
Stamping footprints across paper lets kids map imaginary penguin journeys.
Materials Needed
- Black washable ink pad
- White drawing paper (12×18 inches)
- Toy penguin figurines (plastic)
- Blue markers
How to Make It
- Press the feet of a toy penguin into the black ink pad.
- Stamp the footprint onto the white paper and repeat to create a winding path.
- Draw icy water patches with blue markers between some footprints.
- Add fish doodles near the water with a black marker.
- Label the page with 'Penguin Path' at the top.


13. Arctic Animal Stickers
Advanced
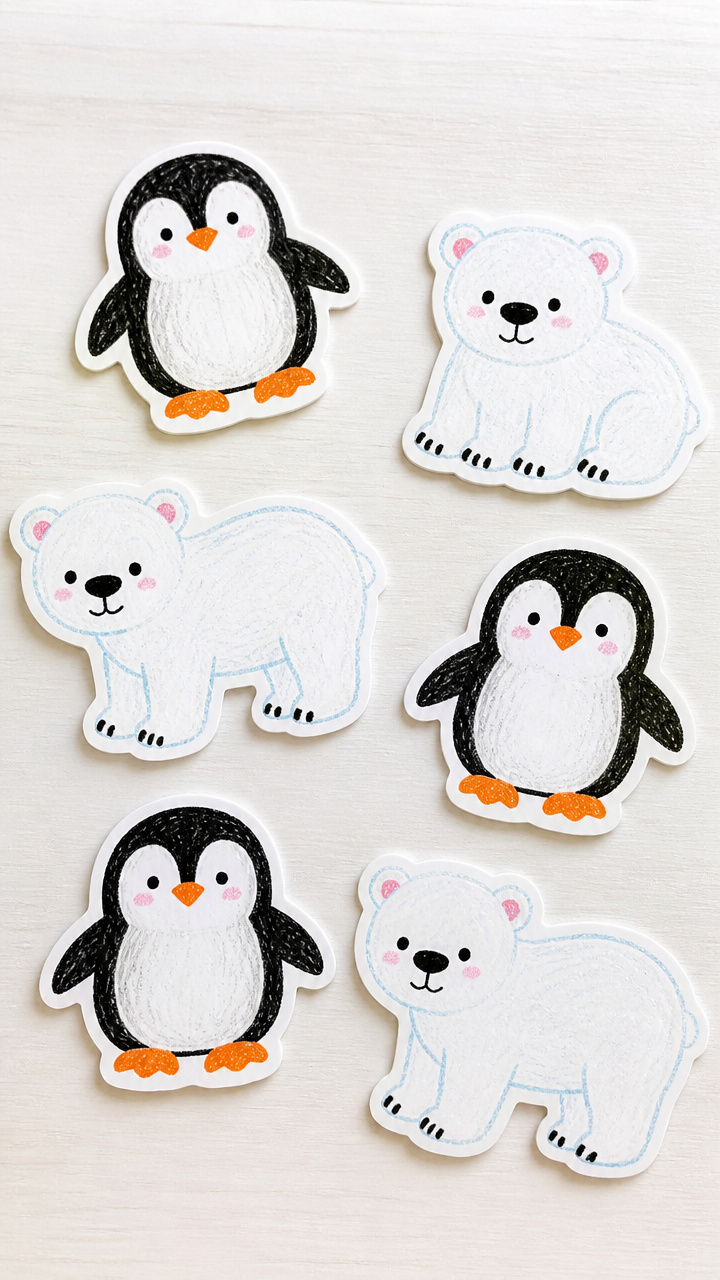
Custom sticker sheets let children decorate notebooks or story papers with their own designs.
Materials Needed
- Printable vinyl sticker paper
- Inkjet printer
- Scissors
- Pencil
- Animal outline templates (penguin, polar bear)
- Crayons
How to Make It
- Print blank animal templates onto the glossy side of the sticker paper using an inkjet printer.
- Have children color the outlines with crayons using black, white, and orange.
- Carefully cut out each colored animal with scissors.
- Peel the backing and stick to folders, letters, or artwork.
- Store extras in a labeled zip bag.


14. Felt Igloo Structure
Advanced
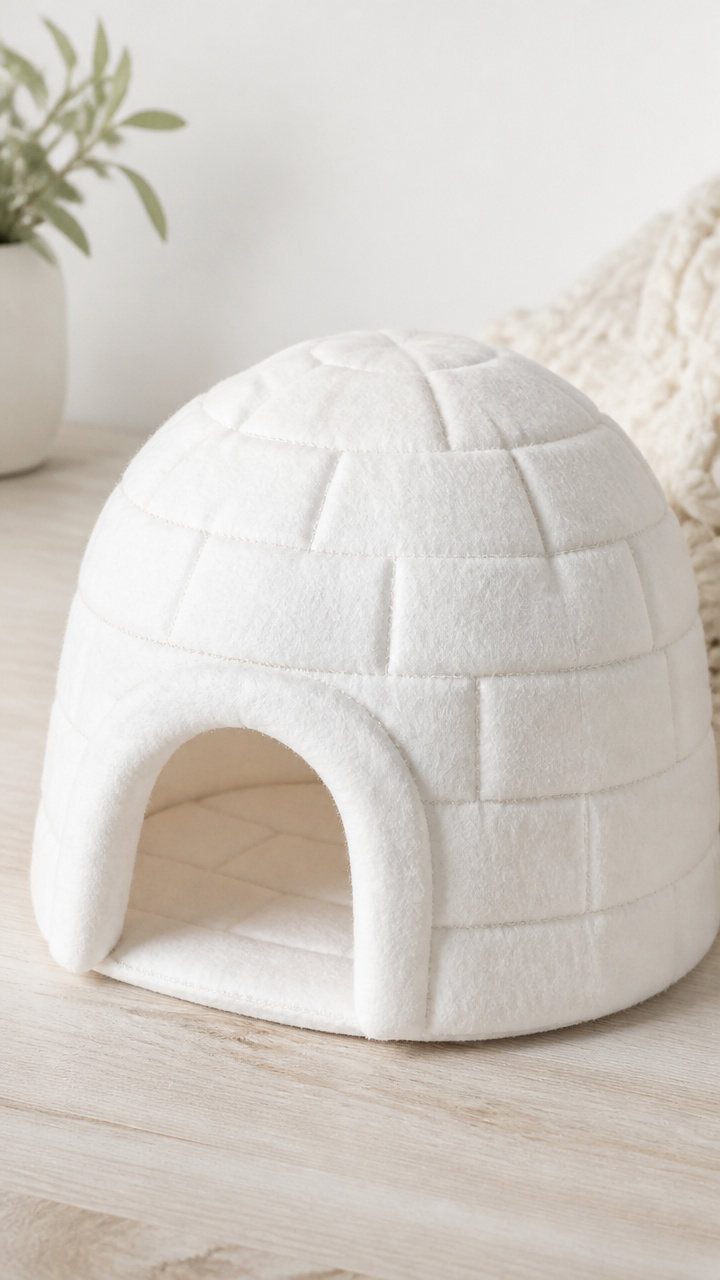
Interlocking felt bricks stack into a freestanding igloo for dramatic play.
Materials Needed
- White felt sheet (18×24 inches)
- Ruler
- Fabric marker
- Scissors
- Snap fasteners (20 pairs)
- Needle and white thread
How to Make It
- Use the ruler and fabric marker to draw 30 rectangles measuring 2×4 inches on the felt.
- Cut out all rectangles with scissors.
- Sew one half of a snap fastener to the top center of each brick with needle and thread.
- Sew the other half to the bottom center of each brick.
- Stack bricks in a staggered pattern, snapping each layer to the one below to form a dome.


15. Penguin Bean Bags
Moderate
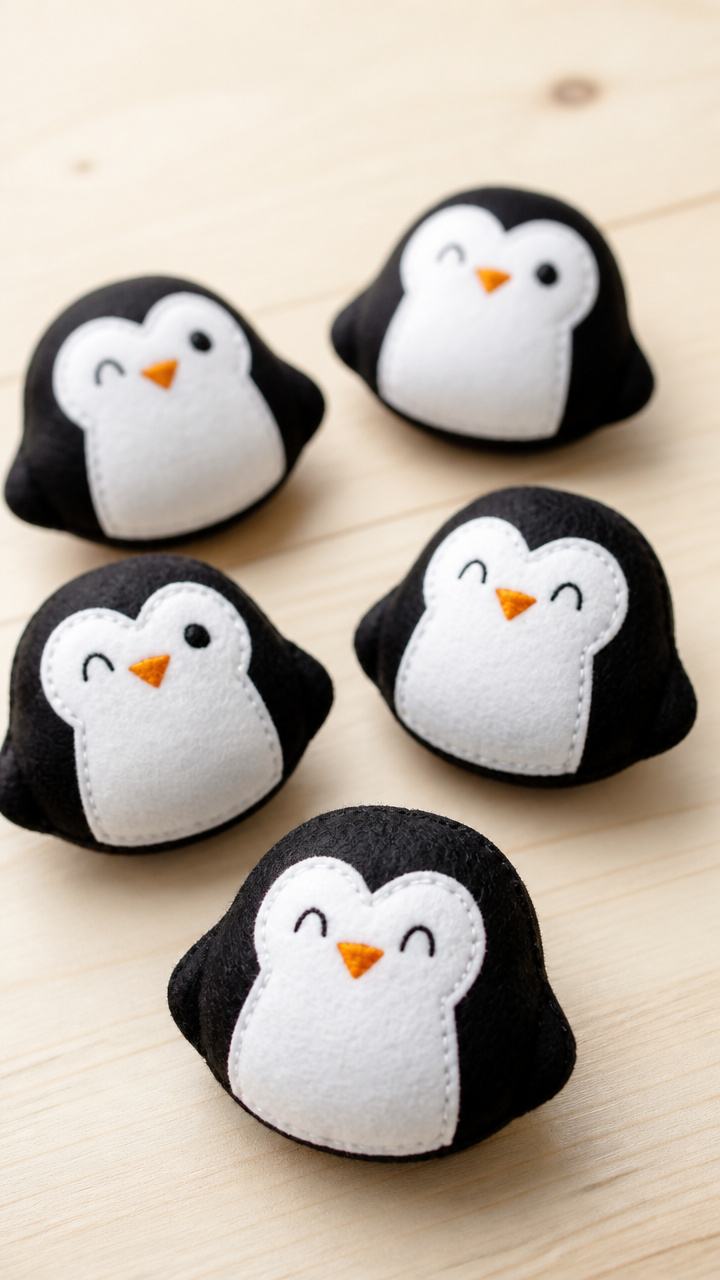
Soft fabric sacks with embroidered faces double as quiet lap toys or tossing games.
Materials Needed
- Black and white felt scraps
- Embroidery needle
- Black embroidery floss
- Polyester fiberfill
- Clover buttonhole scissors
- Plastic snap fastener (1/2 inch)
How to Make It
- Cut two identical penguin shapes from black felt, about 5 inches tall.
- Cut a white belly oval and glue it to one side.
- Use the embroidery needle and black floss to stitch on eyes and a beak.
- Pin the two sides together and sew around the edge with a whipstitch, leaving a 2-inch gap.
- Fill with fiberfill, then sew the gap closed with a ladder stitch.
- Attach a plastic snap to the back so it can clip to cubbies.


16. Polar Bear Toilet Paper Roll
Easy
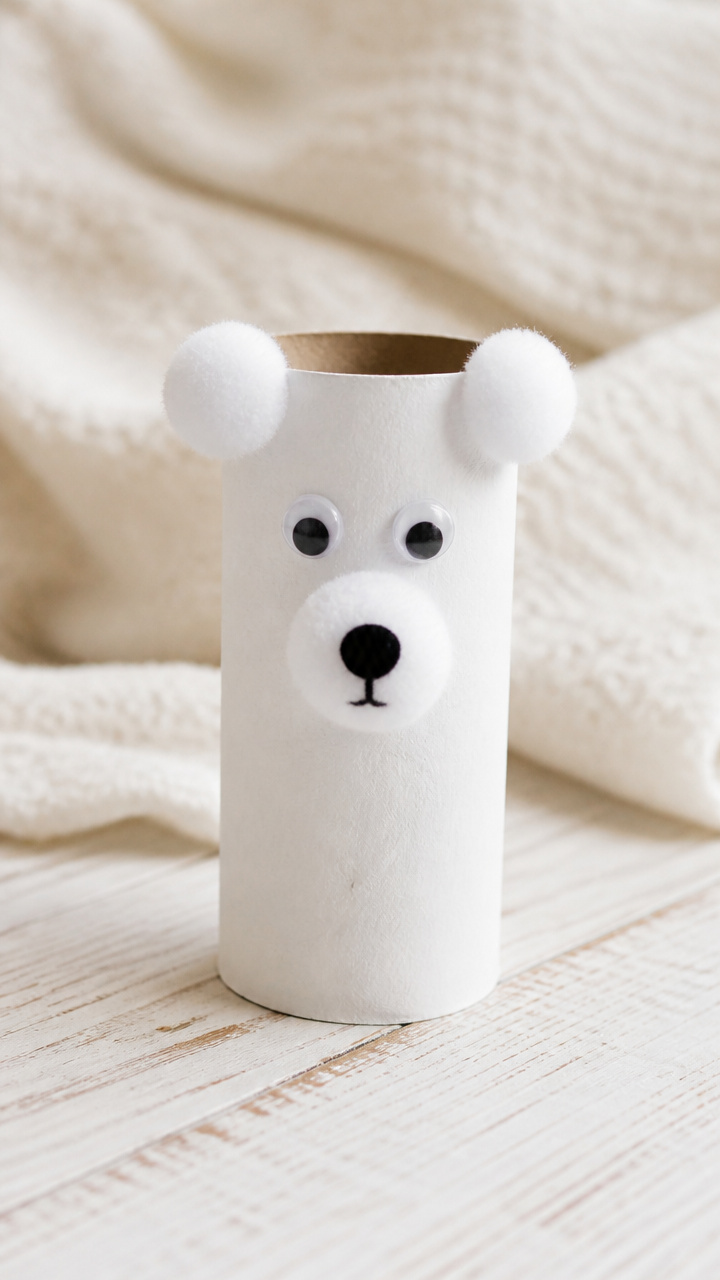
Cardboard tubes become standing bears with fuzzy ears and curious faces.
Materials Needed
- Empty toilet paper rolls
- White craft paint
- Foam paintbrush
- White pom-poms (12mm)
- Googly eyes (10mm)
- White glue
How to Make It
- Paint the entire toilet paper roll white with the foam brush and let dry completely.
- Glue two white pom-poms to the top edges of the roll for ears.
- Glue two 10mm googly eyes just below the ears.
- Draw a small nose and mouth with a black marker.
- Let dry flat for 1 hour before display.


17. Glitter Penguin Jars
Moderate
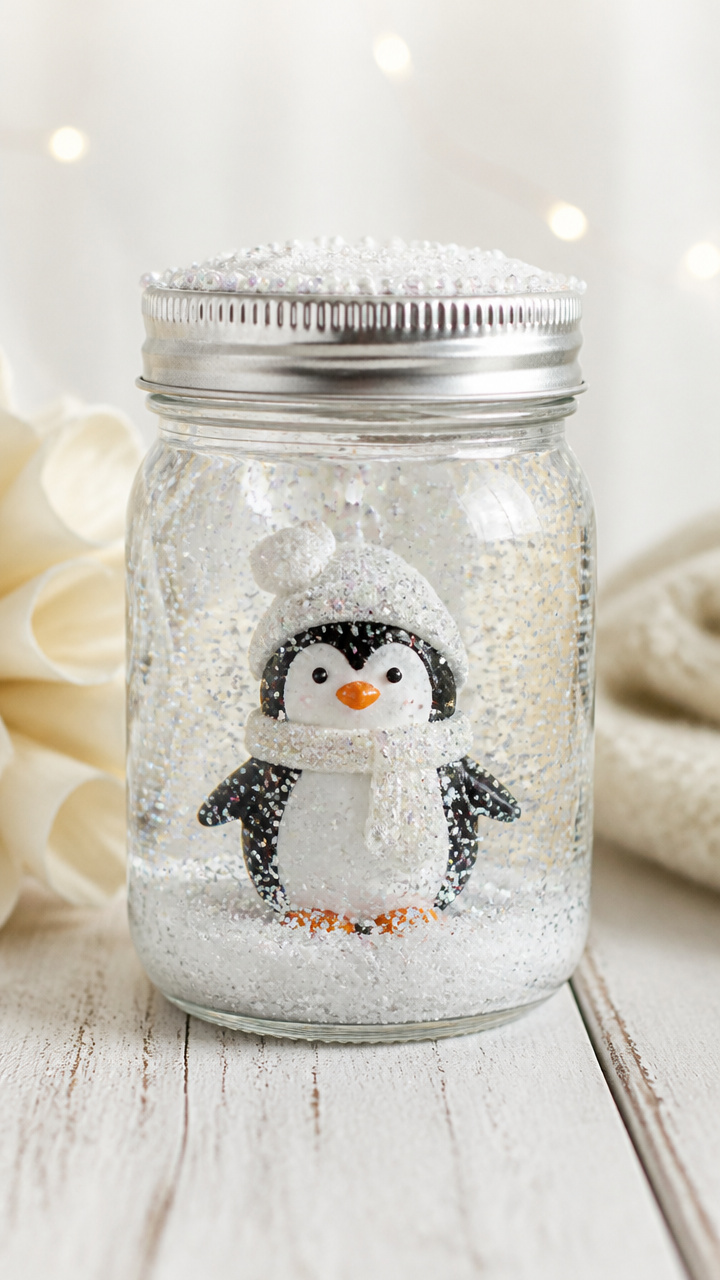
Mini mason jars twinkle with snowstorm swirls when shaken under classroom lights.
Materials Needed
- 4-ounce clear mason jars with lids
- White school glue
- Fine white glitter
- Black permanent marker
- Cotton swabs
How to Make It
- Fill each jar halfway with white school glue.
- Add a spoonful of fine white glitter and screw the lid on tightly.
- Shake gently to mix the glitter into the glue.
- Use a cotton swab dipped in glue to draw a penguin shape on the outside of the jar.
- Sprinkle extra glitter over the wet glue drawing and let dry.
- Shake to watch the snowstorm inside.


18. Penguin Clothespin Characters
Easy
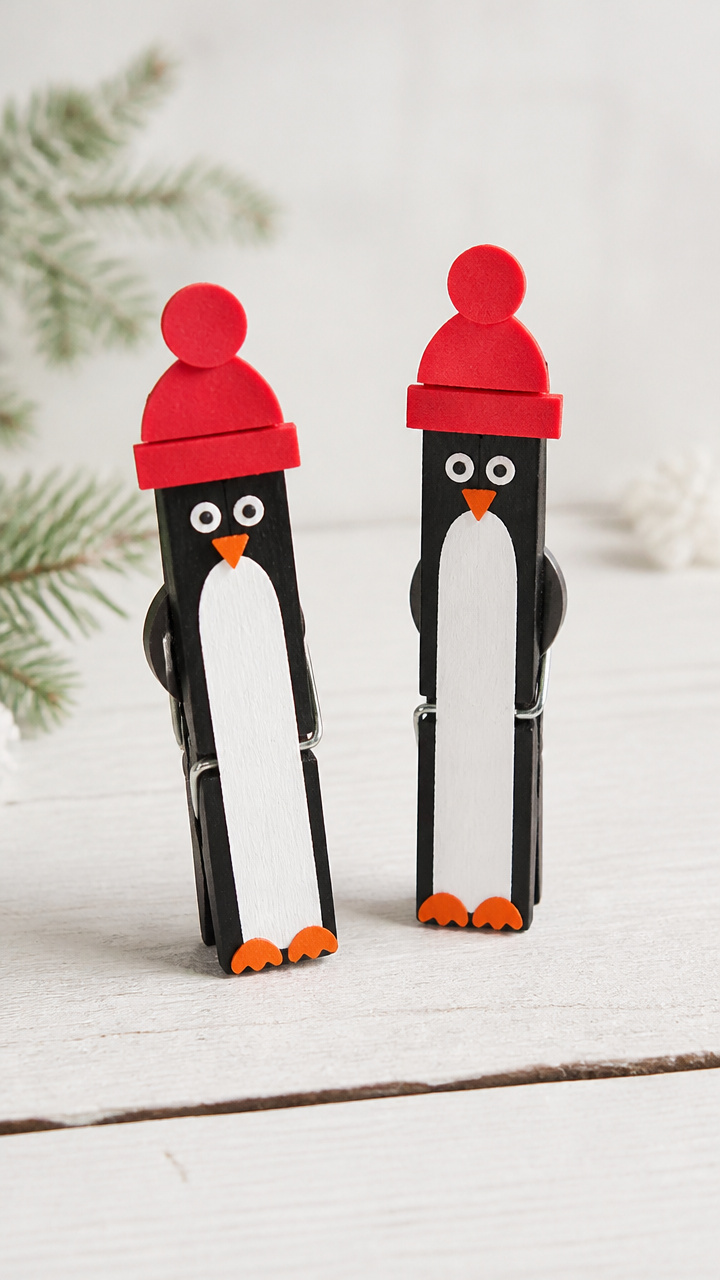
Wooden clothespins gain magnetic backs and stand-up personalities.
Materials Needed
- Wooden clothespins (natural finish)
- Black and white acrylic paint
- Paintbrushes (small round)
- Red craft foam
- School glue
- Magnetic tape strips (1×0.5 inch)
How to Make It
- Paint the top half of the clothespin black and the bottom white, let dry.
- Cut tiny triangle beaks from red craft foam and glue to the front.
- Paint two small white eyes above the beak.
- Glue a 1×0.5 inch magnetic tape strip to the back.
- Let dry completely before placing on magnetic boards.


19. Polar Bear Hand Tracers
Easy
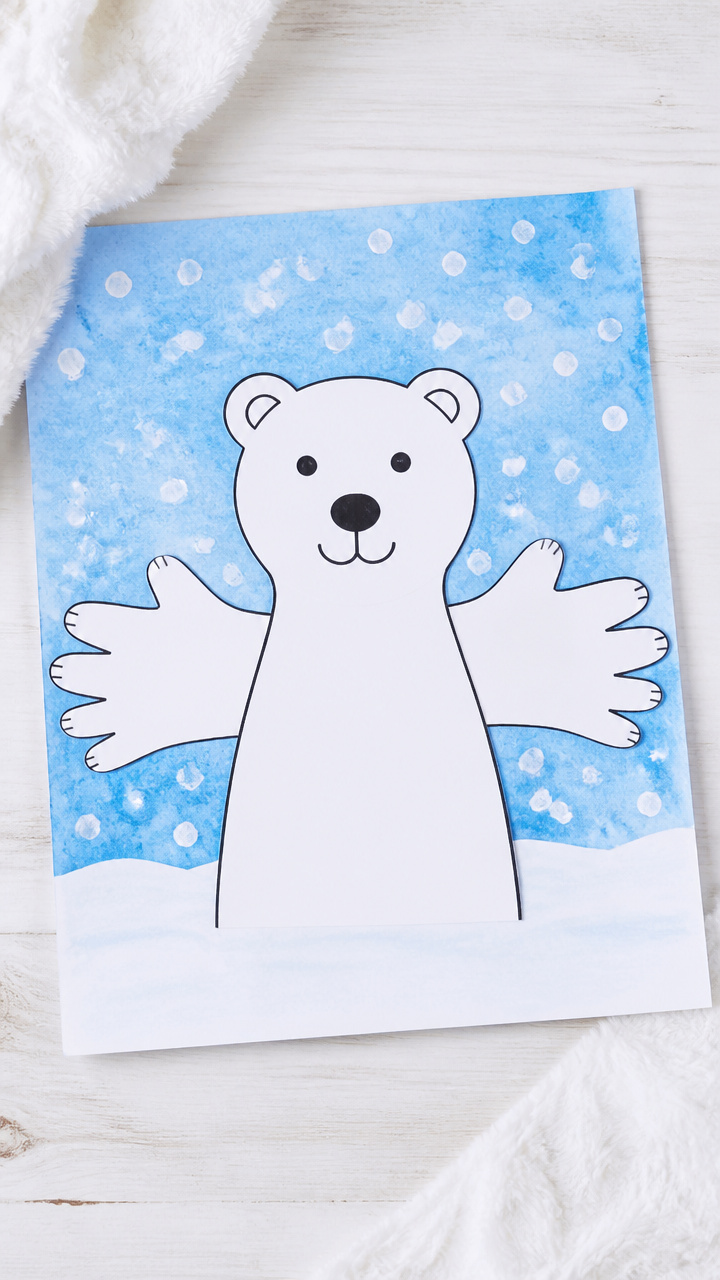
Outstretched arms become bear limbs reaching across winter landscapes.
Materials Needed
- White drawing paper (12×18 inches)
- Blue washable crayon
- Black marker
- Pencil
- Scissors
How to Make It
- Have each child lie their hand flat on the paper with fingers spread.
- Trace around the hand with pencil to form the bear’s body and limbs.
- Draw a large circle at the base for the head and connect with a neck line.
- Color the entire bear shape with blue washable crayon.
- Outline all edges with a black marker and add facial features.
- Cut out and display in a group scene.


20. Penguin Puzzle Cards
Advanced
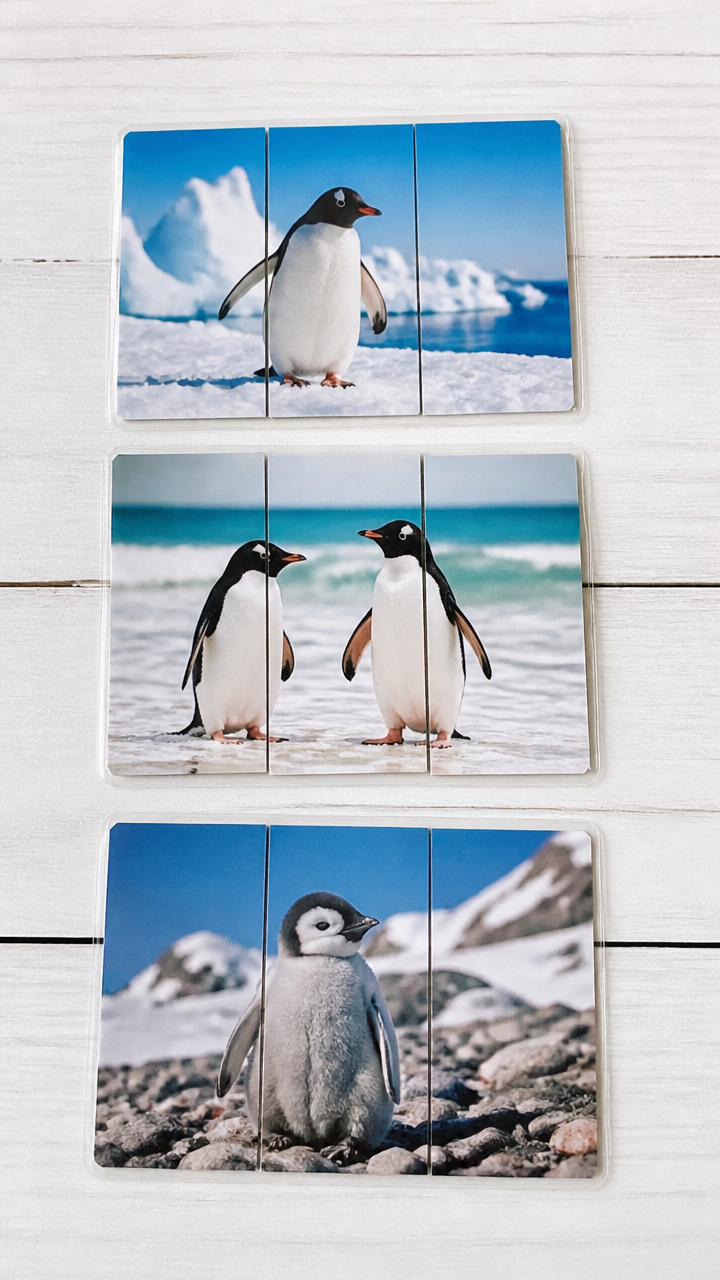
Three-part laminated cards teach sequencing while building animal knowledge.
Materials Needed
- Index cards (4×6 inches)
- Color printer
- Laminator and laminating pouches
- Paper cutter
- Dry-erase marker
How to Make It
- Print penguin life cycle images: egg, chick, adult, onto index cards.
- Laminate each card using the laminator and trim edges with a paper cutter.
- Cut each card vertically into three equal strips.
- Mix the strips and have children reassemble the sequence on a table.
- Use a dry-erase marker to label each stage during group review.


21. Arctic Animal Hats
Moderate
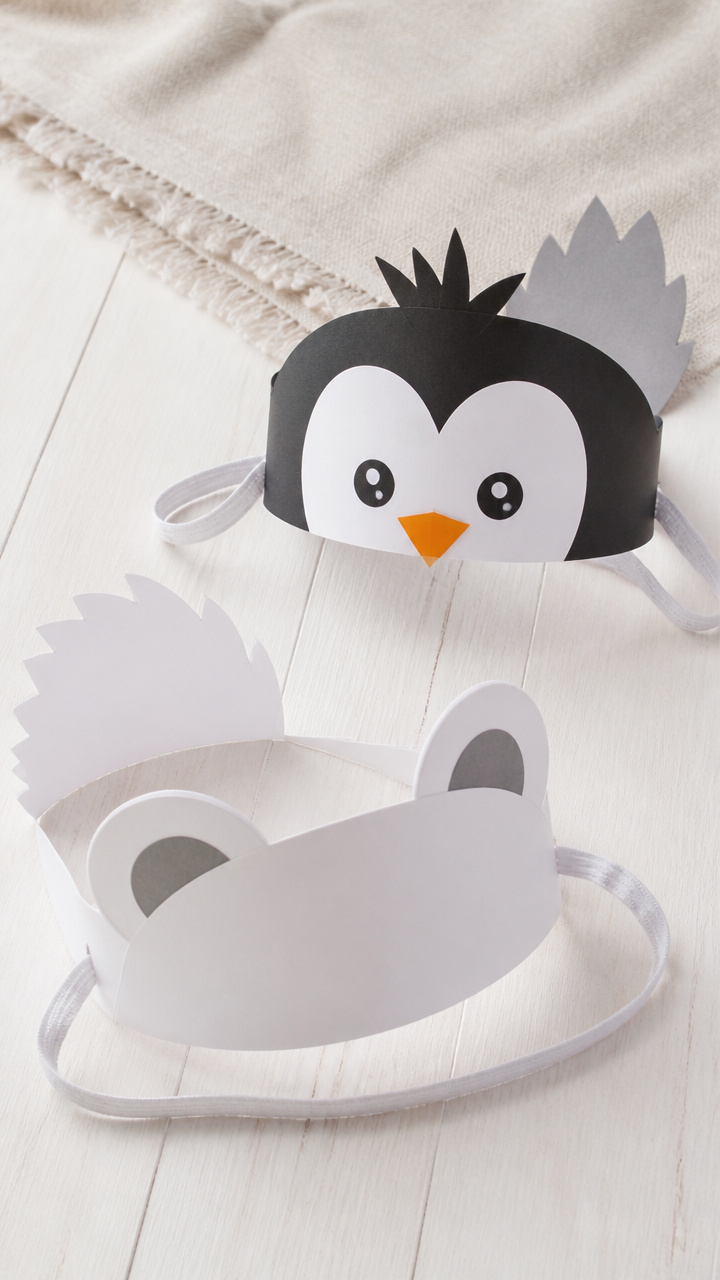
Construction paper crowns with 3D ears and tails turn children into playful characters.
Materials Needed
- White and gray construction paper (9×12 inches)
- Headband strips (1×18 inches)
- Glue sticks
- Scissors
- Elastic string (14 inches)
- Hole punch
How to Make It
- Cut bear ears from gray paper and a tail from white paper for each child.
- Glue the ears to the top front of the headband strip.
- Glue the tail to the back end of the strip.
- Punch holes on both ends of the strip and thread elastic through, tying knots to secure.
- Let children decorate the crown with crayon snowflakes before wearing.
22. Penguin Window Mural
Advanced
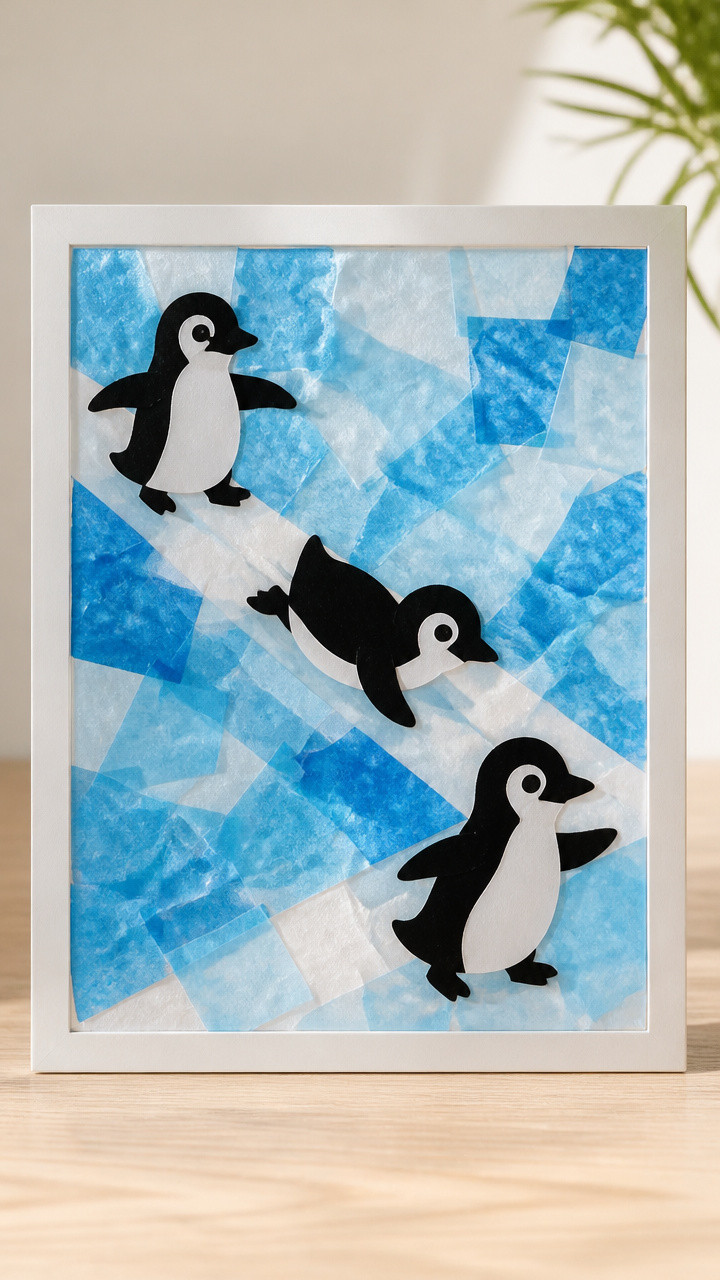
A collaborative slide of sliding penguins connects individual art into one joyful scene.
Materials Needed
- Contact paper (24×36 inches)
- Black marker
- Blue and white tissue paper
- Scissors
- Squeegee tool
- Roll of masking tape
How to Make It
- Peel the backing off the contact paper and tape it sticky-side up to a table.
- Draw ten waddling penguins with a black marker directly on the adhesive surface.
- Have each child tear blue and white tissue paper into small pieces.
- Place tissue pieces over the mural to create icy ground and sky.
- Use the squeegee to smooth and adhere all pieces without air bubbles.
- Hang the finished mural on a large classroom window.


Grab a glue bottle, gather those little hands, and let the frosty fun begin. You’ve got everything you need right here to bring the arctic to life.