19 Preschool Snowflake Crafts for a Winter Theme

Frosted windows, mittens by the radiator, and tiny hands eager to create — winter brings a quiet magic that preschoolers love to explore through craft. Snowflakes, with their delicate symmetry and endless variety, offer the perfect theme for simple, joyful projects that build fine motor skills and spark wonder.
These 19 crafts use everyday materials and preschool-friendly techniques to make snowflakes that shimmer, sparkle, and hang proudly on classroom windows. Each one is designed to be doable with little hands and big imaginations, bringing winter’s quiet beauty into your space with color, texture, and pride.
1. Cotton Ball Snowflake Art
Easy
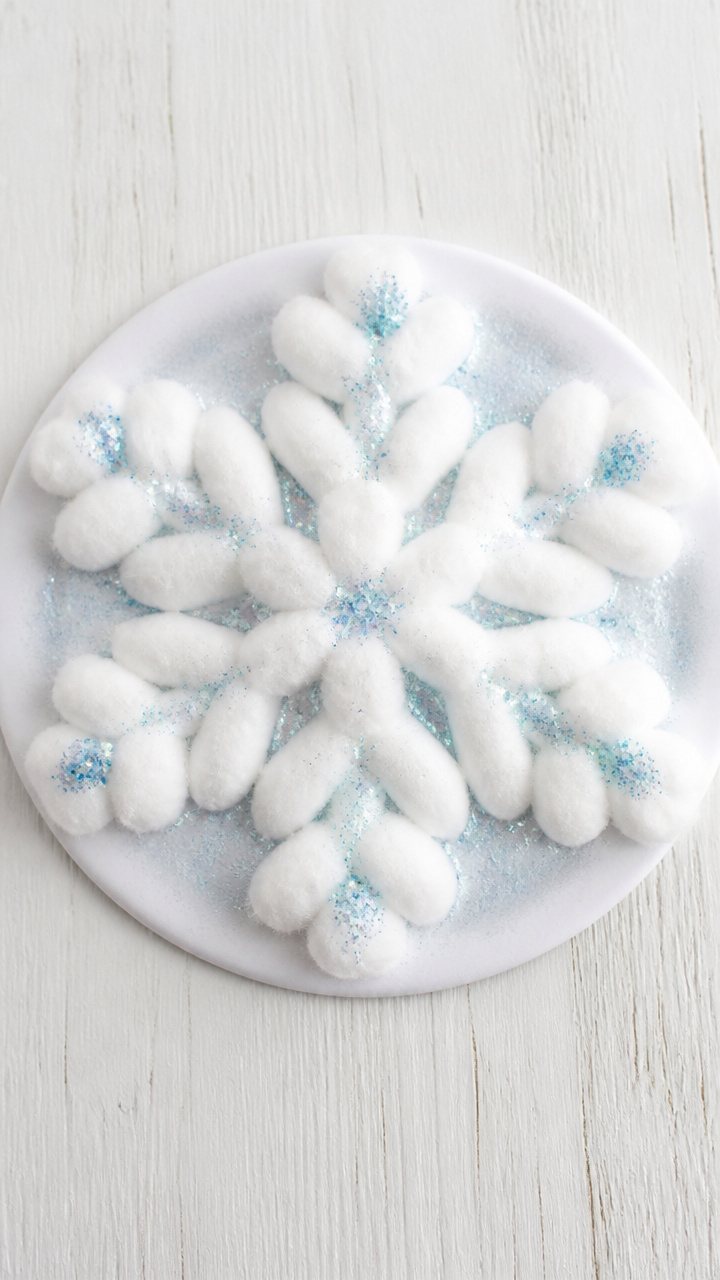
Fluffy white cotton balls form soft, pillowy snowflakes that look like they just fell from the sky. This tactile craft builds hand strength while delivering instant winter charm.
Materials Needed
- 6-inch white paper plate
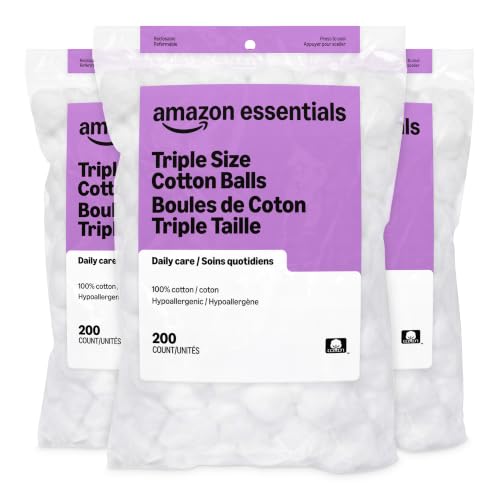
- 12 jumbo white cotton balls
- White school glue
- Blue glitter
- Small paintbrush
- Scissors
How to Make It
- Cut the center ring out of the paper plate, leaving a circular frame. Then cut six evenly spaced slits around the outer edge to form six points.
- Pull each cotton ball apart slightly to fluff it, then glue one to the tip of each snowflake arm using a dab of white school glue.
- Paint a thin layer of glue over each cotton ball and sprinkle blue glitter on top. Let dry completely before shaking off excess.


2. Popsicle Stick Snowflake Frames
Easy
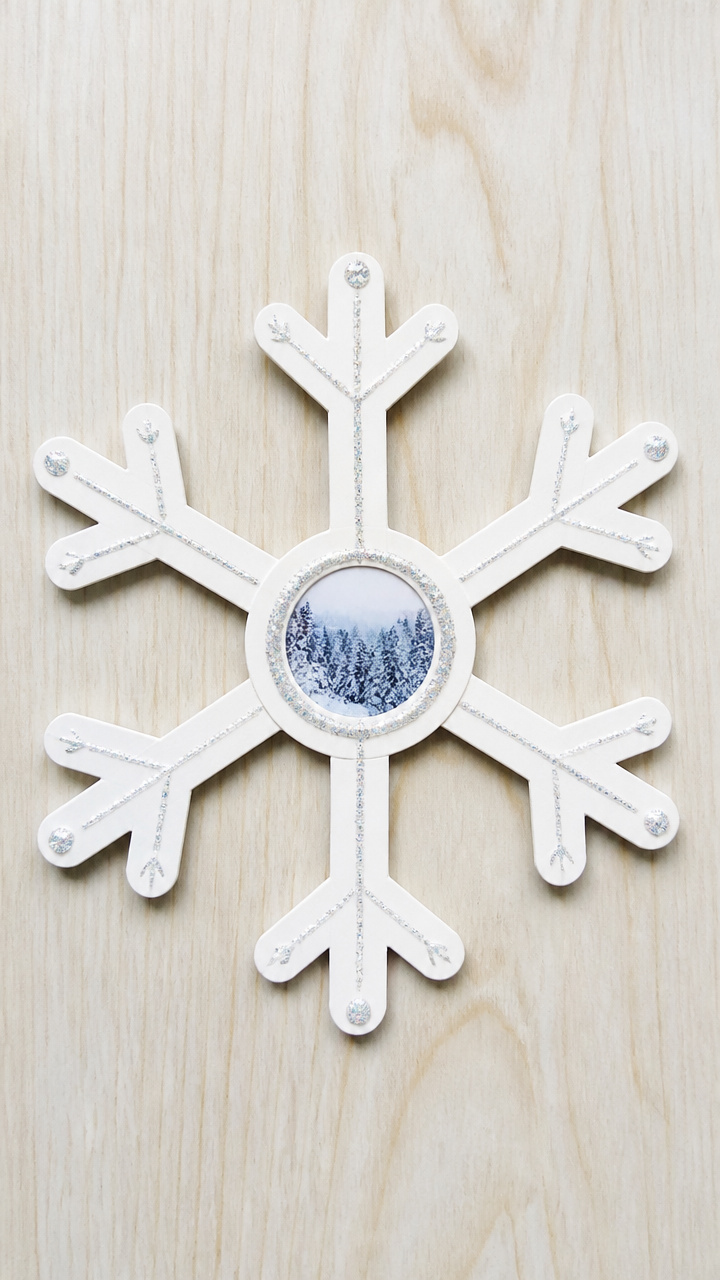
Six wooden sticks radiate from a center to form a sturdy snowflake frame perfect for displaying a child’s face or a winter drawing. The clean lines make it ideal for decorating walls.
Materials Needed
- 6 flat wooden craft sticks (4.5 inches)
- White craft glue
- Hot glue gun and glue sticks
- White acrylic paint
- Small paintbrush
- Glitter glue (silver)
How to Make It
- Lay three craft sticks in a star shape, overlapping at the center at 60-degree angles. Use hot glue to secure the crossing points.
- Repeat with the remaining three sticks on the opposite side, aligning them to form six symmetrical arms. Press gently to bond.
- Paint the entire snowflake with white acrylic paint using a small brush. Let dry, then trace the edges with silver glitter glue.



3. Q-Tip Symmetry Snowflakes
Moderate
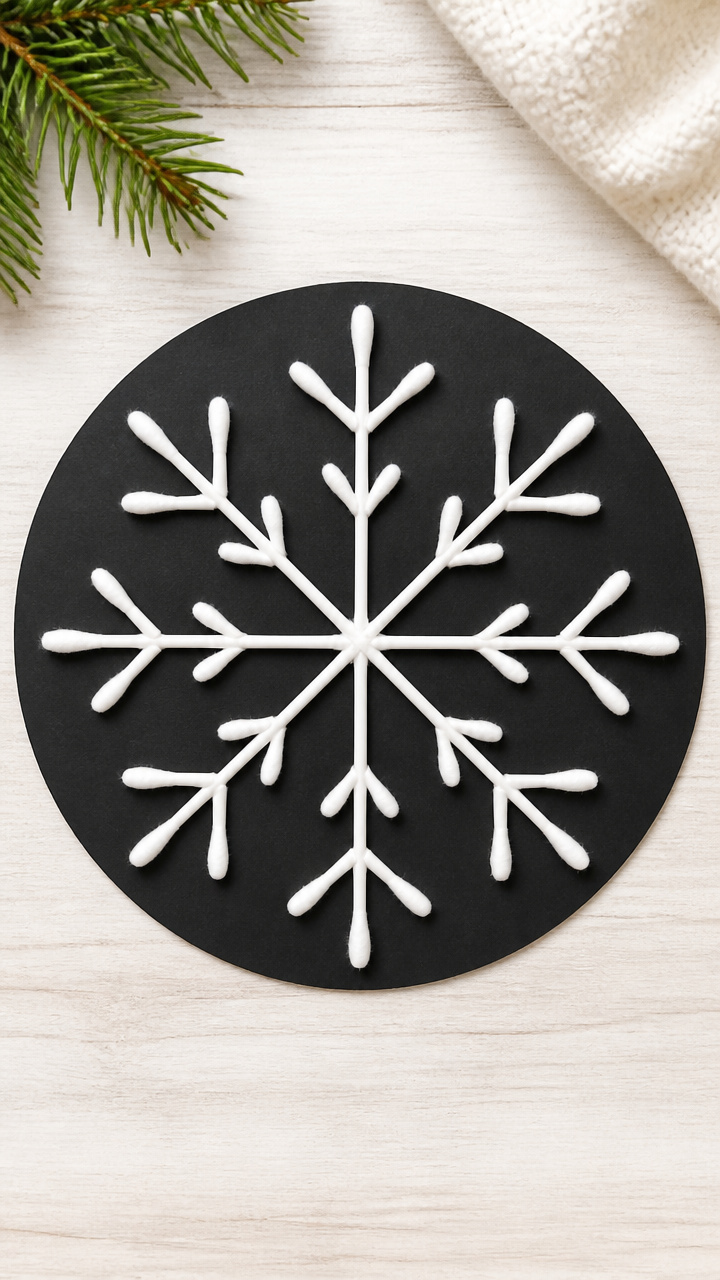
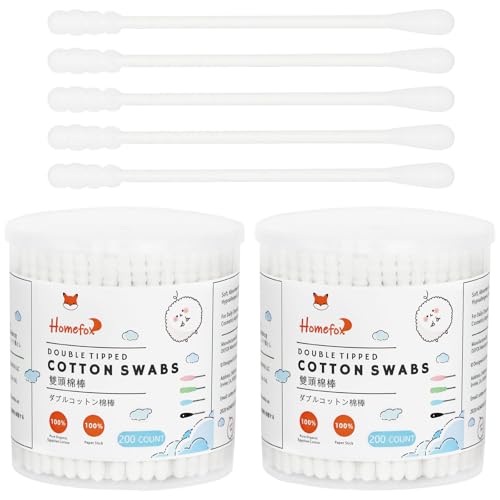
Precise glue lines and cotton swabs create crisp, geometric snowflakes that teach symmetry in a playful way. The clean white design pops against dark backgrounds.
Materials Needed
- 6-inch black construction paper
- 18 white Q-Tips
- White school glue
- Ruler
- Pencil
- Scissors
How to Make It
- Fold the black paper in half, then in half again to create a quarter circle. Use a pencil to lightly draw one-sixth of a snowflake design along the folded edges.
- Cut along the pencil line and unfold to reveal a symmetrical snowflake shape. Keep the cutout as your base.
- Arrange Q-Tips along the arms of the snowflake, breaking some in half as needed. Glue each piece in place with white school glue and let dry overnight.
4. Pipe Cleaner Crystal Snowflakes
Easy
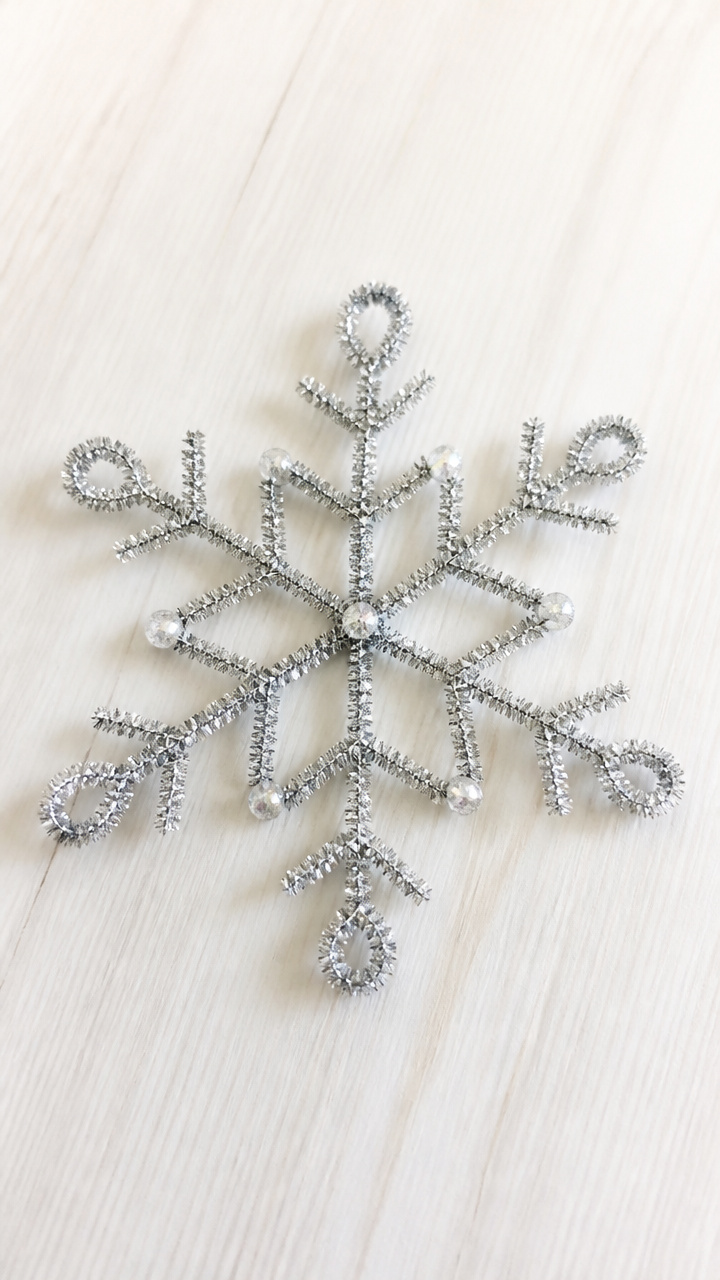
Twisted silver pipe cleaners form glittering snowflake skeletons that catch the light like real ice crystals. These bendable shapes double as holiday ornaments.
Materials Needed
- 3 silver glitter pipe cleaners (12 inches each)
- Glitter glue (clear with fine silver glitter)
- Scissors
- Pencil
How to Make It
- Lay one pipe cleaner flat. Bend it into a six-pointed star by folding one end toward the center at a 60-degree angle, then repeat with the other end.
- Thread the second pipe cleaner through the center and twist its ends around two opposite arms to add stability. Repeat with the third pipe cleaner on the remaining arms.
- Run a thin bead of glitter glue along each pipe cleaner arm. Let dry flat for at least two hours before hanging.


5. Shaving Cream Snow Prints
Moderate
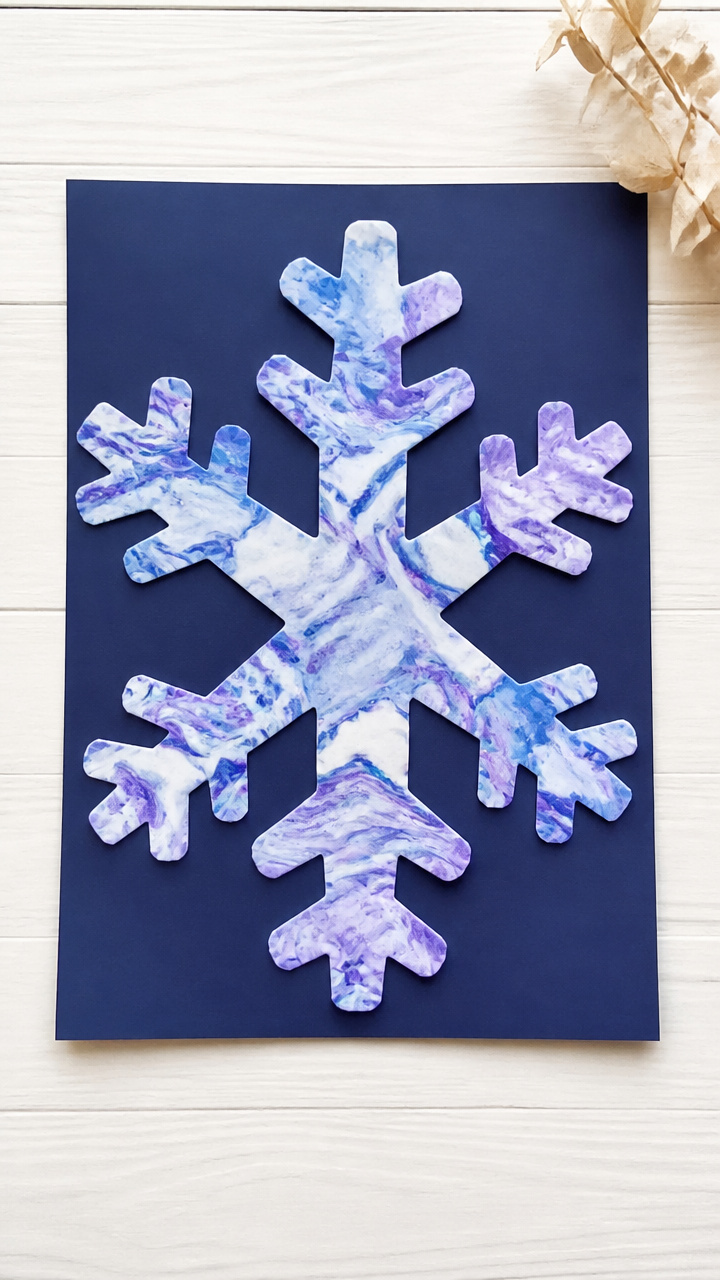
Swirled shaving cream and food coloring create marbled snowflake prints with soft, cloud-like textures. This sensory-rich process delights little artists.
Materials Needed
- 1 cup white shaving cream
- 2 drops blue food coloring
- 2 drops purple food coloring
- 1/4 cup white school glue
- 9×12 inch white construction paper
- Popsicle stick
- Tray or baking sheet
How to Make It
- Spread shaving cream evenly in a tray. Add drops of blue and purple food coloring and swirl gently with a popsicle stick to create a marbled effect.
- Mix glue into the colored shaving cream until fully combined. The mixture will thicken slightly.
- Spoon the mixture onto a sheet of construction paper, spreading it thinly with the popsicle stick. Let dry flat for 6 hours, then peel off any residue.


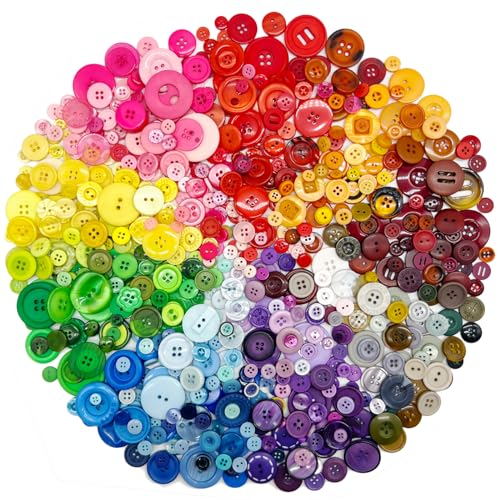
6. Button Blizzard Snowflakes
Easy
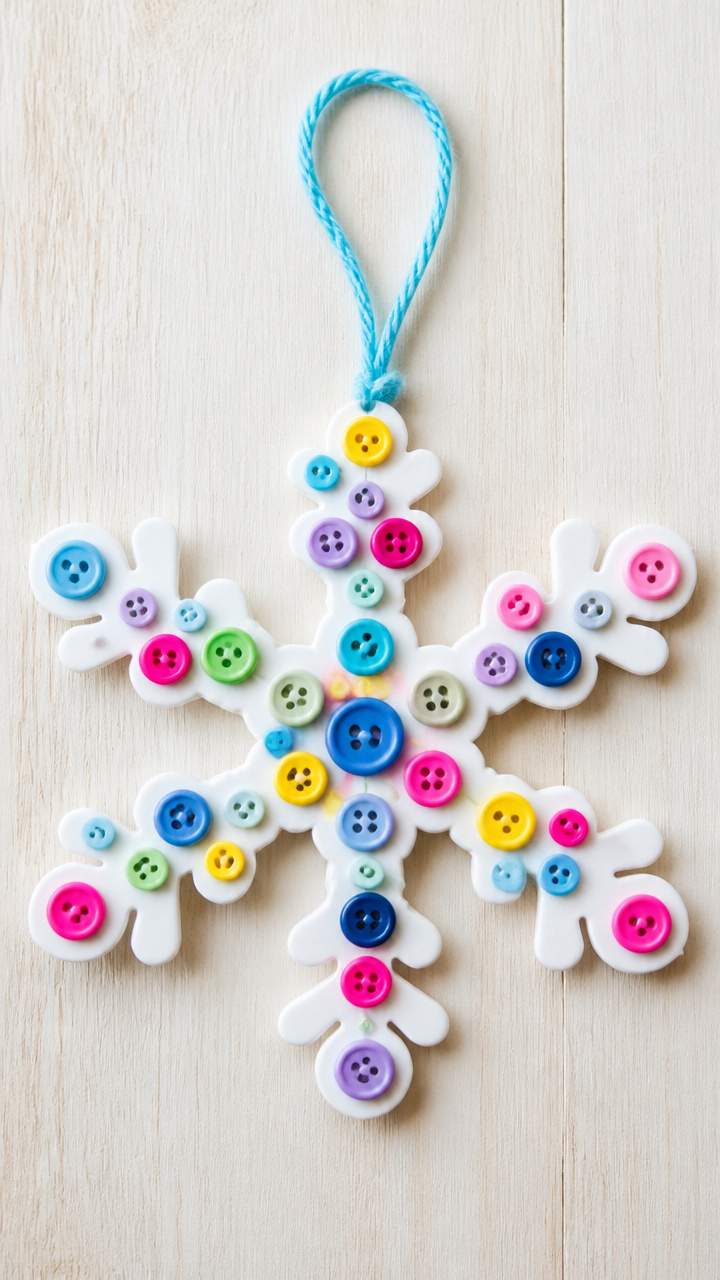
Colorful round buttons cluster into whimsical snowflakes with personality. Each one becomes a tiny mosaic that celebrates imperfection and play.
Materials Needed
- 6-inch white cardstock
- 15 assorted round buttons (1/2 inch diameter)
- White school glue
- Hole punch
- Blue yarn (12 inches)
How to Make It
- Draw a simple six-armed snowflake shape on the cardstock using a pencil. Keep the lines wide enough to glue buttons along.
- Apply small dabs of white school glue along the snowflake lines and press buttons into place, overlapping slightly for full coverage.
- Once dry, punch a hole at the top and thread blue yarn through to hang.


7. Tissue Paper Layer Snowflakes
Moderate
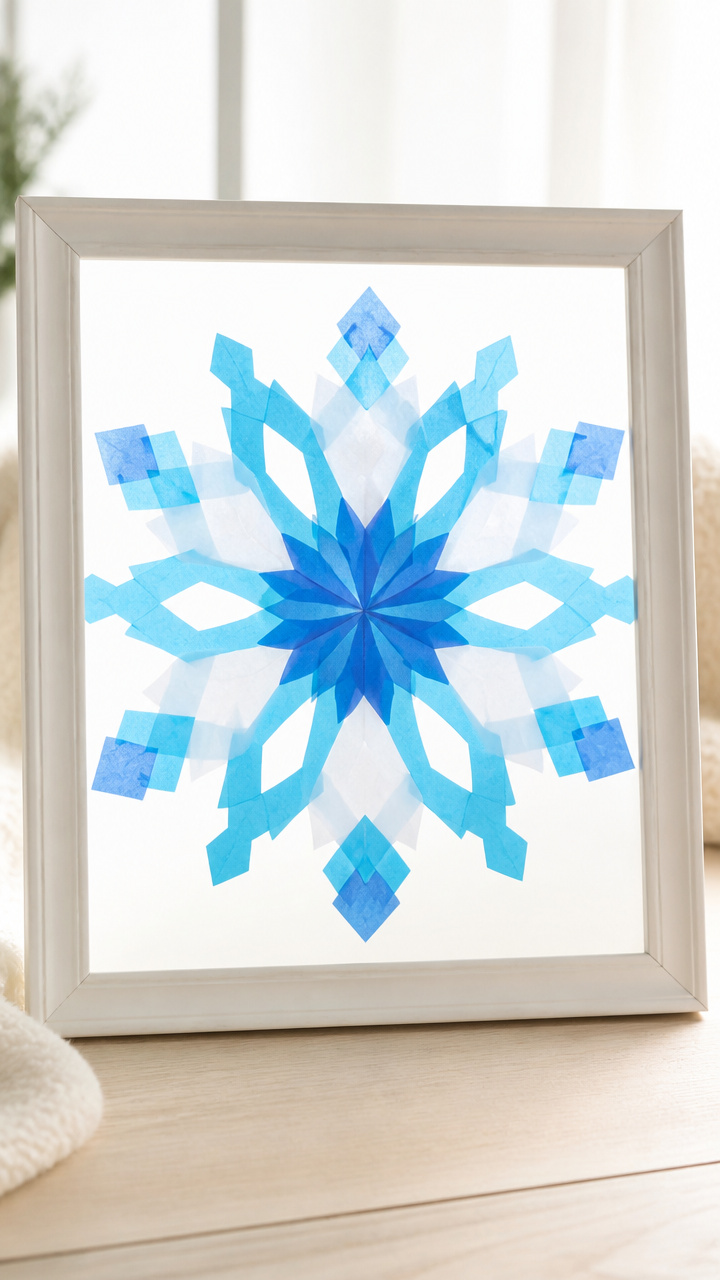
Sheets of colored tissue paper layered with glue create translucent, stained-glass-like snowflakes. When held to the light, they glow like frost.
Materials Needed
- 6-inch square blue cellophane
- 4 sheets white tissue paper (12×12 inches each)
- White school glue
- Scissors
- Popsicle stick
- 9×9 inch white paper frame
How to Make It
- Cut each tissue paper sheet into 1-inch strips. Crinkle each strip loosely to create texture.
- Spread a thin layer of white school glue on the blue cellophane using a popsicle stick. Overlap tissue strips in a radial pattern from the center outward.
- Glue the decorated cellophane into the white paper frame, leaving a border. Let dry completely before displaying on a window.


8. Puffy Paint Snowflakes
Easy
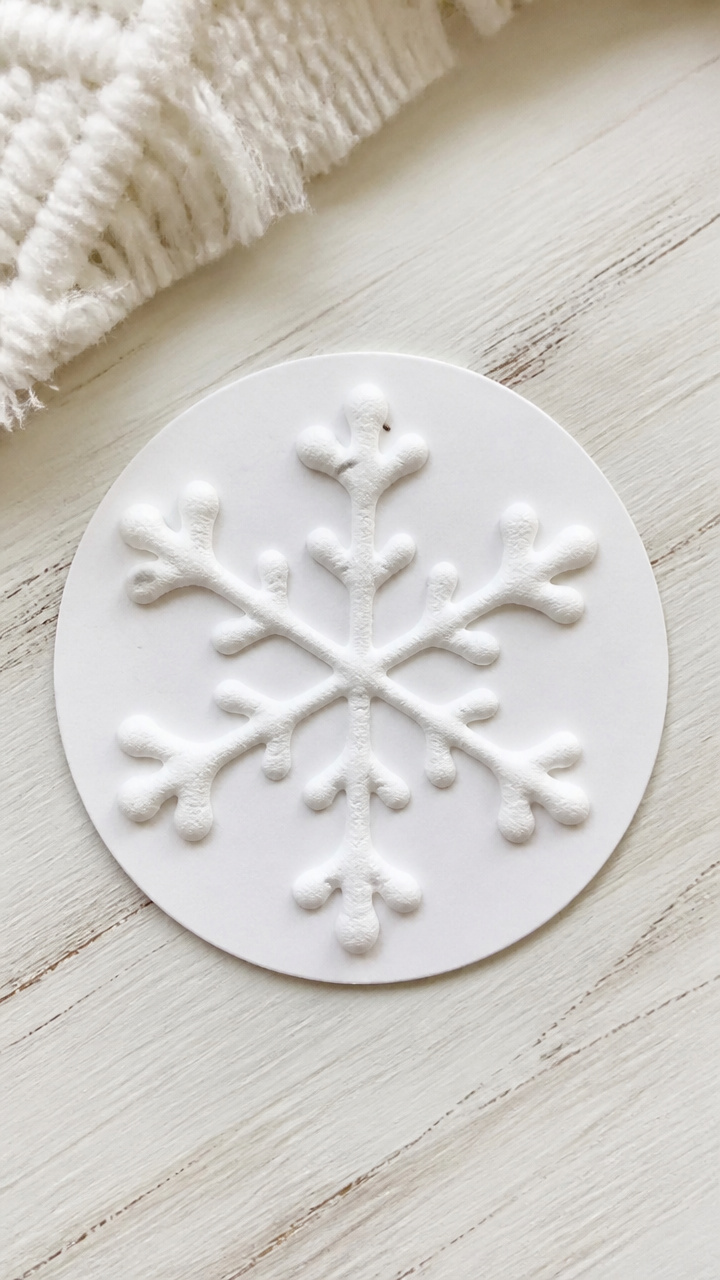
Homemade puffy paint swells into soft, 3D snowflakes that beg to be touched. The foamy texture adds dimension with minimal mess.
Materials Needed
- 1/2 cup white school glue
- 1/2 cup shaving cream
- Mixing bowl
- Spoon
- Pencil
- 6-inch white cardstock
- Paintbrush
How to Make It
- Mix equal parts white school glue and shaving cream in a bowl until smooth and fluffy. Stir gently to keep air in the mixture.
- Draw a snowflake design lightly on cardstock with a pencil. Use a paintbrush to trace the lines with the puffy paint mixture.
- Let the painted snowflake dry flat for at least 4 hours. The paint will rise slightly and become firm to the touch.


9. Yarn Wrap Snowflake Ornaments
Moderate
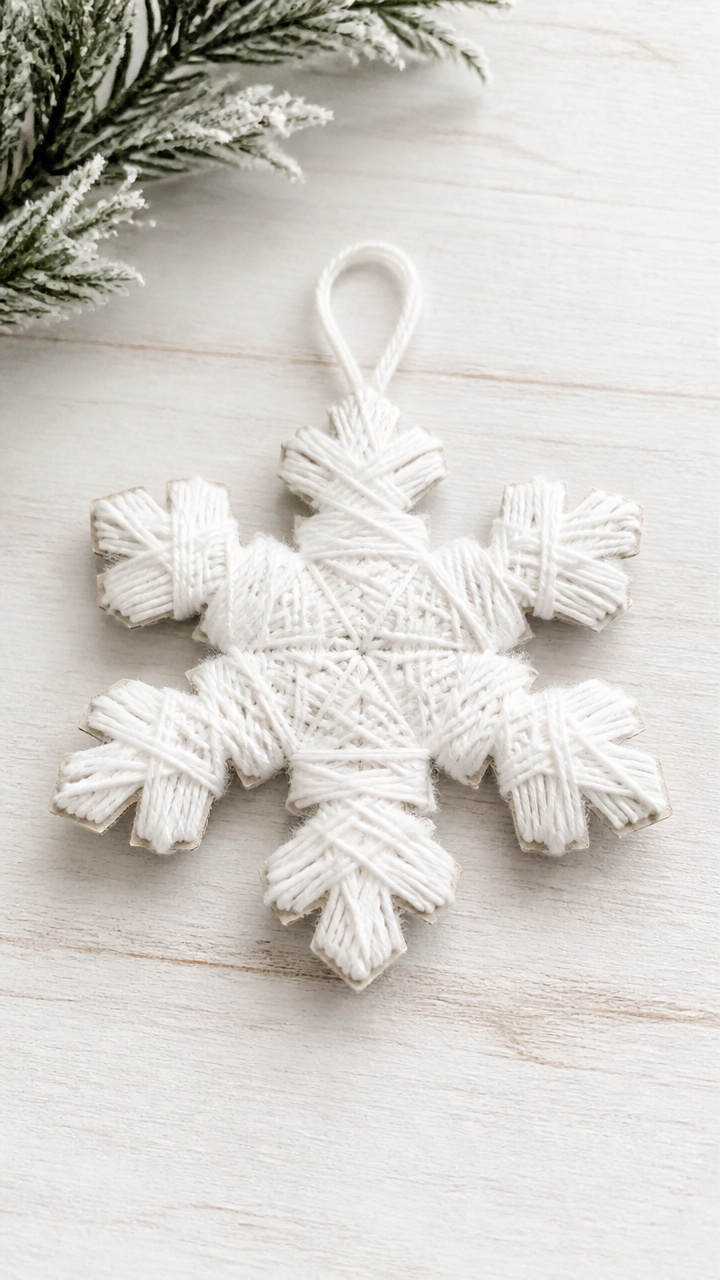
Tightly wrapped white yarn forms dense, cozy snowflakes that feel like tiny winter nests. The repetitive motion calms and focuses active minds.
Materials Needed
- Cardboard (6×6 inch sheet)
- Pencil
- Scissors
- White yarn (50 feet)
- White school glue
- Craft stick
How to Make It
- Draw a six-pointed snowflake shape on cardboard and cut it out to create a template.
- Lay the template on a flat surface. Begin wrapping yarn around the arms, moving back and forth to cover the entire shape.
- When fully covered, brush white school glue over all yarn with a craft stick. Let dry 8 hours before lifting the yarn snowflake off the cardboard.


10. Glitter Slime Snowflake Trays
Moderate
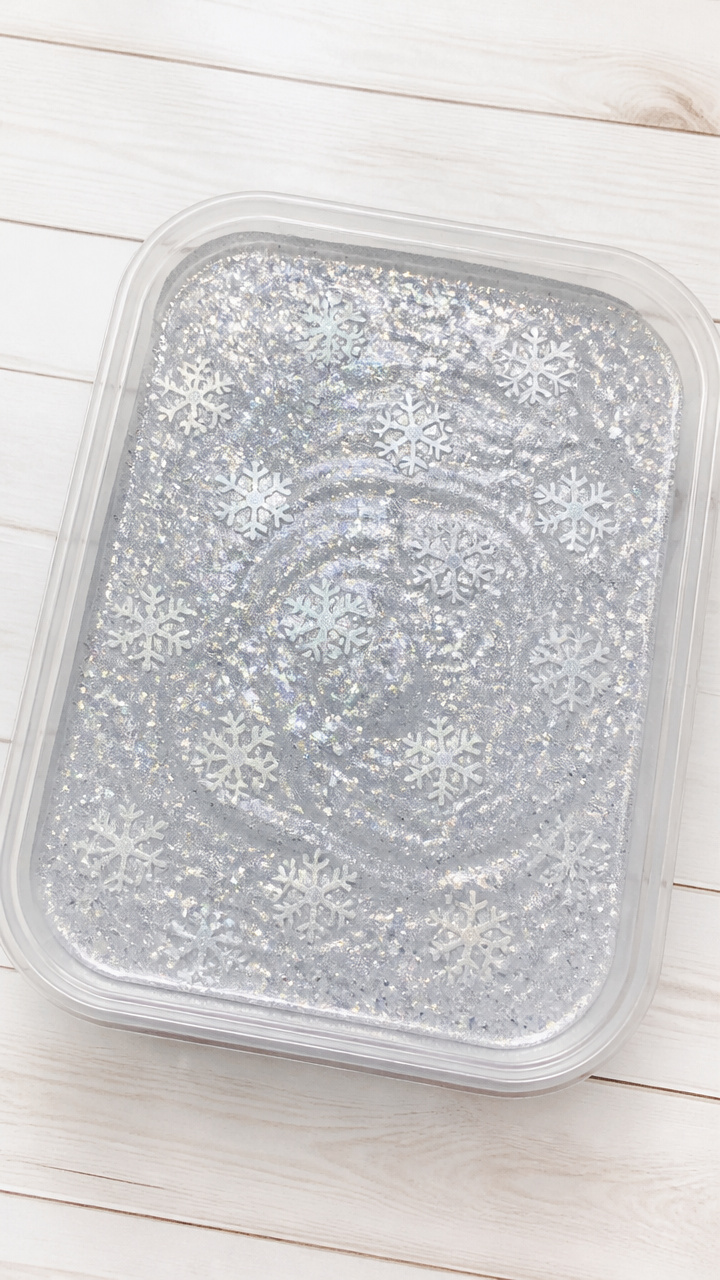
A shallow tray of glitter slime becomes a sensory snowflake studio where kids press shapes and watch sparkles swirl. It’s part craft, part play.
Materials Needed
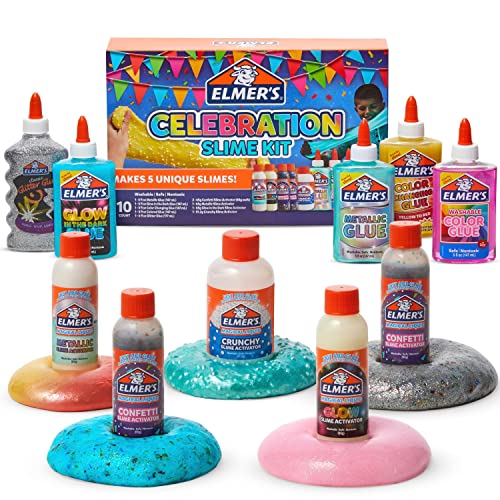
- 1/4 cup clear school glue
- 1/4 cup liquid starch
- 1 tablespoon silver glitter
- Mini snowflake cookie cutter (1 inch)
- Plastic tray (9×12 inches)
- Popsicle stick
How to Make It
- Mix clear glue and silver glitter in a bowl. Stir in liquid starch slowly until a slime forms. Knead with hands for 2 minutes.
- Press the slime into the plastic tray to form an even layer about 1/2 inch thick.
- Press the snowflake cutter into the slime, then lift carefully. Use a popsicle stick to remove the cutout and display.


11. Crayon Resist Snowflake Paintings
Easy
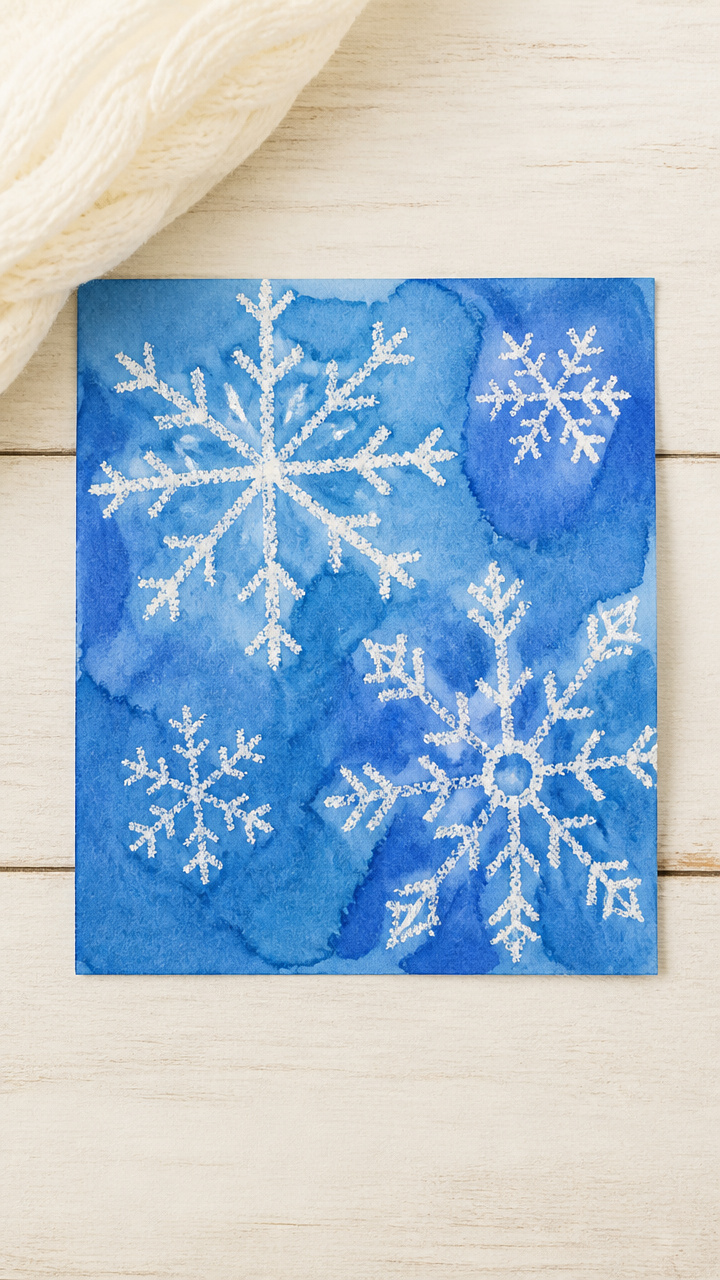
White crayon drawings hide until paint reveals icy snowflakes like magic. This simple trick never fails to surprise and delight.
Materials Needed
- White crayon
- 6-inch blue watercolor paper
- Blue liquid watercolor paint
- Paintbrush
- Cup of water
How to Make It
- Use the white crayon to draw a snowflake in the center of the watercolor paper. Press firmly to lay down thick wax.
- Dip a paintbrush in blue watercolor paint and gently brush over the entire page, covering the crayon drawing.
- Watch as the wax resists the paint, revealing the white snowflake. Let dry flat on a rack.


12. Sticker Snowflake Mosaics
Easy
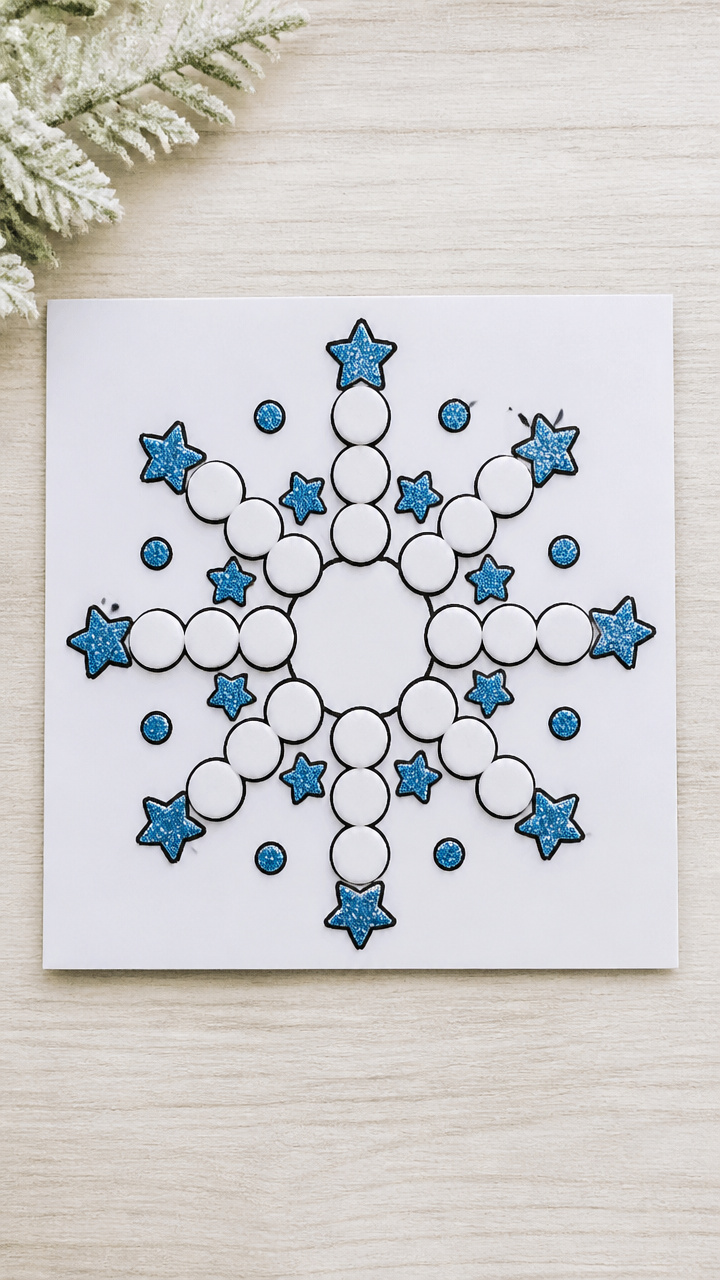
Round foam stickers snap into place like puzzle pieces to form bold, graphic snowflakes. The sticky backing makes alignment easy for small hands.
Materials Needed
- 6-inch white construction paper
- 30 white foam circle stickers (1 inch diameter)
- Blue glitter stickers (star and dot shapes)
- Black marker
How to Make It
- Draw six faint pencil lines from the center of the paper to the edge, dividing it into equal pie slices.
- Place one foam sticker at the center. Arrange the remaining stickers along each line to form six arms.
- Fill gaps with blue glitter stickers. Outline the snowflake with a black marker for contrast.


13. Salt Painting Snowflakes
Moderate
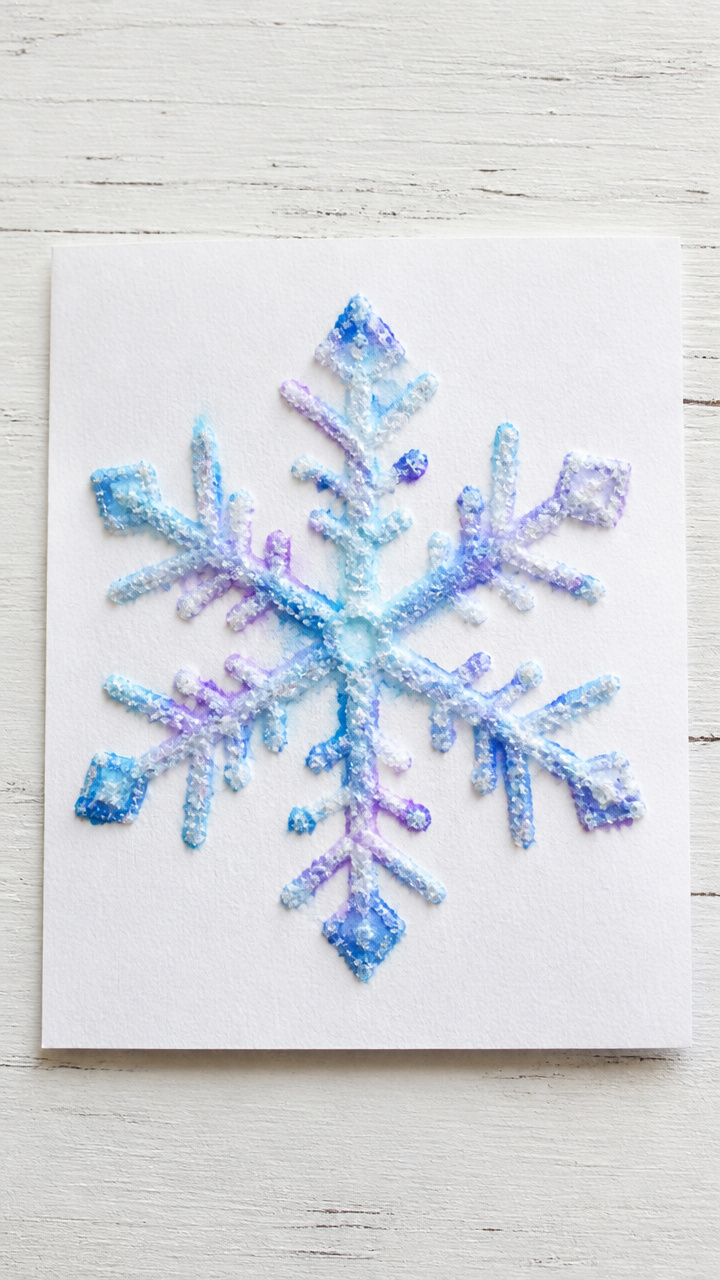
Lines of glue sprinkled with salt become paintable winter art. The coarse texture holds color like frost on a windowpane.
Materials Needed
- White cardstock
- White school glue
- Fine table salt
- Small bowl
- Paintbrush
- Blue and purple liquid watercolor
How to Make It
- Draw a snowflake design on cardstock using white school glue. Use steady pressure to create continuous lines.
- Immediately sprinkle salt over the glued lines, covering them completely. Shake off excess into a bowl for reuse.
- Dip a paintbrush in watercolor and gently touch it to the salted lines. Watch the color travel along the grains. Let dry flat.


14. Pinecone Snowflake Trees
Easy
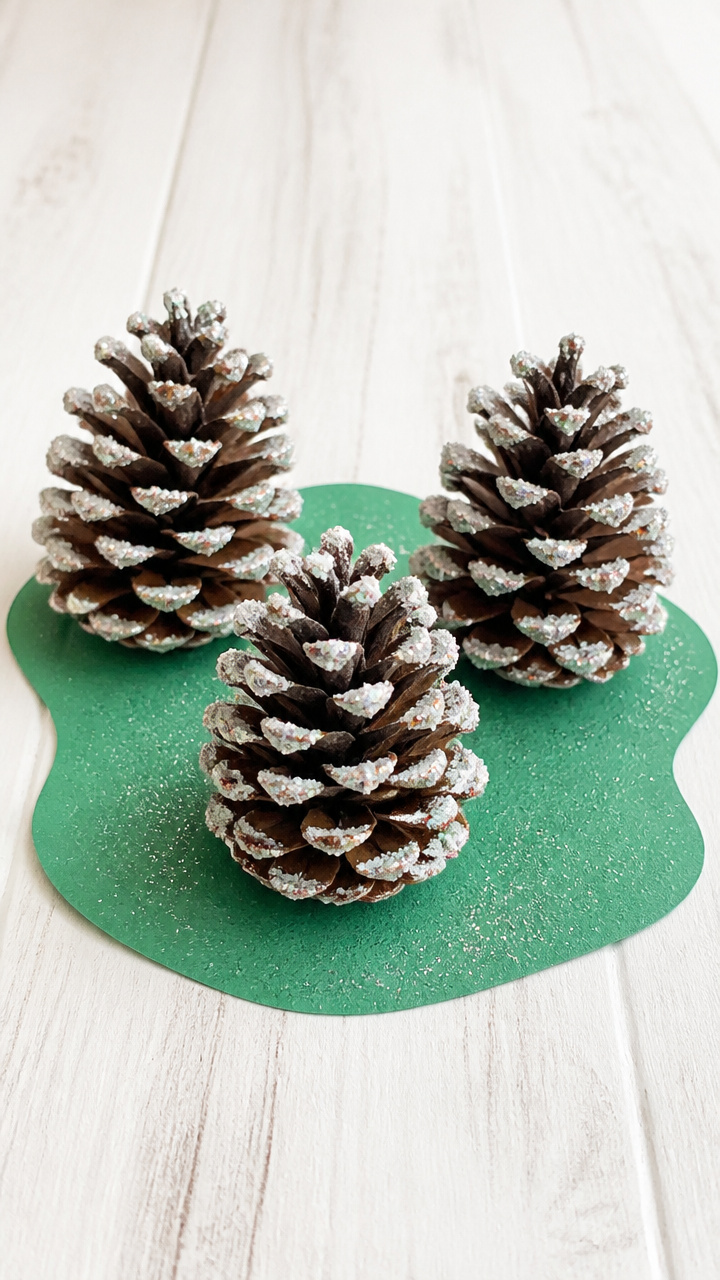
Tiny pinecones become winter trees dusted with snow when painted with glue and glitter. Group them into a snowy forest scene.
Materials Needed
- 3 small pinecones (2 inches tall)
- White school glue
- Fine white glitter
- 6-inch green construction paper
- Paintbrush
How to Make It
- Use a paintbrush to apply white school glue to the tips of the pinecone scales, mimicking snowfall.
- Sprinkle fine white glitter over the glued areas. Shake off excess and let dry for 1 hour.
- Glue each pinecone upright on green paper to form a snow-dusted forest. Add a cotton ball snowflake above each.


15. Washi Tape Snowflake Windows
Easy
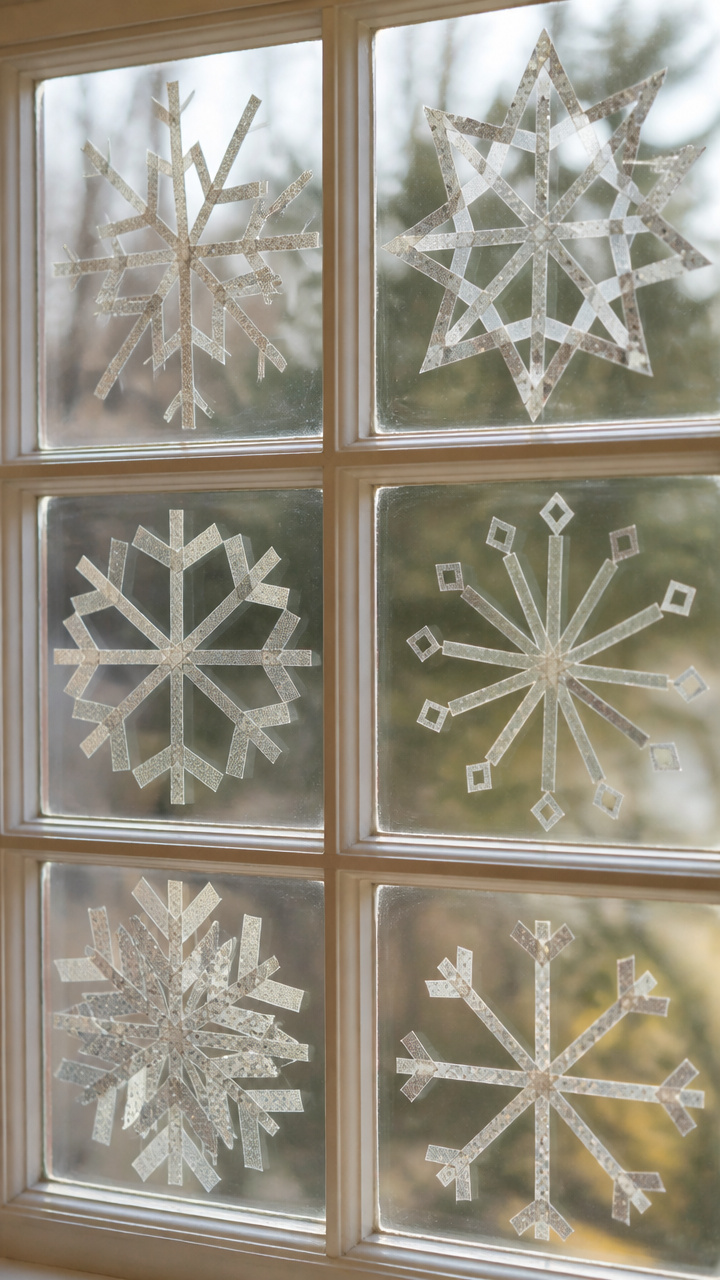
Sticky patterned tape makes instant snowflakes that stick right to glass. No drying time, no mess — just bright, clean designs.
Materials Needed
- 3 rolls washi tape (white, silver, snowflake pattern)
- Scissors
- Squeegee or gift card
- Clean window pane
How to Make It
- Cut six 4-inch strips of white washi tape. Arrange them in a star pattern on the window, overlapping at the center.
- Add silver tape over the arms for sparkle. Use snowflake-patterned tape to border the outer tips.
- Press firmly with a squeegee to remove bubbles and ensure adhesion.


16. Fingerprint Snowflake Cards
Easy
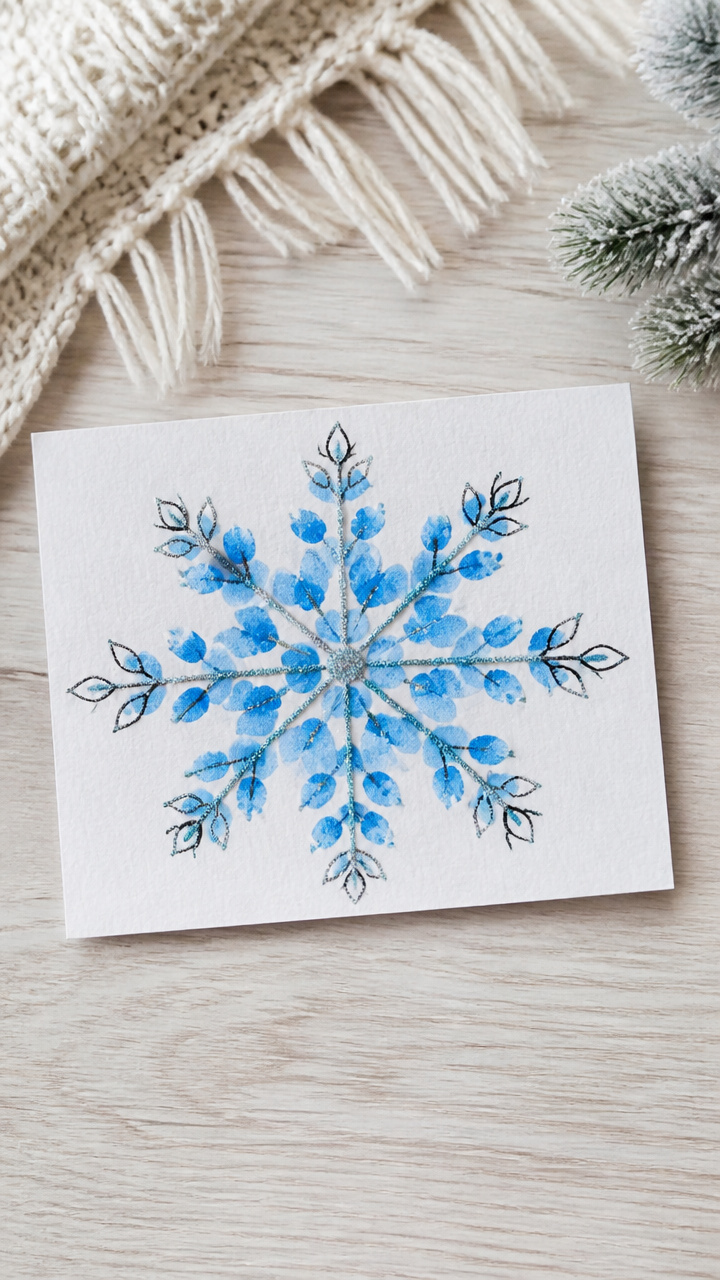
Inky fingerprints bloom into tiny snowflakes on handmade greeting cards. Each print is unique, just like real winter crystals.
Materials Needed
- White index cards (4×6 inches)
- Blue non-toxic ink pad
- Cotton swab
- Fine black marker
- Glitter glue (clear)
How to Make It
- Press one fingertip firmly onto the blue ink pad, then stamp six prints in a circle on the front of the card, slightly overlapping at the center.
- Use a cotton swab to clean excess ink from around the prints. Let dry for 5 minutes.
- Draw connecting lines between fingerprints with a black marker to form a snowflake. Add a dot of glitter glue to the center.


17. Pasta Ring Snowflakes
Moderate
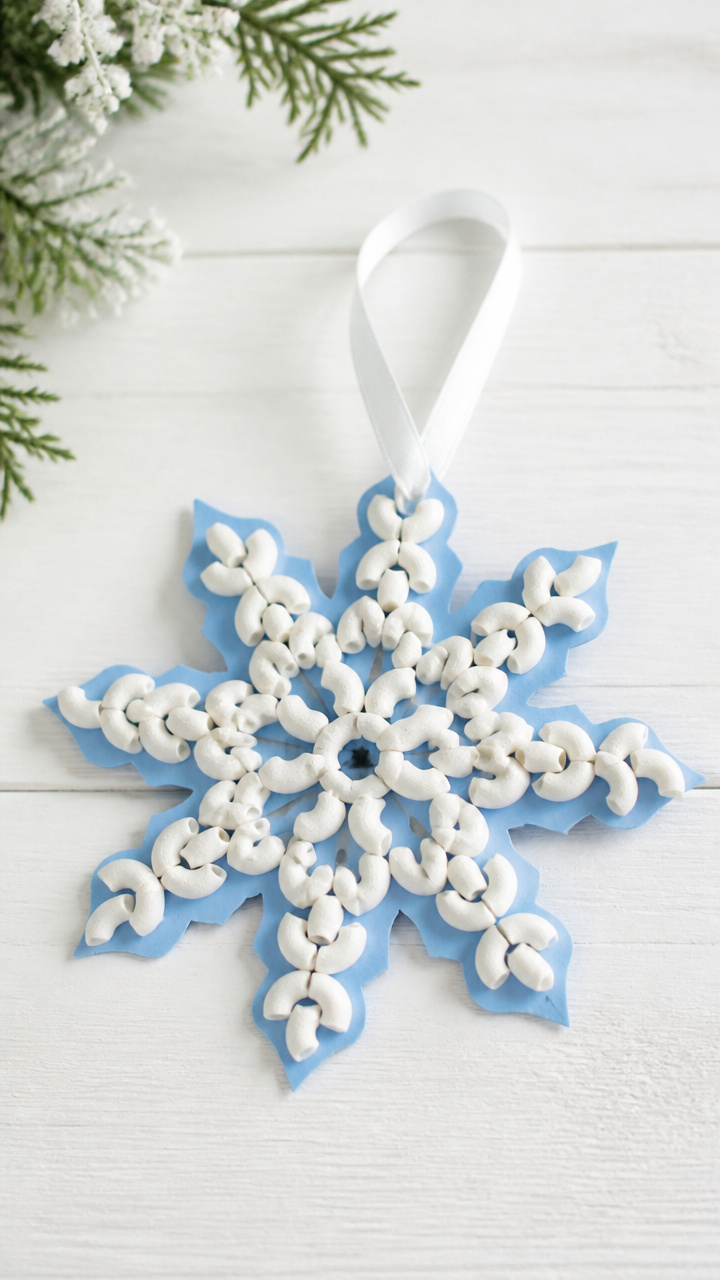
Ring-shaped pasta painted white becomes a lacy snowflake when glued in a radial pattern. The lightweight result hangs beautifully.
Materials Needed
- 18 elbow macaroni pieces
- White acrylic paint
- Paintbrush
- 6-inch blue construction paper
- White school glue
How to Make It
- Paint all macaroni pieces with white acrylic paint. Let dry completely on a paper towel for 1 hour.
- Arrange six pieces in a circle on blue paper, curved sides facing out. Glue them in place with white school glue.
- Add a second ring of six pieces between the gaps, then a third ring pointing outward. Let dry before display.


18. Ice Tray Painted Snowflakes
Advanced
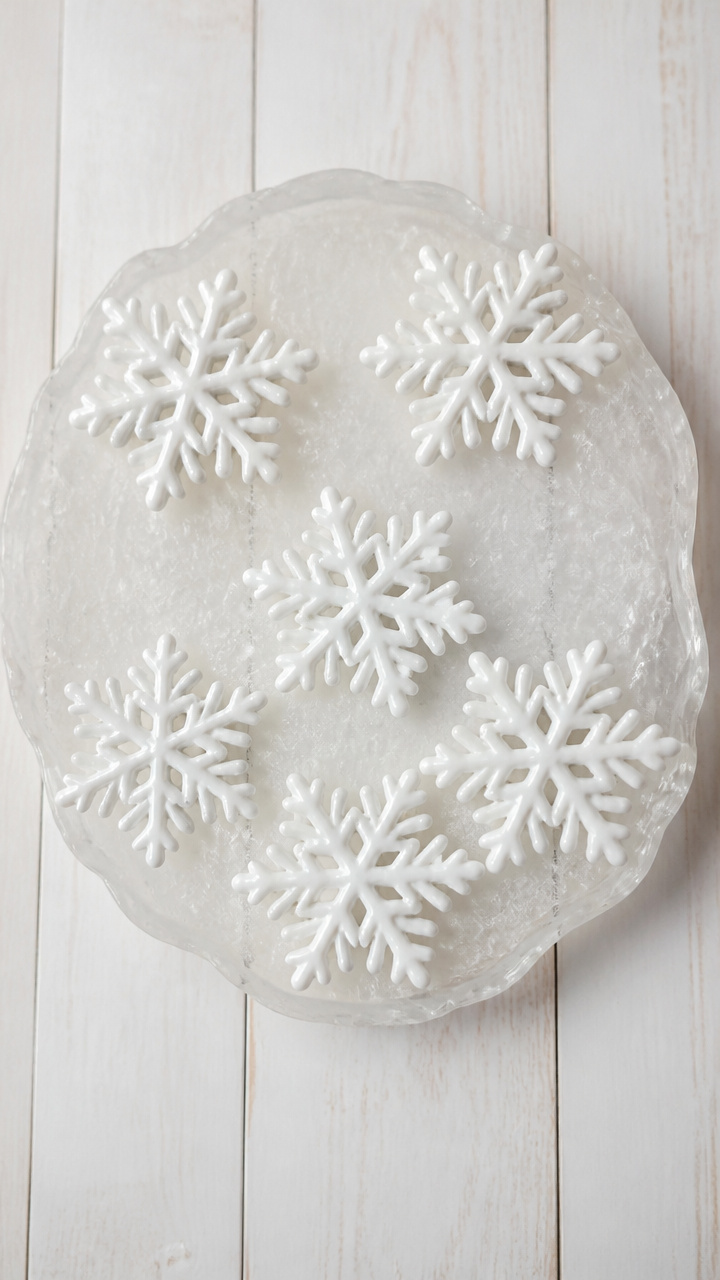
A silicone ice tray molds paint into solid snowflake shapes that harden into keepsakes. The flexible mold makes release easy.
Materials Needed
- Silicone snowflake ice tray (6 cavities)
- White school glue
- White acrylic paint
- Popsicle stick
- Mixing bowl
- Small spoon
How to Make It
- Mix equal parts white school glue and white acrylic paint in a bowl until smooth. Stir with a popsicle stick.
- Use a small spoon to pour the mixture into each cavity of the silicone tray, filling to the top.
- Let cure at room temperature for 24 hours. Gently flex the tray to pop out each solid snowflake.


19. Sticker-Backed Snowflake Mobiles
Easy
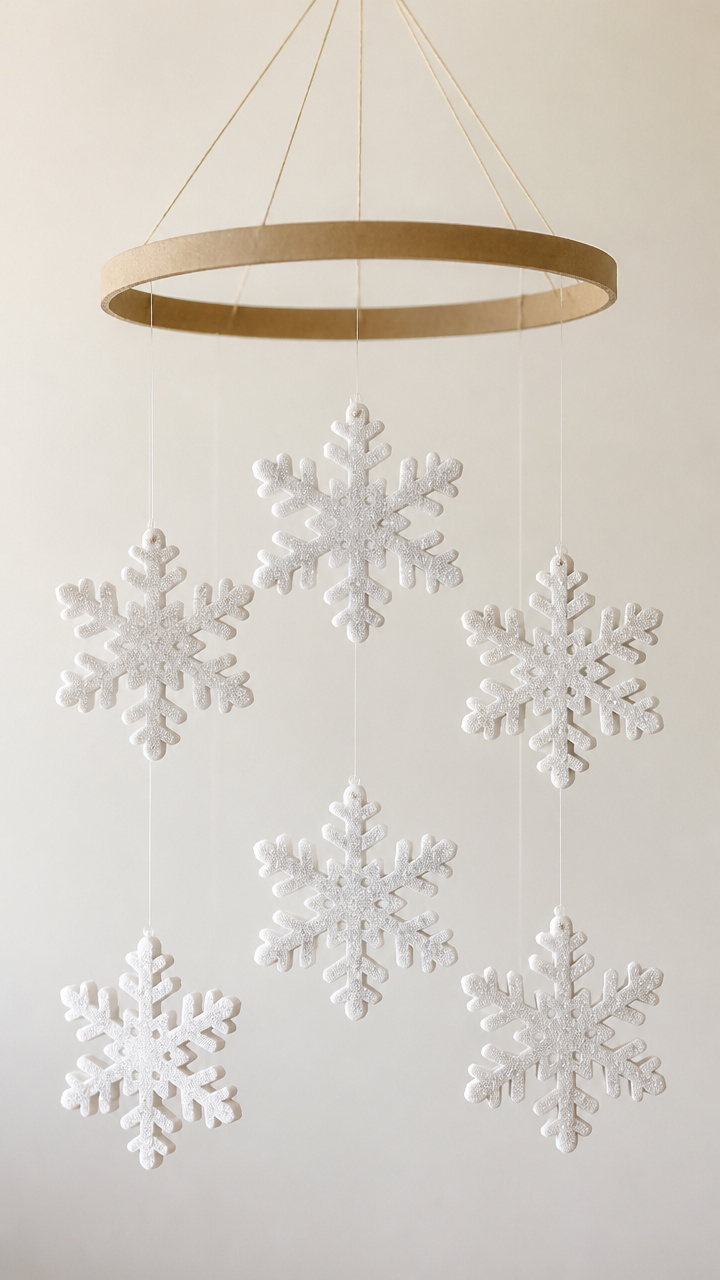
Pre-cut foam snowflakes with sticky backs dangle from a cardboard ring to form a floating winter sky. Assembly is quick and the effect is dreamy.
Materials Needed
- 6 foam snowflake stickers (2 inches wide)
- Cardboard ring (5 inches diameter)
- Clear thread (18 inches, 6 pieces)
- Scissors
- Hole punch
How to Make It
- Punch six evenly spaced holes around the cardboard ring. Peel backing off each foam snowflake and stick one to a thread end.
- Tie the opposite end of each thread through a hole in the ring, adjusting length so snowflakes hang at different levels.
- Tie an additional 12-inch thread across two opposite holes to create a hanger. Hang in a sunny window.


Each of these snowflakes carries a little piece of winter joy, made by small hands with big hearts. Pick one, gather your supplies, and let the frosty fun begin.