21 January Crafts for Elementary Kids That Look Amazing

Glitter spills like snow across the table, scissors snip in careful rhythm, and tiny hands press glue where it belongs. These are the moments that turn a quiet afternoon into something memorable.
Each of these crafts delivers big on charm and small on frustration. They’re made for busy hands and bright eyes, with results that look like they came from a classroom display.
No flimsy paper chains or forgotten handprint turkeys here. These are projects that surprise even the kids who make them.
1. Glittered Pinecone Birds
Easy
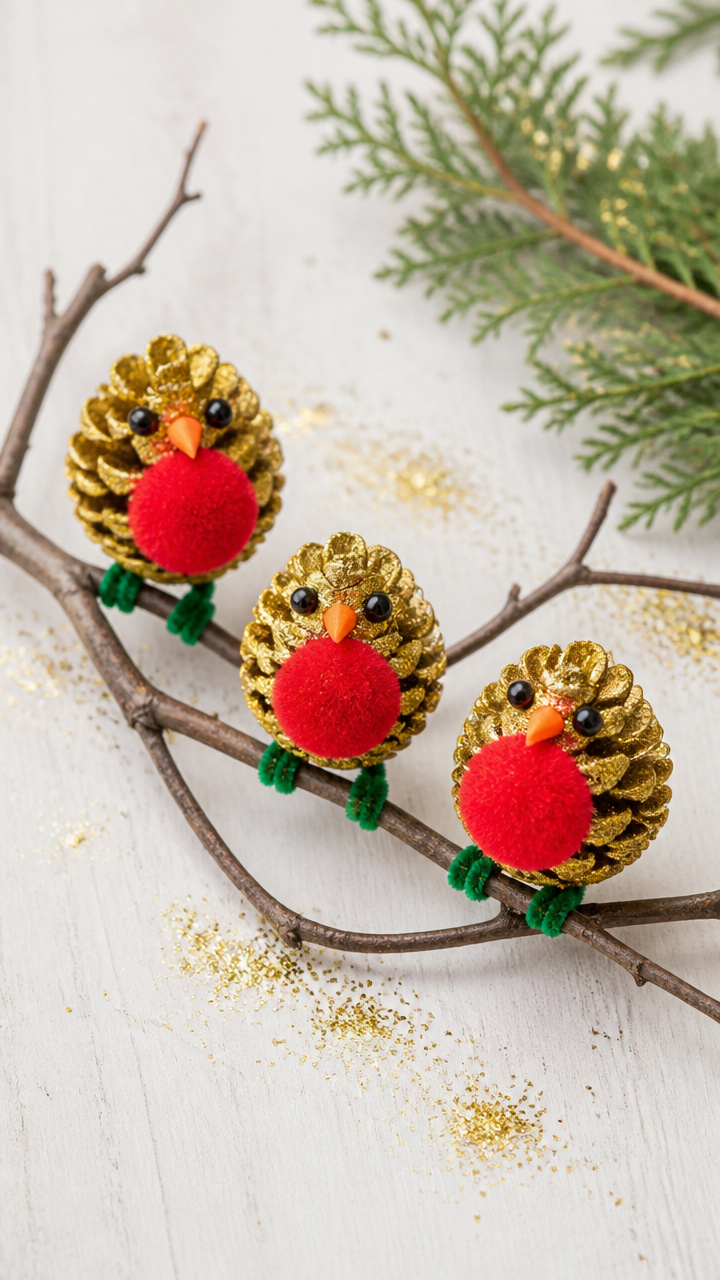
Tiny feathered friends with shimmering bodies perch on twigs and smile with bead eyes. These pinecone birds catch light and attention on any shelf.
Materials Needed
- 3 large dried pinecones
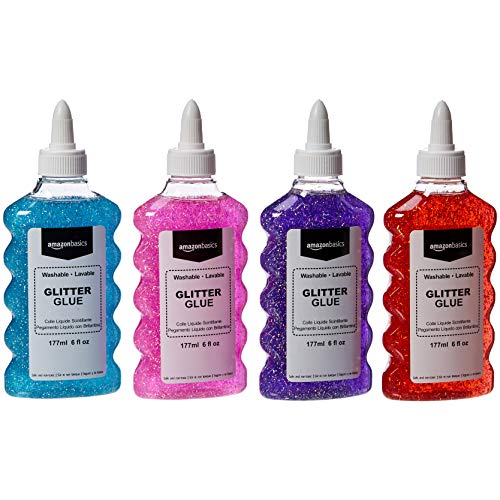
- 12 gold glitter glue bottles
- 6 red pom-poms, 1cm diameter
- 12 black craft beads, 4mm
- 6 pipe cleaners, 30cm green
- 1 glue gun
- 12 glue sticks
How to Make It
- Squeeze glitter glue evenly over each pinecone, covering all scales. Let dry for 45 minutes on wax paper.
- Cut each pipe cleaner in half and bend one end into a small loop to form a foot.
- Hot glue both ends of a pipe cleaner half to the bottom side of a pinecone to make two legs.
- Glue a red pom-pom to the top narrow end of the pinecone for the head.
- Glue two black beads side by side on the pom-pom for eyes.


2. Tissue Paper Lanterns
Easy
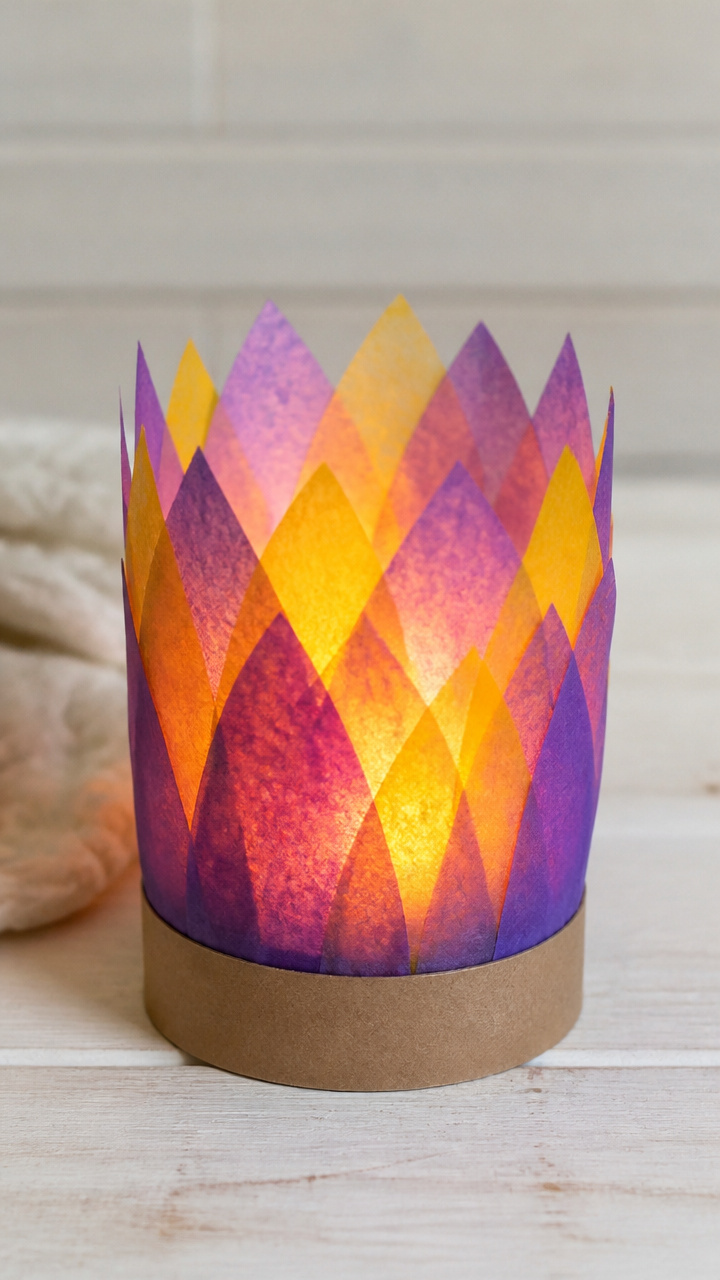
Soft glowing light shines through layered tissue petals, casting colorful shadows on the ceiling. These lanterns feel like magic at bedtime.
Materials Needed
- 6 sheets purple tissue paper, 20x20cm
- 6 sheets yellow tissue paper, 20x20cm
- 1 roll clear tape
- 6 cardboard toilet paper tubes
- 1 pair scissors
- 1 LED tea light
How to Make It
- Cut each tissue paper sheet into four 10x10cm squares.
- Stack two purple and two yellow squares together, aligning corners.
- Fold the stack accordion-style in 1.5cm pleats across the width.
- Wrap the folded stack around the toilet paper tube and tape the end closed.
- Fan out both ends to form a lantern shape. Place one LED tea light inside.


3. Cotton Ball Snow Owls
Easy
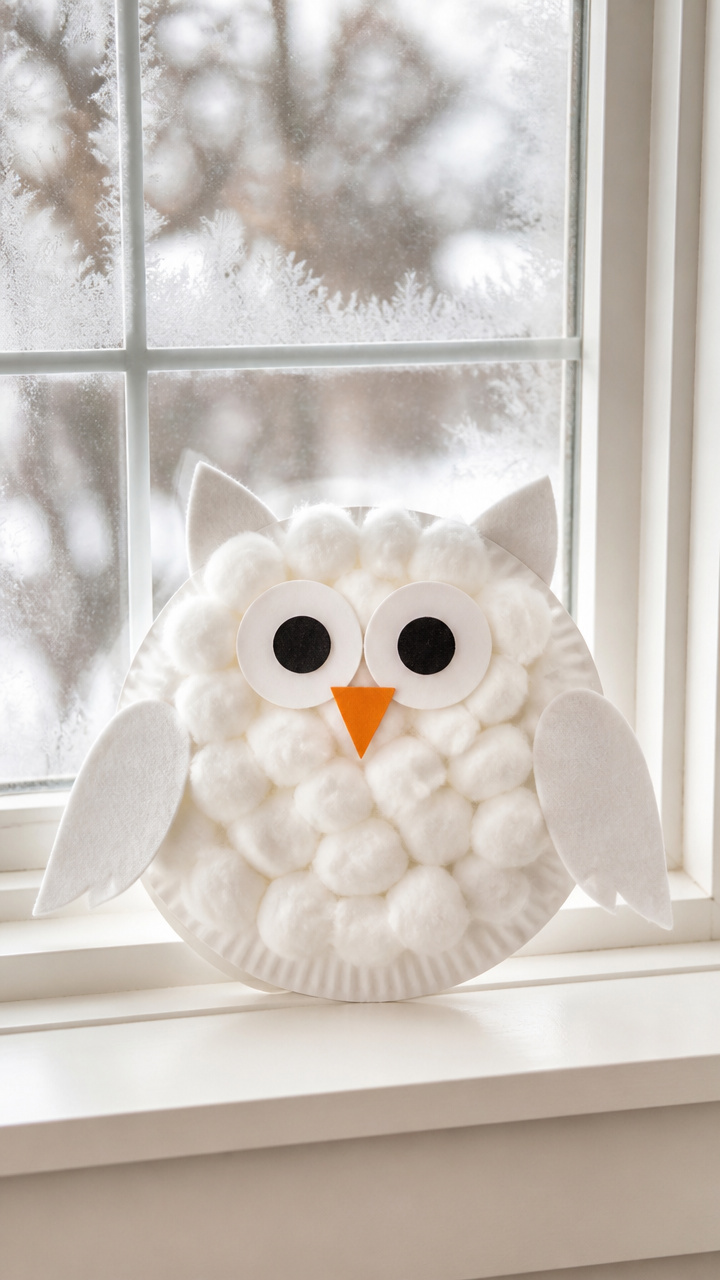
Fluffy white owls with round eyes and beaks made from folded paper sit proudly on windowsills. They look like they’ve just landed from a frosty flight.
Materials Needed
- 6 white paper plates
- 50 white cotton balls
- 12 black craft foam circles, 2cm diameter
- 6 orange craft foam triangles, 1.5cm tall
- 1 bottle white school glue
- 1 pair scissors
How to Make It
- Glue cotton balls densely around the rim of each paper plate to form the owl's body.
- Cut a small notch at the top front of the plate and fold down to make a beak base.
- Glue an orange triangle into the notch for the beak.
- Glue two black circles side by side near the top center of the plate for eyes.


4. Popsicle Stick Snowflakes
Moderate
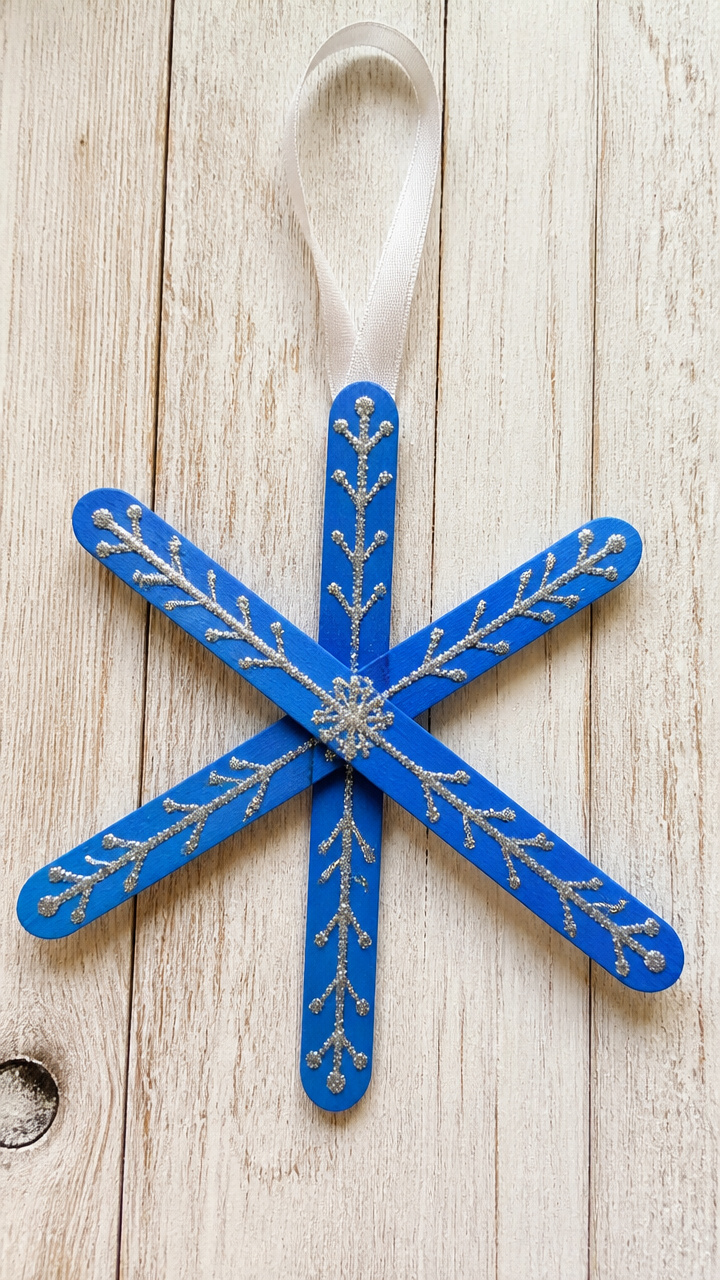
Six pointed stars made from painted sticks sparkle with glitter and hang with ribbon. These snowflakes stay perfect all season.
Materials Needed
- 36 jumbo popsicle sticks
- 1 bottle blue acrylic paint
- 1 small paintbrush
- 6 clear glitter glue pens
- 6 white ribbons, 30cm long
- 1 glue gun
- 6 glue sticks
How to Make It
- Paint both sides of six popsicle sticks per snowflake with blue acrylic paint. Let dry for 20 minutes.
- Arrange three sticks in a star shape, crossing at 60-degree angles, and hot glue where they meet.
- Glue a second stick end-to-end on each arm to extend the points.
- Squeeze glitter glue along the edges of each stick. Let dry for 30 minutes.
- Tie a ribbon to one point for hanging.



5. Salt Dough Ornaments
Moderate
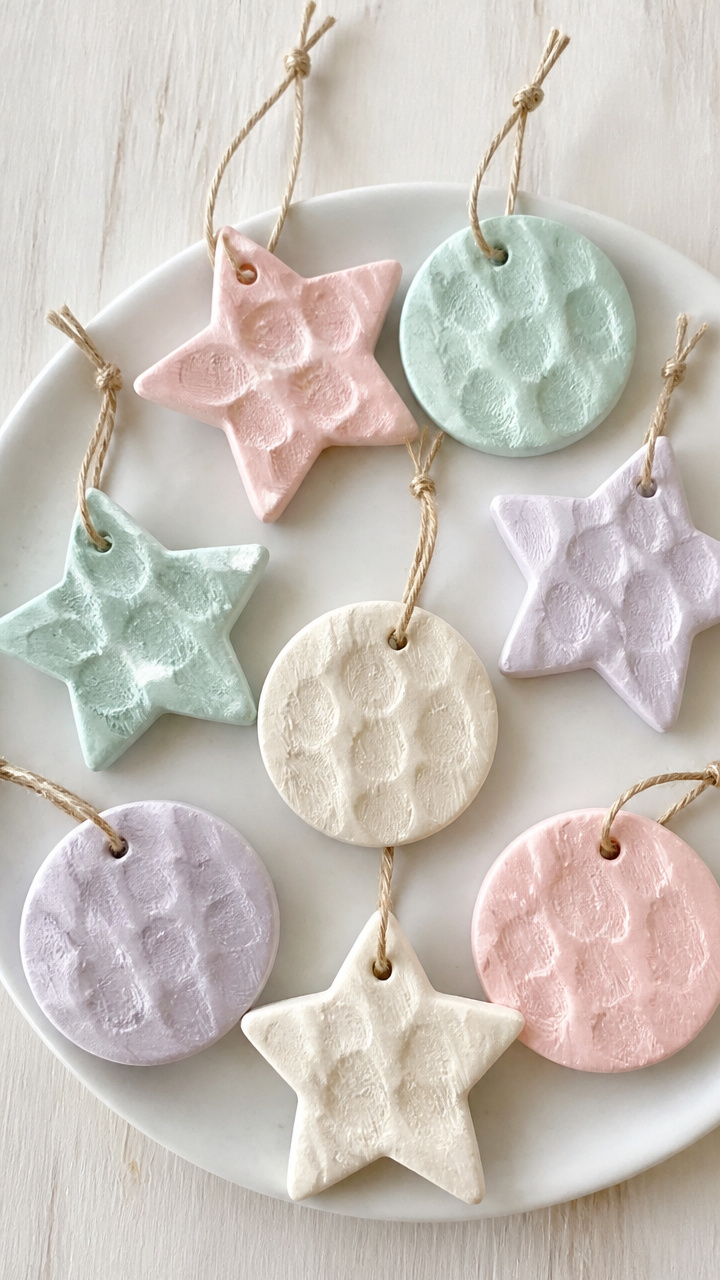
Hand-shaped stars and circles harden into keepsakes stamped with fingerprints and painted in soft colors. These are treasures to keep for years.
Materials Needed
- 2 cups all-purpose flour
- 1 cup table salt
- 3/4 cup warm water
- 6 plastic straws
- 6 rolling pins
- 12 craft paint colors in pastels
- 1 paintbrush set
- 6 clear acrylic sealant spray cans
How to Make It
- Mix flour, salt, and water in a bowl until a smooth dough forms. Knead for 3 minutes.
- Roll dough to 0.5cm thickness using a rolling pin.
- Cut shapes with cookie cutters and press a fingertip into each for a personal mark.
- Poke a hole near the top edge with a straw for hanging.
- Bake at 100°C for 2 hours. Let cool completely.
- Paint each ornament with two coats of craft paint, drying 15 minutes between coats.
- Spray both sides with acrylic sealant and let dry for 1 hour.


6. Paper Plate Snowmen
Easy
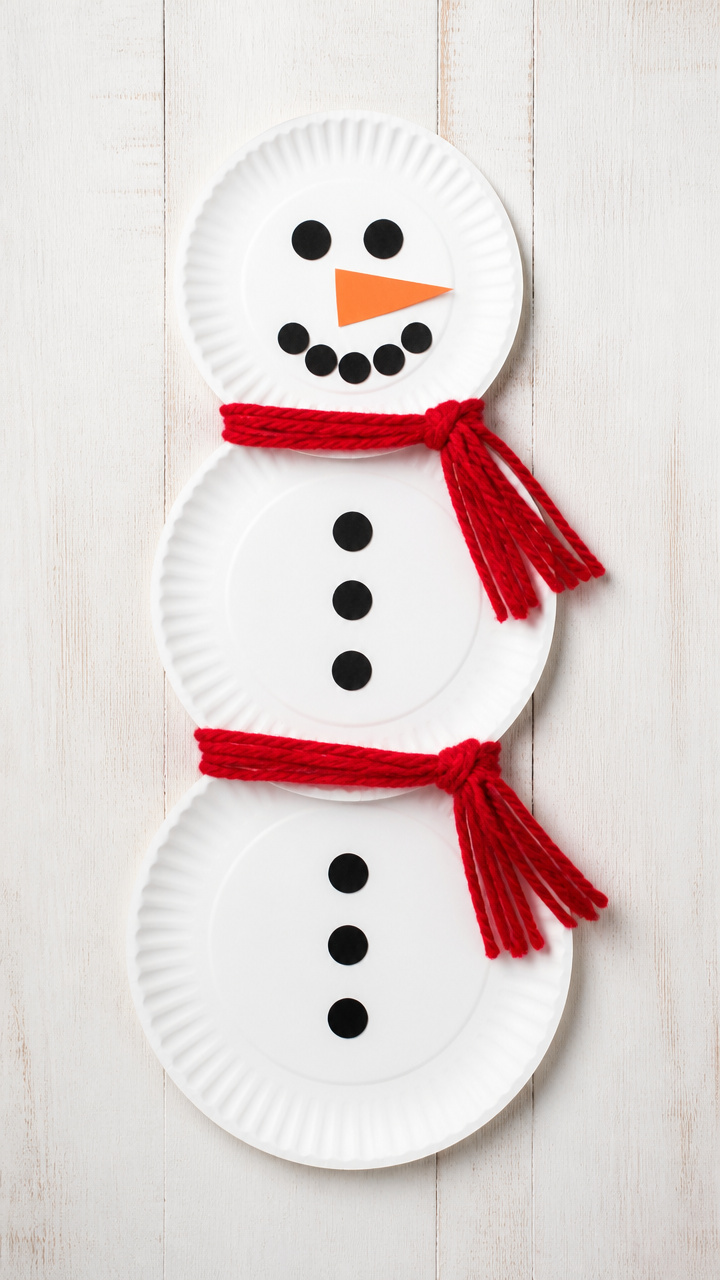
Three-layered snowmen with scarf swirls and coal-button lines stand cheerful and bright. These are instant winter pals.
Materials Needed
- 6 white paper plates
- 6 black construction paper sheets, 22x28cm
- 6 orange craft foam sheets
- 1 bottle white school glue
- 1 pair scissors
- 6 red yarn pieces, 40cm long
- 6 black pipe cleaners
How to Make It
- Cut each paper plate into thirds using scissors.
- Glue three plate pieces in a stacked curve to form a snowman body on a flat surface.
- Cut small circles from black paper for eyes and buttons. Glue in place.
- Cut a triangle from orange foam for the nose and glue it on.
- Wrap red yarn around the middle section for a scarf.
- Cut black pipe cleaners in half and glue two pieces on each side for arms.


7. Fingerprint Animal Cards
Easy
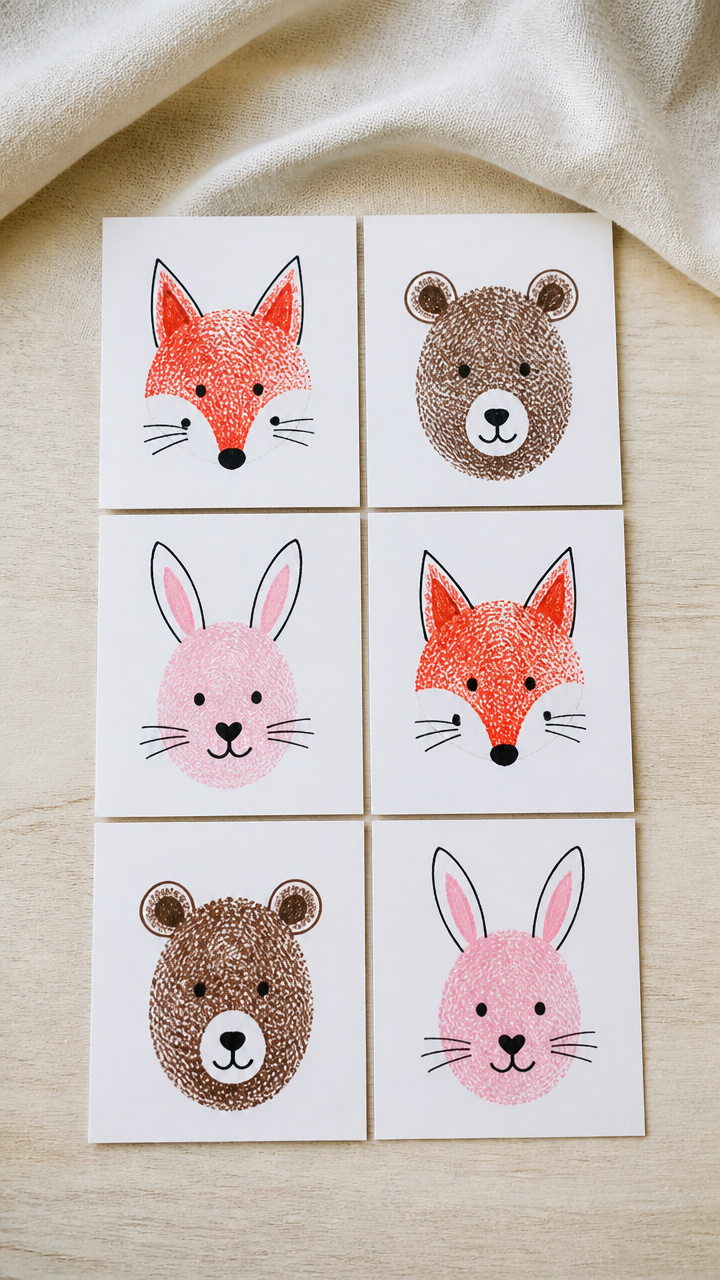
Inky thumbprints grow into foxes, bears, and rabbits with painted details. These cards make sweet notes for family.
Materials Needed
- 6 index cards, 12x8cm
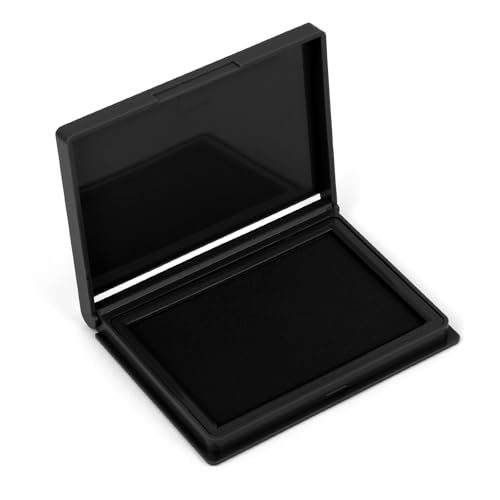
- 1 black ink pad
- 1 set fine-tip markers in brown, red, black, pink
- 1 pencil
- 1 eraser
How to Make It
- Press your thumb firmly on the ink pad and stamp it sideways near the bottom of the card.
- Let the ink dry for 2 minutes.
- Use a brown marker to draw ears, a tail, and legs around the print to form a fox.
- Add facial details with the red and black markers.
- Write a message on the inside with pencil and erase any guide marks.


8. Yarn Wrapped Letters
Moderate
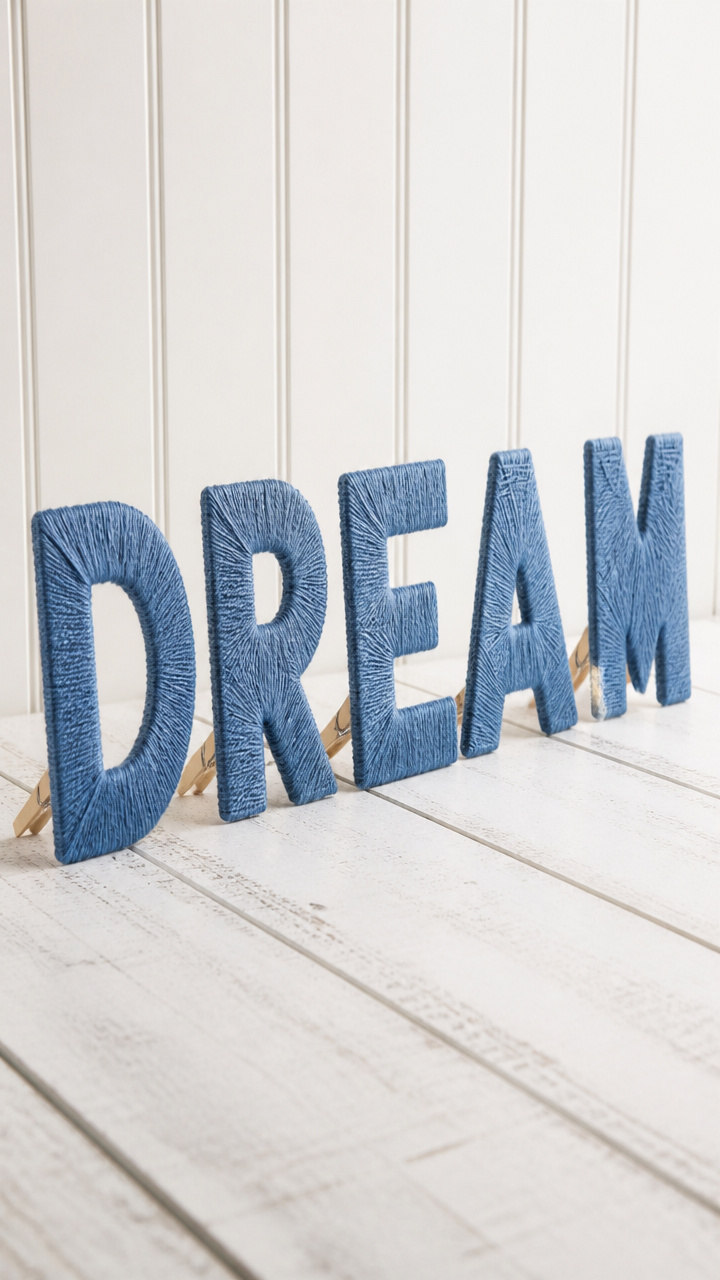
Initials shaped from cardboard glow with soft color and texture. These make sweet room decorations.
Materials Needed
- 6 cardboard letters, 15cm tall
- 6 skeins blue yarn
- 1 bottle white school glue
- 1 paintbrush
- 6 clothespins
How to Make It
- Brush a thin layer of glue along one edge of a cardboard letter.
- Press the yarn end onto the glue and let dry for 2 minutes.
- Wrap the yarn tightly around the letter, overlapping slightly, until fully covered.
- Glue the yarn end down and let dry for 15 minutes.
- Clip a clothespin to the top for hanging.


9. Crayon Melts
Advanced
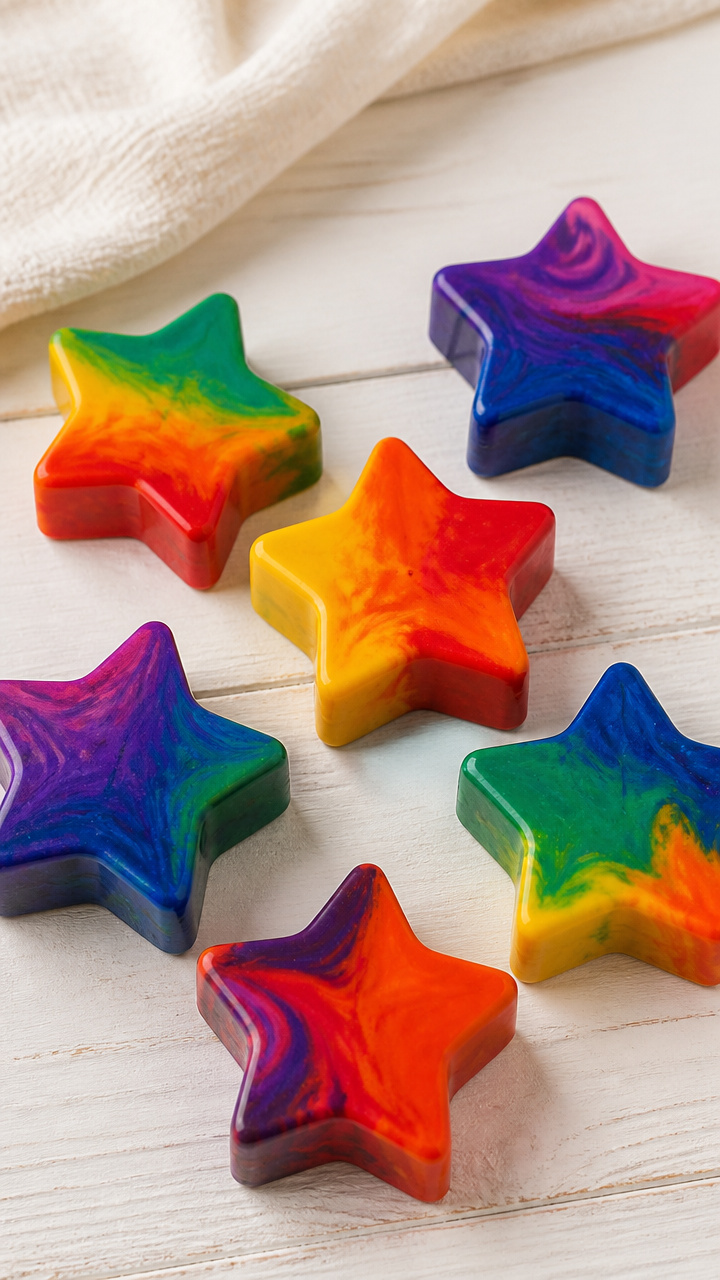
Broken crayon bits flow into rainbow waves inside shaped molds. These are art and function in one.
Materials Needed
- 50 broken crayons, peeled
- 6 silicone star molds
- 1 oven
- 1 muffin tin
- 1 pair oven mitts
How to Make It
- Preheat oven to 120°C.
- Sort crayon pieces by color and fill each mold cavity with one color.
- Place molds in a muffin tin for stability and bake for 12 minutes.
- Check that crayons are fully melted and flat on top.
- Use oven mitts to remove molds and cool completely for 2 hours.
- Pop out the crayon stars.


10. Puffy Paint Handprints
Easy
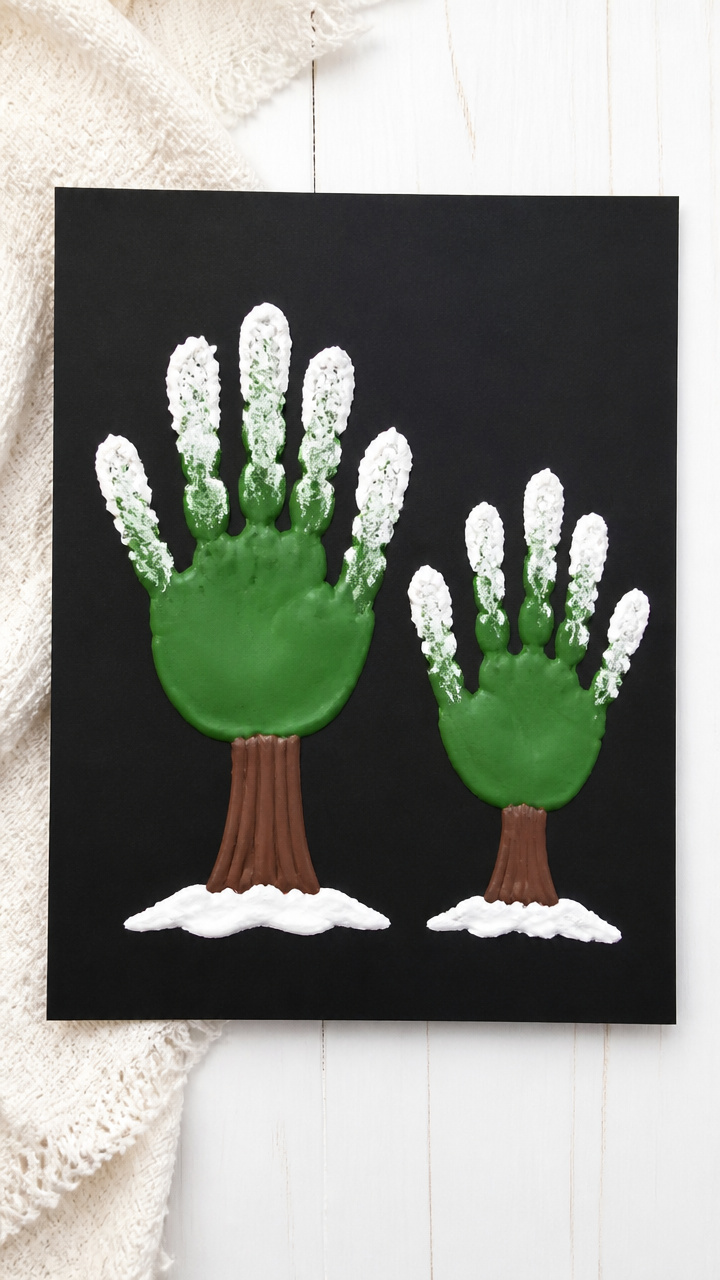
Raised snowy trees grow from palm prints with puffy paint tips. These look like they’ve been dusted by winter.
Materials Needed
- 6 white puffy paint bottles
- 6 green puffy paint bottles
- 6 black construction paper sheets, 22x28cm
- 1 bottle dish soap
How to Make It
- Squirt white puffy paint onto the palm and press firmly onto black paper to make a handprint.
- Let the print dry for 10 minutes.
- Squeeze green puffy paint in a jagged line above each finger tip to form tree tops.
- Add one white dot on each green tip to look like snow.
- Mix a drop of dish soap into remaining white paint to make it spread easier.


11. Button Snowmen
Moderate
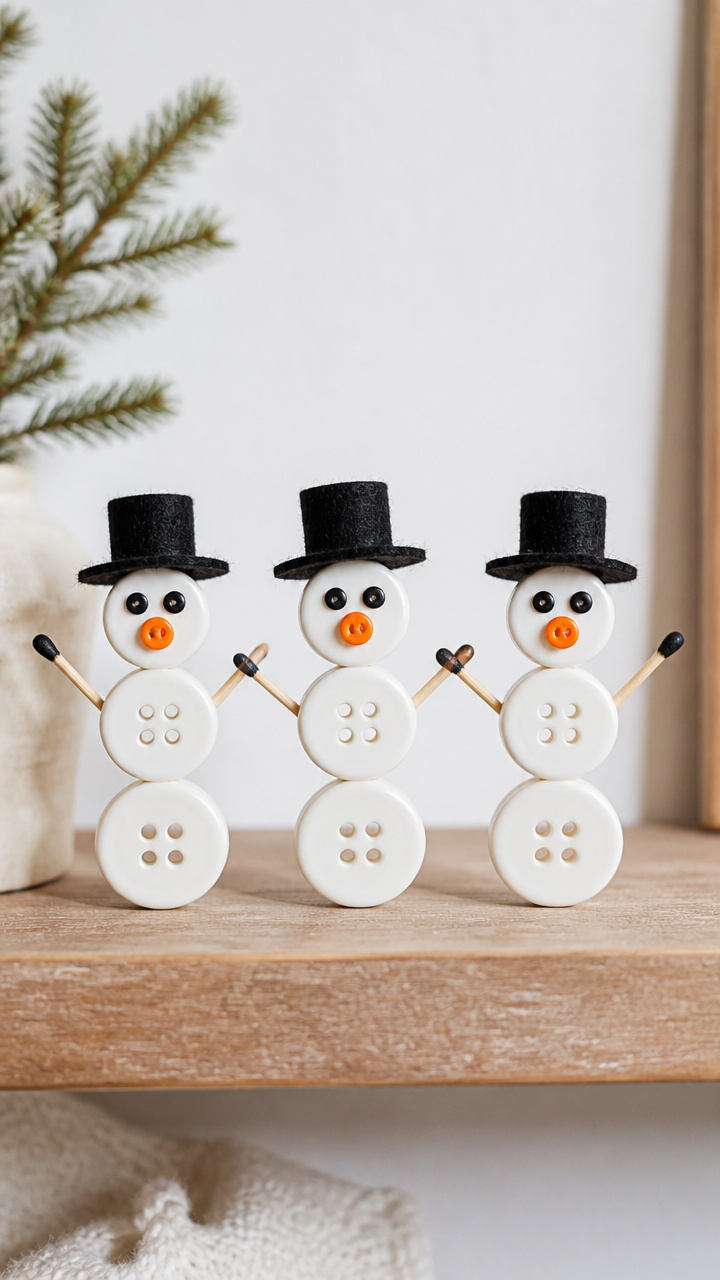
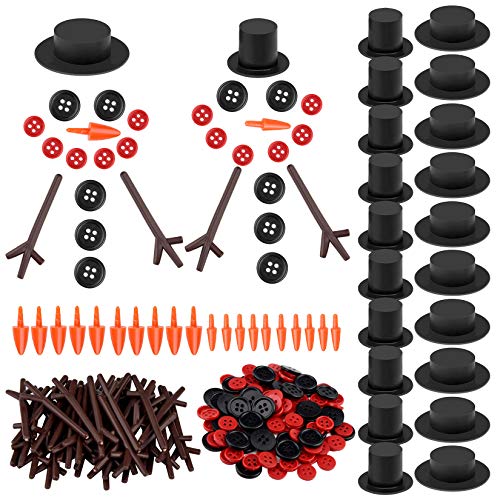
Three round buttons stack into smiling snowmen with matchstick arms and hat brims. These tiny figures gather on shelves.
Materials Needed
- 18 large white buttons, 2cm diameter
- 18 small black buttons, 1cm diameter
- 6 orange mini buttons, 0.5cm diameter
- 6 black felt circles, 2.5cm
- 12 matchsticks
- 1 needle
- 1 spool white thread
How to Make It
- Thread the needle and knot the end. Stack three large buttons and sew through the center to lock them together.
- Sew a small black button near the top for an eye and repeat on the other side.
- Sew an orange button below for the nose.
- Cut matchsticks in half and glue one piece on each side for arms.
- Glue a black felt circle on top for a hat.


12. Tin Foil Fish
Easy
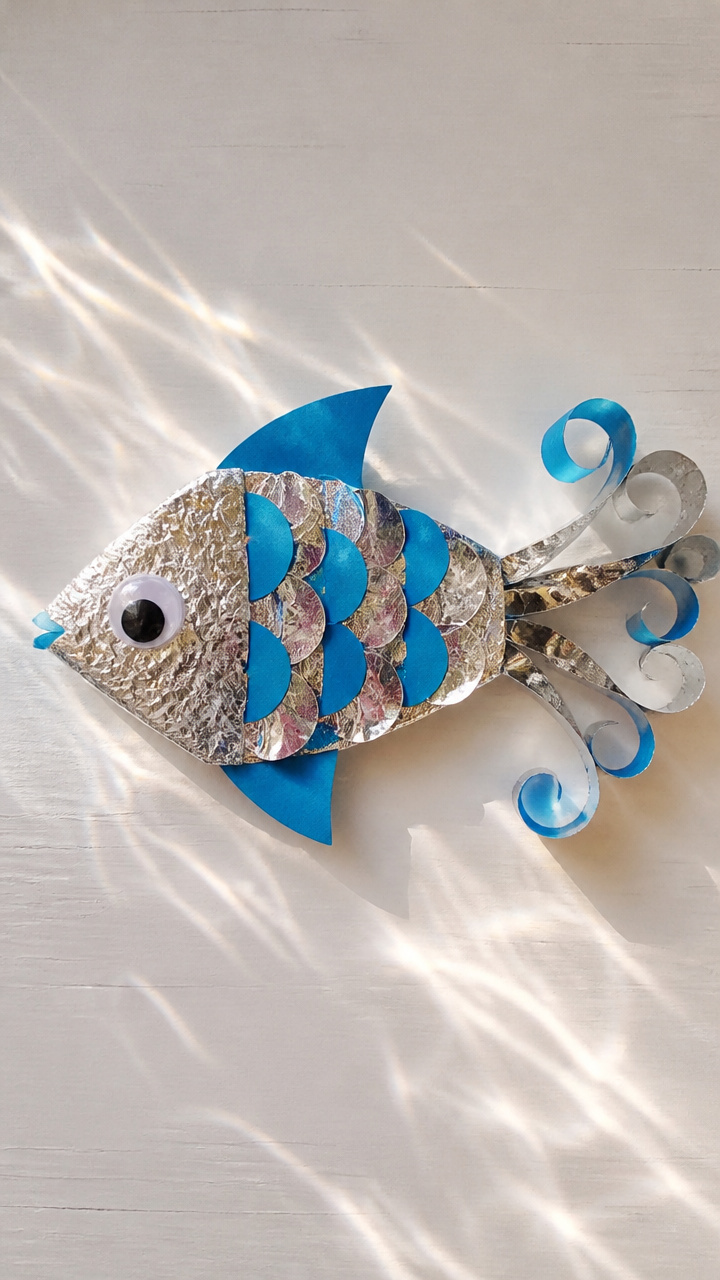
Shiny fish with curling tails and googly eyes swim across walls on clear tape. They catch every bit of light.
Materials Needed
- 6 sheets silver tin foil, 20x20cm
- 6 blue construction paper sheets
- 12 googly eyes, 1cm
- 1 glue stick
- 1 pair scissors
How to Make It
- Draw a fish shape on foil with a pencil and cut it out.
- Fold the tail up slightly at the end to give it dimension.
- Glue two googly eyes near the front tip.
- Press clear tape on the back and stick to a window or wall.
13. Pine Branch Reindeer
Moderate
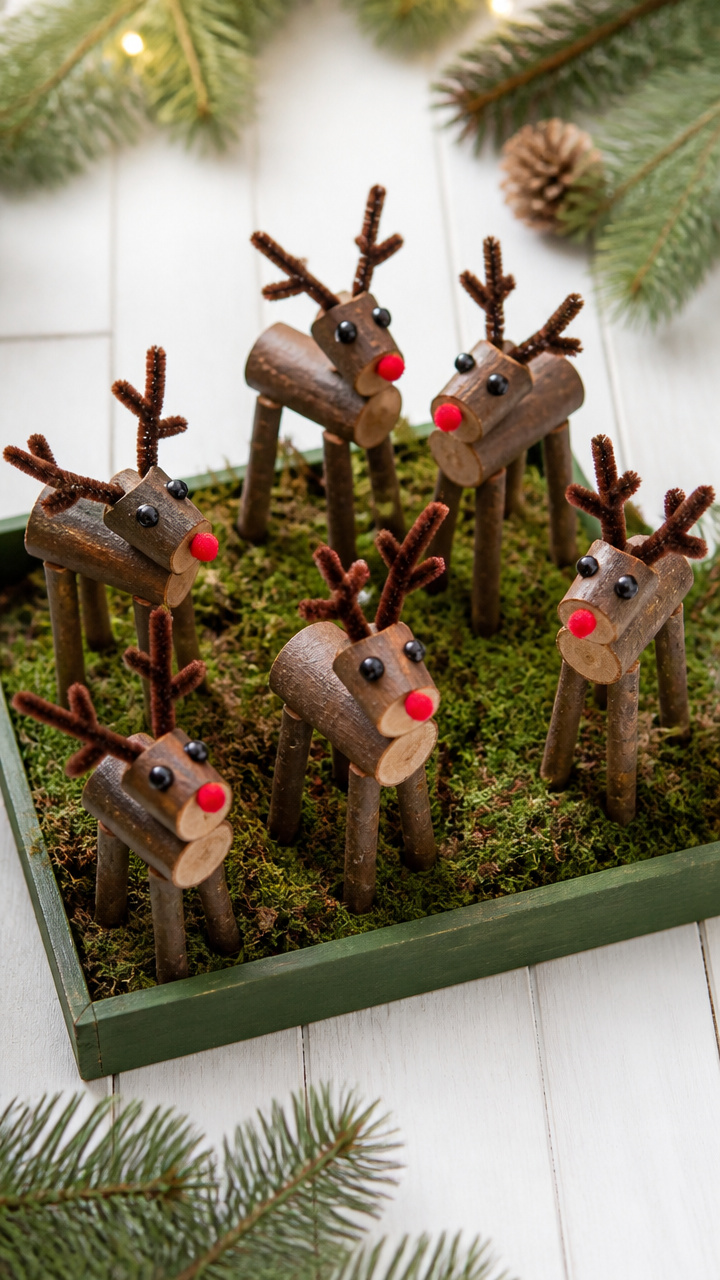
Twigs with tiny heads and pipe cleaner antlers stand in moss-lined trays. These forest creatures feel like they wandered indoors.
Materials Needed
- 6 pine branches, 20cm long
- 6 brown pipe cleaners
- 6 red pom-poms, 1cm
- 12 black beads, 4mm
- 6 foam trays from fruit packaging
- 1 bottle moss green spray paint
- 1 glue gun
- 6 glue sticks
How to Make It
- Spray paint foam trays with moss green paint and let dry for 1 hour.
- Cut two 5cm lengths from a brown pipe cleaner for each antler.
- Twist one end of each piece around the top end of a pine branch to form antlers.
- Glue a red pom-pom to the front tip for a nose.
- Glue two black beads just above the pom-pom for eyes.
- Hot glue the base of each branch into a foam tray.


14. Watercolor Resist Cards
Easy
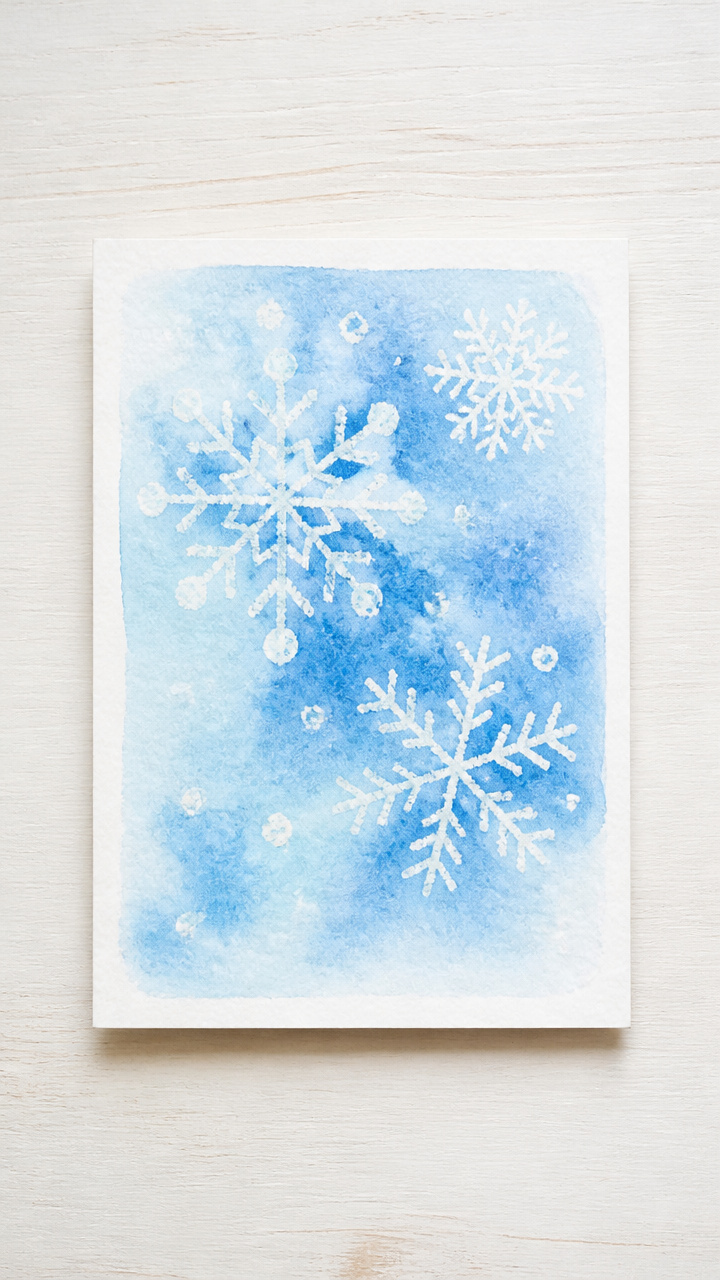
Crayon-drawn snowflakes appear like magic when painted over with blue wash. These cards feel like a winter sky.
Materials Needed
- 6 white cardstock sheets, A6 size
- 6 blue watercolor pans
- 1 watercolor brush
- 1 cup water
- 6 white crayons
How to Make It
- Draw a snowflake in the center of each card with a white crayon using firm pressure.
- Dip the brush in water and then into blue watercolor.
- Paint over the entire card, covering the crayon drawing.
- Let dry flat for 20 minutes. The snowflake will appear white against the blue.


15. Egg Carton Flowers
Moderate
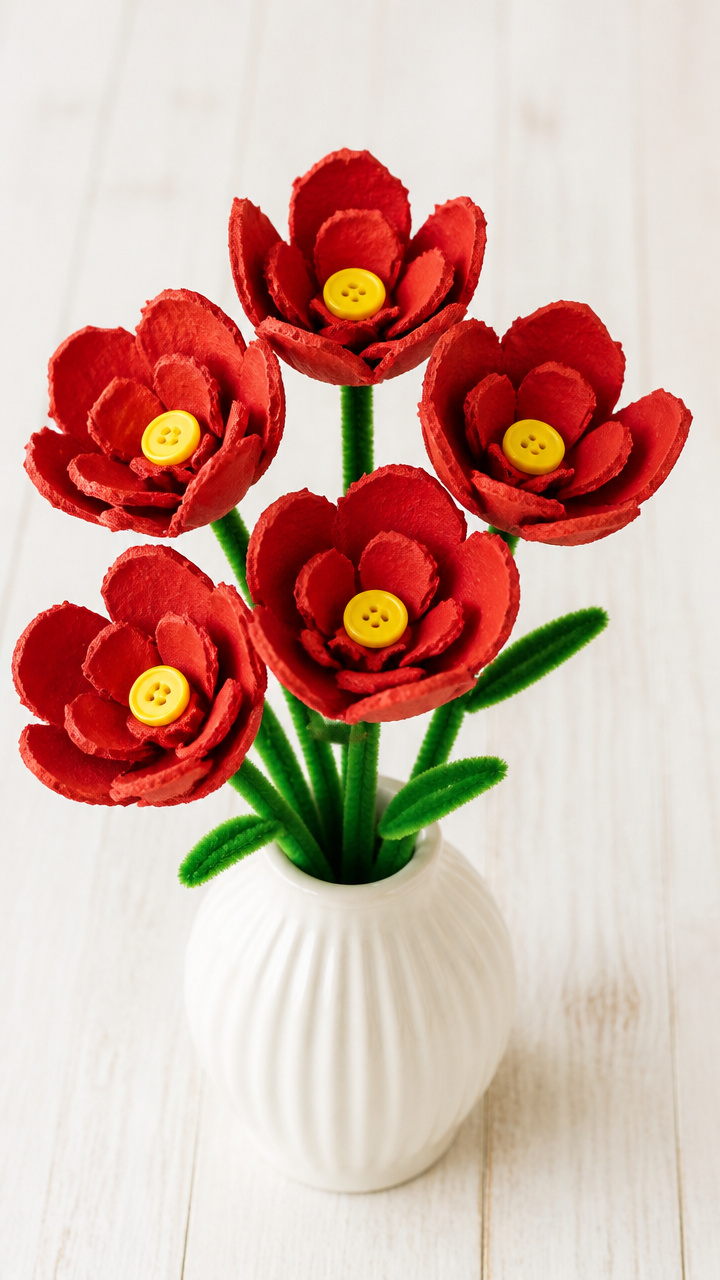
Cups snipped from egg cartons bloom into bright peonies with painted petals and button centers. These never wilt.
Materials Needed
- 3 cardboard egg cartons
- 6 green pipe cleaners
- 1 bottle red acrylic paint
- 1 bottle yellow acrylic paint
- 1 paintbrush
- 1 pair scissors
- 6 buttons, 1.5cm yellow
How to Make It
- Cut six cups from the egg carton and snip the rim into 6 pointed petals.
- Paint each cup with red acrylic paint and let dry for 25 minutes.
- Paint the base of each cup yellow and let dry for 10 minutes.
- Glue a yellow button to the center of each flower.
- Insert one end of a green pipe cleaner into the base and twist to secure.


16. Cereal Box Robots
Moderate
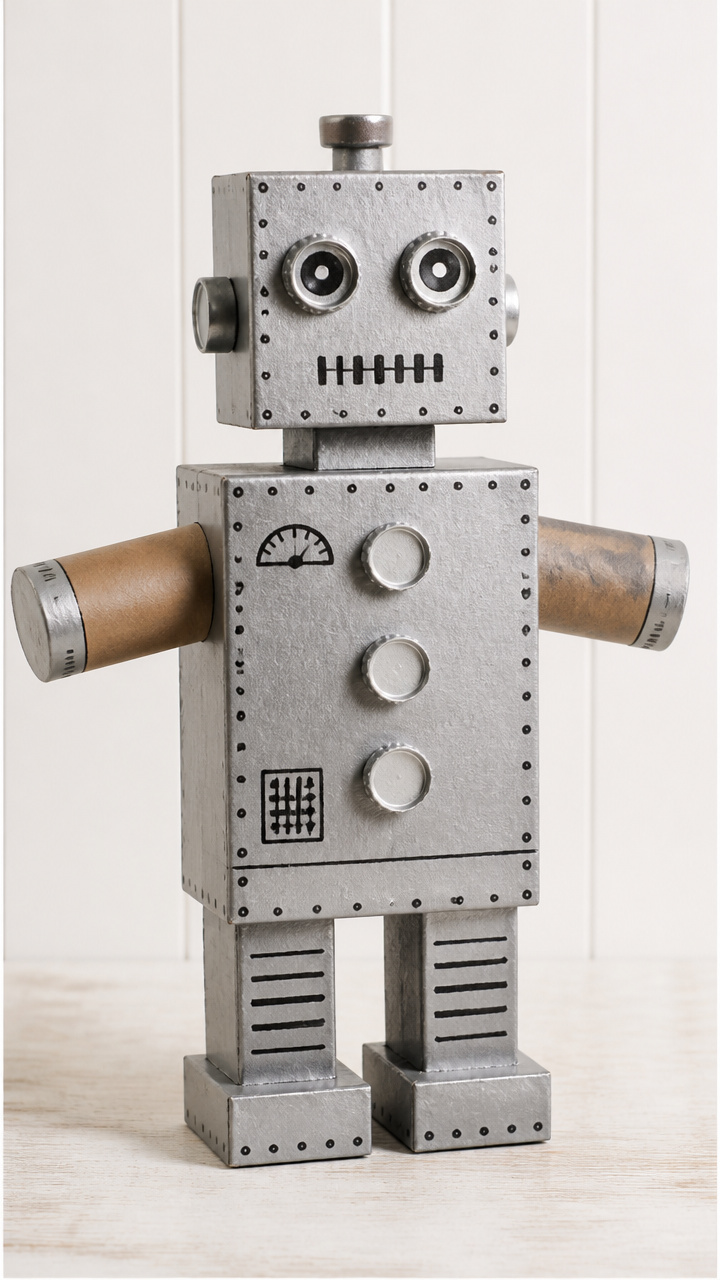
Sturdy cardboard bots with cereal box bodies and bottle cap buttons march with personality. These are made for imaginative play.
Materials Needed
- 6 cereal boxes
- 12 aluminum bottle caps
- 6 toilet paper tubes
- 1 glue gun
- 12 glue sticks
- 6 black markers
- 1 roll aluminum foil
How to Make It
- Cut the cereal box into a 15cm tall robot body with a rectangular base.
- Wrap the body and tube arms in aluminum foil, smoothing as you go.
- Hot glue two bottle caps to the front for buttons.
- Draw a face with a black marker.
- Glue toilet paper tubes to the sides for arms and the top for a head.


17. Shaving Cream Marbled Paper
Moderate
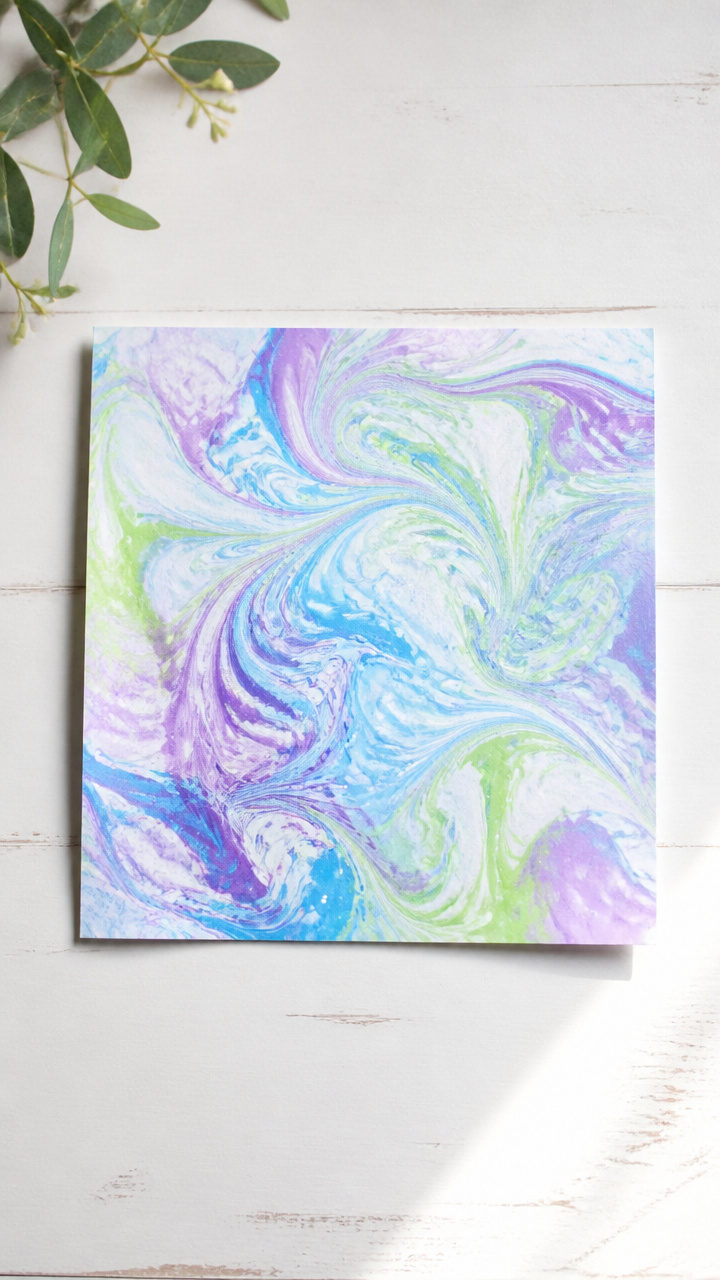
Swirled clouds of color float on paper like stormy skies. This messy process delivers stunning results.
Materials Needed
- 6 sheets white drawing paper, 20x20cm
- 1 can shaving cream
- 6 food coloring bottles: blue, purple, green
- 1 tray, 25x30cm
- 1 spoon
- 1 ruler
- 1 scrap cardboard
How to Make It
- Spray shaving cream into the tray to cover the bottom in a 2cm layer.
- Drop different food coloring dots across the surface.
- Drag a ruler through the colors to swirl them.
- Lay a paper sheet gently on top and press evenly with your palm.
- Lift slowly and scrape off excess cream with cardboard.
- Let dry for 1 hour.


18. Popsicle Stick Boats
Easy
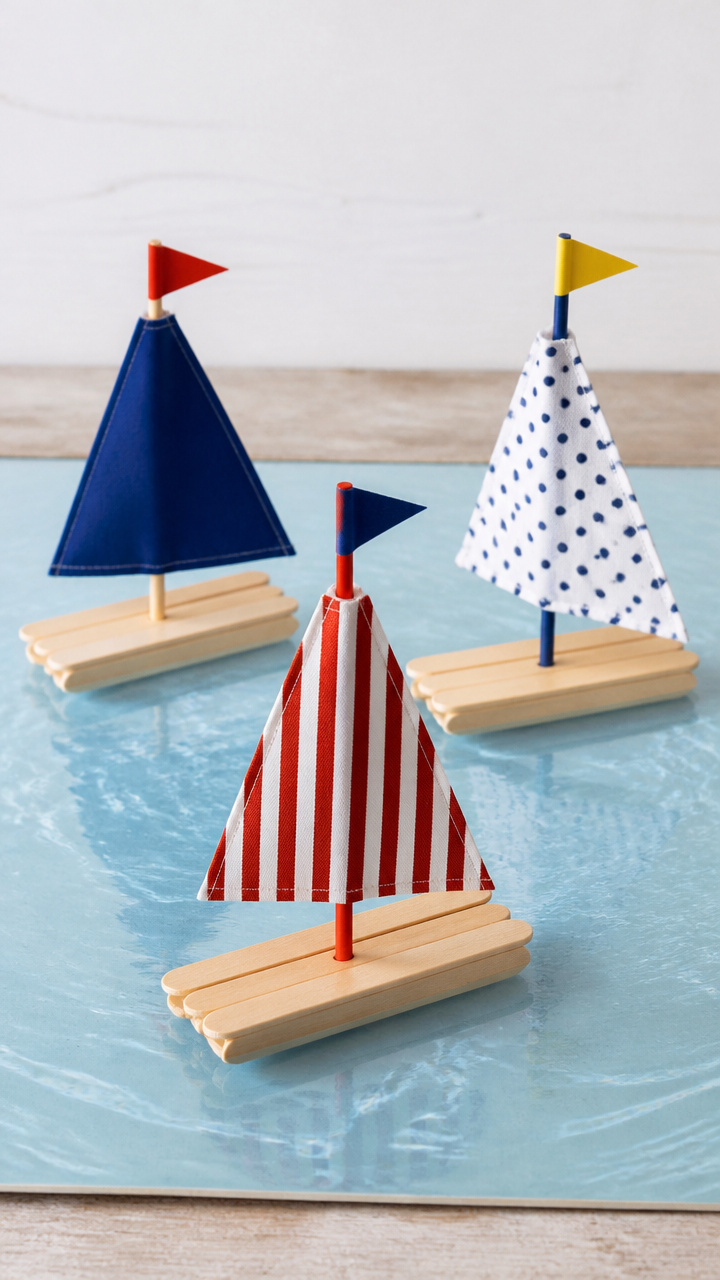
Mini sailboats with fabric sails and number-letter flags float in tubs or bathtime. These are ready for adventure.
Materials Needed
- 36 jumbo popsicle sticks
- 6 cotton fabric squares, 10x10cm
- 6 wooden beads, 1cm
- 1 bottle white school glue
- 6 colored markers
- 1 pair scissors
How to Make It
- Glue three popsicle sticks side by side to form the boat base.
- Glue a fourth stick vertically at the center for the mast.
- Cut a small flag shape from paper and write a letter on it with a marker.
- Glue the flag to the top of the mast.
- Wrap a fabric square around the mast and glue at the back.
- Glue a wooden bead to the front tip as a bow ornament.

19. Paper Bag Puppets
Easy
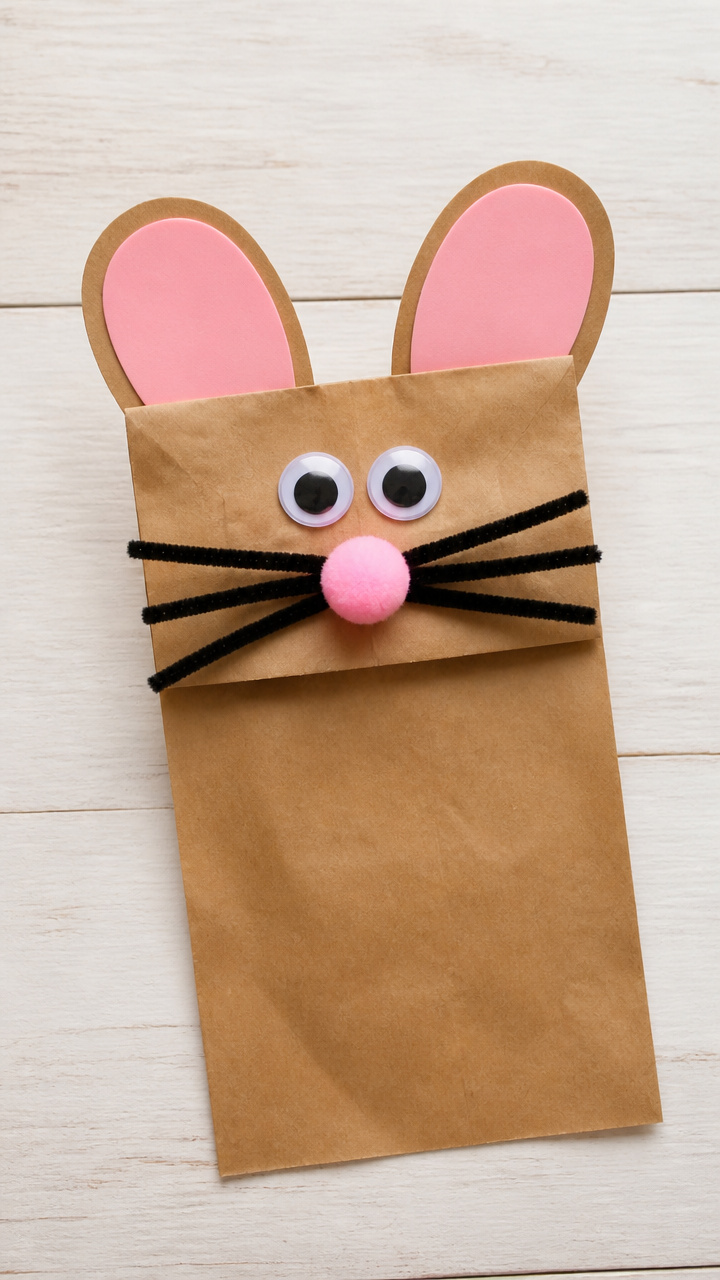
Lovable animal faces with fur, whiskers, and floppy ears come alive on hands. These are perfect for story time.
Materials Needed
- 6 brown paper lunch bags
- 12 googly eyes, 1.5cm
- 6 pink craft foam sheets
- 6 black pipe cleaners
- 1 glue stick
- 1 pair scissors
How to Make It
- Cut two ear shapes from pink foam and glue to the top front corners of the bag.
- Glue googly eyes just below the ears.
- Cut a small triangle from pink foam for the nose and glue below the eyes.
- Cut two 8cm pipe cleaner pieces and glue them below the nose for whiskers.


20. Pipe Cleaner Insects
Moderate
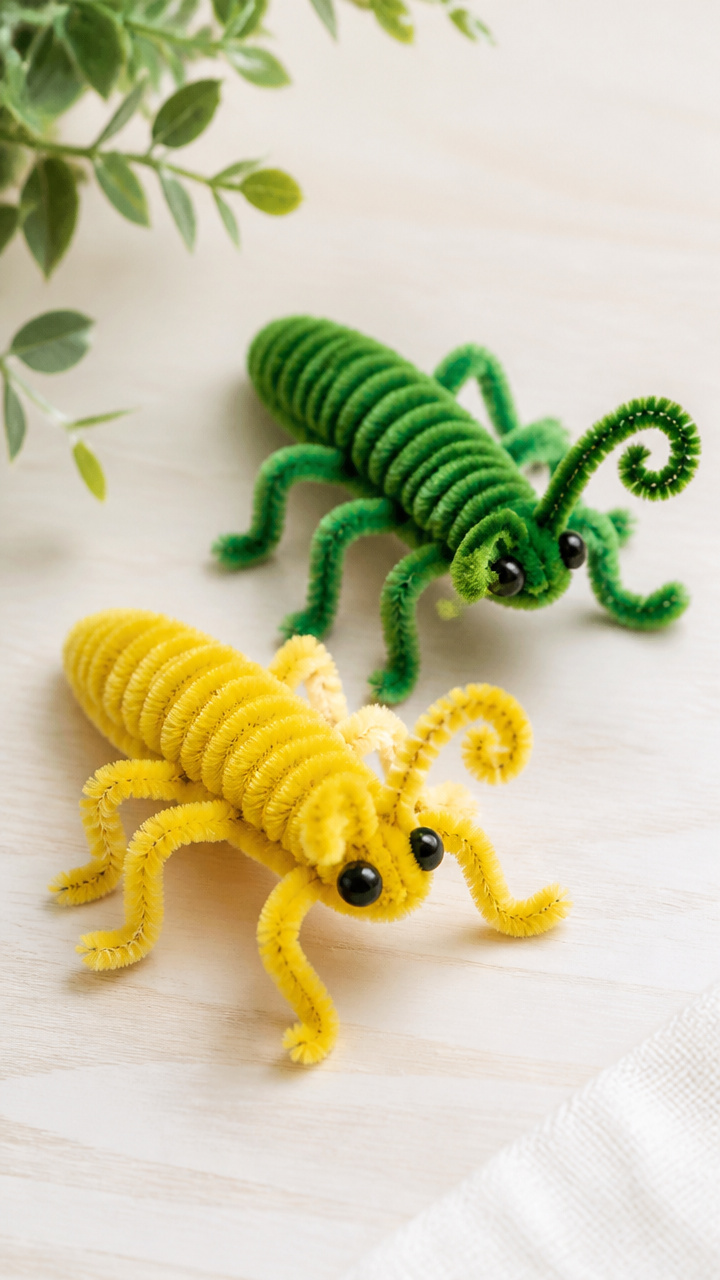
Twisted green and yellow bugs with curled antennae and jointed legs climb on desks. These are bugs you’re happy to find indoors.
Materials Needed
- 12 green pipe cleaners
- 6 yellow pipe cleaners
- 12 black beads, 4mm
- 1 pair scissors
How to Make It
- Cut a green pipe cleaner in half and bend one piece into a U-shape for the body.
- Twist the ends together at the top to form antennae.
- Cut the yellow pipe cleaner into six 3cm pieces.
- Twist three pieces onto each side of the body for legs.
- Slide a black bead onto each antennae end and bend the tip.


21. Melted Crayon Art
Advanced
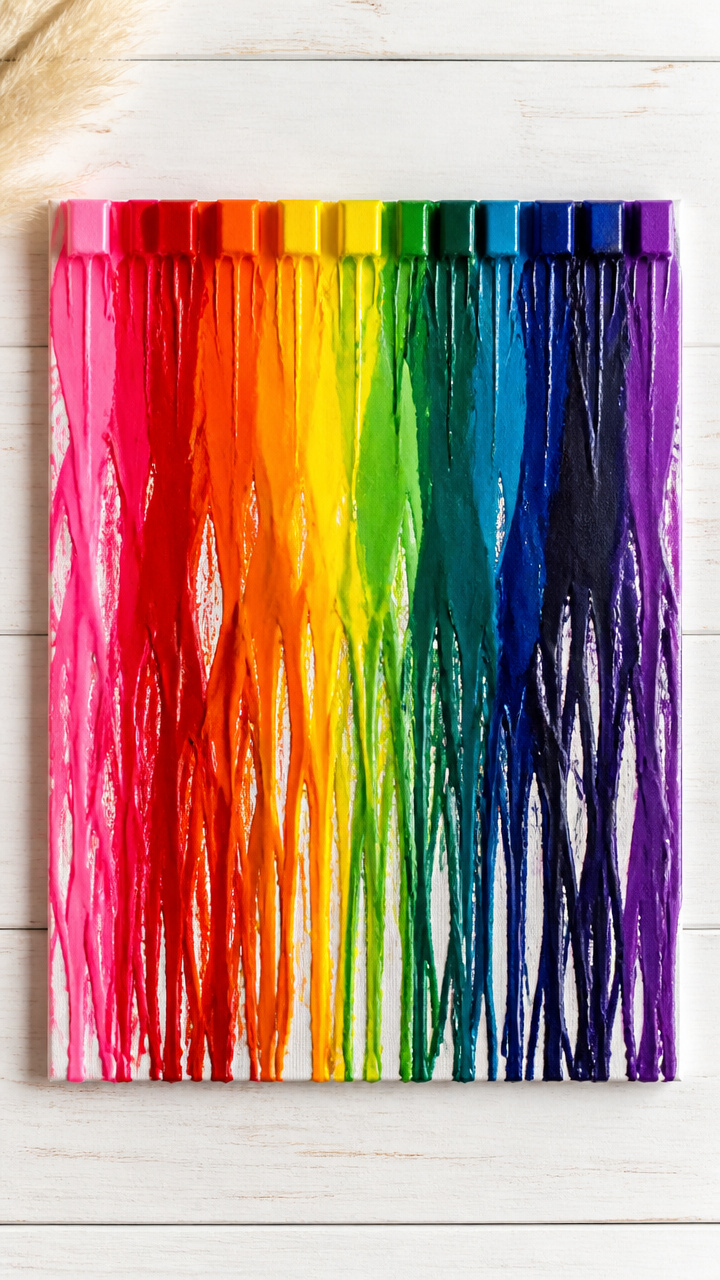
Drips of color flow down cardboard canvases in bold streaks. These pieces look like modern art.
Materials Needed
- 6 cardboard rectangles, 20x25cm
- 30 peeled crayons, assorted colors
- 6 push pins
- 1 hair dryer
- 1 pair oven mitts
How to Make It
- Peel crayons and sort by color family.
- Use a push pin to attach a crayon sideways near the top edge of the cardboard, point facing down.
- Hold the hair dryer on high heat 10cm from the crayon for 30 seconds until wax begins to drip.
- Move the dryer slowly down the crayon to control the flow.
- Let dry completely for 2 hours before display.
![Crayola Inspiration Art Case Coloring Set - Tie-Dye (140ct), Art Supplies Set For Kids, Travel Drawing Kit, Gift for Girls & Boys, Ages 5+ [Amazon Exclusive]](https://m.media-amazon.com/images/I/51wKWtC3NLL._SL500_.jpg)

![Crayola Inspiration Art Case Coloring Set, 140pc Space Theme – Art Kit for Kids, Crayons, Markers, Pencils, Gift for Boys & Girls, Ages 5, 6, 7, 8 [Amazon Exclusive]](https://m.media-amazon.com/images/I/512fTojPeRL._SL500_.jpg)
Grab a glue stick, clear a spot at the table, and let the mess begin. You’ll end up with more than crafts — you’ll have memories in color and glue.