25 January Crafts for Adults to Make Winter Feel Cozy

Soft light glows through hand-dyed fabric shades, wool wraps warm around mugs, and the quiet rhythm of needle and thread fills the room. These moments aren’t just comfort—they’re made, shaped by your hands with intention and care.
Each craft here invites you to slow down, focus on texture and color, and create something that makes your space feel more like a shelter from the cold. No fuss, no fluff—just honest making that warms you twice.
1. Faux Fur Mug Cozies
Easy
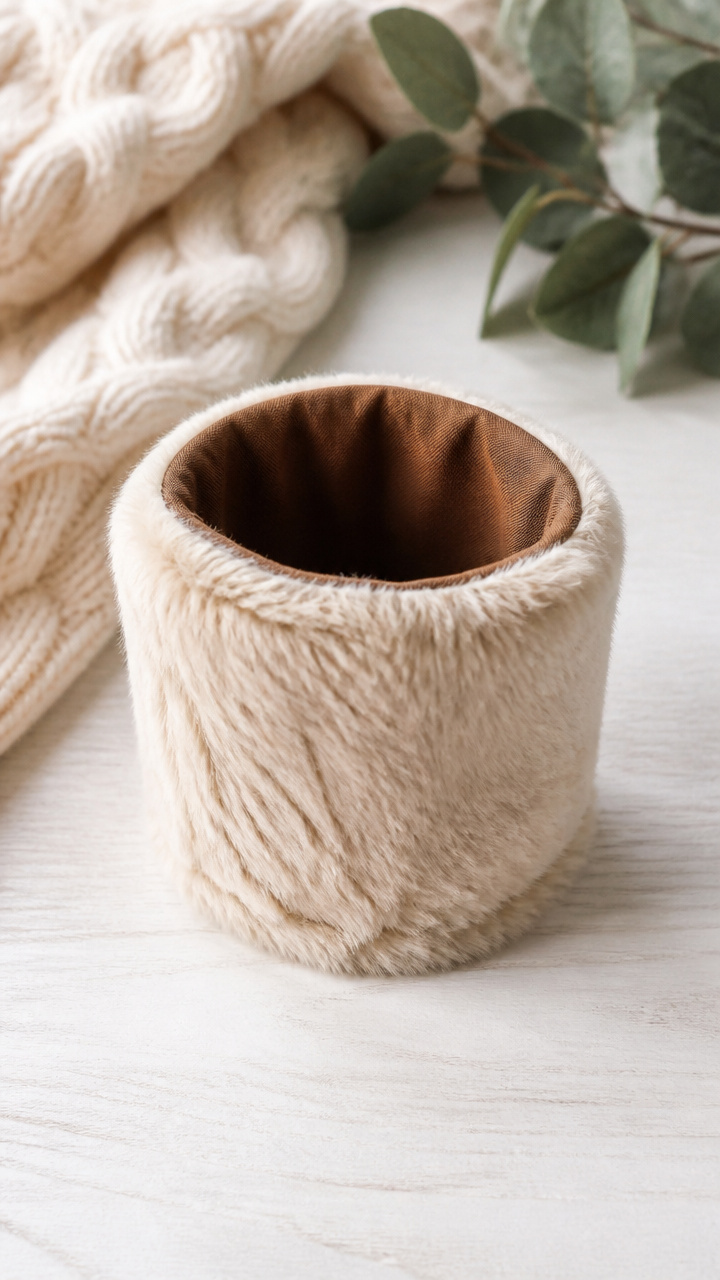
Plush sleeves cradle your coffee cup and keep hands warm during long mornings at the kitchen table. These slip-on cozies are soft to the touch and simple to stitch.
Materials Needed
- 1/4 yard cream faux fur fabric
- 1/4 yard brown cotton lining fabric
- Sewing machine
- Coordinating thread
- Scissors
- Flexible measuring tape
- Pins
How to Make It
- Measure and cut two rectangles: 4 inches wide by 8 inches long from faux fur and cotton lining.
- Place fabrics right sides together and pin along the 8-inch edges.
- Sew along both long edges with a 1/4 inch seam allowance using the sewing machine.
- Turn right side out, gently pushing corners with a blunt tool, and press lightly without flattening the fur.


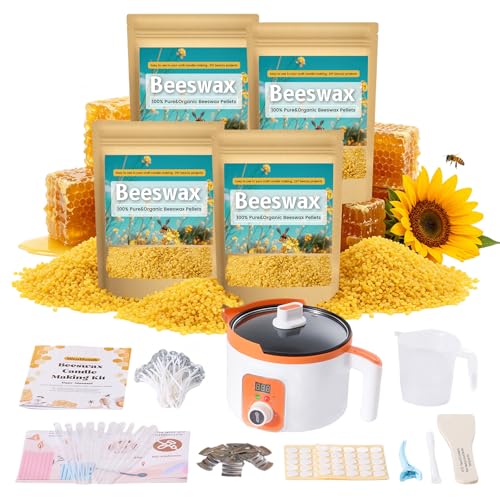
2. Beeswax Candle Dipping
Moderate
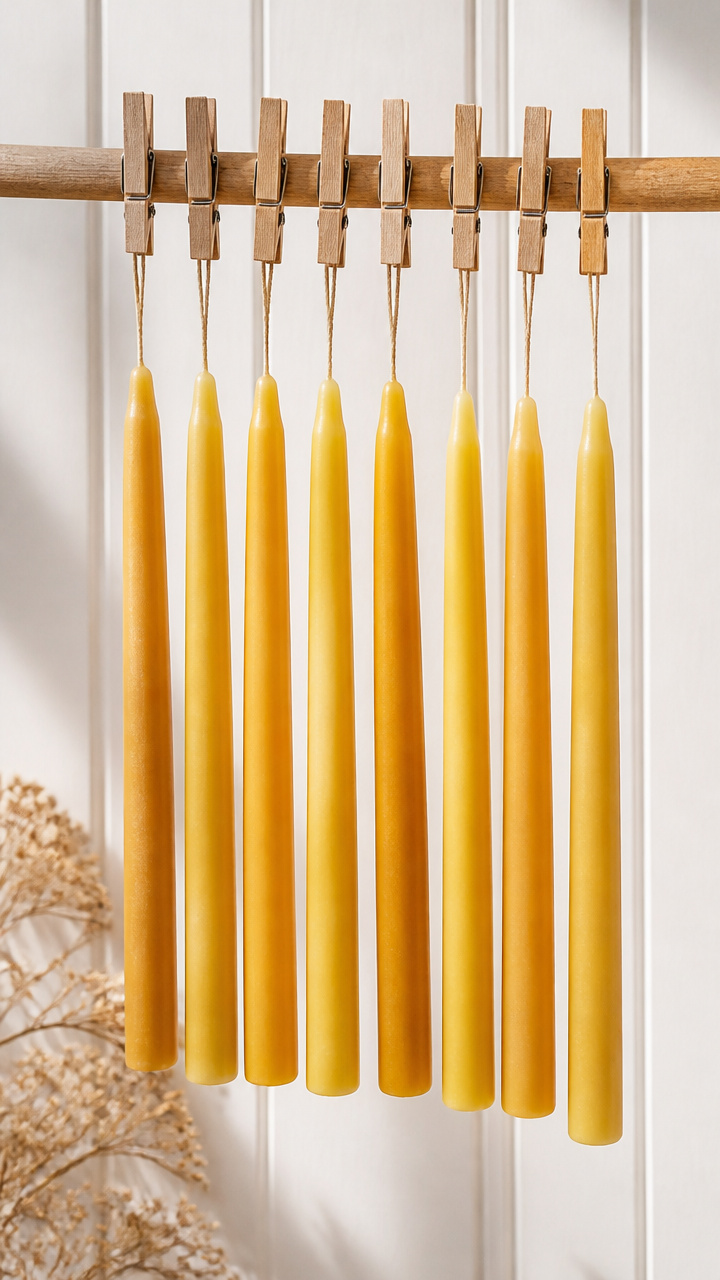
Thick tapers emerge from repeated dips in golden wax, their honeyed scent filling the air as they burn slowly through evening hours.
Materials Needed
- 1 pound beeswax pellets
- Double boiler setup
- 10 cotton wicking cords, 12 inches each
- Clothespins
- Wooden dowel
- Metal tray
- Kitchen scale
How to Make It
- Weigh 1 pound of beeswax pellets and melt them in the double boiler over medium heat until fully liquid.
- Clip one end of a wick to a clothespin and suspend it from the dowel laid across the tray.
- Dip the free end of the wick into the melted wax, submerging all but the top inch.
- Lift and let drip for 10 seconds, then hang to cool. Repeat every 5 minutes for 12 dips to build thickness.


3. Knit Window Draft Stopper
Moderate
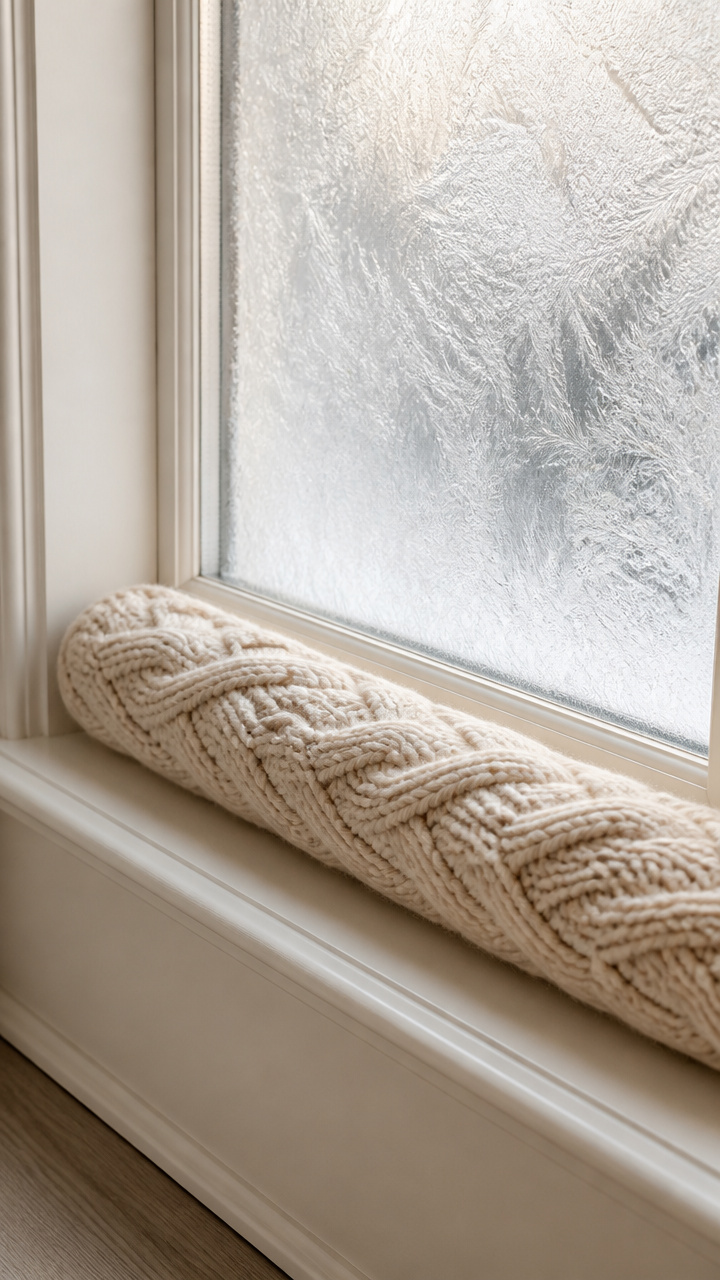
A thick, cable-knit tube lies snug against the sill, blocking icy air and adding handmade charm beneath frost-laced glass.
Materials Needed
- 200 yards bulky weight cream yarn
- US size 10 knitting needles
- Stitch marker
- Yarn needle
- Polyester fiberfill, 8 oz
How to Make It
- Cast on 24 stitches using the long-tail method on the size 10 needles.
- Knit in cable pattern: *K2, P2* for 6 repeats across row, slipping first stitch of each row purlwise.
- Work 40 rows, placing a stitch marker after row 20 to track progress.
- Bind off loosely, weave in ends with yarn needle, then sew short ends together and stuff firmly with fiberfill.


4. Pressed Flower Bookmarks
Easy
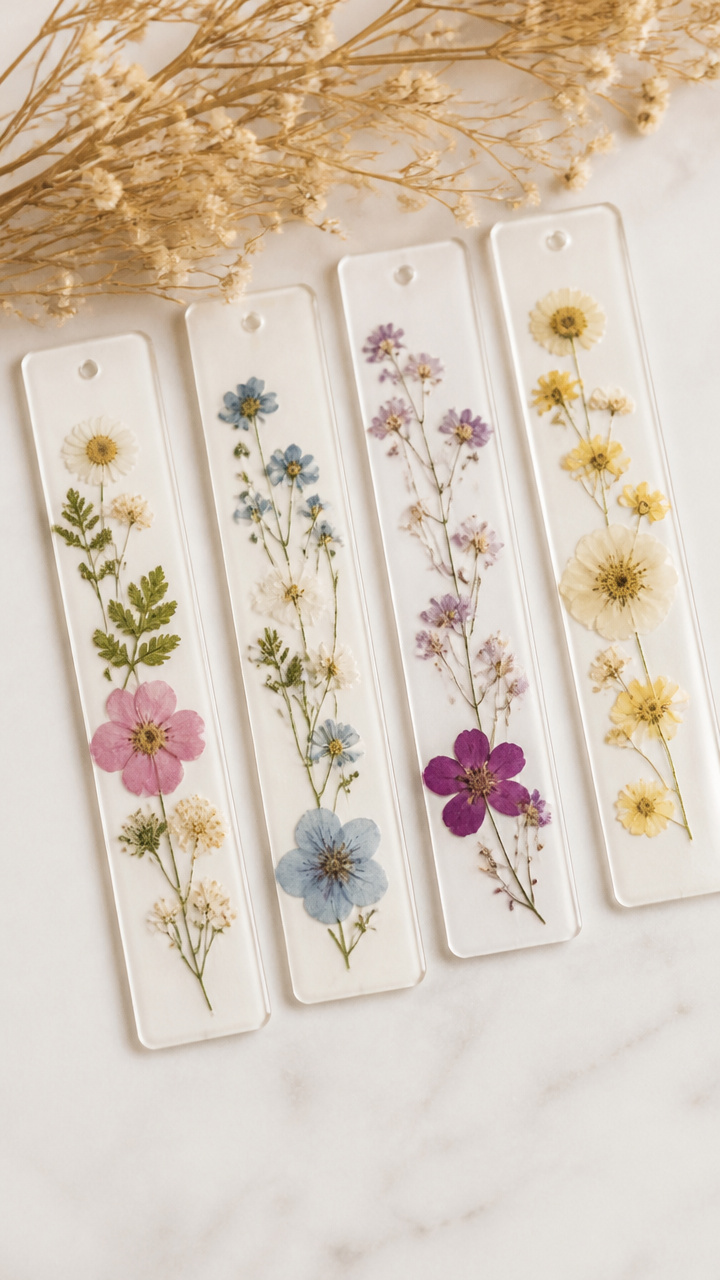
Delicate blooms suspended in clear laminate form slender keepsakes that mark your page with quiet beauty.
Materials Needed
- 10 dried pressed flowers
- Laminating pouches, A7 size
- Laminator
- Tweezers
- White cardstock, 2×6 inches
- Hole punch
- Ribbon, 1/8 inch wide, 12 inches
How to Make It
- Arrange one flower on the center of a cardstock piece using tweezers for precision.
- Slide the card into a laminating pouch and run it through the laminator on low heat.
- Once cooled, trim excess laminate closely around the bookmark with scissors.
- Punch a hole at the top and thread ribbon through, tying a small bow.


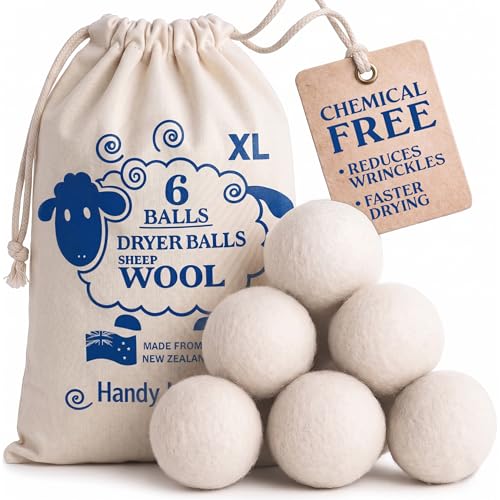
5. Wool Dryer Ball Embroidery
Easy
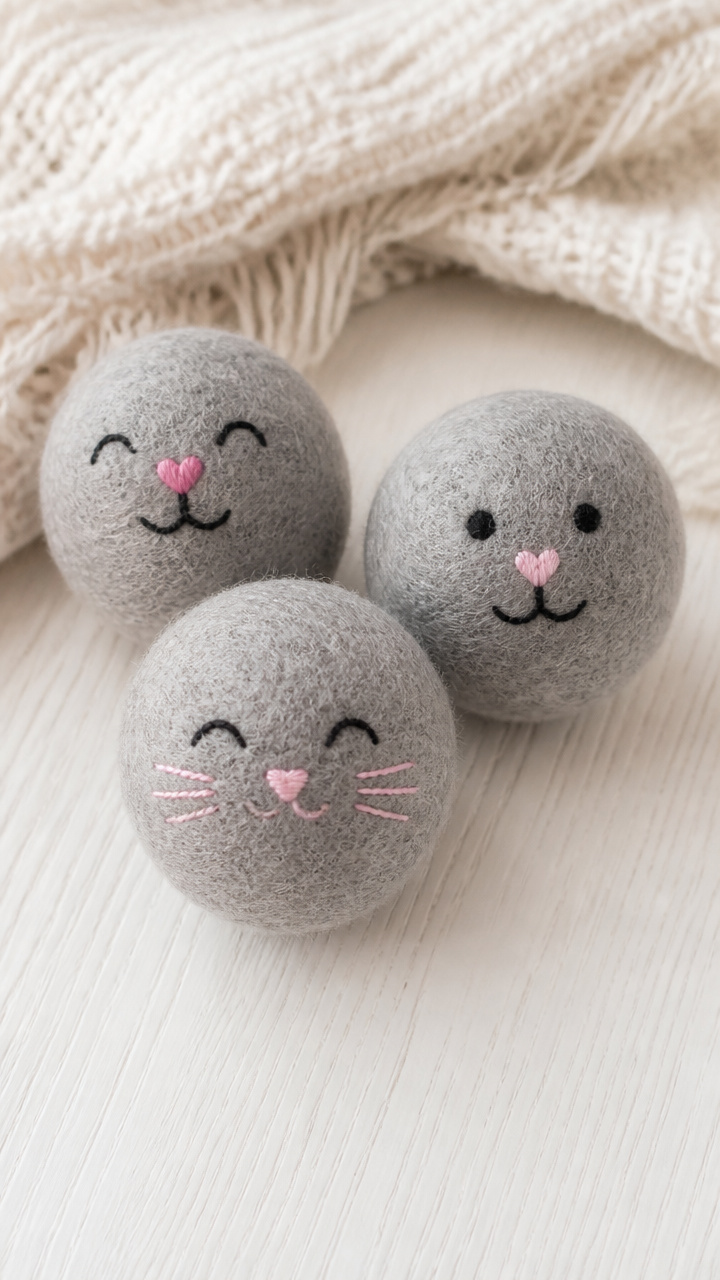
Whimsical faces stitched onto felt-covered balls add personality to laundry day and soften clothes naturally.
Materials Needed
- 3 wool dryer balls
- 1 sheet gray wool-blend felt
- Embroidery floss in black and pink
- Embroidery needle
- Fabric glue
- Scissors
- Fine-tip fabric marker
How to Make It
- Cut two small circles from felt for cheeks and glue them to the ball with fabric glue, letting dry 10 minutes.
- Use black floss and backstitch to embroider eyes and eyebrows onto the ball’s surface.
- Outline a small mouth with running stitch using same black floss.
- Add blush dots with pink floss using French knots, pulling tight before releasing the loop.


6. Cinnamon Stick Photo Display
Easy
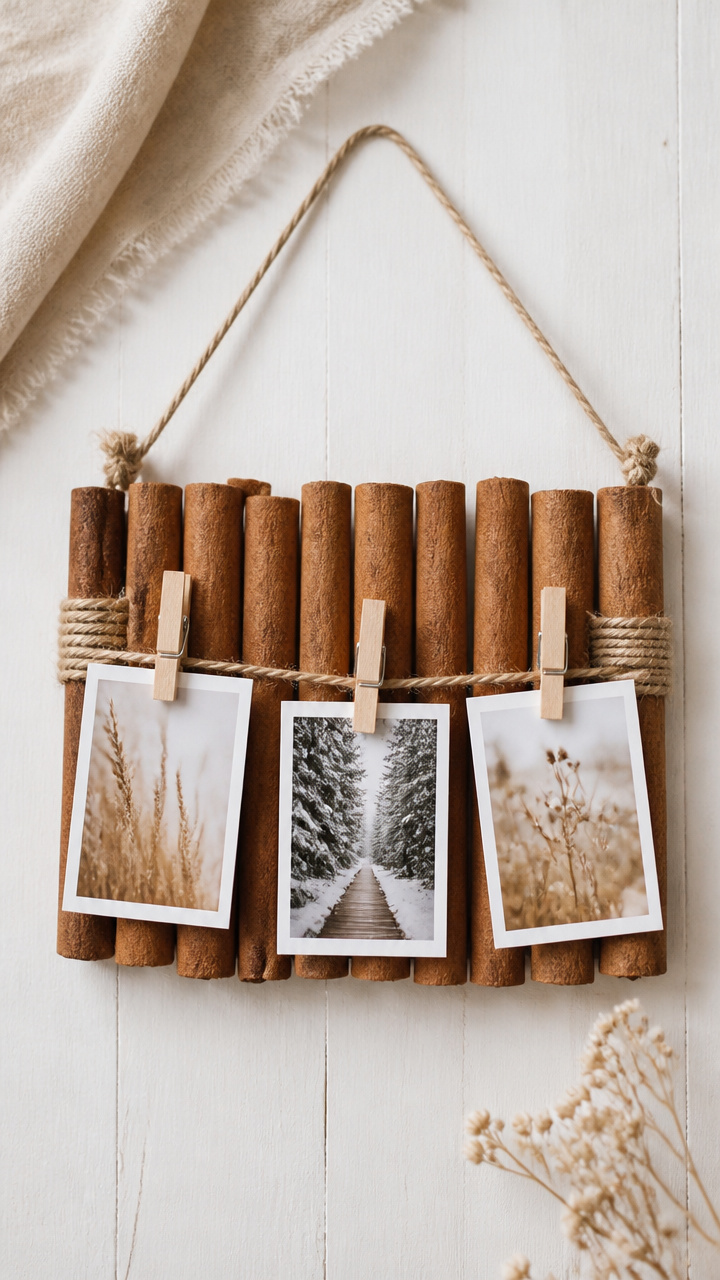
Mini wooden clips wrapped in spice-scented sticks hold favorite memories on twine, releasing warmth when touched.
Materials Needed
- 10 cinnamon sticks, 6 inches long
- 10 mini wooden clothespins
- Hot glue gun
- Glue sticks
- Jute twine, 6 feet
- Small nails, 2
- Hammer
How to Make It
- Lay a clothespin flat and apply hot glue along one side edge.
- Press a cinnamon stick flush against the glued edge and hold 15 seconds until set.
- Repeat for opposite side of the same clip, aligning sticks parallel.
- Hammer nails into wall 3 feet apart, drape twine between, and tie securely at both ends. Clip photos to sticks.


7. Hand-Stamped Tea Towels
Moderate
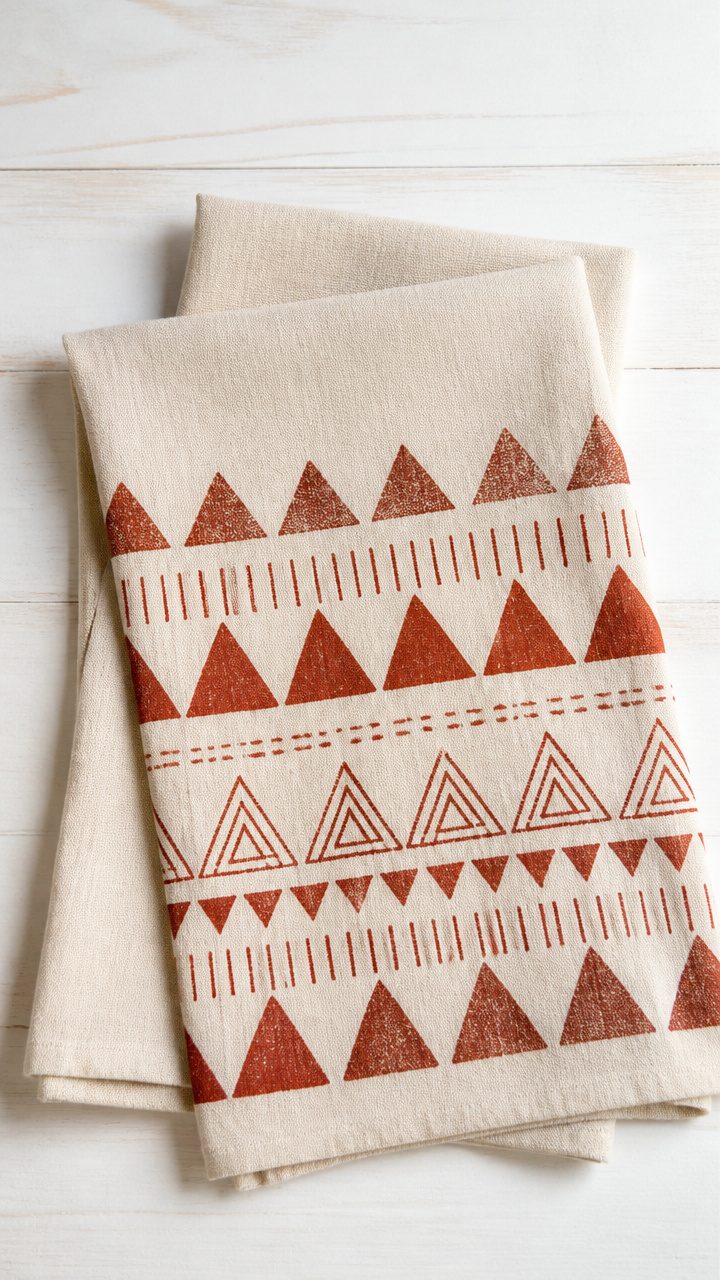
Crisp geometric patterns stamped in iron oxide ink become functional art in the kitchen, gaining character with each wash.
Materials Needed
- 2 unbleached cotton tea towels
- Iron oxide fabric paint
- Foam stamp blocks, triangle and line set
- Acrylic paint tray
- Brayer
- Painter's tape
- Iron
How to Make It
- Lay one towel flat and secure edges with painter's tape to prevent shifting.
- Pour a thin line of fabric paint onto the tray and roll brayer evenly through it.
- Press stamp firmly into ink, then transfer to towel with even pressure, leaving 2 inch gaps.
- Let dry 4 hours, then heat-set with iron on cotton setting for 3 minutes per section.
8. Braided Leather Keychain
Moderate
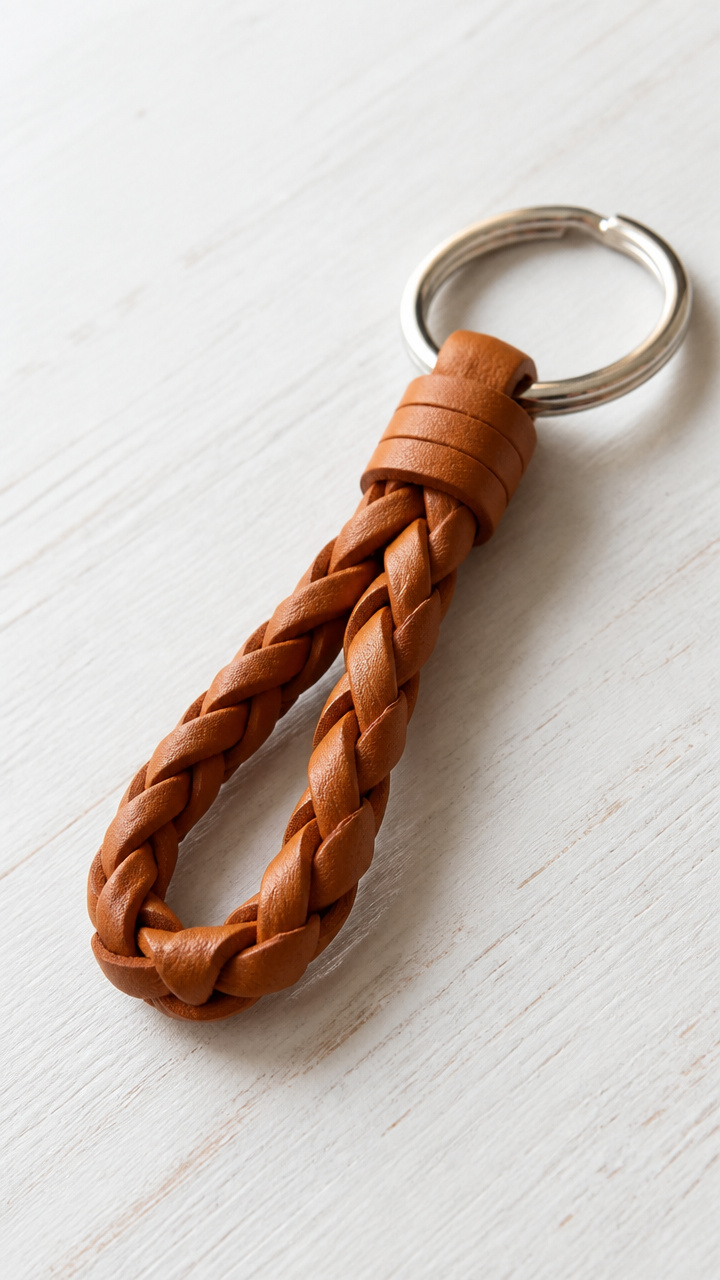
Three strips of supple vegetable-tanned leather twist into a compact loop that ages beautifully with daily use.
Materials Needed
- 3 leather strips, 1/4 inch wide by 10 inches long
- Leather hole punch
- Key ring, 1 inch diameter
- Edge beveler
- Rubbing alcohol wipe
How to Make It
- Align three leather strips at one end and clamp briefly with binder clip.
- Begin a tight braid, keeping tension even, and braid full length of 10 inches.
- Use edge beveler to smooth rough sides of each strip before braiding.
- Punch hole at braid end with leather punch and attach key ring by threading through hole.


9. Salt Dough Ornament Molding
Easy
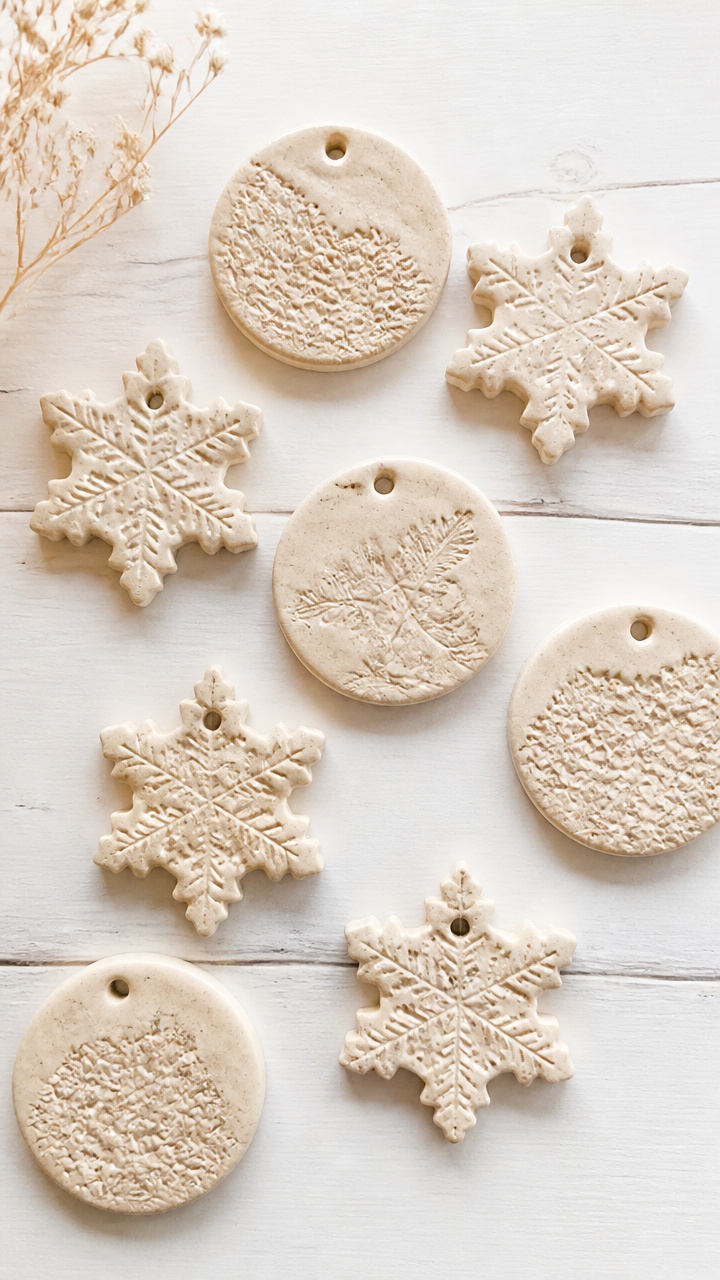
Simple shapes imprinted with lace or leaves bake into rustic decorations that hang near radiators, giving off a clean, mineral scent.
Materials Needed
- 2 cups all-purpose flour
- 1 cup table salt
- 3/4 cup water
- Rolling pin
- Cookie cutters, snowflake and circle
- Straw
- Baking sheet
- Oven
How to Make It
- Mix flour, salt, and water in a bowl until dough forms a smooth ball, kneading 3 minutes by hand.
- Roll dough to 1/4 inch thickness on floured surface using rolling pin.
- Cut shapes with cookie cutters and press lace into surface for texture.
- Poke hole near top edge with straw, then bake on baking sheet at 250°F for 2 hours until hard.


10. Macramé Plant Hanger
Moderate
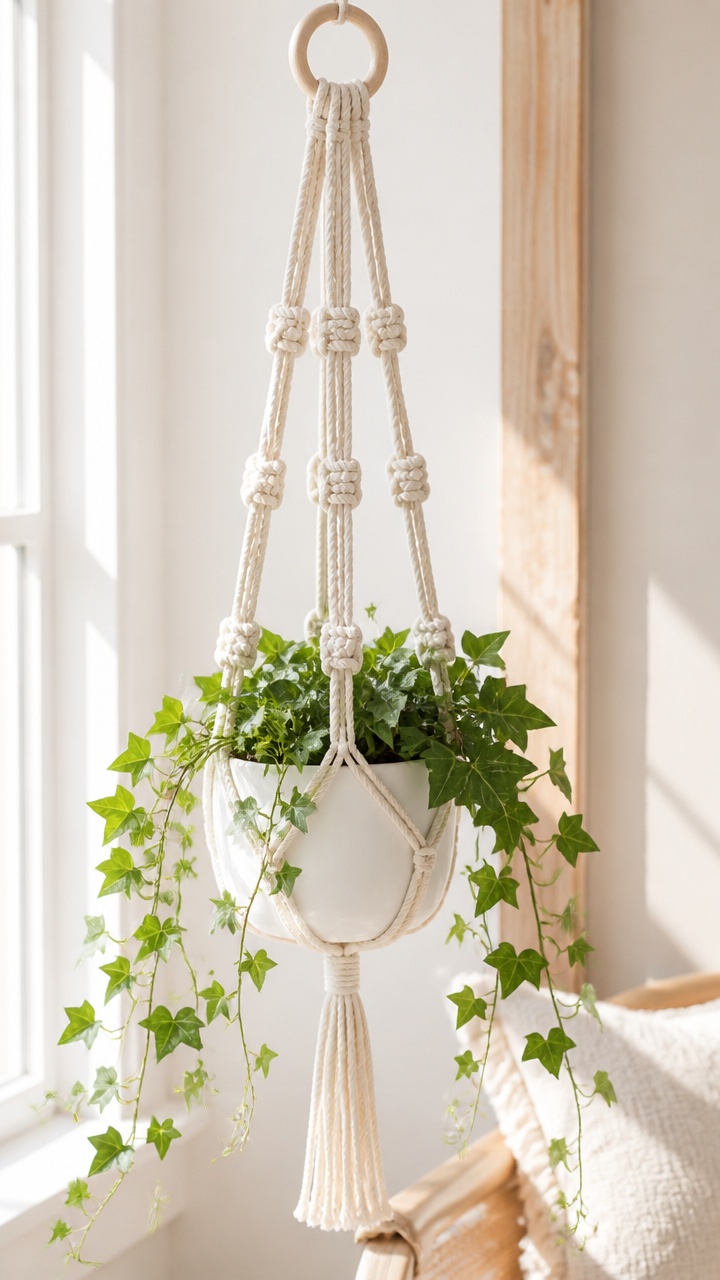
Four sets of square knots cascade downward, cradling a small ceramic pot filled with trailing ivy near a sunlit window.
Materials Needed
- 4 cords, 4mm cotton rope, 8 feet each
- 1 wooden ring, 2 inches diameter
- Scissors
- Measuring tape
- Plant pot, 4 inch diameter
How to Make It
- Fold each cord in half and attach to the wooden ring using lark’s head knots, resulting in 8 hanging strands.
- Measure 6 inches down from ring and group cords into four pairs.
- Tie a square knot with each pair: left cord over center, right cord under and through.
- Measure another 6 inches down and tie a second square knot with all eight cords grouped together.


11. Candle-Flecked Paper Lanterns
Easy
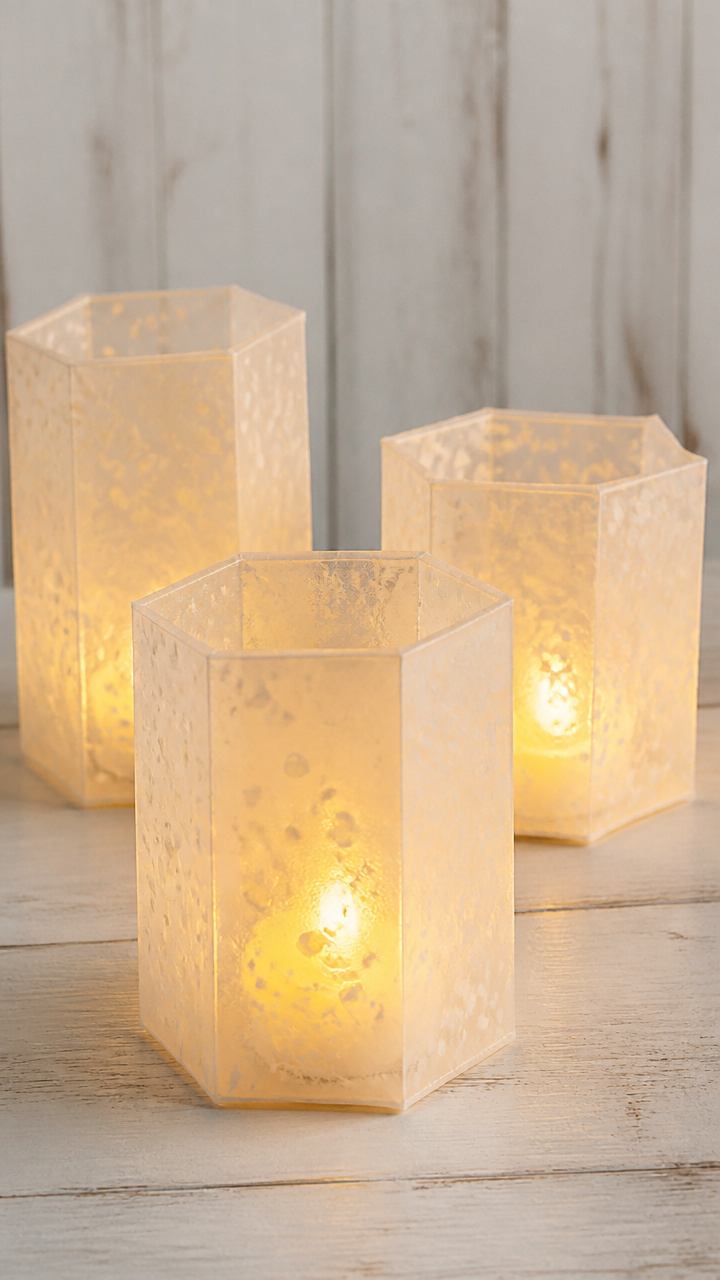
Translucent vellum bags glow with tiny painted wax dots that melt slightly when lit, creating soft, shifting shadows.
Materials Needed
- 4 vellum paper bags, 6×9 inches
- White candle stub
- Paintbrush
- Tea light LED candles
- Ruler
- Pencil
How to Make It
- Shave small bits of wax from the candle stub using a butter knife.
- Mix shavings with 1 tsp water and brush solution onto vellum bag in random 1/4 inch dots.
- Let dry completely for 1 hour before handling.
- Place LED tea light inside and fold top edge down once to secure.


12. Woven Birch Bark Coasters
Advanced
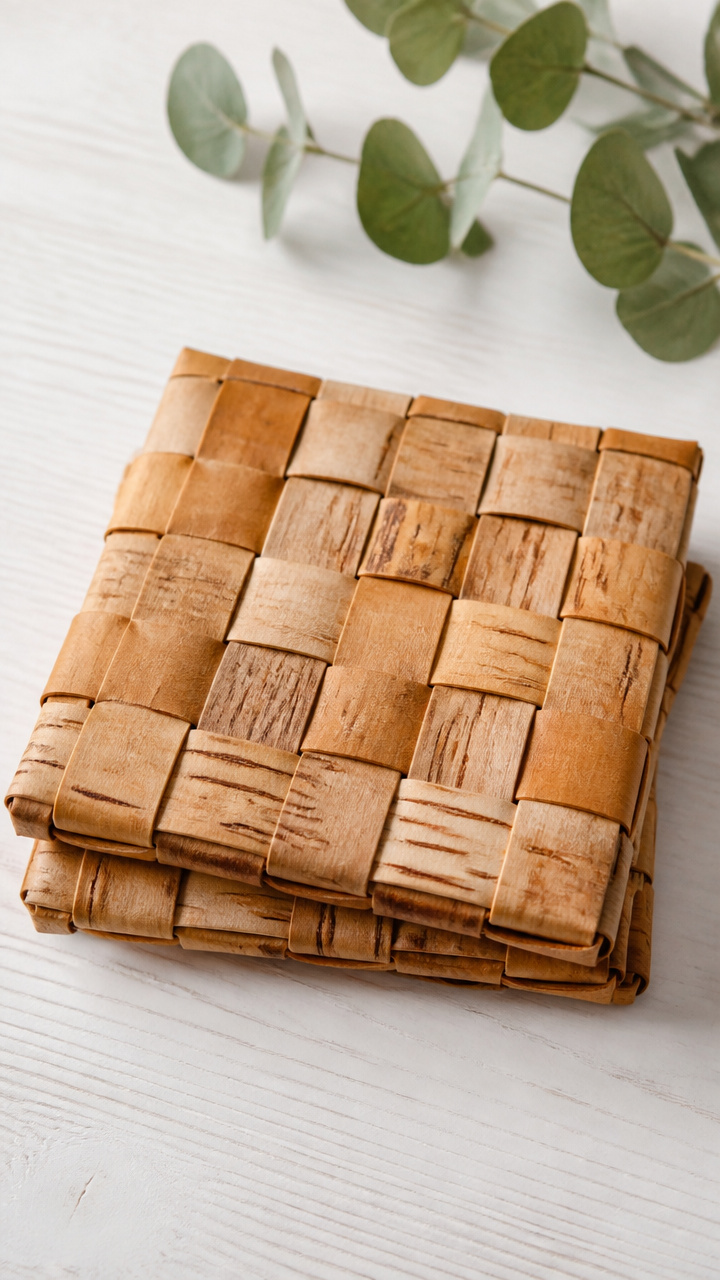
Thin strips of sustainably harvested bark interlace into rigid mats that protect surfaces and bring forest texture indoors.
Materials Needed
- 10 birch bark sheets, 6×6 inches
- Craft knife
- Cutting mat
- Ruler
- Clear-drying wood glue
- Clamps, 4
- Sandpaper, 220 grit
How to Make It
- Cut each bark sheet into 1/2 inch wide strips using craft knife and ruler on cutting mat.
- Lay five strips vertically on work surface, spaced 1/2 inch apart.
- Weave five horizontal strips over and under verticals, applying wood glue at each intersection.
- Clamp flat under board for 2 hours, then sand edges smooth with sandpaper.


13. Patchwork Pillow Cover
Moderate
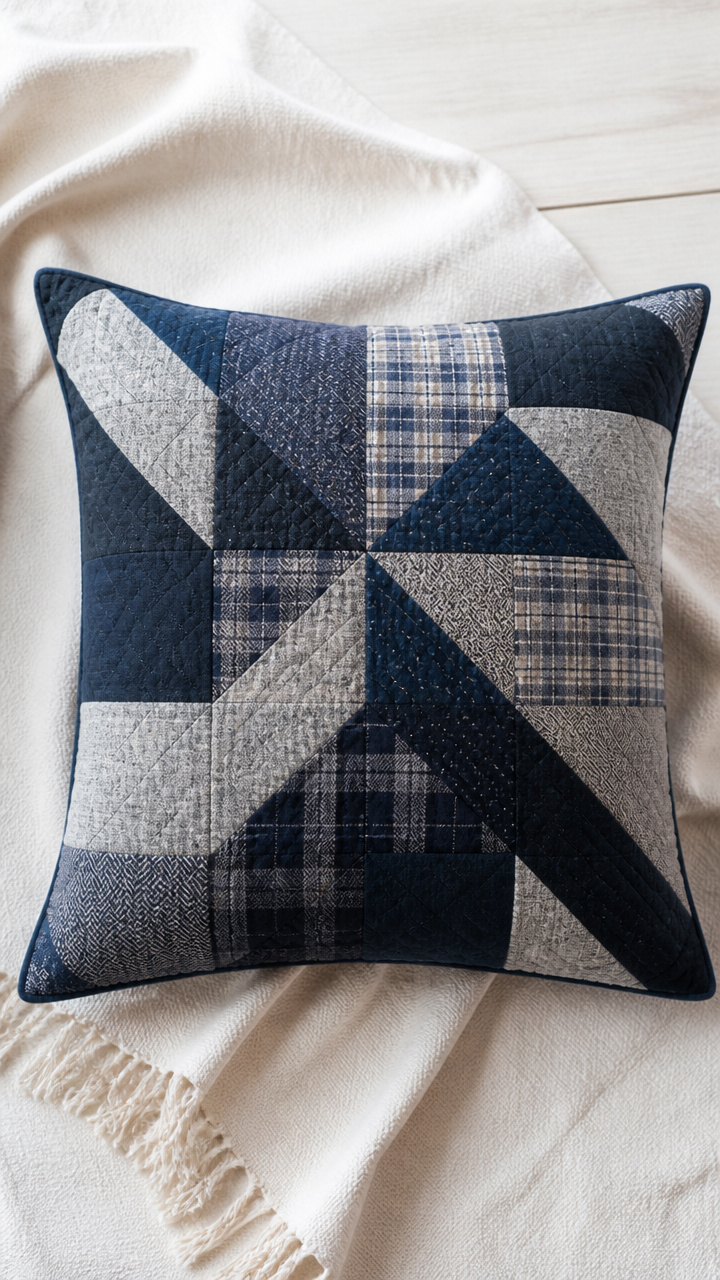
Scraps of flannel in muted blues and grays stitch into a quilted face that feels gentle against skin at nap time.
Materials Needed
- 1/2 yard navy flannel
- 1/2 yard heather gray flannel
- Sewing machine
- Thread
- Rotary cutter
- Self-healing mat
- Quilting ruler
- 16 inch pillow insert
How to Make It
- Cut two 17 inch squares from each flannel color using rotary cutter and ruler on mat.
- Layer one navy and one gray square right sides together and sew around edges with 1/2 inch seam.
- Turn right side out and press flat, then topstitch 1/4 inch from edge to secure layers.
- Insert pillow form through open seam, then hand-stitch opening closed with invisible stitch.


14. Resin Pinecone Ornaments
Advanced
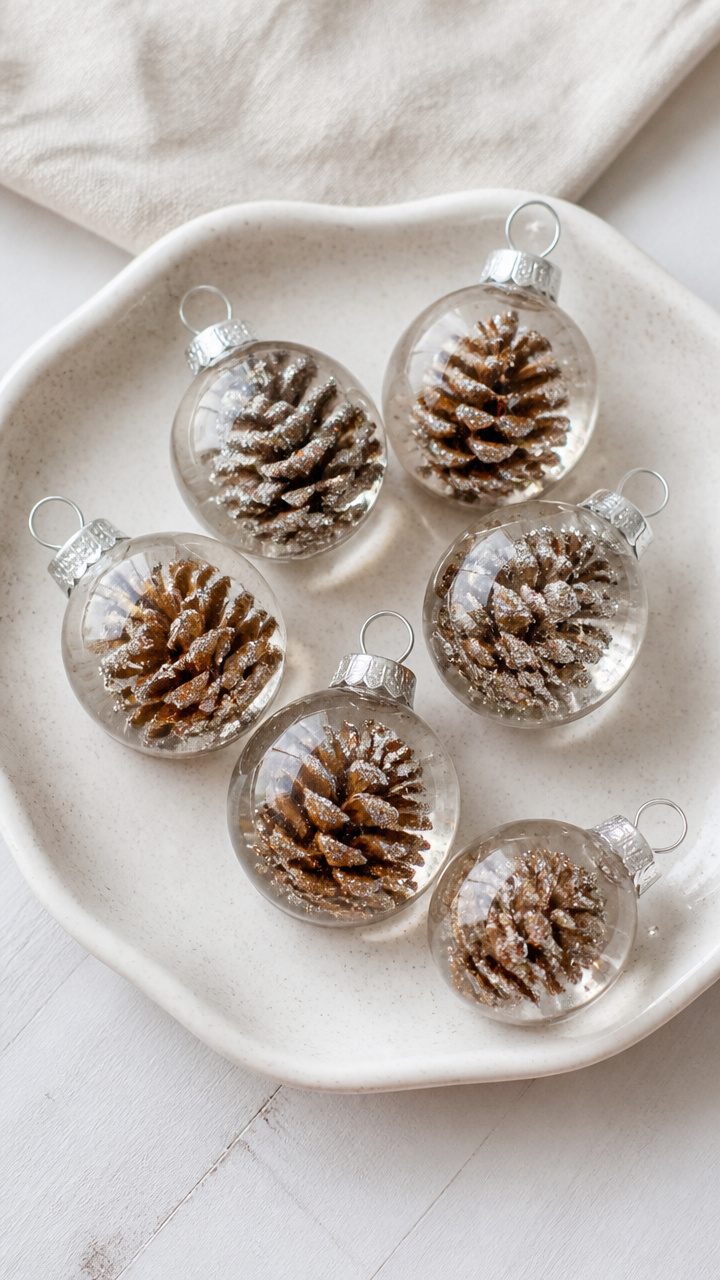
Glossy domes encase real pinecones dusted with silver mica, turning seasonal finds into sparkling shelf accents.
Materials Needed
- 3 small pinecones
- Epoxy resin kit, 8 oz
- Silicone molds, 2 inch dome
- Disposable gloves
- Stir sticks
- Measuring cups
- Fine glitter, silver
How to Make It
- Clean pinecones with dry cloth and place upright in silicone molds.
- Mix resin according to kit instructions using measuring cups and stir sticks.
- Sprinkle silver glitter onto each pinecone tip before pouring resin to cover completely.
- Let cure 24 hours in dust-free area, then pop out of molds gently with fingers.


15. Loom-Knit Infinity Scarf
Moderate
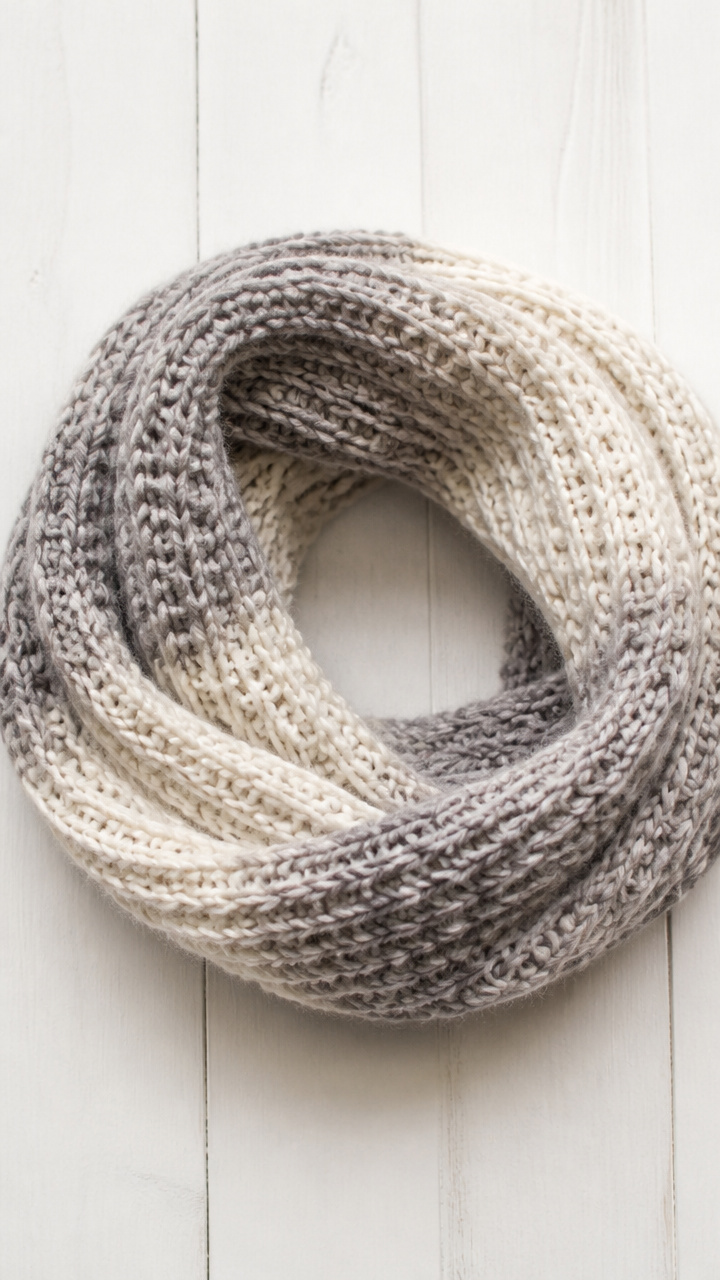
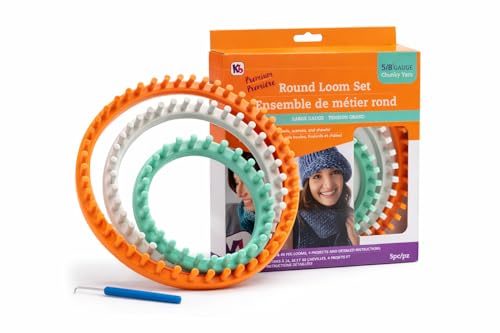
Lofty loops of merino wool stretch across a round loom, forming a seamless loop that drapes softly around the neck.
Materials Needed
- Round knitting loom, 36 peg
- Merino wool yarn, 200 yards
- Loom hook
- Yarn needle
- Scissors
How to Make It
- Anchor yarn to center post and wrap clockwise around each peg once.
- Wrap a second complete pass, then use loom hook to pull bottom loop over top loop on each peg.
- Continue knitting row by row, maintaining even tension, for 60 rows total.
- Bind off by lifting each loop over next, cut yarn, and weave tail through last loop with yarn needle.


16. Clay Scented Drawer Charms
Easy
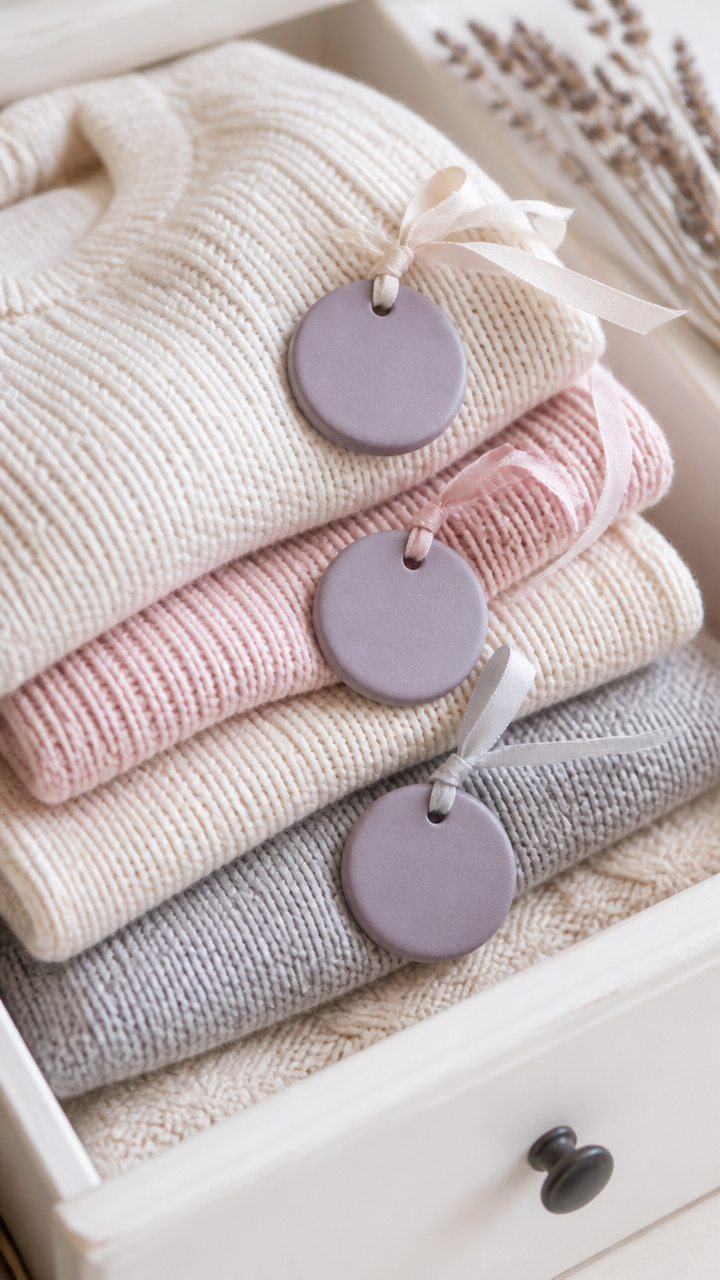
Tiny lavender-scented discs molded from air-dry clay rest among folded sweaters, releasing fragrance with every reach.
Materials Needed
- 2 oz lavender-scented air-dry clay
- Clay roller
- Circular cookie cutter, 1 inch
- Toothpick
- Essential oil, lavender, 3 drops
- Ribbon, 6 inch pieces, 5
How to Make It
- Knead clay until pliable, then roll to 1/8 inch thickness using clay roller.
- Cut five circles with cookie cutter and press toothpick through top edge to make a hole.
- Add 1 drop of lavender oil to each disc and let sit 1 minute to absorb.
- Let dry 24 hours, then thread ribbon through hole and tie in small bow.


17. Cross-Stitch Firewood Labels
Moderate
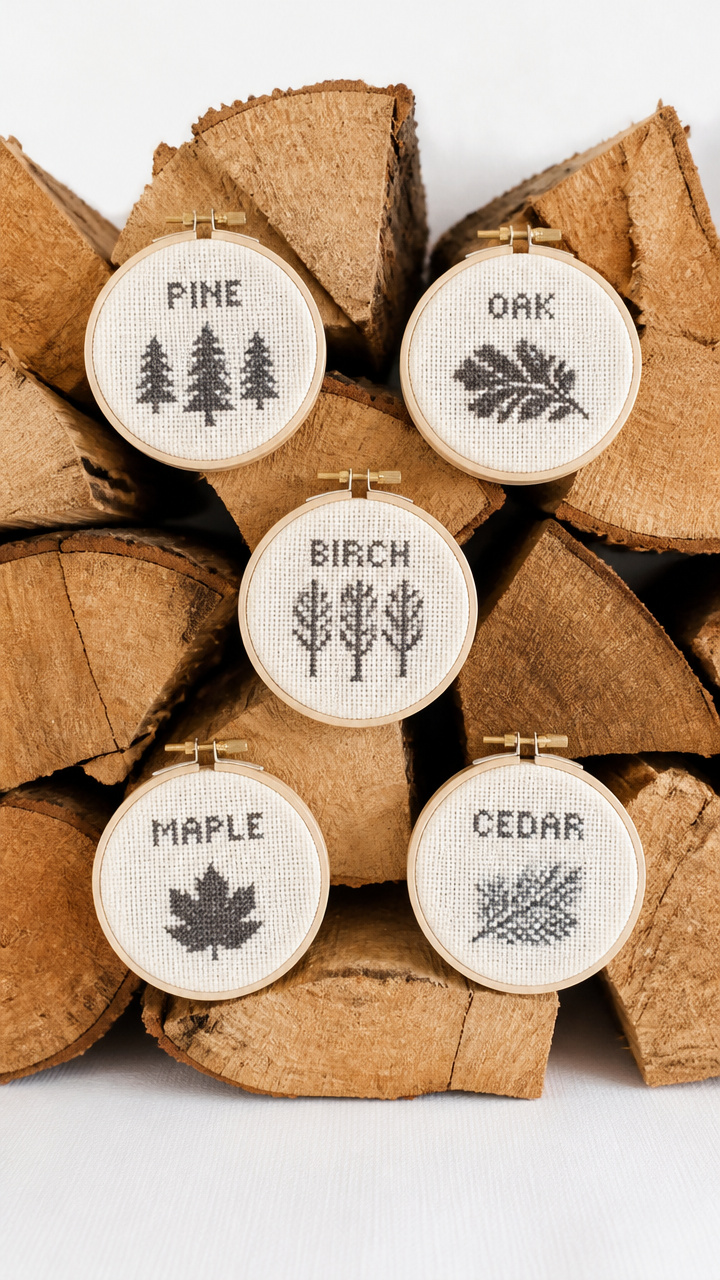
Mini hoops frame tiny X-stitched words like 'oak' and 'birch' that tag stacked logs behind the stove.
Materials Needed
- 5 embroidery hoops, 2 inch
- Aida cloth, 5 inch square
- Embroidery floss in charcoal gray
- Needle
- Scissors
- Water-soluble pen
How to Make It
- Cut Aida cloth into five 3 inch squares and hoop tightly.
- Write 'oak', 'birch', 'maple', 'pine', 'cedar' centered with water-soluble pen.
- Stitch letters using cross-stitch technique, working one diagonal at a time.
- Remove from hoop, trim excess cloth to 1/4 inch, and glue back to stabilize.

18. Felted Wool Faux Succulents
Advanced
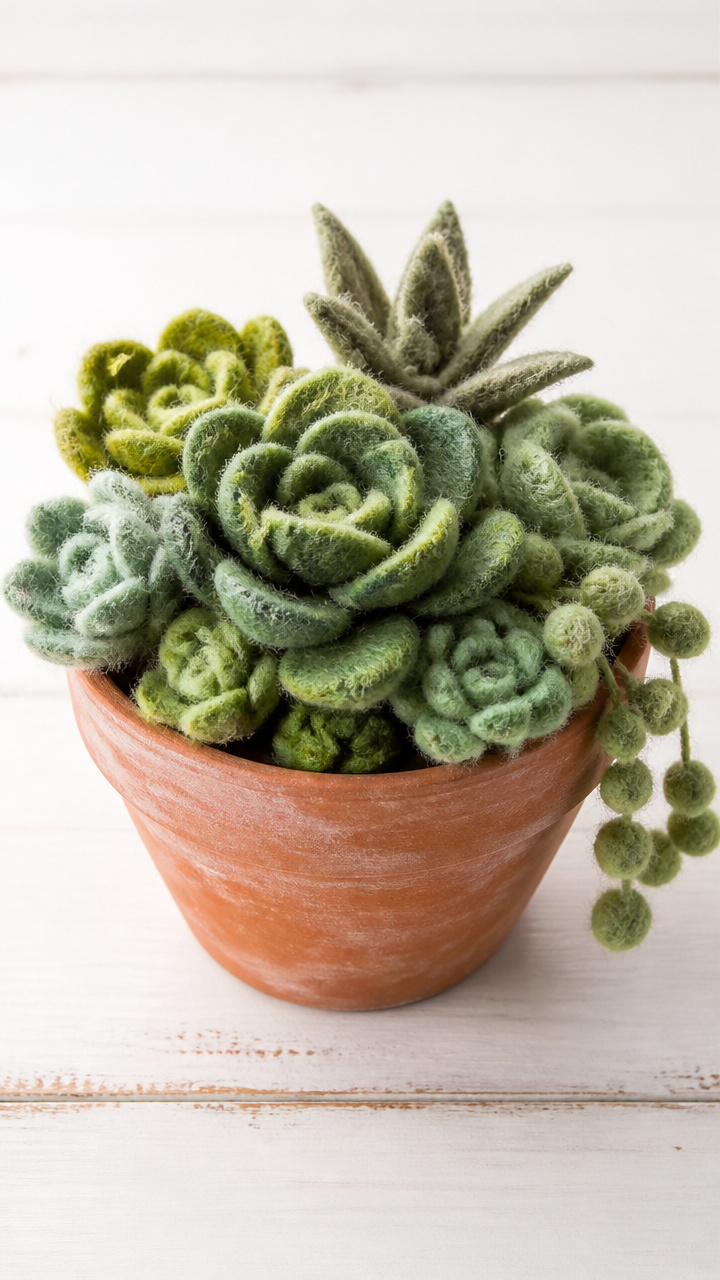
Layers of roving teased and needled into rosettes mimic real plants without needing sunlight or watering.
Materials Needed
- Green wool roving, 1 oz
- Felting needle, size 38
- Foam pad
- Tweezers
- Small terracotta pot, 2 inch
- Hot glue gun
How to Make It
- Pull small tufts of roving and shape into loose spiral with tweezers on foam pad.
- Repeatedly poke with felting needle, rotating piece often, until fibers compact into firm rosette.
- Build three layers, nesting smaller on top of larger, needling edges to fuse.
- Glue base of final succulent to pot bottom using hot glue.
19. Twine-Wrapped Votive Holders
Easy
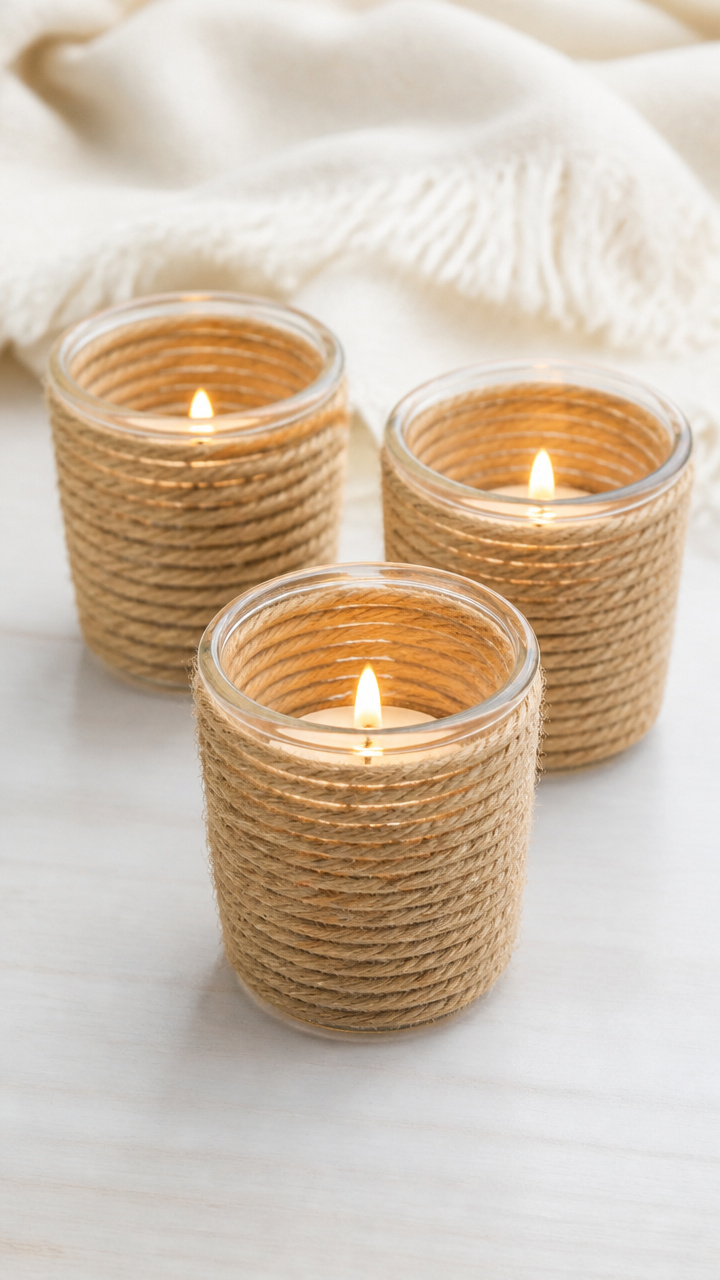
Clear glass cups gain earthy texture as jute spirals up the side, held with discreet dabs of glue between turns.
Materials Needed
- 4 glass votive holders
- Jute twine, 50 feet
- White craft glue
- Paintbrush
- Scissors
How to Make It
- Apply small dot of glue near base of glass with paintbrush.
- Press twine end to glue and hold 10 seconds until set.
- Wrap twine tightly upward in close spirals, adding new glue dots every inch.
- Cut twine at top and secure end with another dab of glue, trimming excess.
20. Stenciled Doormat
Moderate

Bold lettering cut from freezer paper stamps 'welcome' in weather-resistant paint that withstands boots and snow.
Materials Needed
- Coir doormat
- Freezer paper, 8×10 inches
- X-Acto knife
- Cutting mat
- Acrylic paint, outdoor formula, black
- Stencil brush
- Iron
How to Make It
- Draw 'welcome' in block letters on dull side of freezer paper and cut out with X-Acto knife on mat.
- Place shiny side down on doormat and press with iron on cotton setting to adhere stencil.
- Dip stencil brush in black paint and dab over opening, building color in thin layers.
- Peel off stencil while paint is still tacky and let dry 3 hours before use.


21. Quilled Snowflake Art
Advanced
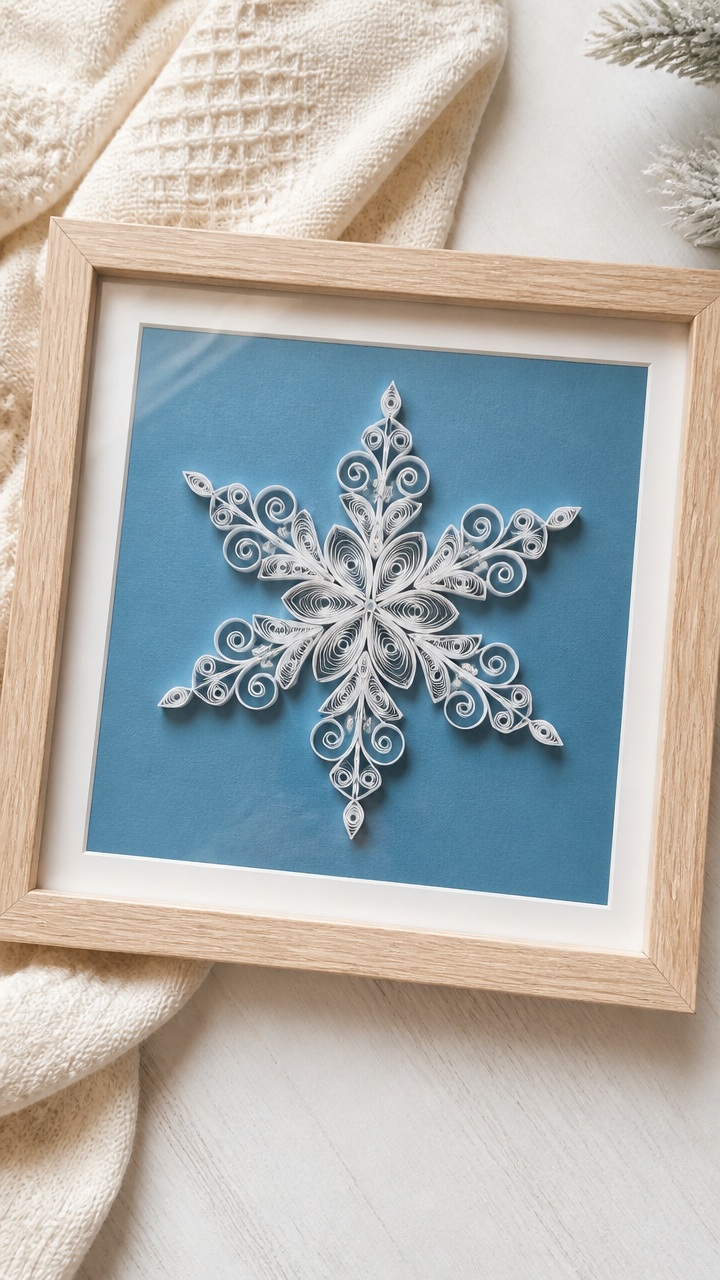
Tightly coiled paper strips form six-pointed designs framed under glass, catching light like real ice crystals.
Materials Needed
- Quilling paper strips, 1/4 inch, white, 20
- Slotted quilling tool
- Tweezers
- Clear-drying glue
- Cardstock, 5×7 inch
- Frame, 8×10 inch
How to Make It
- Insert one end of strip into slotted tool and roll tightly, then release into loose coil.
- Pinch coil at two opposite points to form teardrop, then glue tip to hold.
- Create six identical teardrops and arrange radially around center point on cardstock.
- Glue each shape in place with tiny dots, let dry 30 minutes, then frame under glass.
22. Linen Napkin Hemming
Moderate
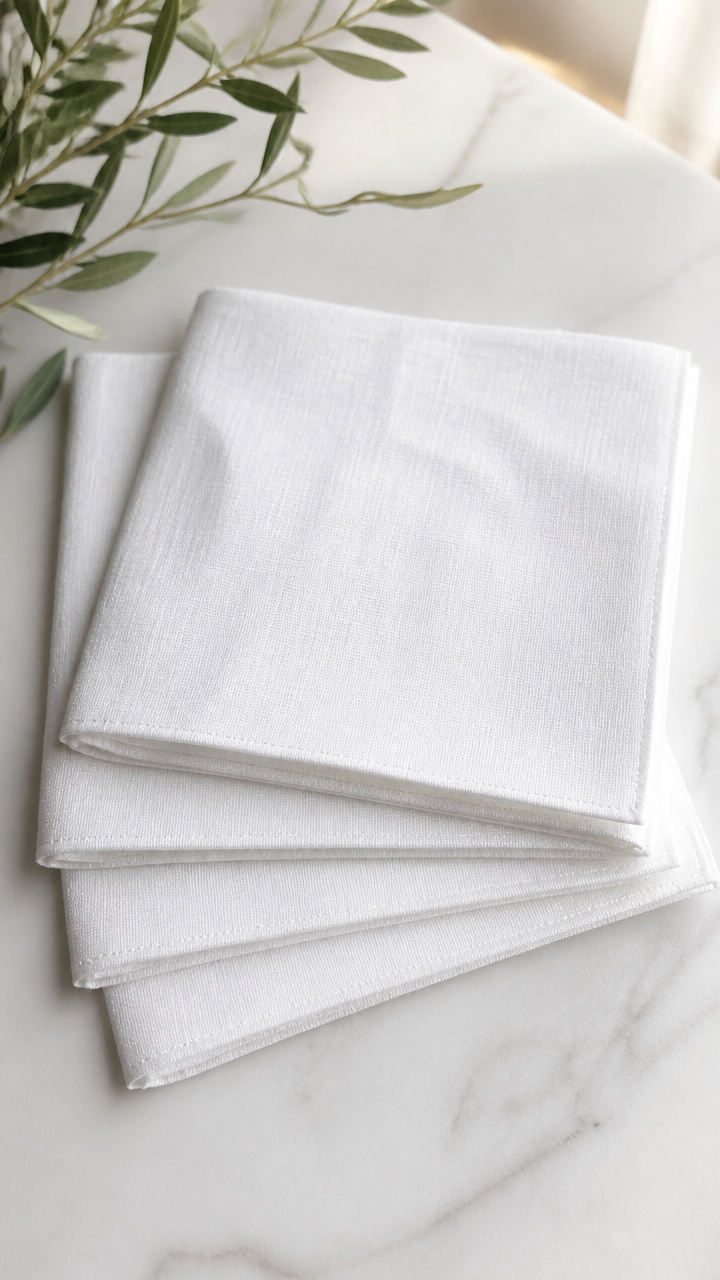
Crisp edges folded and stitched by hand turn plain squares into elegant tableware for winter dinners.
Materials Needed
- 4 linen squares, 18×18 inches
- White thread
- Needle
- Iron
- Straight pins
- Seam gauge
How to Make It
- Press each linen square flat with iron, then fold 1/4 inch hem on all sides and pin.
- Use seam gauge to ensure consistent fold width around entire edge.
- Thread needle and secure thread with knot, then sew blind hem stitch around perimeter.
- Knot thread at end and hide tail within fold, repeating for all four napkins.


23. Copper Wire Eucalyptus
Advanced
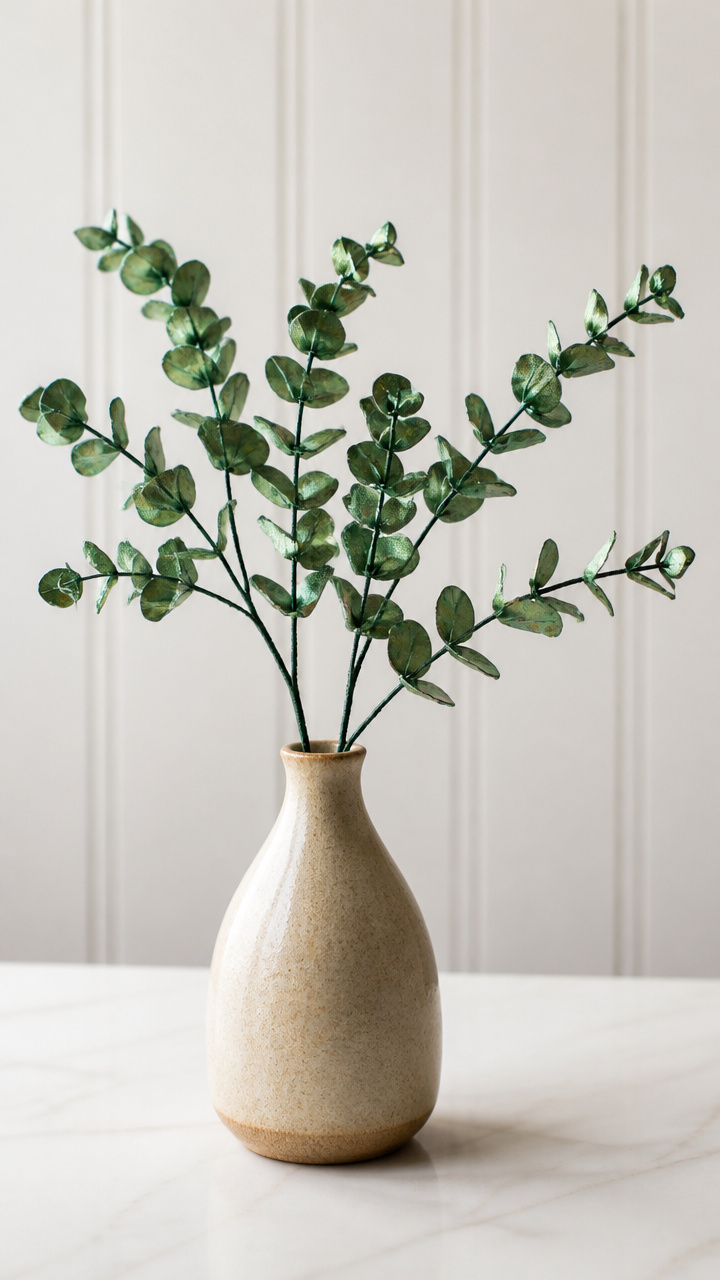
Twisted stems support sculpted leaves that curl gently above a vase, mimicking fresh-cut greenery year-round.
Materials Needed
- 24 gauge green-coated copper wire
- Floral snips
- Eucalyptus leaf template
- Pencil
- Eraser
- Vase, narrow neck
How to Make It
- Cut 12 wire pieces, 8 inches long, and bundle five together for main stem.
- Twist wires tightly at one end to form 3 inch stem base.
- Shape individual leaves by bending wire into oval curves with fingertips, following template lines.
- Attach three leaves per stem by wrapping base around main wire, spacing 1 inch apart, and place in vase.


24. Indigo Shibori Napkins
Advanced
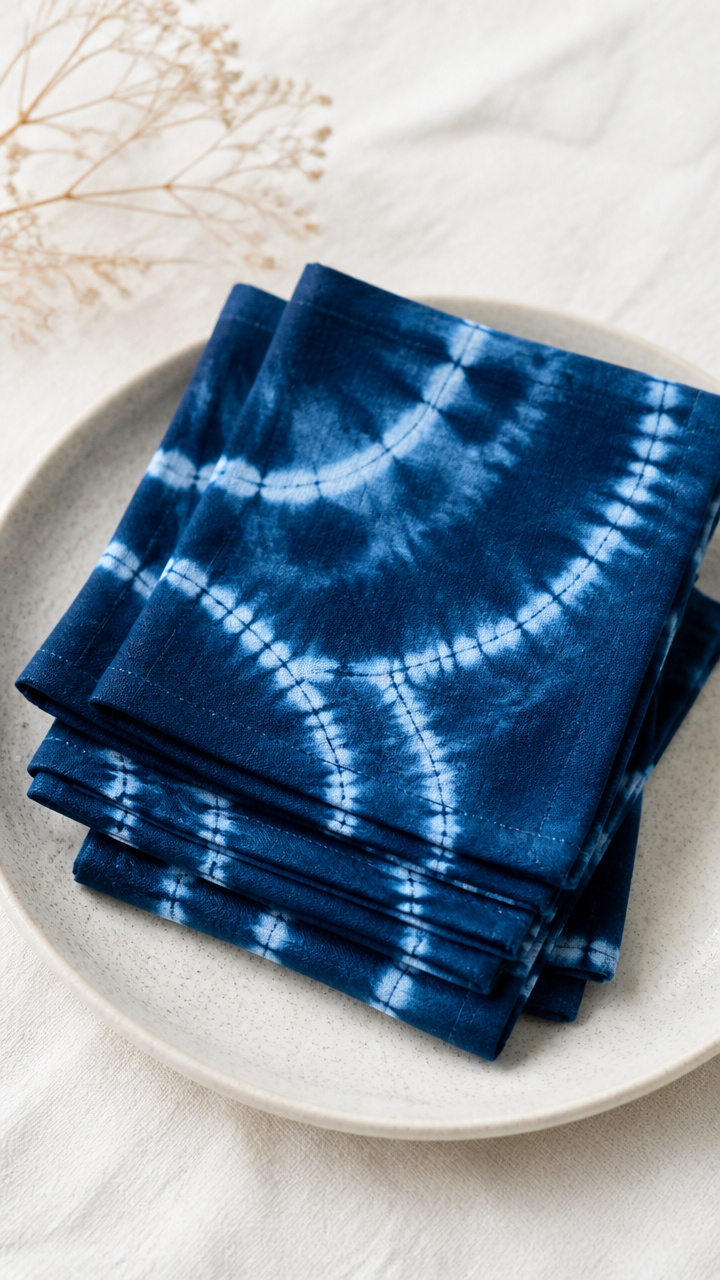
Deep blue folds ripple across cotton squares bound with rubber bands, revealing organic patterns after dye soak.
Materials Needed
- 4 cotton napkins, 16×16 inches
- Indigo dye kit
- Large plastic bin
- Rubber bands, 10
- Plastic gloves
- Wooden spoon
- Synthetic soda ash fixer
How to Make It
- Soak napkins in soda ash solution for 20 minutes, then wring thoroughly.
- Fold each diagonally into triangle, then accordion pleat every 1 inch and bind with rubber bands.
- Mix indigo dye in plastic bin according to kit instructions and stir with wooden spoon.
- Submerge napkins for 10 minutes, agitating gently, then unfold and rinse until water runs clear.


25. Mug Rug Crochet
Easy
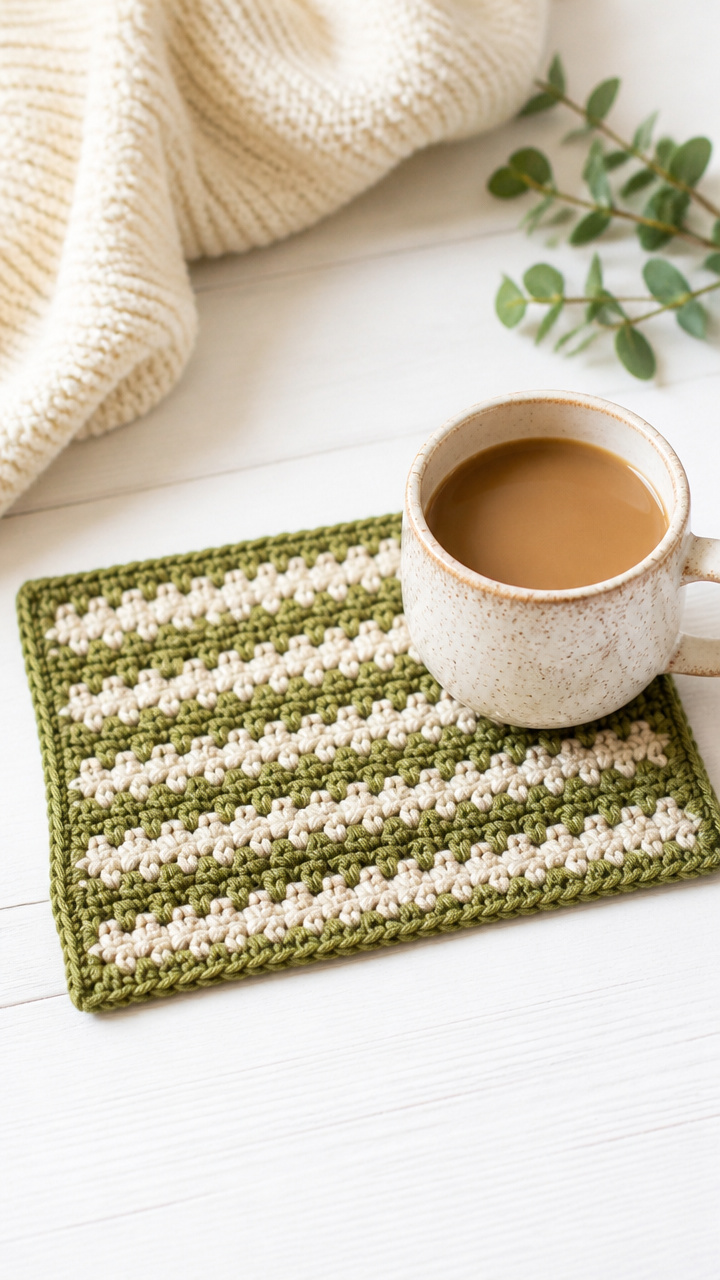
A miniature placemat in moss green and cream stripes holds a steaming mug and protects the desk from rings.
Materials Needed
- Worsted weight yarn in moss green and cream
- Size H crochet hook
- Scissors
- Yarn needle
How to Make It
- Chain 20 with moss green yarn using the crochet hook.
- Single crochet in second chain from hook and each chain across, turning at end of row.
- Alternate colors every two rows by cutting and joining new strand at corner, carrying tail up side.
- Work 12 rows total, fasten off, and weave in all ends with yarn needle.


Grab your favorite yarn, dig out that jar of buttons, or light a candle while you plan your next make. Each small project adds warmth that lasts far beyond the season.