23 Winter Art Projects for Elementary Classrooms

Snowflakes drift past classroom windows, mittens pile up on hooks, and the air hums with quiet excitement. This season brings a chance to slow down, create, and fill the room with handmade warmth.
These projects invite color, texture, and imagination into your days. Each one is built for real classrooms, with clear steps and materials you can gather without stress.
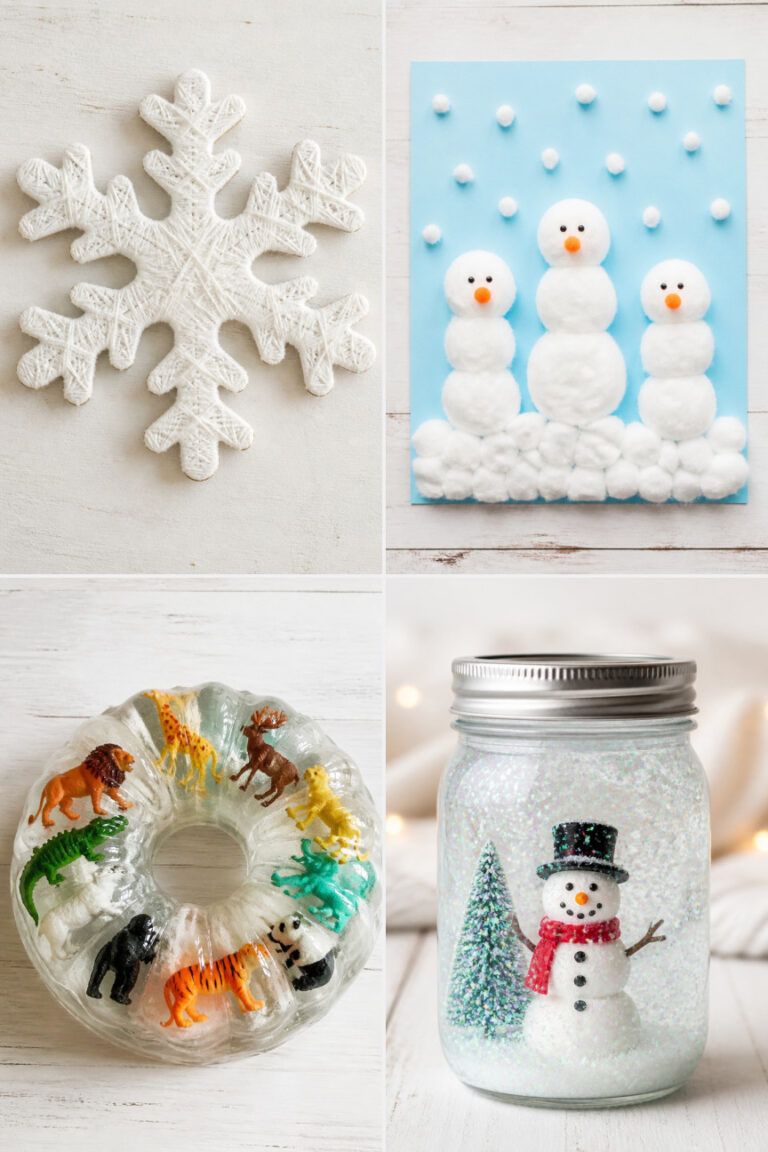
1. Cotton Ball Snowmen
Easy
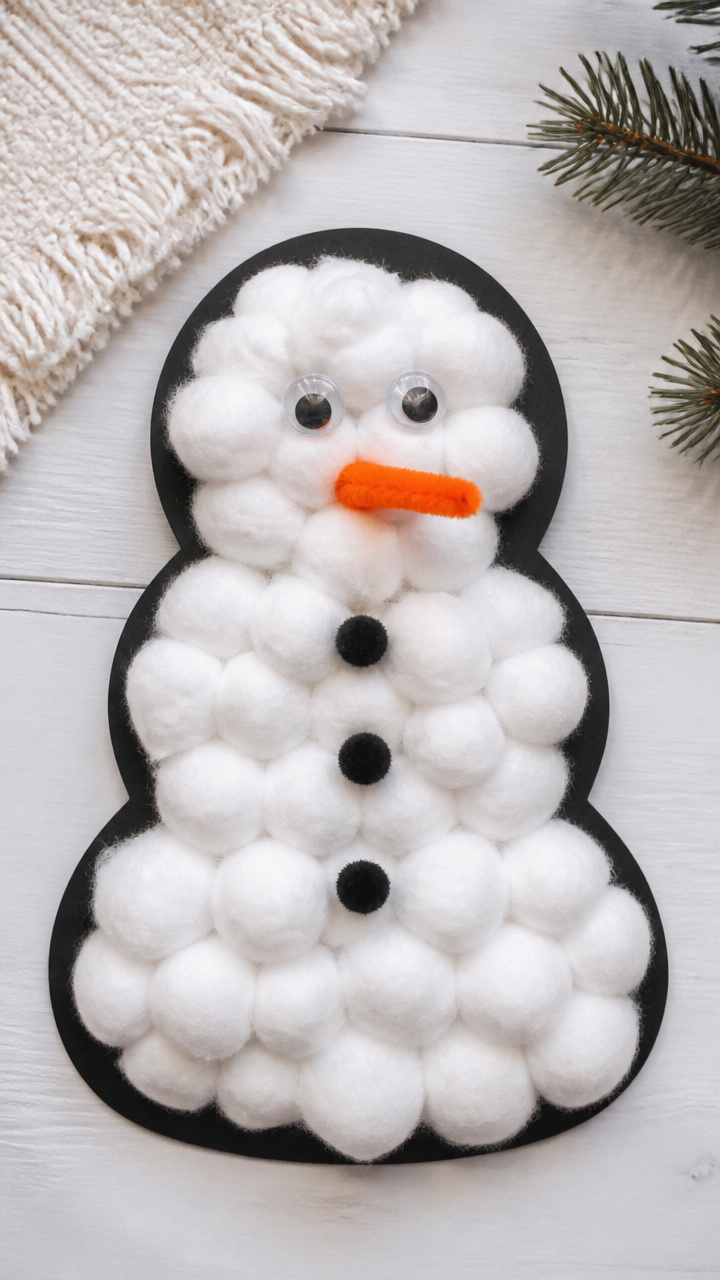
Plump, soft snowmen made from layered cotton balls stand proudly on construction paper bases. These tactile figures bring cozy winter charm to bulletin boards or desk displays.
Materials Needed
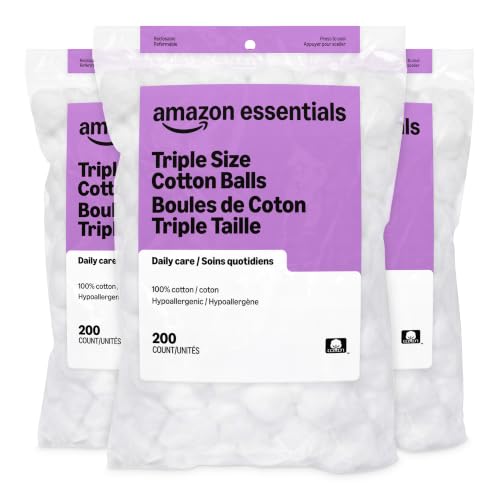
- White cotton balls, 12 per student
- Black construction paper, 6×9 inch sheets
- Orange chenille stems, 1 per student
- Googly eyes, 2 per student
- Glue sticks
- Scissors
How to Make It
- Cut the black paper into a top hat shape: a rectangle 4 inches wide by 2 inches tall for the crown, and a 5-inch wide by 1-inch tall brim. Glue them together.
- Place three cotton balls in a vertical stack on the paper to form the snowman body. Press gently to help them stick.
- Glue the hat on top of the upper cotton ball. Add googly eyes just below the hat.
- Cut the chenille stem into a 1.5-inch piece. Bend slightly and glue it below the eyes as a carrot nose.


2. Salt Painting Snowscapes
Moderate
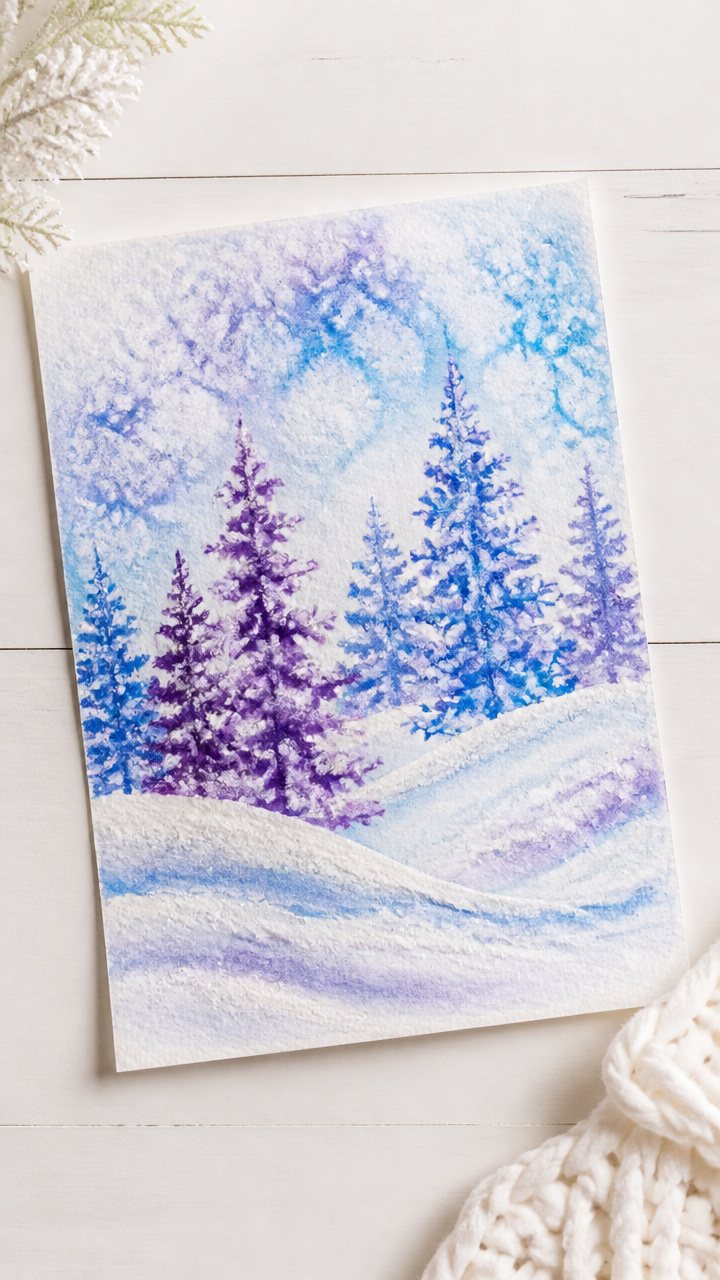
Fine salt absorbs liquid watercolor into delicate, crystalline patterns that mimic frost on branches and rooftops. This sensory-rich method creates glowing winter scenes with minimal supplies.
Materials Needed
- Cardstock, 8×10 inch white sheets
- White school glue
- Table salt, 1/2 cup per group
- Liquid watercolors, blue, purple, and white
- Pipettes
- Trays or wax paper to catch spills
How to Make It
- Draw a simple winter scene like trees, a cabin, or hills using white school glue on cardstock. Let the lines be thick enough to hold salt.
- Pour salt over the glued lines so it sticks. Shake off excess onto the tray and return unused salt to the container.
- Use pipettes to drop colored watercolors onto the salt-covered glue lines. Watch colors spread through the grains.
- Let artwork dry flat for at least 1 hour before touching. Gently tap any loose salt from the edges.


3. Popsicle Stick Igloos
Moderate
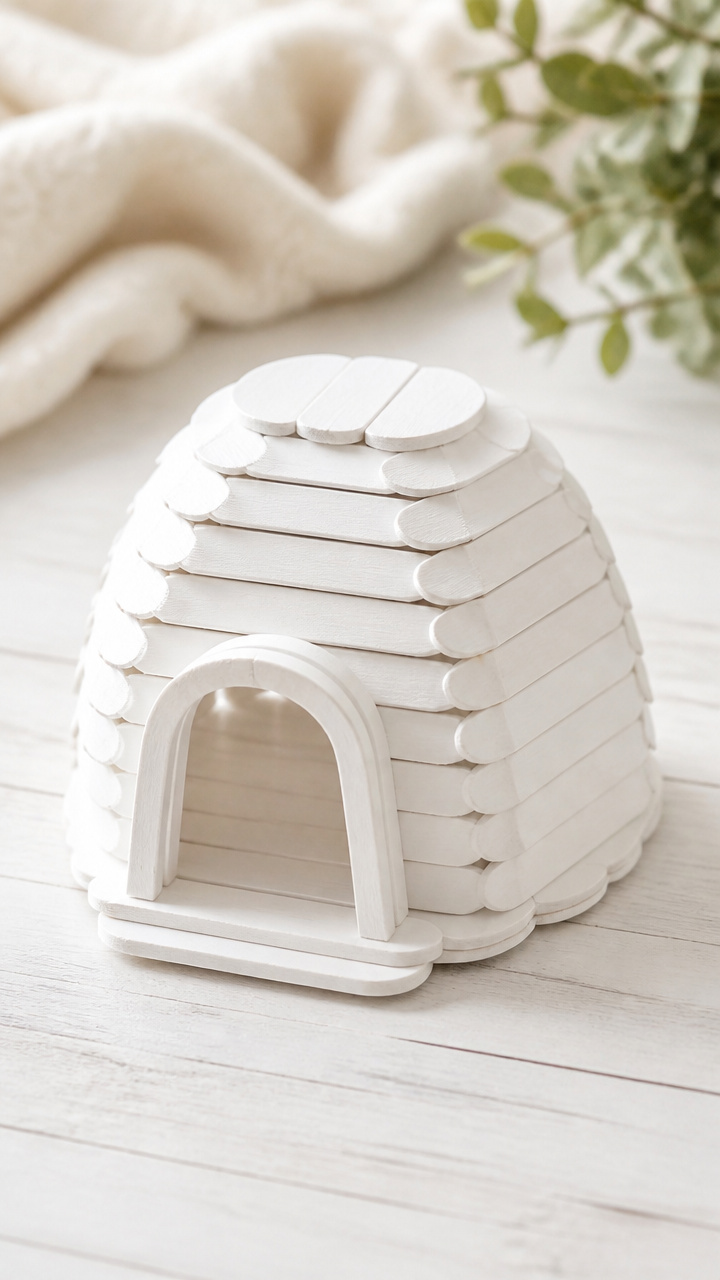
Interlocking arcs of painted popsicle sticks form miniature igloos that stand solid on desks. These 3D builds strengthen fine motor skills and spark imaginative play.
Materials Needed
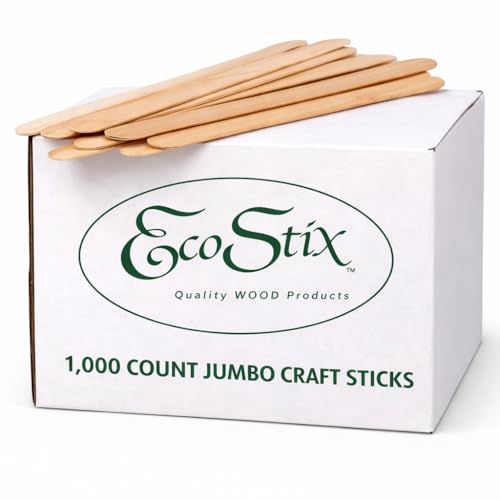
- Jumbo craft sticks, 20 per student
- White acrylic paint
- Paintbrushes, size 6
- White school glue
- Paper plates, 1 per student
How to Make It
- Paint both sides of all craft sticks with white acrylic paint. Let dry completely on a drying rack or paper towel, about 20 minutes.
- Arrange five sticks in a circle on the paper plate to form the base layer, gluing ends where they meet.
- Add the second layer by placing four sticks across the gaps of the first, forming an arch pattern. Glue each end.
- Continue adding layers with fewer sticks per ring until the dome closes. Let the igloo dry upright for 30 minutes before moving.


4. Fingerprint Evergreen Trees
Easy
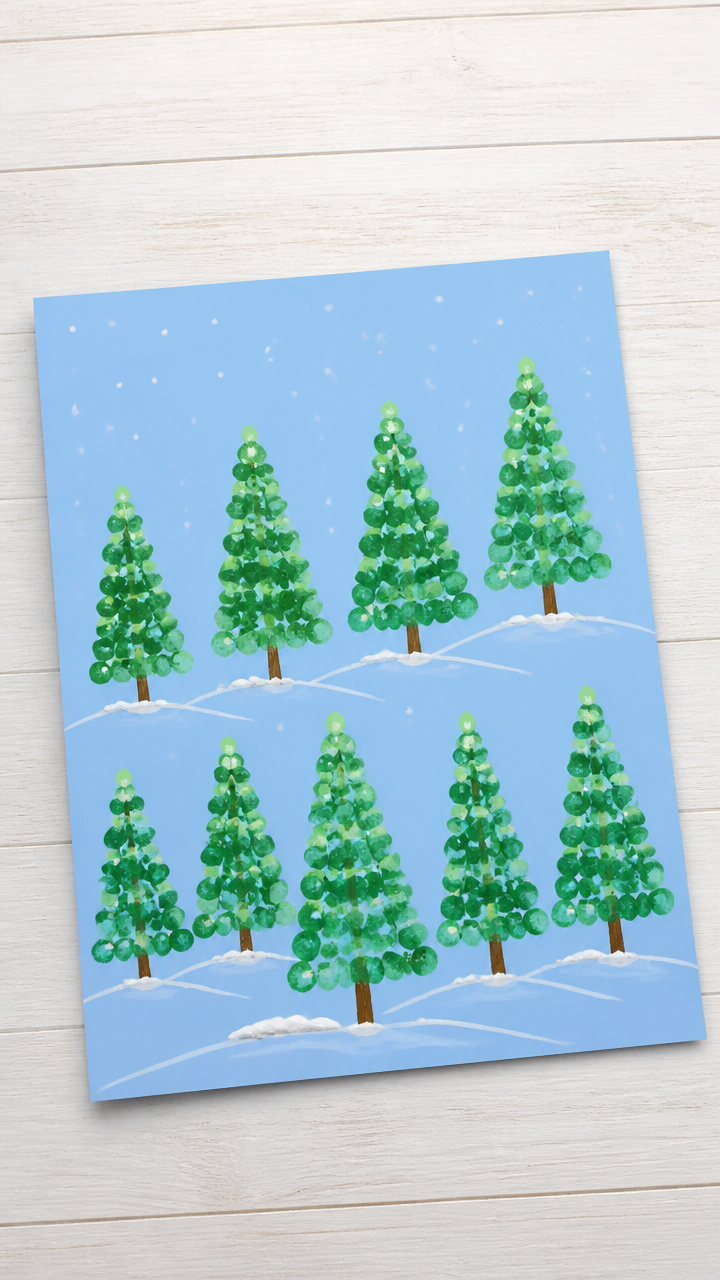
Rows of green fingerprint clusters grow into forest murals when topped with brown trunks and snowy peaks. This quick print technique fills collaborative posters with lively texture.
Materials Needed
- Green washable ink pad
- Brown markers
- Blue construction paper, 9×12 inch
- White gel pen or puff paint
How to Make It
- Press index finger into the green ink pad and stamp upward in rows to form tree shapes. Overlap prints slightly for fullness.
- Draw straight brown trunks beneath each cluster using the marker.
- Add a short horizontal line at the top of each tree with the white gel pen to suggest snow-covered tips.
- Let ink dry for 5 minutes before handling.


5. Tissue Paper Mosaics
Moderate
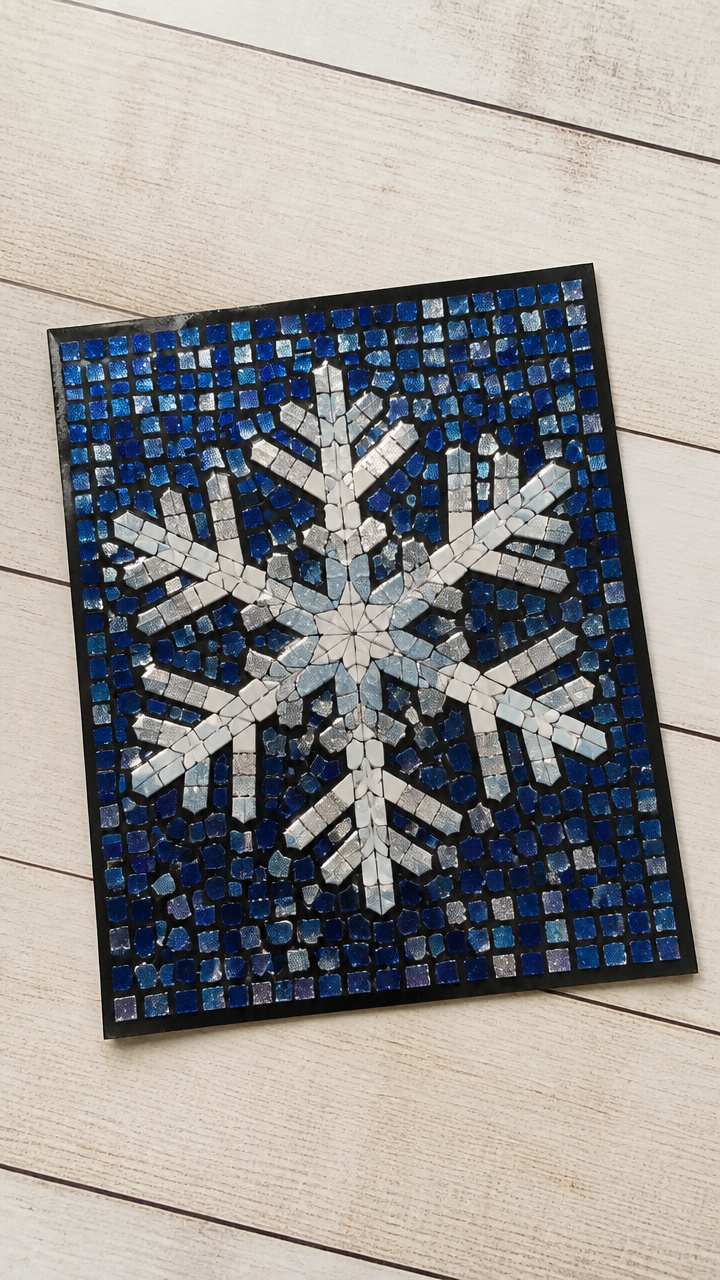
Tiny squares of blue, white, and silver tissue paper assemble into shimmering icy pond collages. The torn-paper mosaic method teaches color blending and careful placement.
Materials Needed
- Blue, white, and silver tissue paper, 2 sheets each color
- Glue sticks
- 9×12 inch black cardstock
- Clear contact paper, 12×18 inch sheet
How to Make It
- Tear tissue paper into 1-inch squares. Mix colors in a shared bowl for variety.
- Apply glue to a 3×3 inch section of the black cardstock. Place tissue pieces close together without overlapping.
- Repeat, working in sections, until the entire surface is covered. Let dry for 15 minutes.
- Peel the liner from the contact paper and smooth it over the collage, sticky side down, to seal the tissue.


6. Pipe Cleaner Reindeer Ornaments
Moderate
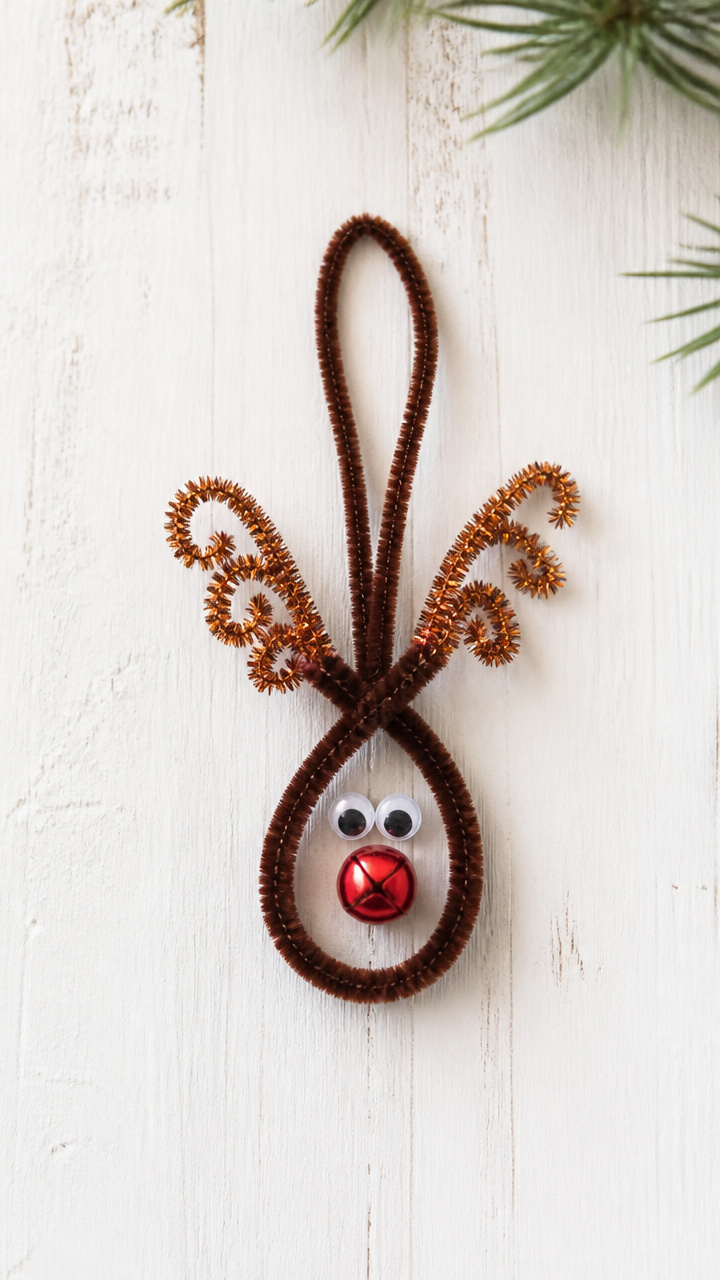
Twisted copper and red pipe cleaners take shape as dainty reindeer with curling antlers and jingle bell noses. These lightweight ornaments hang beautifully on windows or trees.
Materials Needed
- Brown pipe cleaners, 2 per student
- Red pipe cleaner, 1 per student
- Small gold jingle bells, 1 per student
- Googly eyes, 2 mm, 2 per student
- Glue dots
How to Make It
- Bend one brown pipe cleaner in half to form legs. Twist the top third around itself to make a neck and head.
- Wrap the ends of the second brown pipe cleaner around the head to form antlers. Curl the tips inward.
- Thread the red pipe cleaner through the bell and twist it around the face for a nose and mouth.
- Press googly eyes onto the head using a glue dot.


7. Shaving Cream Marble Paper
Moderate
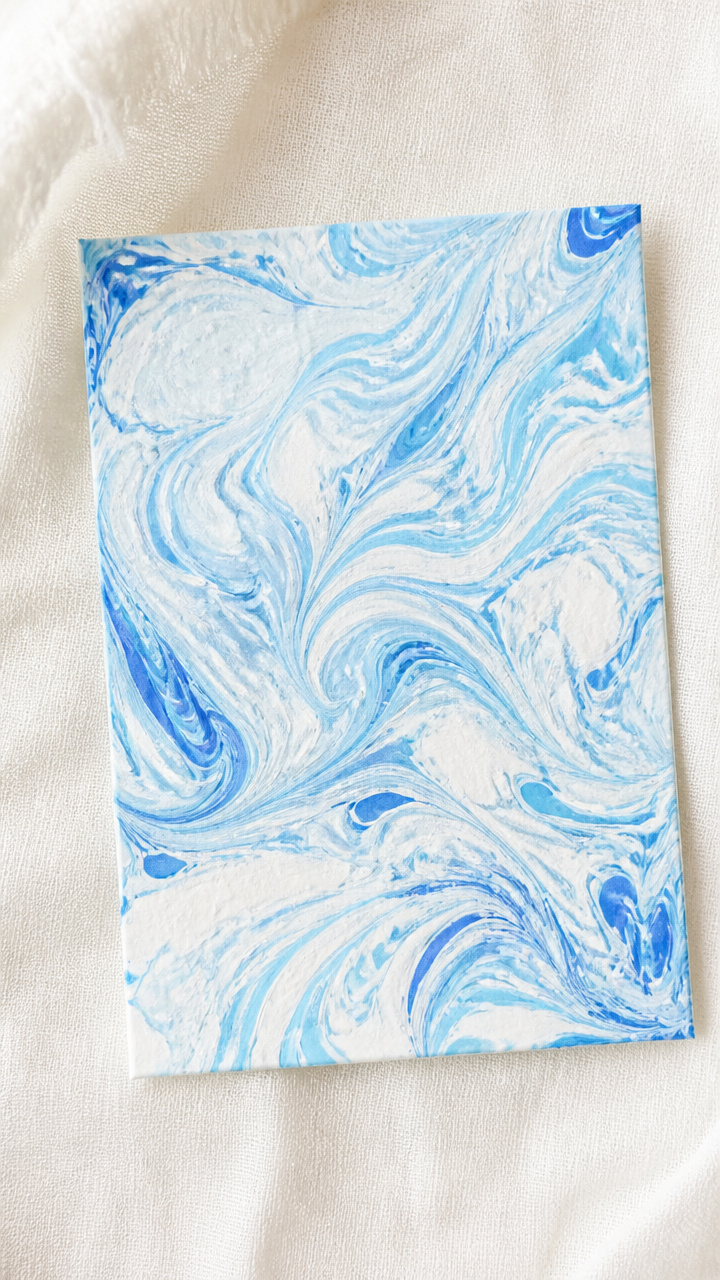
Swirled blobs of shaving cream and food coloring yield bold, abstract prints perfect for greeting cards or framed art. This messy favorite delivers wow-factor with everyday bathroom products.
Materials Needed
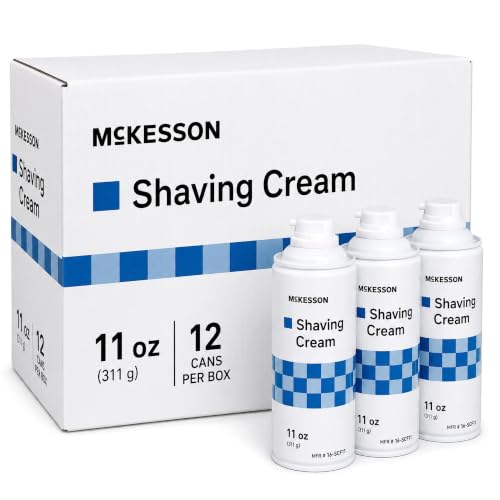
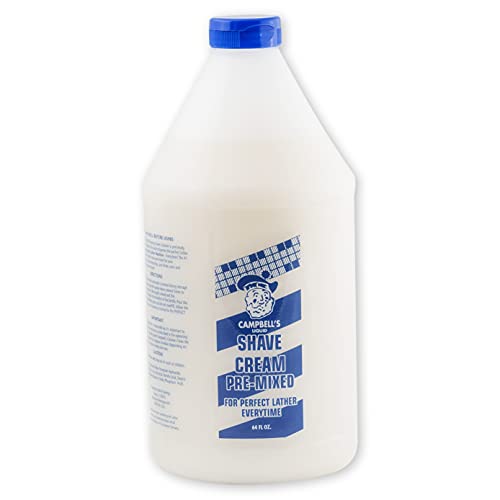
- Aerosol shaving cream
- Food coloring, blue and white
- Cardstock, cut to 6×8 inch
- Cookie sheet
- Toothpicks
- Spatula or ruler
- Paper towels
How to Make It
- Spray shaving cream onto the cookie sheet to cover the bottom in a 1/2 inch layer.
- Drop 4–5 drops of blue and white food coloring onto the cream. Use toothpicks to swirl gently.
- Lay a cardstock rectangle onto the surface. Press evenly for 10 seconds.
- Lift carefully and scrape excess cream off with the spatula. Dry flat on paper towels for 20 minutes.

8. Button Snowflake Coasters
Advanced
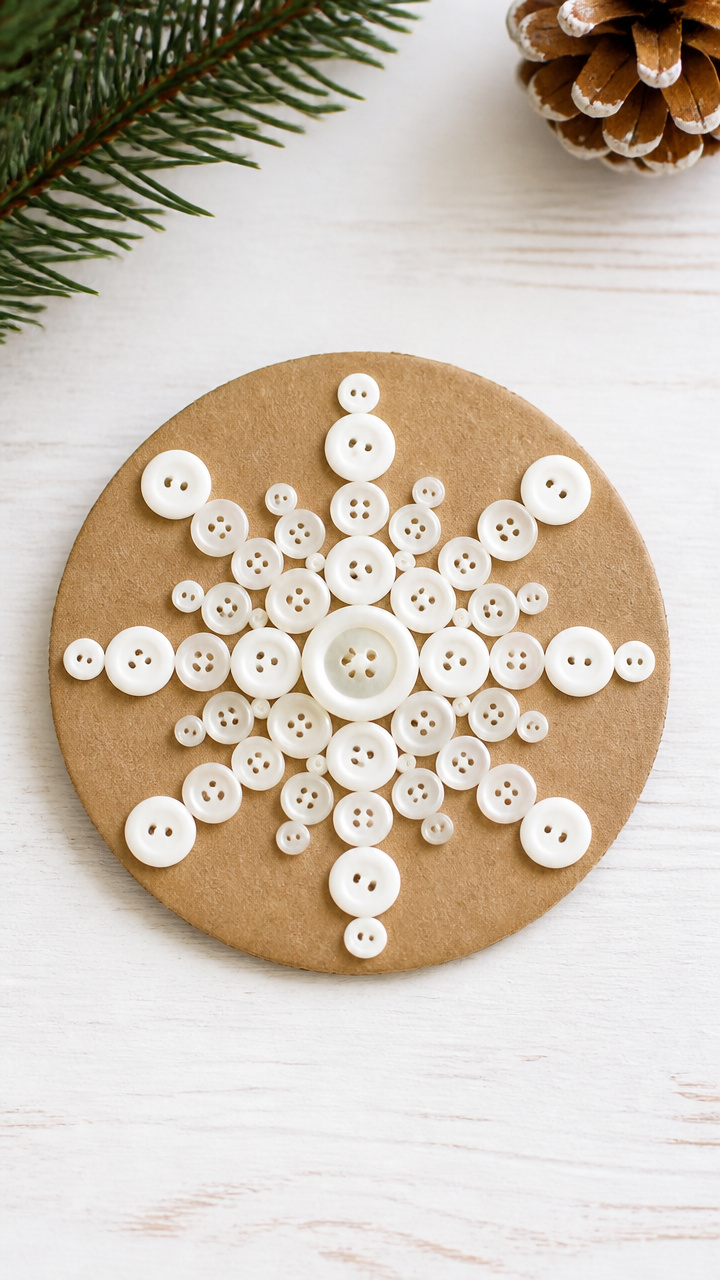
Colorful plastic buttons spiral into sturdy, sewn snowflakes that double as drink coasters. The no-sew version uses strong glue for younger hands.
Materials Needed
- Plastic buttons, assorted sizes and whites, 15 per coaster
- E6000 craft glue
- Round cardboard coasters, 4 inch diameter
- Tweezers
How to Make It
- Arrange six large buttons in a circle on the coaster to form the snowflake center. Glue each in place with E6000.
- Between each center button, glue a medium button outward to form six arms.
- Add smaller buttons along each arm in a staggered line, tapering toward the edge.
- Let dry undisturbed for 2 hours before handling.


9. Wax Resist Window Panes
Easy
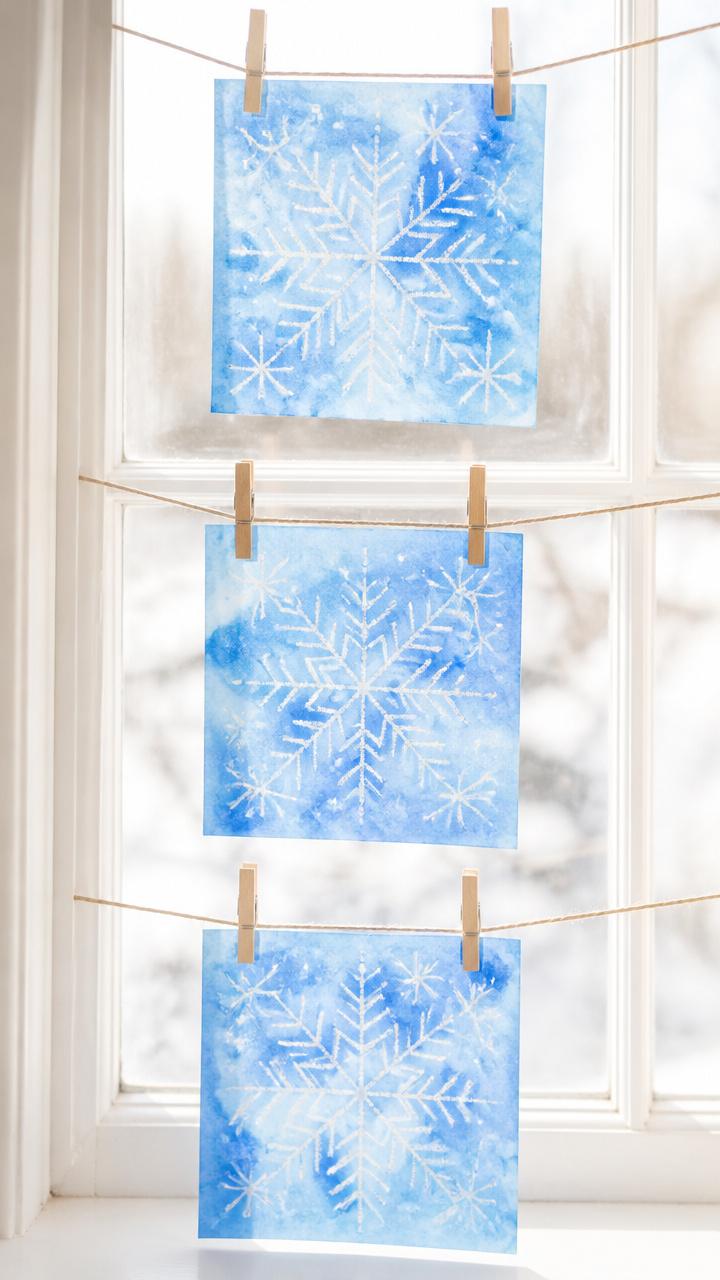
Crayon-drawn frost patterns glow behind washes of blue watercolor on translucent vellum. These light-catching panes look magical taped to sunny windows.
Materials Needed
- White vellum paper, 6×6 inch sheets
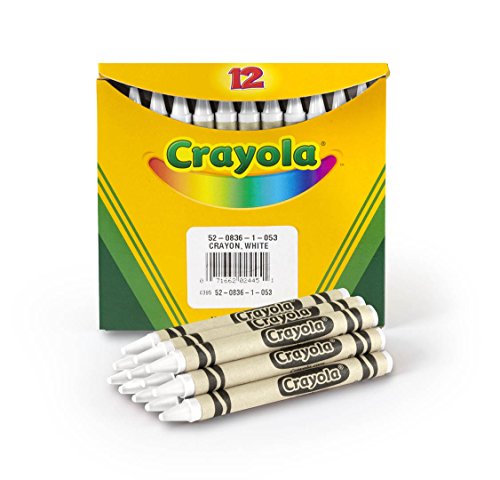
- White crayons
- Blue liquid watercolor
- Paintbrushes, size 4
- Clothespins
- String
How to Make It
- Draw swirling frost patterns across the vellum with the white crayon. Press firmly to lay down wax.
- Wet the brush and apply blue watercolor over the entire surface. Let the wax repel the color.
- Let dry flat for 15 minutes. Clip to a string with clothespins to display in a window.

10. Yarn-Wrapped Ice Skates
Moderate
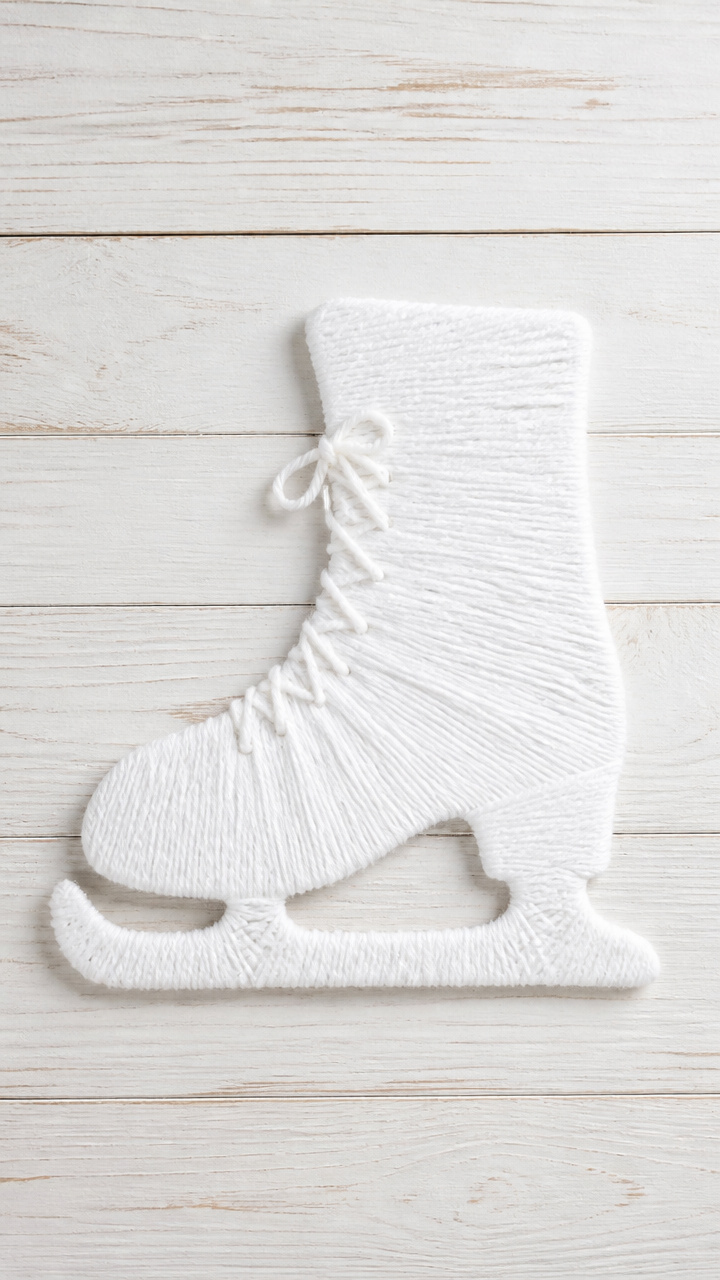
Cardboard skate silhouettes become fuzzy, textured decorations when wrapped tightly in white yarn. The repetitive wrapping calms restless hands and builds focus.
Materials Needed
- White cardboard, 8×10 inch sheets
- Pencil
- Scissors
- White yarn, 10 feet per student
- Glue dots
How to Make It
- Draw an ice skate shape: a long oval foot with a curved blade and a rounded toe. Cut it out.
- Place a glue dot at the top back of the skate. Press the yarn end onto it.
- Wrap the yarn tightly around the shape, covering the surface. Overlap slightly with each pass.
- When the front is reached, add another glue dot and press the yarn end down. Trim excess.


11. Puffy Paint Snow Globes
Advanced
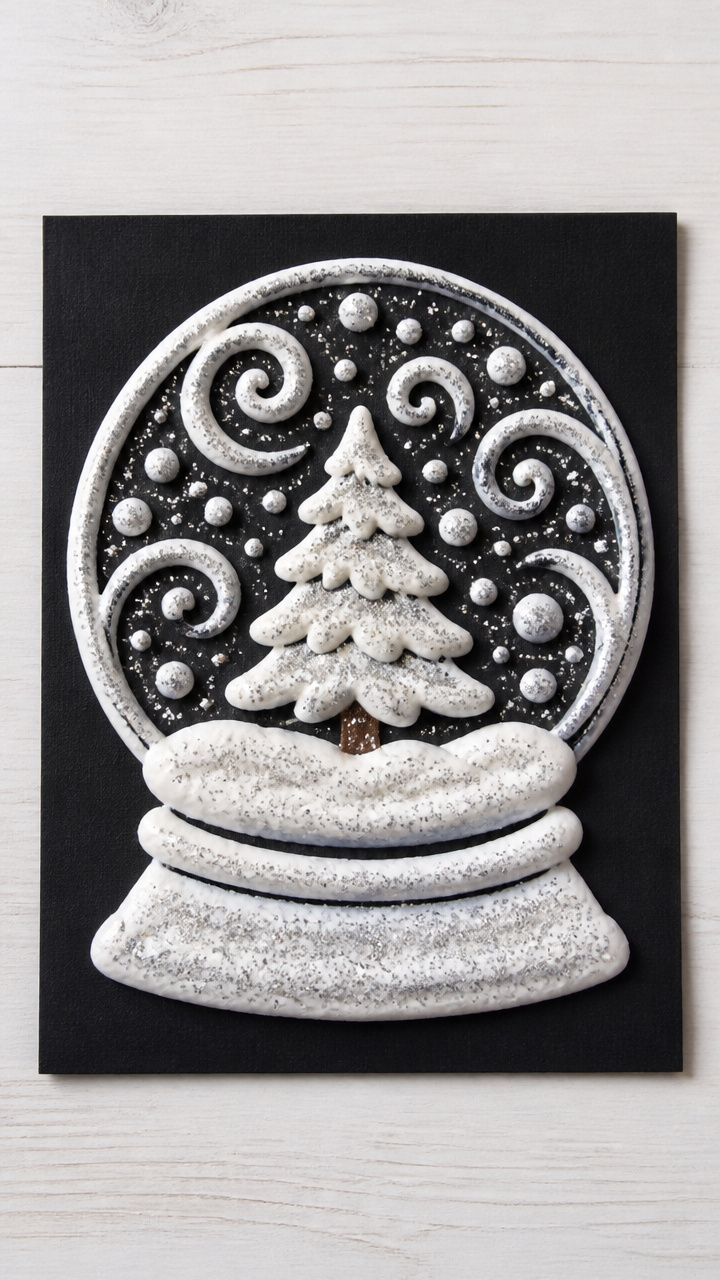
Raised swirls of homemade puffy paint form domed globes filled with glitter and tiny figures. Baking gives them volume, turning flat paper into 3D art.
Materials Needed
- White school glue, 1/4 cup
- Shaving cream, 1/2 cup
- Mixing bowl
- Popsicle stick
- Black construction paper, 5×7 inch
- Glitter, silver
- Miniature plastic animals or trees
How to Make It
- Mix equal parts glue and shaving cream in the bowl with the popsicle stick until fluffy.
- Spread a large circle of mixture on the black paper to form the globe dome. Make edges thicker.
- Sprinkle glitter over the wet paint. Press small figures into the center.
- Let dry in a warm oven at 200°F for 20 minutes, or until firm and puffed.


12. Construction Paper Mittens
Easy
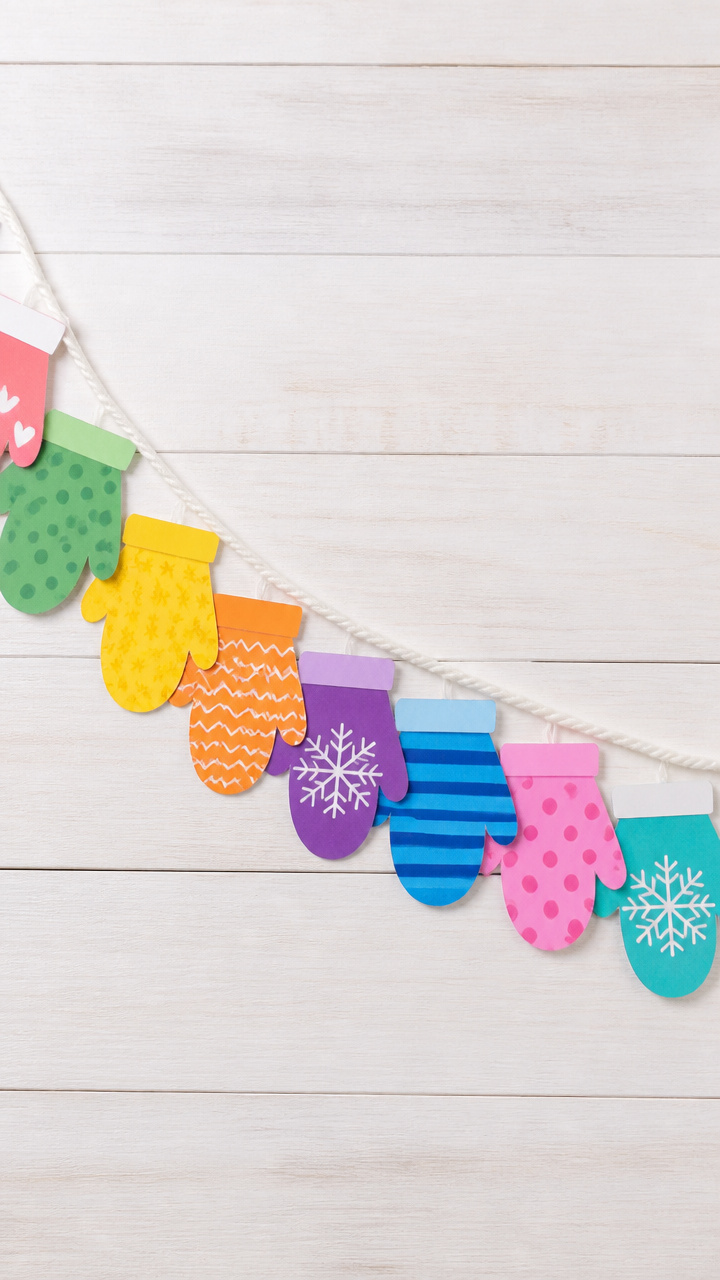
Paired mittens cut from bright paper become a cheerful border when strung with yarn. Students personalize them with patterns and names for a classroom identity boost.
Materials Needed
- Colored construction paper, 12×18 inch sheets
- Pencil
- Scissors
- Hole punch
- Yarn, 3 feet per mitten pair
- Crayons
How to Make It
- Fold a sheet of paper in half. Draw half a mitten shape from the fold, with a cuff and thumb. Cut it out.
- Unfold to reveal a symmetrical mitten. Repeat to make a matching pair.
- Decorate each mitten with crayon patterns like stripes, polka dots, or zigzags.
- Punch a hole at the top of each mitten and thread yarn through to hang them together.


13. Glitter Slime Snowballs
Moderate
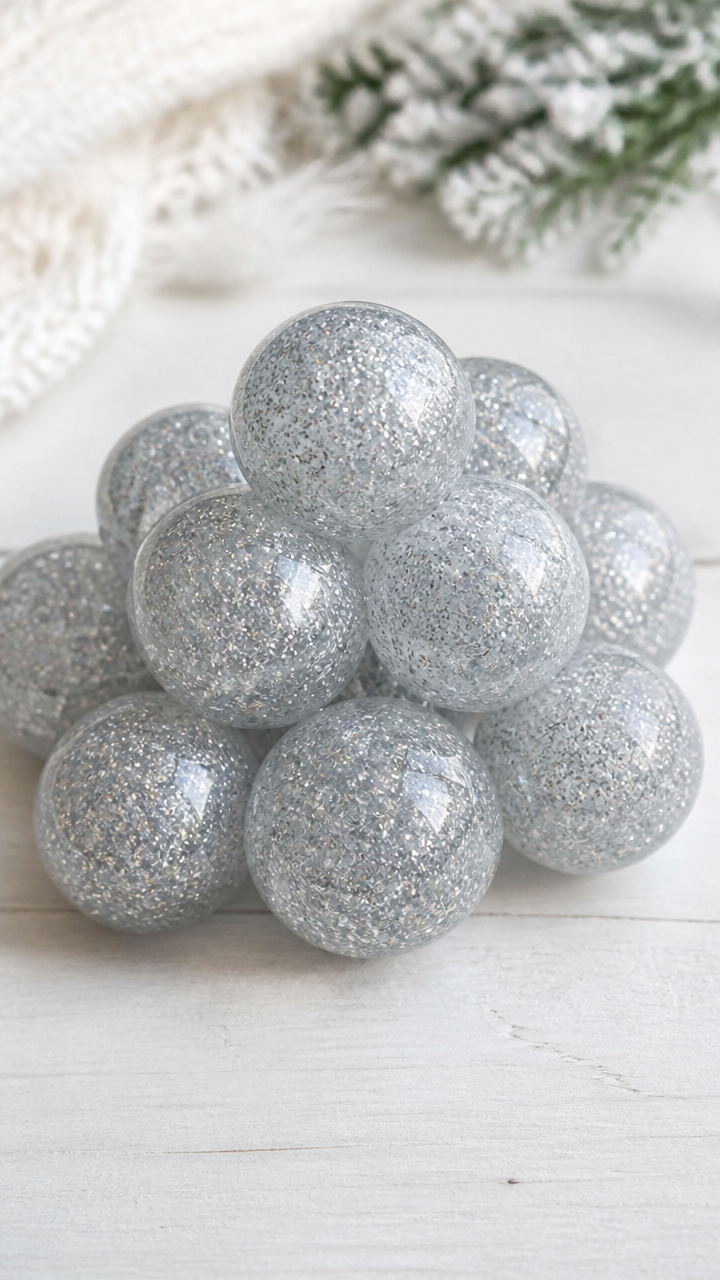
Stretchy, sparkly slime rolls into bouncy snowballs that stay cool to the touch. This sensory craft doubles as a calming fidget tool after creation.
Materials Needed
- White school glue, 1/2 cup
- Liquid starch, 1/3 cup
- Fine silver glitter, 1 tablespoon
- Mixing bowl
- Popsicle stick
How to Make It
- Pour glue into the bowl. Stir in glitter until evenly dispersed.
- Add liquid starch slowly, stirring with the popsicle stick as it begins to pull away from the sides.
- Once it forms a clump, use hands to knead for 2 minutes until smooth and stretchy.
- Roll into three snowball shapes. Store in a sealed container when not in use.


14. Crayon Resist Snowy Hills
Easy
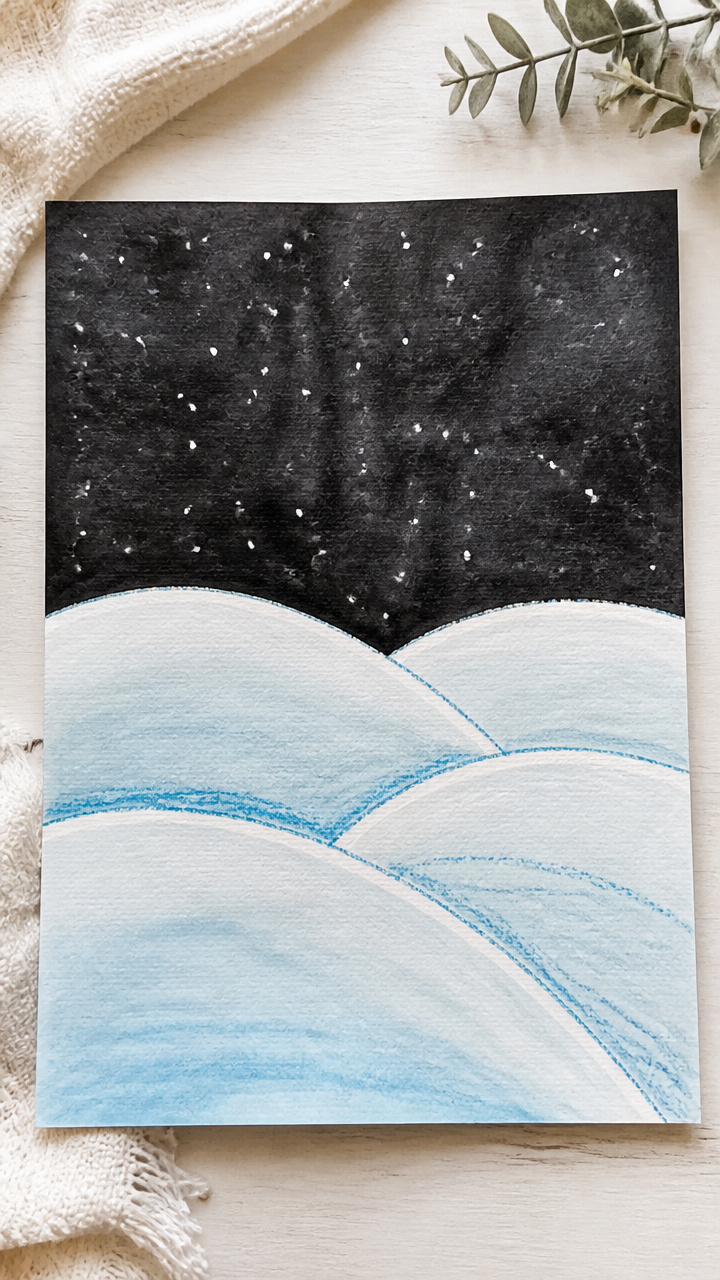
Pale blue crayon marks hide under dark watercolor skies, revealing snowy slopes when painted over. This clever trick teaches contrast and surprise in composition.
Materials Needed
- White drawing paper, 9×12 inch
- Light blue crayons
- Black liquid watercolor
- Paintbrushes, size 6
- Ruler
How to Make It
- Use the ruler and light blue crayon to draw 3–4 wavy hill lines across the paper. Press lightly.
- Color over the entire page with black watercolor, including the hills. Let the crayon resist the paint.
- Let dry flat for 10 minutes. Display with other students’ work to create a night mountain range.


15. Foam Snowflake Stamps
Moderate
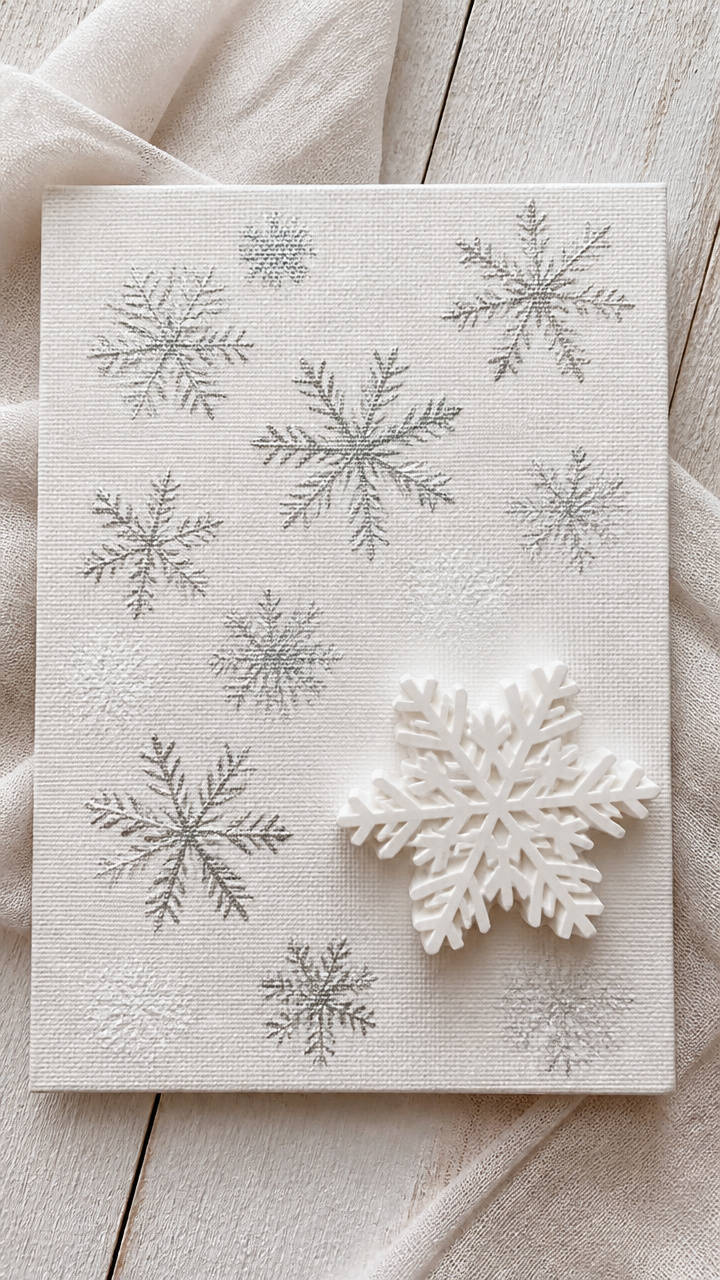
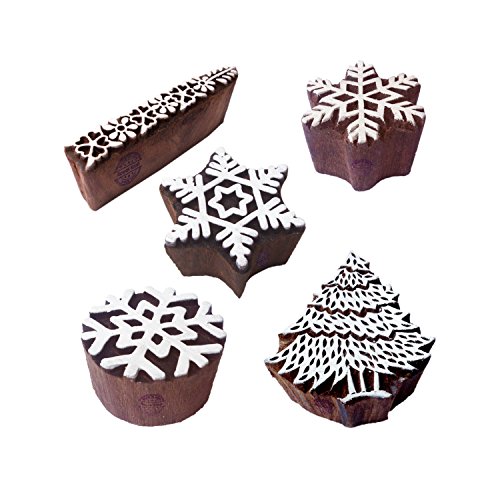
Carved foam sheets pressed into paint transfer intricate snowflake designs onto gift tags or cards. Each stamp is unique and reusable for seasonal crafting.
Materials Needed
- White foam sheets, 8×10 inch
- Pencils
- Plastic knives
- Tempera paint, white and silver
- Paint trays
- Brushes
- Index cards
How to Make It
- Sketch a snowflake design on the foam with pencil. Include six points and branching lines.
- Use the plastic knife to carve out grooves along the lines, pressing just deep enough to cut the surface.
- Brush paint evenly over the foam stamp. Blot lightly on scrap paper to remove excess.
- Press the stamp firmly onto an index card. Lift straight up to avoid smudging.


16. Pinecone Owls
Moderate
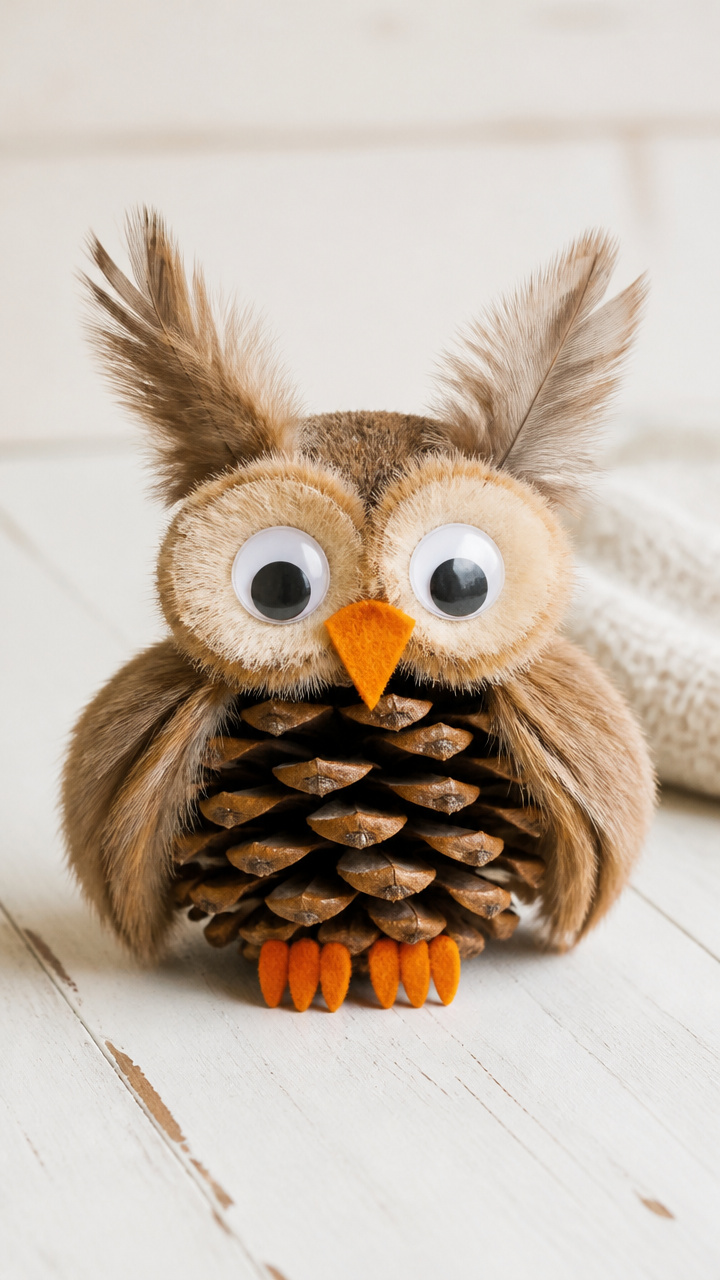
Found pinecones sprout feathery faces when dressed with felt eyes and feather tufts. These woodland creatures add natural texture to a winter nature table.
Materials Needed
- Pinecones, 1 per student
- Orange felt scraps
- Feathers, 2 per owl
- Googly eyes, 2 per owl
- Hot glue gun and glue sticks
- Craft tweezers
How to Make It
- Use tweezers to place two googly eyes near the top of the pinecone. Secure with hot glue.
- Cut a small triangle from orange felt for the beak. Glue it between the eyes.
- Glue one feather on each side of the head for ear tufts. Hold 5 seconds until set.
- Let glue cool completely before handling. Display on a shelf with moss or stones.


17. Ice Cube Paintings
Easy
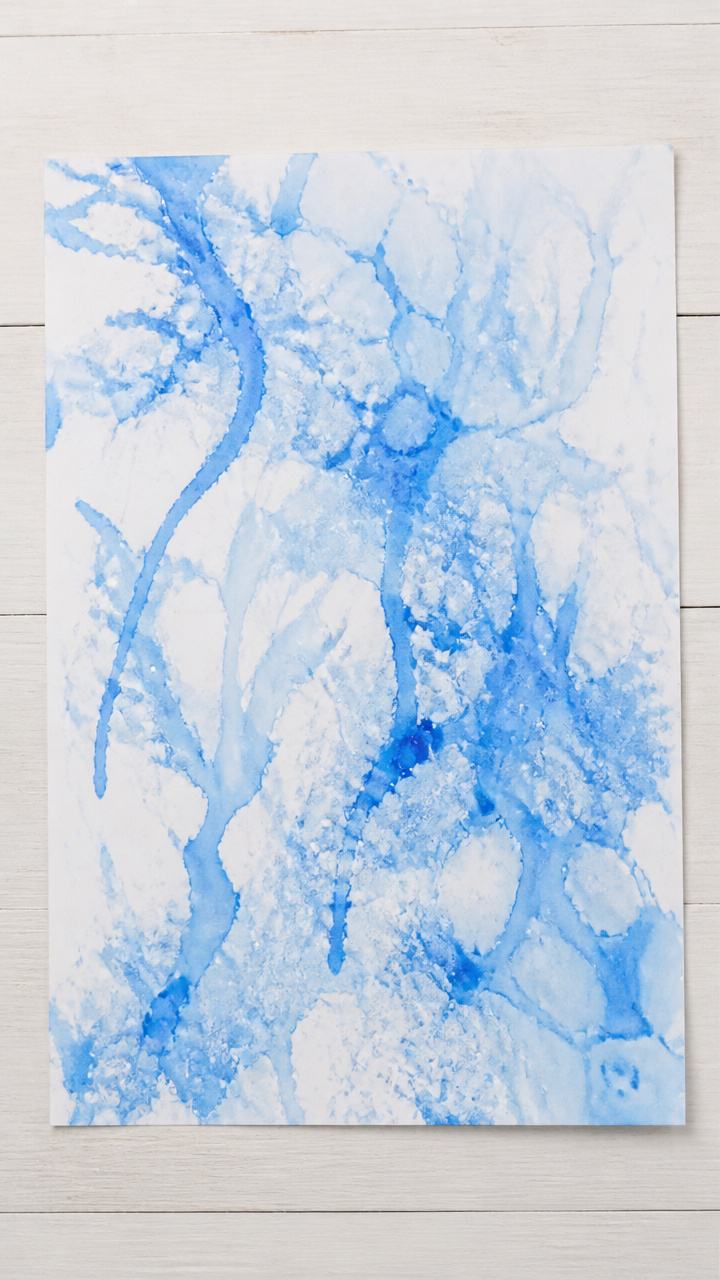
Frozen cubes tinted with food coloring melt across paper, leaving watery trails like melting glaciers. This science-linked art explores temperature and change.
Materials Needed
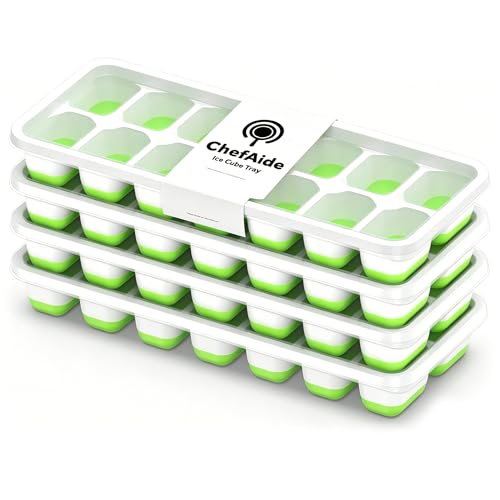
- Silicone ice cube tray
- Water
- Food coloring, blue and white
- Large white paper, 12×18 inch
- Trays
How to Make It
- Fill the ice tray with water. Add 2 drops of blue food coloring to half the wells, 1 drop of white to the rest. Freeze overnight.
- Place paper in a tray to catch drips. Hand students 2–3 colored ice cubes.
- Let them roll or rest the cubes on the paper, watching colors melt and blend.
- Let artwork dry flat for 1 hour before displaying.


18. Cardboard Tube Penguins
Moderate
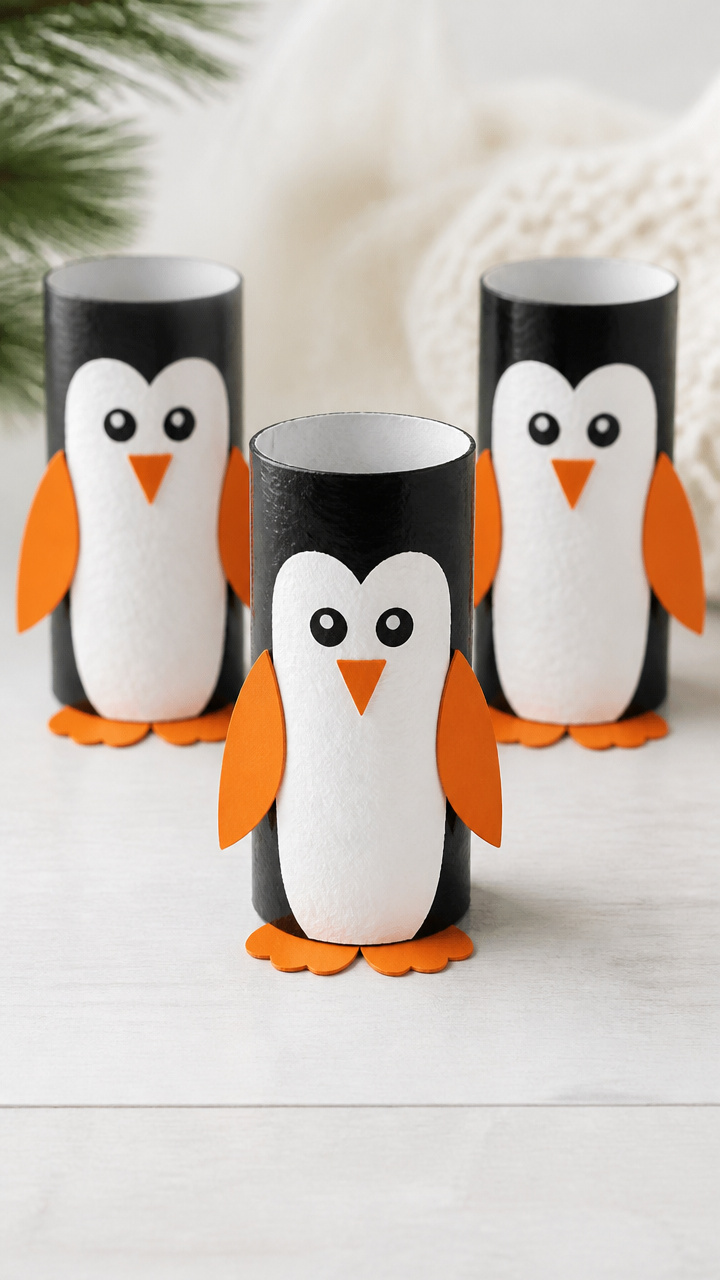
Toilet paper rolls stand tall as waddling penguins when painted and dressed with paper flippers and feet. These 3D birds balance on their own for shelf displays.
Materials Needed
- Toilet paper rolls, 1 per student
- Black and white paint
- Paintbrushes, size 4
- Orange construction paper
- Scissors
- Glue sticks
- Googly eyes, 2 per penguin
How to Make It
- Paint the entire tube black. Let dry on its side for 15 minutes.
- Paint the lower third white, leaving a clean line. Dry again for 10 minutes.
- Cut two small flipper shapes and two feet from orange paper. Glue them in place.
- Glue googly eyes near the top. Let stand upright until fully dry.
19. Glitter Jar Night Jars
Advanced
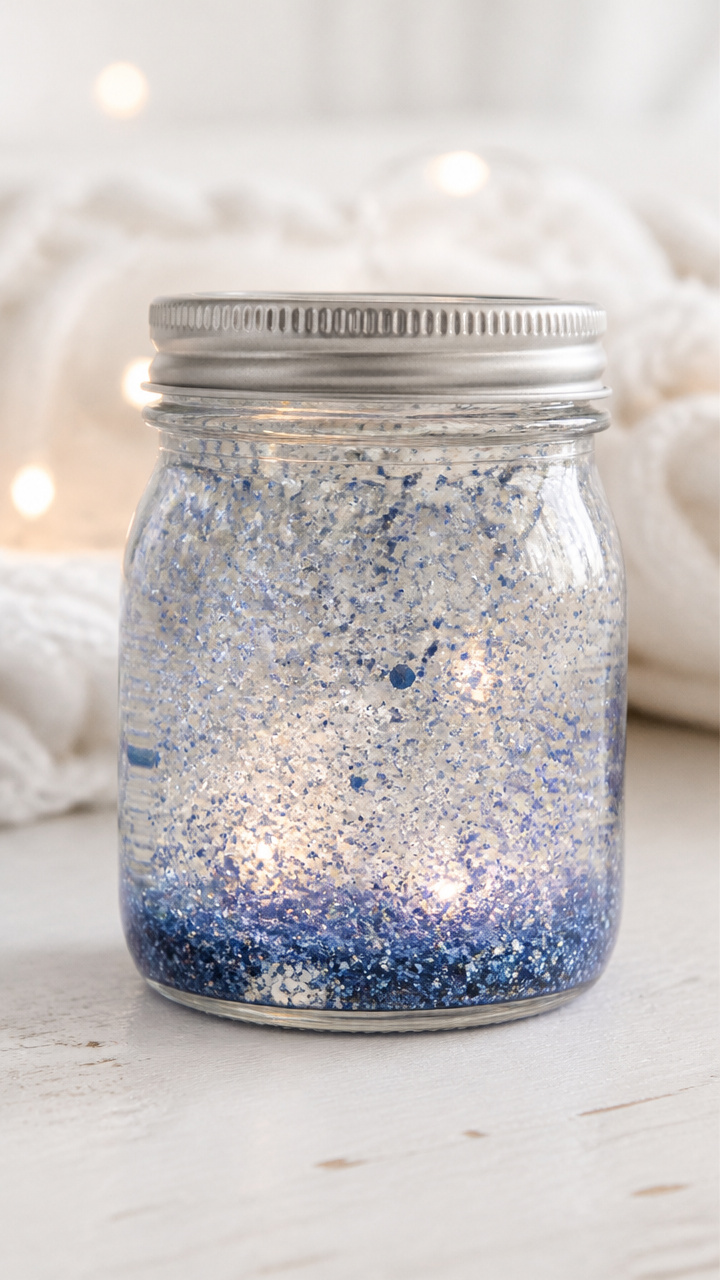
Mason jars filled with swirling glitter in oil mimic falling snow when tipped. These calming sensory bottles soothe transitions or quiet time.
Materials Needed
- Small mason jars with lids, 4 oz
- Vegetable oil, 3/4 cup per jar
- Water, 1/4 cup per jar
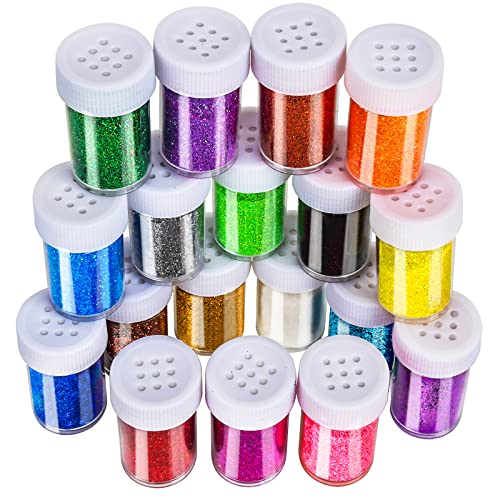
- Fine blue and silver glitter, 1 teaspoon each
- White glue, 1 drop per jar
- Funnel
How to Make It
- Use the funnel to pour water into the jar. Add one drop of white glue to slow glitter fall.
- Add glitter, then fill the rest with vegetable oil, leaving 1/4 inch at the top.
- Screw the lid on tightly. Turn the jar upside down to test flow.
- Seal the lid with super glue if needed to prevent opening. Wipe exterior clean.


20. Sticker Snow People
Easy
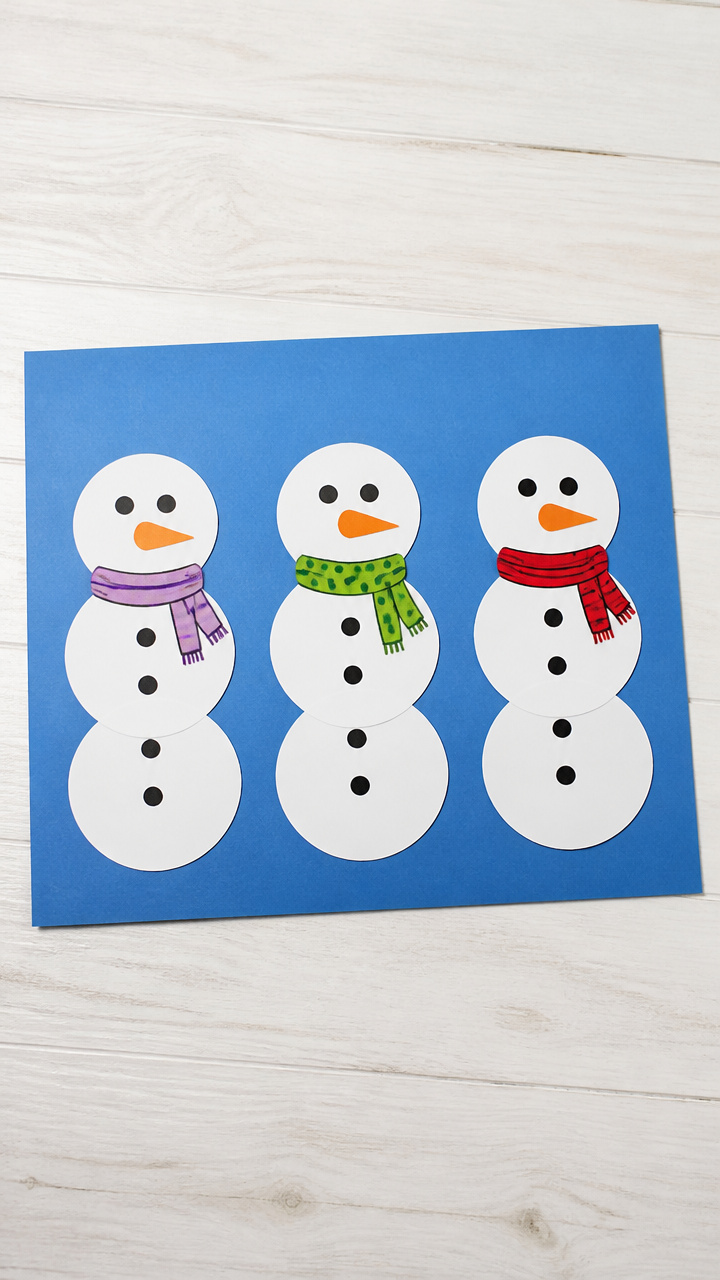
Die-cut circle stickers stack into smiling snow families with drawn scarves and arms. This low-mess project works well for small motor development.
Materials Needed
- White round stickers, 3 sizes: small, medium, large
- Black markers
- Orange markers
- Construction paper, 8×10 inch
How to Make It
- Peel and place one large sticker at the bottom of the paper, then a medium above it, and a small on top.
- Draw two black dot eyes and a smile on the top circle with the black marker.
- Add an orange carrot nose with the orange marker.
- Draw a scarf around the neck and stick arms out from the middle circle using the black marker.


21. Cinnamon Dough Ornaments
Advanced
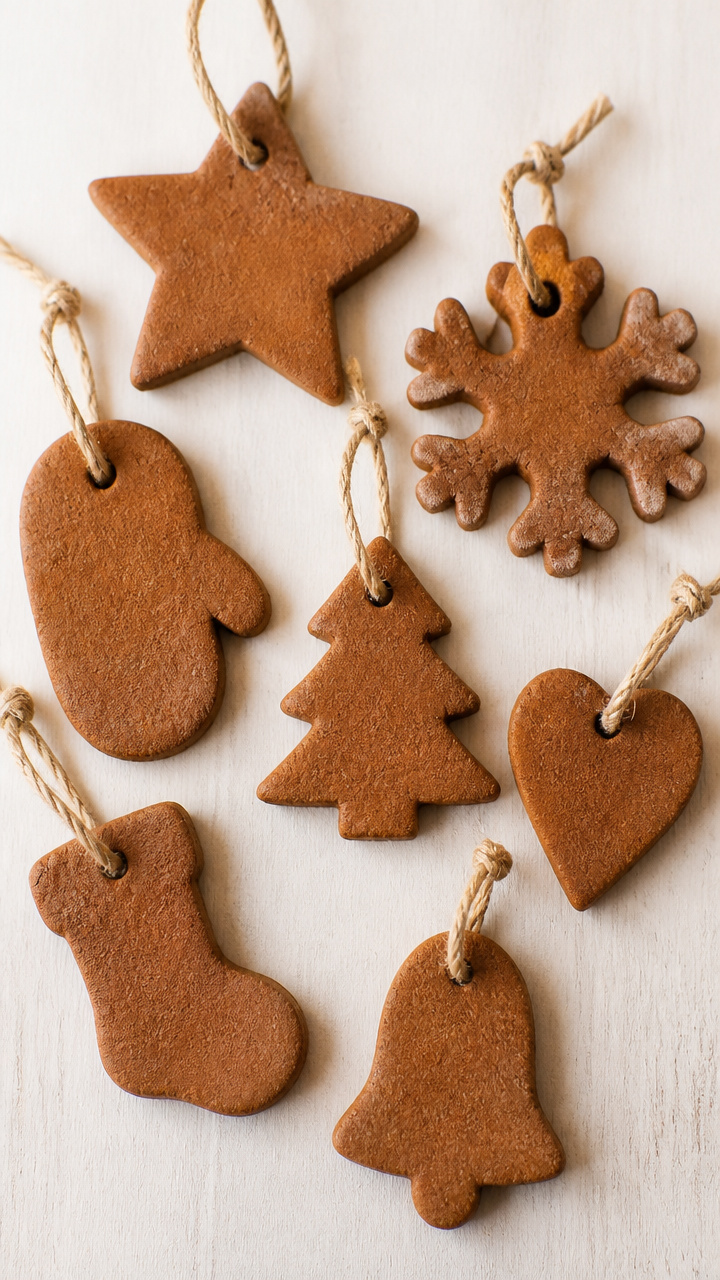
Spiced dough rolled thin and stamped holds its shape when air-dried, releasing a warm cinnamon scent. These ornaments smell as good as they look.
Materials Needed
- 2 cups ground cinnamon
- 1 cup applesauce
- Mixing bowl
- Spoon
- Rolling pin
- Cookie cutters, winter shapes
- Straw
- Ribbon, 12 inch per ornament
How to Make It
- Mix cinnamon and applesauce in the bowl until a stiff dough forms. Knead by hand for 2 minutes.
- Roll dough to 1/4 inch thickness on a non-stick surface. Cut shapes with cookie cutters.
- Push a straw through the top edge of each ornament to make a hanging hole.
- Let dry on wax paper for 48 hours, flipping once after 24 hours. Thread ribbon through holes.


22. Torn Paper Snowy Forest
Moderate
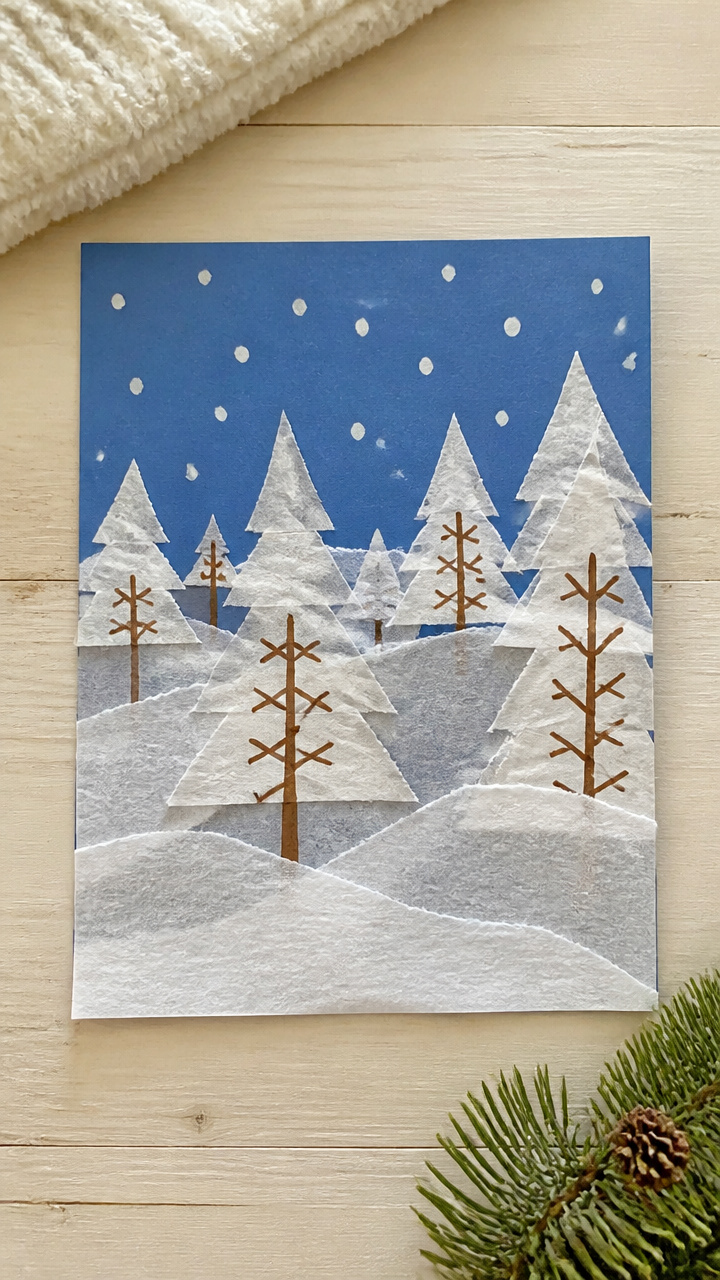
Layered strips of white and gray tissue paper build depth in a wintry woodland scene. Tearing instead of cutting encourages freeform expression.
Materials Needed
- White and light gray tissue paper
- Glue sticks
- Blue construction paper, 9×12 inch
- Brown markers
How to Make It
- Tear tissue paper into vertical strips 1 inch wide and 3–5 inches long.
- Starting at the bottom of the blue paper, glue white strips horizontally to form a snowy ground.
- Above the ground, layer gray and white strips vertically to suggest distant trees and fog.
- Draw bare tree trunks with the brown marker, rising from the snow into the tissue layers.


23. Q-Tip Frost Patterns
Easy
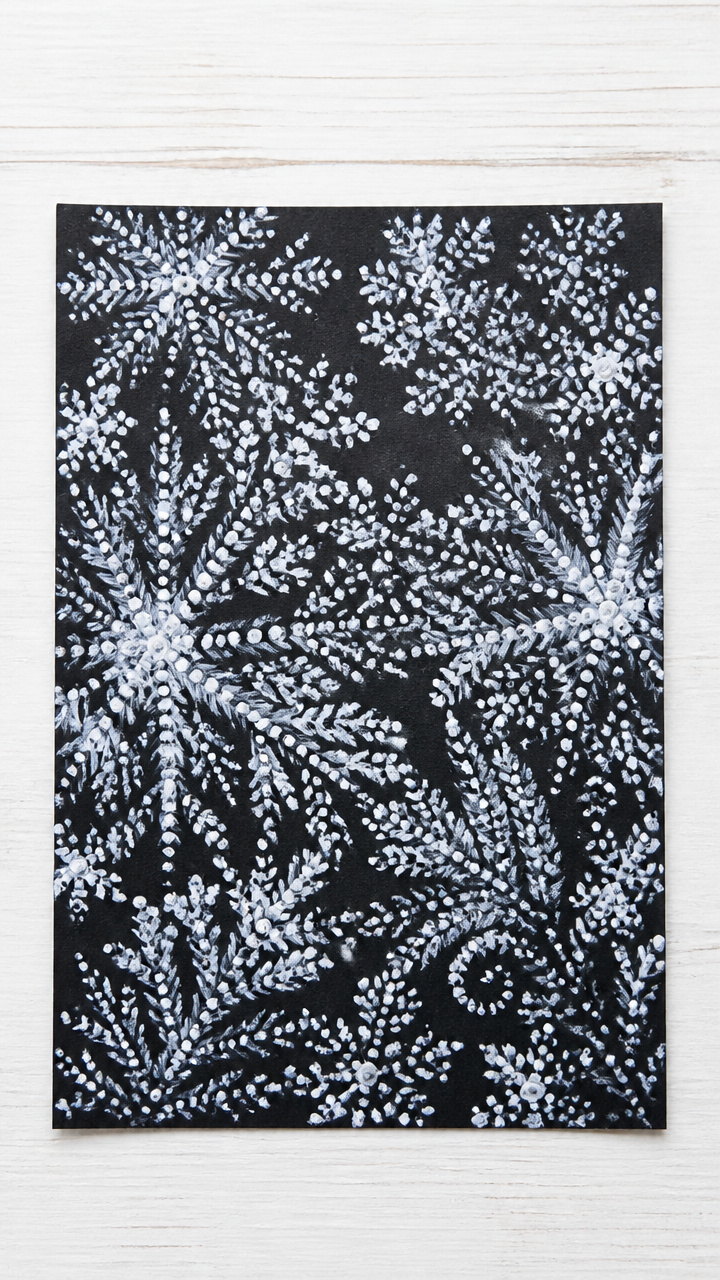
Cotton swabs dip-paint delicate frost designs on dark paper, mimicking window ice crystals. This controlled dotting exercise builds hand strength and precision.
Materials Needed
- White Q-Tips
- White tempera paint
- Black drawing paper, 6×9 inch
- Cups
- Spoons
How to Make It
- Pour a spoonful of white tempera paint into a cup.
- Dip one end of the Q-Tip into the paint. Dab excess on the rim.
- Dot frost branches and feathers onto the black paper, starting from one side and spreading outward.
- Let dry flat for 10 minutes. Combine several to make a frosty hallway display.


Grab a few supplies and start with one project that catches your eye. The joy on your students’ faces will guide you to the next.