15 Fun Valentine’s Day Crafts for a Cozy Craft Day

Soft pink paper hearts flutter from a string across the kitchen, and the scent of melting glue sticks lingers in the air as you settle into your favorite chair with scissors in hand. There’s something deeply satisfying about making little gifts that carry love in their folds, stitches, and brushstrokes.
This collection brings together crafts that feel personal and joyful to make. Each one uses different materials and techniques so your creative energy stays fresh all day.
1. Felt Heart Garland
Easy
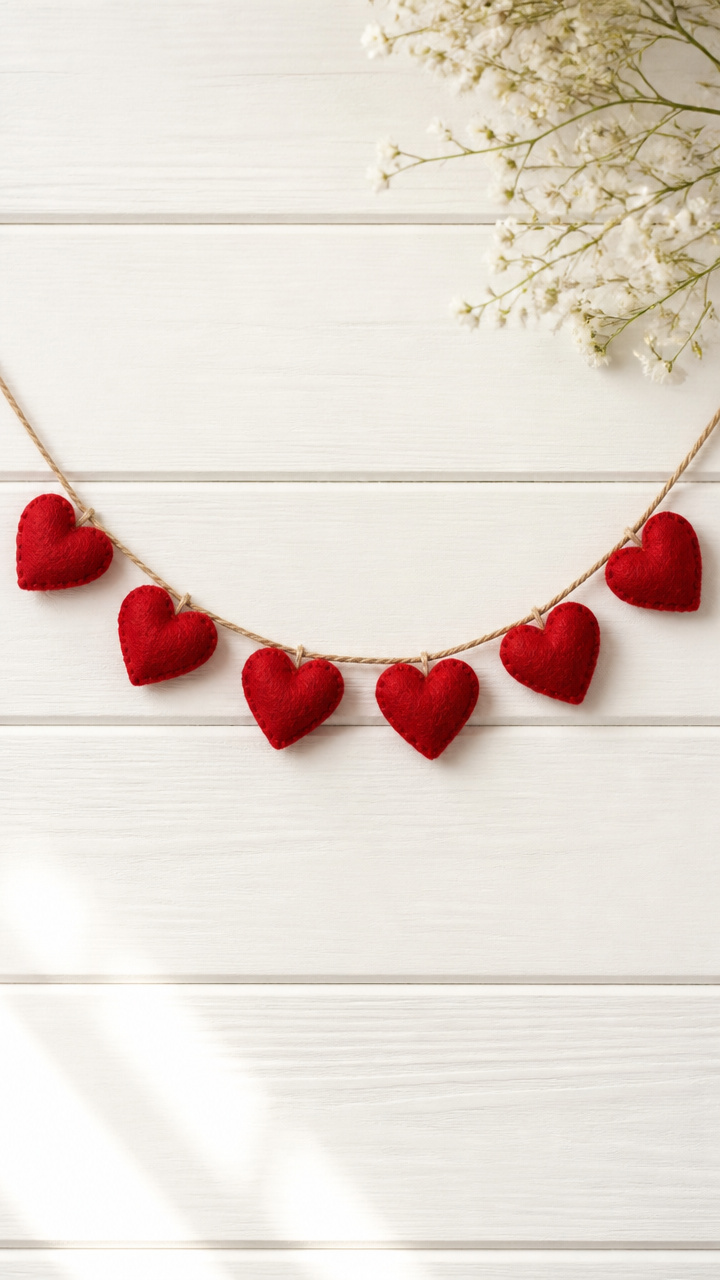
Tiny red hearts strung on twine create a soft drape perfect above a bed or mantel. Their fuzzy texture catches light gently and adds warmth without glitter or noise.
Materials Needed
- 6 red wool-blend felt sheets
- white embroidery floss
- size 7 embroidery needle
- scissors
- ruler
- pencil
- 3-foot length of natural jute twine
How to Make It
- Cut 12 heart shapes, each 2 inches tall, from the felt using scissors and the ruler for symmetry.
- Thread the embroidery needle with 18 inches of floss and knot the end.
- Sew through the top center of one heart using a running stitch, leaving a small loop to hang it from the twine.
- Repeat with all hearts, spacing them 3 inches apart along the twine as you go.
2. Pressed Flower Bookmarks
Moderate
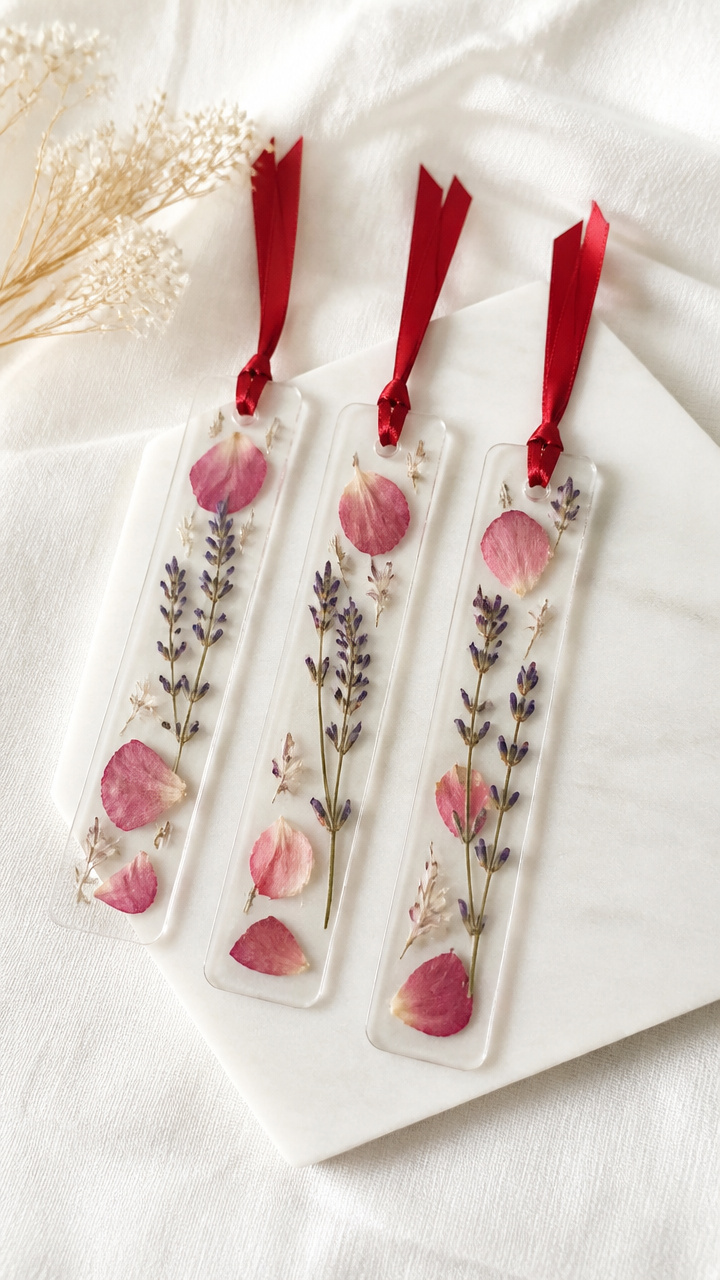
Delicate blooms sealed in clear laminate become keepsakes that mark pages and memories. These are ideal for book lovers who appreciate quiet beauty between covers.
Materials Needed
- 10 dried lavender sprigs
- 5 pink rose petals
- 5 A4 sheets self-adhesive laminating film
- paper cutter
- hole punch
- 12-inch satin ribbon (½ inch wide), red
- tweezers
How to Make It
- Arrange one lavender sprig and one rose petal diagonally on the sticky side of a laminating sheet using tweezers for precision.
- Peel the backing off a second laminating sheet and carefully align it on top to seal the flowers inside.
- Trim each bookmark to 2 by 8 inches using the paper cutter.
- Punch a hole at the top center and thread 6 inches of ribbon through, tying a secure knot.
3. Cinnamon-Apple Simmer Pot
Easy
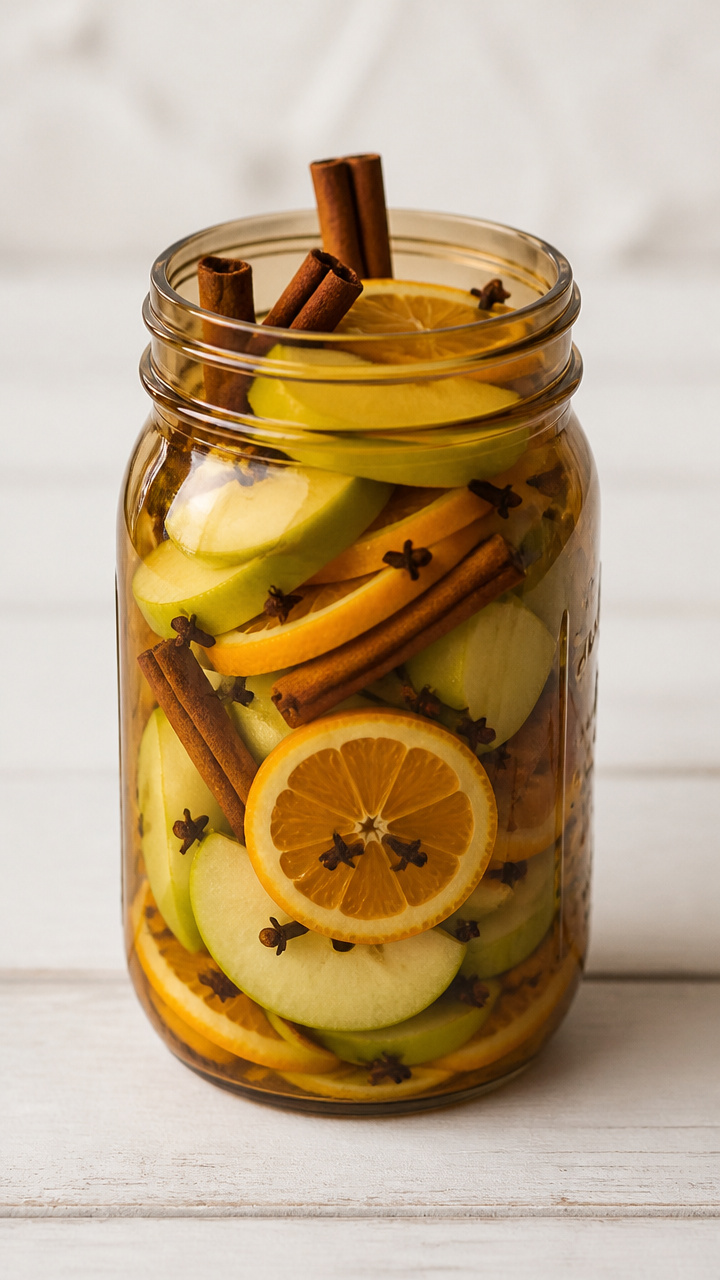
A mason jar filled with spiced slices becomes a fragrant centerpiece when warmed on the stove. This craft doubles as an edible-scent experience for cozy evenings.
Materials Needed
- 1 large green apple, thinly sliced
- 3 cinnamon sticks, 3 inches long
- 1 tablespoon whole cloves
- 1 orange, sliced into rounds
- 1 16-ounce amber mason jar with lid
- spoon
How to Make It
- Layer apple slices, cinnamon sticks, cloves, and orange rounds into the mason jar in alternating order.
- Press down gently with a spoon to compact the layers and remove air gaps.
- Seal the jar with the lid and label with instructions: 'Simmer contents in 4 cups water for 2 hours.'
4. Embroidered Pocket Pillow
Advanced
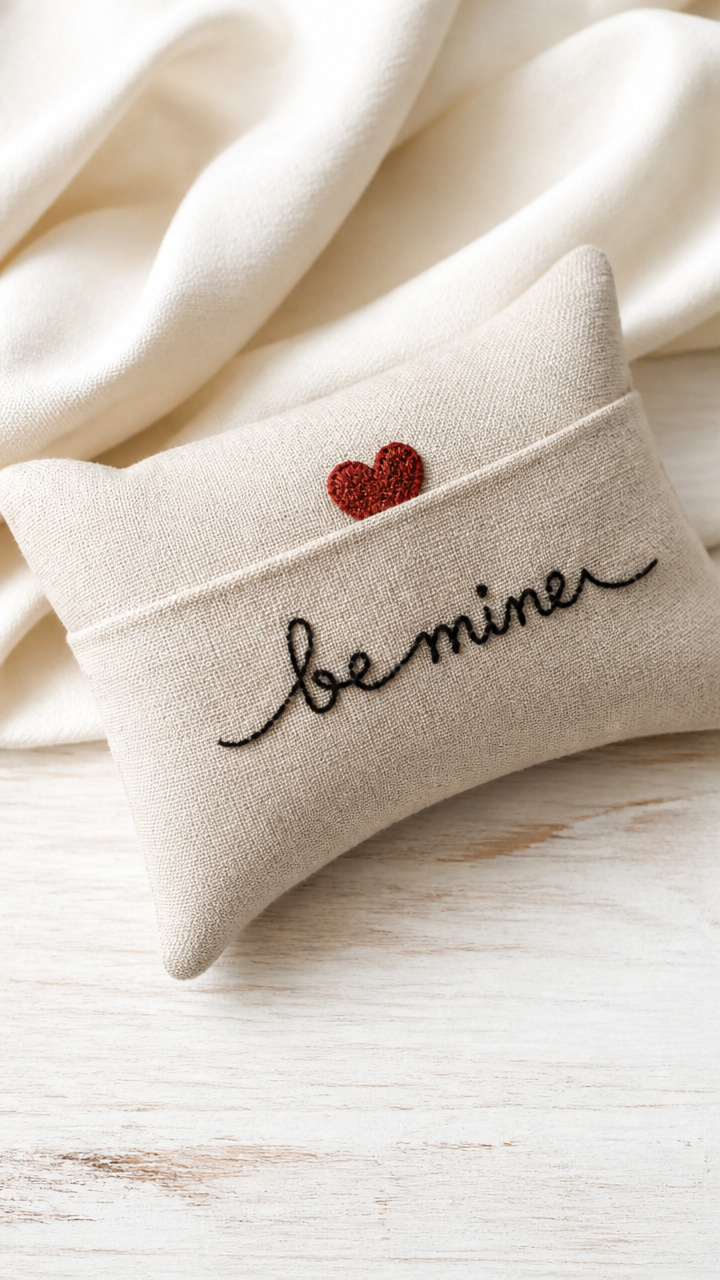
A small linen pillow with a stitched message invites fingertips to trace every letter. The hidden pocket holds a note or tea bag for surprise comfort later.
Materials Needed
- 1 fat quarter natural linen fabric
- 1 fat quarter cotton lining fabric
- embroidery hoop, 6 inches
- black embroidery floss
- size 7 embroidery needle
- polyester fiberfill, 4 ounces
- sewing machine
- thread snips
- straight pins
How to Make It
- Stabilize the linen in the embroidery hoop and stitch 'Be Mine' in backstitch using three strands of black floss.
- Cut two 6×6 inch squares from linen and one 4×4 inch rectangle from lining fabric for the pocket.
- Fold the pocket edges ¼ inch and press, then pin it centered on one linen square and sew around three sides with the sewing machine.
- Place both linen squares right sides together and pin to a lining square, then sew around all four sides with a ½ inch seam allowance, leaving a 2-inch gap.
- Turn right side out, push out corners, and fill with fiberfill before hand-stitching the gap closed.
5. Salt Dough Ornaments
Easy
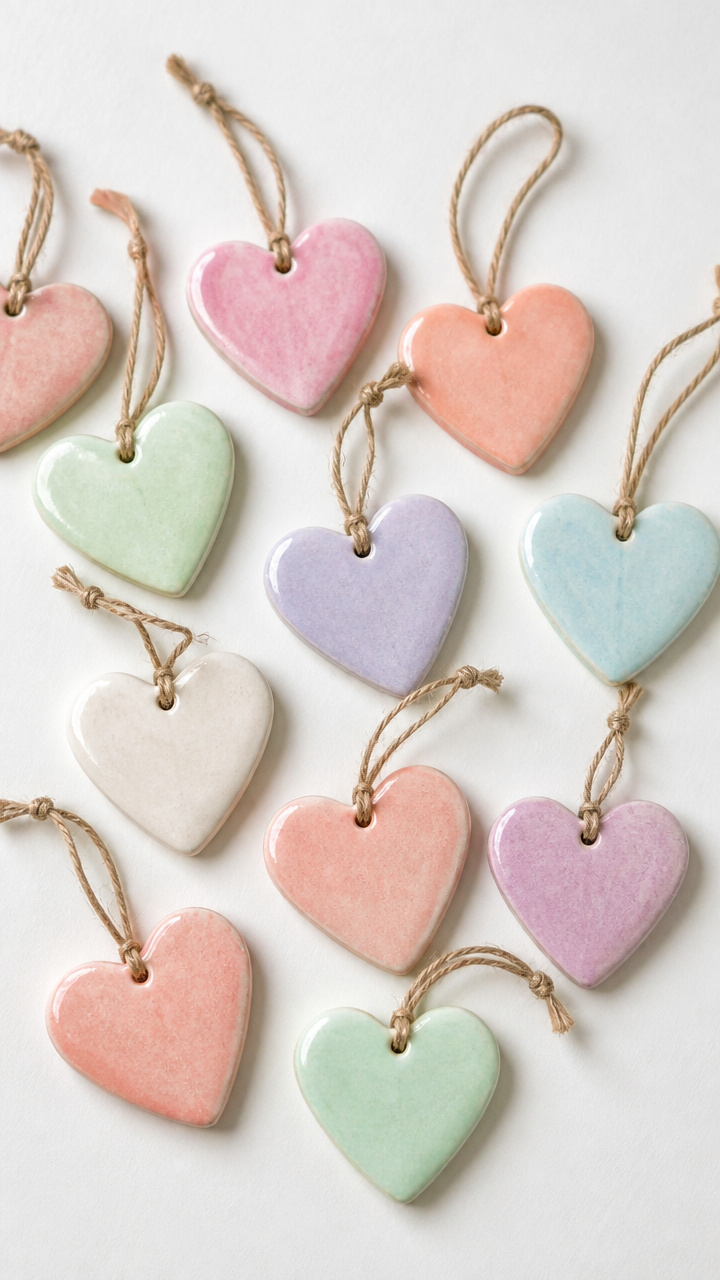
Simple dough shaped into hearts bakes hard and holds paint beautifully. These rustic decorations can be hung on a tree or given as sentimental tokens.
Materials Needed
- 1 cup all-purpose flour
- ½ cup table salt
- ⅓ cup warm water
- rolling pin
- heart-shaped cookie cutter, 2 inches
- baking sheet
- parchment paper
- red acrylic paint
- paintbrush, size 4 round
- gold curling ribbon, 12 inches per ornament
How to Make It
- Mix flour, salt, and warm water in a bowl until a smooth dough forms, adding a teaspoon more water if dry.
- Roll the dough to ¼ inch thick and cut out 8 hearts using the cookie cutter.
- Place hearts on a parchment-lined baking sheet and bake at 200°F for 3 hours until fully hardened.
- Paint each heart with red acrylic paint and let dry 30 minutes.
- Punch a small hole near the top edge before baking, then thread ribbon through after painting.
6. Watercolor Love Notes
Moderate
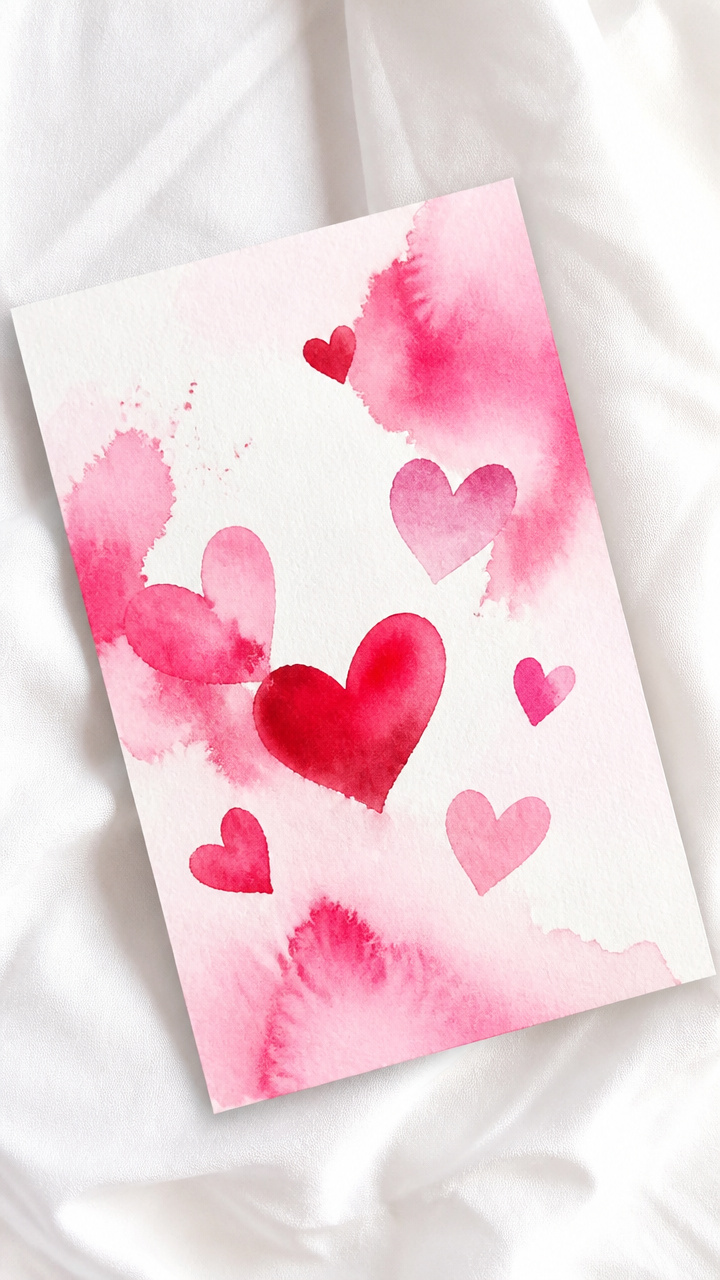
Hand-painted cards with bleeding color gradients feel intimate and artistic. Each one carries the slight imperfections that make handmade moments special.
Materials Needed
- A4 cold press watercolor paper, 90 lb, 5 sheets
- round watercolor brush, size 6
- watercolor palette with red, pink, and white pans
- small plastic water container
- pencil
- eraser
- fine-tip black marker
How to Make It
- Cut each watercolor sheet into 5×7 inch rectangles using scissors or a paper cutter.
- Wet the brush and activate red and pink paints, then apply overlapping strokes diagonally across one card while the paper is damp.
- Let colors bleed naturally and dry flat for 20 minutes.
- Use the pencil to lightly write 'Love You More' in cursive, then trace over it with the fine-tip marker.
7. Knit Heart Coasters
Moderate
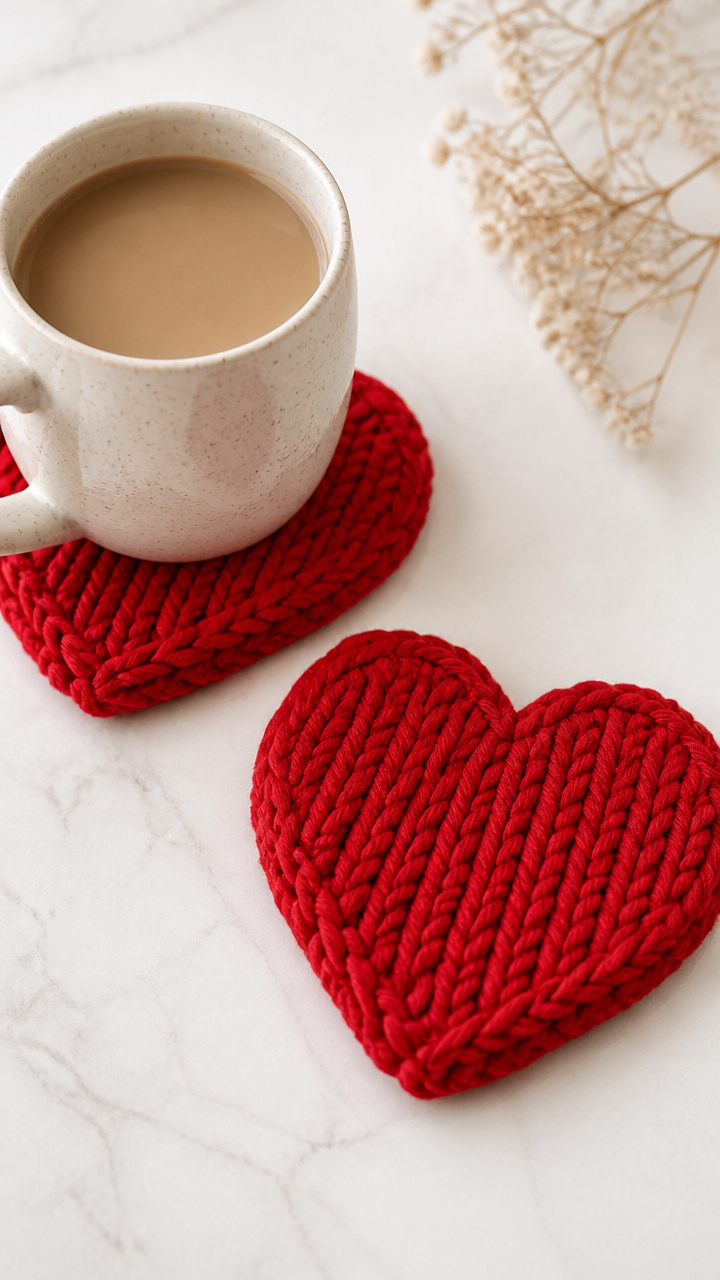
Bulky yarn knitted into plush hearts protects tables and warms hands around mugs. These work up fast and feel satisfying to make with simple stitches.
Materials Needed
- red bulky acrylic yarn, 50 yards
- pair of US size 10 knitting needles
- yarn needle
- scissors
- stitch marker
How to Make It
- Cast on 20 stitches using the long-tail method and place the stitch marker on the right needle.
- Knit every row for 18 rows, slipping the marker each time.
- Bind off 3 stitches at the beginning of the next two rows, then decrease one stitch at each end for the next 4 rows.
- Fasten off and weave in ends using the yarn needle.
8. Photo Transfer Mason Jars
Advanced
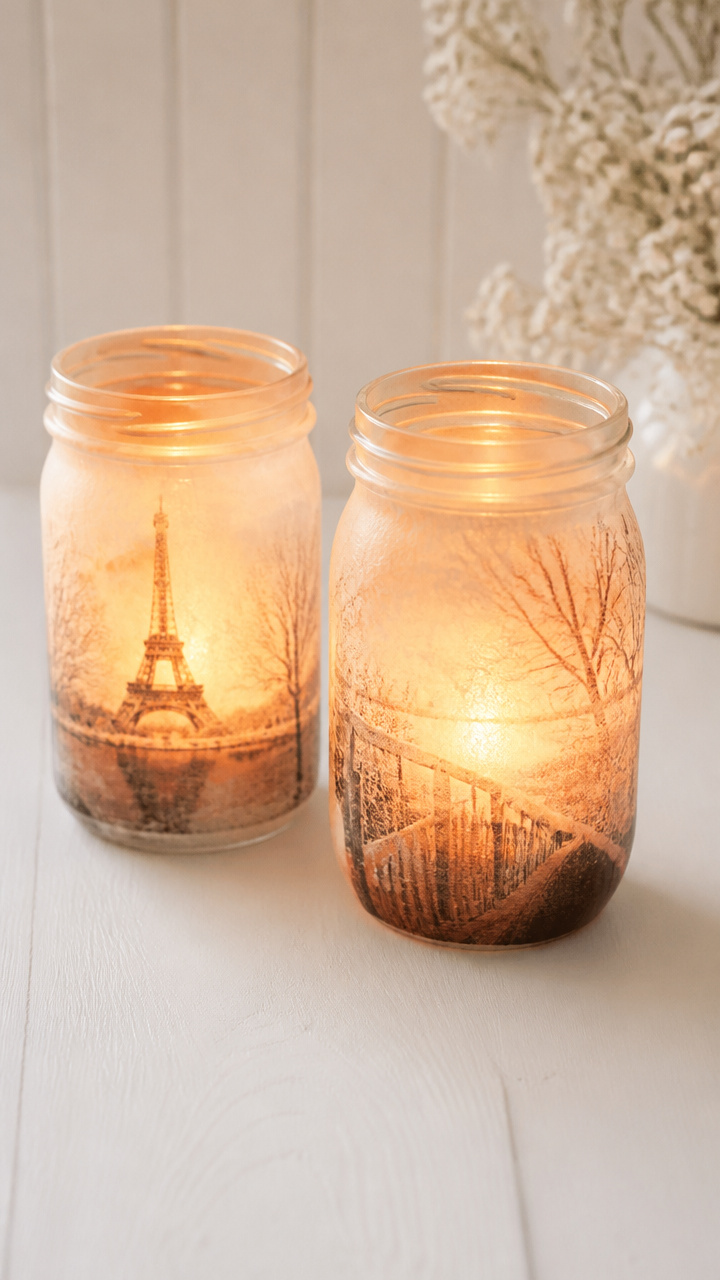
A couple's photo wraps around a jar using gel medium, creating a luminous glow when a tea light flickers inside. The image appears softly, like a memory.
Materials Needed
- 2 clean 8-ounce mason jars
- laser-printed photos (black and white or color), 3×5 inches
- matte gel medium, 4 oz
- foam brush, 1 inch wide
- paper towels
- cotton swabs
- tea light candles, 2
How to Make It
- Brush a thick, even layer of gel medium onto the front of the photo using the foam brush.
- Carefully press the photo face-down onto the outside of the jar, smoothing from center outward with fingers.
- Let dry completely for 24 hours until the paper feels stiff.
- Dampen a paper towel and gently rub the back of the paper in small circles until the image transfers and the paper residue lifts.
- Use cotton swabs to clean edges and let dry another hour before placing a tea light inside.
9. Heart-Shaped Bath Bombs
Moderate
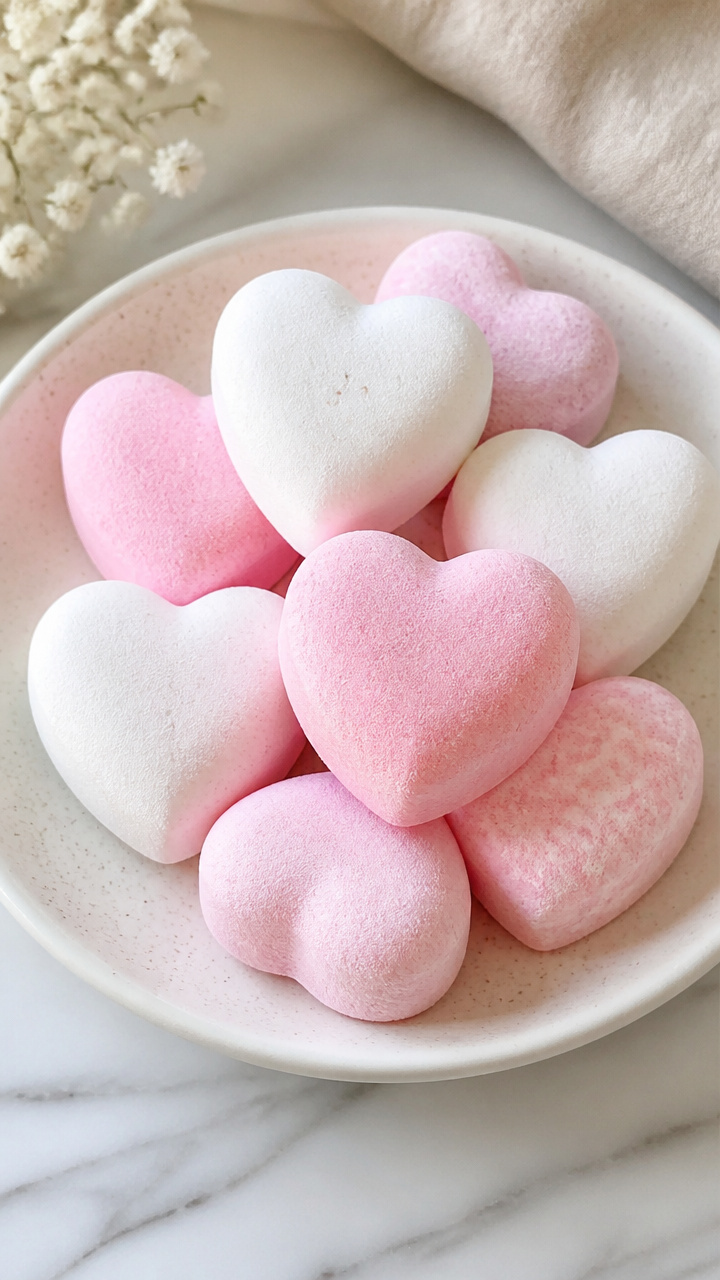
Fizzy disks scented with vanilla and rose dissolve in warm water, turning bath time into a pampering ritual. These make thoughtful handmade gifts tucked in a box.
Materials Needed
- 1 cup baking soda
- ½ cup citric acid
- ½ cup cornstarch
- ¼ cup Epsom salt
- 2 tablespoons coconut oil, melted
- 1 teaspoon vanilla extract
- 10 drops rose essential oil
- pink mica powder, ½ teaspoon
- spray bottle with water
- heart-shaped silicone mold, 2 cavities
- measuring spoons
- mixing bowl
How to Make It
- Whisk baking soda, citric acid, cornstarch, and Epsom salt in a mixing bowl until lump-free.
- In a separate cup, mix melted coconut oil, vanilla extract, rose essential oil, and mica powder.
- Drizzle the wet mixture into the dry ingredients while stirring constantly to avoid fizzing.
- Spritz with 2–3 bursts of water from the spray bottle and mix quickly until the blend holds shape when squeezed.
- Press firmly into the silicone mold and let sit 4 hours before popping out.
10. Yarn-Wrapped Picture Frame
Easy
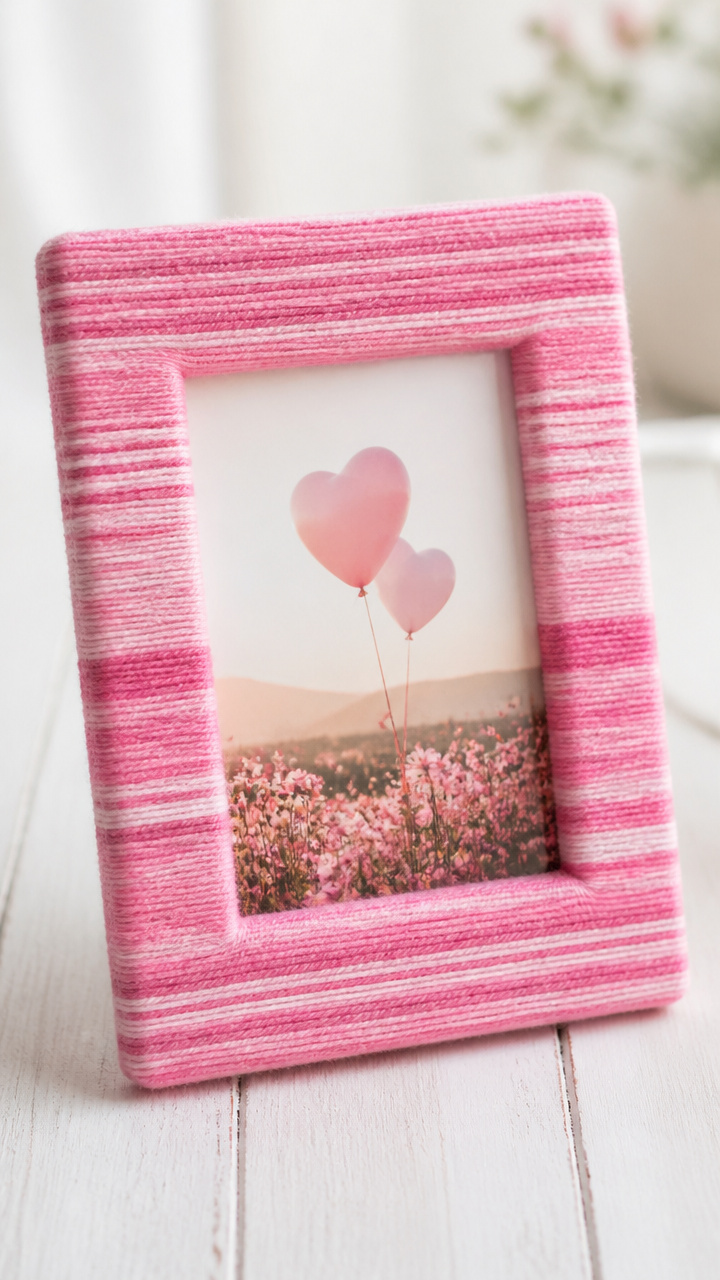
A plain wooden frame transforms with tightly wound pink yarn, giving it soft dimension and a handmade touch. It cradles a favorite photo with quiet affection.
Materials Needed
- unfinished pine picture frame, 5×7 inches
- pink medium-weight yarn, 30 yards
- craft glue
- small paintbrush
- scissors
How to Make It
- Apply a thin line of craft glue along one short edge of the frame using the paintbrush.
- Press the yarn end into the glue and let dry 5 minutes.
- Wrap the yarn tightly around the frame, adding a dot of glue every inch to secure the strand.
- Continue wrapping until the entire frame is covered, then glue the end and trim with scissors.
11. Clay Stamp Hearts
Moderate
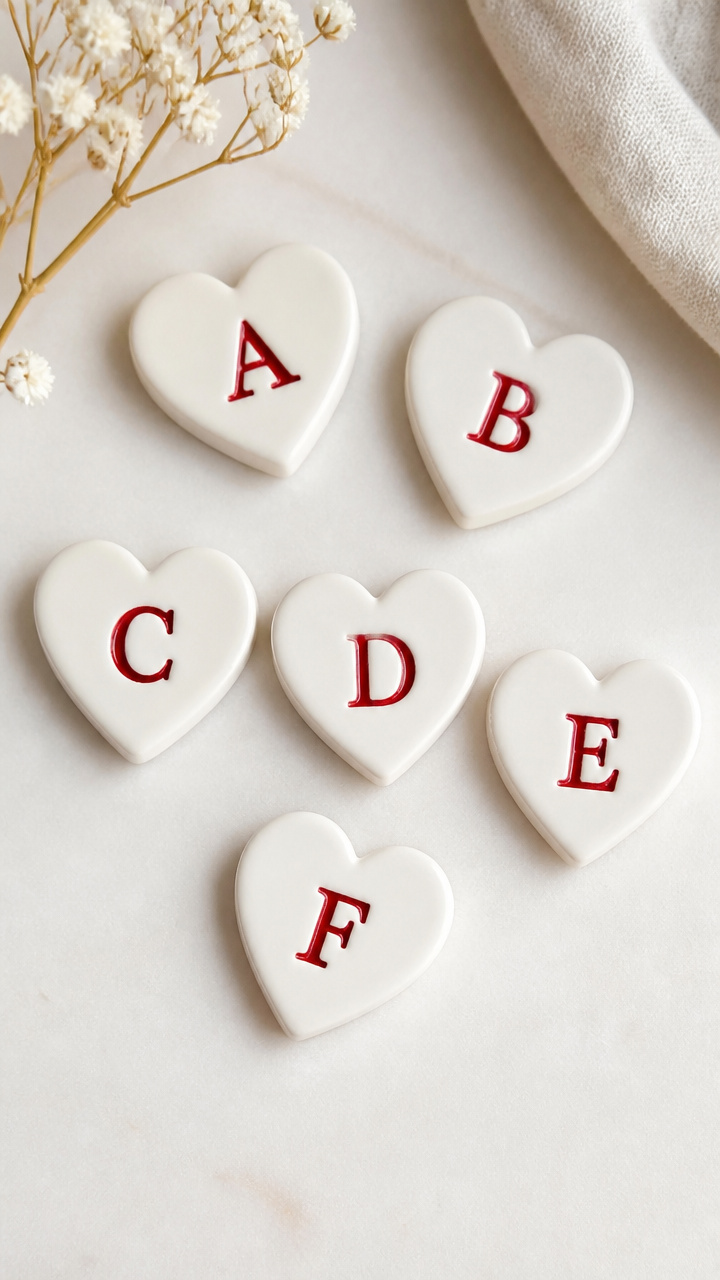
Air-dry clay pressed with initials bakes firm and stamps crisp designs onto tags or paper. These personalized tools make gift wrapping feel intentional.
Materials Needed
- white air-dry clay, 4 oz block
- alphabet stamp set, uppercase
- rolling pin
- clay blade
- acrylic paint, red
- paintbrush, size 2 round
- clear acrylic sealer spray
How to Make It
- Roll the clay to ¼ inch thickness using the rolling pin on a flat surface.
- Cut out 6 heart shapes using the clay blade and smooth edges with a finger.
- Press two initials into each heart using the alphabet stamps.
- Let clay dry 24 hours until hard, flipping halfway through.
- Paint the surface red and let dry 30 minutes, then spray with sealer in a well-ventilated area.
12. Quilted Heart Pincushion
Advanced
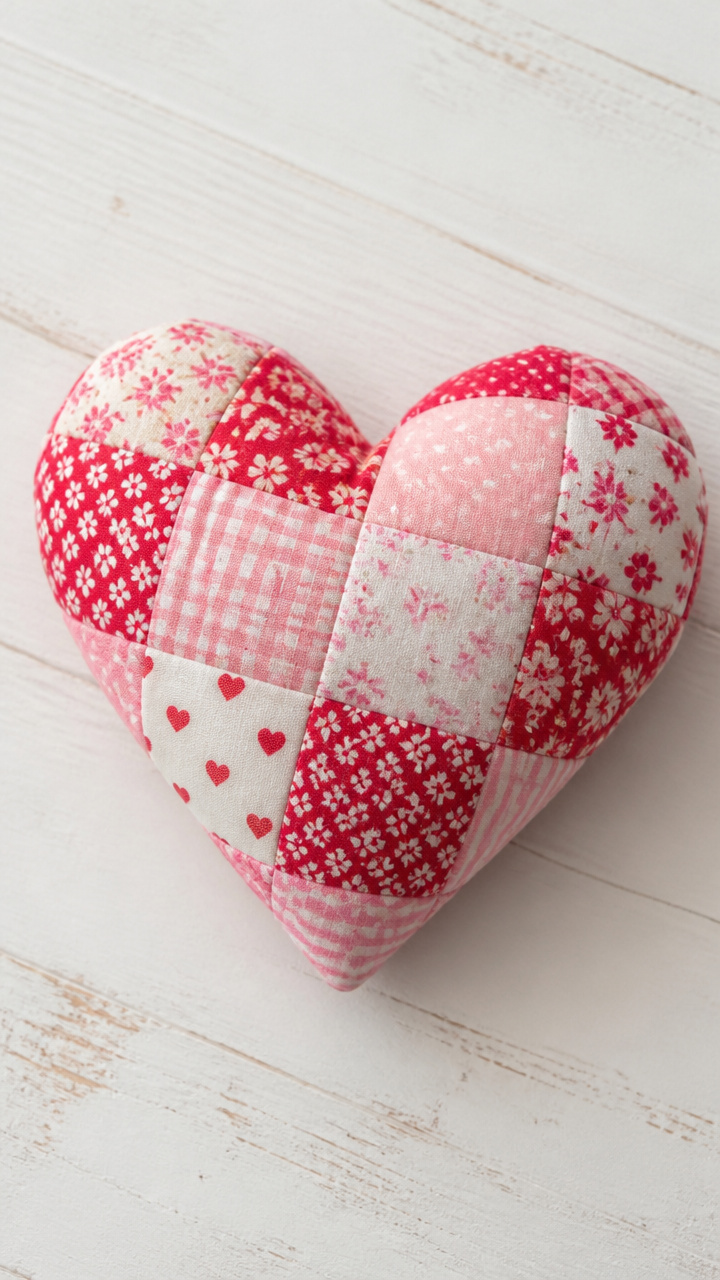
Tiny fabric scraps stitched into a layered heart hold pins securely and add charm to a sewing basket. The dense batting keeps needles from poking through.
Materials Needed
- scraps of red, pink, and white quilting cotton fabric
- 8×8 inch square of cotton batting
- sewing machine
- thread, black
- rotary cutter
- cutting mat
- quilter's ruler
- safety pins
- polyester fiberfill, 2 ounces
- hand-sewing needle
How to Make It
- Use the rotary cutter and ruler to cut five 3-inch hearts from assorted fabric scraps.
- Layer the hearts in pleasing order on the batting and pin together with safety pins.
- Quilt the layers by sewing straight lines ½ inch apart across the heart using the sewing machine.
- Cut a second set of five hearts and place right sides together with the quilted piece, then sew around the edge with a ¼ inch seam, leaving a 1.5-inch gap.
- Turn right side out, stuff with fiberfill, and hand-stitch the opening closed.
13. Paper Quilled Greeting Card
Advanced
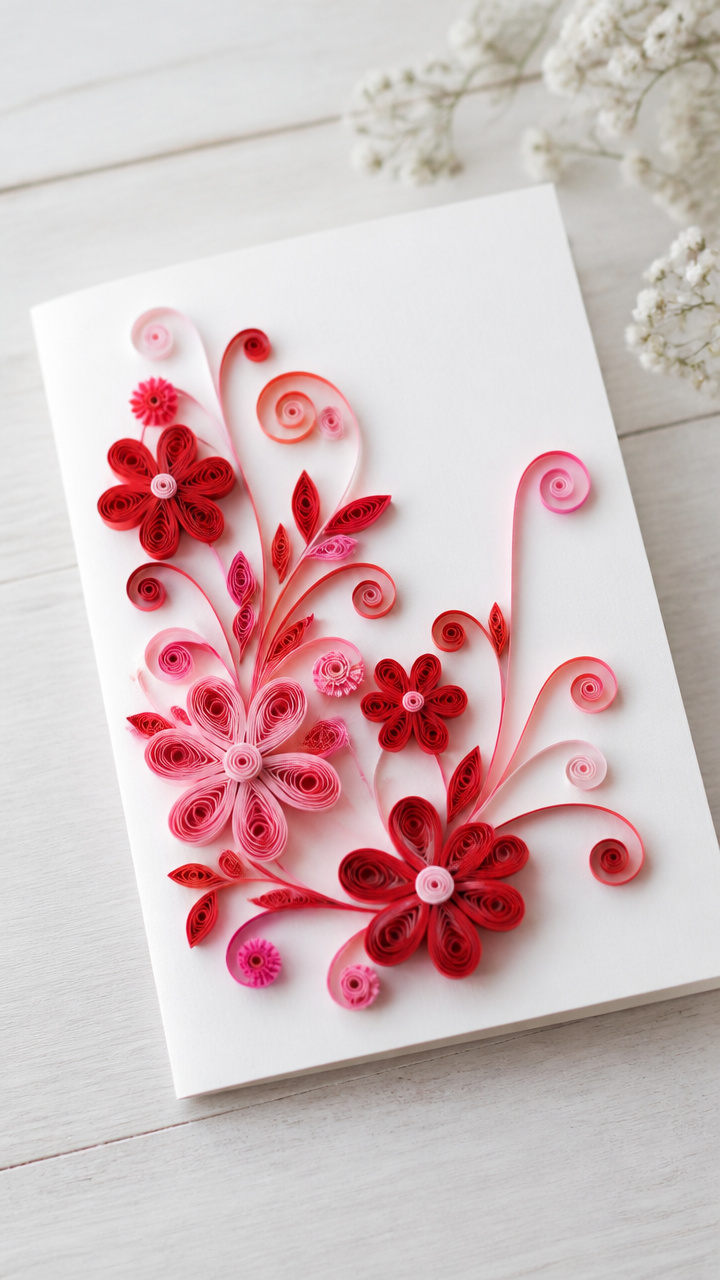
Tightly coiled strips of paper bloom into floral designs on a blank card. The dimensional effect catches light and rewards close looking.
Materials Needed
- red and pink quilling paper strips, ⅛ inch wide, 12 inches long, 10 each
- quilling tool with slotted tip
- white A2 cardstock card and envelope
- tacky glue
- tweezers
- pencil
- ruler
How to Make It
- Insert one end of a red strip into the quilling tool slot and roll tightly until the full length is coiled, then slide it off and let it loosen slightly.
- Pinch one side of the coil to form a teardrop shape and secure with a dab of tacky glue using tweezers.
- Repeat to make 8 teardrop petals, letting glue dry 5 minutes each.
- Glue petals in a circle around a loose pink center coil to form a flower.
- Arrange and glue three flowers diagonally on the card front, letting the design dry flat for 30 minutes.
14. Macramé Wall Hanging
Advanced
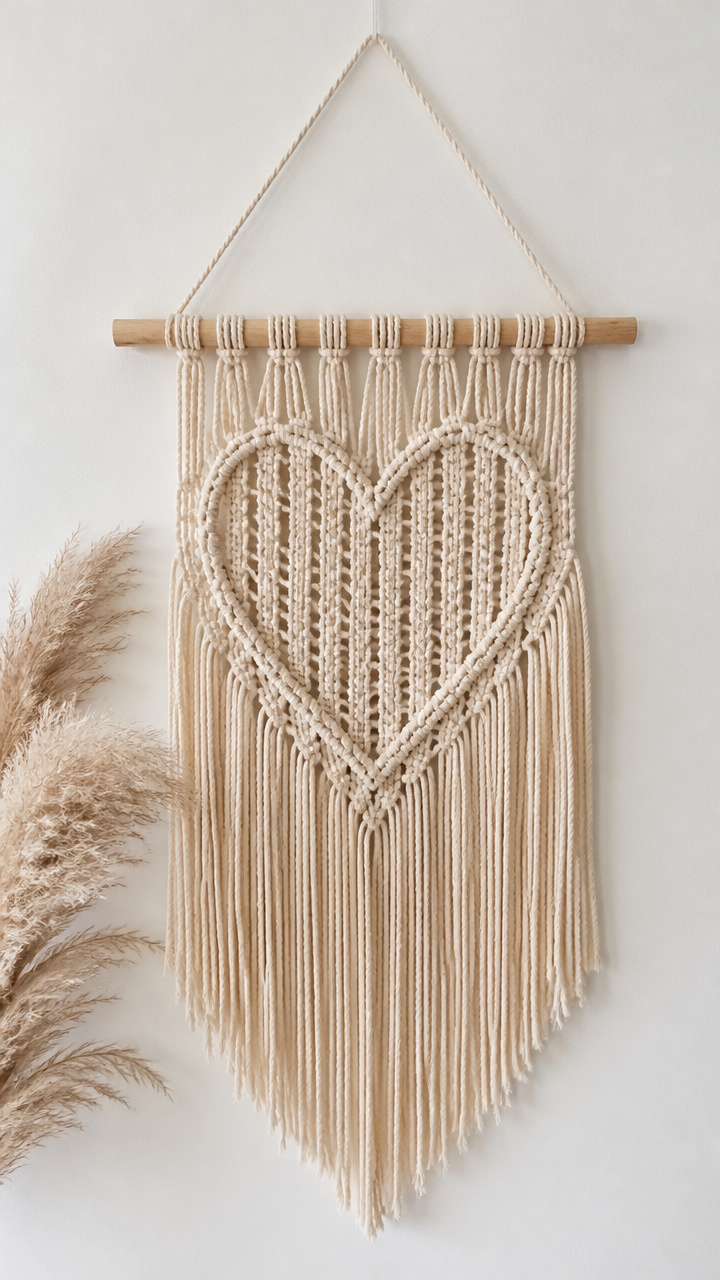
Twisted cords cascade into a heart-shaped focal point, bringing bohemian texture to bare walls. The rhythmic knotting soothes hands and mind alike.
Materials Needed
- 4 mm single-strand cotton cord, 8 pieces, each 6 feet long
- wooden dowel, 12 inches long, ¼ inch diameter
- scissors
- measuring tape
- comb for fringe
How to Make It
- Fold each cord in half and attach to the dowel using a lark’s head knot, resulting in 16 hanging strands.
- Divide strands into 4 groups of 4 and tie a square knot 6 inches below the dowel in each group.
- Separate the outer two cords from each adjacent group and tie them together with a square knot to form the top curve of the heart.
- Continue tying interconnected square knots downward, narrowing the shape until the heart point forms at 10 inches.
- Trim all ends evenly at 12 inches and comb the fringe for softness.
15. Chocolate Mold Candles
Moderate
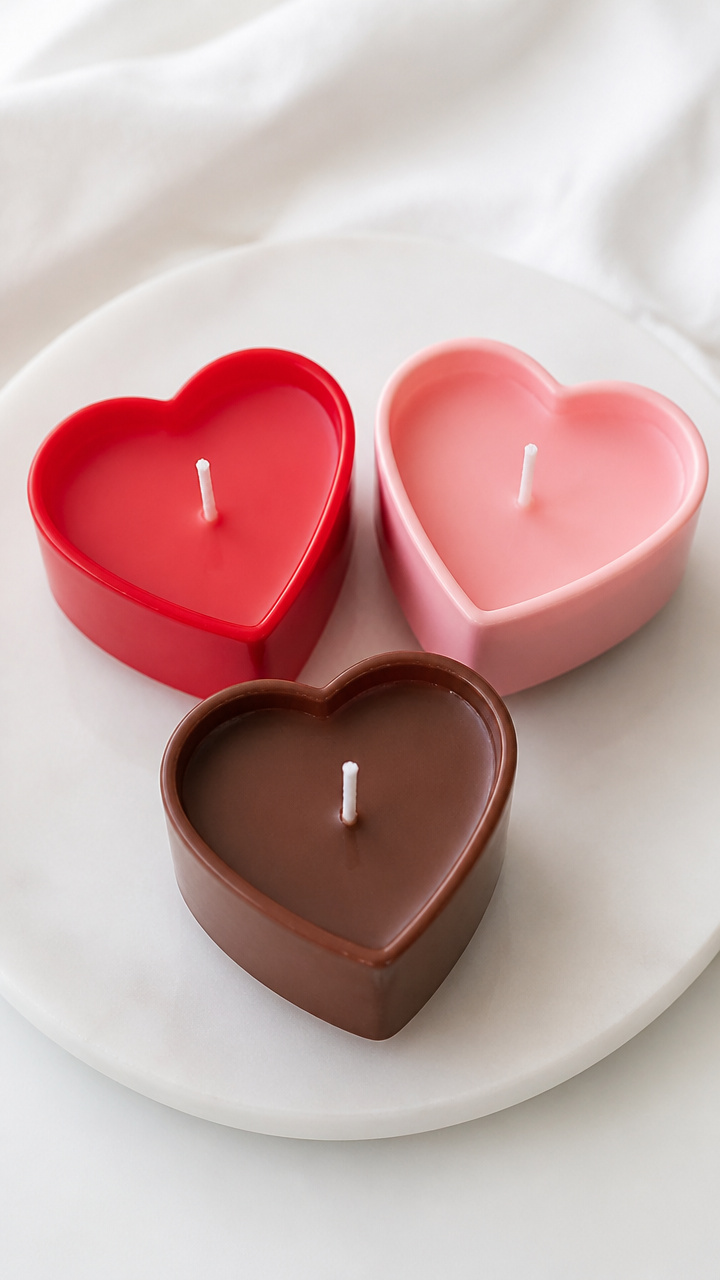
Silicone molds shaped like hearts hold poured wax and a wick, becoming sweetly scented treats that burn safely. The glossy finish looks good on any surface.
Materials Needed
- silicone heart chocolate mold, 3 cavities
- soy wax flakes, 8 oz
- candle wicks, pre-tabbed, 3
- double boiler
- chocolate fragrance oil, 15 ml
- chopstick
- thermometer
How to Make It
- Melt soy wax in the double boiler over medium heat, stirring occasionally until fully liquid and reaching 185°F on the thermometer.
- Remove from heat and stir in chocolate fragrance oil with the chopstick.
- Let cool to 135°F, then pour slowly into each mold cavity.
- Center a wick in each mold by balancing it across the top with the chopstick.
- Let cure 6 hours at room temperature before unmolding.
Grab your favorite mug, turn on some music, and let your hands find joy in making. Each of these crafts holds space for love, one stitch, pour, or cut at a time.