15 Beautiful Valentine’s Day Paper Flower Crafts

Soft petals folded from paper, delicate layers dyed in blush and crimson, tiny stems wrapped just right—these handmade blooms bring warmth to any space. They last longer than fresh flowers and carry the quiet pride of something made with care.
You don’t need a studio or years of experience to create them. With scissors, glue, and a little time, you can craft heartfelt decorations that feel personal and polished.
1. Layered Tissue Paper Peonies
Easy
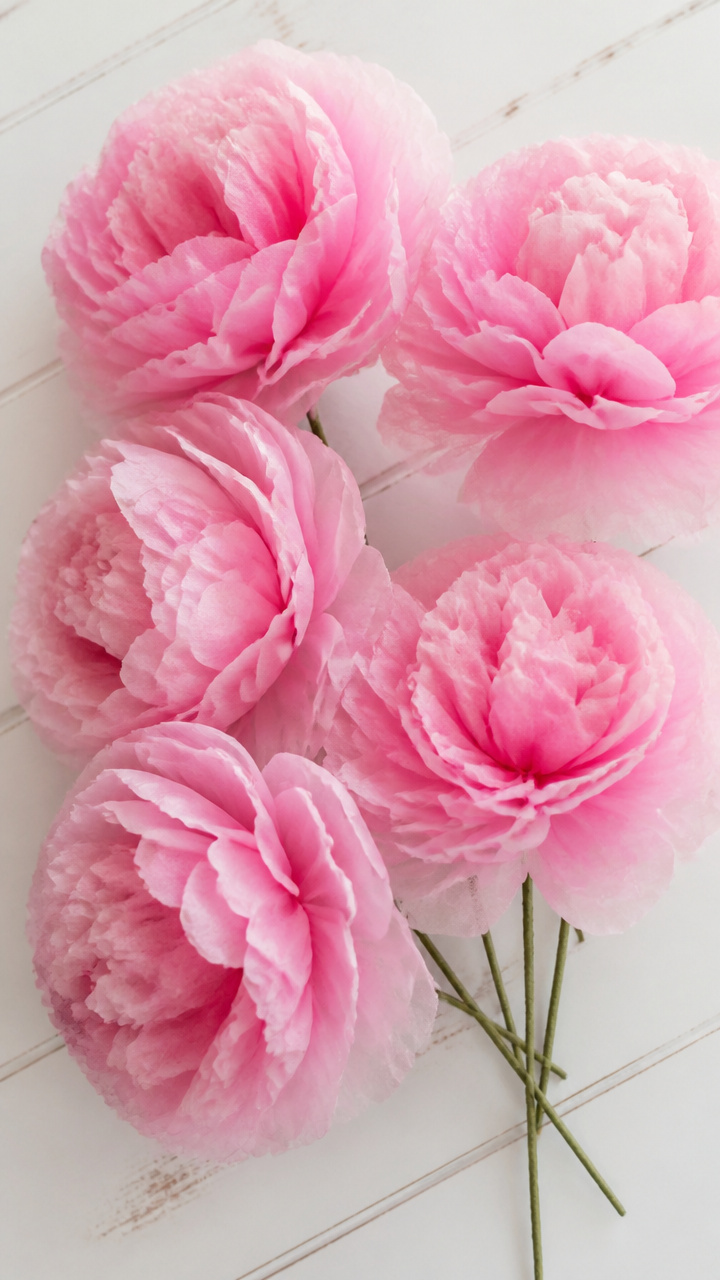
Full, fluffy blossoms that mimic real peonies with soft gradients and airy volume. These become eye-catching centerpieces or wall decor with minimal effort.
Materials Needed
- Pink tissue paper (6 sheets per flower)
- Green floral wire (20 gauge, 1 per flower)
- Scissors
- White school glue
How to Make It
- Stack 6 sheets of pink tissue paper and fold them accordion-style into 1.5-inch pleats.
- Wrap the center of the folded stack with floral wire, twisting tightly to secure.
- Carefully fan out each layer by pulling up individual sheets one at a time, starting from the outer edges and working inward.
- Apply a small dab of white school glue between each pulled layer to hold its shape as you go.
2. Origami Heart Lotus Blooms
Moderate
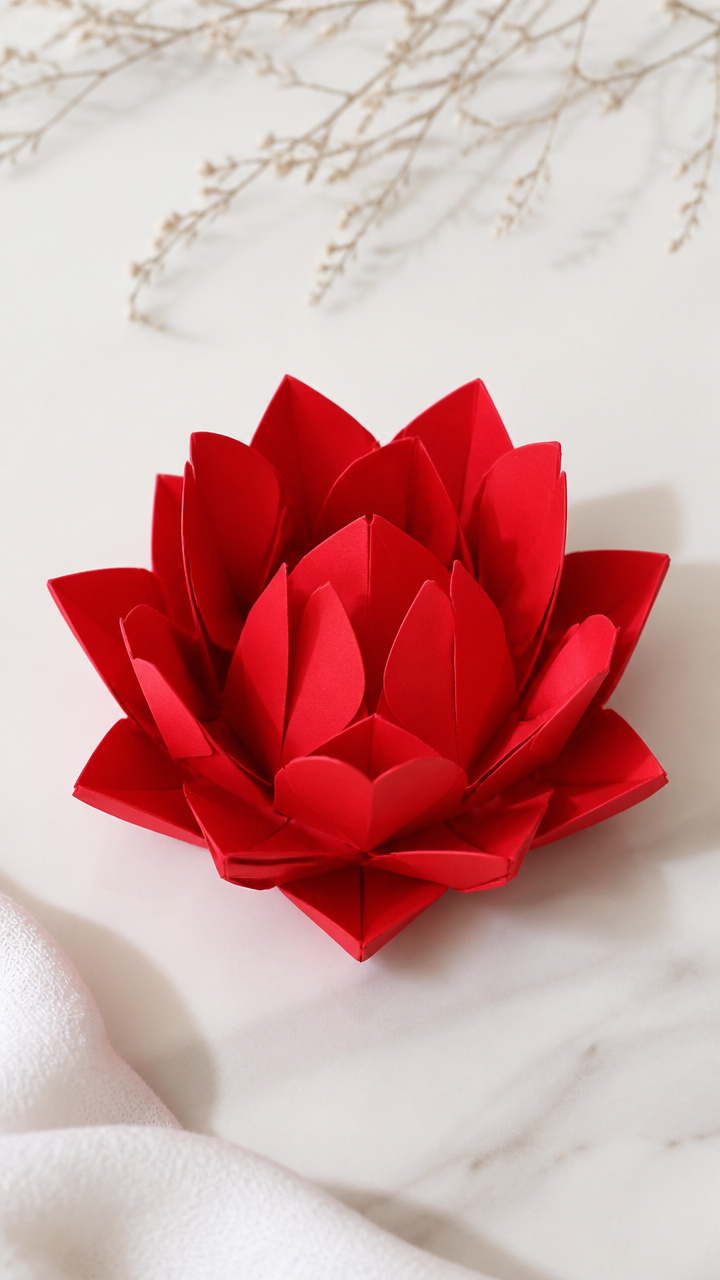
Delicate folded petals shaped like hearts form a symmetrical lotus that rests flat or stands upright. Perfect for card embellishments or gift toppers.
Materials Needed
- Red origami paper (7.5 x 7.5 cm squares, 8 per bloom)
- Pencil with eraser
- Glue pen
- Tweezers
How to Make It
- Fold one square diagonally to form a triangle, then fold the bottom corners up to meet the top point, creating a heart-like shape.
- Repeat with all 8 squares to make identical petal units.
- Use tweezers to apply a dot of glue to the base of each petal and attach them around the eraser end of a pencil in a circular pattern.
- Let the glue set for 2 minutes, then gently slide the bloom off the pencil and adjust the petals outward.
3. Rolled Crepe Paper Roses
Advanced
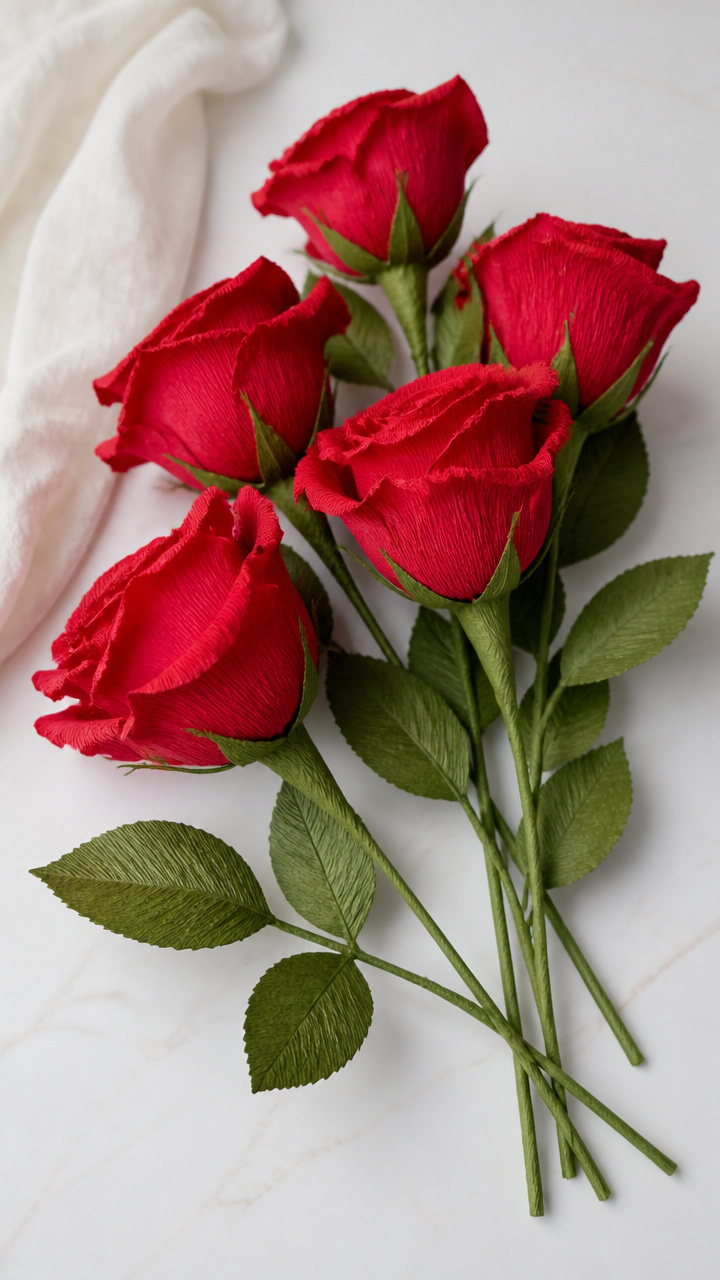
Realistic roses with gently frayed edges and curved petals. These look so lifelike they’re often mistaken for silk.
Materials Needed
- Red crepe paper on a bolt (15cm wide, 30cm length per rose)
- Floral tape (green, 1 roll)
- Floral wire (22 gauge, 1 per rose)
- Scissors
- Bone folder
How to Make It
- Cut a 30cm length of red crepe paper and slice it diagonally into a long spiral strip using scissors.
- Starting at the narrow end, roll the strip tightly around a 22-gauge floral wire, applying slight tension to create a bud shape.
- Use your fingers to gently stretch and cup each outer layer of the coil, forming individual petals.
- Wrap the stem with green floral tape, stretching slightly as you go to activate its stickiness.
4. Watercolor Bleed Heart Poppies
Moderate
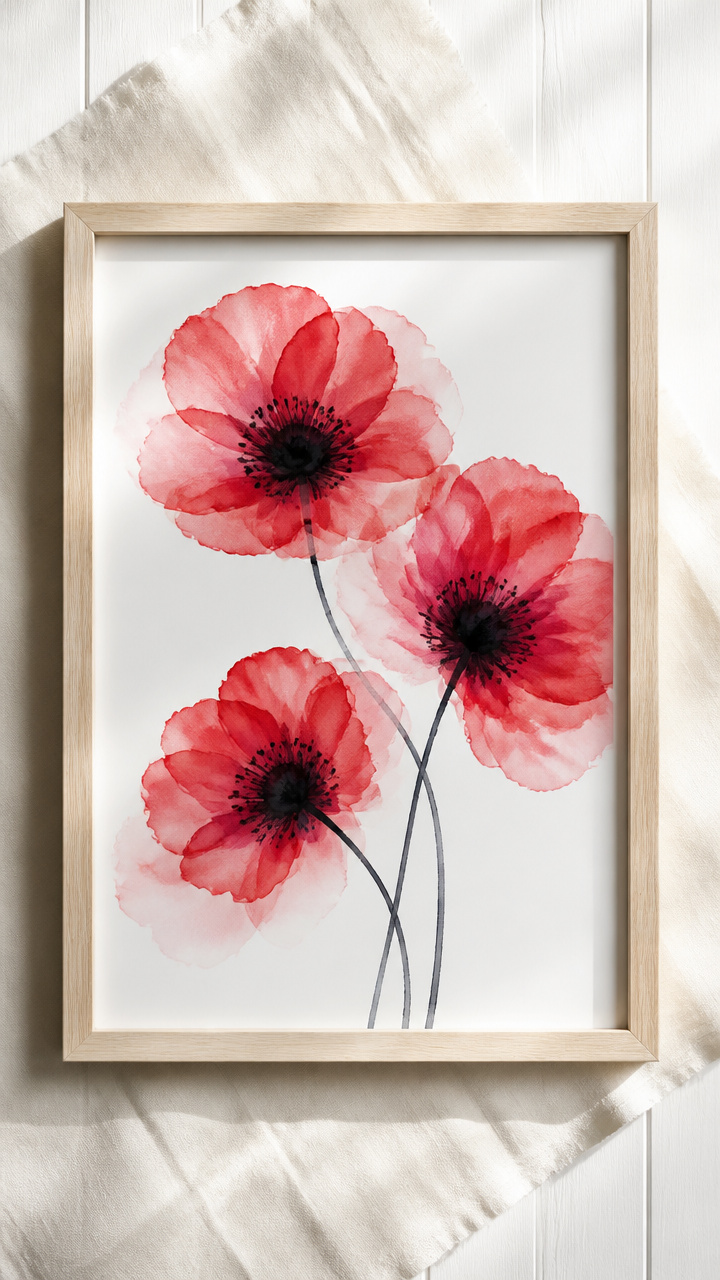
Translucent petals with organic red washes and black centers. These add artistic flair to shadow boxes or framed displays.
Materials Needed
- Bleeding art tissue paper (red and black, 1 sheet each)
- Watercolor brush (size 6 round)
- Water spray bottle
- White cardstock (A4, 1 sheet)
- Craft knife
- Cutting mat
How to Make It
- Lay red bleeding tissue paper on the cutting mat and use the craft knife to cut out five teardrop-shaped petals, about 5cm long.
- Spritz the petals lightly with water and touch the tip of a black bleeding tissue square to the center to let ink bleed outward.
- Let the petals dry completely on a flat surface, then curl them slightly using the handle of the brush.
- Adhere the dried petals in an overlapping circle onto A4 white cardstock using a glue pen.
5. Paper Quilled Red Tulips
Moderate
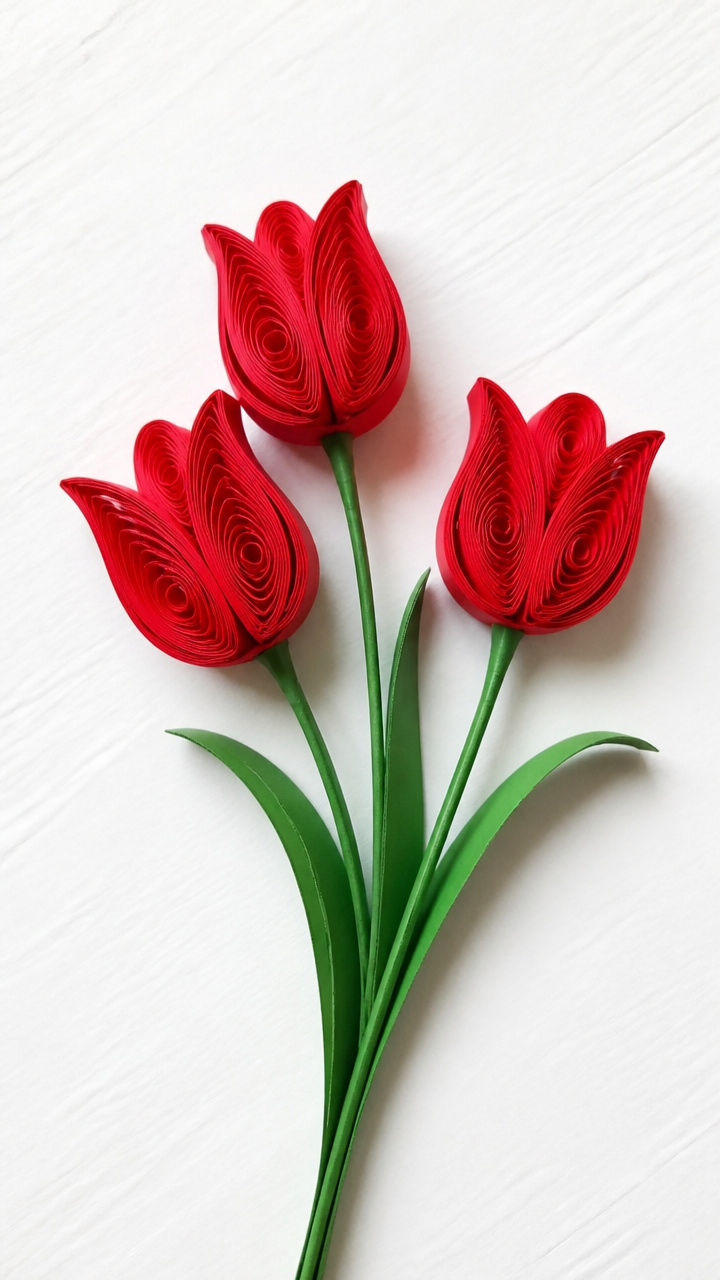
Neat coils shaped into smooth, curving tulip cups. These tiny sculptures work beautifully in clusters on greeting cards or frames.
Materials Needed
- Red quilling paper strips (3mm wide, 50cm length, 3 per tulip)
- Quilling tool (slotted type)
- White glue
- Tweezers
- Green quilling paper strip (3mm, 30cm)
How to Make It
- Roll one red strip tightly using the slotted quilling tool, then release the coil slightly to form a loose circle.
- Pinch the opposite sides of the coil to create a teardrop shape, then repeat with two more red strips.
- Glue the three teardrop shapes together at their bases, fanning them slightly to form a tulip head.
- Roll the green strip into a tight coil, pinch one end into a point, and glue it beneath the flower as a stem.
6. Foil-Pressed Marigolds
Advanced
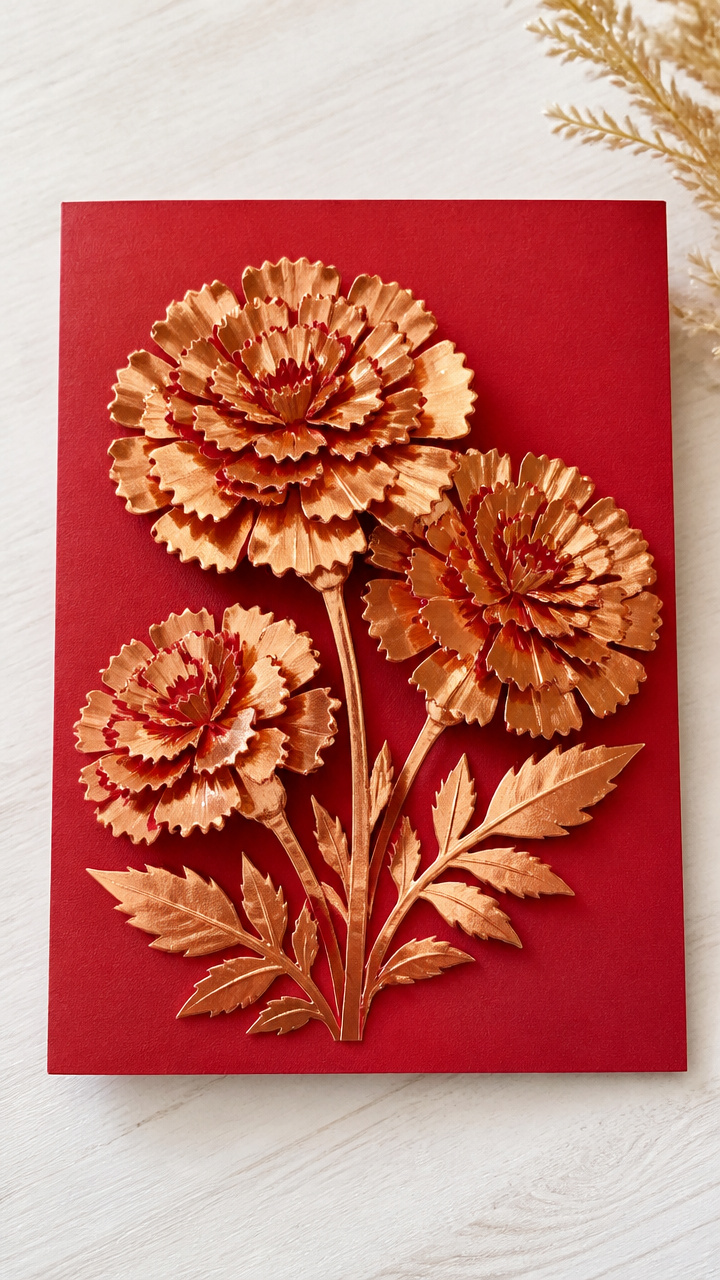
Shiny copper-edged petals that catch the light with every movement. Ideal for modern table settings or hanging mobiles.
Materials Needed
- Gold heat transfer foil (A4 sheet)
- Heat press machine (or household iron)
- Red cardstock (A4, 1 sheet)
- Marigold petal template (printed, 4cm tall)
- Double-sided tape
How to Make It
- Place the gold heat transfer foil shiny side down on the red cardstock and cover with a parchment sheet.
- Run through a heat press at 320°F for 15 seconds, or press firmly with a hot iron for 20 seconds to bond the foil.
- Cut out marigold petals using the 4cm template, ensuring each has a foil-tipped edge.
- Layer and assemble five petals in a circle using double-sided tape, offsetting each to show the metallic tips.
7. Pop-Up Card Anemones
Easy
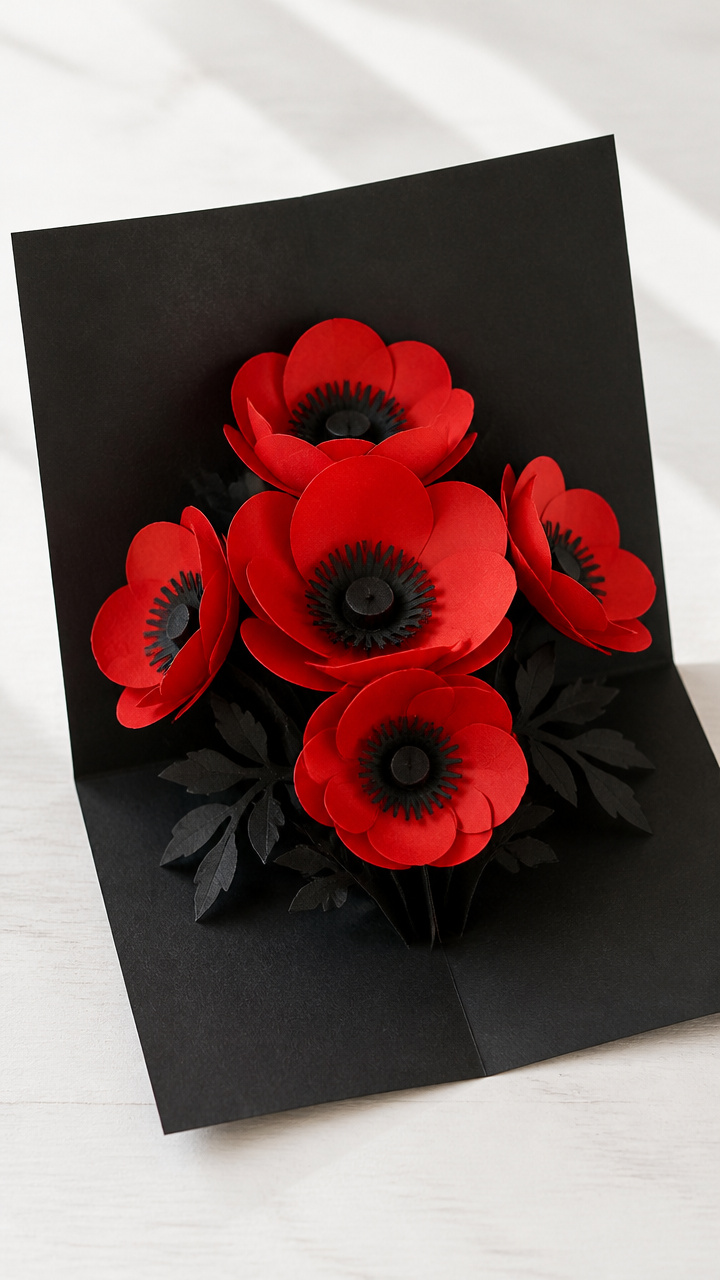
Dramatic black-centered flowers that burst forward when a card opens. Surprise someone with depth and motion in a handmade note.
Materials Needed
- Black cardstock (A4, 1 sheet)
- Red construction paper (20x20cm)
- Scissors
- Glue stick
- Ruler
- X-Acto knife
- Cutting mat
How to Make It
- Fold the black cardstock in half to form a 10x20cm card base.
- Cut a 4cm slit centered along the front fold using the X-Acto knife and ruler on the cutting mat.
- Fold a 3x8cm rectangle of red paper in half, glue the ends together to form a loop, then insert it through the slit and glue the tabs inside the card.
- Cut five oval petals from red paper and glue them around the loop to form a blooming anemone.
8. Pressed Paper Carnations
Easy
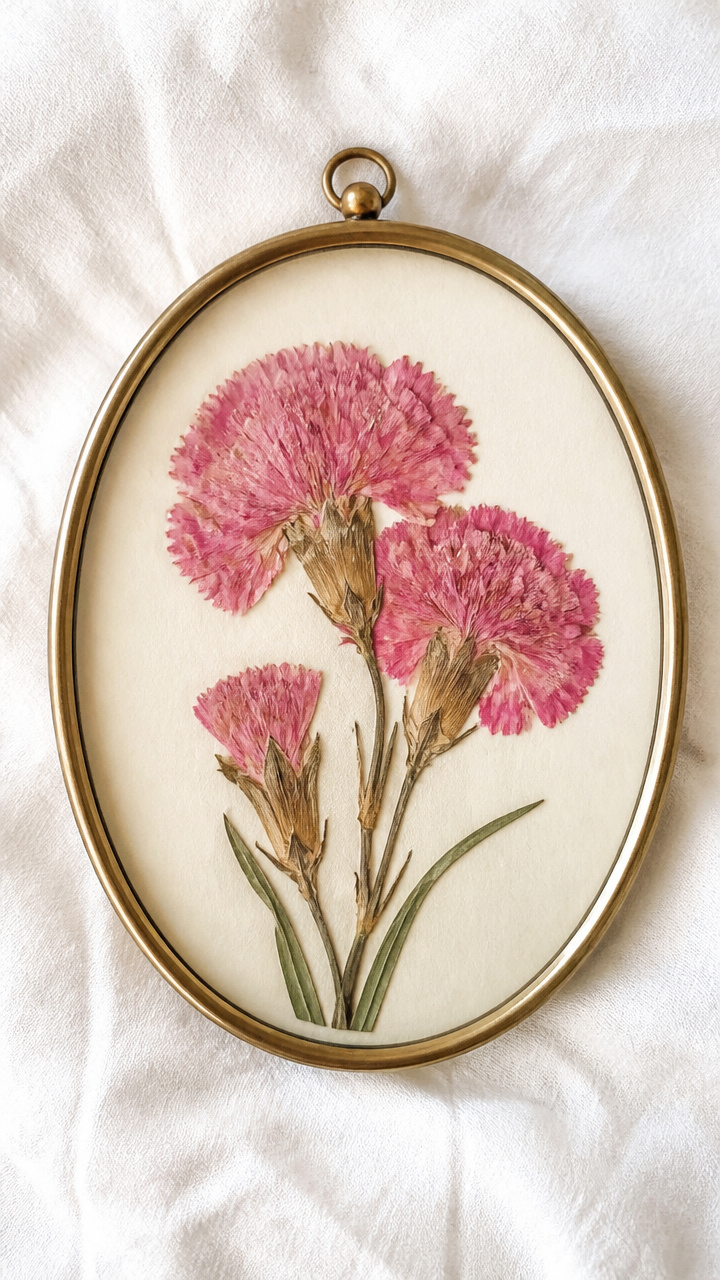
Flat-dried petals layered densely for a vintage botanical feel. These preserve well under glass or in journals.
Materials Needed
- Pink printer paper (A4, 2 sheets)
- Blender
- Waterproof tray
- Mesh screen (15x15cm)
- Sponge
- Iron on low heat
- Parchment paper
How to Make It
- Tear pink printer paper into small pieces, blend with water for 30 seconds to form pulp, then pour into the tray.
- Submerge the mesh screen, lift it evenly, and let water drain while pressing gently with a sponge.
- Transfer the wet sheet to parchment paper and iron on low heat until dry and flat.
- Cut out concentric circles from the dried sheet and roll each into a carnation shape, gluing layers as you go.
9. Laser-Cut Cherry Blossom Branch
Advanced
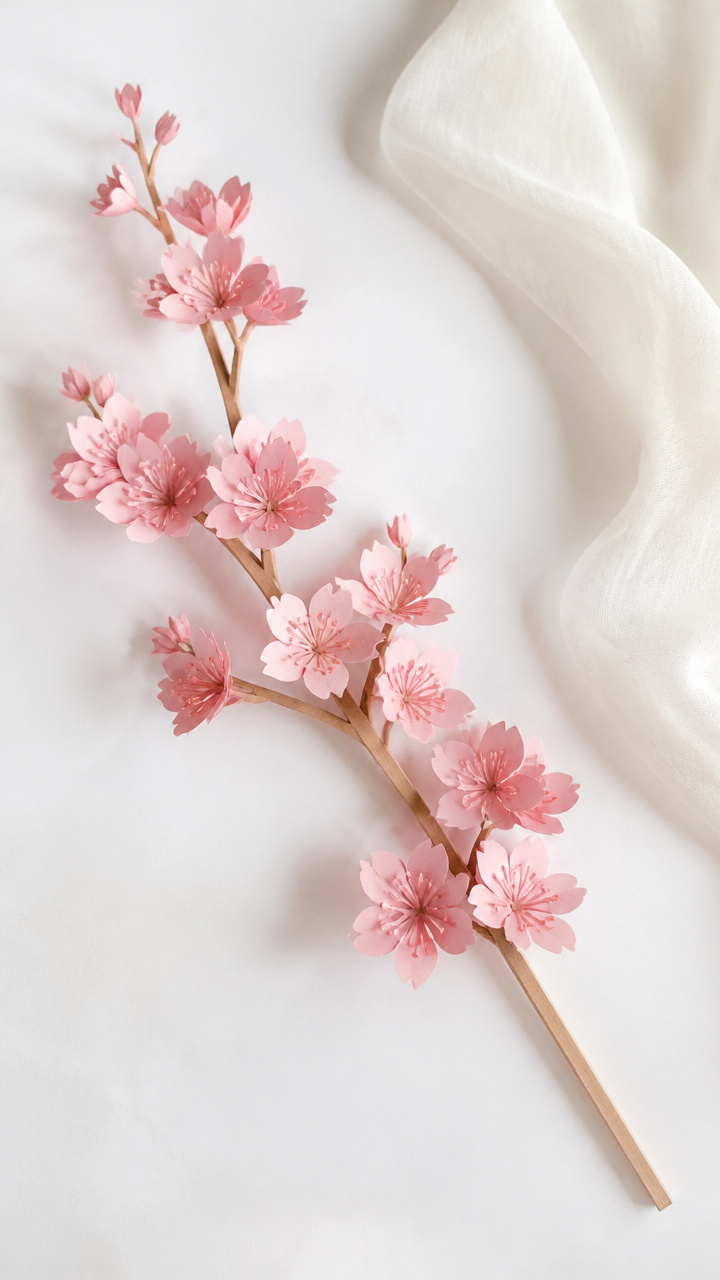
A graceful branch with dozens of tiny pink blossoms, precision-cut and assembled for a gallery-worthy wall piece.
Materials Needed
- Pink 120gsm cardstock (A4, 2 sheets)
- Laser cutter with vector file loaded
- Wooden dowel (30cm long, 5mm diameter)
- Hot glue gun and glue sticks
- Tweezers
How to Make It
- Upload a cherry blossom branch vector design to the laser cutter and cut both A4 sheets of pink cardstock.
- Remove each tiny blossom carefully using tweezers, keeping track of petal clusters.
- Apply a dot of hot glue to the center of each cluster and attach it to the wooden dowel in a staggered pattern.
- Let the glue cool completely before hanging the branch horizontally on a wall.
10. Hand-Painted Calla Lilies
Moderate
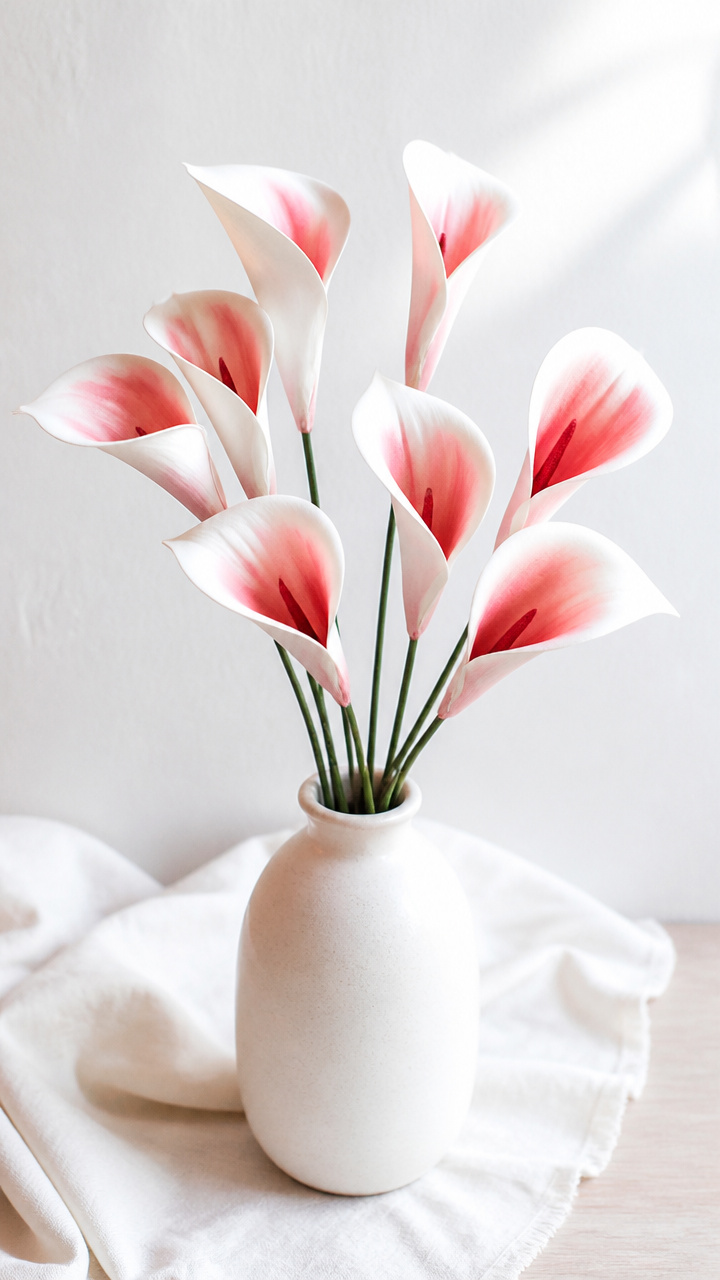
Smooth, sweeping petals brushed with gradient dye. These elegant forms suit formal displays or mantel arrangements.
Materials Needed
- White kraft paper (120gsm, A4, 1 sheet)
- Red liquid watercolor (2 teaspoons)
- Small paintbrush (flat 1/4 inch)
- Pencil
- Floral wire (20 gauge, 1 per lily)
- Glue
How to Make It
- Sketch a calla lily petal shape—long and curved, 10cm long—onto white kraft paper and cut out two copies.
- Mix 2 teaspoons of red liquid watercolor with 1 teaspoon of water and brush from base to tip on each petal for a fade effect.
- Let dry for 15 minutes, then curl the edges inward using your fingers.
- Slide both petals over a 20-gauge floral wire and glue the bases together to form a closed bloom.
11. Punched Hydrangea Clusters
Easy
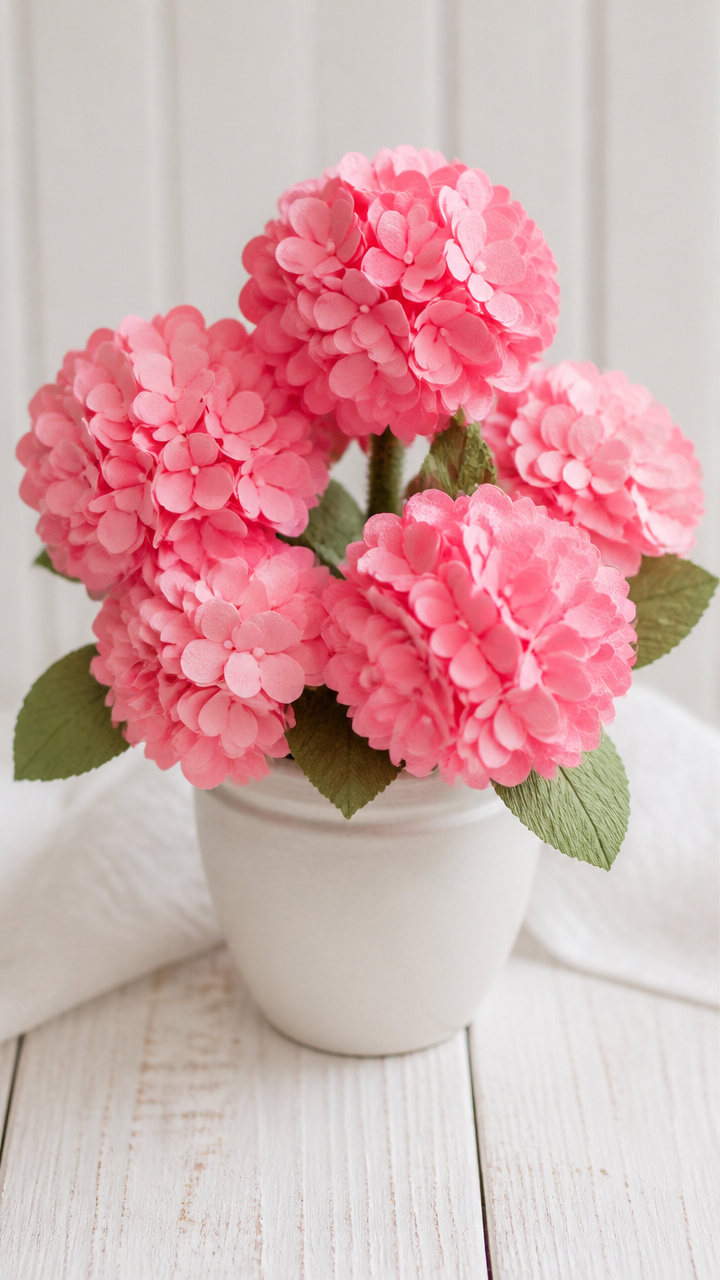
Tiny uniform blooms made with a circle punch and arranged in soft mounded clusters. Great for wreaths or bouquets.
Materials Needed
- Pink scrapbook paper (12×12 inch, 1 sheet)
- Circle punch (1 inch diameter)
- Green pipe cleaner (1 per cluster)
- Glue dots
- Toothpick
How to Make It
- Use the 1-inch circle punch to cut 15 circles from pink scrapbook paper.
- Crumple each circle gently in your palm to give it dimension, then unfold slightly.
- Apply a glue dot to the center of each circle and stack them unevenly around a toothpick to form a dome.
- Slide the base of the cluster onto a twisted green pipe cleaner and bend to secure.
12. Twisted Paper Ranunculus
Moderate
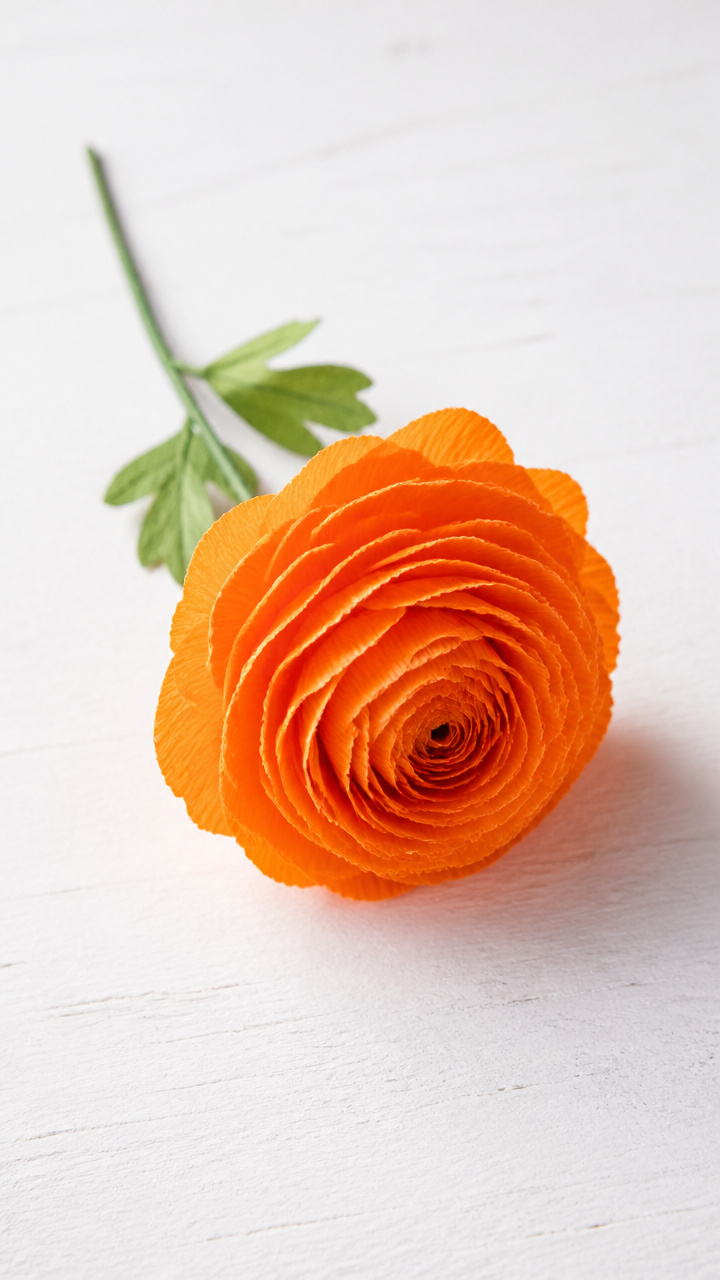
Tightly wound centers unfolding into ruffled outer petals. These hold their shape beautifully in vases or boutonnieres.
Materials Needed
- Orange crepe paper (15cm wide, 30cm length)
- Floral wire (22 gauge, 1 per flower)
- Scissors
- Glue
- Pencil
How to Make It
- Cut the crepe paper into a long spiral strip, starting wide and tapering to a point.
- Wrap the narrow end tightly around a 22-gauge floral wire using the tip of a pencil for control.
- Gradually widen the loops as you move outward, applying glue to the back of each new layer to secure.
- Curl the outer edges slightly with your fingers to enhance the ruffle effect.
13. Salt-Dyed Zinnias
Easy
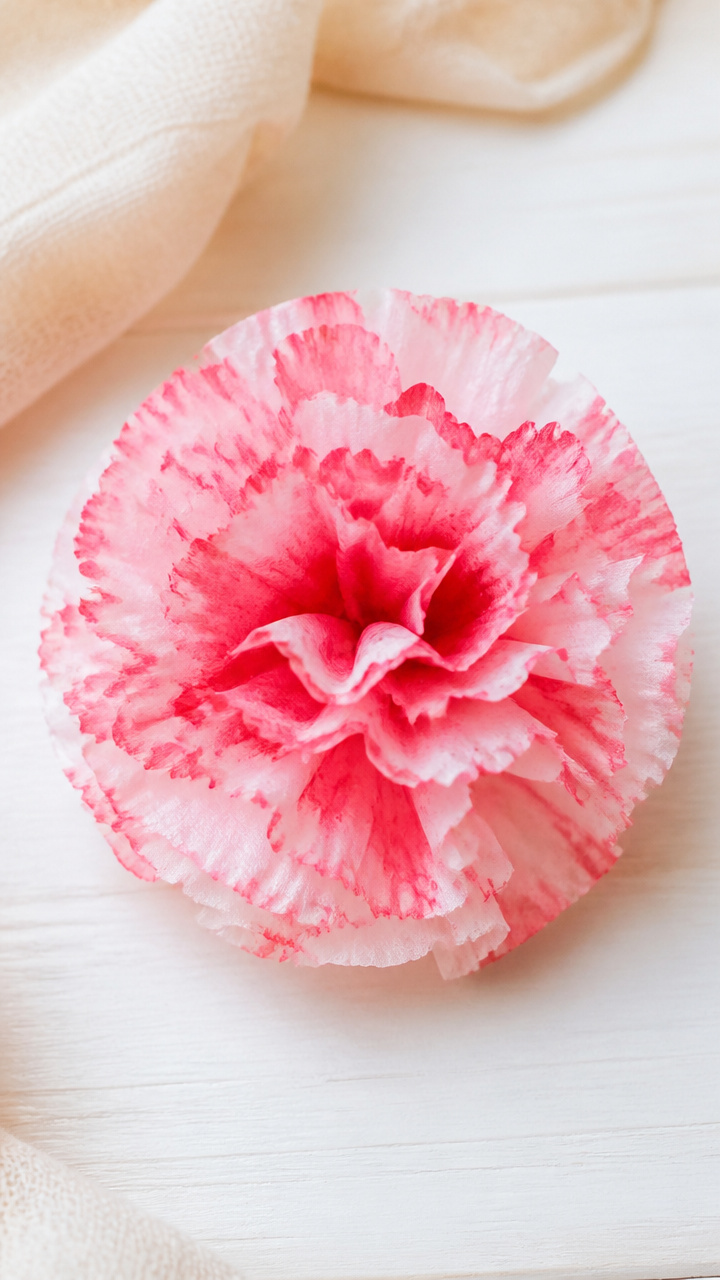
Petals with feathery edges created by salt absorbing wet color. Each bloom is unique, like a tiny painted storm.
Materials Needed
- White coffee filter (1 per zinnia)
- Red food coloring (10 drops)
- Water (2 tablespoons)
- Table salt (1 teaspoon)
- Paintbrush (round size 4)
- Scissors
How to Make It
- Cut the coffee filter into a zigzag-edged circle using scissors, then separate the layers and use one.
- Mix 10 drops of red food coloring with 2 tablespoons of water and brush it across the surface.
- Sprinkle 1 teaspoon of table salt immediately over the wet area and let sit for 5 minutes.
- Brush off the salt, then crumple the petal gently and arrange 6 around a central dot of glue to form a zinnia.
14. Embroidered Paper Daisies
Moderate
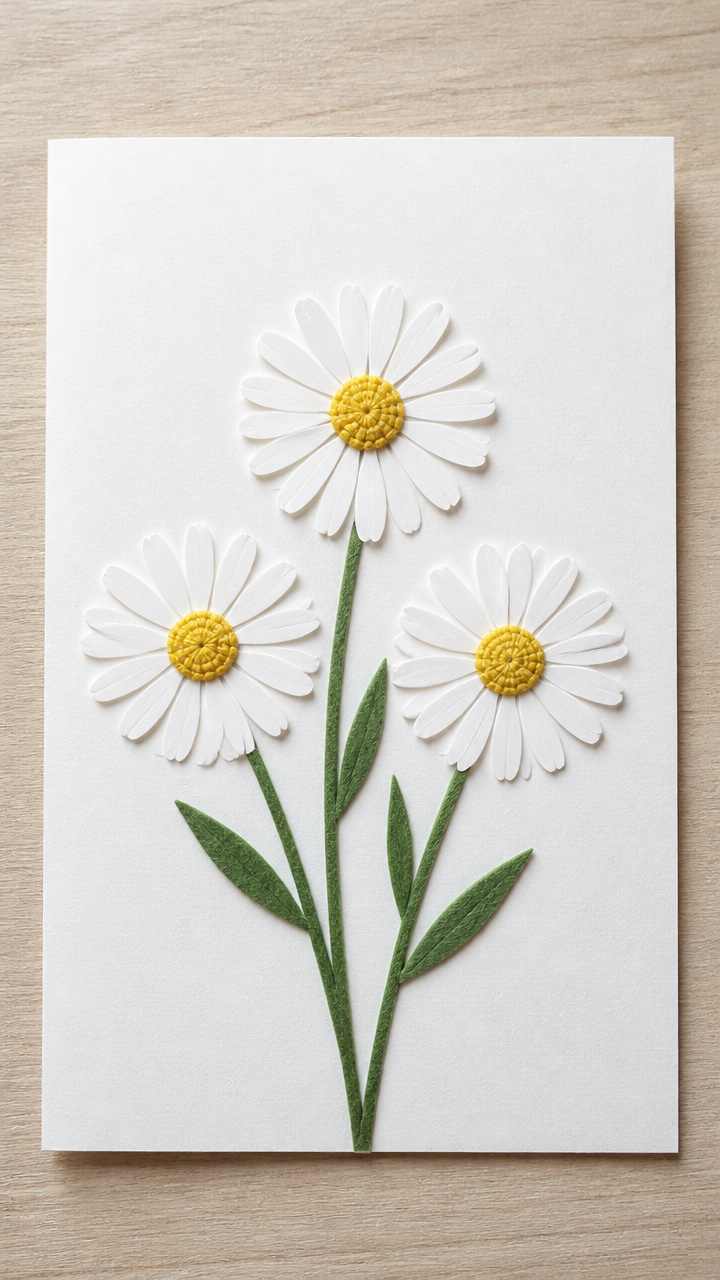
Stitched centers that rise off the page with thread texture. These combine paper and needlecraft for a hybrid keepsake.
Materials Needed
- White drawing paper (A4, 1 sheet)
- Yellow embroidery floss (1 strand, 30cm)
- Needle (tapestry type, size 24)
- Green felt-tip pen
- Compass or circular stencil
- Glue
How to Make It
- Draw a 4cm circle on white drawing paper using a compass, then cut it out.
- Thread the needle with 30cm of yellow embroidery floss and knot the end.
- Push the needle up from the back near the center and make small straight stitches in a spiral, pulling snug but not tight.
- Once the center is full, trim the back knot and use a green felt-tip pen to draw three leaf shapes below the bloom.
15. Folded Paper Vase Display
Advanced
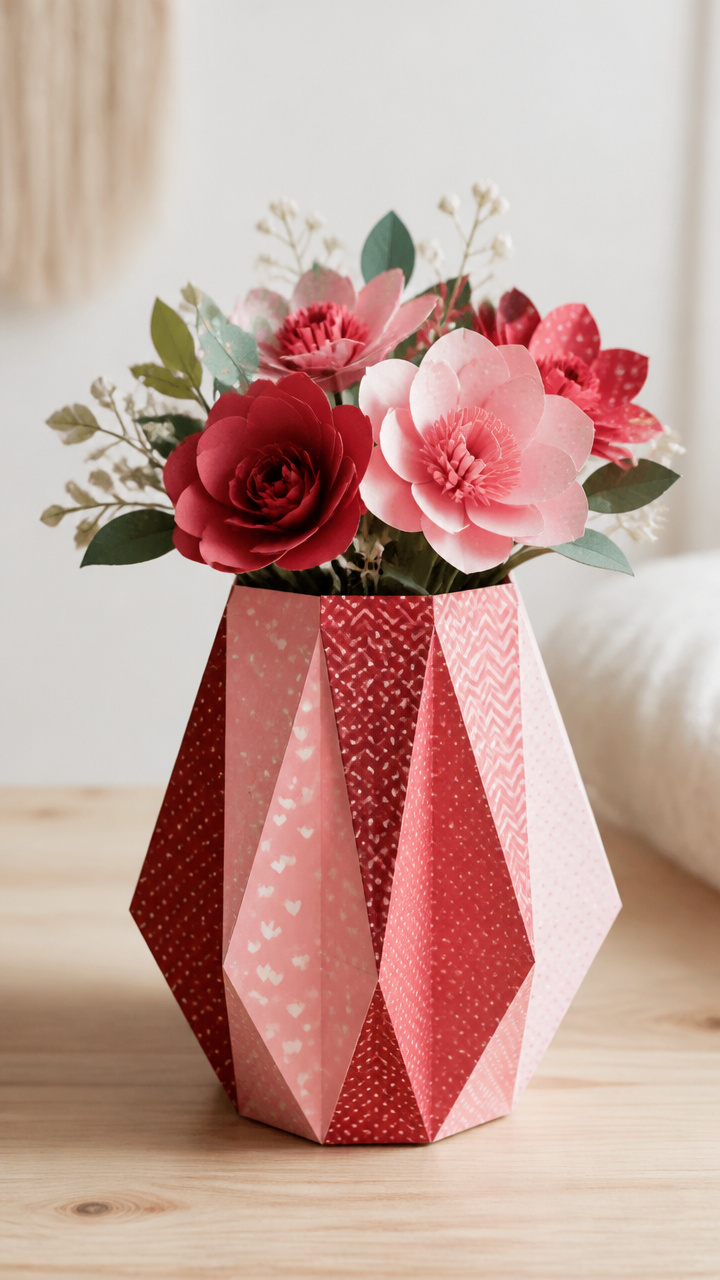
A self-standing bouquet with stems tucked into a geometric paper vase. This doubles as decor and a heartfelt gift.
Materials Needed
- Red and pink patterned scrapbook paper (12×12 inch, 2 sheets)
- Cardboard (A4, 1 sheet)
- Ruler
- Bone folder
- Craft knife
- Cutting mat
- Glue
How to Make It
- Cut the cardboard into a 15x20cm rectangle and score vertical lines every 2.5cm using the ruler and bone folder.
- Fold along the scores to create an accordion box shape, then glue the ends together to form a hexagonal vase.
- Cut flower shapes from scrapbook paper—use different sizes and patterns—and attach to thin paper strips as stems.
- Slide each stem between the accordion folds so the blooms stand at varying heights inside the vase.
Grab your favorite paper and start folding, cutting, painting. Each bloom you make carries a quiet kind of magic only your hands can give.