15 Valentine’s Day Ribbon Crafts to Try This Year

Silk ribbons curling around a gift, satin bows perched on a handmade card, or velvet streamers dancing from a garland—ribbon brings softness and charm to every Valentine’s creation. With just a few spools and simple tools, you can make heartfelt decor, gifts, and keepsakes that feel personal and polished.
Each of these projects uses ribbon in a fresh way, from quick trims to detailed embellishments. You’ll find ideas that suit every skill level, and each one delivers a beautiful result without requiring a craft room full of supplies.
1. Ribbon-Wrapped Mason Jar Vase
Easy
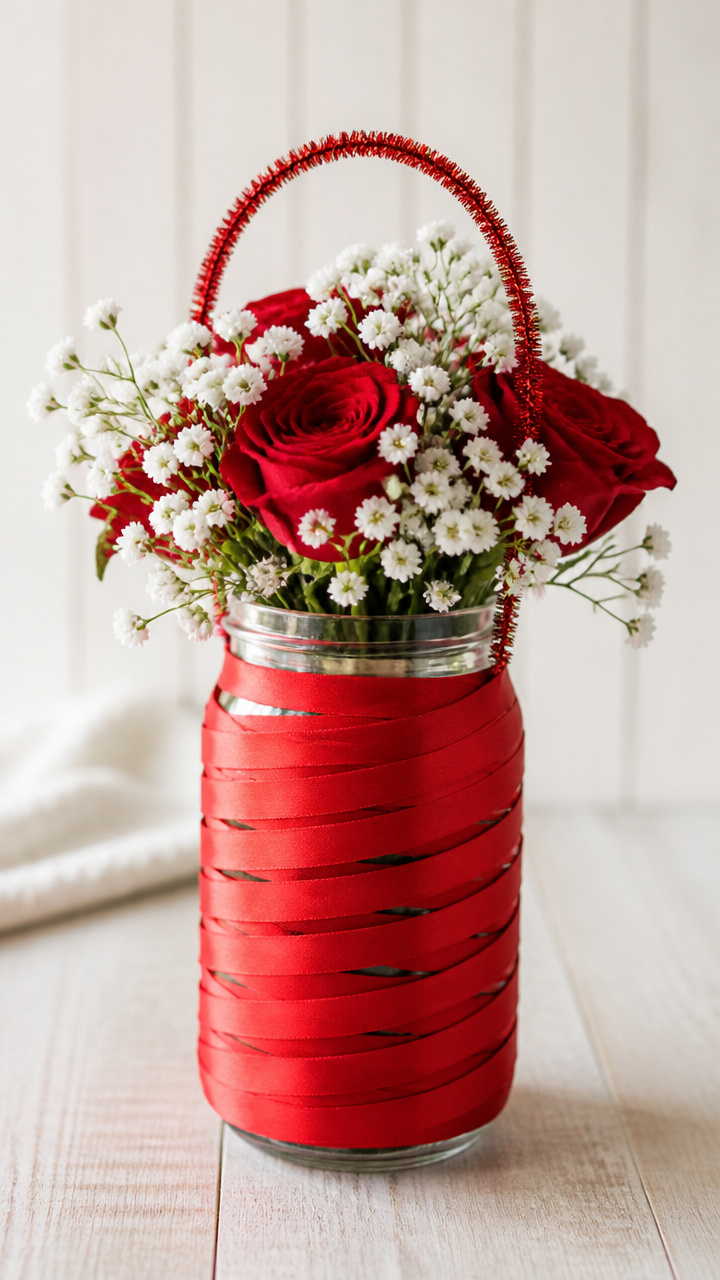
A clear mason jar becomes a romantic centerpiece holder with tightly coiled red ribbon and a looped handle. Fill it with faux roses or paper hearts for a table display that feels both rustic and refined.
Materials Needed
- 1 clean 16 oz mason jar
- 1/4 inch wide red satin ribbon, 3 yards
- Hot glue gun and glue sticks
- Scissors
- 12 inch length of white pipe cleaner
How to Make It
- Cut the satin ribbon into one 2-yard piece and one 1-yard piece.
- Starting at the base of the jar, apply a small dot of hot glue and press the end of the 2-yard ribbon onto it.
- Wrap the ribbon tightly around the jar, overlapping each layer by half, adding a glue dot every inch to secure.
- When you reach the rim, trim the ribbon and glue the end down.
- Take the 1-yard ribbon piece and fold it in half. Glue the folded end to the back of the jar’s metal ring to form a bow handle.
- Twist the pipe cleaner around the center of the bow to shape loops, then bend the ends into a heart shape.


2. Layered Satin Bow Magnets
Easy
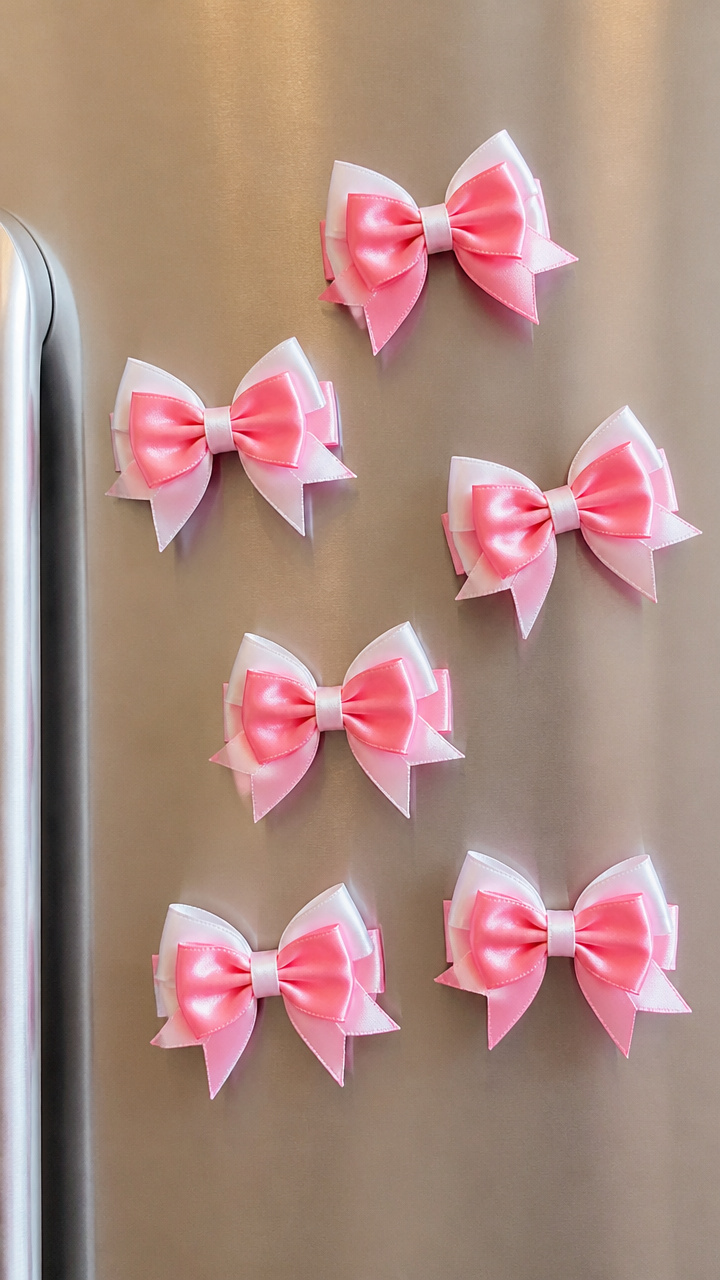
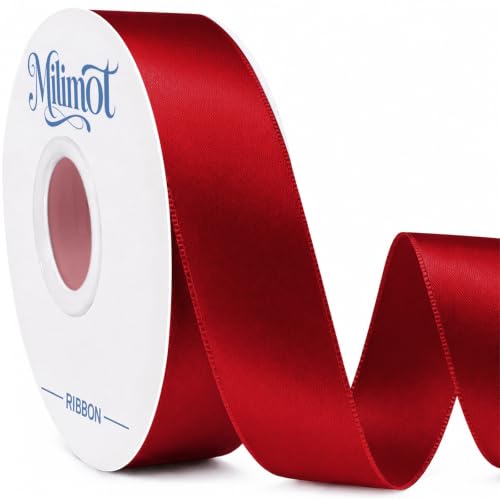
Tiny satin bows layered like petals cling to your fridge and hold up love notes or photos. Their glossy finish catches the light and adds a cheerful pop to any metal surface.
Materials Needed
- 1/8 inch wide pink satin ribbon, 2 yards
- 1/8 inch wide white satin ribbon, 2 yards
- Small round magnets, 10 mm diameter, pack of 6
- Hot glue gun and glue sticks
- Scissors
- Fine-tipped tweezers
How to Make It
- Cut twelve 4-inch lengths of pink ribbon and twelve 4-inch lengths of white ribbon.
- Take one pink ribbon, pinch the center, and wrap thread around the middle to form a bow shape. Trim the ends into angles.
- Repeat with white ribbons, then stack one pink and one white bow together, rotating slightly to create a layered look.
- Use tweezers to adjust the petals so they fan out evenly.
- Glue a magnet to the back of each double bow, letting the glue set for 30 seconds before moving.
3. Heart-Shaped Ribbon Wreath Base
Moderate
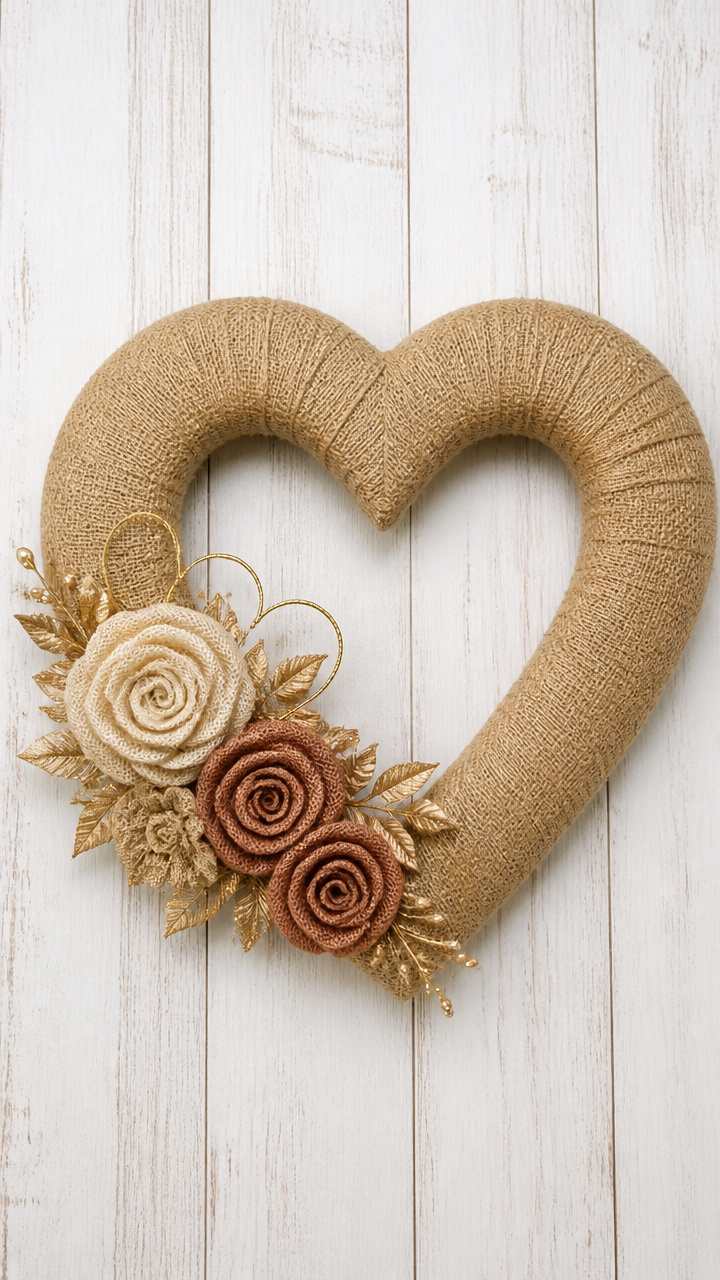
A foam heart wrapped in wide burlap ribbon forms a textured backdrop for smaller ribbon flowers and charms. Hang it on your door as a cozy, handmade welcome.
Materials Needed
- 9 inch foam heart wreath base
- 2 inch wide natural burlap ribbon, 5 yards
- Hot glue gun and glue sticks
- Scissors
- 12 inch lengths of thin gold wire, 3 pieces
How to Make It
- Start at the bottom tip of the foam heart, apply a glue dot, and press the raw edge of the burlap ribbon to it.
- Wrap the ribbon snugly around the heart, covering the foam completely, adding glue every 2 inches.
- At curves, gently pleat the burlap to prevent gaps, pressing firmly into place.
- When the entire heart is covered, trim the ribbon end and glue it down securely.
- Twist the gold wires through the top center of the wreath to form a hanging loop.


4. Ribbon Tassel Keychains
Easy
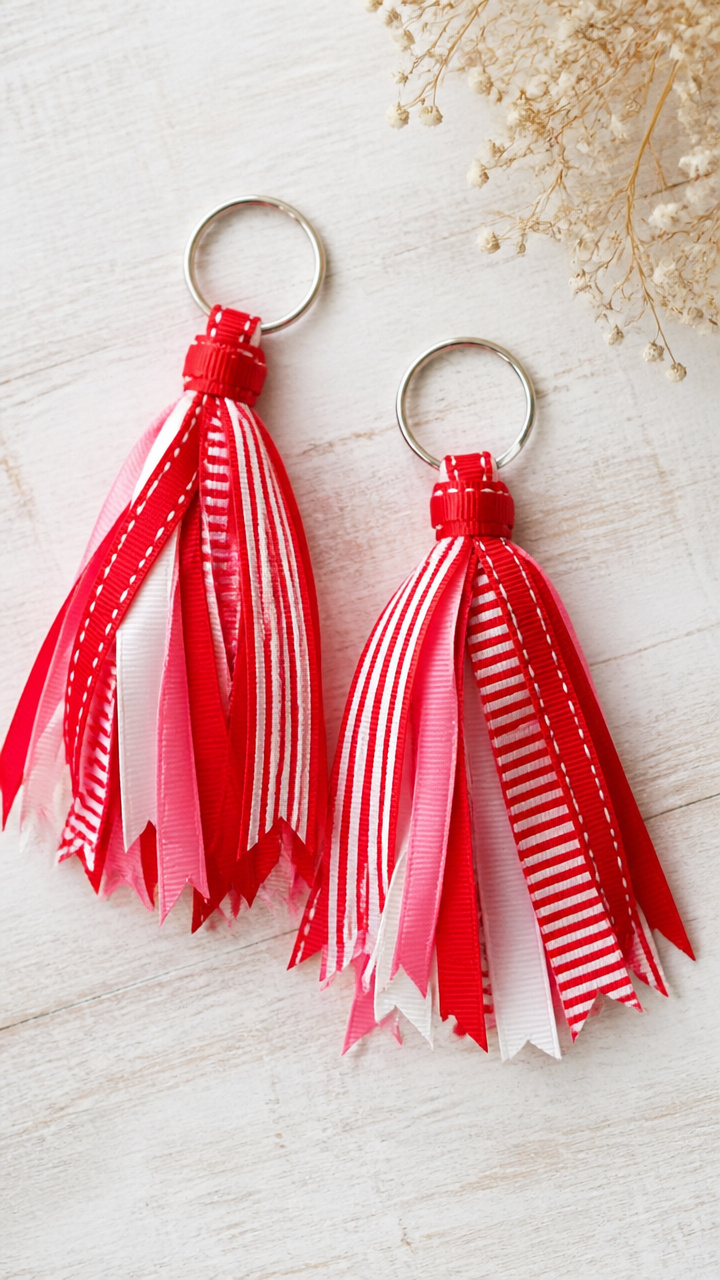
Fluffy tassels made from narrow grosgrain ribbon dangle from silver key rings and jingle softly with movement. These are perfect for gifting or adding whimsy to your own keys.
Materials Needed
- 3/8 inch wide red and pink striped grosgrain ribbon, 4 yards
- Silver key rings, 1 inch diameter, 4 pieces
- Scissors
- Ruler
- Clear nail polish
How to Make It
- Cut sixteen 8-inch lengths of ribbon.
- Stack all pieces evenly and fold them in half. Slide the folded end through the key ring and pull the loose ends through the loop to secure.
- Tighten the bundle against the ring to form the tassel head.
- Apply a thin line of clear nail polish across the ribbon just above the ring to prevent fraying.
- Let dry for 5 minutes before trimming the ends into a straight line.


5. Ribbon-Edged Love Note Cards
Moderate
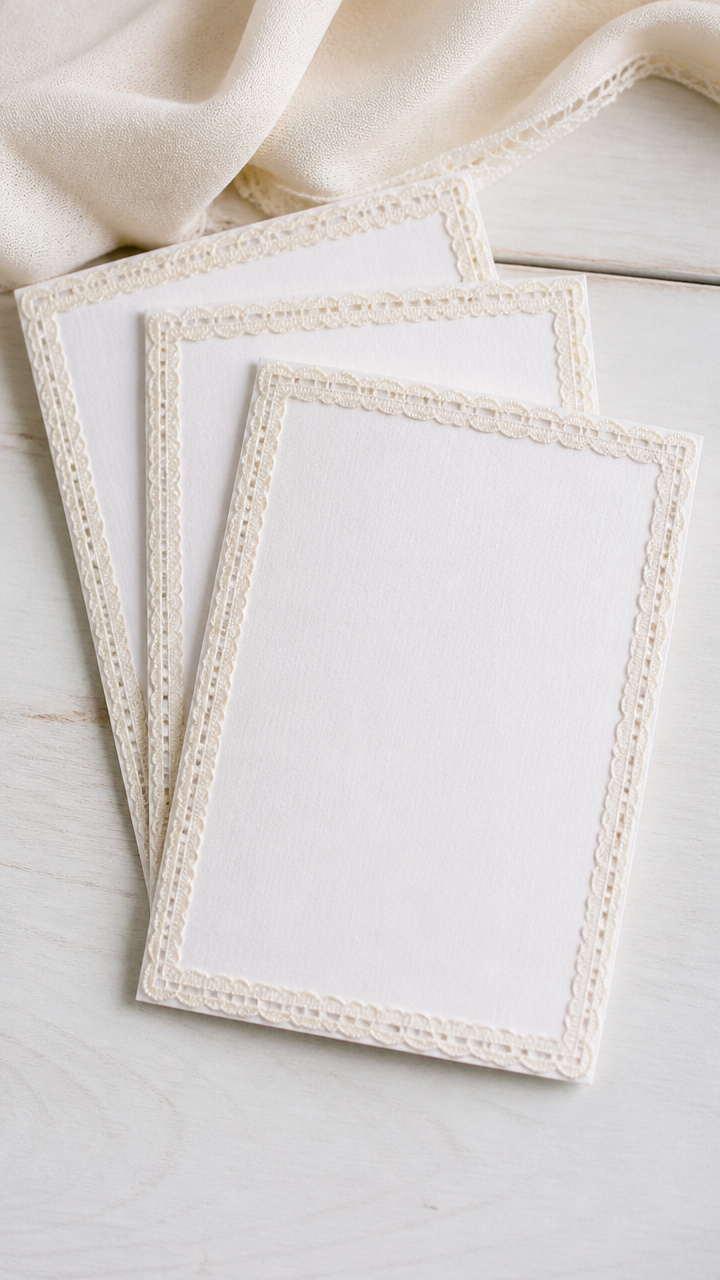
White A6 cards get a delicate border of stitched-look ribbon along the edges, mimicking hand embroidery. Write a sweet message inside for a gift that feels sewn with care.
Materials Needed
- A6 (4.5 x 6.25 inch) white cardstock, 5 sheets
- 1/4 inch wide ivory lace-edged ribbon, 2 yards
- Double-sided tape runner
- Precision craft knife
- Cutting mat
- Metal ruler
How to Make It
- Place one card on the cutting mat and use the ruler to mark a line 1/8 inch from each edge.
- Use the craft knife to score lightly along the lines, creating a guide for ribbon placement.
- Cut the lace ribbon into four 6-inch pieces and four 4.5-inch pieces.
- Run double-sided tape along the scored line on one long edge of the card and press a 6-inch ribbon piece into place, aligning the edge precisely.
- Repeat for all sides, mitering corners by folding the ribbon at 45 degrees and pressing flat before securing with tape.


6. Faux Velvet Ribbon Roses
Moderate
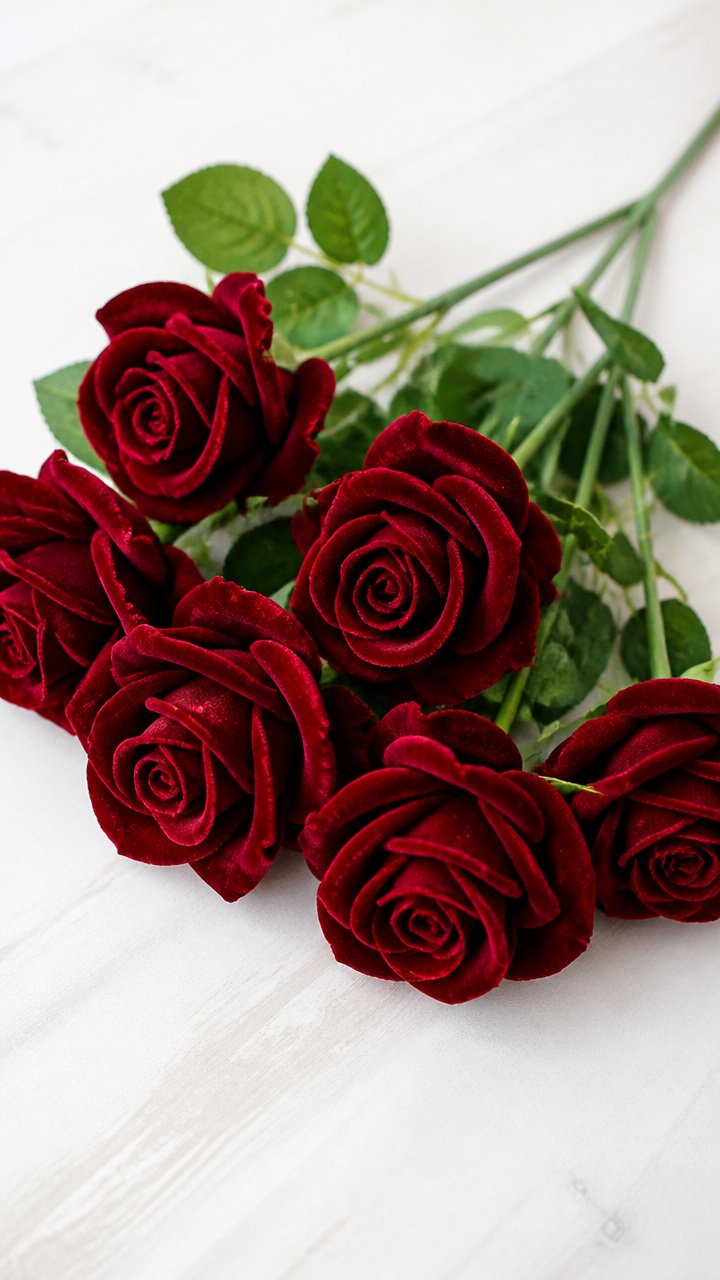
Soft velvet ribbon blooms into lifelike roses that never wilt, perfect for pinning on coats or arranging in a vase. The ruffled petals have depth and warmth under light.
Materials Needed
- 1 inch wide deep red velvet ribbon, 1 yard
- Green floral wire, 18 gauge, 6 inch length
- Hot glue gun and glue sticks
- Scissors
- Lighter or flame source
How to Make It
- Cut the velvet ribbon into one 12-inch piece and three 6-inch pieces.
- Take the 12-inch piece and fold one end diagonally to form a triangle, then begin rolling it tightly from the point to create the rose center.
- Glue the base of the roll to the floral wire, leaving 1 inch exposed for a stem.
- Pinch one end of a 6-inch ribbon into a point and twist it around the base of the roll, gluing every turn to form outer petals.
- Seal cut edges of each ribbon with a quick pass over a flame to prevent fraying.


7. Ribbon Bookmark with Tassel
Easy
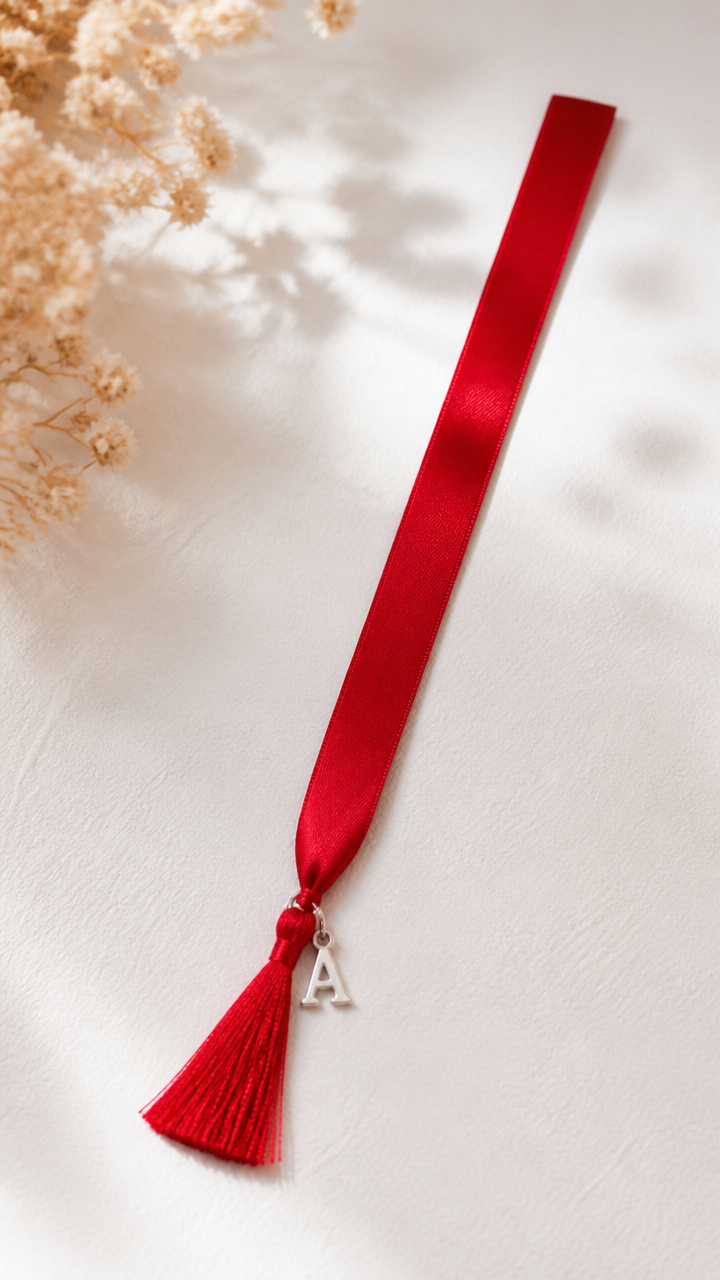
A slim satin ribbon strip ends in a tiny tassel and holds your page with quiet elegance. Add a charm for a personal touch that makes reading feel special.
Materials Needed
- 1/2 inch wide cherry red satin ribbon, 12 inches
- Assorted letter charms, 1 piece
- Jump ring, 6 mm
- Pliers
- Scissors
- Clear nail polish
How to Make It
- Cut the satin ribbon into one 12-inch length.
- Fold the top 1 inch of the ribbon over and glue the layers together to form a reinforced tab.
- Cut four 6-inch lengths of the same ribbon and bundle them together. Fold in half and attach to the bottom edge of the bookmark using a jump ring closed with pliers.
- Trim the loose ends evenly and seal with clear nail polish.
- Slide a letter charm onto the jump ring before closing it.
8. Ribbon-Covered Candles
Easy
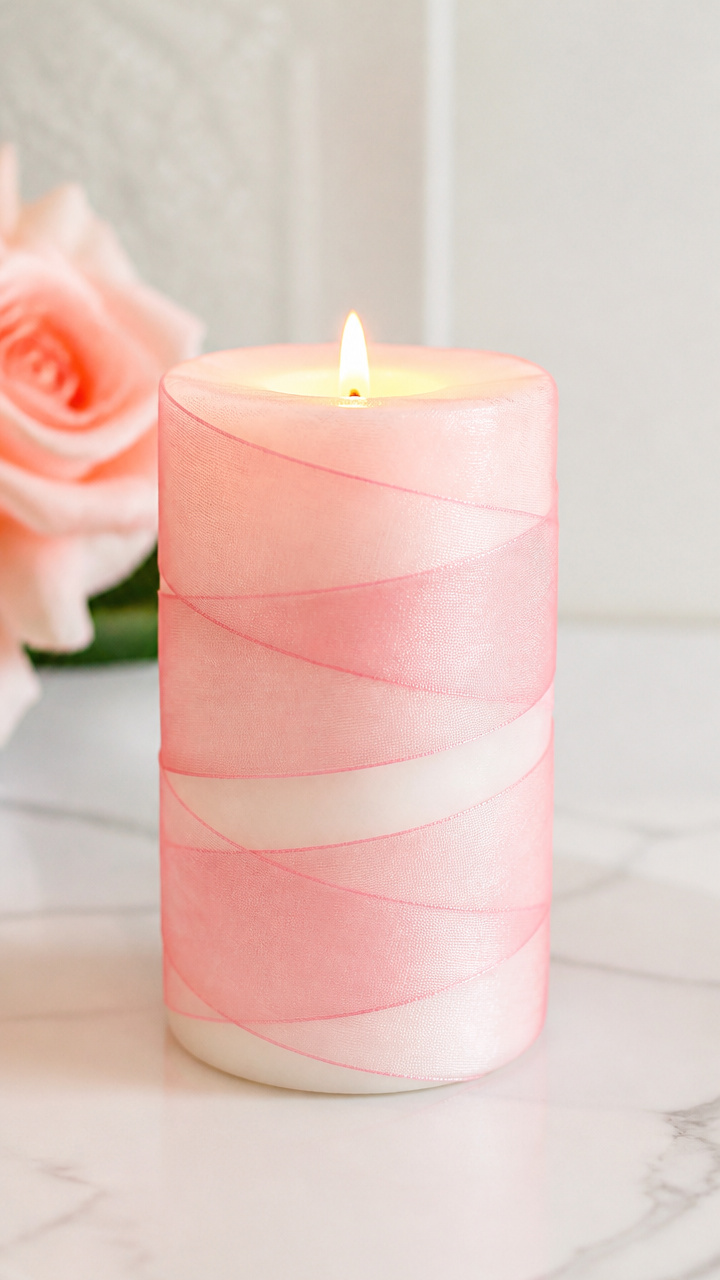
Plain pillar candles glow through sheer organza ribbon wrapped in soft spirals, casting delicate shadows when lit. This subtle upgrade works for centerpieces or nightstands.
Materials Needed
- 3 inch wide white pillar candle, 4 inches tall
- 3/4 inch wide sheer pink organza ribbon, 2 yards
- Double-sided tape, 1/4 inch wide, 12 inch strip
- Scissors
- Ruler
How to Make It
- Measure and cut the organza ribbon into six 12-inch lengths.
- Apply a 1-inch piece of double-sided tape vertically to the front of the candle.
- Press the end of the first ribbon piece to the tape, then spiral it upward around the candle, slightly overlapping each turn.
- After three full wraps, add another small piece of tape to secure the ribbon mid-wrap.
- Continue until the top is reached, then trim and press the end flat.


9. Braided Ribbon Bracelets
Moderate
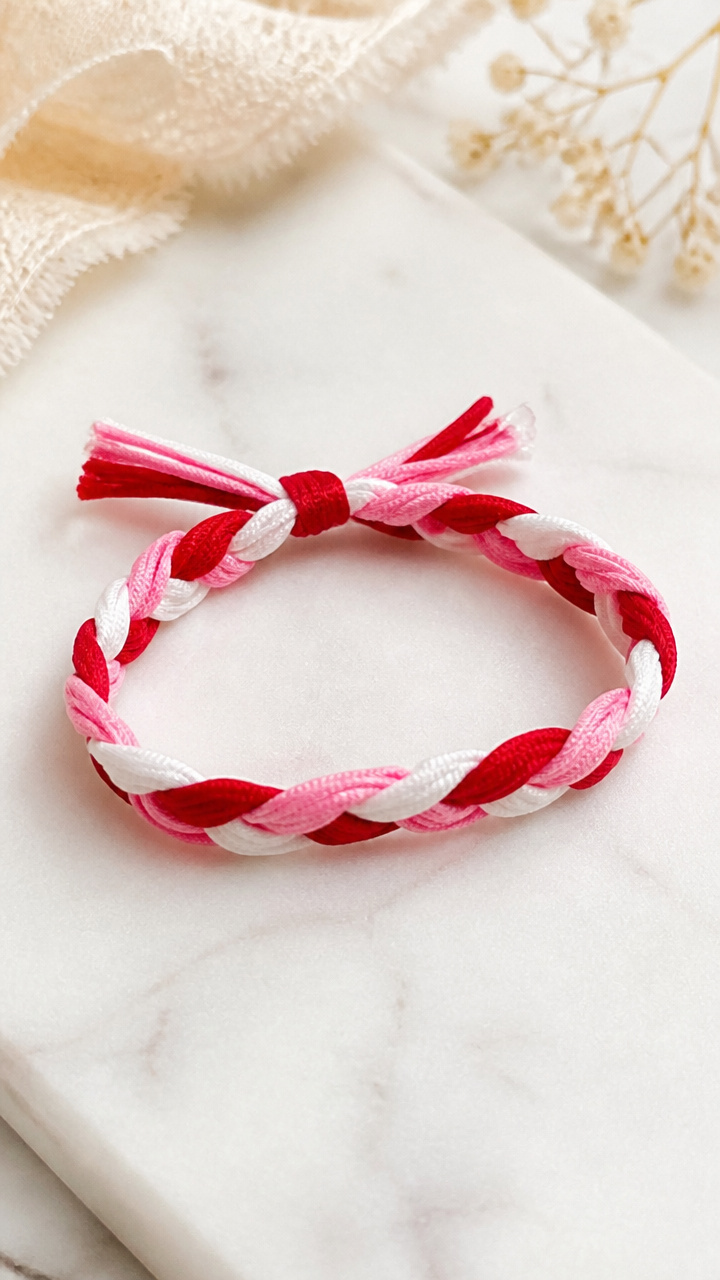
Three strands of contrasting grosgrain ribbon weave into a soft, adjustable bracelet that ties with a gentle knot. Wear it as a token or give it as a sweet surprise.
Materials Needed
- 1/4 inch wide red grosgrain ribbon, 18 inches
- 1/4 inch wide white grosgrain ribbon, 18 inches
- 1/4 inch wide pink grosgrain ribbon, 18 inches
- Scissors
- Clear nail polish
How to Make It
- Line up the three ribbon lengths and knot them together at one end.
- Secure the knot under a book or clip to hold it steady.
- Begin a standard three-strand braid, keeping tension even and strands parallel.
- Braid all the way to the end and tie off with another knot.
- Seal all cut ends with clear nail polish and let dry for 2 minutes.


10. Ribbon Photo Garland
Easy
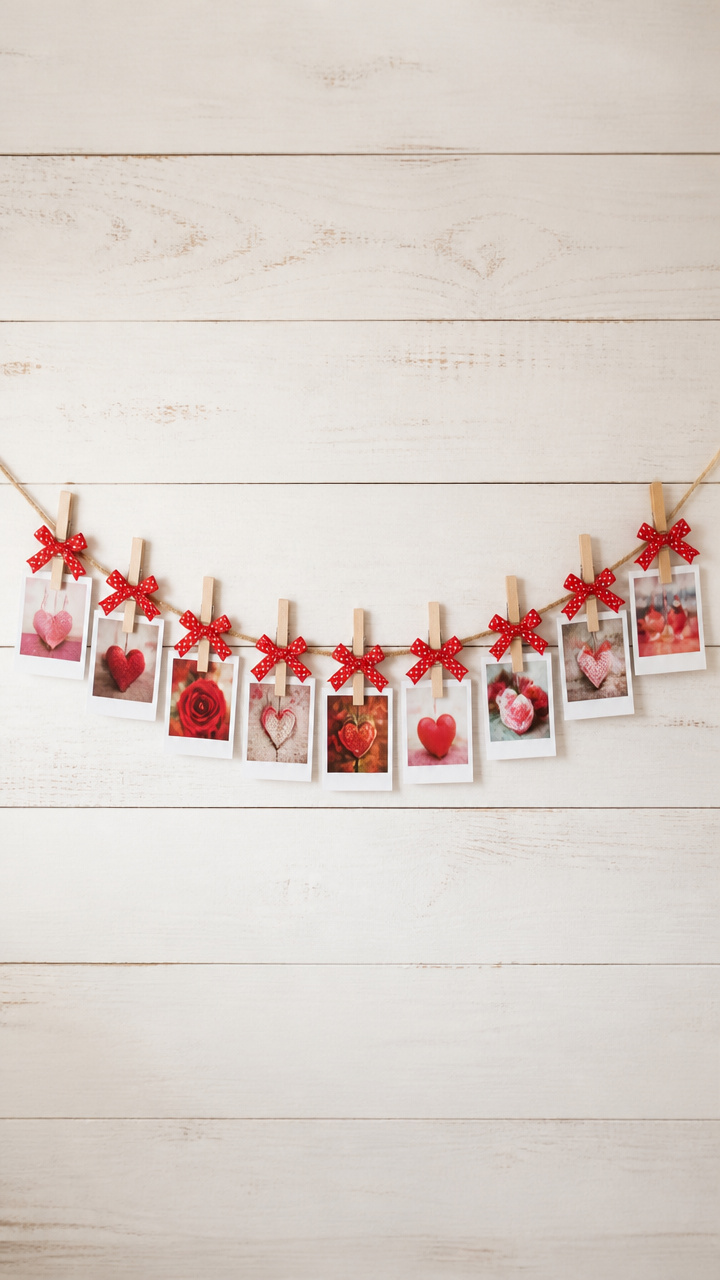
Mini clothespins clipped to a long twine strand display favorite couple photos, each accented with a tiny ribbon bow. Hang it across a wall for instant celebration.
Materials Needed
- Jute twine, 6 feet
- Mini wooden clothespins, 10 pieces
- 1/4 inch wide red polka dot ribbon, 3 yards
- Scissors
- Hole punch
How to Make It
- Cut the ribbon into ten 6-inch pieces.
- Tie a small bow with each piece and glue it to the front of a clothespin.
- Punch two holes at the top corners of each 2×3 inch photo and thread a tiny ribbon loop through to create a hanger.
- Clip the photos onto the twine using the clothespins, spacing them 6 inches apart.
- Tie knots at both ends of the twine for hanging.

11. Ribbon-Framed Mirror Accent
Moderate
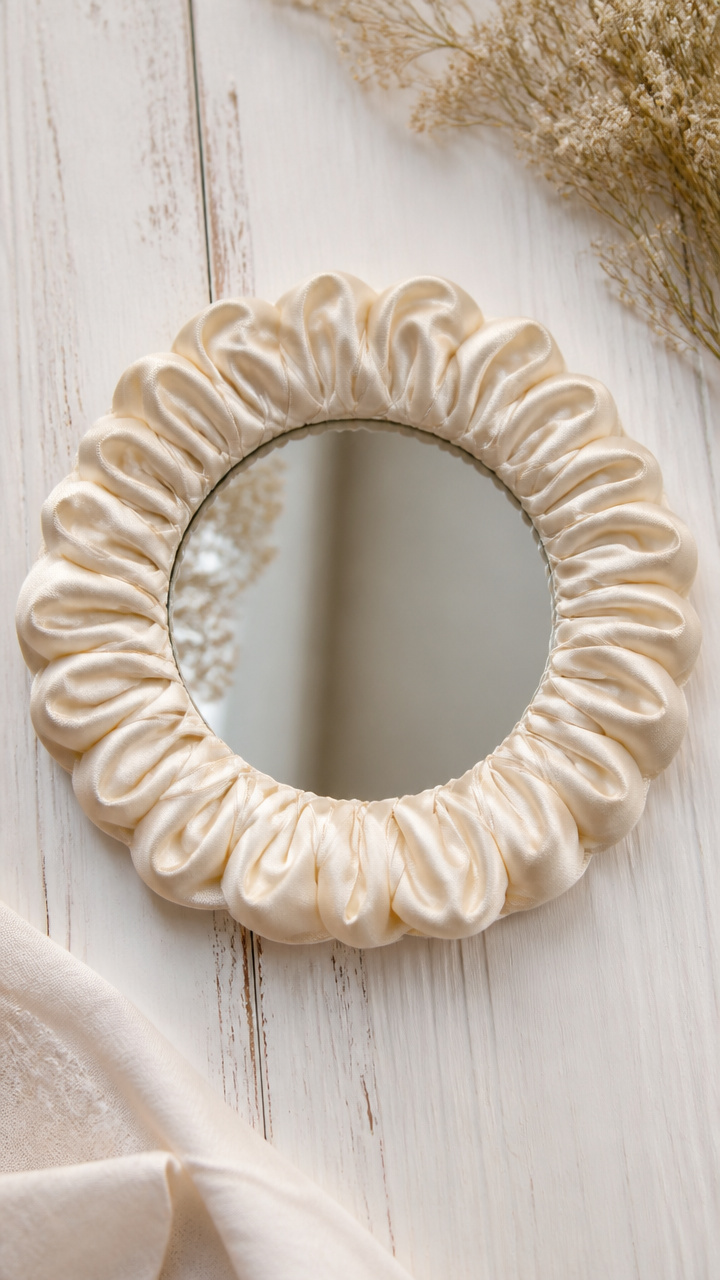
A plain round mirror gains vintage charm with a scalloped ribbon border glued around its edge. The soft texture contrasts beautifully with glass and reflects candlelight warmly.
Materials Needed
- 6 inch round glass mirror with flat edge
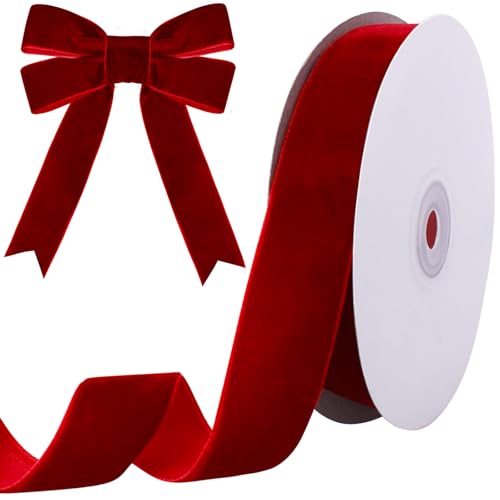
- 1 inch wide cream silk ribbon, 2 yards
- Hot glue gun and glue sticks
- Scissors
- Clothespin
How to Make It
- Cut the silk ribbon into eight 9-inch lengths.
- Fold one piece in half and apply a glue dot to the fold. Press it onto the mirror edge with the loop facing outward.
- Place the next piece so its fold overlaps the gap between the first two tails, forming a continuous scallop.
- Continue around the mirror, using the clothespin to hold each piece in place while the glue sets.
- Trim any excess and let the full circle dry for 5 minutes before handling.


12. Ribbon Rosette Wall Art
Advanced
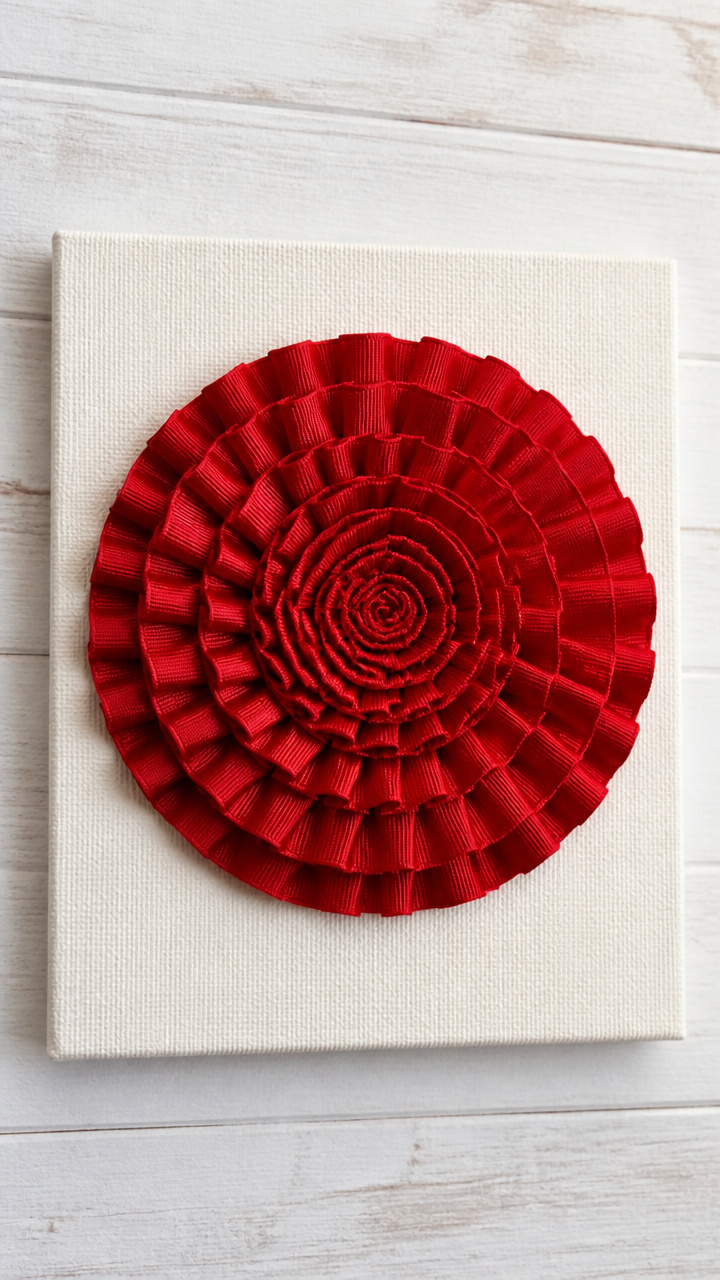
A tight spiral of pleated ribbon forms a dimensional rosette mounted on canvas, creating modern art with handmade soul. Group several for a gallery wall that pulses with color.
Materials Needed
- 8×10 inch stretched canvas
- 2 inch wide red grosgrain ribbon, 5 yards
- Hot glue gun and glue sticks
- Scissors
- Bone folder
How to Make It
- Use the bone folder to sharply crease the ribbon every 1/2 inch, alternating direction to form an accordion pleat.
- Start at the center of the canvas and glue the end of the ribbon down.
- Begin coiling the pleated ribbon tightly around the center, gluing every turn to the canvas.
- As the coil grows, ease the pleats outward to create a blooming effect.
- Complete the spiral to the outer edge and trim, then glue the end securely beneath the last row.
13. Ribbon-Wrapped Pencil Toppers
Easy
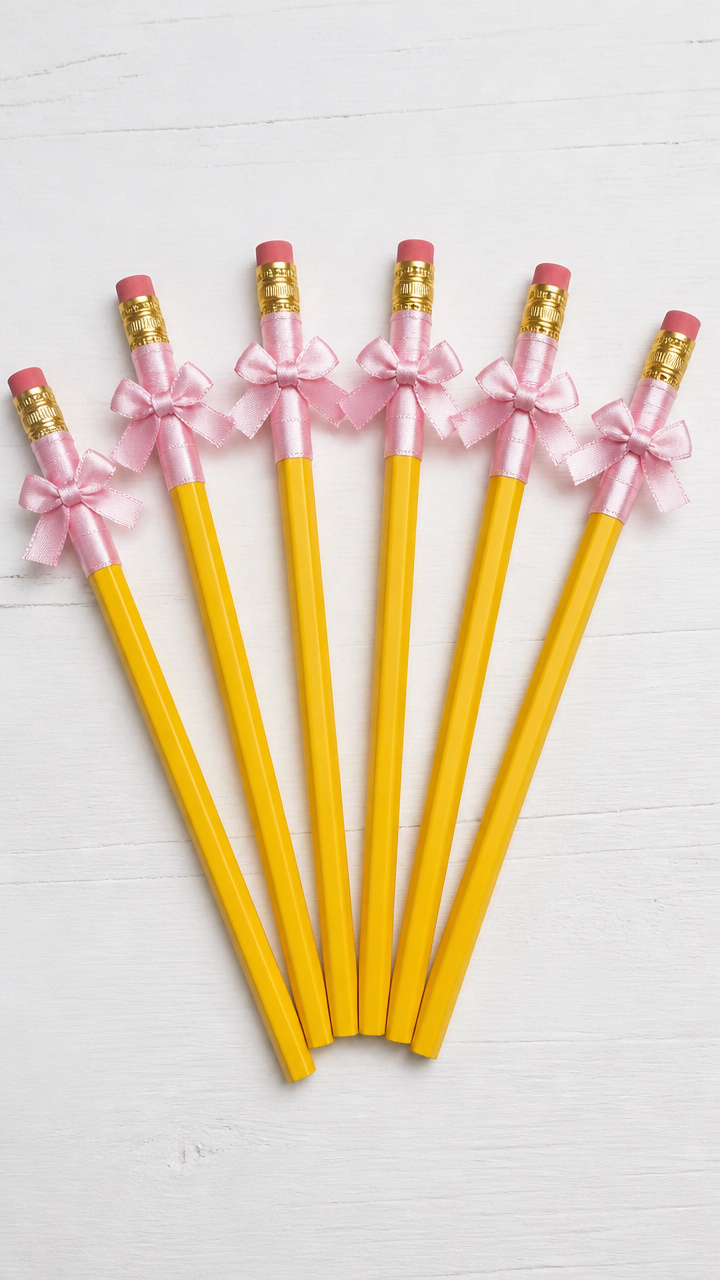
Smooth pencils wear tiny ribbon hats tied with a knot, turning school supplies into little love tokens. Kids and teachers alike will smile when they reach for one.
Materials Needed
- Unsharpened yellow pencils, 6 pieces
- 1/8 inch wide pink satin ribbon, 3 yards
- Scissors
- Glue pen
How to Make It
- Cut the ribbon into twelve 6-inch pieces.
- Take one piece and tie a single knot around the eraser end of a pencil, pulling it snug but not too tight.
- Adjust the knot so the tails fall neatly to one side.
- Dab a dot of glue on the knot to keep it from slipping.
- Repeat for all pencils, using two ribbons per pencil if you want fuller tops.
14. Ribbon-Loop Coasters
Advanced
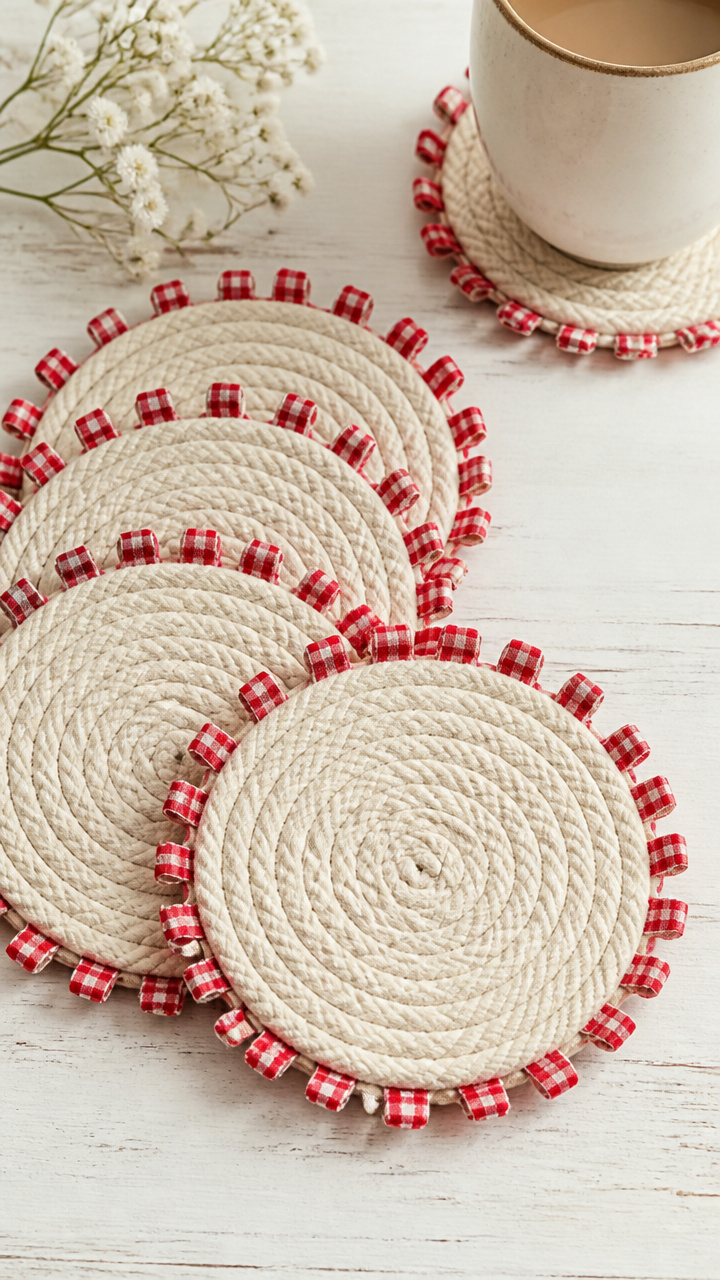
Cotton cord woven through rows of knotted ribbon creates sturdy, absorbent coasters with a homespun feel. They protect surfaces while adding a hint of romance.
Materials Needed
- 100% cotton macramé cord, 3 mm thick, 20 feet
- 1/2 inch wide red checkered ribbon, 3 yards
- Non-slip shelf liner, 8×10 inch sheet
- Scissors
- Fabric glue
How to Make It
- Cut the ribbon into twelve 6-inch lengths.
- Lay six cords parallel, 1/2 inch apart, on a flat surface. Knot one ribbon piece around each cord near one end, leaving a 1-inch tail.
- Weave another set of six cords perpendicularly through the first layer, going over and under.
- Pull each ribbon knot taut to gather the weave into a textured square.
- Glue a 4×4 inch square of shelf liner to the back and let dry for 10 minutes.


15. Floating Ribbon Chandelier Decor
Moderate
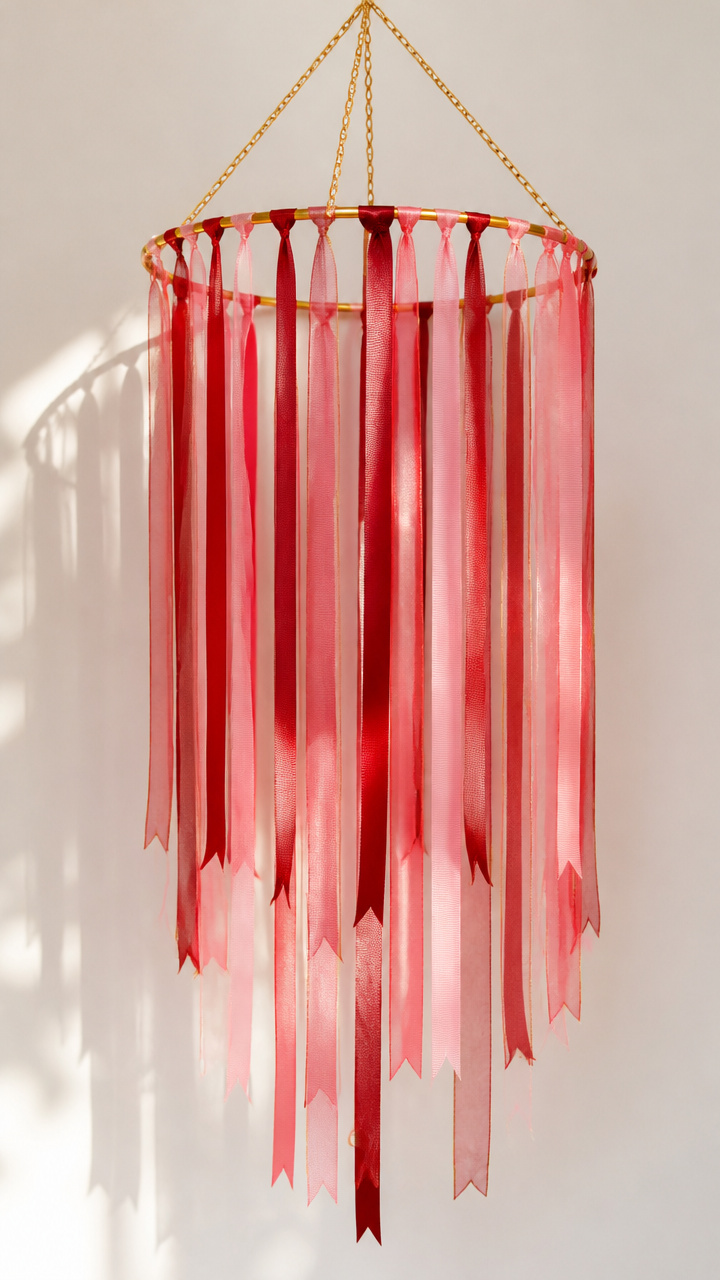
Long strands of varying ribbons hang from a gold hoop, swaying gently like a mobile above a bed or table. This dreamy piece catches breezes and attention alike.
Materials Needed
- 10 inch gold metal embroidery hoop
- 1/4 inch wide red satin ribbon, 3 yards
- 3/8 inch wide pink grosgrain ribbon, 3 yards
- 1/2 inch wide sheer organza ribbon, 3 yards
- Scissors
- Ruler
How to Make It
- Separate the inner and outer hoop. Use the outer one as the base.
- Cut 10 lengths of satin ribbon at 24 inches, 8 lengths of grosgrain at 30 inches, and 6 lengths of organza at 36 inches.
- Fold each ribbon in half and loop it over the hoop, pulling the tails through the fold to secure with a lark’s head knot.
- Alternate ribbon types and lengths as you go, spacing knots 1 inch apart around the full circle.
- Reassemble the hoops to clamp the ribbons in place and trim any uneven ends.
You’ve got everything you need to start creating right now—just pick a spool, grab your scissors, and let the ribbon lead the way.