15 Easy Valentine’s Day Crafts for Preschoolers

Tiny hands pressing hearts into paper, sticky fingers smearing paint in joyful swirls, bright colors splashed with pride—Valentine's Day crafts with preschoolers are about moments as sweet as the holiday itself.
These projects focus on simple actions that build fine motor skills and spark imagination. Each one uses safe, easy-to-find materials and finishes in under 30 minutes, so little attention spans stay engaged from start to proud display.
1. Heart Handprint Cards
Easy
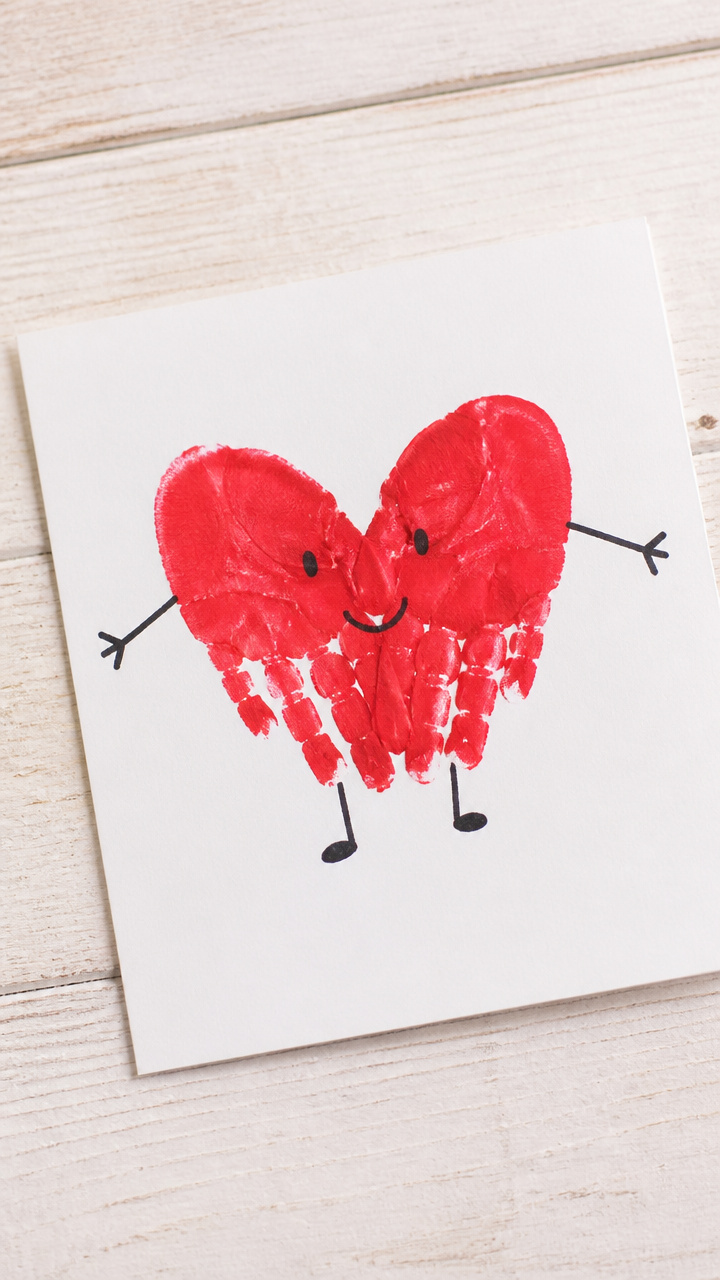
A keepsake that captures tiny hands in a burst of love, perfect for gifting to parents or grandparents.
Materials Needed
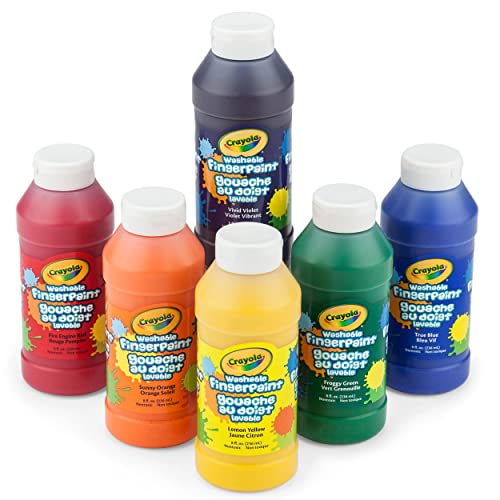
- Red finger paint
- 8.5 x 11 inch white construction paper
- Black fine-tip marker
- Scissors
- Glue stick
How to Make It
- Press your child’s hand into the red finger paint, coating the palm and fingers evenly.
- Help them press their hand firmly onto the construction paper at a slight angle to form the top curve of a heart.
- Let the paint dry completely, about 15 minutes.
- Use scissors to trim around the handprint to make a clean heart shape.
- Draw a smiley face and arms with the black marker, then write 'I love you this much!' below with the glue stick if desired.


2. Cotton Ball Heart Art
Easy
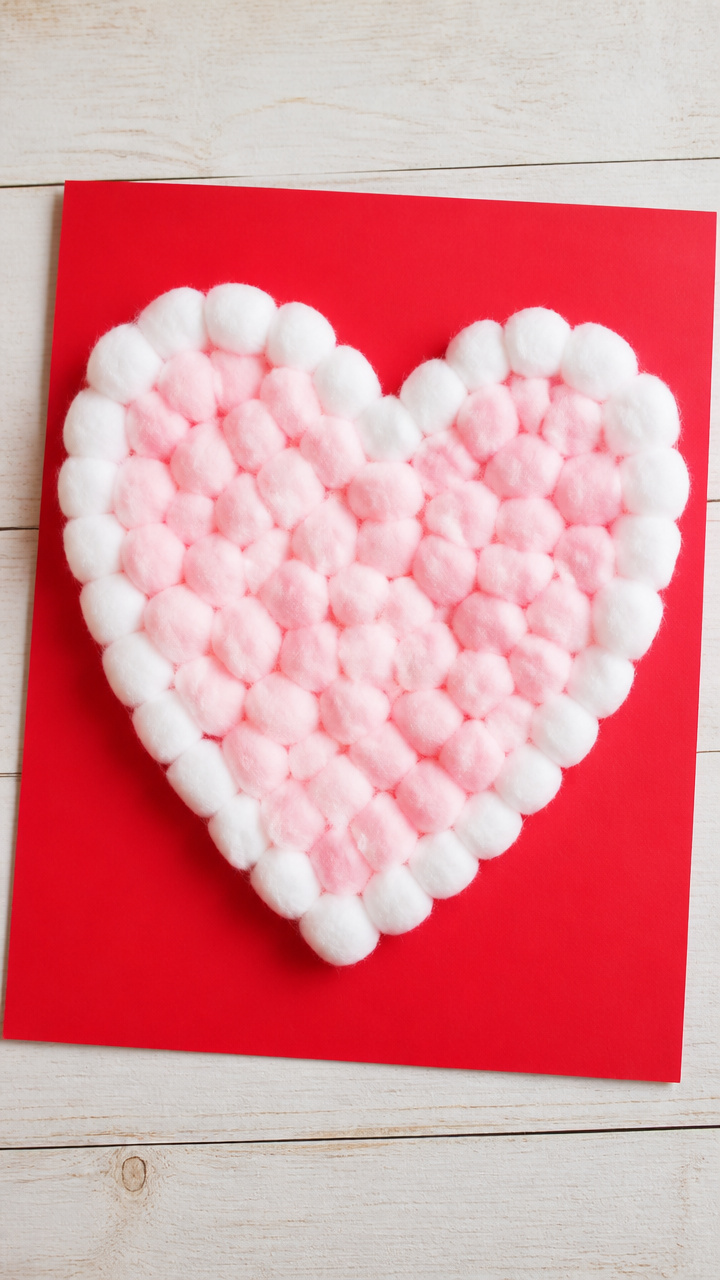
Fluffy texture meets bold color as preschoolers glue dozens of cotton balls into a soft, pillowy heart.
Materials Needed
- Pink craft glue
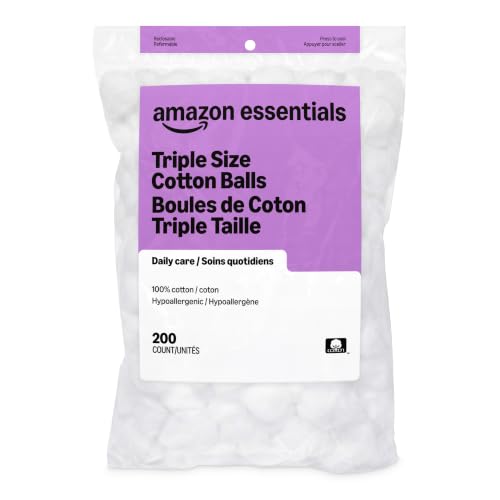
- Large white cotton balls
- 9 x 12 inch red construction paper
- Pencil
- Ruler
How to Make It
- Use the pencil and ruler to lightly draw a large heart outline in the center of the red paper.
- Squeeze pink craft glue inside the heart line, covering about half the area to start.
- Place cotton balls one by one into the glue, pressing gently to adhere.
- Add more glue over the first layer and continue placing cotton balls until the heart is fully covered.
- Let dry flat for 20 minutes before displaying.

3. Pom-Pom Love Bugs
Easy
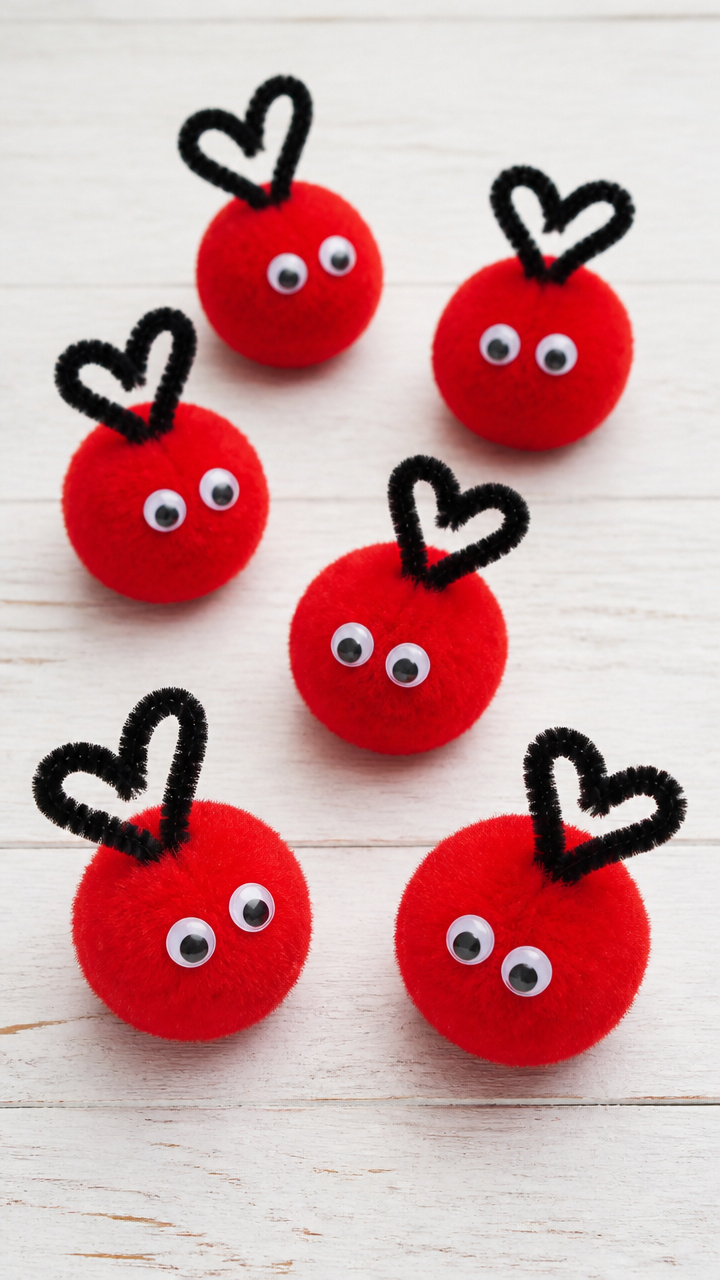
Adorable bugs with round pom-pom bodies and wiggly pipe cleaner antennae bring whimsy to any windowsill.
Materials Needed
- 1 inch red pom-poms (6 per bug)
- Googly eyes, 1/4 inch (2 per bug)
- Black pipe cleaners (1 per bug)
- Hot glue gun and glue sticks
- Red craft glue
How to Make It
- Line up six red pom-poms in a U-shape on a table to form the bug’s body and head.
- Apply hot glue between each pom-pom to fuse them together, adult only.
- Glue two googly eyes side by side on the top pom-pom.
- Cut the pipe cleaner in half and twist one end of each piece to make a small curl.
- Push one curled end of each pipe cleaner into the top pom-pom to create antennae.


4. Paper Plate Wreath
Easy
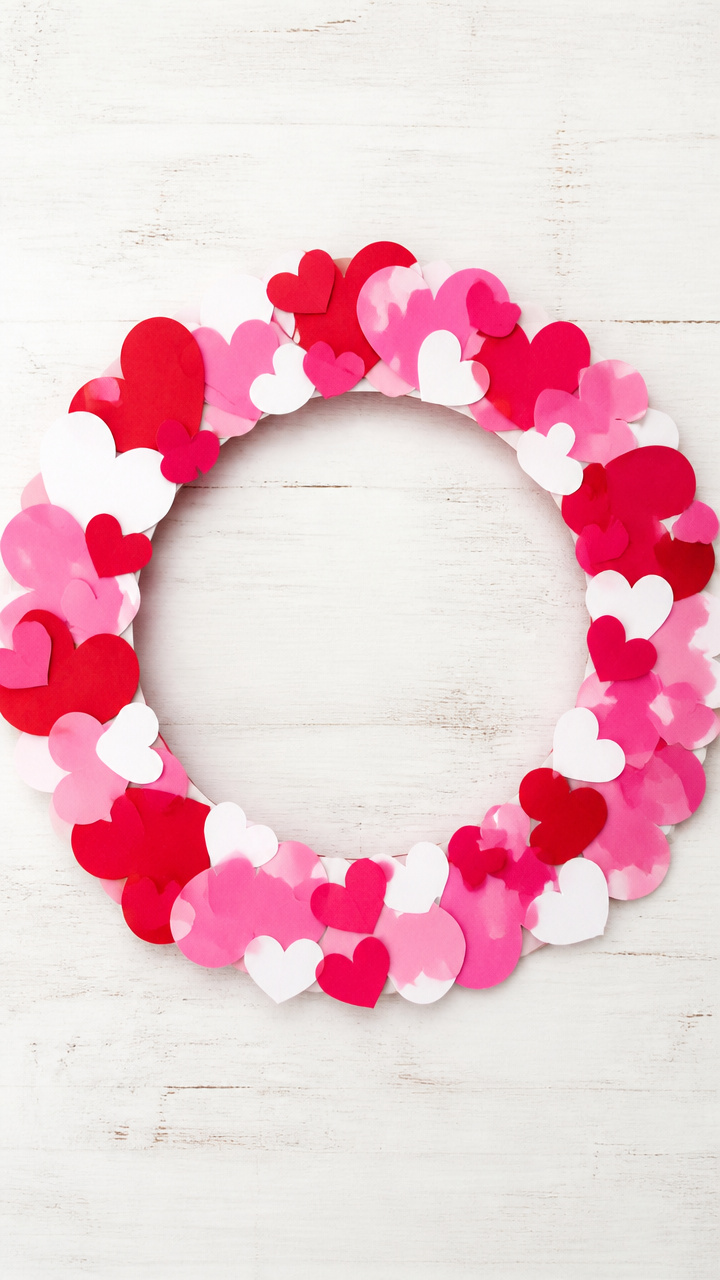
A ring of glued-on hearts made from colored paper scraps turns a plain plate into a festive wall decoration.
Materials Needed
- White paper plate
- Red, pink, and white construction paper
- Child-safe scissors
- Glue stick
- Hole punch
How to Make It
- Cut the center circle out of the paper plate using child-safe scissors.
- Cut small heart shapes from the colored construction paper, about 1 inch tall.
- Spread glue on the back of each heart and stick them close together around the outer edge of the plate.
- Continue gluing hearts all the way around until the wreath rim is fully covered.
- Punch a hole at the top edge and thread yarn through to hang.


5. Sticker Heart Mosaics
Easy
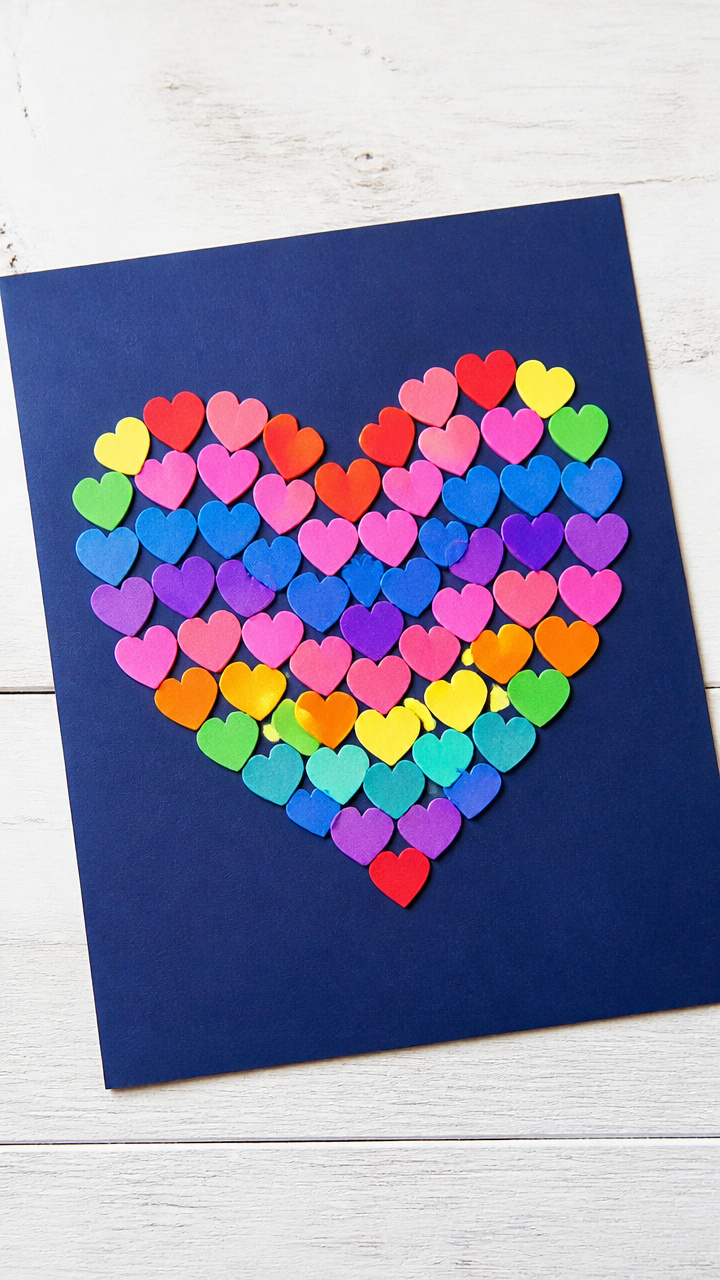
Colorful stickers arranged into heart patterns help toddlers practice placement and color sorting.
Materials Needed
- Self-adhesive foam heart stickers, assorted colors
- 8.5 x 11 inch dark blue cardstock
- Pencil
How to Make It
- Lightly draw a large heart shape in the center of the cardstock with the pencil.
- Peel one sticker at a time and place it inside the heart outline.
- Fill the entire heart space with stickers, overlapping slightly if needed.
- Let children choose their own color pattern—stripes, rainbow, or random.


6. Doily Love Cards
Easy
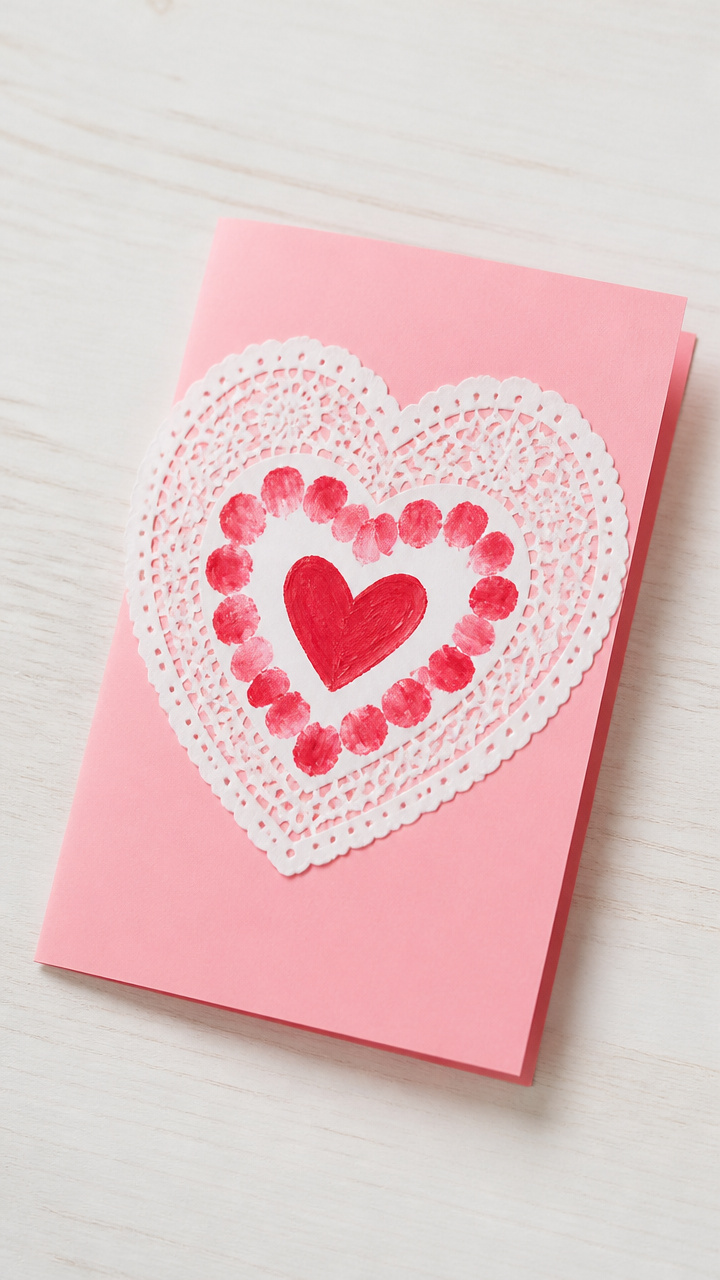
Lacy paper doilies layered over painted cards create elegant textures even the youngest can achieve.
Materials Needed
- White lacy paper doilies, 6 inch
- Red acrylic paint
- Paintbrush, 1 inch flat
- Glue stick
- 8.5 x 11 inch pink cardstock, folded in half
How to Make It
- Paint the front of the folded cardstock with a thin, even coat of red acrylic paint.
- Immediately lay the doily flat on the wet paint, centering it.
- Press down gently with fingertips to transfer paint onto the doily fibers.
- Carefully peel the doily off to reveal the lace pattern in negative space.
- Let dry for 10 minutes, then glue it in place if needed.
7. Heart-Shaped Pasta Necklaces
Easy
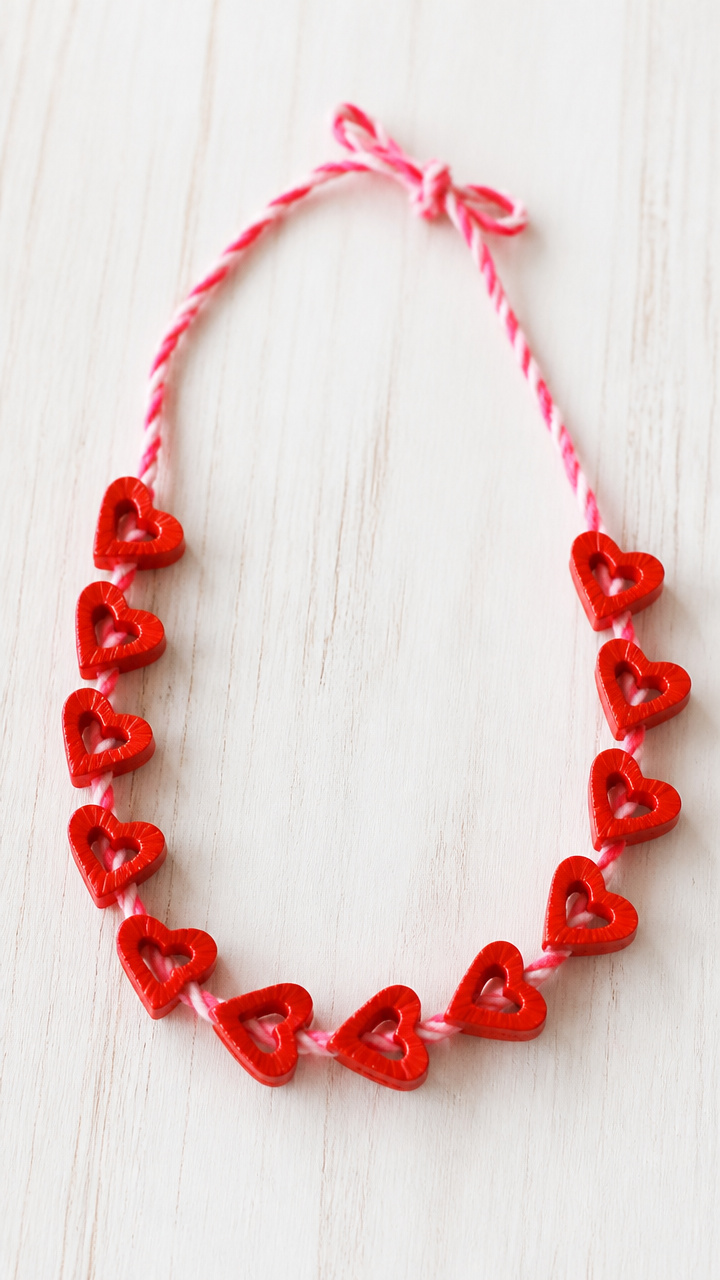
Tangy-scented dyed pasta slips onto yarn for a wearable craft that doubles as a fine motor workout.
Materials Needed
- Uncooked heart-shaped pasta, 1 cup
- Zip-top plastic bag
- Rubbing alcohol, 1 teaspoon
- Red food coloring, 10 drops
- Yarn, 2 feet per child, cut and taped at one end like a needle
How to Make It
- Place the pasta in the plastic bag and add rubbing alcohol and red food coloring.
- Seal the bag and shake gently for 1 minute until pasta is evenly tinted.
- Spread pasta on wax paper to dry for 1 hour, turning once.
- Thread the dried pasta onto the yarn using the taped end to guide it.
- Tie the ends together to wear around the neck.


8. Fingerprint Flower Pots
Easy
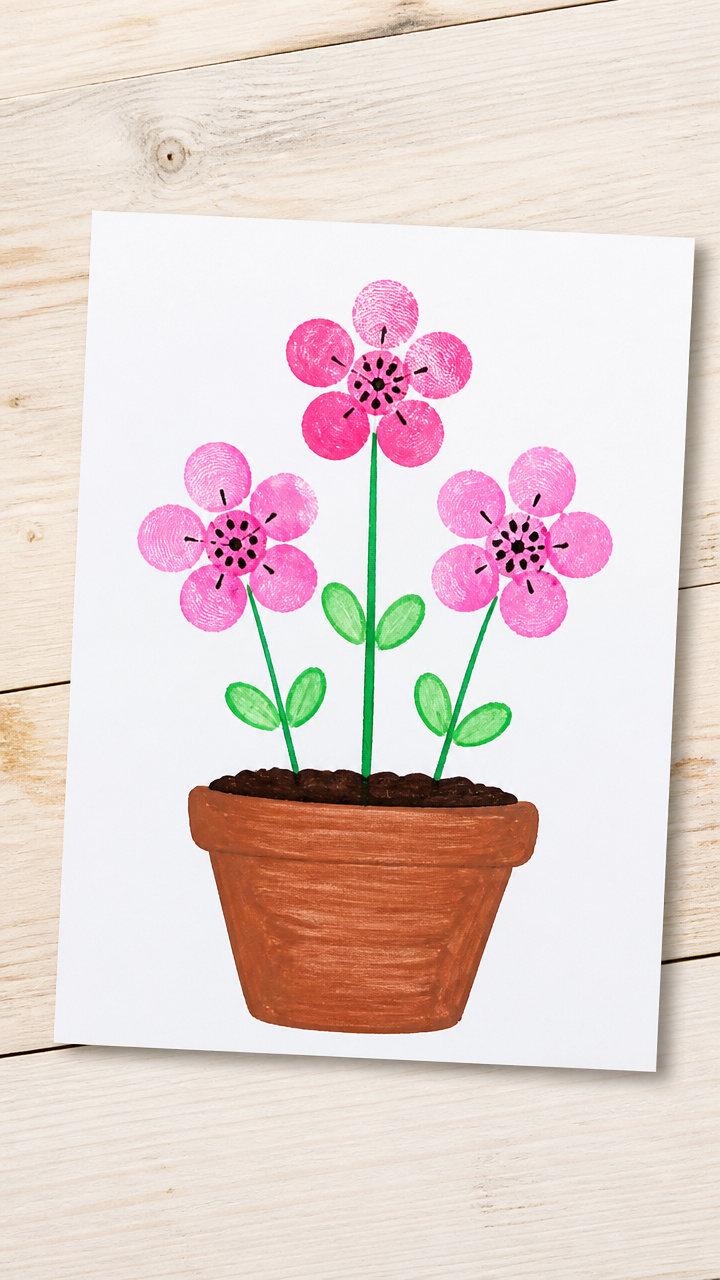
Inky thumbprints bloom into cheerful flowers above a hand-drawn soil line on sturdy cardstock.
Materials Needed
- Pink washable ink pad
- Green washable ink pad
- 8.5 x 11 inch white cardstock
- Black fine-tip marker
How to Make It
- Press your child’s thumb into the pink ink pad and stamp five prints in a loose circle to form a flower.
- Press the same thumb into the green ink pad and stamp two marks below as leaves.
- Repeat to make three flowers across the page.
- Draw a wavy brown line across the bottom third of the paper to represent soil.
- Add stems from each flower down to the soil line with the black marker.
9. Valentine’s Paper Chain
Easy
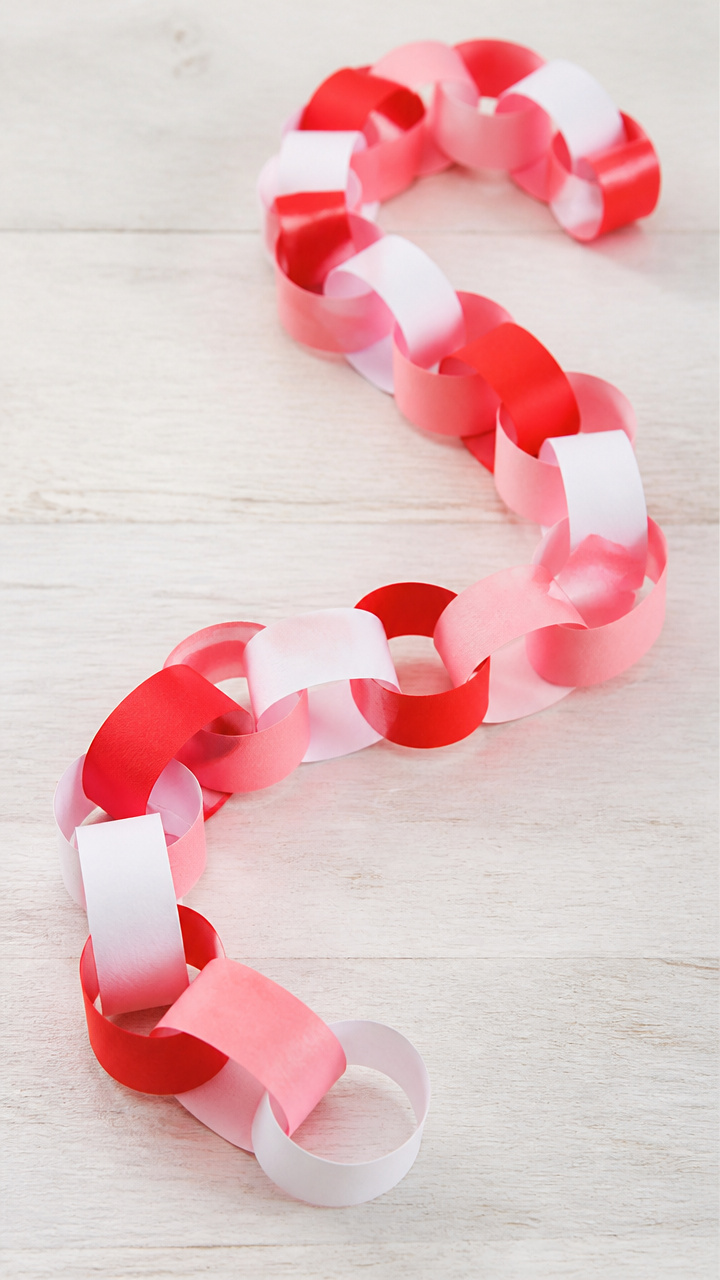
Interlocking loops in red, pink, and white spiral into a long garland perfect for classroom decor.
Materials Needed
- Red construction paper, cut into 1 inch x 8 inch strips
- Pink construction paper, cut into 1 inch x 8 inch strips
- White construction paper, cut into 1 inch x 8 inch strips
- Glue stick
- Scissors
How to Make It
- Take one strip and form a loop, overlapping the ends by 1/2 inch.
- Glue the overlap together to secure the loop.
- Thread a second strip through the first loop before gluing its ends closed.
- Continue linking new strips in alternating colors to build the chain.
- Make at least 20 links for a full garland effect.


10. Button Heart Magnets
Easy
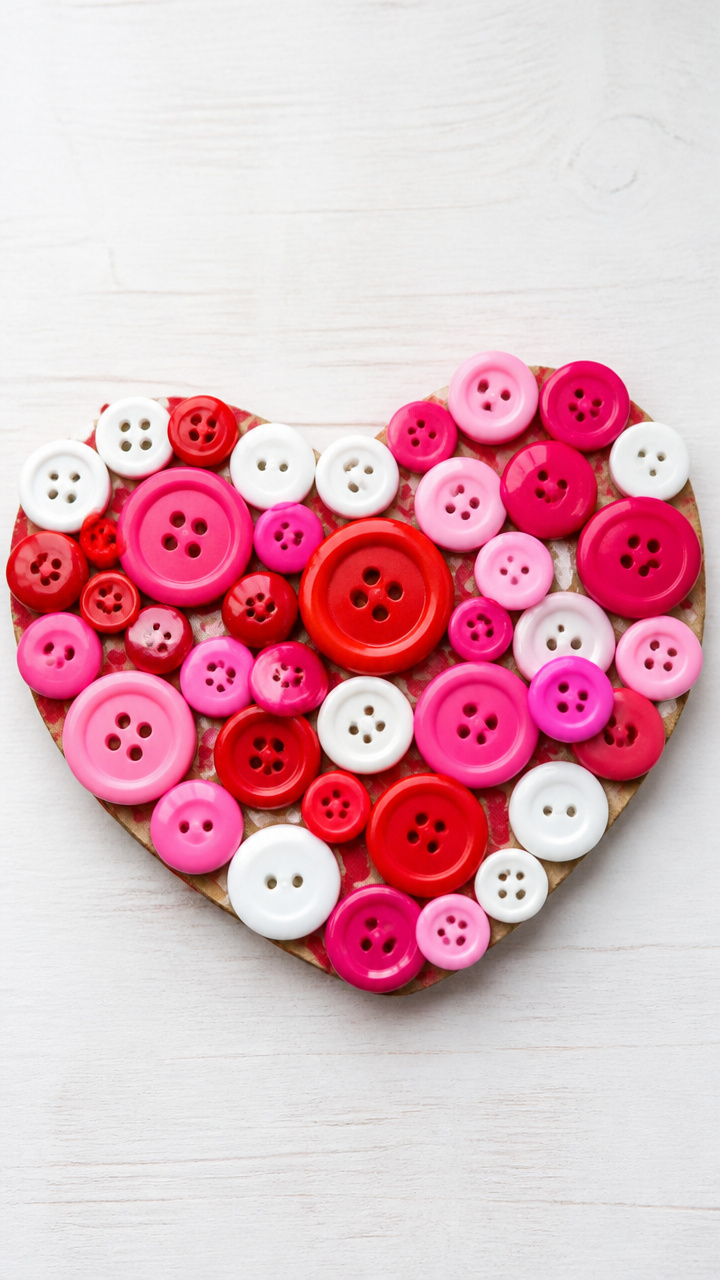
Mismatched buttons glued into heart shapes stick to fridges with magnetic tape backing.
Materials Needed
- Assorted red, pink, and white buttons, 15 per magnet
- White craft glue
- Small heart template, 3 inch
- Magnetic tape sheets, self-adhesive, 2 x 2 inch per magnet
- Cardboard, 3 inch square per magnet
How to Make It
- Trace the heart template onto the cardboard and cut it out.
- Arrange buttons inside the heart shape, starting from the outer edge and working inward.
- Glue each button down with white craft glue, pressing for 5 seconds to set.
- Let the glue dry for 25 minutes.
- Peel and stick a 2 x 2 inch magnetic tape square to the back.
11. Straw-Blown Heart Art
Easy
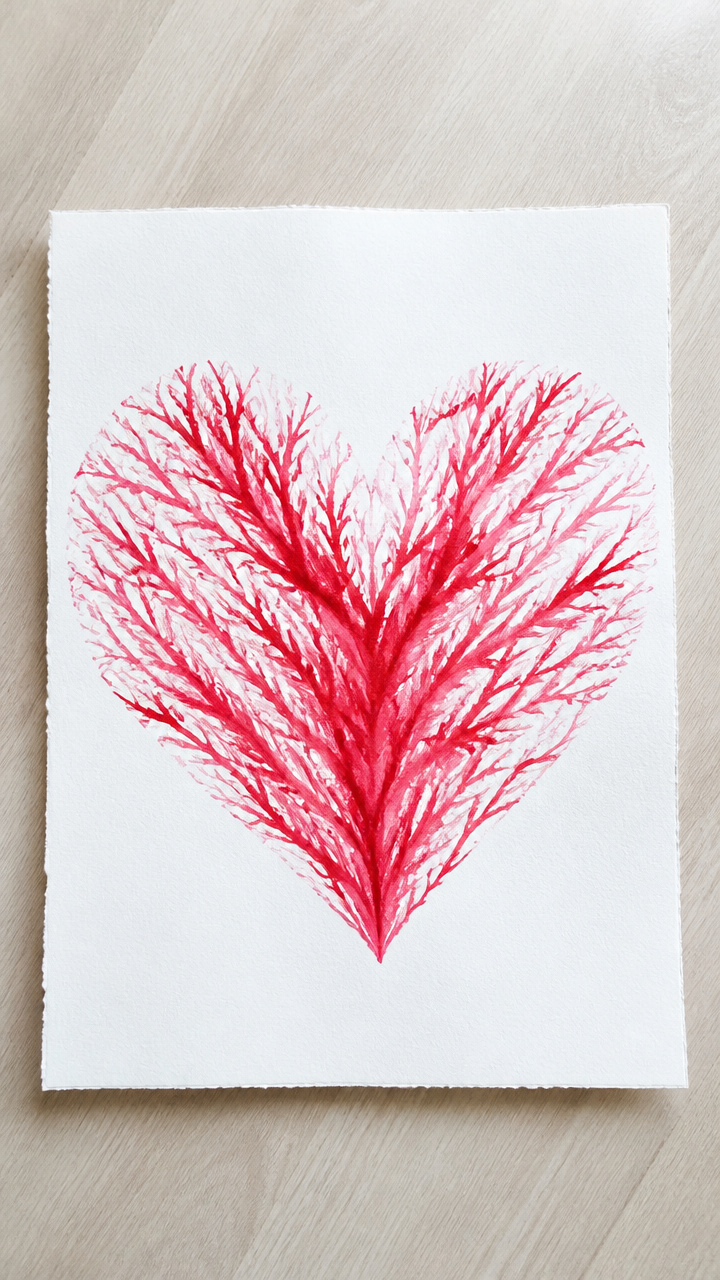
A drop of paint blown through a straw creates feathery branches that resemble blooming trees.
Materials Needed
- Red liquid watercolor paint
- Drinking straws
- 9 x 12 inch white drawing paper
- Cotton swabs
How to Make It
- Place a dime-sized drop of red liquid watercolor in the center of the paper.
- Have your child place one end of the straw near the paint and blow hard through the other end.
- Watch the paint fan out into tree-like branches.
- Dip a cotton swab in clean water and dab the edges to soften lines if needed.
- Let dry flat for 15 minutes.


12. Tissue Paper Heart Windows
Easy
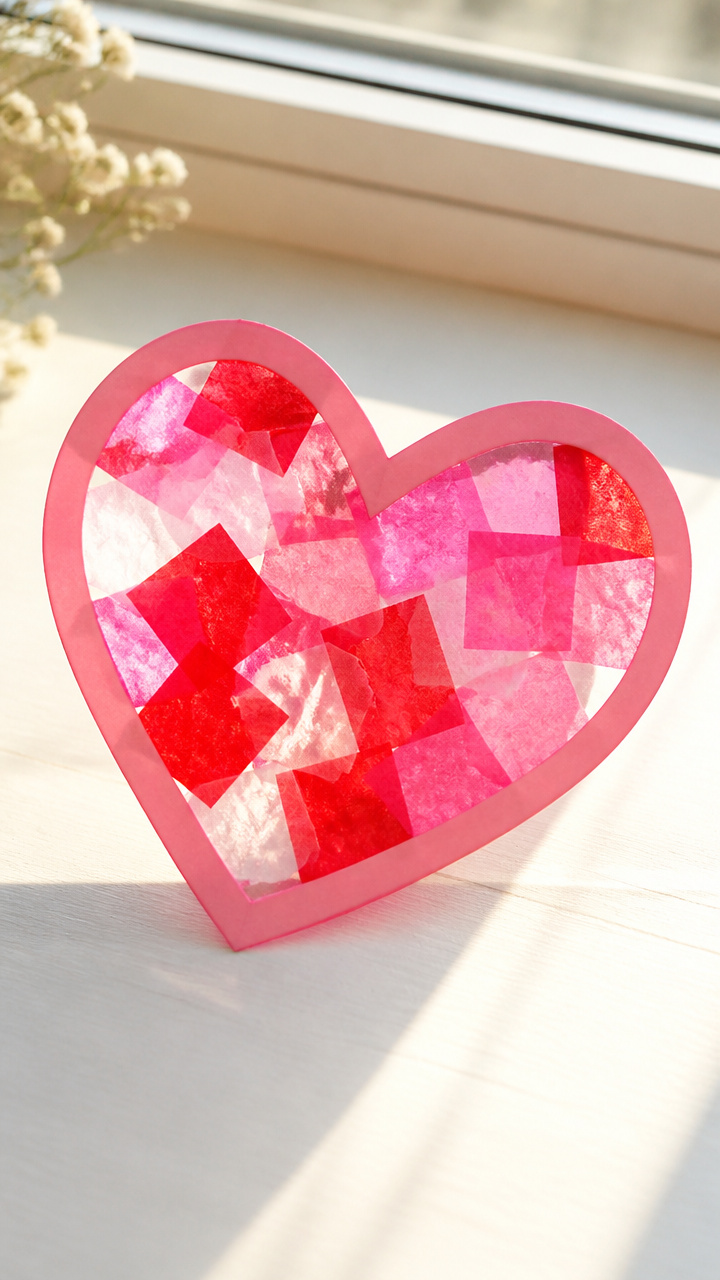
Bright squares of tissue paper cling to contact paper for a sun-catching suncatcher.
Materials Needed
- Clear adhesive contact paper, 9 x 12 inch sheet
- Red, pink, and white tissue paper, cut into 1 inch squares
- Scissors
- Roll of tape
How to Make It
- Cut the contact paper sheet in half and remove the backing from one piece.
- Lay the sticky side up on the table and tape the corners down.
- Place tissue paper squares side by side on the sticky surface to fill a heart shape.
- Place the second half of contact paper on top, sticky sides together, to seal.
- Trim around the heart with scissors to finish.


13. Q-Tip Dot Hearts
Easy
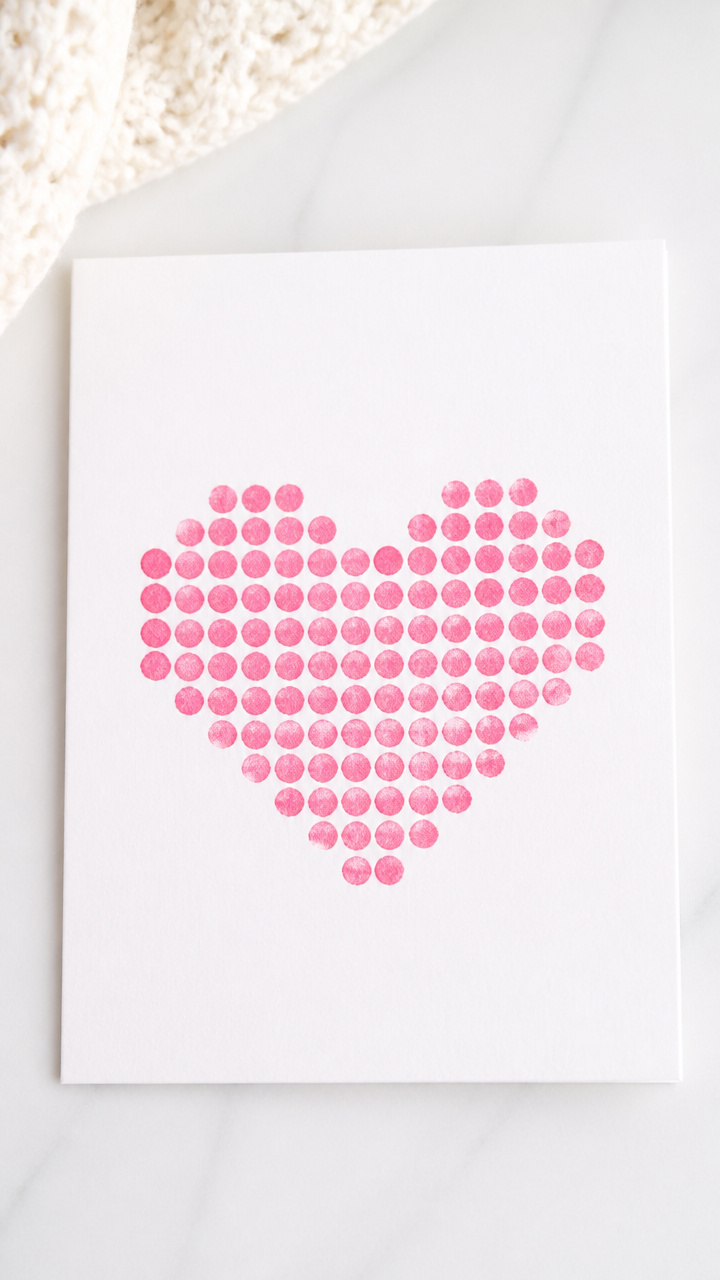
Dipping Q-tips into paint makes perfect dots that form a pixel-style heart on cardstock.
Materials Needed
- Pink acrylic paint
- Q-Tips
- Pencil
- 9 x 12 inch white cardstock
- Paper plate
How to Make It
- Draw a large heart shape lightly on the cardstock with the pencil.
- Pour a small pool of pink acrylic paint onto the paper plate.
- Dip one end of a Q-Tip into the paint and dot it inside the heart line.
- Continue making dots side by side until the heart is filled.
- Let dry for 15 minutes before handling.
14. Clothespin Love Bugs
Easy
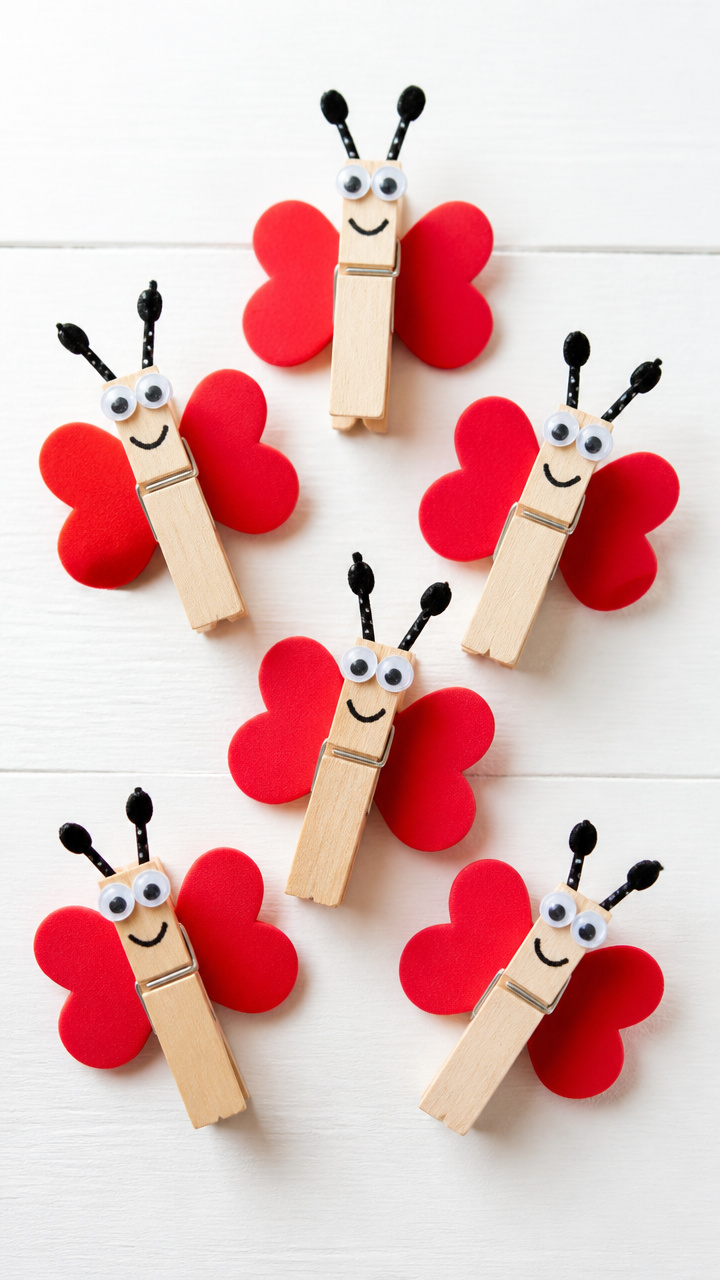
Wooden clothespins become little creatures with googly eyes and heart-shaped wings.
Materials Needed
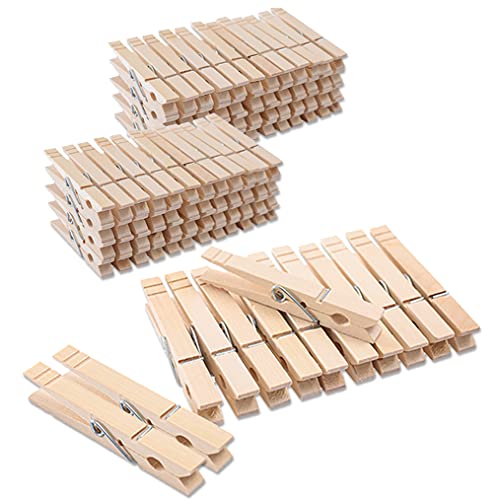
- Natural wooden clothespins (1 per bug)
- Red foam sheets
- Googly eyes, 1/4 inch (2 per bug)
- White craft glue
- Black fine-tip marker
- Child-safe scissors
How to Make It
- Cut small heart shapes from the red foam sheet, about 1 inch tall.
- Glue one heart to each side of the clothespin’s flat edge to form wings.
- Glue two googly eyes just above the clip’s hinge.
- Use the black marker to draw a smile and tiny legs on the rounded end.
- Let glue dry for 20 minutes before play.


15. Salt Dough Ornaments
Easy
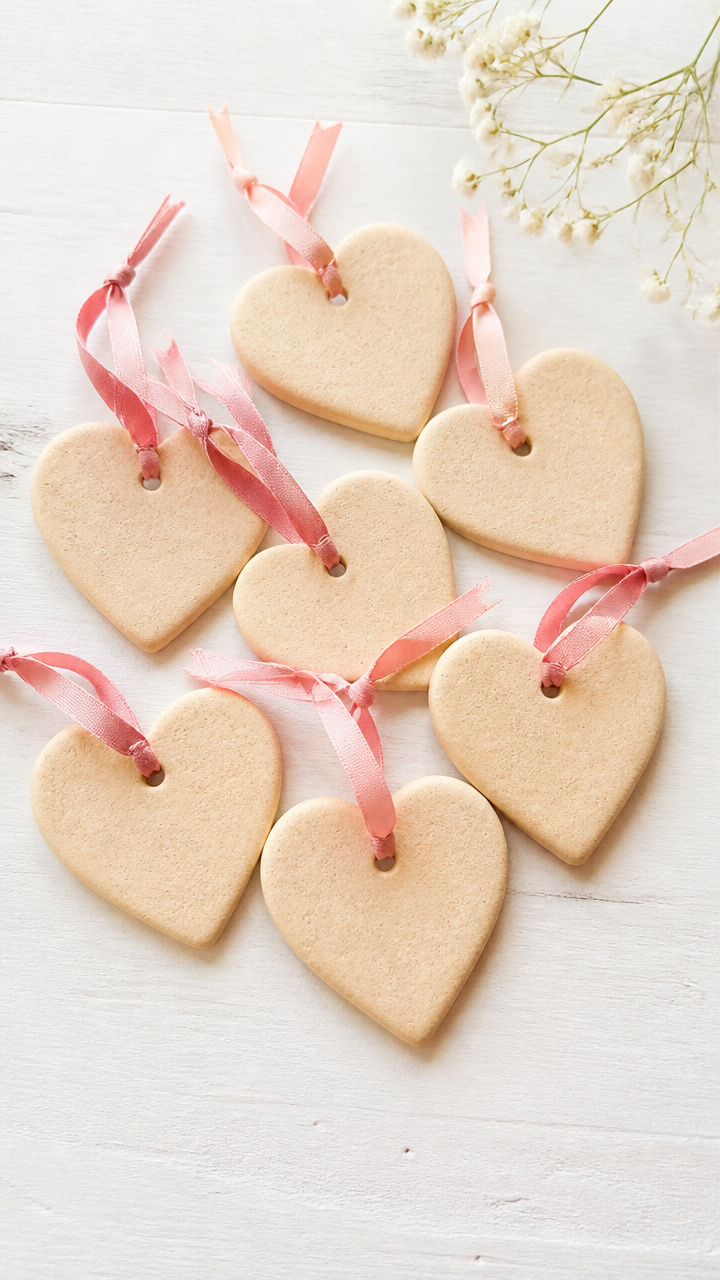
Homemade dough pressed into heart molds bakes into keepsake decorations ready for ribbon.
Materials Needed
- 2 cups all-purpose flour
- 1/2 cup table salt
- 3/4 cup warm water
- Heart-shaped cookie cutter, 2 inch
- Bamboo skewer
- Oven
- Ribbon, 12 inches per ornament
How to Make It
- Mix flour, salt, and warm water in a bowl until a smooth dough forms.
- Roll the dough to 1/4 inch thickness on a floured surface.
- Cut out hearts using the cookie cutter.
- Use the skewer to poke a hole near the top edge for ribbon threading.
- Bake at 200°F for 3 hours until hard, then cool and thread ribbon through.
Grab your glue sticks and paints, because these crafts are ready to turn simple moments into lasting memories. Your little one’s big heart will shine through every project.