15 Heart-Themed Valentine’s Day Crafts for Children

Red construction paper hearts flutter on classroom walls, glitter spills across kitchen tables, and tiny hands carefully glue pom-poms onto handmade cards. These moments spark joy and create keepsakes that last far beyond the holiday.
You don’t need fancy supplies or hours of free time to make something special. With simple materials and clear steps, you and your child can craft beautiful, heartfelt creations together — each one bursting with love and creativity.
1. Glitter Heart Suncatchers
Easy
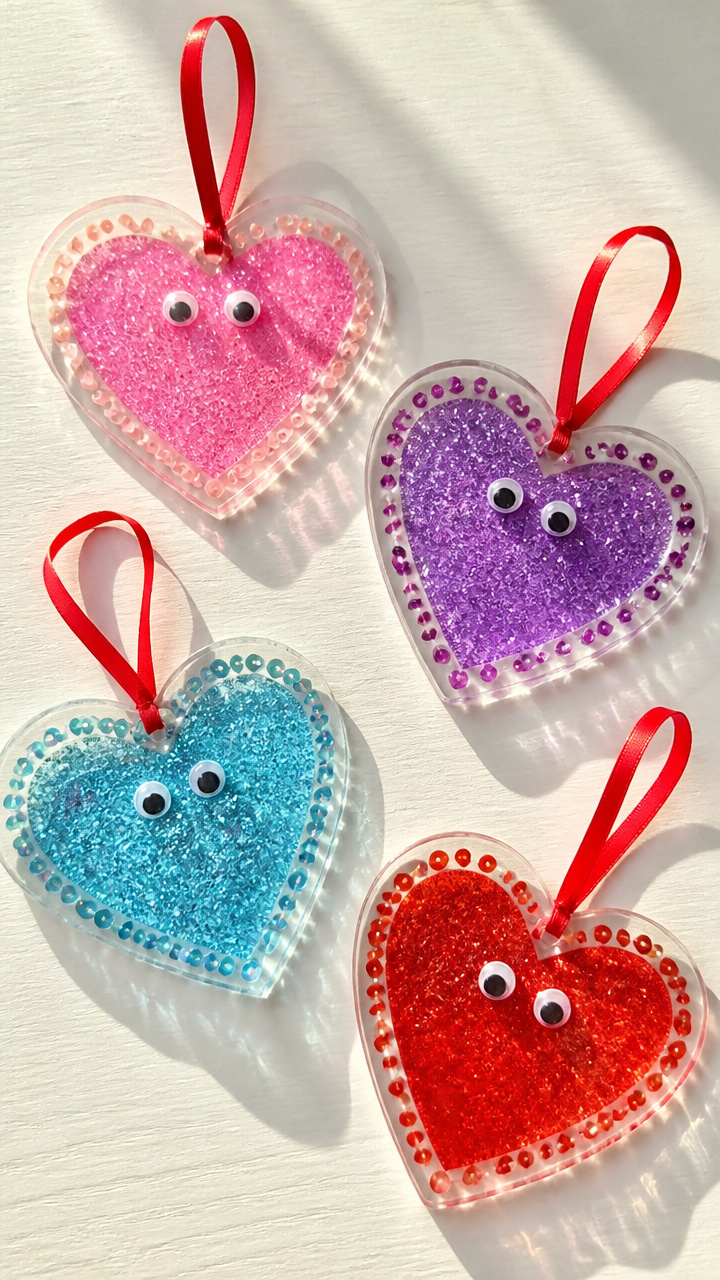
Shimmering hearts catch the light and turn any window into a celebration of color and sparkle. Kids love watching their handiwork glow in the sun.
Materials Needed
- Clear self-adhesive contact paper, 12 x 18 inches
- Scissors
- Heart-shaped cookie cutter, 4 inches wide
- Assorted colored tissue paper squares, 1 x 1 inch, 50 pieces
- Googly eyes, 0.25 inch, 6 pieces
- Ribbon, red, 12 inches
How to Make It
- Place the cookie cutter on the sticky side of the contact paper and press firmly to form a heart outline.
- Fill the heart shape with overlapping pieces of tissue paper, covering the entire area inside the cutter.
- Peel off the backing from a second piece of contact paper and gently lay it over the tissue paper, sealing the edges.
- Carefully cut around the outside of the heart, removing excess contact paper, then trim a small notch at the top.
- Thread the ribbon through the notch and tie a knot to hang. Add googly eyes if desired.


2. Pom-Pom Heart Wands
Easy
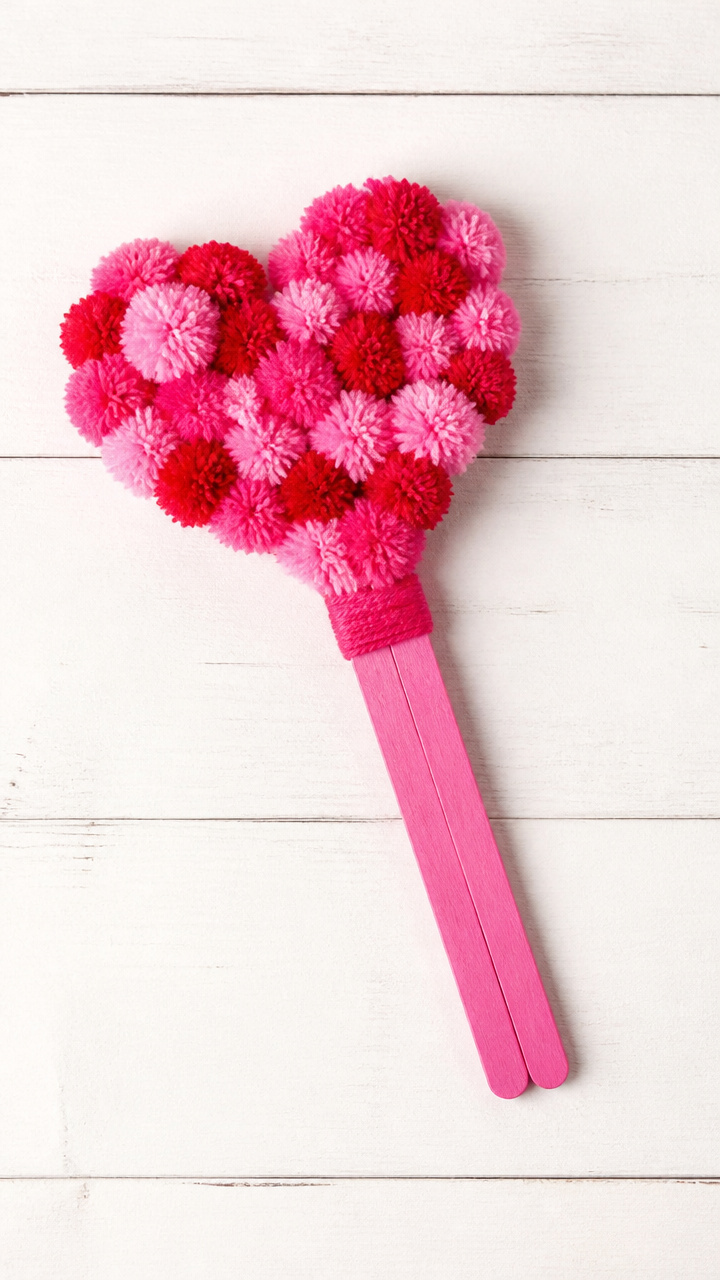
Fluffy wands with oversized hearts on top double as parade props and room decorations. The soft texture invites little hands to wave them proudly.
Materials Needed
- Jumbo craft sticks, 6 inches, 2 per wand
- Hot glue gun and glue sticks
- Pink and red yarn, 3 yards each
- Cardboard heart template, 3 inches tall
- Scissors
- Jumbo colorful pom-poms, 1 inch diameter, 10 pieces
How to Make It
- Lay one craft stick flat and apply hot glue along one end.
- Press the second stick perpendicularly across the first to form a T-shape. Hold until set.
- Wrap yarn tightly around the top stick, covering it completely, and secure the end with a dab of glue.
- Trace the cardboard heart template onto another piece of cardboard and cut it out.
- Glue the heart to the center of the crossbar, then attach three pom-poms across the heart’s surface.


3. Crayon Heart Melts
Moderate
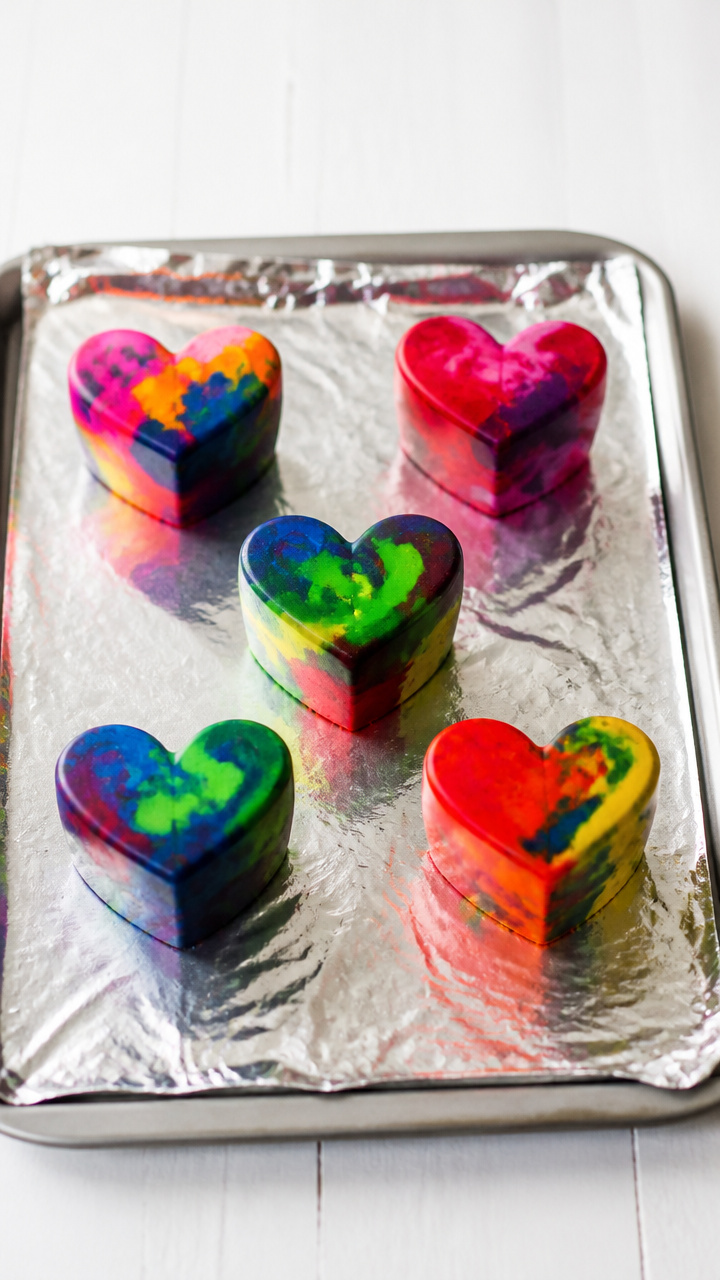
Broken crayon bits transform into swirled rainbow hearts that stand upright like mini sculptures. This craft turns clutter into colorful art.
Materials Needed
- Silicone heart mold, 5 cavities, 2 inches each
- Old crayons, peeled and broken into 0.5 inch pieces, 15 total
- Oven-safe baking sheet
- Aluminum foil
- Tongs
How to Make It
- Preheat oven to 275°F. Line the baking sheet with foil.
- Sort crayon pieces by color and fill each heart cavity with a mix of three colors.
- Place the mold on the baking sheet and bake for 12 minutes, or until fully melted.
- Remove using tongs and let cool completely on the counter, about 30 minutes.
- Pop the crayon hearts out of the mold and display upright on a shelf or windowsill.
4. Handprint Love Tree
Moderate
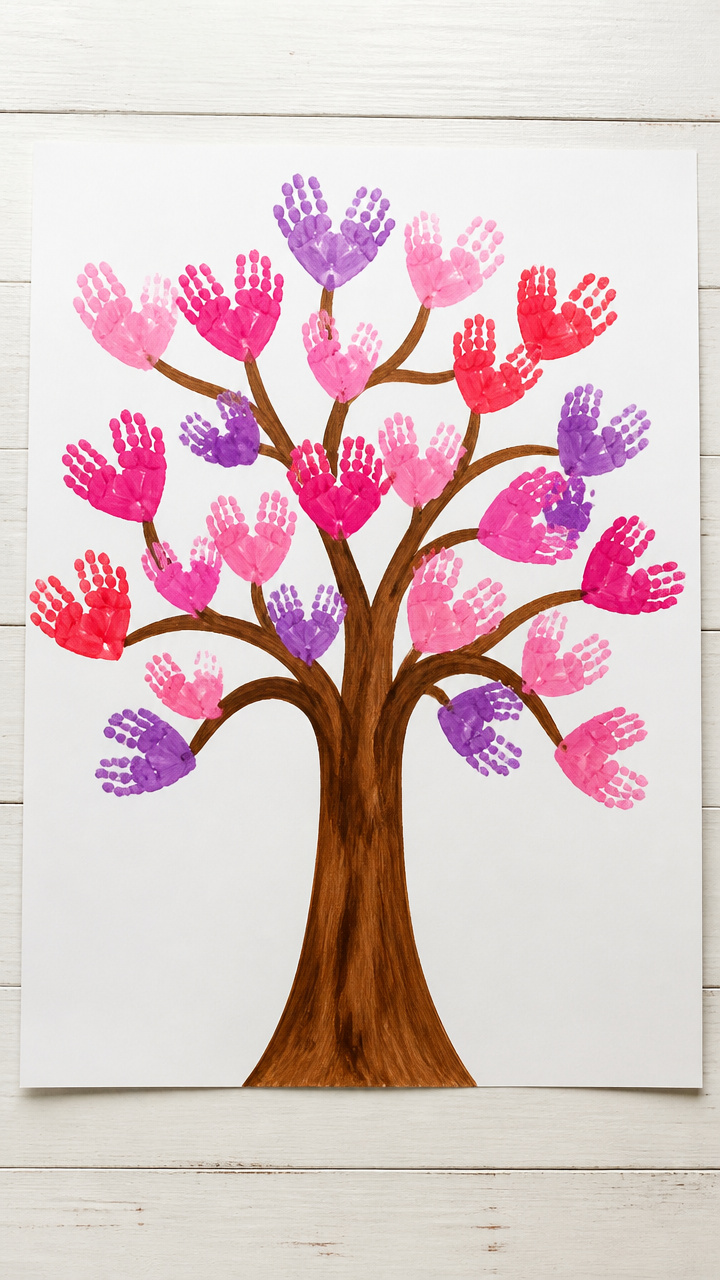
A bare branch comes alive with heart-shaped leaves made from painted handprints. This keepsake grows more meaningful each year.
Materials Needed
- Large sheet of white drawing paper, 18 x 24 inches
- Brown acrylic paint
- Paintbrush, 1 inch flat
- Red, pink, and purple washable finger paints, 2 oz each
- Cup of water
- Paper towels
How to Make It
- Use the brush to paint a thick tree trunk and branches near the bottom of the paper. Let dry for 15 minutes.
- Dip one child’s palm and all fingers into red finger paint, then press firmly onto the paper above the trunk to form a leaf cluster.
- Repeat with pink and purple paint using the same hand or different children’s hands to fill the canopy.
- Rinse hands between colors using the water cup and dry with paper towels.
- Let the painting dry flat overnight before displaying.
5. Pipe Cleaner Heart Rings
Easy
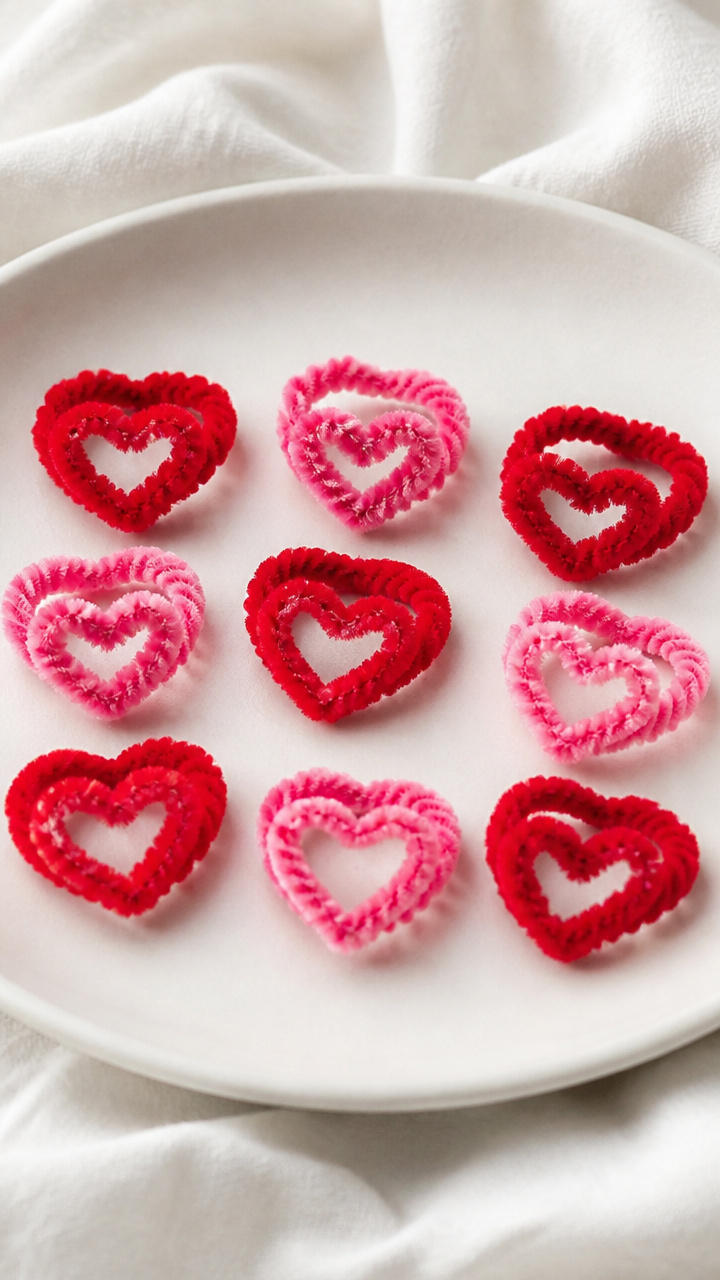
Twisted wire rings fit snugly on small fingers and shine with personality. Shaping them builds fine motor skills quietly.
Materials Needed
- Chenille stems (pipe cleaners), red and pink, 12 inches long, 4 total
- Round-nose pliers
How to Make It
- Fold one pipe cleaner in half to find the center point.
- Use the pliers to bend the folded end into a small loop, forming the bottom curve of the heart.
- Bring both arms up and twist them together at the top to form two rounded peaks.
- Wrap the ends around each other twice to secure, then tuck in sharp tips with the pliers.


6. Sticker Heart Collage
Easy
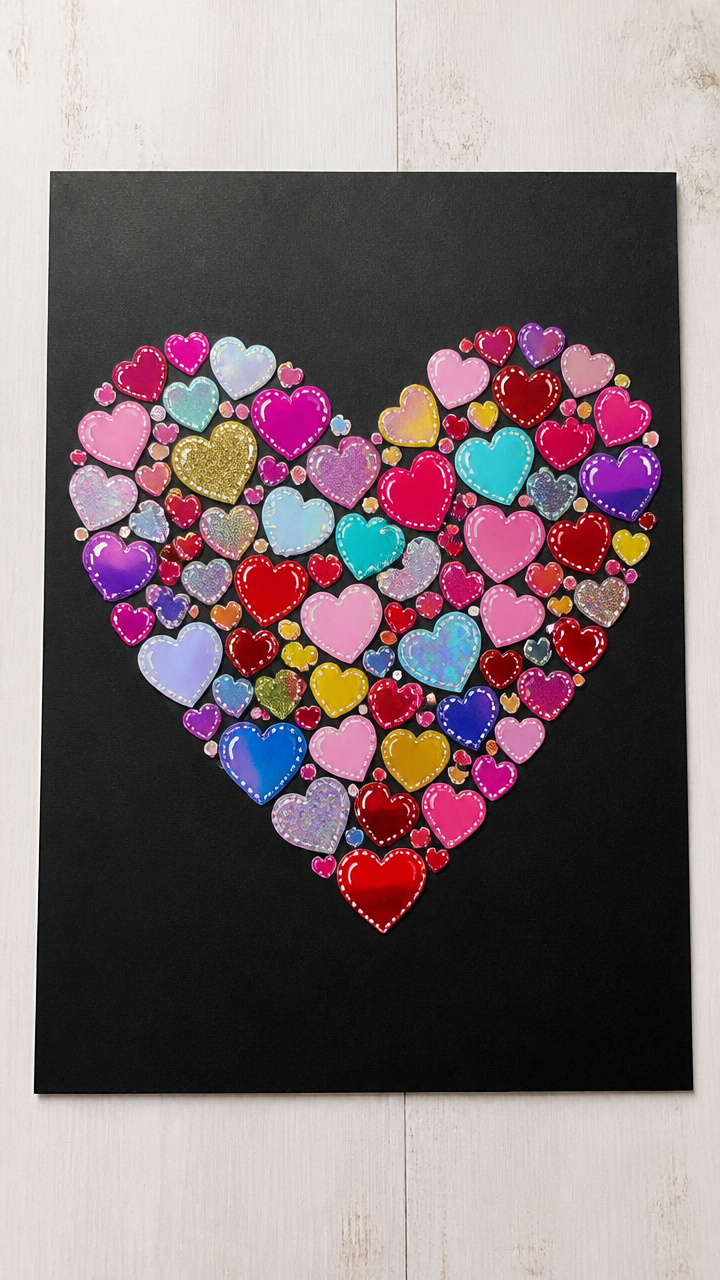
Colorful stickers arrange into bold heart mosaics on dark paper. It’s creative play with zero mess and instant results.
Materials Needed
- Black cardstock, A4 size, 1 sheet
- Heart stencil, 5 inches tall
- Assorted heart-shaped stickers, 100 count
- White gel pen
How to Make It
- Place the stencil in the center of the black cardstock and trace lightly with a pencil.
- Fill the inside of the heart shape completely with overlapping stickers in various sizes and shades.
- Once full, go over the outer edge with the white gel pen to make the heart pop against the dark background.


7. Felt Heart Puppets
Moderate
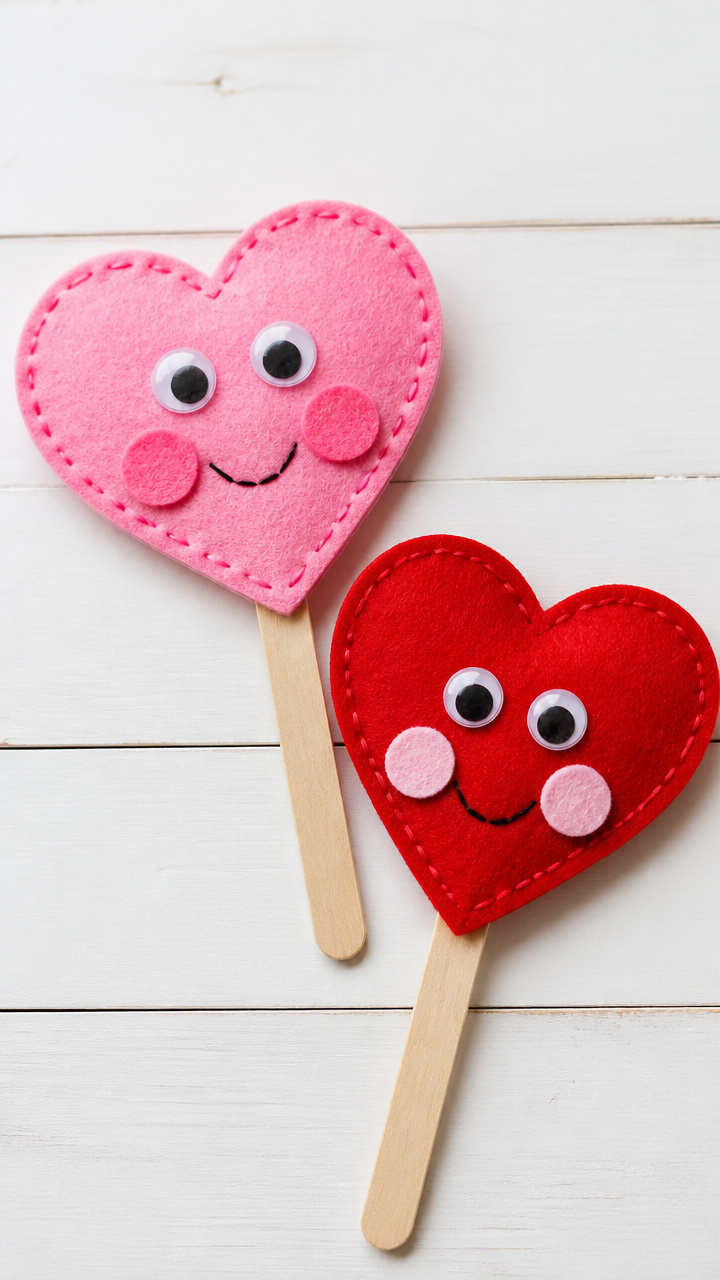
Soft puppets with moving mouths invite storytelling and giggles during cozy playtime. Sewing isn't required for this no-sew version.
Materials Needed
- Pink felt sheet, 9 x 12 inches
- Red felt sheet, 9 x 12 inches
- Fabric scissors
- White school glue
- Googly eyes, 0.5 inch, 4 pieces
- Craft stick, 4.5 inches
How to Make It
- Draw a large heart, 6 inches tall, on the pink felt and cut it out.
- Cut a smaller heart, 4 inches tall, from red felt for the mouth.
- Glue the red heart near the bottom of the pink heart, leaving space above for eyes.
- Attach googly eyes above the mouth with glue and let dry for 20 minutes.
- Glue the craft stick vertically to the back center of the puppet and wait 30 minutes before use.
8. Salt Dough Heart Ornaments
Moderate
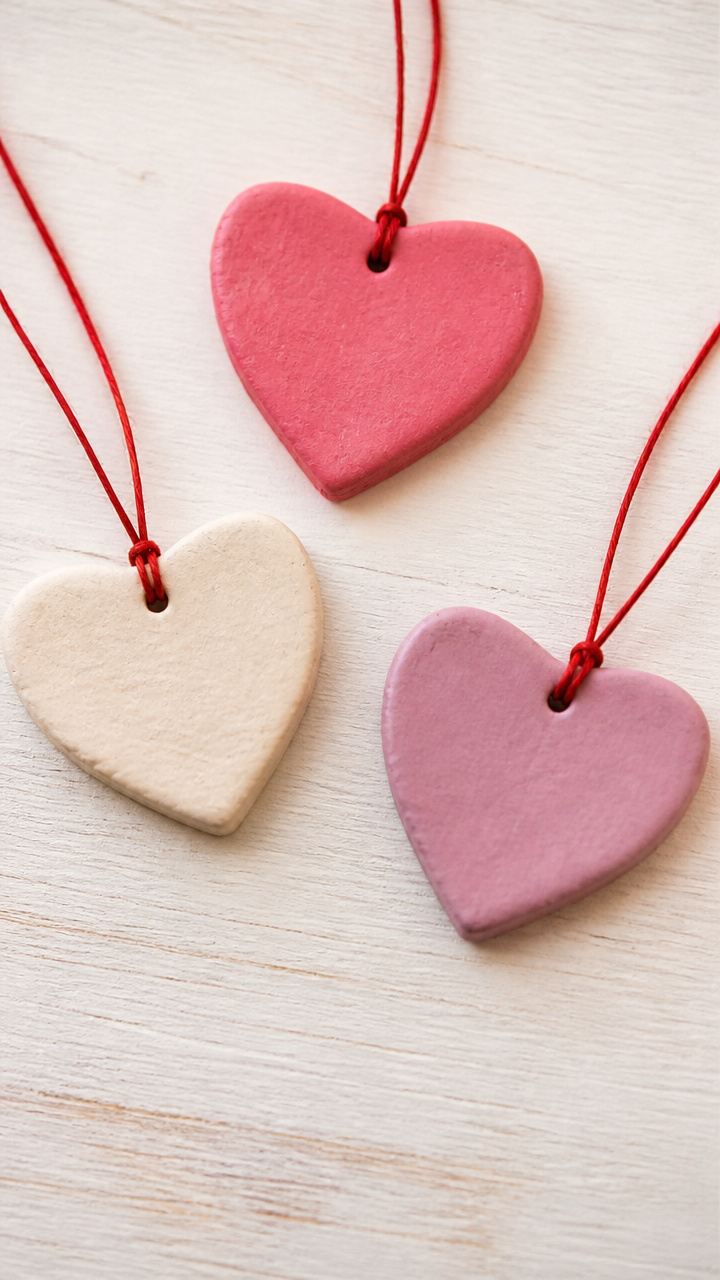
Scented dough bakes into sturdy keepsakes that can be painted and hung for years. The smell alone makes mixing worth it.
Materials Needed
- All-purpose flour, 1 cup
- Table salt, 1/2 cup
- Water, 1/2 cup
- Mixing bowl
- Rolling pin
- Heart-shaped cookie cutter, 3 inches
- Straw
- Baking sheet
- Oven
- Acrylic paint, assorted colors, 3 bottles
- Paintbrush, small round
- Ribbon, 6 inches, 1 piece
How to Make It
- In the bowl, mix flour, salt, and water until a smooth dough forms, kneading by hand for 2 minutes.
- Roll the dough to 1/4 inch thickness on a floured surface.
- Cut out hearts using the cookie cutter and place them on the baking sheet.
- Press a straw through the top of each heart to make a hanging hole.
- Bake at 200°F for 3 hours, turning once halfway through.
- Let cool completely, then paint with designs using the brush.
- Thread ribbon through the hole and tie a loop for hanging.
9. Q-Tip Heart Frames
Easy
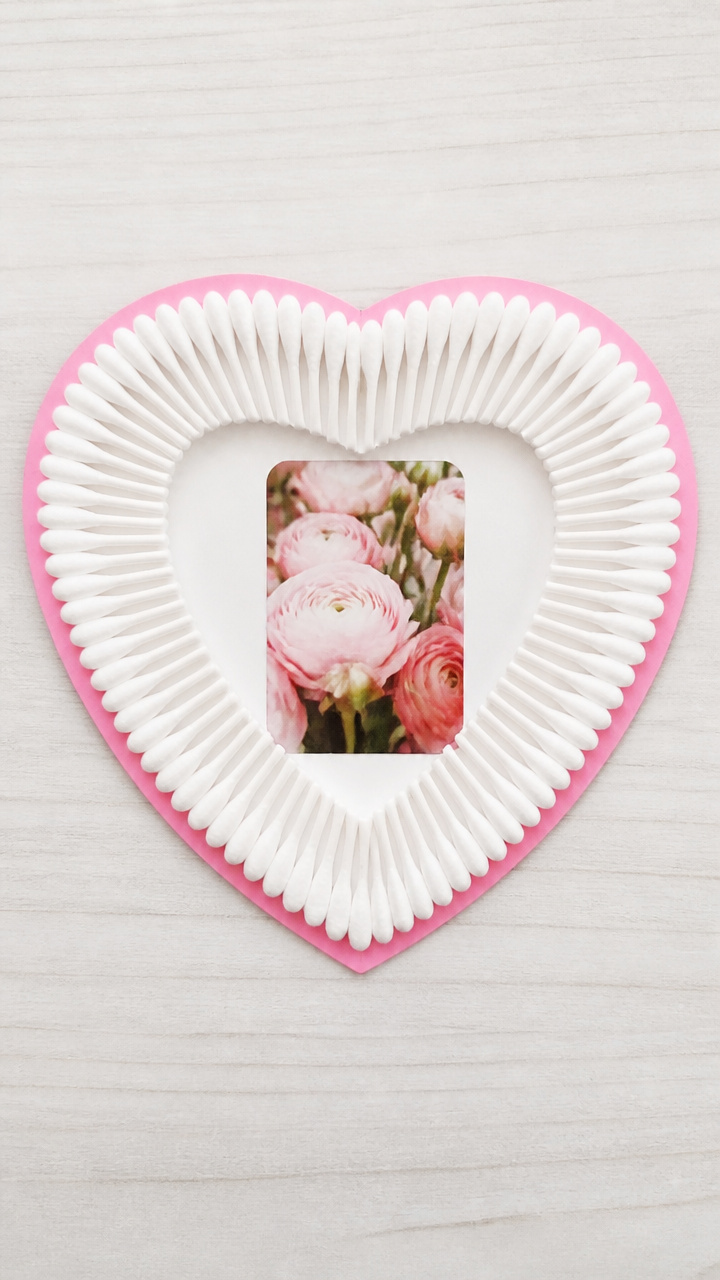
Tiny cotton swabs line a heart outline to create a textured border perfect for a photo. It’s orderly yet playful.
Materials Needed
- White construction paper, 8.5 x 11 inches
- Pink marker
- Cotton swabs (Q-Tips), 25 count
- White school glue
- Child-safe scissors
- Small photo, 2 x 3 inches
How to Make It
- Draw a large heart on the construction paper with the pink marker, leaving a 1 inch border around the edge.
- Apply glue along the heart line, about 2 inches at a time.
- Press Q-Tips tip-down along the glued line, covering the entire outline.
- Let dry for 30 minutes, then trim the paper to frame the photo area inside the heart.
- Glue the photo in the center and let sit flat for 20 minutes.
10. Button Heart Magnets
Easy
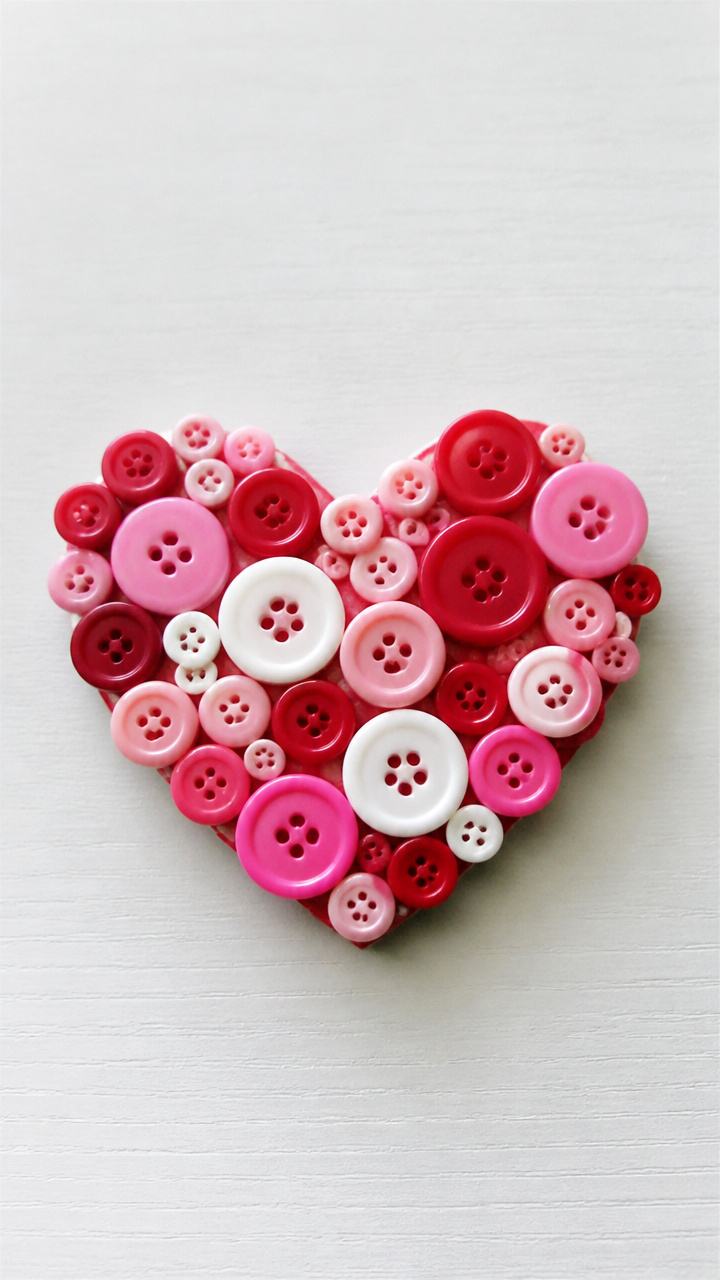
Mismatched buttons cluster into whimsical hearts that stick to any metal surface. Sorting them becomes part of the fun.
Materials Needed
- Assorted buttons, red, pink, and white, 20 total
- Strong craft glue
- Magnetic strips, self-adhesive, 1 x 0.5 inch, 5 pieces
- Cardboard sheet, 4 x 4 inches
- Scissors
How to Make It
- Cut the cardboard into a 3 inch heart shape.
- Arrange buttons on the heart to fill the space, overlapping slightly where needed.
- Glue each button securely to the cardboard and let dry for 1 hour.
- Trim any stray edges, then attach a magnetic strip to the back center.


11. Yarn-Wrapped Heart Boards
Moderate
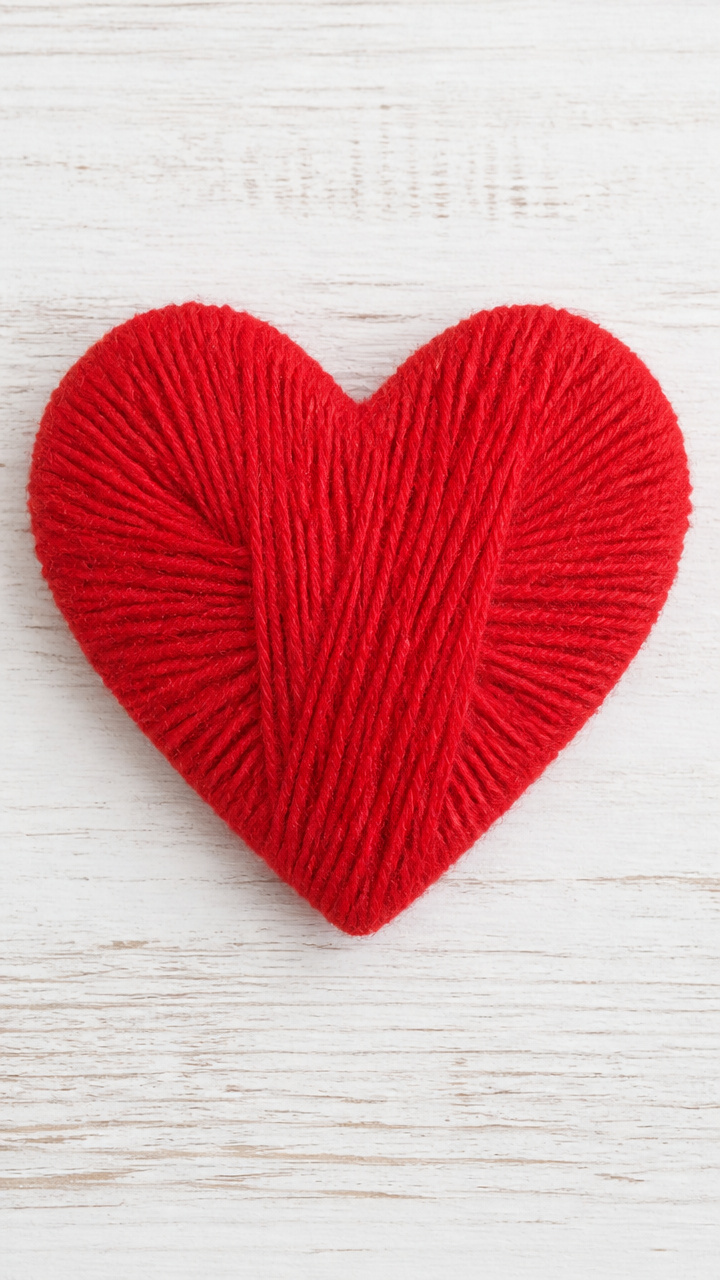
Thin wood blanks take on a plush look when wrapped tightly in bright yarn. The motion is soothing and repetitive.
Materials Needed
- Wood heart craft blank, 4 inches tall, unfinished
- Glue dot, 0.25 inch, 1 piece
- Red yarn, size 4, 20 yards
- Scissors
How to Make It
- Stick the glue dot to the back bottom of the wood heart to anchor the yarn end.
- Press the yarn tail under the dot and begin wrapping tightly around the heart’s edge.
- Continue wrapping side by side, covering the entire surface without gaps.
- When near the end, leave 6 inches free, cut the yarn, and tuck the tail under the last few wraps.
- Press the loose end down with another glue dot on the back.
12. Candy Heart Name Art
Easy
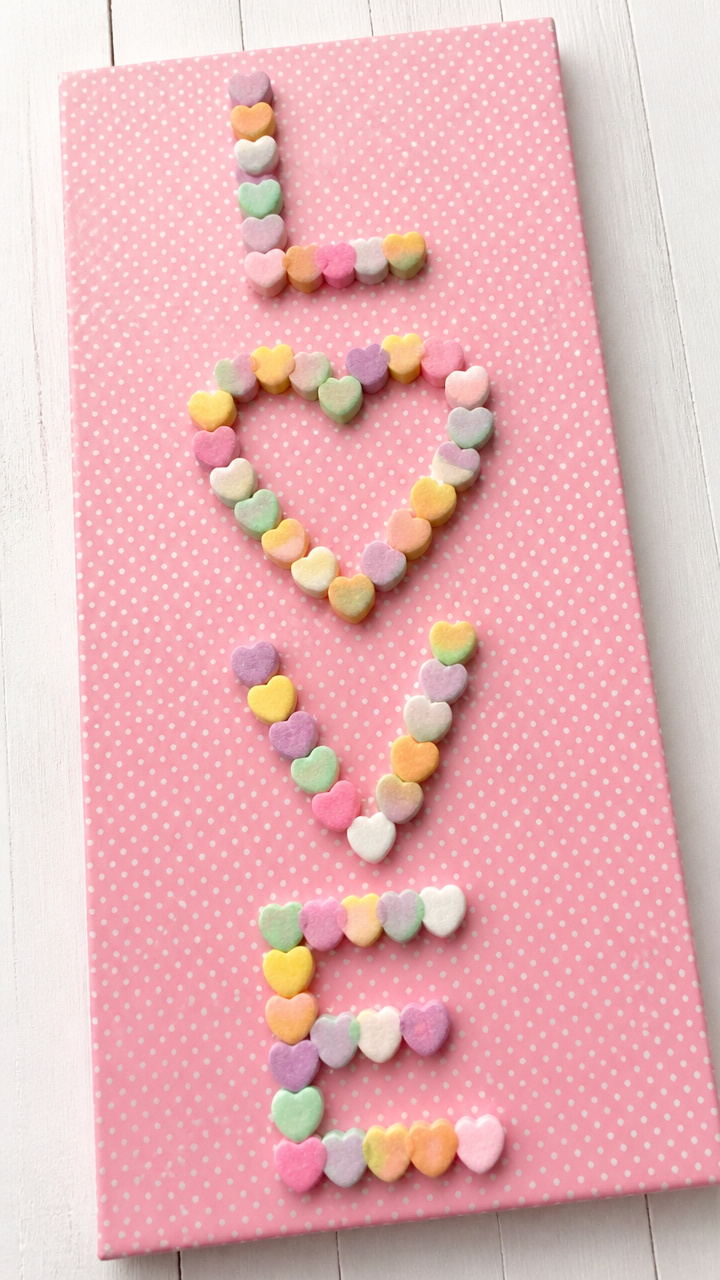
Pastel conversation hearts spell out names or sweet messages on patterned backgrounds. Eating a few is part of the process.
Materials Needed
- Colored scrapbook paper, 8.5 x 11 inches, polka dot design
- Mini conversation hearts, 30 count
- Tacky glue
- Paintbrush, 0.5 inch flat
How to Make It
- Choose a word like a name or 'LOVE' and plan its layout on the scrapbook paper.
- Use the brush to apply a small dab of glue where each candy will sit.
- Press one candy heart onto each glue spot, letting the words form slowly.
- Let the artwork dry for 45 minutes before touching.
13. Straw Heart Weaving
Moderate
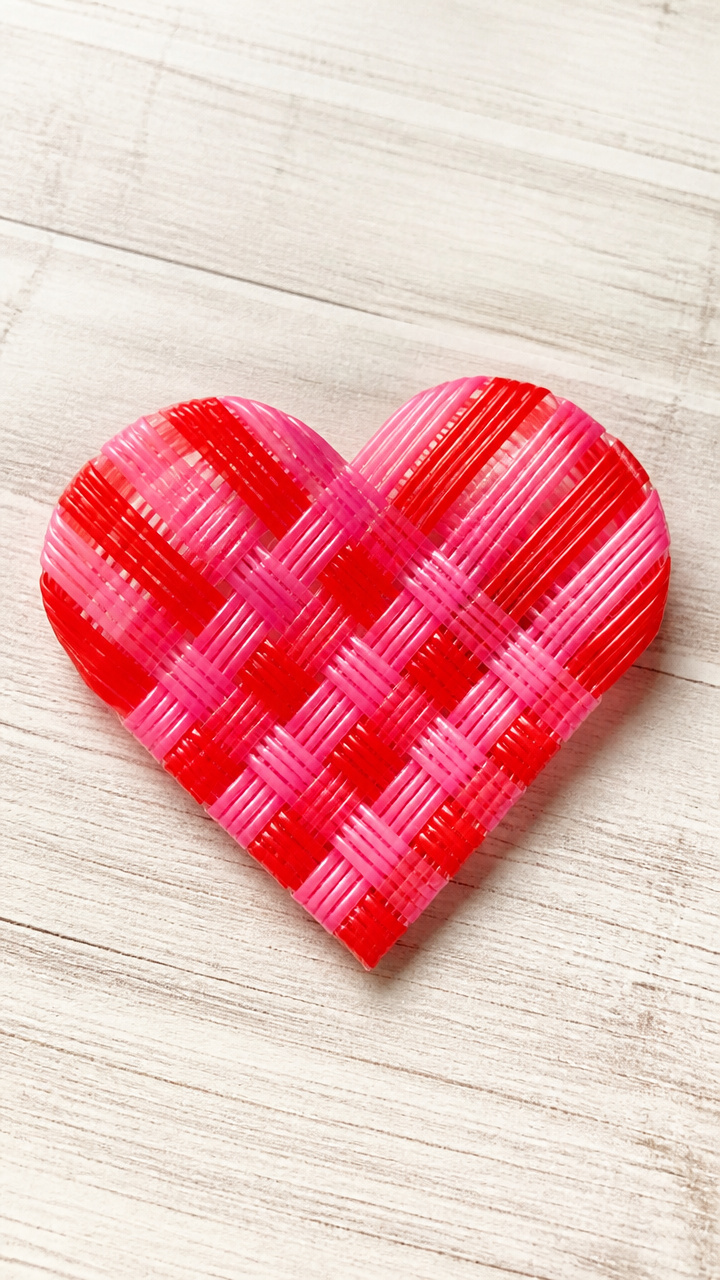
Bright plastic straws cut into strips interlace into a stiff woven heart. The crisscross pattern teaches rhythm and order.
Materials Needed
- Plastic drinking straws, red and pink, 10 total
- Scissors
- Cardboard heart template, 5 inches tall
- Clear tape
How to Make It
- Cut each straw lengthwise into 4 equal strips, yielding 40 strips total.
- Lay 7 pink strips vertically on the table, spaced 0.5 inches apart.
- Weave a red strip horizontally across, going over and under alternating verticals.
- Push the red strip snug to the bottom and add tape to secure the ends underneath.
- Repeat with 6 more red strips, spacing them evenly upward, until the heart shape is filled.
- Place the woven piece over the cardboard template and cut around it to shape.


14. Puzzle Heart Cards
Advanced
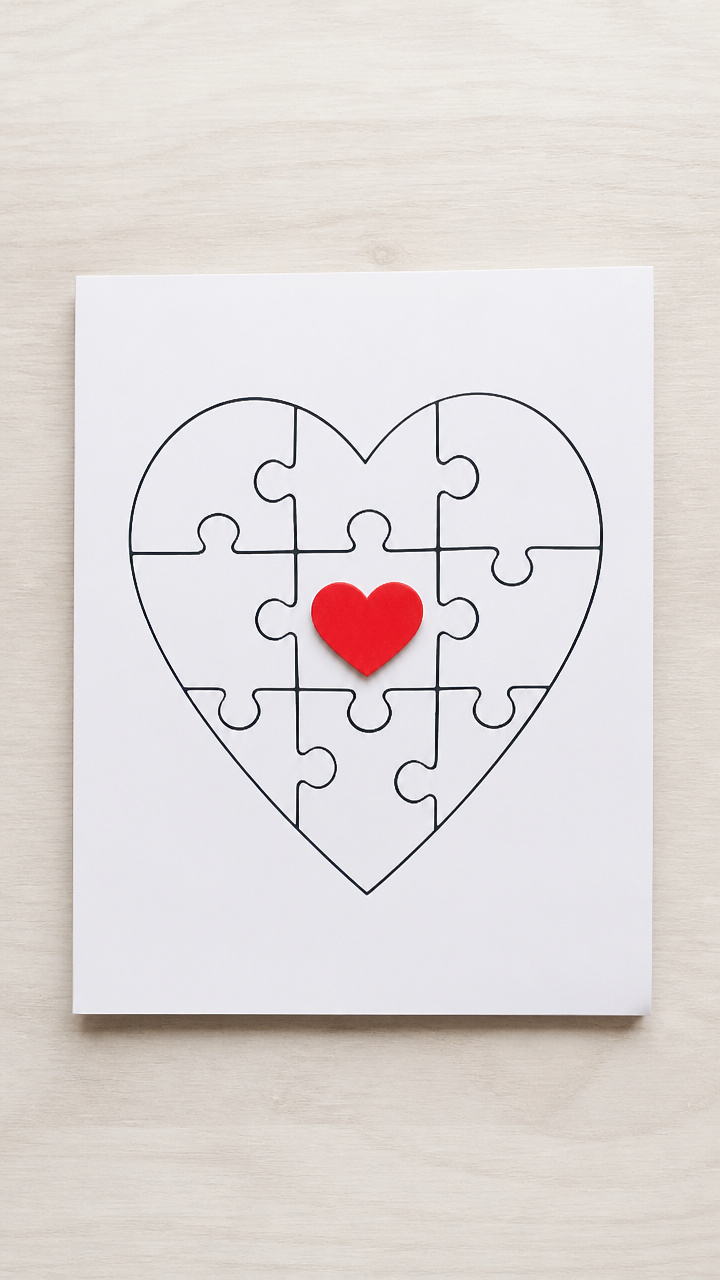
Blank notecards become personalized gifts when decorated with heart-shaped puzzle pieces. Each piece fits only one way.
Materials Needed
- Blank white notecards, 4 x 6 inches, 1
- Pencil
- Eraser
- Heart-shaped sticker, 2 inches
- Fine-tip black marker
- Craft knife
- Cutting mat
How to Make It
- Center the heart sticker on the front of the notecard and trace lightly with pencil.
- Draw 5 irregular puzzle piece shapes within the heart outline using the pencil.
- Go over the lines with the marker to make them bold.
- Place the card on the cutting mat and use the craft knife to cut along the inner lines, removing the centers.
- Erase any remaining pencil marks and let the ink dry for 10 minutes.


15. Cotton Ball Heart Garland
Easy
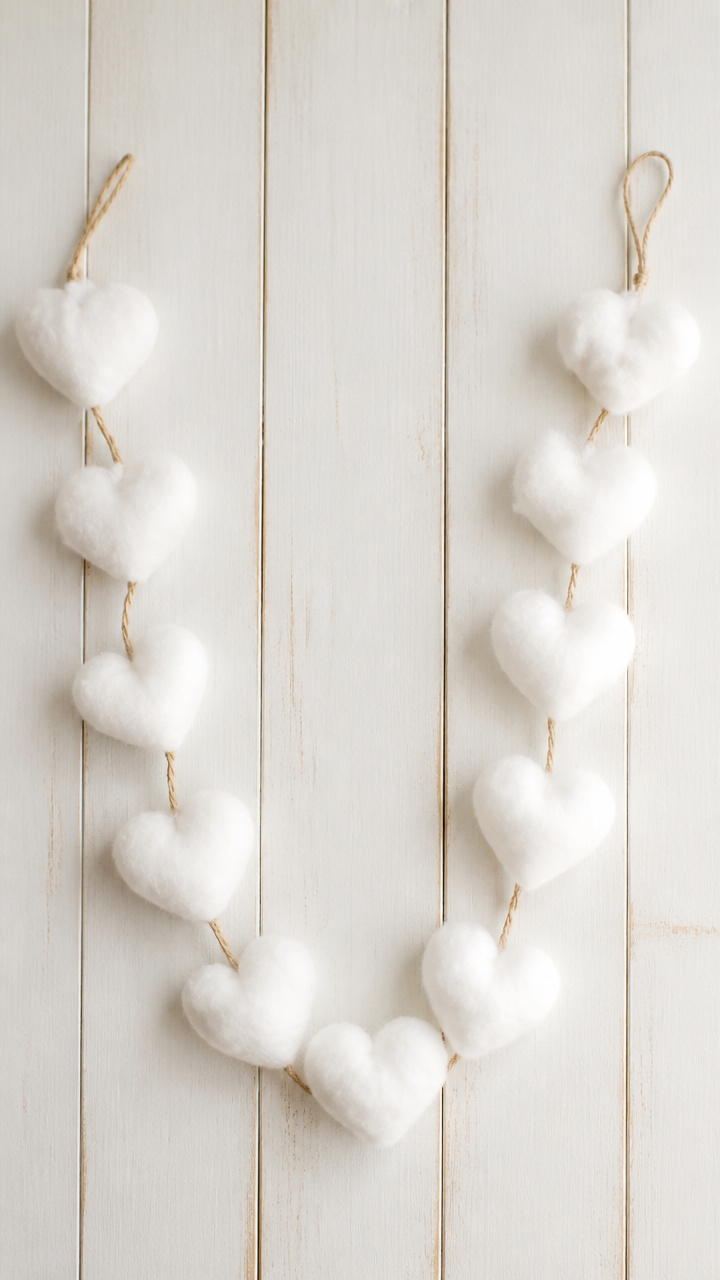
Fluffy clouds of cotton balls string into a soft garland that drapes gently over shelves. It feels like holding a cloud.
Materials Needed
- Jumbo cotton balls, 20 count
- Clothesline rope, 3 feet
- Hot glue gun and glue sticks
- Scissors
How to Make It
- Cut the rope to 3 feet and lay it straight on the work surface.
- Apply a dime-sized dab of hot glue to the center of one cotton ball.
- Press the glued spot onto the rope and hold for 10 seconds.
- Repeat every 2 inches along the rope with new cotton balls until full.
- Let cool completely before hanging.
Grab your scissors, open the glue drawer, and invite your child to start creating. These crafts bring warmth, laughter, and a little sparkle to your days together.