15 Valentine’s Day Classroom Crafts for Kids

Tiny hands shaping hearts from paper, glue, and imagination — that’s the magic of classroom crafting during Valentine’s season. These projects bring color, kindness, and creative joy to every desk.
Each craft is designed with real classrooms in mind: budget-friendly materials, manageable mess, and joyful results every child can be proud to share.
1. Heart-Shaped Paper Chains
Easy

Bright loops of colored paper twist into festive garlands that drape across bulletin boards or windows. This classic chain craft gives kids instant pride in a visible decoration they made together.
Materials Needed
- Red construction paper (8 sheets)
- Pink construction paper (8 sheets)
- White glue stick (2)
- Scissors (1 pair per child)
- Ruler (1 per table)
How to Make It
- Cut each sheet of paper into 1-inch wide strips using scissors and a ruler for straight edges.
- Glue one end of a strip to form a circle, then thread a second strip through the first before gluing it shut.
- Continue linking strips in alternating colors until the chain reaches 6 feet long.


2. Pom-Pom Love Bugs
Easy
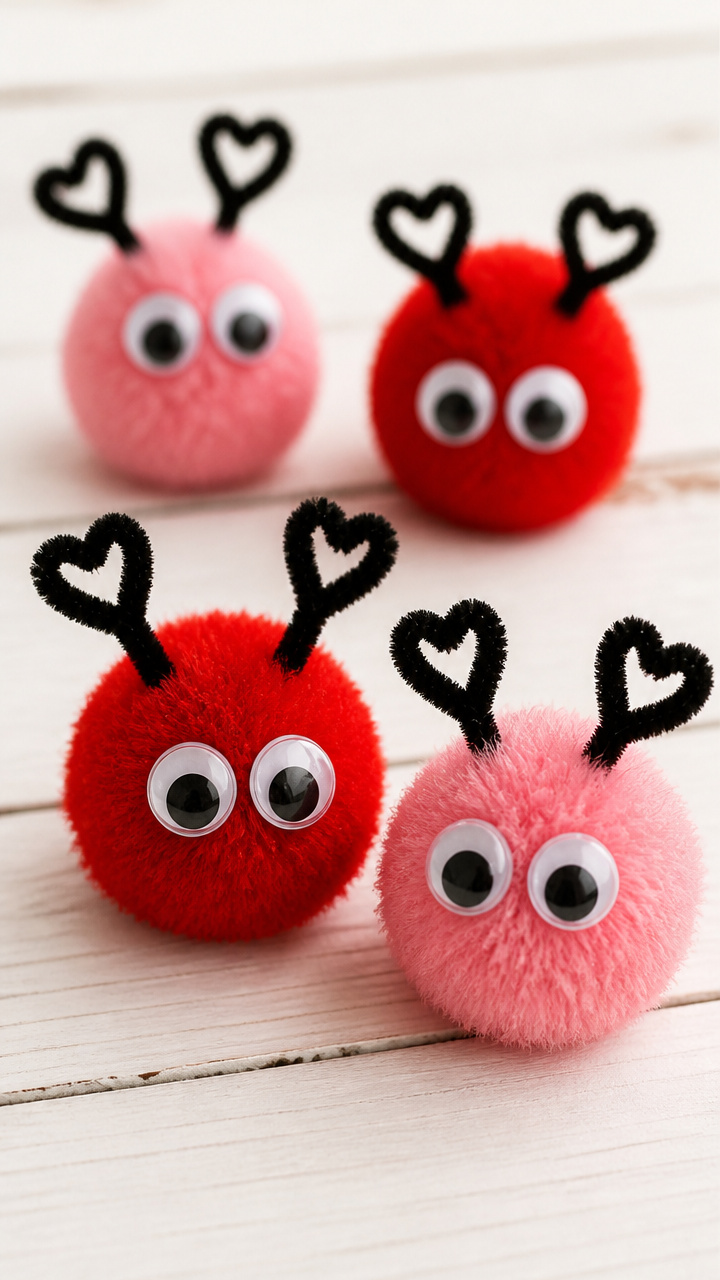
Fluffy red and pink pom-poms become cheerful little bugs with pipe cleaner antennae and googly eyes. These soft critters double as desk pals or Valentine gift toppers.
Materials Needed
- Red pom-poms (1 inch diameter, 15 count)
- Pink pom-poms (1 inch diameter, 15 count)
- Black pipe cleaners (10 count)
- Googly eyes (12mm, 30 pairs)
- Tacky glue (1 bottle)
- Scissors (1 pair)
How to Make It
- Cut black pipe cleaners into 4-inch pieces using scissors.
- Bend one piece into a V-shape and insert both ends into the top of a pom-pom to make antennae.
- Glue two googly eyes just below the antennae and let dry for 10 minutes.


3. Cotton Ball Heart Collage
Easy
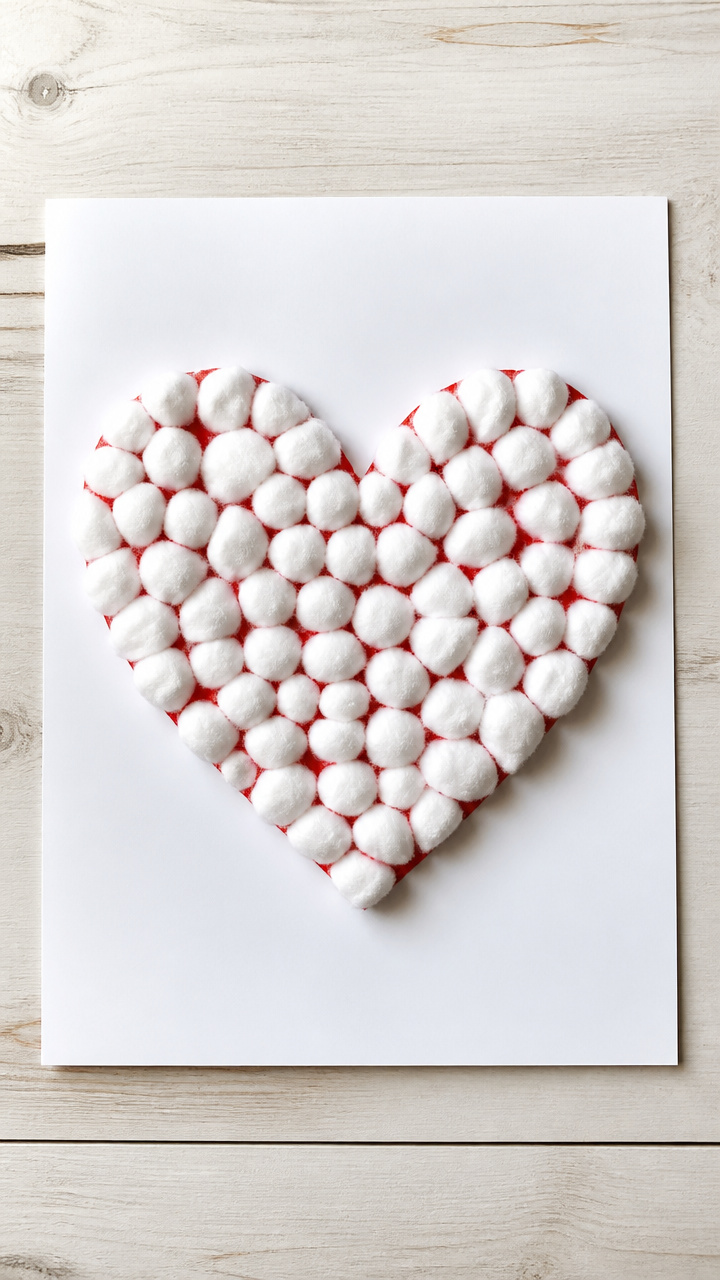
A puffy heart mosaic made from cotton balls glued onto cardstock creates a tactile art piece perfect for little ones still building fine motor control. The soft texture delights fingertips and boosts sensory engagement.
Materials Needed
- A4 white cardstock (15 sheets)
- Red washable glue (2 bottles)
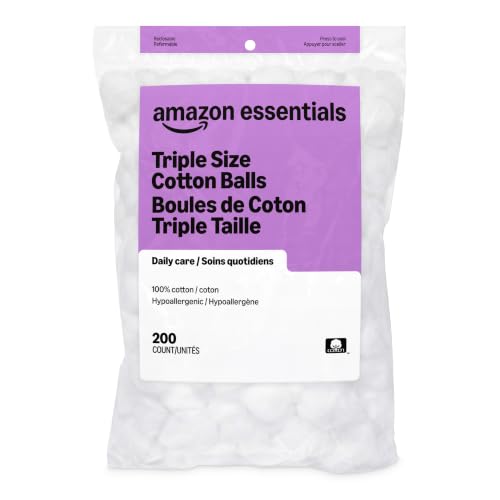
- Cotton balls (100 count)
- Heart stencil (1, 6-inch tall)
- Pencil (1)
How to Make It
- Trace the heart stencil in the center of each cardstock sheet with a pencil.
- Squeeze a small dot of red glue inside the outline and press one cotton ball into it.
- Fill the entire heart shape with tightly packed cotton balls, adding glue under each one.

4. Valentine’s Button Magnets
Moderate
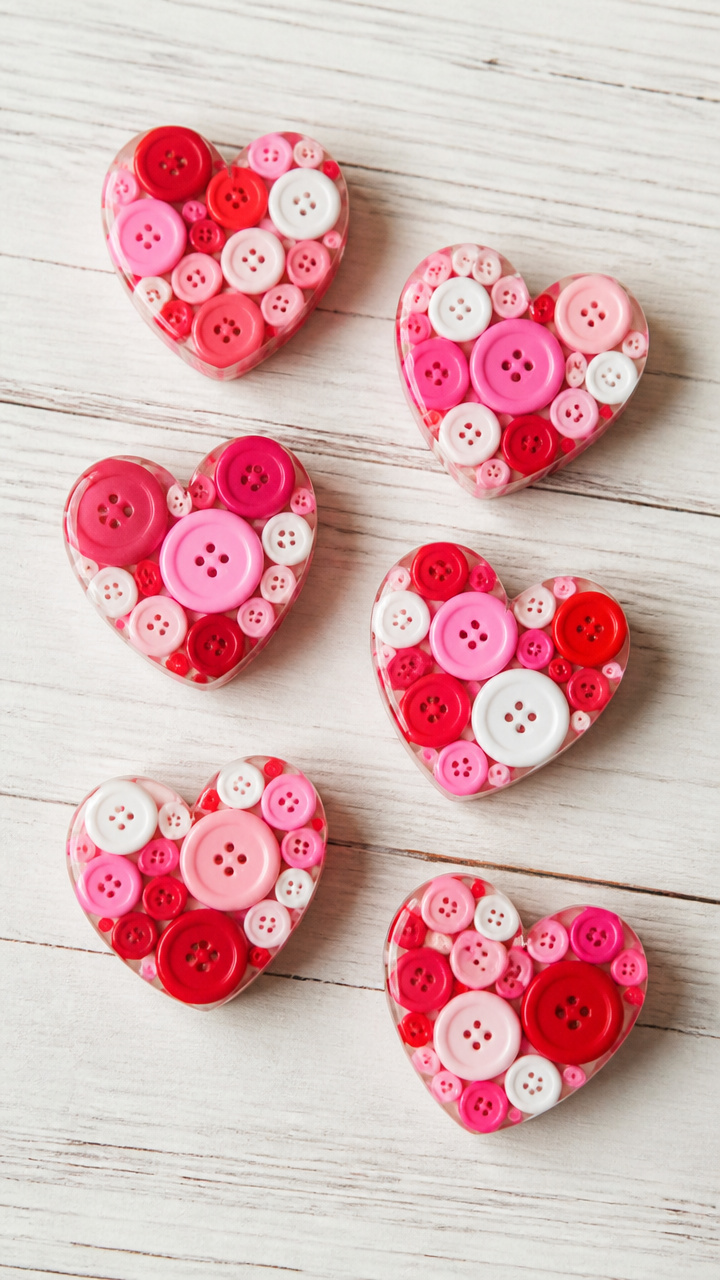
Colorful mismatched buttons form abstract hearts when arranged and sealed with epoxy resin domes. These mini magnets turn lunchbox doors into galleries.
Materials Needed
- Assorted buttons (red, pink, white; 60 total)
- Magnetic adhesive strips (12 x 0.5 inch, 15 count)
- E6000 craft adhesive (1 tube)
- Clear plastic dome stickers (20mm, 15 count)
- Craft tray (1)
How to Make It
- Arrange buttons on a flat surface into heart shapes using 5 to 7 buttons per design.
- Apply a thin line of E6000 adhesive to the back of each button and press them onto a craft tray to dry for 2 hours.
- Glue a clear dome sticker over the top of each button cluster and attach a magnetic strip to the back once fully set.


5. Salt Dough Ornaments
Moderate
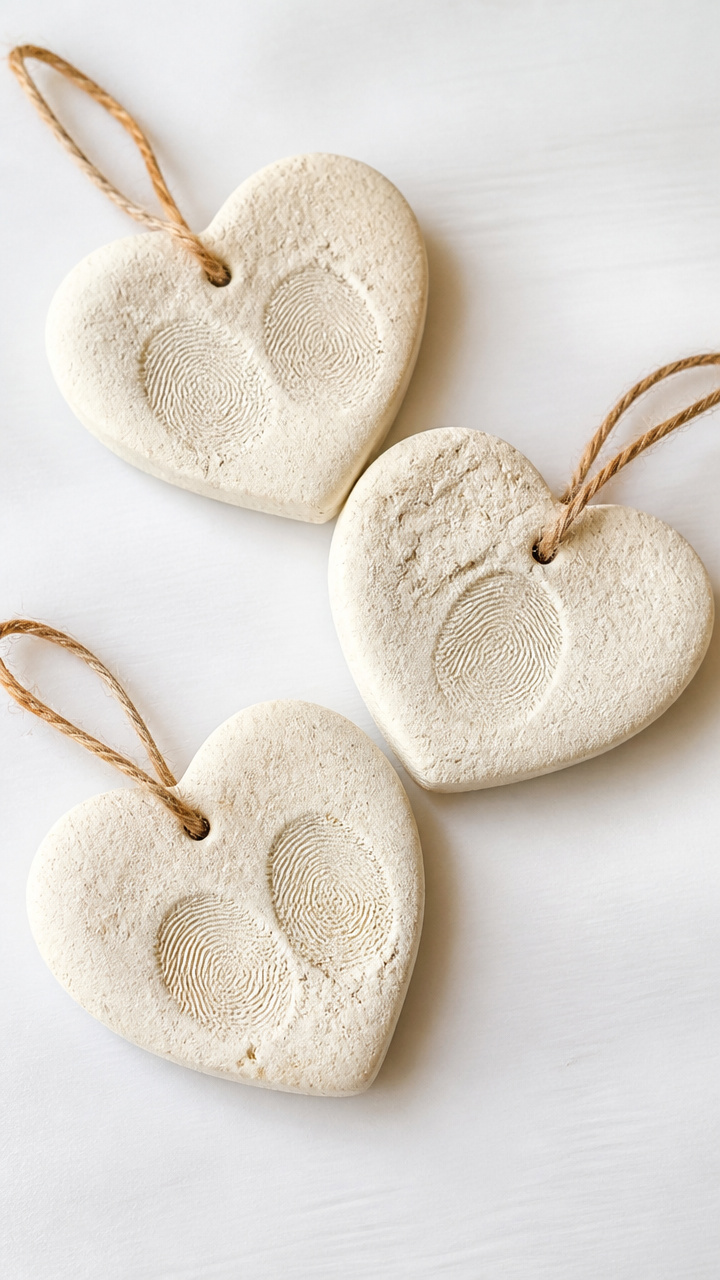
Simple dough pressed into heart-shaped cookie cutters bakes into keepsake ornaments stamped with tiny fingerprints. These rustic charms carry warmth long after the holiday passes.
Materials Needed
- All-purpose flour (1 cup)
- Table salt (1/2 cup)
- Water (1/2 cup)
- Heart-shaped cookie cutter (1, 3-inch)
- Pencil (1)
- Baking sheet (1)
- Oven
- Ribbon (pink, 12 inches per ornament, 15 lengths)
How to Make It
- Mix flour, salt, and water in a bowl until a smooth dough forms, kneading by hand for 2 minutes.
- Roll out dough to 1/4-inch thickness and cut shapes using the heart cookie cutter.
- Use a pencil tip to poke a hole near the top edge, then bake on a baking sheet at 200°F for 3 hours until hard.
- Thread ribbon through the hole and tie into a loop for hanging.


6. Fingerprint Flower Pots
Easy
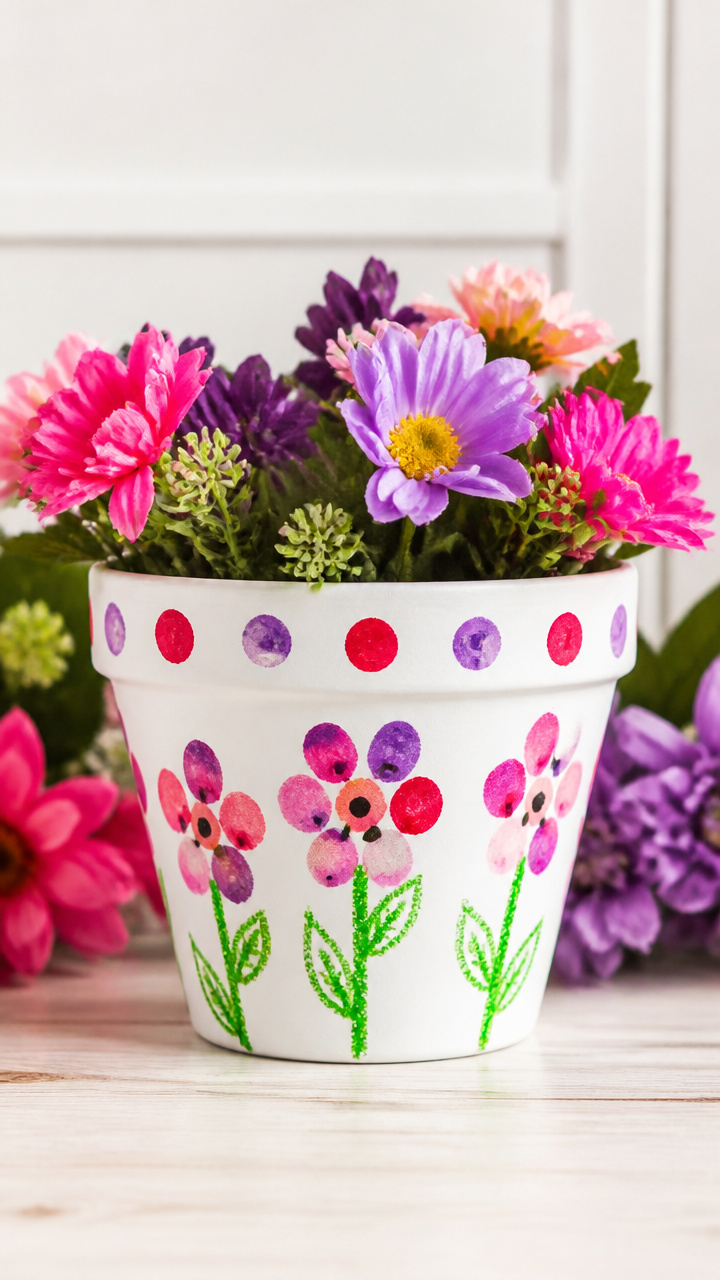
Inky thumbprints bloom into colorful flowers on paper pots drawn with markers. This quick keepsake captures a child’s unique print in a cheerful garden scene.
Materials Needed
- Washable ink pads (red, pink, purple; 3)
- White drawing paper (9×12 inches, 15 sheets)
- Black fine-tip marker (1)
- Crayons (green, yellow, assorted colors, 1 set)
How to Make It
- Press your thumb lightly onto a clean ink pad and stamp it upright on the paper to form a flower center.
- Repeat with different colors to create a row of blooms along the bottom third of the page.
- Draw a wavy line above the prints to mark the soil, then sketch stems and leaves with the black marker.
- Add details like suns or grass using crayons.


7. Tissue Paper Stained Glass
Moderate

Layered squares of red and pink tissue paper fuse into sun-catching window art with Mod Podge. The glowing effect makes every classroom window feel like a celebration.
Materials Needed
- Clear contact paper (12×18 inches, 2 sheets)
- Red tissue paper (8 sheets)
- Pink tissue paper (8 sheets)
- Scissors (1 pair)
- Mod Podge (1 bottle)
- Foam brush (1 inch, 1)
How to Make It
- Cut tissue paper into 2-inch squares using scissors.
- Peel the backing off one contact paper sheet and arrange tissue squares in overlapping layers to cover the sticky surface.
- Brush a thin layer of Mod Podge over the tissue, then lay the second contact paper sheet on top, sticky side down, sealing the collage.
8. Pipe Cleaner Heart Rings
Easy
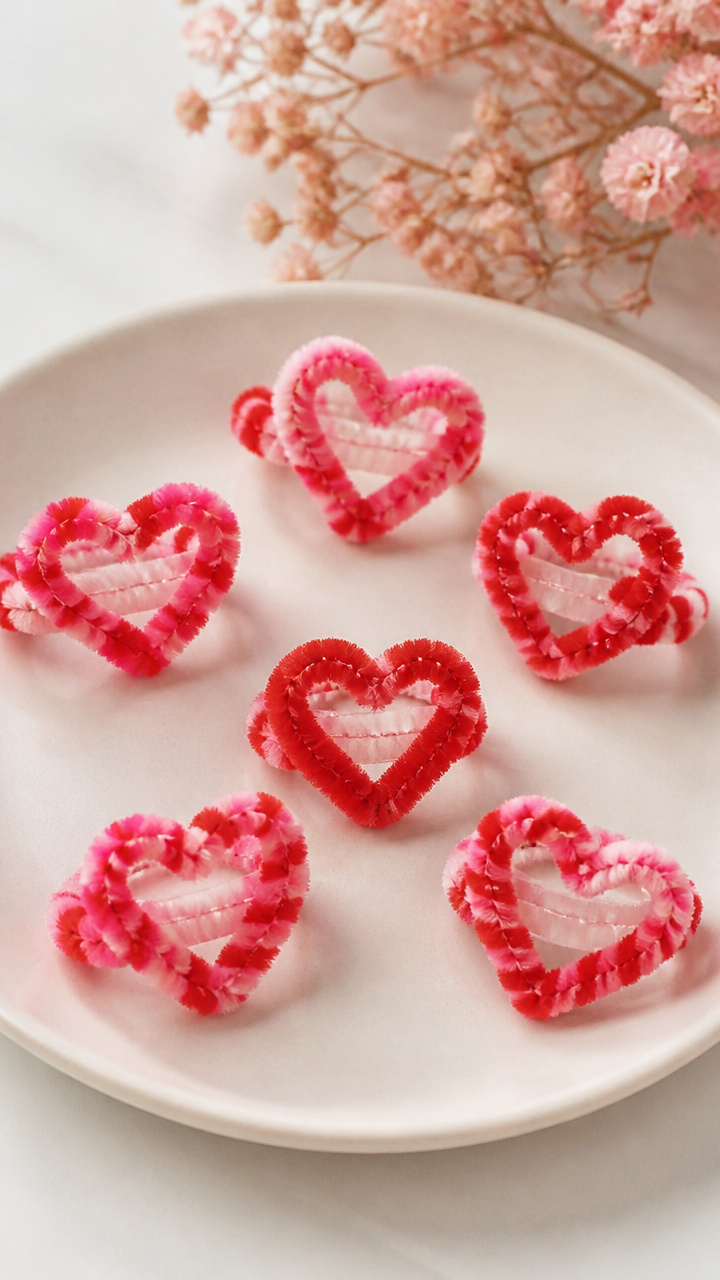
Twisted red and pink pipe cleaners form adjustable rings children can wear all day. The bendable wire lets each kid customize their fit with pride.
Materials Needed
- Red pipe cleaners (10 count)
- Pink pipe cleaners (10 count)
- Scissors (1 pair)
How to Make It
- Bend one pipe cleaner in half to form a V shape.
- Twist the two arms together from the bend upward for 1 inch, leaving the lower ends open.
- Loop each free end into a circle and twist them together to close the ring, trimming excess with scissors if needed.


9. Paper Plate Wreaths
Moderate
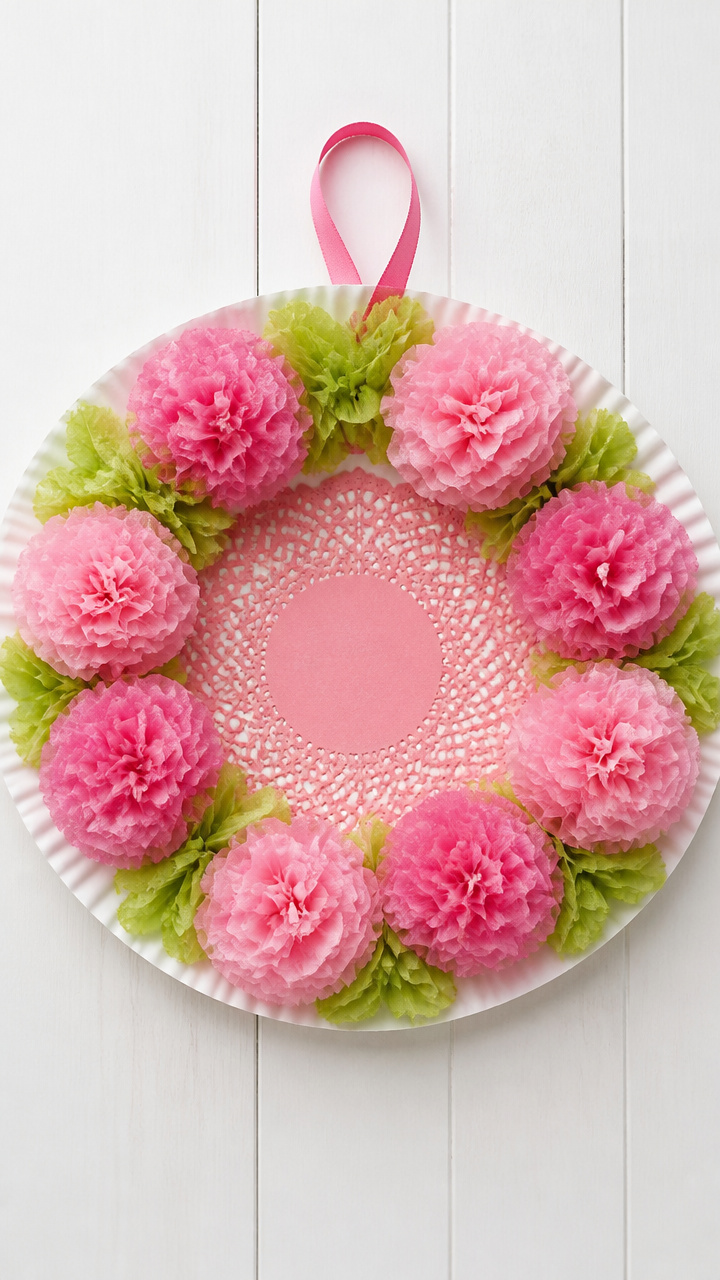
Hole-punched paper plates become floral wreaths when decorated with doily centers and tissue paper roses. These sweet wall hangings celebrate love with a springtime touch.
Materials Needed
- White paper plates (15 count)
- Hole punch (1)
- Pink doilies (5-inch diameter, 15 count)
- Green tissue paper (5 sheets)
- Glue stick (1)
- Scissors (1 pair)
- Green pipe cleaner (15 count)
How to Make It
- Use scissors to cut out the center of each paper plate, leaving a 2-inch wide ring.
- Punch ten holes evenly around the outer edge of the ring.
- Crumple small pieces of green tissue paper into leaf shapes and glue them around the inner edge.
- Center a pink doily on the plate and secure with glue, then weave a green pipe cleaner through the holes to form a hanger.
10. Button Bracelets
Easy
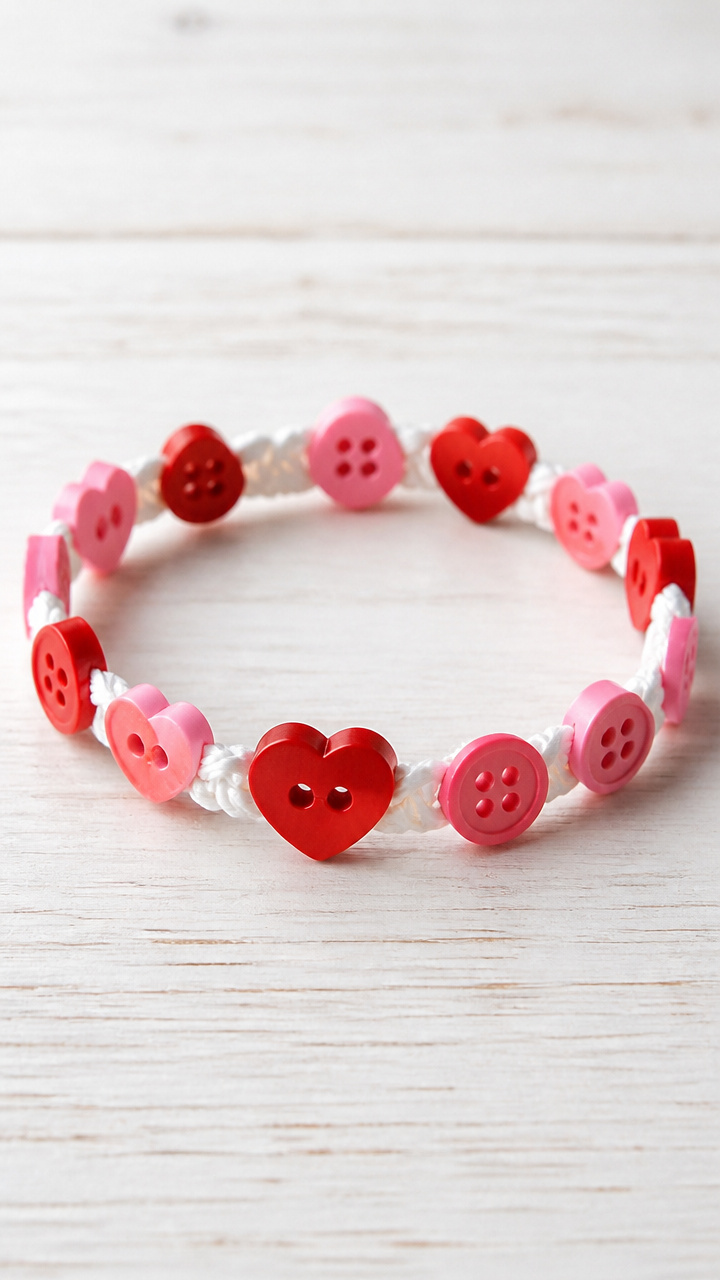
Shoelaces threaded with heart-shaped and round buttons become wearable friendship gifts. The simple stringing builds coordination while delivering instant charm.
Materials Needed
- White shoelaces (12 inches, 15 count)
- Assorted red and pink buttons (30 count, varying sizes)
- Scissors (1 pair)
How to Make It
- Cut shoelaces to 10 inches using scissors.
- Thread buttons onto the lace, sliding them toward one end.
- Tie both ends of the lace together in a double knot to form a bracelet loop.


11. Popsicle Stick Photo Frames
Moderate
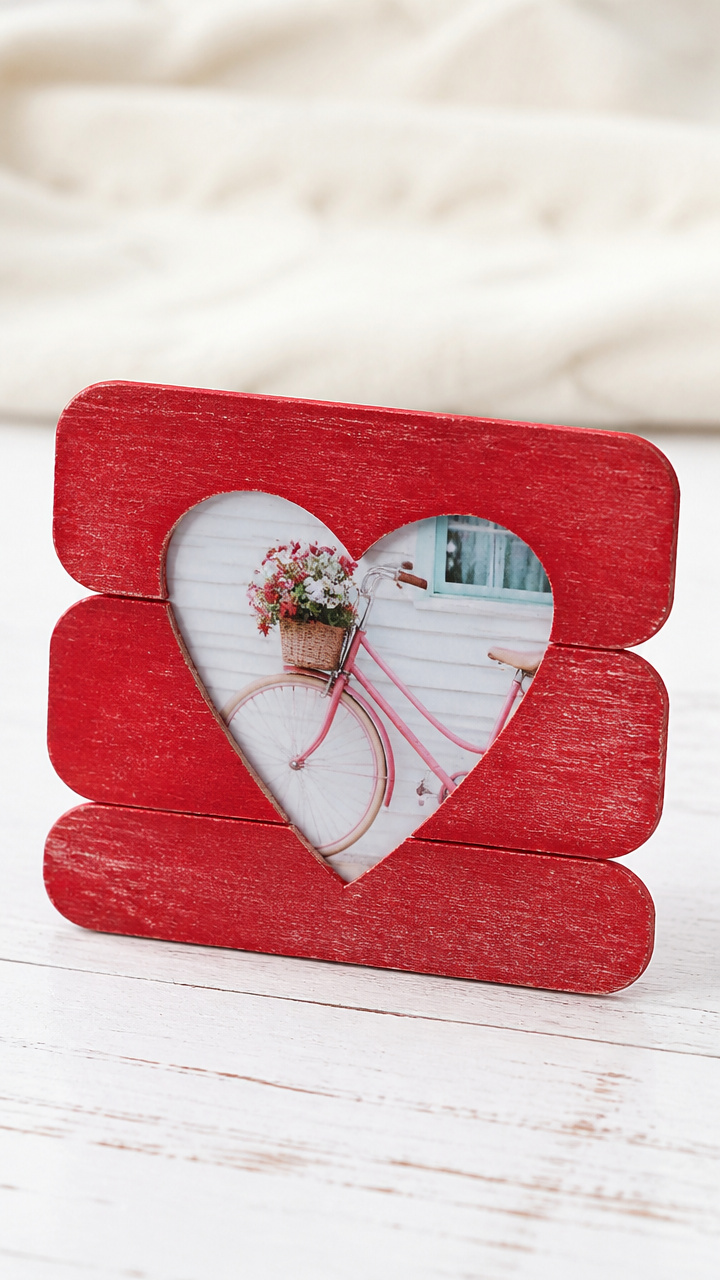
Three glued popsicle sticks cradle a tiny photo or drawing behind a heart-cut paper window. These mini frames stand proudly on desks or shelves.
Materials Needed
- Jumbo popsicle sticks (30 count)
- White cardstock (8.5×11 inches, 5 sheets)
- Red acrylic paint (1 bottle)
- Paintbrush (1 inch, 1)
- Glue stick (1)
- Scissors (1 pair)
- Child-safe photo print (2×3 inches, 15)
How to Make It
- Paint two popsicle sticks red using the brush and let dry for 15 minutes on a flat surface.
- Cut a 1.5-inch heart from cardstock using scissors.
- Glue the painted sticks vertically to either side of the photo, then center the heart over the image as a window.
- Glue a plain stick horizontally across the back as a stand.
12. Yarn-Wrapped Heart Cards
Moderate
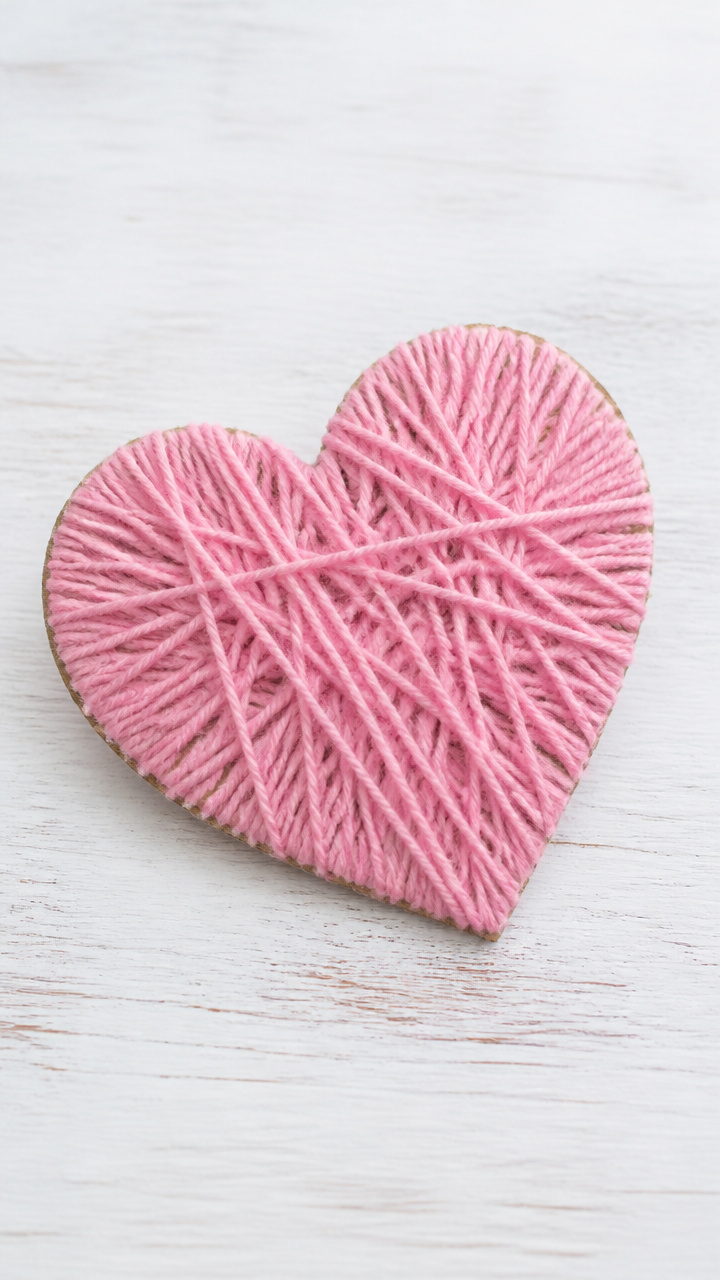
Stiff cardboard hearts wrapped tightly with yarn become textured greeting cards ready for classroom exchange. The wrapping motion soothes and focuses young crafters.
Materials Needed
- Cardboard (cereal boxes or 60lb weight, 15 sheets)
- Scissors (1 pair)
- Pink yarn (medium weight, 150 yards)
- White school glue (1 bottle)
- Pencil (1)
How to Make It
- Draw a 4-inch heart on cardboard with a pencil and cut it out with scissors.
- Put a dot of glue at the base of the heart and press the yarn end onto it.
- Wrap the yarn tightly around the heart, adding a dab of glue every inch to hold the strand in place, until the surface is fully covered.
- Trim the end and secure with another glue dot.


13. Glitter Slime Valentines
Advanced
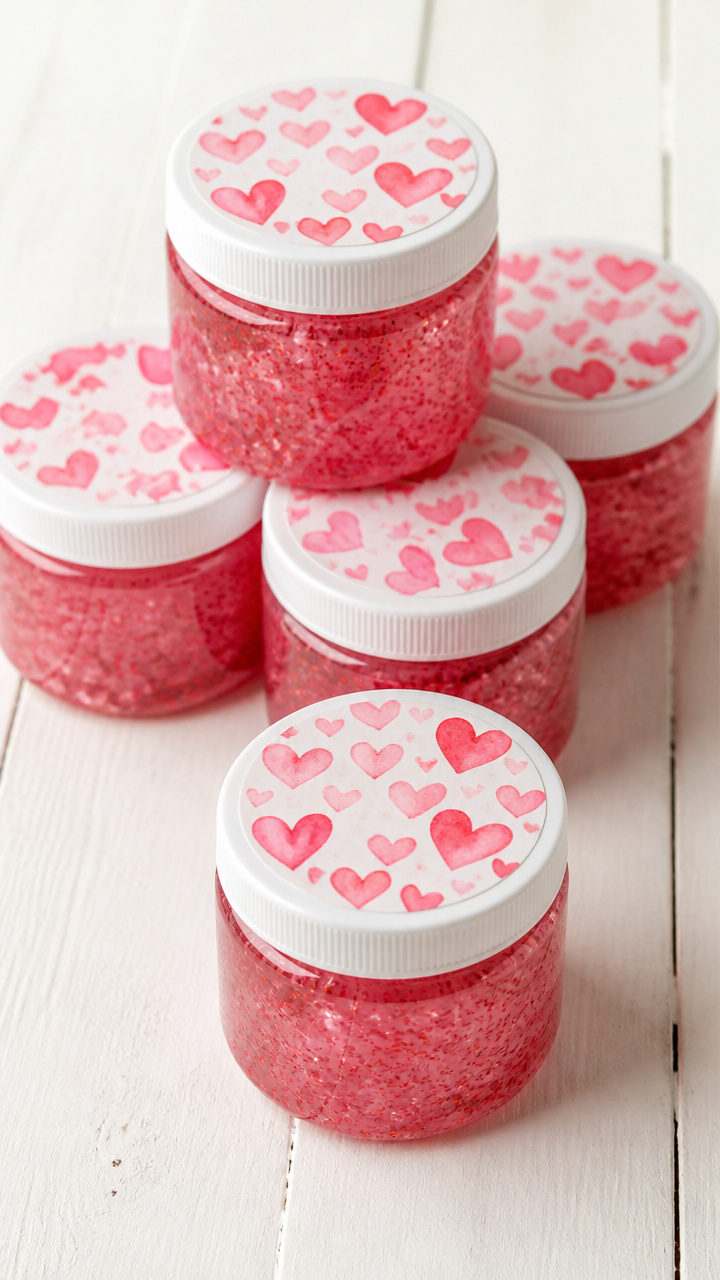
Small jars of pink slime flecked with red glitter double as gifts and sensory play. Each jar comes with a handmade label so no one forgets whose goo is whose.
Materials Needed
- White school glue (4 oz, 2 bottles)
- Liquid starch (1 cup)
- Pink food coloring (10 drops)
- Red glitter (1 tablespoon)
- Mini plastic jars with lids (2 ounce, 15 count)
- Label stickers (1.5-inch circle, 15 count)
- Pencil (1)
How to Make It
- Pour glue into a mixing bowl and add food coloring and glitter, stirring with a spoon until blended.
- Slowly add liquid starch while stirring, continuing until the mixture pulls away from the bowl and forms a slimy ball.
- Knead the slime for 1 minute, then divide into 15 portions and press each into a jar.
- Write each child’s name on a label sticker and stick it to the top of their jar.
14. Crayon Heart Rubbings
Easy
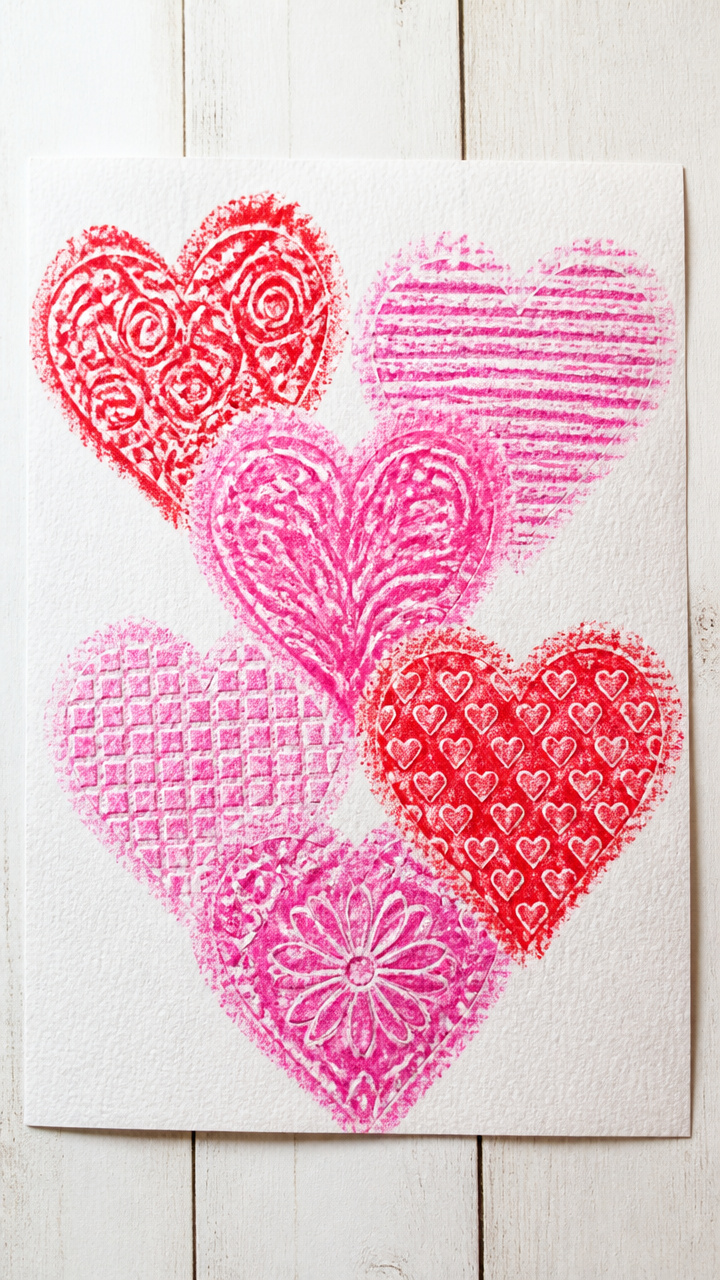
Smooth crayons glide over textured heart templates placed under paper, revealing bold patterns in red and pink. This quiet activity suits early finishers or calm moments.
Materials Needed
- Crayons (red, pink, white, peeled, 15 sets)
- White printer paper (8.5×11 inches, 30 sheets)
- Textured heart templates (cardboard with raised lines, 15)
- Tape (masking, 1 roll)
How to Make It
- Place a textured heart template under a sheet of printer paper and tape the corners to the table to prevent slipping.
- Hold a peeled crayon sideways and color firmly over the area where the heart lies beneath.
- Lift the paper to reveal the heart impression and repeat with different colors.
15. Straw-Blown Spider Webs
Advanced
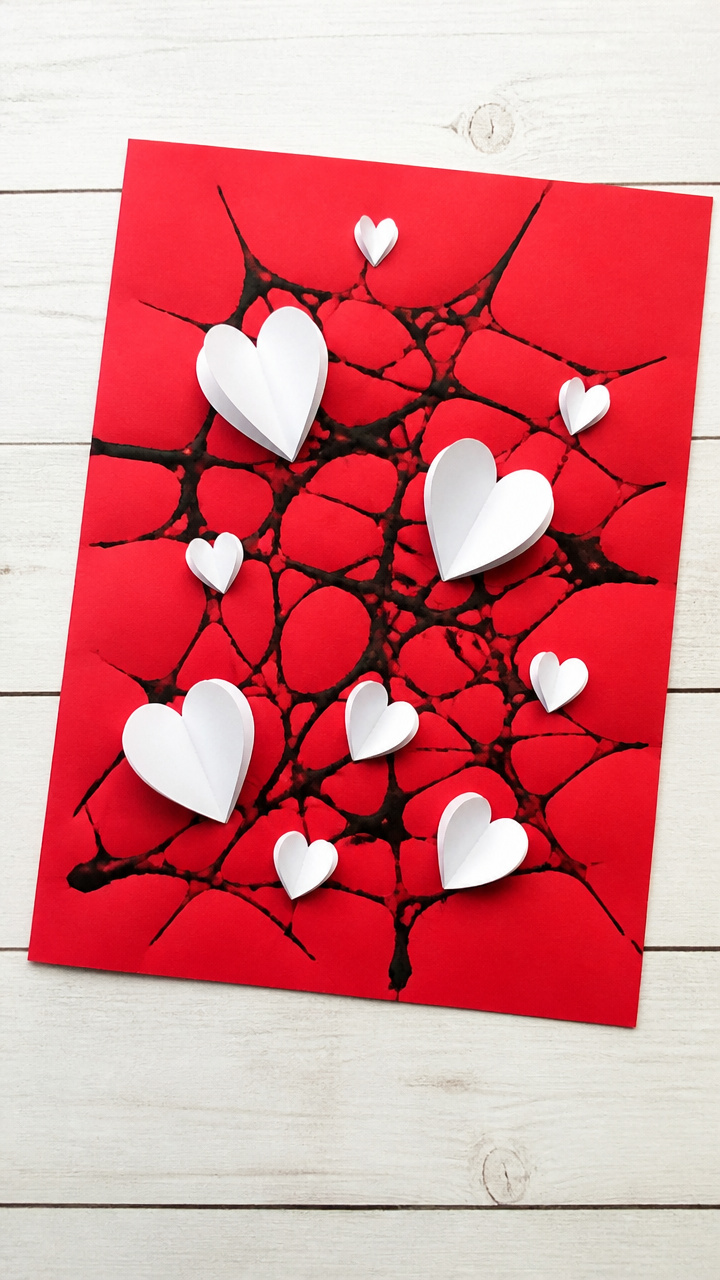
Lines of black paint blown through straws form web-like patterns behind layered heart cutouts. The surprise swirls make each artwork one of a kind.
Materials Needed
- Black liquid tempera paint (1 cup)
- Drinking straws (15 count)
- Red construction paper (8.5×11 inches, 15 sheets)
- White glue (1 bottle)
- Scissors (1 pair)
- Heart stencils (3-inch, 1)
How to Make It
- Cut a 3-inch heart from red construction paper using scissors and a stencil.
- Place a drop of black paint near the center of a blank sheet and position the heart cutout over it.
- Insert one end of a straw into the paint and blow gently to spread the paint outward in streaks, creating a web effect behind the heart.
- Carefully lift the heart and let the painting dry flat for 20 minutes.
Grab your supplies and let the creativity flow. Every child will leave with something bright to share and a heart full of pride.