15 Winter Yarn Crafts: Pom Pom Garlands, Wreaths, and Snowflakes

Soft yarn glows under winter light, turning simple strands into cozy decorations that feel like home. Your hands can shape warmth into garlands that drape mantels, wreaths that greet guests, and snowflakes that catch the breeze from a window.
These projects invite you in with rhythm and texture. Each one uses yarn in a fresh way, so your creativity stays bright all season long.
1. Ombre Pom Pom Garland
Easy
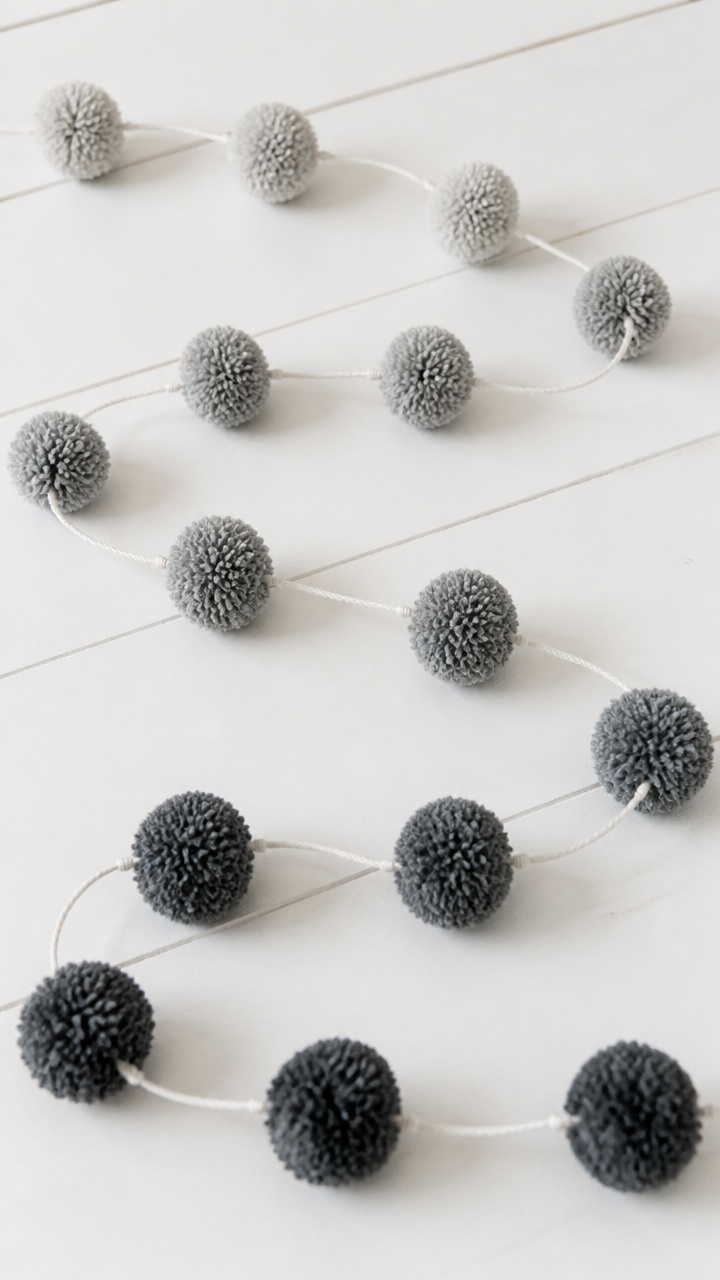
A gradient of soft poms adds subtle color depth to bookshelves or stair rails. The staggered tones mimic winter sunrises frozen in wool.
Materials Needed
- 3 skeins of bulky weight acrylic yarn in light gray, medium gray, and charcoal (Lion Brand Wool-Ease Thick & Quick)
- Pom pom maker set (small and medium sizes)
- Scissors
- 2-yard piece of white cotton baker's twine
How to Make It
- Open the arms of the small pom pom maker and wrap the light gray yarn evenly around one side until fully covered, then clip and repeat on the other side.
- Cut the loops along the edge, tie a tight knot with a separate strand in the center, remove the tool, and trim the pom pom into a smooth ball.
- Repeat with medium gray using the medium pom pom maker, then charcoal with the small size, making two light gray, three medium gray, and two charcoal poms.
- Trim each pom pom for even shape, then thread them onto the baker's twine in this order: light, medium, charcoal, medium, light, medium, charcoal, spacing them 4 inches apart.
2. Felt-Backed Yarn Wreath
Moderate
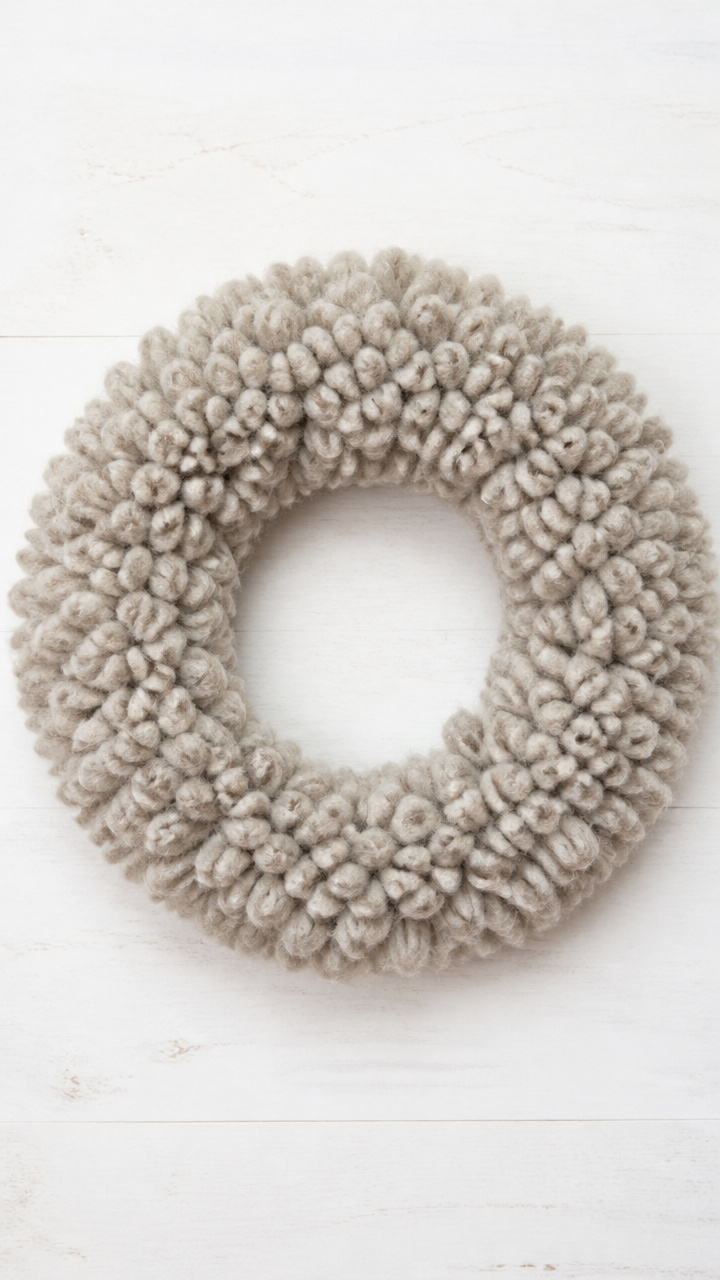
Velvety merino tufts cling to a wool-blend felt base, creating a lush, no-sew wreath. It holds its shape beautifully on painted doors.
Materials Needed
- 18-inch diameter circle cut from 100% wool blend craft felt (navy blue)
- 1 skein of merino wool roving (heather oatmeal)
- Hot glue gun and 10 low-temp glue sticks
- 12-inch cardboard ring (from a shipping tube or cut from chipboard)
How to Make It
- Place the cardboard ring in the center of the felt circle and cut a slit from the outer edge to the ring, then wrap the felt snugly around the ring and glue the seam closed.
- Pull off a 2-inch wide strip of merino roving and tease it slightly to loosen the fibers.
- Apply a dime-sized dot of hot glue to the felt surface and press the roving into it, smoothing it flat with your fingers.
- Continue gluing overlapping strips of roving around the entire wreath face, working outward in a spiral until fully covered and let dry 20 minutes.
3. Yarn-Wrapped Ice Crystal Ornaments
Moderate
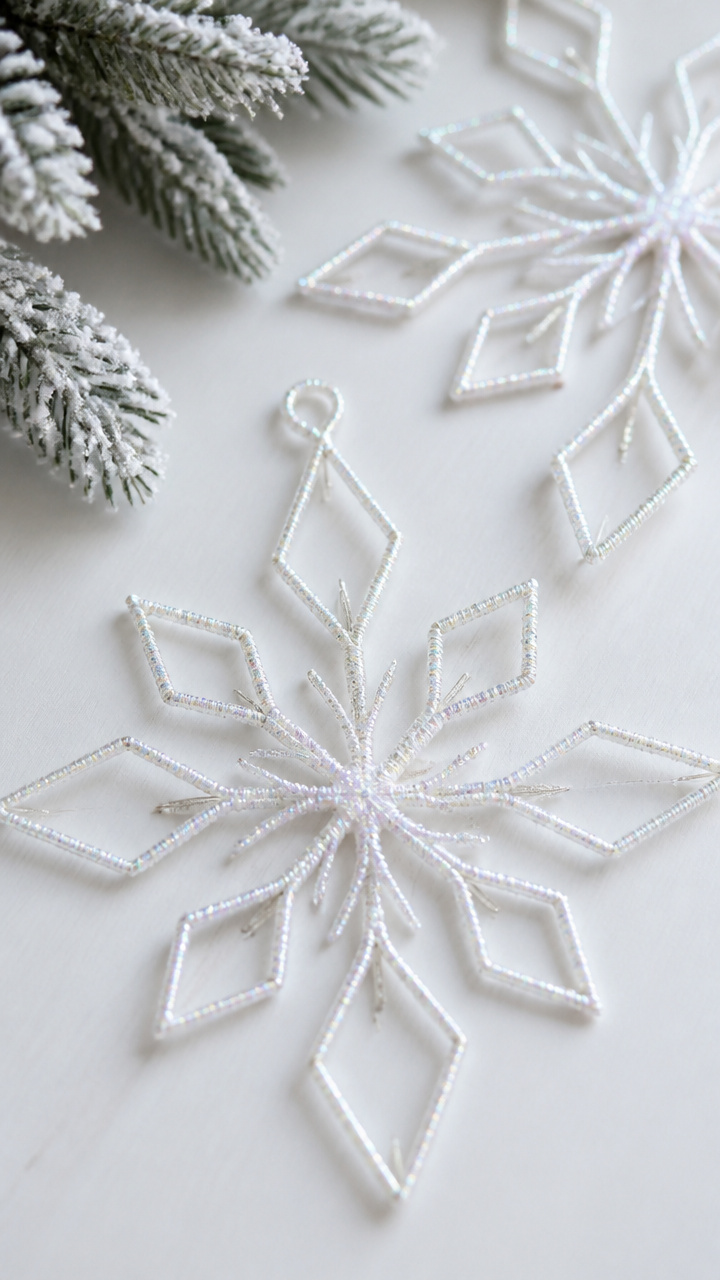
Geometric wire frames glow when wound with iridescent yarn. These catch lamplight like frost on bare branches.
Materials Needed
- 6-gauge silver aluminum craft wire (12 feet)
- Clear tape
- Iridescent nylon sewing thread (Sulky Sliver Metallic, 2 spools)
- Wire cutters
- Ruler
How to Make It
- Cut six 8-inch lengths of wire and lay them in a starburst pattern, crossing at the center, then twist the ends together tightly to form a six-pointed frame.
- Secure the center knot with a small piece of clear tape to prevent fraying.
- Tie the metallic thread to one arm near the center and begin wrapping it tightly around the wire, moving toward the tip with no gaps.
- When one spool runs out, knot the end and start a new one, continuing until all six arms are fully wrapped, then trim and secure the final end with tape.
4. Chunky Knit Door Hanger
Advanced
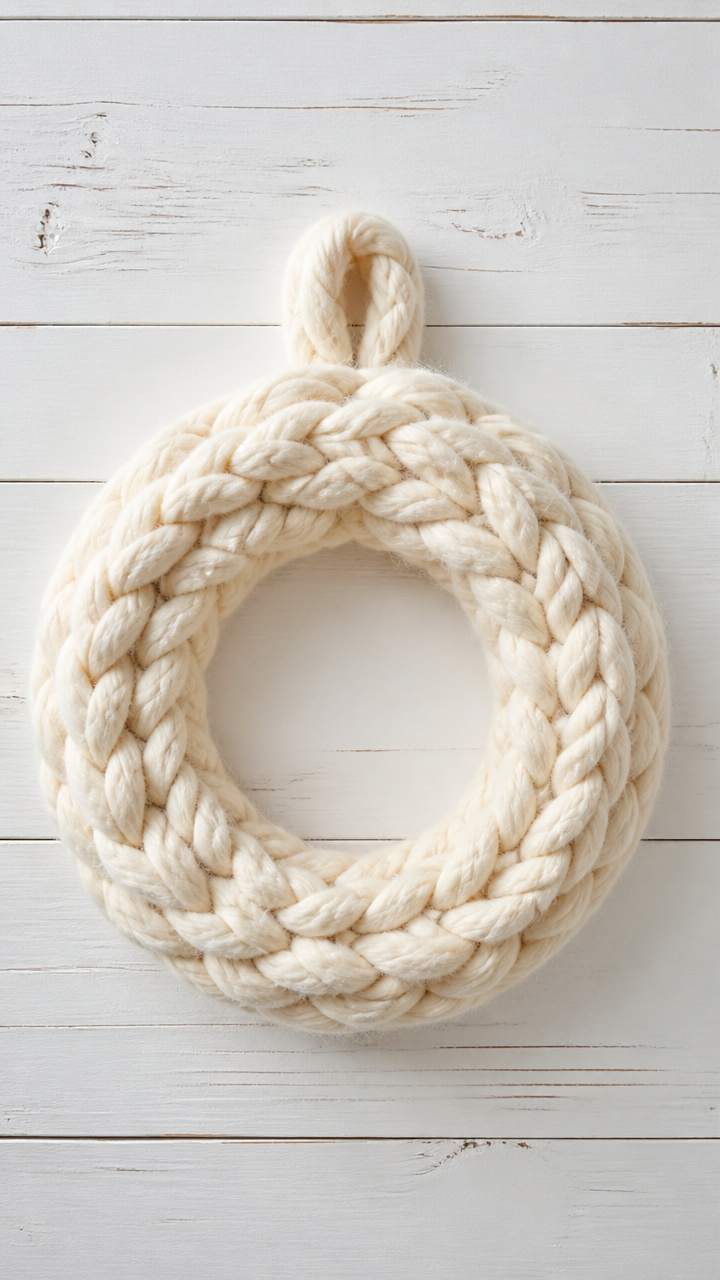
Thick cables coil into a minimalist loop that hangs without hardware. This makes a bold statement with just one stitch.
Materials Needed
- 1 skein of super bulky roving yarn (Plymouth Yarn Encore Mega, cream, 100 yards)
- US size 17 (12 mm) straight knitting needles
- Stitch marker
- Yarn needle
How to Make It
- Cast on 9 stitches using the long-tail method and place the stitch marker on the right needle.
- Knit every row (garter stitch) for 28 inches, slipping the marker each time you reach it.
- Bind off all stitches loosely, leaving a 6-inch tail.
- Fold the knitted strip into a teardrop loop, aligning the cast-on and bind-off edges, then use the yarn needle to graft the sides together with Kitchener stitch.
5. Yarn Dip-Dye Snowflakes
Moderate
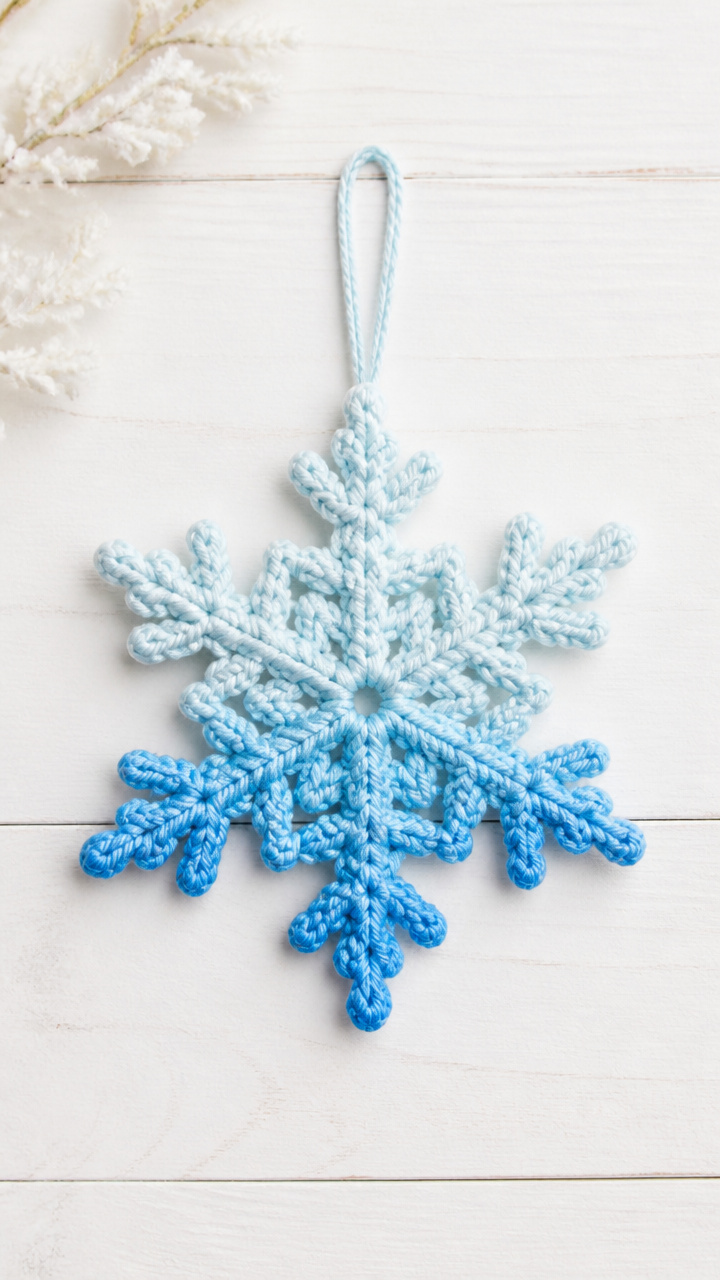
Cotton yarn shapes freeze in mid-drip with icy blue dye. Hang them solo or cluster in a glass bowl.
Materials Needed
- 30 feet of 100% cotton crochet thread (DMC Cebelia #10, natural)
- Plastic snowflake mold (6-inch diameter, reusable silicone)
- Small mixing bowl
- 1 tablespoon Rit Powder Dye in Glacier Blue
- Boiling water (2 cups)
- Rubber gloves
- Clothespin and string
How to Make It
- Fill the bowl with boiling water, stir in the dye powder until dissolved, and let cool 5 minutes.
- Wrap the cotton thread evenly around the silicone mold in a crisscross pattern to fill the shape completely.
- Wearing gloves, submerge the mold in the dye bath for 3 minutes, then lift and hang by the clothespin to drip dry for 1 hour.
- Peel the snowflake carefully from the mold once fully dry and fluff the threads gently into place.
6. Braided Yarn Coasters
Easy
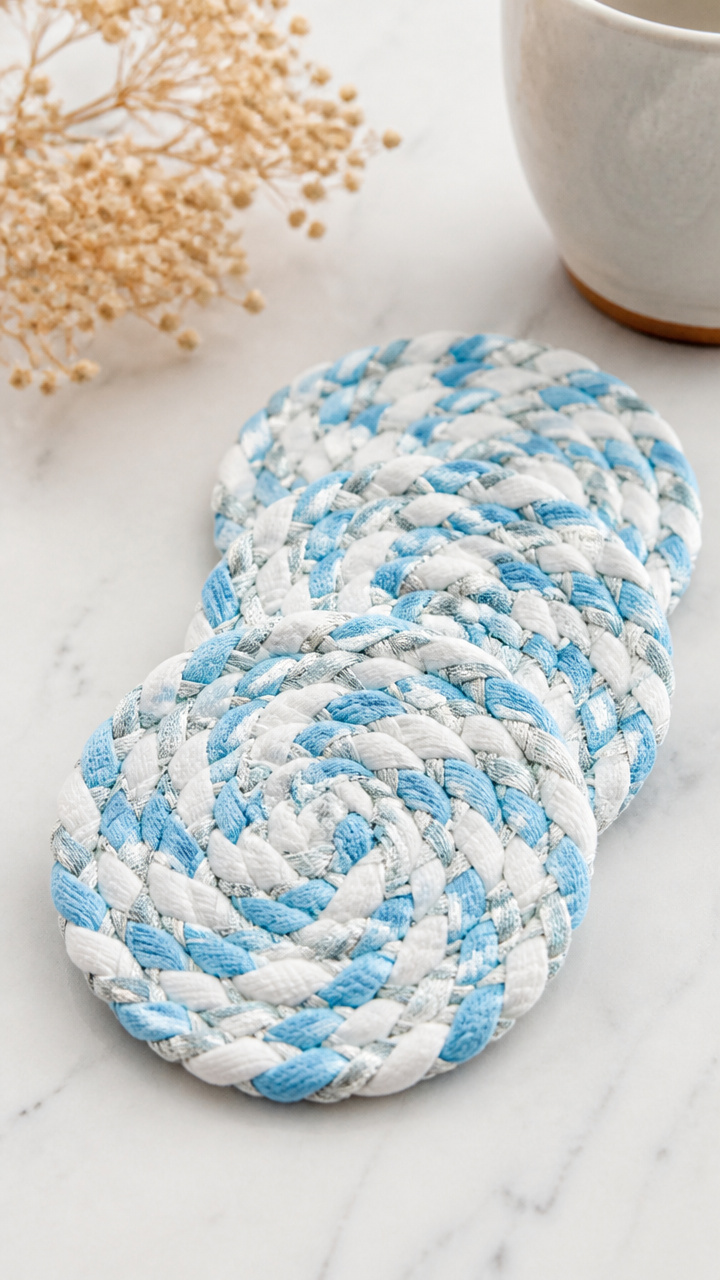
Three-color braids form round mats that protect tables in style. They’re quick enough to make a full set before dinner.
Materials Needed
- 3 colors of sport weight cotton yarn (Lion Cotton, 20 yards each in sky blue, white, and silver)
- Scissors
- Glue dot (Aleene's Tacky Glue Dot, 1/2 inch)
How to Make It
- Cut three 3-foot strands, one from each color, and tie them together in a knot at one end.
- Braid the strands tightly for 10 inches, then secure the far end with a knot.
- Coil the braid from the center outward, pressing each loop snugly against the previous one.
- Use a glue dot to attach the end of the braid to the bottom layer, hold 30 seconds until set.
7. Pom Pom Window Clings
Easy

Fluffy clusters stick to glass with static, not adhesive. Watch them tremble when someone walks past.
Materials Needed
- 5 mini pom poms made from chenille stems (pipe cleaners, 1 inch diameter, white)
- 5 clear static-cling vinyl circles (2 inches, adhesive-free)
- Low-temp hot glue gun
- Tweezers
How to Make It
- Place a static-cling vinyl circle on a clean glass surface to test adhesion, then peel off the backing.
- Put a tiny dab of hot glue on the back of one pom pom and use tweezers to center it on the vinyl disc.
- Press gently and hold 10 seconds until bonded.
- Repeat for remaining pom poms and apply each to a window, pressing firmly for 5 seconds to activate cling.
8. Yarn-Covered Pinecone Ornaments
Easy
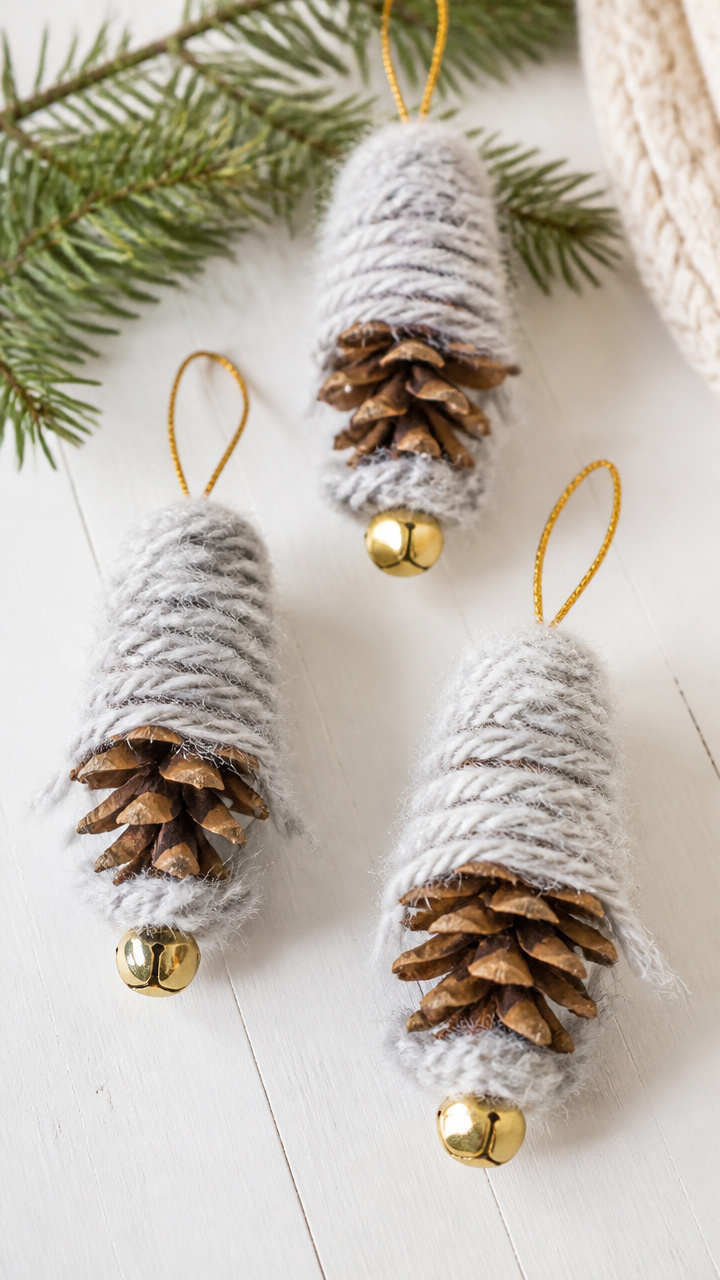
Real pinecones wear soft yarn skirts instead of tinsel. These bring forest texture indoors without shedding needles.
Materials Needed
- 5 medium brown pinecones (dried, 3–4 inches tall)
- 1 skein of fluffy mohair yarn (Rowan Kidsilk Haze, pale gray, 40 yards)
- Low-temp hot glue gun
- Gold jingle bell (15mm, 5 pieces)
- Embroidery floss needle
How to Make It
- Thread the embroidery needle with a 2-foot strand of mohair and knot the end.
- Starting at the pinecone base, weave the yarn through the lower scales in an upward spiral, covering each row completely.
- After three full turns, tie off the end with a double knot and snip close to the cone.
- Glue a jingle bell to the top tip of each cone and let dry 15 minutes before hanging.
9. Cross-Stitch Yarn Art
Moderate
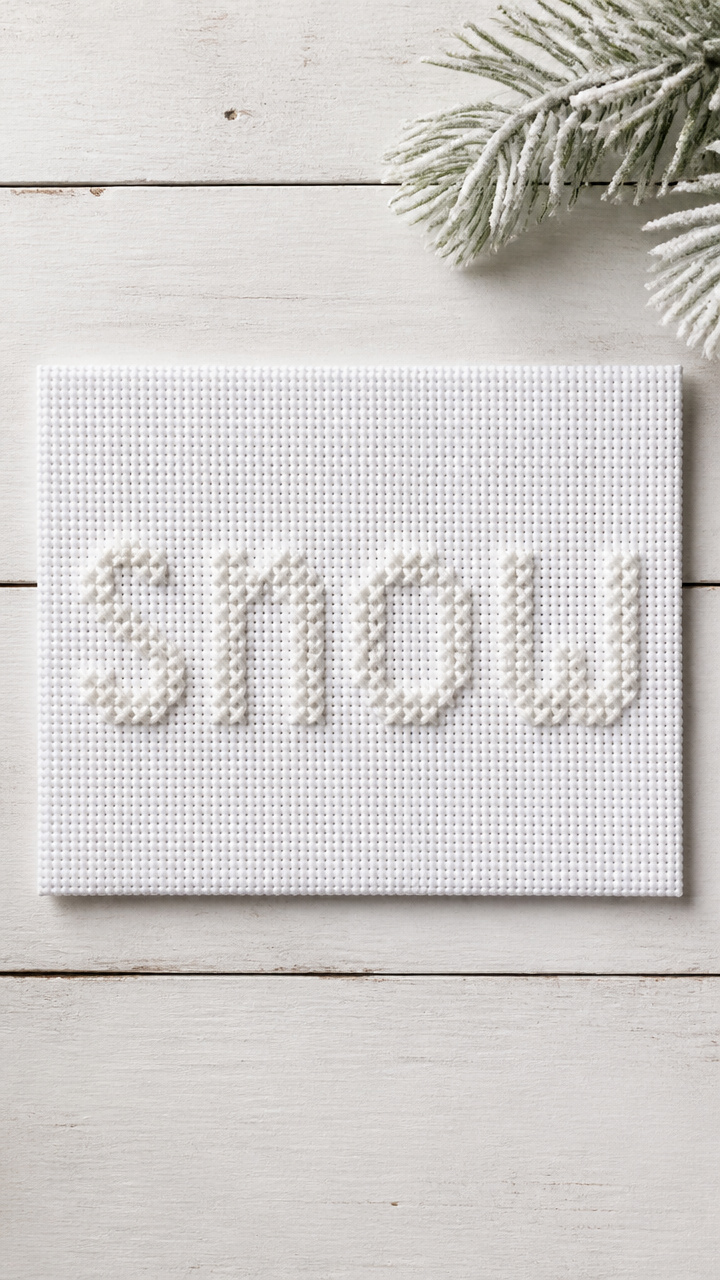
Tiny X-stitches spell 'snow' in chunky wool on canvas. This modern wall piece needs no frame.
Materials Needed
- 8×10 inch piece of rigid Aida cloth (14 count, white)
- Size 5 pearl cotton embroidery thread (2 skeins, arctic white)
- Size 24 tapestry needle
- Cardboard cut to fit back of Aida cloth
- Spray starch
How to Make It
- Print and trace the letters S-N-O-W in block font centered on the Aida cloth with a water-soluble pen.
- Separate one strand from the embroidery thread and thread the tapestry needle.
- Stitch each letter using full cross stitches, working left to right in rows, keeping tension even.
- When complete, mist the front lightly with spray starch, let dry 30 minutes, then mount the cloth to the cardboard with glue dots.
10. Yarn-Wrapped Twig Candle Holders
Easy
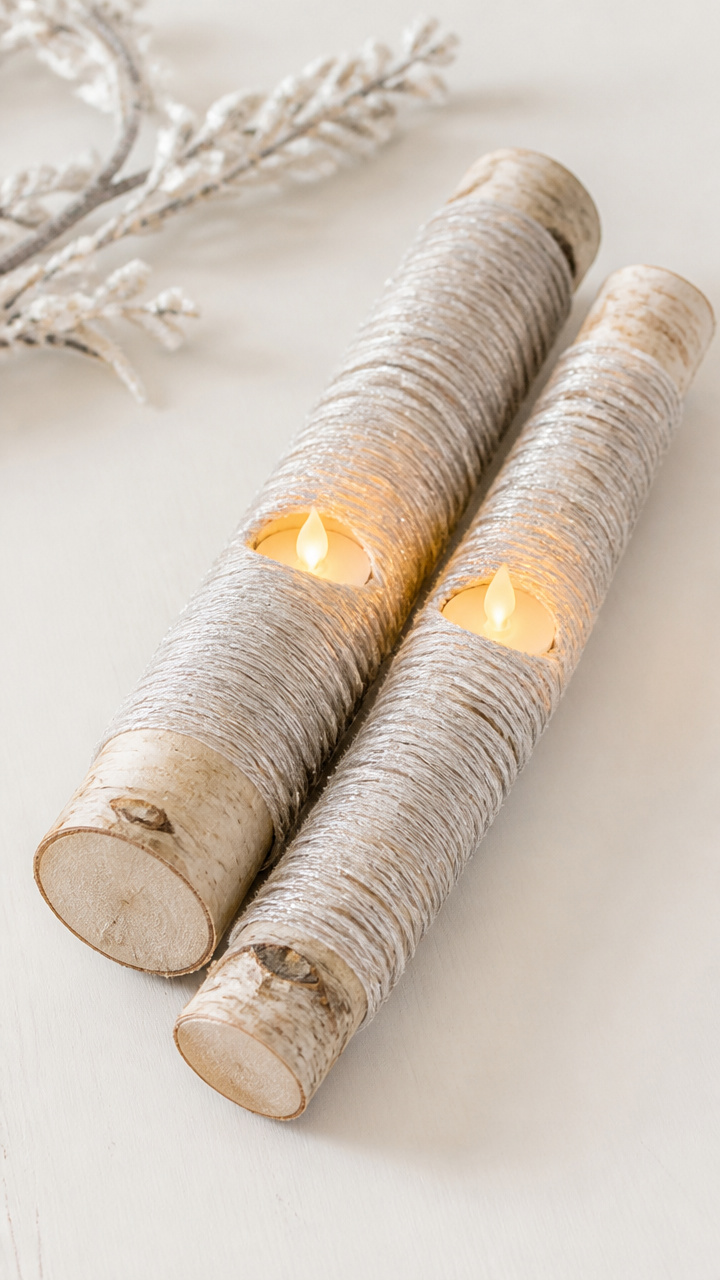
Slender birch twigs glow when bound in sheer ribbon yarn. Wrap a pair to flank your dining centerpiece.
Materials Needed
- 2 birch twigs (12 inches long, 1 inch diameter, sanded smooth)
- 1 skein of sheer nylon ribbon yarn (Debbie Bliss Moonstone, clear with silver fleck, 50 yards)
- Double-sided tape (1/4 inch wide, 1 yard)
- Tealight candle (battery-operated, flickering)
How to Make It
- Cut a 3-inch piece of double-sided tape and attach it vertically to one end of a twig.
- Press the starting end of the ribbon yarn to the tape and begin wrapping diagonally at a 45-degree angle.
- Keep tension light and overlap each pass by half to cover the twig completely.
- When reaching the end, secure with another piece of tape and insert the tealight at the base.
11. Tasselled Yarn Tree Topper
Moderate
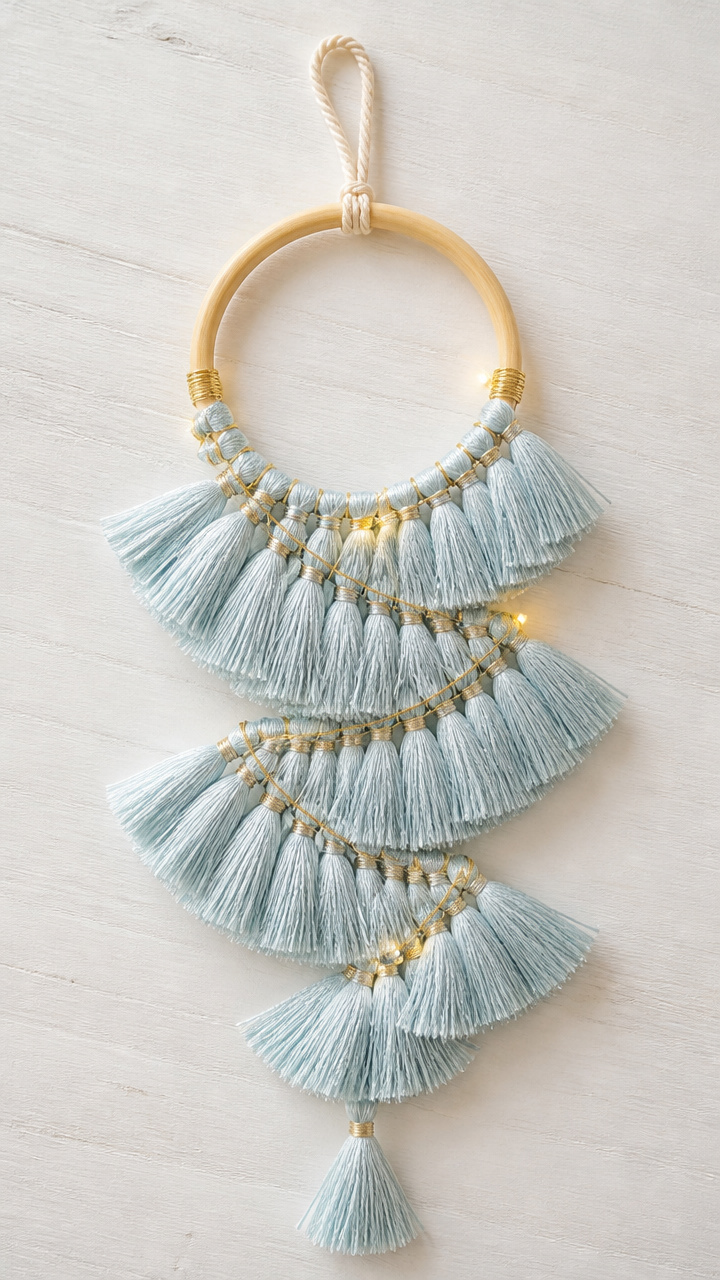
A cluster of weighted tassels spins gently atop a tree. Silk threads catch the lights below.
Materials Needed
- 6 yards of silk embroidery floss (8 strands, ice blue)
- 1-inch wooden ring (unfinished)
- 24 inches of flexible gold wire
- Scissors
- Ruler
How to Make It
- Cut 12 strands of floss, each 10 inches long, and fold them in half.
- Use the loop method to tie each bundle onto the wooden ring, spacing them evenly around the full circumference.
- Twist the gold wire around the top of the ring to form a secure hanger, wrapping 5 times and bending the end inward.
- Trim the tassel ends straight across with scissors and fluff gently with fingers.
12. Yarn Mosaic Wall Panel
Advanced
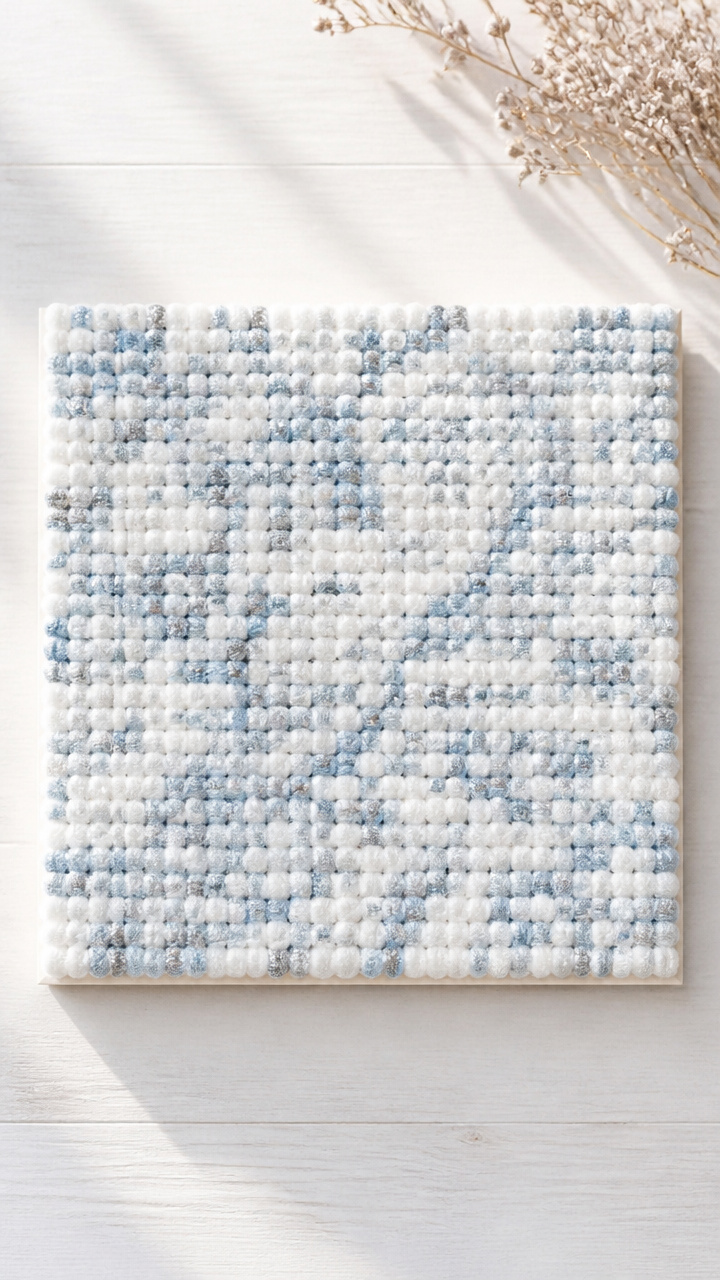
Hundreds of clipped yarn snippets create a pixelated blizzard. This textural art piece casts delicate shadows.
Materials Needed
- 12×12 inch basswood panel (1/4 inch thick)
- Acrylic paint in matte white (1 oz)
- Paintbrush (1 inch flat)
- 100 snippets of worsted weight wool yarn (each 1 inch long, in white, silver, and light blue)
- White craft glue (Elmer's Glue-All, 2 oz)
- Tweezers
- Ruler and pencil
How to Make It
- Paint the entire basswood panel with white acrylic and let dry 1 hour.
- Draw a 10×10 inch grid on the panel using 1-inch squares and pencil.
- Apply a drop of glue to the back of each yarn snippet and place one in every square, rotating colors randomly.
- Use tweezers to position each piece precisely and let the panel dry face-up overnight.
13. Frosted Yarn Bowls
Moderate
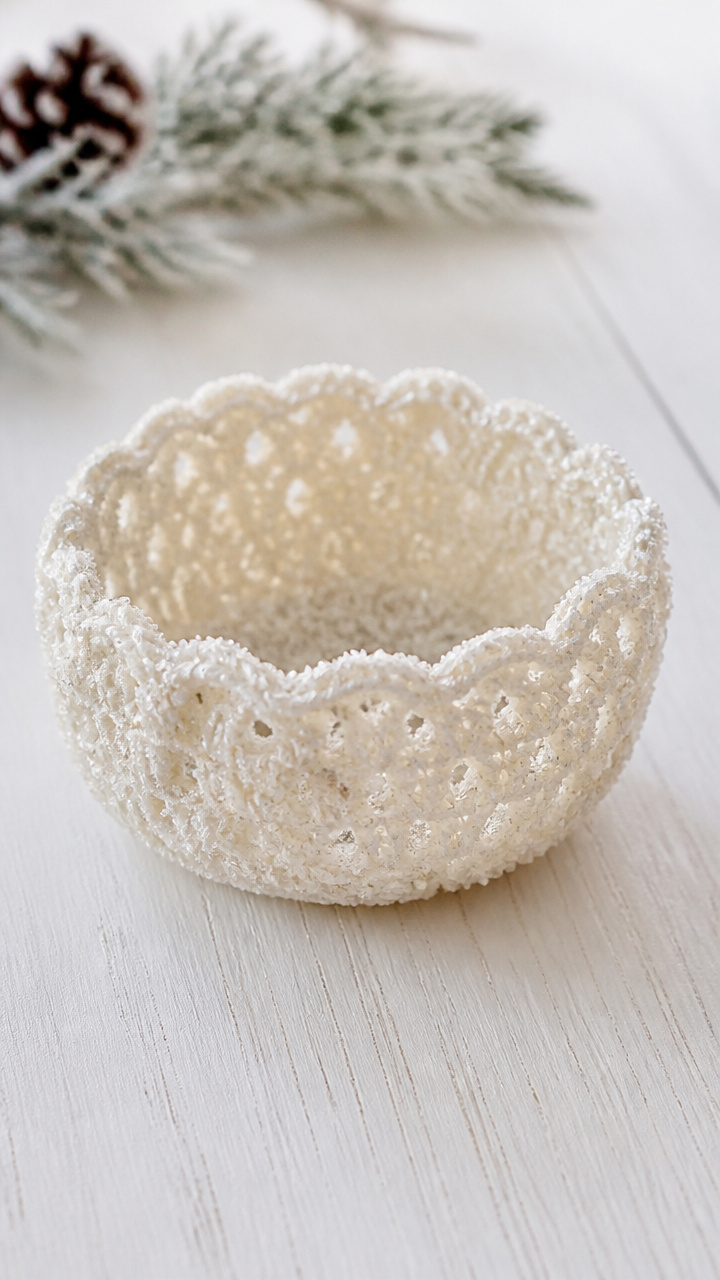
Crocheted bowls stiffen with sugar water and sparkle like hoarfrost. Use them for trinkets or holiday cards.
Materials Needed
- 1 skein of cotton yarn (Lion Cotton, 80 yards, off-white)
- US H-8 (5 mm) crochet hook
- Measuring cup
- 1/2 cup granulated sugar
- 1/2 cup warm water
- Mixing spoon
- Small colander
How to Make It
- Crochet a flat spiral bowl using single crochet increases until it reaches 6 inches in diameter, then fasten off.
- Dissolve sugar completely in warm water and submerge the bowl, pressing to saturate for 2 minutes.
- Lift out and drain in the colander, then shape the rim with fingers and let dry 6 hours on wax paper.
- Once hardened, turn over and let the inside dry fully before use.
14. Yarn-Wound Bell Decor
Easy
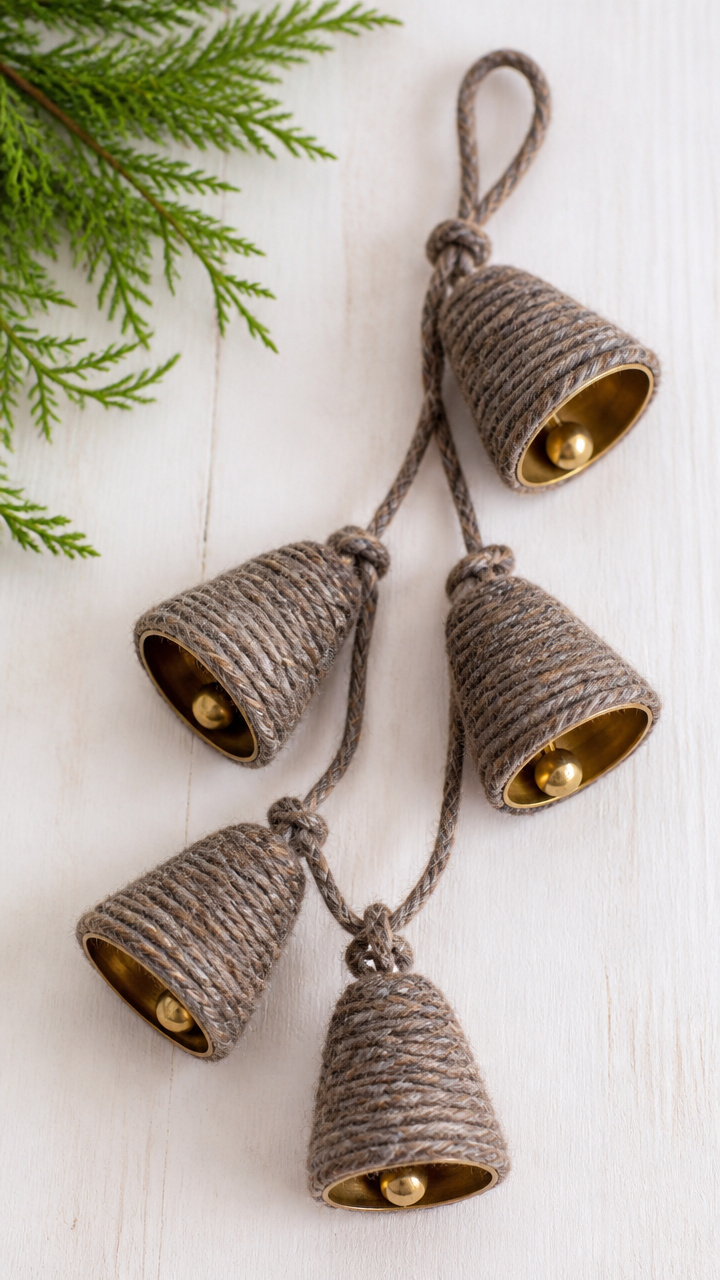
Brass bells chime softly beneath layers of heathered wool. Tie one to a gift or coat hook.
Materials Needed
- 5 brass sleigh bells (1 inch diameter with clapper)
- 1 skein of heathered wool yarn (Cascade 220, moorland, 50 yards)
- Scissors
- Clear nail polish
How to Make It
- Tie a double knot with the yarn around the metal loop of a bell, leaving a 3-inch tail.
- Wrap the yarn tightly around the loop and upper bell body, covering the knot as you go.
- Continue wrapping until the entire loop and 1/2 inch of bell surface is covered, then tie off with a knot and weave in the end.
- Dab a drop of clear nail polish on each knot to secure and let dry 10 minutes.
15. Hanging Yarn Ice Prisms
Advanced
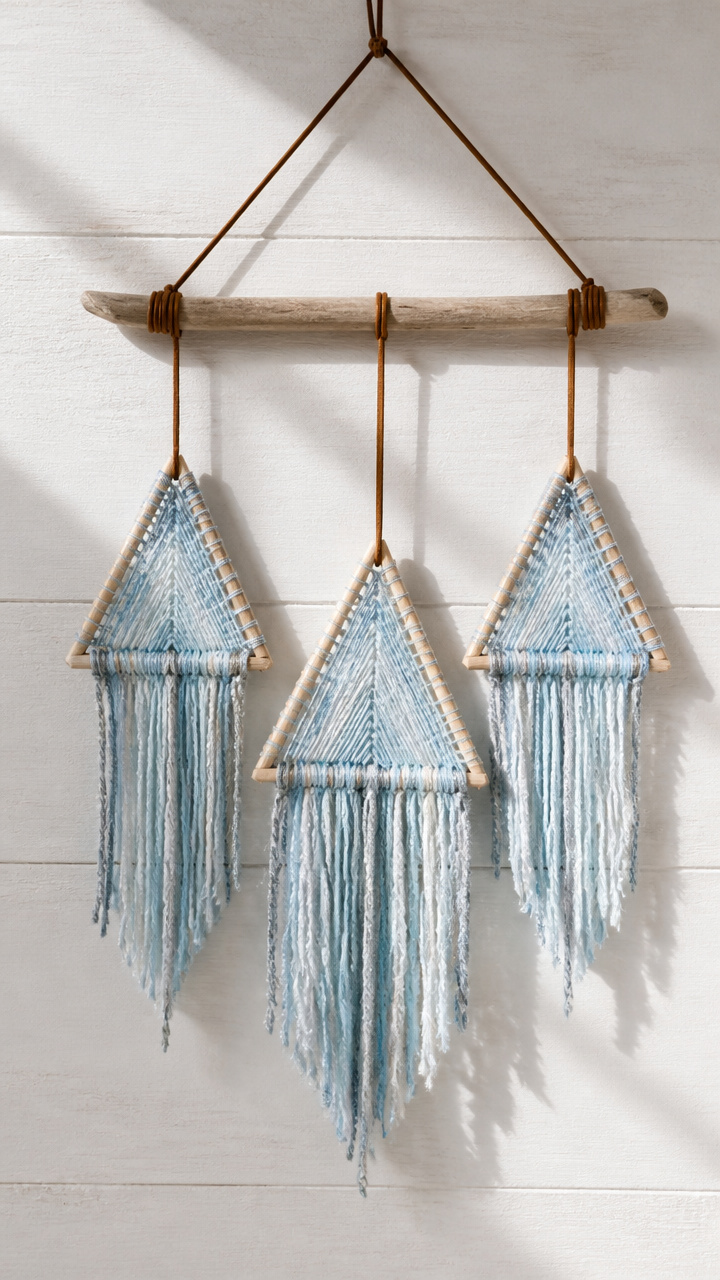
Long triangular weavings dangle like frozen shards. Hang several at different heights in a sunlit corner.
Materials Needed
- Wooden weaving loom (triangular, 6 inches per side)
- Ladder yarn (Schachenmayr Boston, 100% acrylic, glacier blue, 2 skeins)
- Weaving needle
- Scissors
- 36 inches of leather cord (1/8 inch thick)
How to Make It
- Attach the leather cord to the top point of the loom to form a hanger, tying a double knot.
- Warp the loom by threading vertical strands from top to base points, spacing 1/2 inch apart.
- Weave horizontal rows with ladder yarn using a plain weave, beating each row down with fingers.
- When the triangle is full, cut the warp threads at the back, tie pairs in knots, remove from loom, and trim fringe to 1 inch.
Pick up a skein and let your fingers find their rhythm. You’ve already got everything you need to make this season softer, brighter, and uniquely yours.