18 Winter Window Crafts That Bring Light Into Your Home

Frosted glass panes glow with the soft flicker of candlelight, and icy window corners sparkle when touched by morning sun. These quiet moments feel richer when your windows hold handmade warmth.
Simple crafts can turn ordinary glass into something that catches light, lifts moods, and makes your home feel deeply cared for. Each piece you make becomes a small beacon through the darker months.
1. Frosted Pinecone Suncatchers
Easy
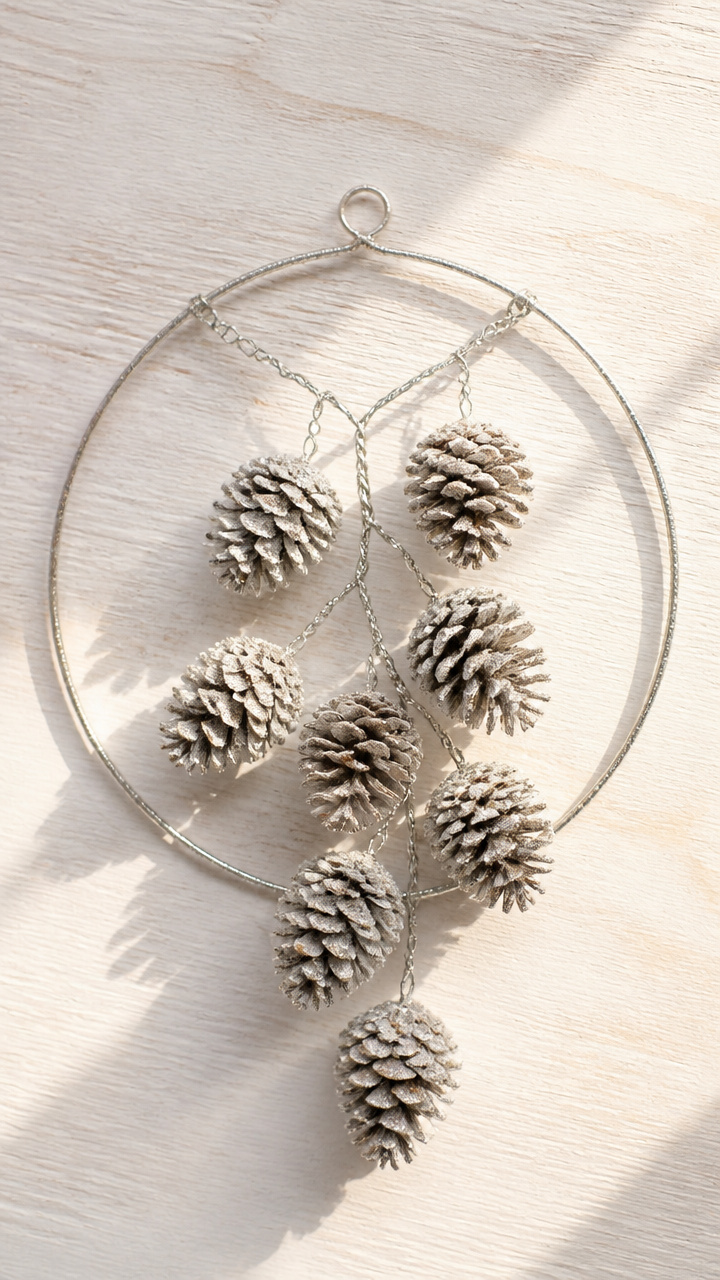
Tiny clusters of real pinecones dipped in frosty glue sparkle when backlit by daylight. These delicate suncatchers bring forest texture to bare panes.
Materials Needed
- 6 small dried pinecones, under 1.5 inches long
- 12 inches of silver-colored craft wire, 22 gauge
- white school glue
- water
- small paintbrush
- clear acrylic sealer spray
How to Make It
- Mix equal parts white school glue and water in a small bowl to make a milky solution.
- Use the paintbrush to coat each pinecone completely with the glue mixture, getting into crevices.
- Let the pinecones dry upright on wax paper for 2 hours until crisp and white.
- Cut six 6-inch lengths of craft wire. Wrap one around the base of each pinecone and twist to secure.
- Bend the top of each wire into a small loop for hanging.
- Spray all pieces lightly with clear acrylic sealer and let dry 1 hour before hanging in a sunny window.
2. Layered Paper Snowflakes
Moderate
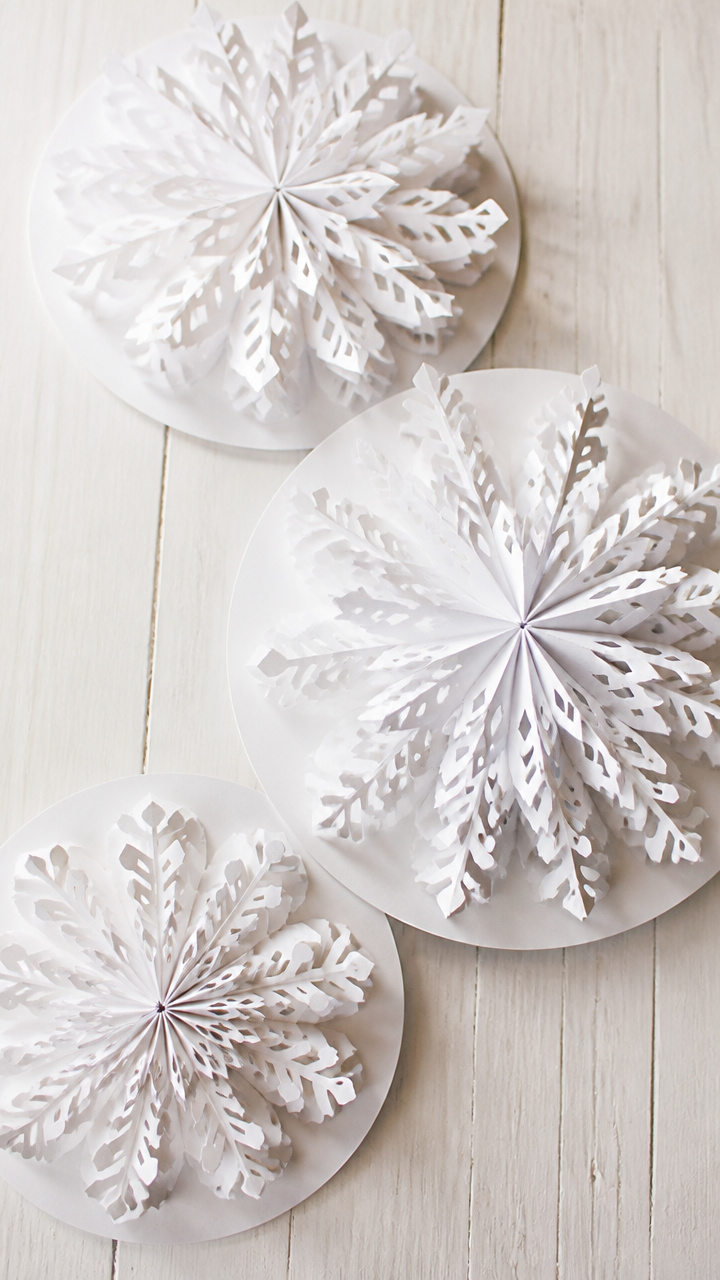
Three-dimensional snowflakes built from stacked paper circles catch light between their tiers. These are not flat cutouts but airy sculptures that shift with air currents.
Materials Needed
- 3 sheets A4 white cardstock
- craft knife with #11 blade
- self-healing cutting mat
- ruler
- pencil
- white glue
- 12 inches of thin silver ribbon
How to Make It
- Draw three concentric circles on each cardstock sheet using the ruler and pencil: 3 inch, 2 inch, and 1 inch diameters.
- Cut out the circles with the craft knife on the cutting mat, using the ruler as a guide for straight cuts.
- Stack one of each size circle and glue them centered together to form a tiered disc. Repeat for two more stacks.
- Use the craft knife to make radial cuts from the outer edge toward the center of each disc, spacing them evenly.
- Fold alternate tabs up and down on each disc to create a dimensional ripple effect.
- Glue the three discs together, offsetting the folds slightly, and attach the ribbon to the top for hanging.
3. Copper Wire Ice Crystals
Moderate
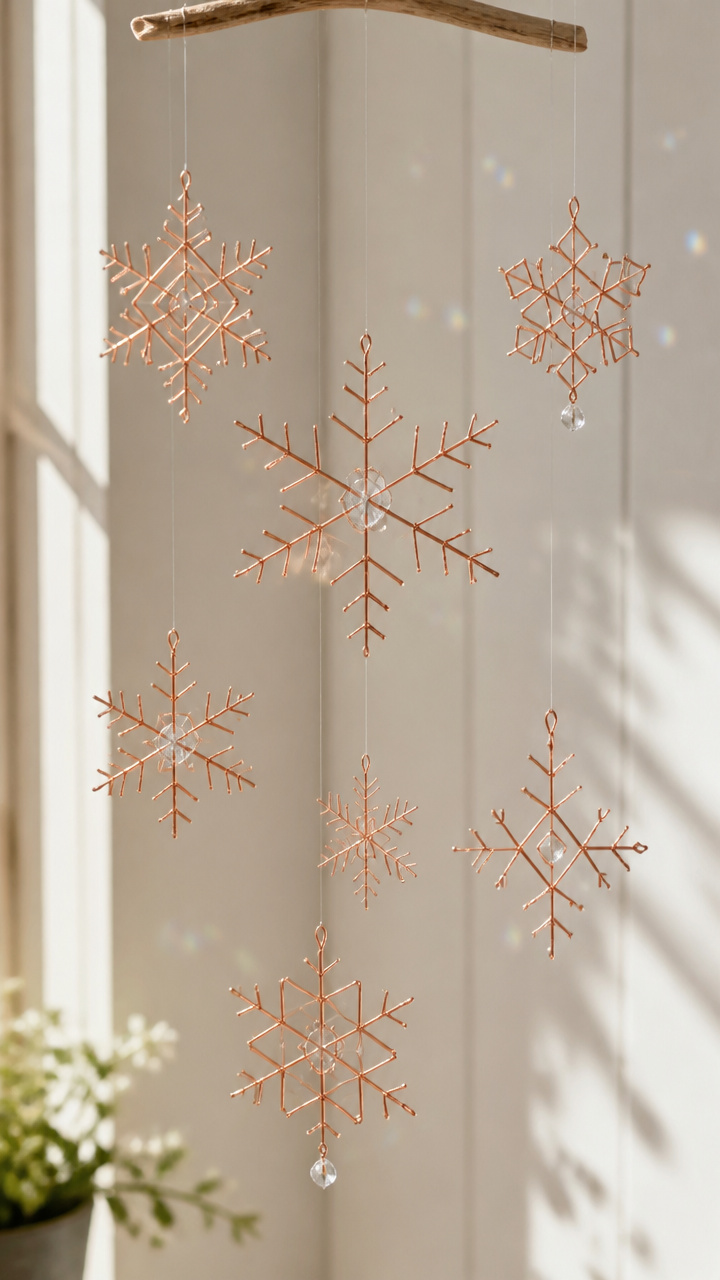
Geometric wire shapes shaped like frozen fractals dangle with a metallic shimmer. These modern suncatchers reflect light like real frost.
Materials Needed
- 15 feet of 20-gauge copper craft wire
- wire cutters
- round-nose pliers
- chain-nose pliers
- clear fishing line
- scissors
How to Make It
- Cut the copper wire into nine 20-inch lengths using the wire cutters.
- Use the round-nose pliers to curl the end of one wire into a small spiral, then bend it into a six-pointed star shape.
- Wrap the ends around adjacent points to secure the form without glue.
- Repeat to make two more wire stars, varying the size slightly.
- Use chain-nose pliers to twist a 6-inch piece of fishing line around the top point of the largest star.
- Tie the medium and small stars below it at staggered lengths using more fishing line, creating a vertical cluster.
4. Stained Glass Window Panels
Easy
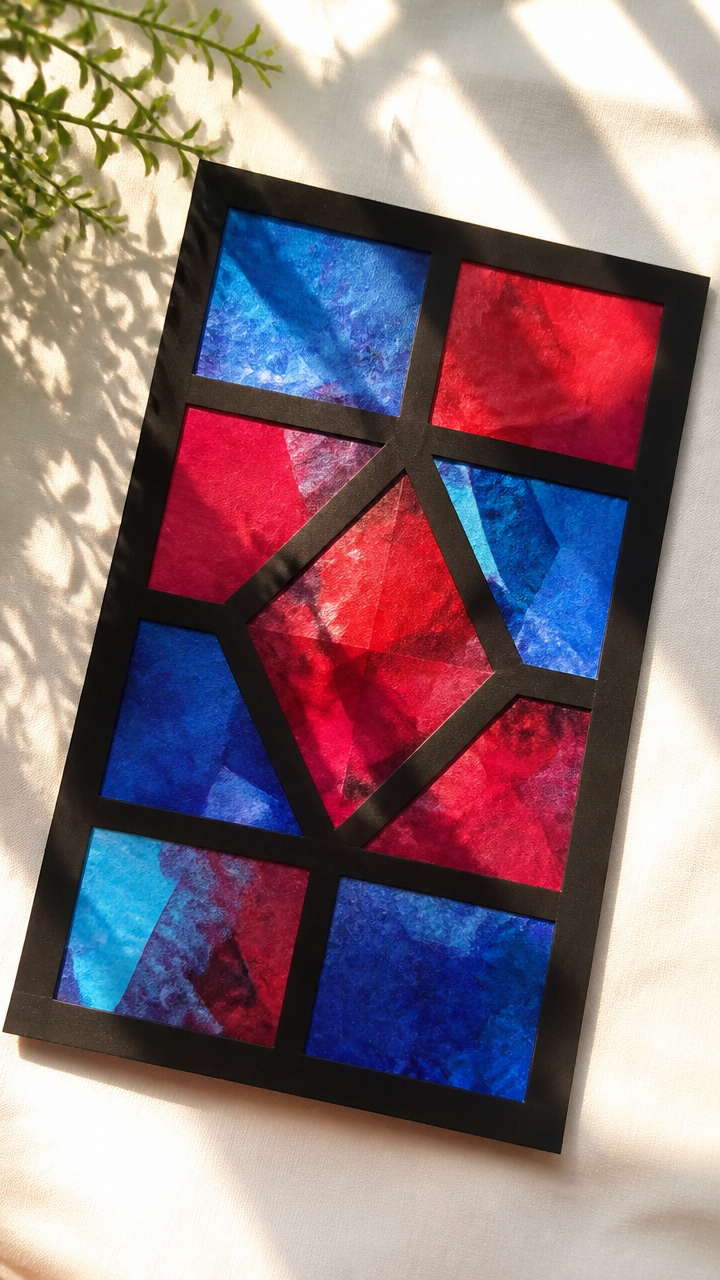
Vibrant tissue paper panels mimic the glow of cathedral glass when sunlight passes through. These are lightweight, temporary installations with bold color impact.
Materials Needed
- 1 sheet black construction paper, 12×18 inches
- scissors
- ruler
- pencil
- red tissue paper, 12×18 inches
- blue tissue paper, 12×18 inches
- yellow tissue paper, 12×18 inches
- white school glue
- paintbrush
How to Make It
- Draw a simple window grid on the black construction paper using the ruler and pencil: one vertical and one horizontal line dividing it into four equal rectangles.
- Cut out the four center rectangles, leaving a 1-inch frame around the edges.
- Cut the red, blue, and yellow tissue paper into 3×3 inch squares.
- Brush a thin layer of white school glue inside one opening and press a red tissue square over it, smoothing flat.
- Repeat with blue and yellow squares in the other openings, filling each with overlapping pieces.
- Let dry completely for 1 hour, then tape the panel to a window with clear tape.
5. Glittered Mason Jar Luminaries
Moderate
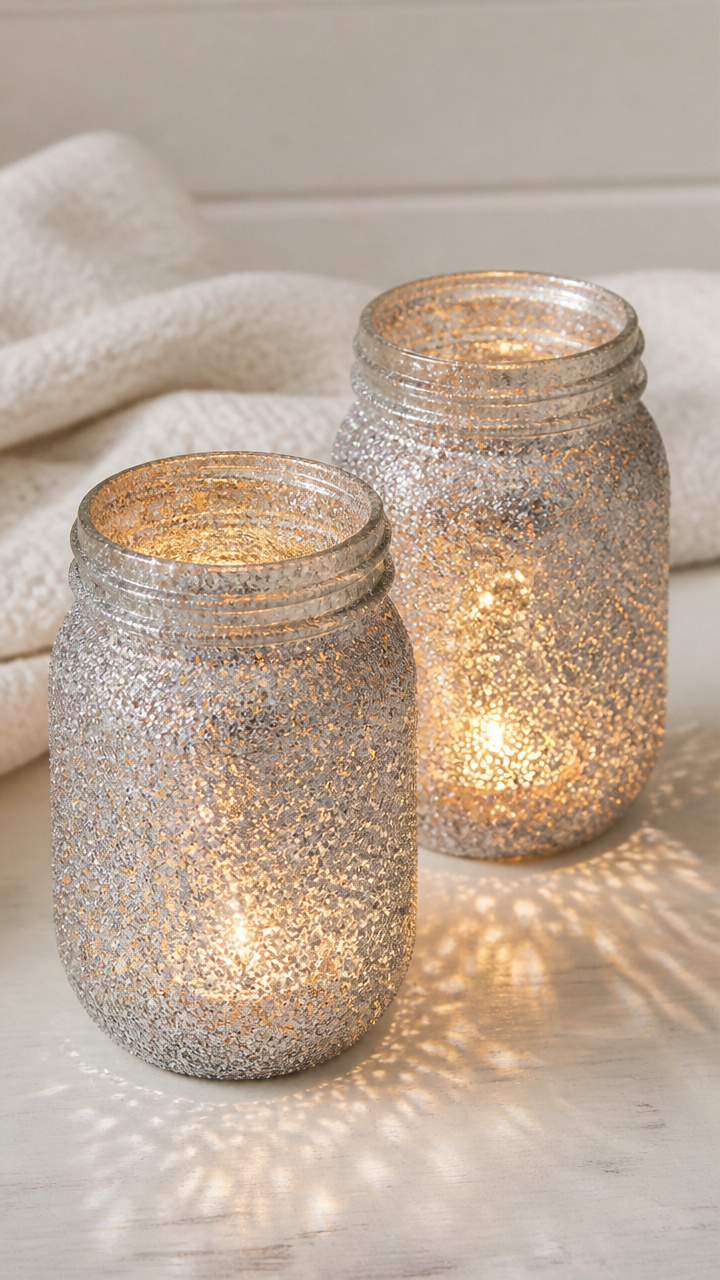
Jars coated in iridescent glitter glow like snow domes when lit from within. These sit on sills and cast soft patterns on walls.
Materials Needed
- 2 clean 8-ounce mason jars
- clear-drying craft glue
- fine silver glitter
- paintbrush
- paper plate
- battery-operated tea lights, 2
How to Make It
- Pour a thin layer of silver glitter onto the paper plate.
- Use the paintbrush to apply an even coat of craft glue to the lower half of one mason jar.
- Roll the glued section in the glitter until fully covered, then tap off excess.
- Set the jar aside to dry for 3 hours, lying on its side to prevent glitter shift.
- Repeat with the second jar.
- Place one tea light inside each jar and turn on at dusk, setting them on a windowsill.
6. Pressed Flower Resin Orbs
Advanced
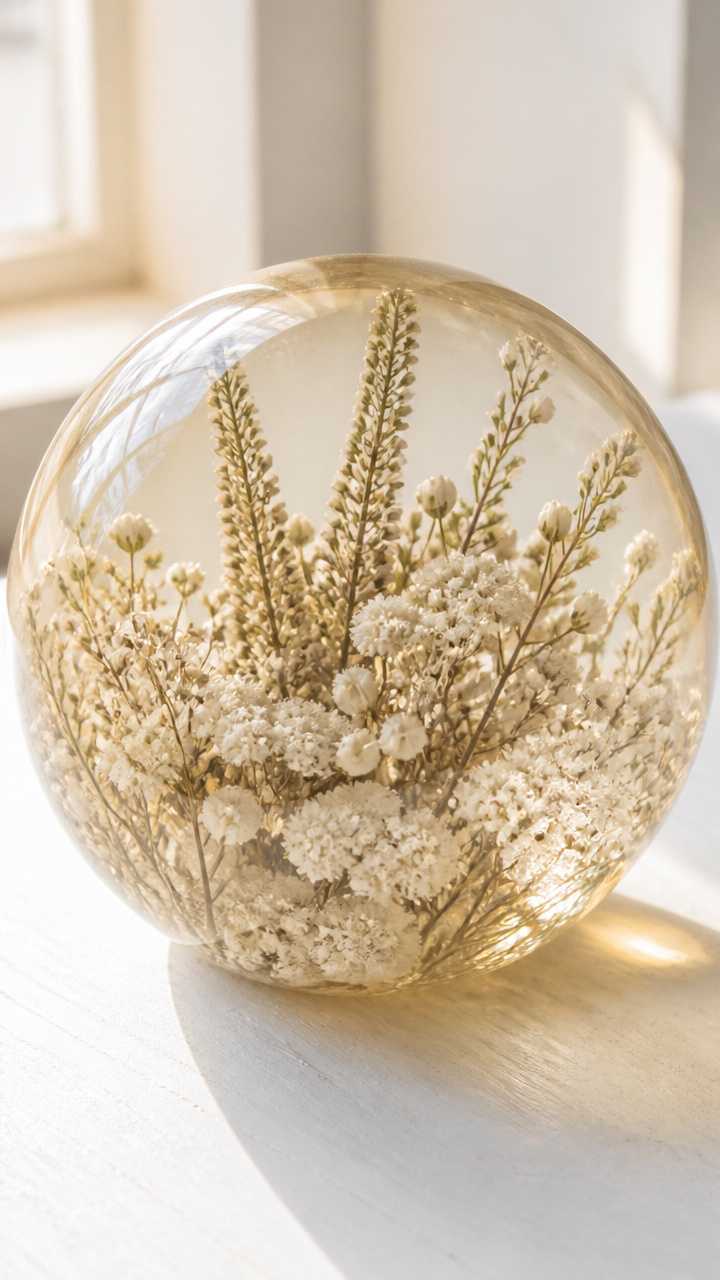
Tiny glass-like domes hold winter blooms suspended in amber resin. These refract light like natural prisms.
Materials Needed
- 5 dried small winter flowers (such as heather or dried baby's breath)
- 2-part clear epoxy resin (50ml total)
- silicone mixing cups, 2
- plastic stir sticks, 2
- 5 clear silicone dome molds, 1.5 inches diameter
- tweezers
- toothpicks
How to Make It
- Mix the epoxy resin in a silicone cup according to package ratio, stirring slowly for 2 minutes to avoid bubbles.
- Pour a small amount of resin into each dome mold, filling it halfway.
- Use tweezers to place one flower into each mold, laying it flat on the resin.
- Fill each mold to the top with more resin, using a toothpick to remove air bubbles.
- Cover molds with a box to keep dust-free and let cure for 24 hours.
- Pop orbs out of molds and tie with thin ribbon to hang in a bright window.
7. Yarn-Wrapped Ice Frames
Moderate
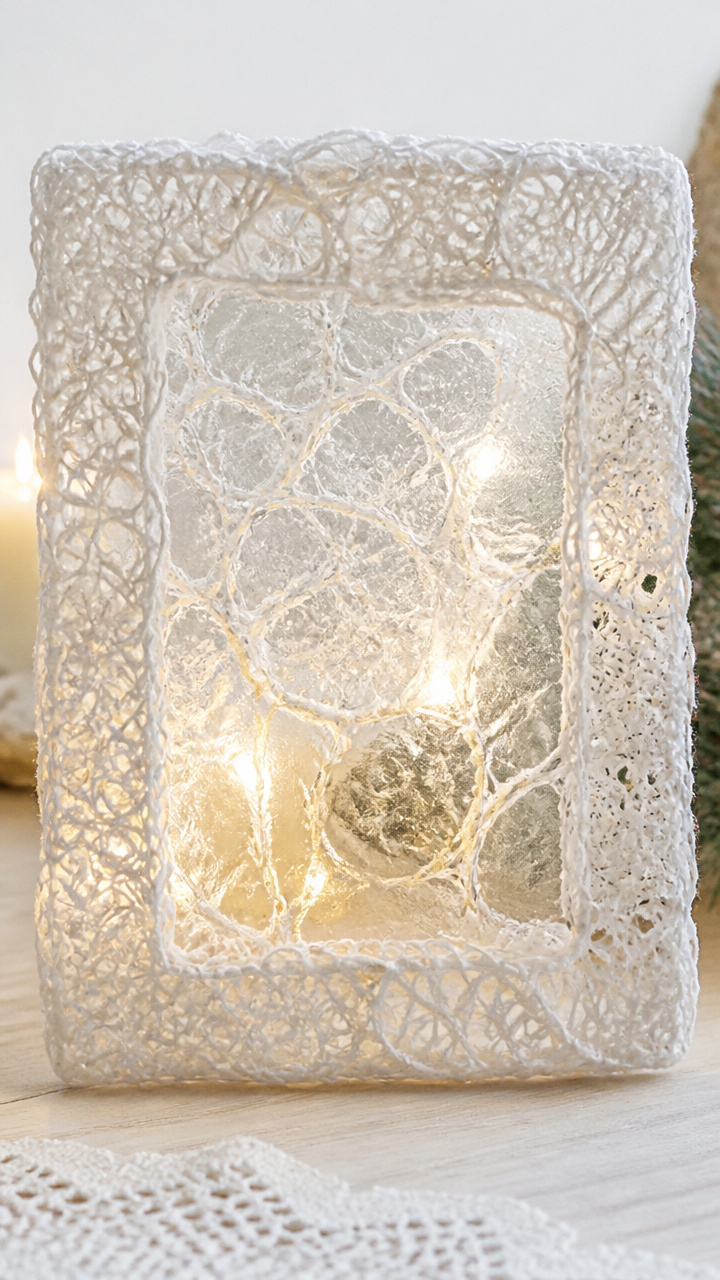
Delicate lace frames made from glue-hardened yarn drape over glass with a frostweb effect. These are fragile, elegant, and luminous.
Materials Needed
- thin white cotton yarn, 20 yards
- white school glue
- water
- mixing bowl
- whisk
- 12-inch embroidery hoop
- scissors
How to Make It
- Mix two parts white school glue with one part water in the bowl, whisking until smooth.
- Cut the yarn into 3-yard lengths. Dip one end into the glue mixture and wrap it around the inner ring of the embroidery hoop.
- Continue wrapping, overlapping slightly, until the inner ring is fully covered.
- Let the hoop sit undisturbed for 12 hours until the yarn is hard and crisp.
- Gently remove the yarn ring from the hoop and place it over a small window or candle holder.
- Repeat to make a second ring if desired.
8. Beaded Icicle Garlands
Easy
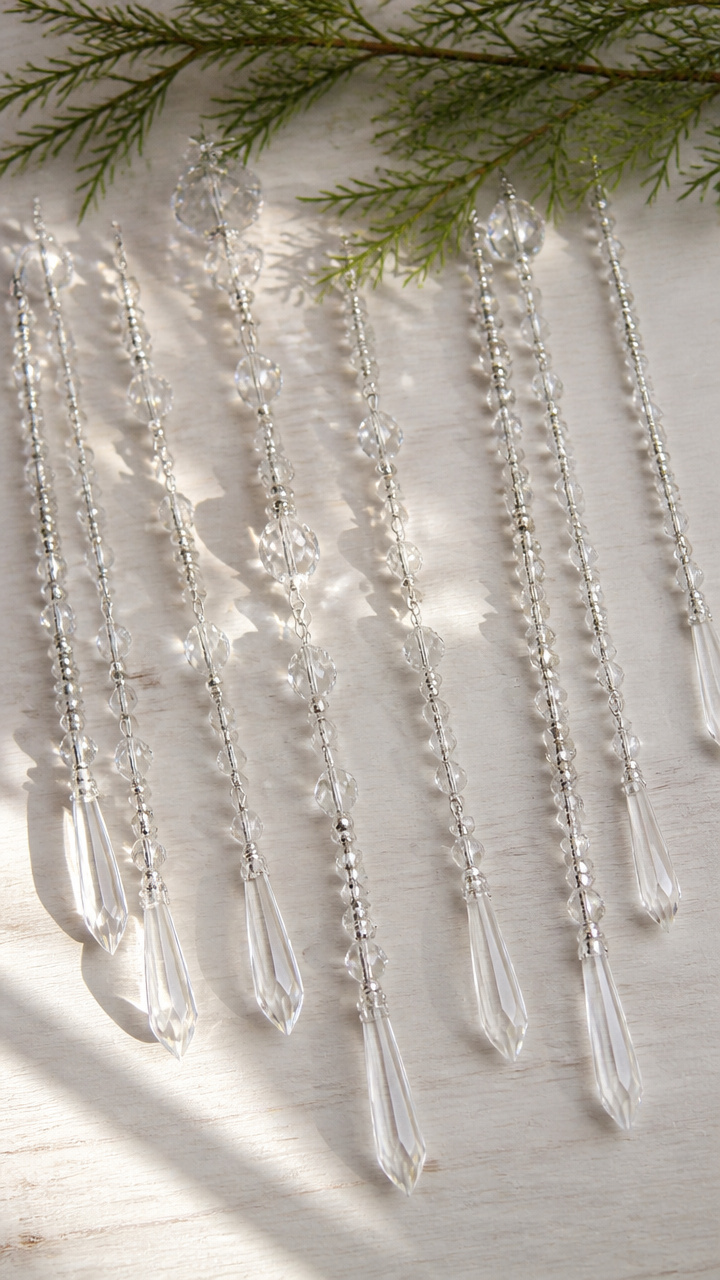
Long strands of crystal beads mimic melting ice drops. Hang them vertically from window frames for a cool, shimmering effect.
Materials Needed
- 3 meters of clear nylon thread
- 150 clear faceted plastic beads, 6mm
- 10 silver-colored metal spacer beads, 4mm
- scissors
- tape
How to Make It
- Cut the nylon thread into three 1-meter lengths.
- Tape one end of a thread to the table to hold it steady.
- String 50 clear beads onto the thread, adding a spacer bead every 10 beads.
- Tie a small knot at the end to secure the beads.
- Repeat for the other two strands.
- Tape the top ends to the top of a window frame, letting the strands hang down like icicles.
9. Salt Dough Window Stars
Easy
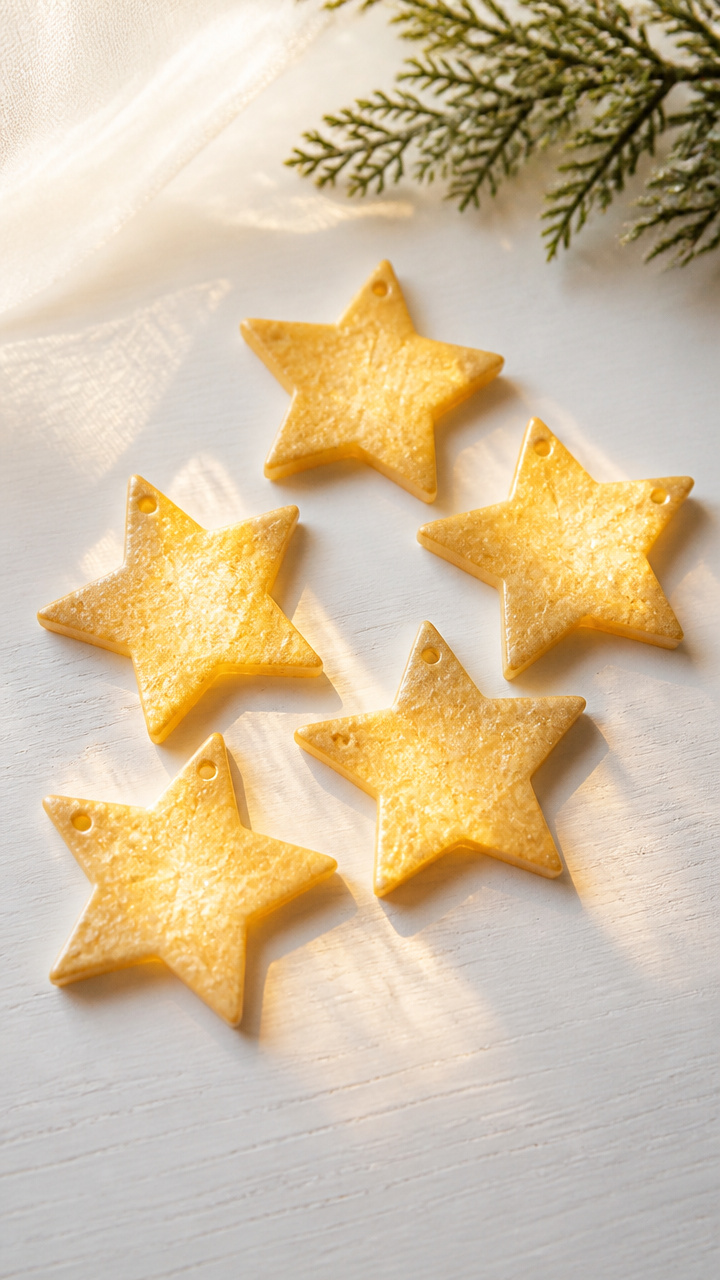
Hand-rolled dough stars baked until crisp become translucent when lit from behind. These rustic shapes carry a soft, warm glow.
Materials Needed
- 1 cup all-purpose flour
- 1/2 cup table salt
- 1/2 cup water
- mixing bowl
- rolling pin
- star-shaped cookie cutter, 2 inches
- parchment paper
- baking sheet
- oven
- white glue
- ribbon, 12 inches
How to Make It
- Mix flour, salt, and water in the bowl until a smooth dough forms, kneading by hand for 2 minutes.
- Roll the dough to 1/4 inch thickness on a floured surface using the rolling pin.
- Cut out 6 stars with the cookie cutter and place them on the parchment-lined baking sheet.
- Bake at 200°F for 3 hours until hard and slightly translucent.
- Let cool completely, then glue a ribbon loop to the back of each star.
- Hang one or more in a window using the ribbon.
10. Cinnamon Stick Bundles
Easy
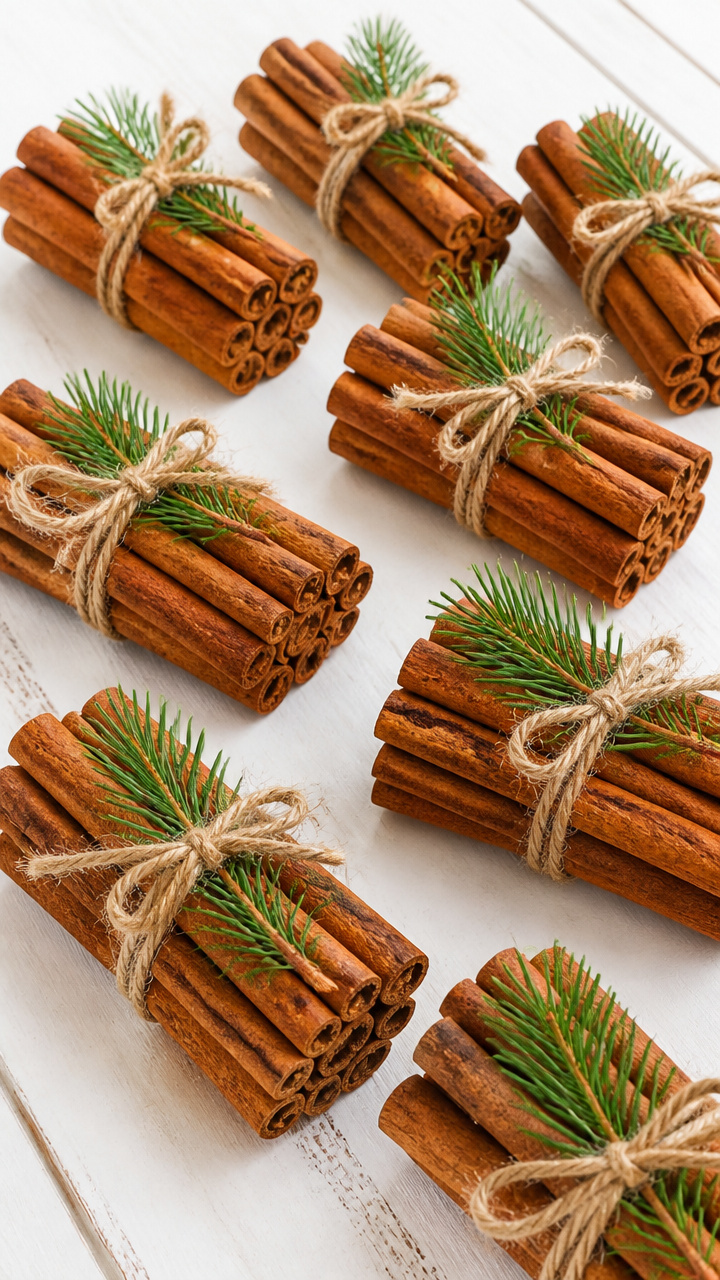
Mini bundles of cinnamon sticks tied with twine release a gentle spice scent and cast warm-toned shadows. These are cozy, aromatic window accents.
Materials Needed
- 12 cinnamon sticks, 3 inches long
- natural jute twine
- scissors
- hot glue gun
- 3 small pine sprigs
How to Make It
- Group four cinnamon sticks together into a bundle and wrap twine around one end, tying a secure knot.
- Repeat to make three bundles.
- Use a dot of hot glue to attach one pine sprig to the front of each bundle near the tied end.
- Wrap twine around the bundle again just below the pine sprig and tie a loop for hanging.
- Let the glue cool for 1 minute.
- Hang each bundle in a window using the twine loop.
11. Tissue Paper Lanterns
Easy
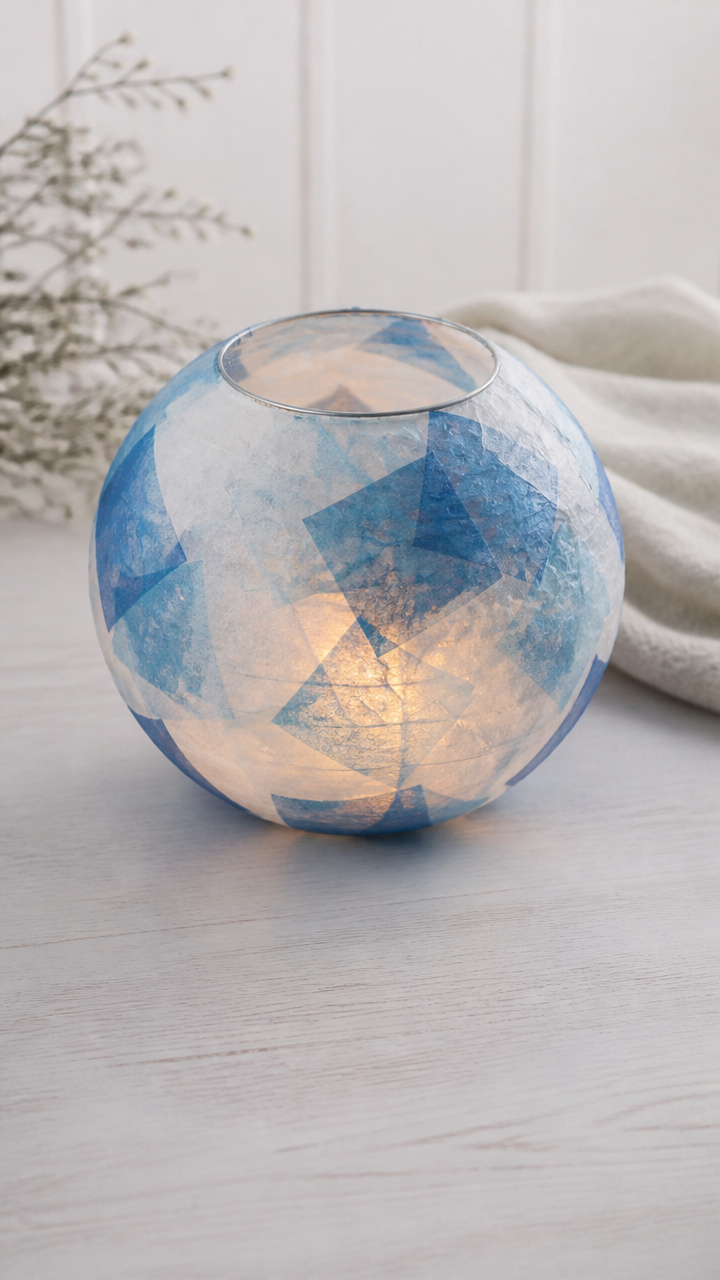
Softly glowing lanterns made from layered tissue paper encase tea lights. These diffuse light into gentle color pools on nearby surfaces.
Materials Needed
- 4 sheets blue tissue paper, 20×20 inches
- 4 sheets white tissue paper, 20×20 inches
- ruler
- pencil
- scissors
- white school glue
- paintbrush
- battery-operated tea light
How to Make It
- Cut all tissue sheets into 5×20 inch strips using the ruler, pencil, and scissors.
- Lay one blue strip horizontally and brush glue along one short edge.
- Attach the edge of a white strip to it, forming a ring. Repeat to connect all strips into one long chain.
- Form the chain into a circle and glue the last connection to complete the loop.
- Gently pull alternating layers up to create a lantern shape.
- Place the tea light inside and turn it on in a dark room near a window.
12. Felted Wool Snow Scenes
Advanced
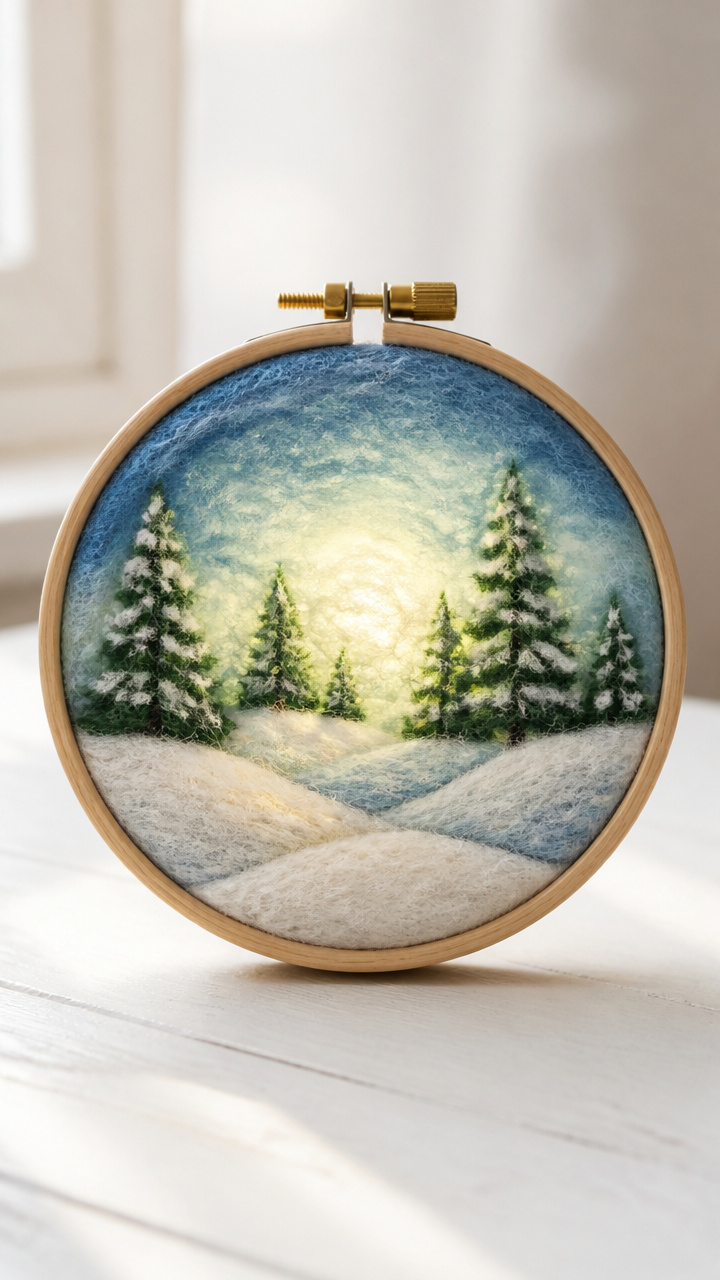
Tiny winter landscapes felted inside embroidery hoops glow when backlit. These soft, textured circles look like captured snow globes.
Materials Needed
- 2-inch wooden embroidery hoops, 3
- white raw wool roving, 10 grams
- blue raw wool roving, 5 grams
- green raw wool roving, 3 grams
- felting needle
- foam pad
- small twig, 2 inches long
How to Make It
- Separate the inner and outer rings of one embroidery hoop.
- Pull a small piece of white wool and place it on the foam pad, then lay it inside the inner hoop.
- Use the felting needle to repeatedly poke the wool, tugging it through the hoop to secure it.
- Layer blue wool at the bottom for sky, green for hills, and white for snowdrifts, felting each in place.
- Insert the small twig upright and felt it into the center.
- Repeat for the other two hoops and hang them in a row on a window with thread.
13. Painted Glass Frost Patterns
Moderate
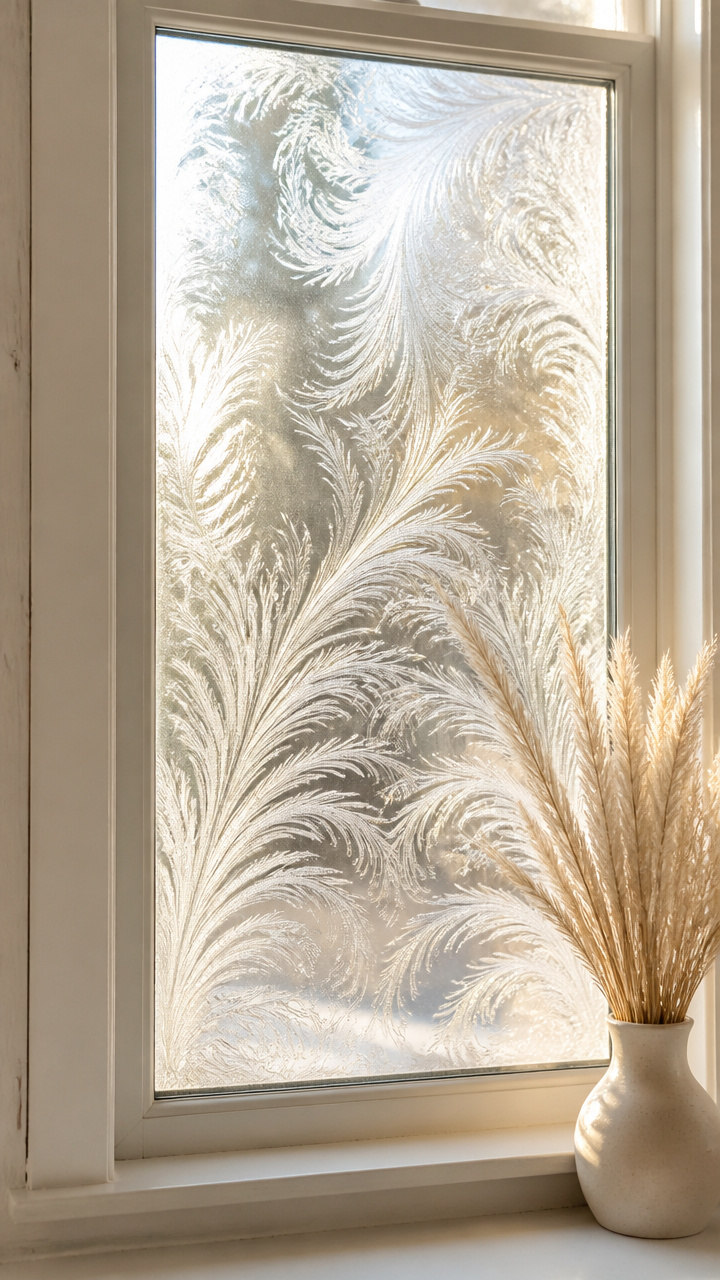
Elegant frost-like swirls painted directly on glass vanish when viewed head-on but glow when lit from behind. These are subtle, permanent accents.
Materials Needed
- white glass paint
- fine-tipped glass paint applicator bottle
- paper towel
- rubbing alcohol
- cotton ball
How to Make It
- Wipe the window with a cotton ball dampened with rubbing alcohol to remove oils.
- Shake the glass paint bottle and squeeze a small puddle onto a paper towel to test flow.
- Draw delicate branching frost patterns from the corners of the window using the applicator tip.
- Create feathery lines that spread inward, varying thickness naturally.
- Let the paint dry for 24 hours without touching.
- View from outside at night with indoor lights on to see the glowing effect.
14. Candle-Flicker Shadow Boxes
Moderate
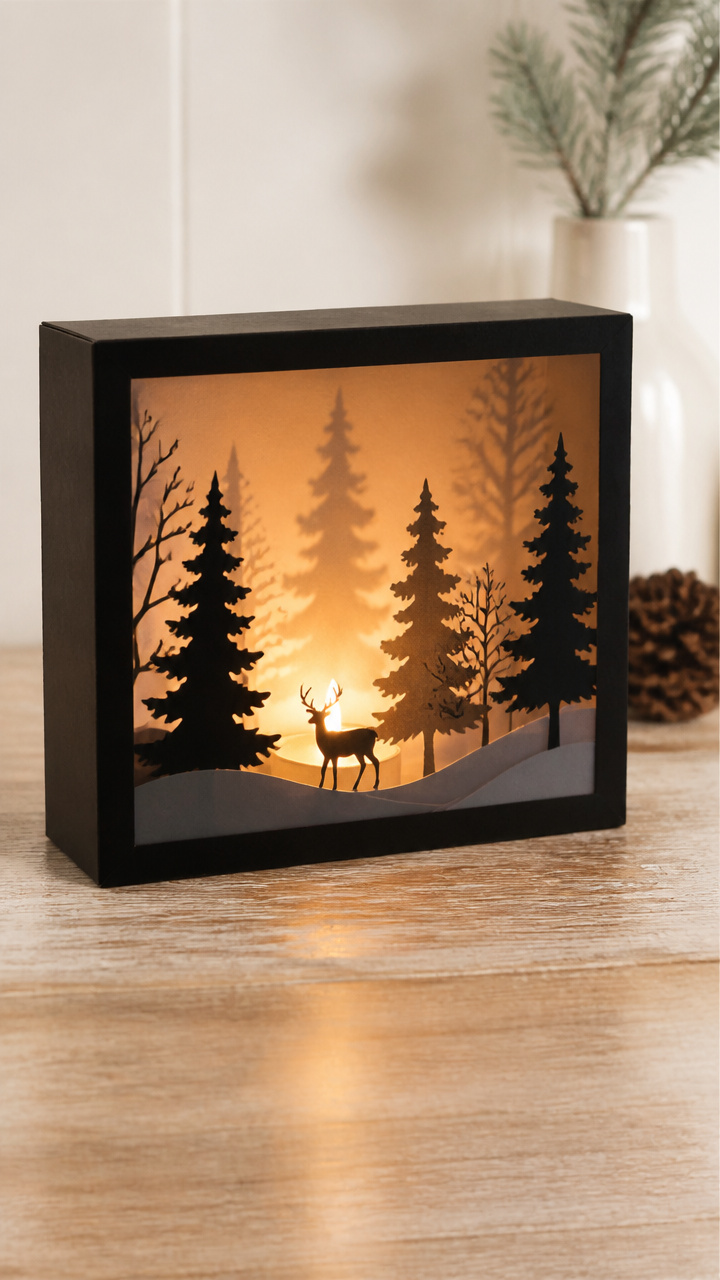
Mini dioramas with cutout trees cast dancing shadows when lit by a tea light. These bring animated winter woods to your glass.
Materials Needed
- shoebox with lid
- utility knife
- ruler
- pencil
- black construction paper
- scissors
- white glue
- battery-operated tea light
How to Make It
- Cut a 2×2 inch square in one short end of the shoebox using the utility knife and ruler.
- Cut four tree shapes from black construction paper, each 3 inches tall with jagged tops.
- Glue the trees inside the box, standing upright and staggered from back to front.
- Place the tea light inside the box near the cutout end.
- Close the lid and set the box in front of a window with the cutout facing outward.
- Turn on the light at dusk to project moving shadows onto the glass.
15. Crystal Charm Mobiles
Easy
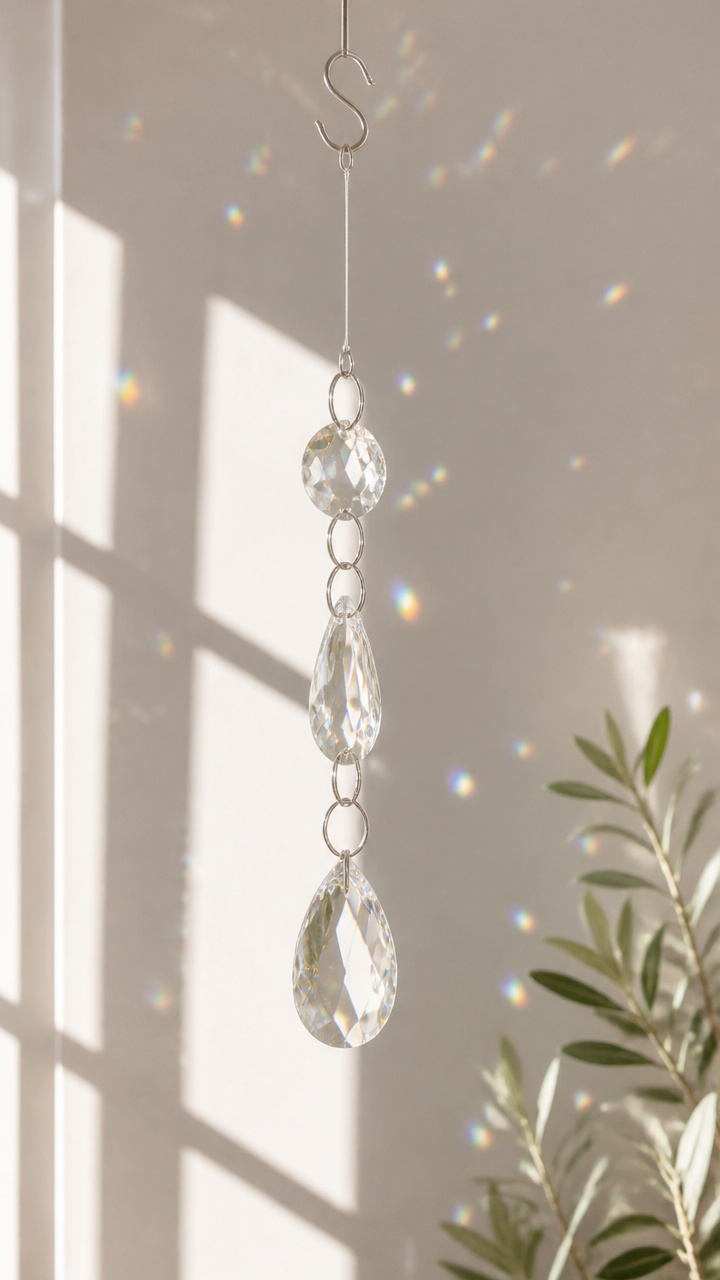
Faceted glass pendants dangle at different heights, scattering rainbows when sunlight hits. These catch and multiply light like natural prisms.
Materials Needed
- 3 clear glass crystal pendants, 1 inch long
- 3 silver jump rings, 8mm
- 3 feet of clear fishing line
- scissors
- ceiling hook
- small pliers
How to Make It
- Cut the fishing line into three 12-inch lengths.
- Open one jump ring with pliers and attach it to a crystal pendant, then close the ring.
- Tie one end of a fishing line to the jump ring and knot securely.
- Repeat for the other two pendants.
- Twist the top ends of all three lines together and tie them to the ceiling hook.
- Hang near a bright window and adjust lengths so crystals don’t tangle.
16. Maple Seed Wing Decor
Advanced
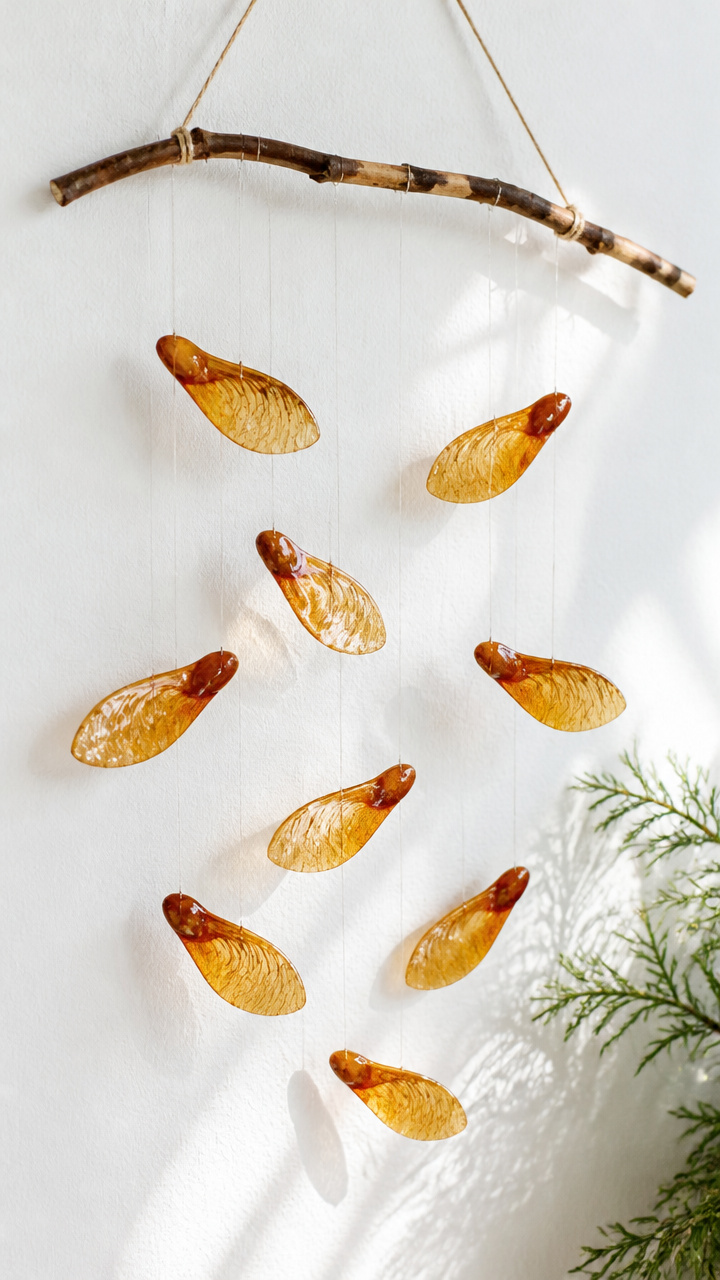
Natural helicopter seeds coated in resin twirl gently in drafts. These organic shapes float like icy seeds caught mid-fall.
Materials Needed
- 10 dried maple seeds (samaras)
- 2-part clear epoxy resin (30ml)
- silicone mixing cup
- stir stick
- toothpicks
- clear thread
- small paintbrush
How to Make It
- Mix the epoxy resin in the cup according to package instructions, stirring for 2 minutes.
- Use the paintbrush to coat each maple seed with a thin, even layer of resin.
- Place them on a non-stick surface and use a toothpick to remove bubbles.
- Let cure for 18 hours until hard and glossy.
- Tie a 6-inch thread to the stem end of each seed.
- Hang them at varying heights from a windowsill using tape or a small hook.
17. Knit Lace Window Panels
Moderate
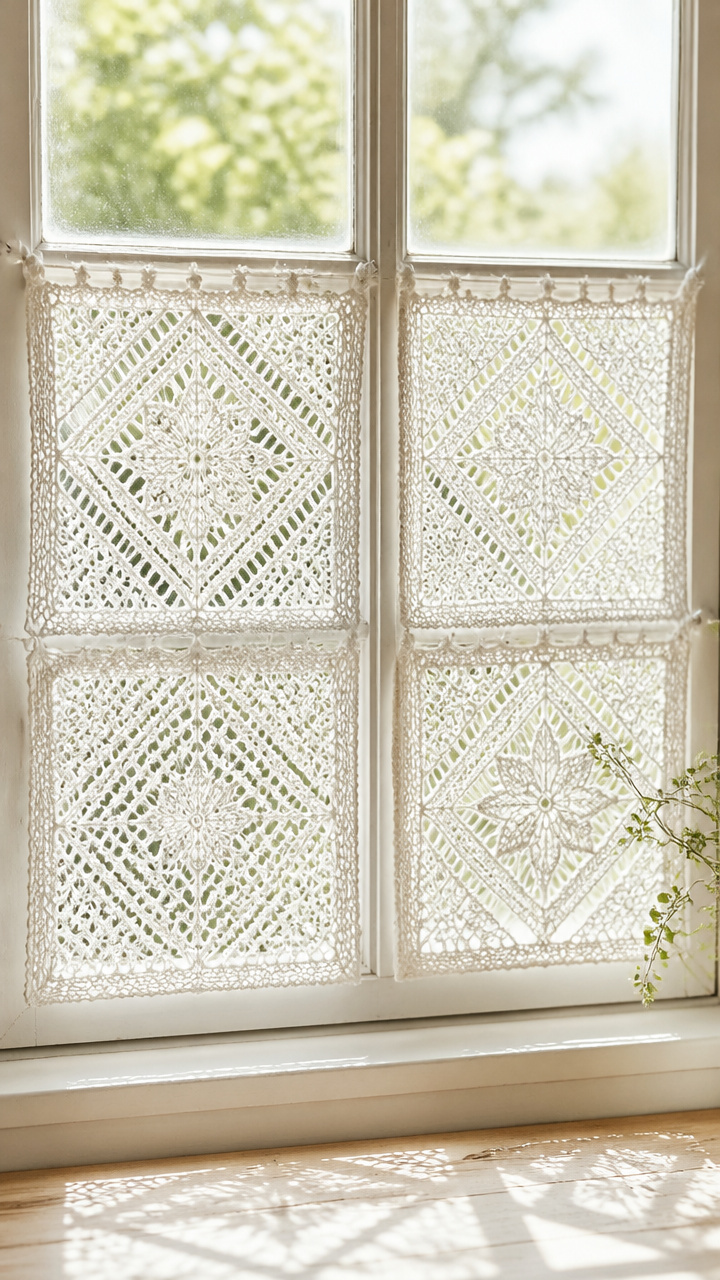
Open-stitch cotton squares drape over panes like frozen lace. These handmade textiles filter light into soft, textured patterns.
Materials Needed
- white cotton knitting yarn, 50 yards
- size 6 US knitting needles
- scissors
- tapestry needle
- starch spray
- iron
How to Make It
- Cast on 30 stitches and knit in lace pattern: *knit 2, yarn over, knit 2 together* across the row.
- Repeat for 40 rows to form a square.
- Bind off loosely and weave in ends with the tapestry needle.
- Spray the square evenly with starch and press with a warm iron to stiffen.
- Pin the panel to the window frame with clear thumbtacks at each corner.
- Let it catch daylight like a frost-covered web.
18. Ice Mold Lanterns
Easy
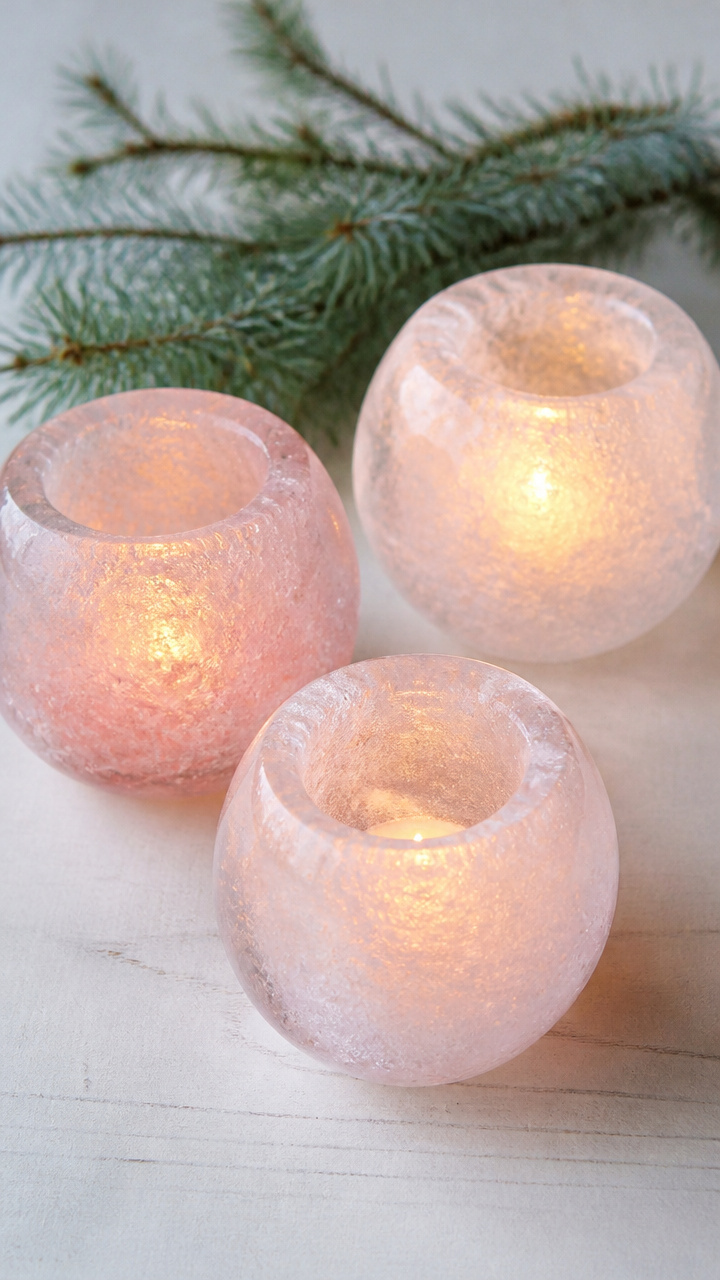
Freeze water around a balloon to create glowing ice bowls. These outdoor window accents hold tea lights and melt slowly over days.
Materials Needed
- 2 round balloons
- 2 large mixing bowls, 10 inches diameter
- water
- freezer
- battery-operated tea lights, 2
- food coloring (optional)
How to Make It
- Blow up each balloon to fit inside a bowl without touching the sides.
- Place one balloon in each bowl and fill the space around it with water.
- Add a few drops of blue food coloring to one bowl if desired.
- Freeze for 12 hours until solid.
- Run warm water over the outside of each bowl to release the ice mold, then pop the balloon.
- Place a tea light inside each ice bowl and set near a window outdoors at night.
Your windows are ready to tell a quieter, brighter story. Gather what you have and let the light do the rest.